I’m incredibly grateful for the fact that nuts somehow can magically be made into dairy-free “cheese.” I honestly love nut “cheese” more than I ever loved regular cheese. For some reason, I feel like it has a more potent flavor… almost like it has more character to it. Plus, it doesn’t completely destroy my digestion the way that regular dairy does!
In L.A., I’m lucky enough to have access to a lot of “fancy” nut cheeses at the grocery store. Kite Hill, Treeline, and Leaf Cuisine are a few popular brands that you might be familiar with. As yummy as they are, I don’t always want to pay for those cheeses, especially when they often have unnecessary gums and thickeners that can disrupt digestion. I also know that not everyone else has access to those brands. The good news is that you can make your own nut cheese right at home for a much cheaper price. I personally think it’s more convenient to make it yourself, and it’s even better because you can customize the flavor however you like!
I’m a huge fan of cashew cheese, which tends to give the “cheesiest” flavor when it comes to nut cheeses. (I really wish there was a synonym for cheese, right now.) However, I recently became even more obsessed with walnut-based cheeses, like in my Walnut Alfredo Sauce and Walnut Cheese Sauce. I don’t mean to toot my own horn, but those sauces actually taste like crack.
I’m still on a gut-healing protocol for a few more months, which means I have a few more months left of avoiding the foods I reacted to on my MRT. Sadly, one of those foods is walnuts. As soon as I found out I wouldn’t be able to eat walnuts for a few months, I obviously started craving walnut cheese like mad. Typical, right? Time to get creative again.
I’m also avoiding nutritional yeast as much as I can while I’m on an anti-Candida diet, so I can’t depend on that for a cheesy flavor. I looked in my pantry and fridge for some inspo, and all I found were some walnuts, cashews, and almonds. In my fridge, I had rosemary and chives. ….CHIVES!
Immediately I thought of Kite Hill’s Chive Cream Cheese Spread. That stuff is delicious. Good as it is, it contains gums that I’d rather not consume if I don’t need to. Besides, I wanted more of an actual cheese than a spread. Since I already knew that the almond chive flavor combo was a winner, I decided to make some almond chive cheese myself. I’m always looking for new ways to use herbs, so this was the perfect option for my chives!
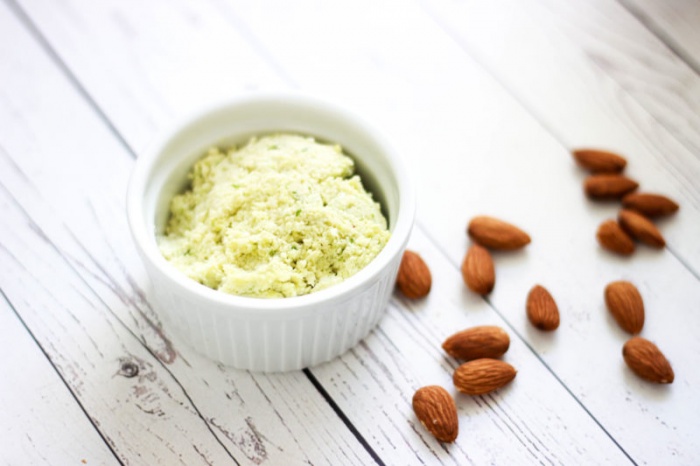
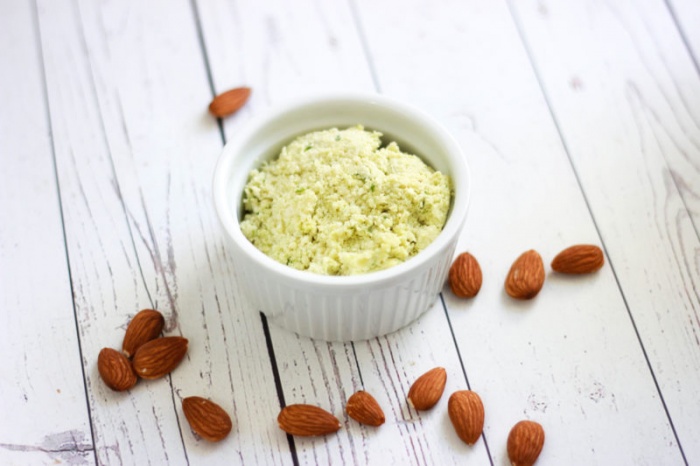
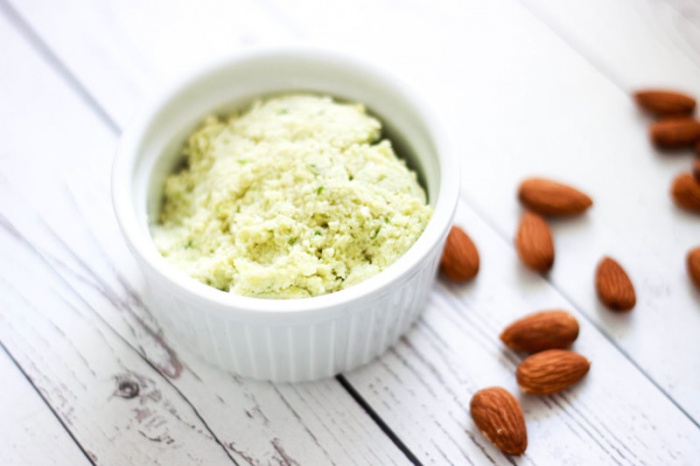
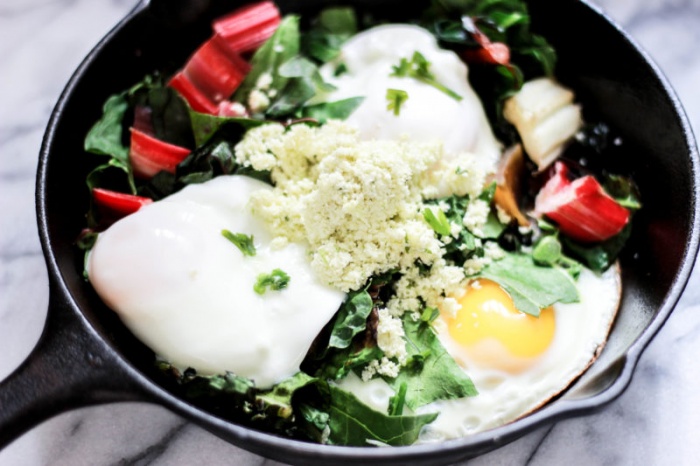
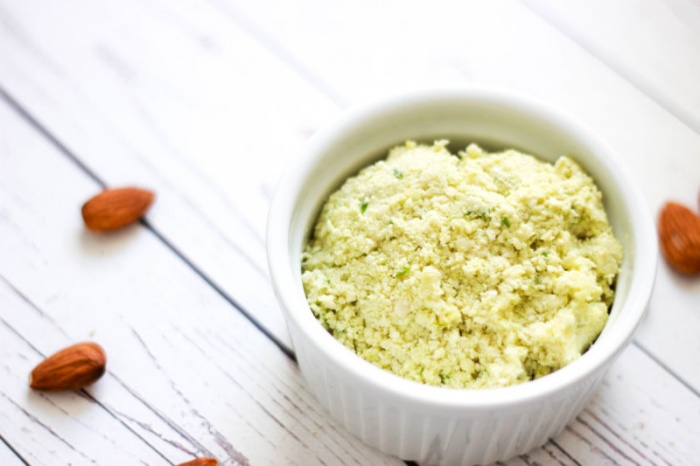
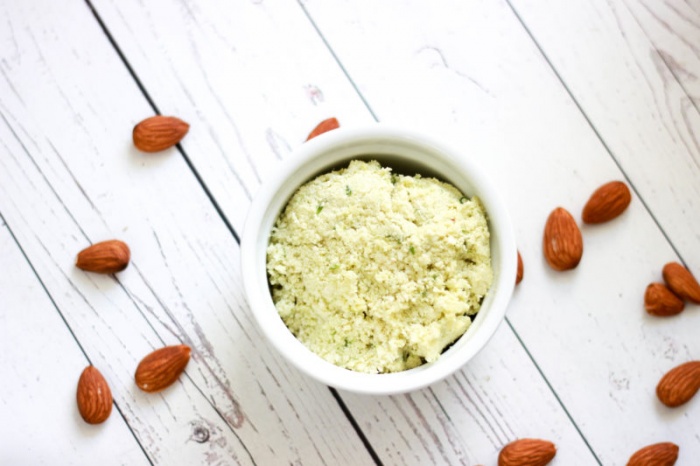
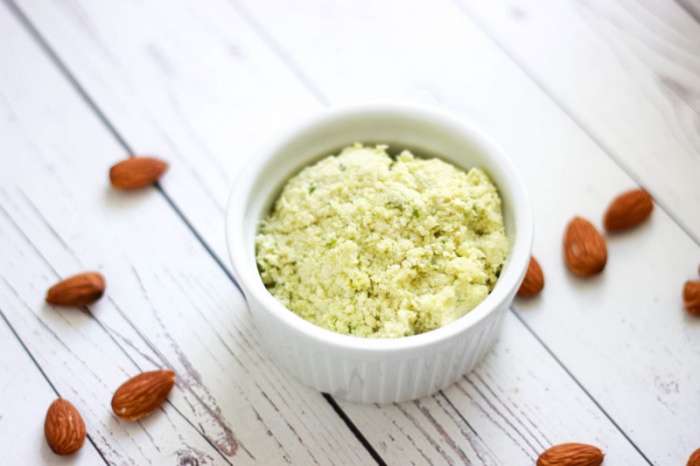
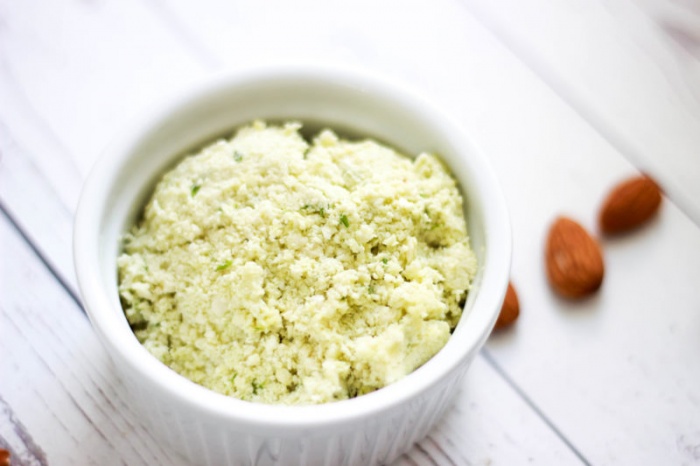
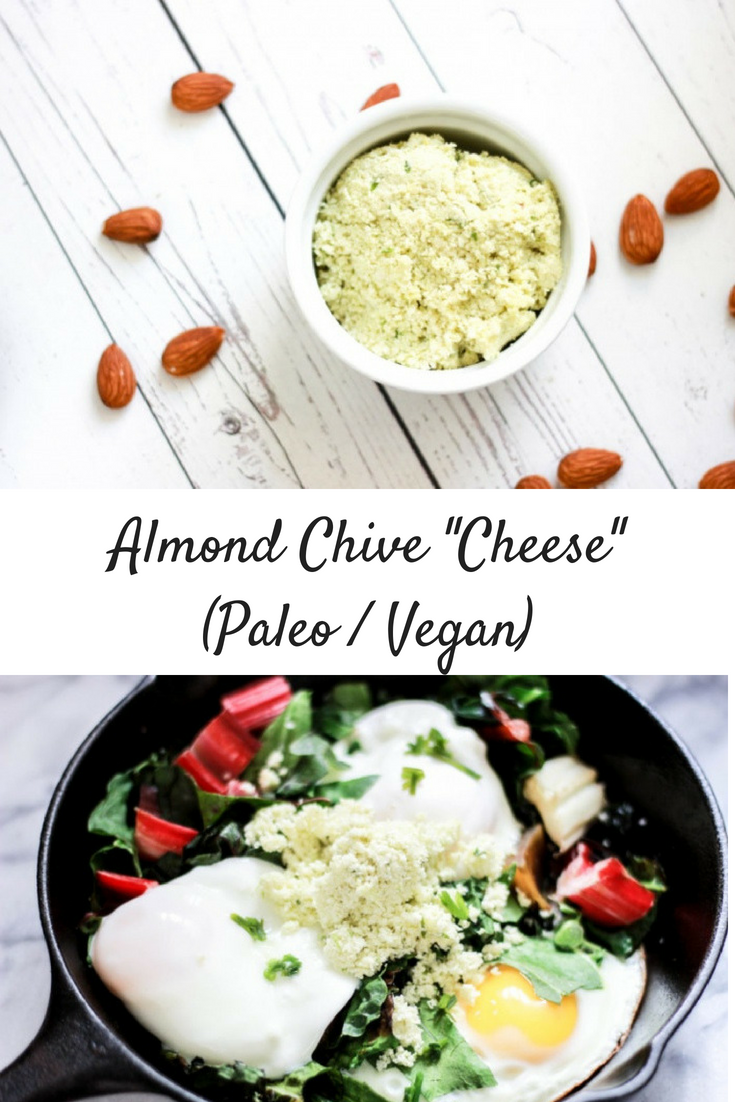
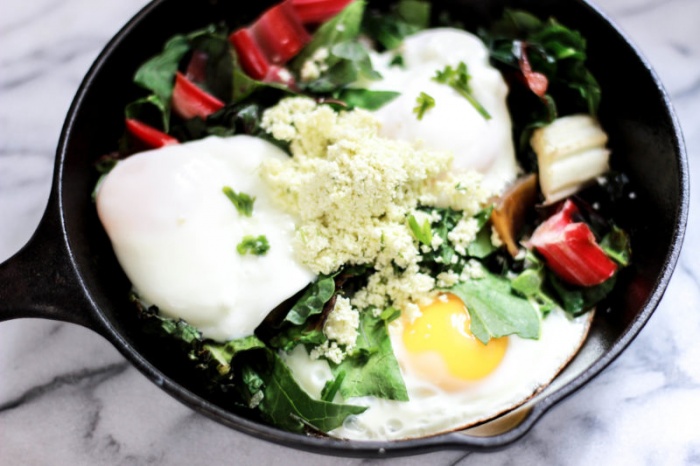
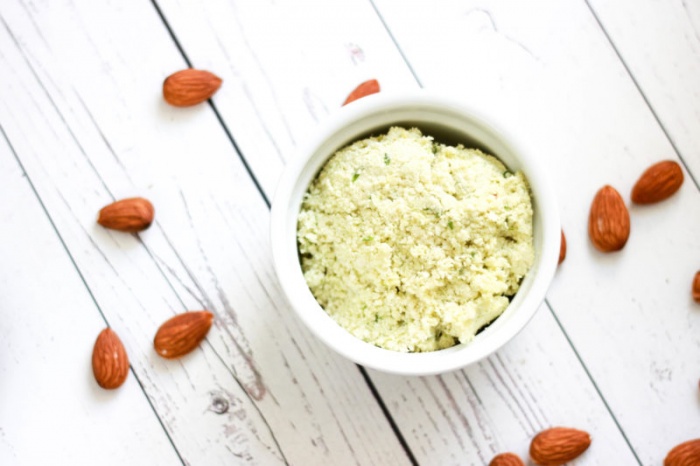
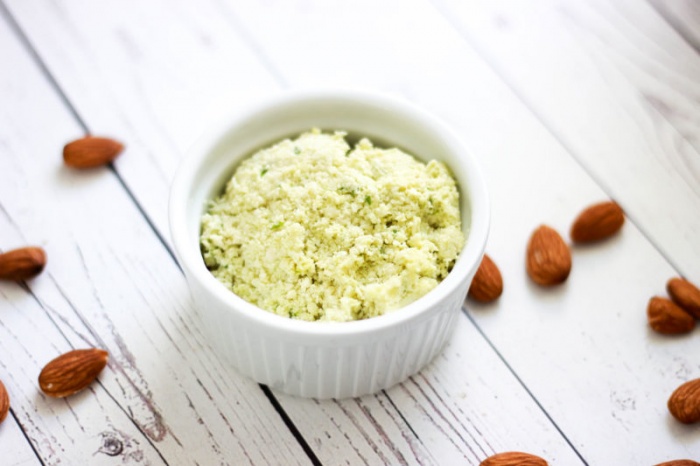
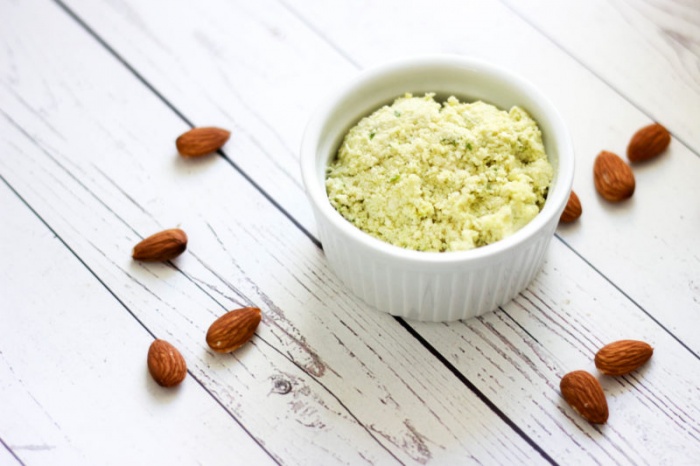
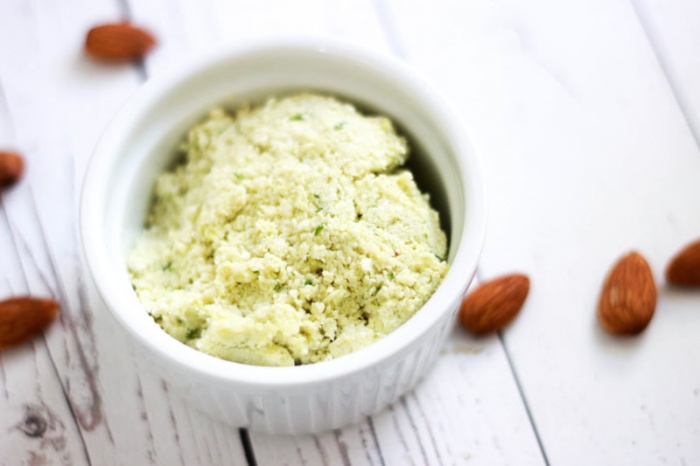
This almond chive cheese is incredibly simple to make, like any other nut cheese! The only hard part is waiting, because it doesn’t reach the perfect texture until it has set overnight in the fridge. It pairs perfectly with pretty much everything, especially eggs and “pasta”-like dishes! The texture is similar to that of parmesan, which makes it perfect for crumbling on top of meals. You can add a bit more water or oil for a more solid, less crumbly texture. I think I might put this on top of cauliflower pizza next!
This almond cheese is paleo, vegan, gluten-free, soy-free, gum-free, sugar-free, and requires no nutritional yeast! Feel free to sub out the oil for any healthy oil of your choice, and you can also sub out the coconut vinegar for another vinegar. If you’re in the mood for some cheese with a chive-twist, this recipe is for you!
Almond Chive “Cheese” (Paleo / Vegan)
Makes: about 3/4 cup cheese
Ingredients:
- 1 cup soaked raw almonds (soak overnight in filtered water)
- 3 tbsp coconut vinegar (can also sub out for ACV or lemon juice)
- 1/4 cup avocado oil
- 3.5 tbsp chopped chives
- 1 tsp pink salt
- optional: filtered water if needed to blend
Instructions:
- Remove the skins from the soaked almonds. The skins should remove really easily after soaking – just push on the skin and it should slide right off. After you remove the skins, you can discard them.
- Add all ingredients into a high-powdered food processor and process until everything is well-incorporated. You might have to scrape down the sides with a spatula a few times to get everything to mix. This could take a few minutes, so be patient! You can add a bit of filtered water to get everything to blend more easily, if needed.
- Put the “cheese” in a nut milk bag and squeeze the cheese in the bag to remove the excess water.
- Keep the cheese in the nut milk bag, and place it in a bowl. Put the bowl in the fridge and allow it to set overnight (or for 12 hours). Some more liquid might leak out into the bowl as it sets.
- Once the cheese has set, take it out of the nut milk bag and put it in the storage container of your choice.
- Enjoy!
If you make this, I’d love to know what you pair it with! Be sure to tag me in any photos on Instagram so I can see!




Get Updates
And Goodies
We’re over fake “wellness.” It’s time to unlock your magic & magnetism. Are you ready to vibe higher?
Are you ready to finally optimize your health habits for real results and true health?