
by Christina | Jun 28, 2016 | Business

GUYS.
I am SO SO SO EXCITED. Like, I can’t stop smiling.
I’ve been droppin’ hints recently that I’ve been working on a secret project, and it’s finally time to announce what it is!
…..
Two of my closest friends and I are starting a podcast! GET PUMPED.
It’s been in the works for a few weeks now, and today it FINALLY went up on iTunes. I’ve been dying to tell everyone, so I’m pretty proud of myself for keeping it a secret for this long.
SO. Here’s the little backstory.
Basically, I became obsessed with podcasts about a year ago. I listen to them 24/7 – when I’m getting dressed in the morning, when I’m cooking, when I’m driving, when I’m walking to class… just ALL the time. I love listening to people talk. There are so many people in this universe that are way smarter than me, and podcasts are the most convenient and efficient way for me to learn from those people. I loooove to read as well (knowledge is power, right?!), but podcasts are even better because they allow me to multitask. If I tried to read a book while I walked to class, I’d run into a pole. If I tried to read while driving, I’d get into an accident. (REMINDER: DON’T TEXT AND DRIVE! Seriously, though.)
Same with YouTube. Anyone who knows me knows I’m a YouTube addict. Buuuut the problem with YouTube is that you have to be paying attention and actually watching the screen, which is sometimes super inconvenient. I JUST WANT THE WORDS. When I discovered the podcasting world, I felt like I had just unearthed the city of gold. SO MUCH INFO AND SO MANY GREAT OPINIONS AT MY FINGERTIPS.
I know a lot of my friends think that podcasts are for old people or people who just want to talk about sports. I am neither of those people. I love listening to podcasts about pop culture, nutrition, fitness, self-care, lifestyle, and any other random topics that seem interesting. And I learn so much. If you’ve never perused the podcast section of the iTunes store, prepare to be amazed.
And can we just talk about the fact that podcasts are totally FREE?! Like, you have to pay for music (Well, you should pay for your music! I know you’re probably not actually.). And you have to pay for books. But podcasts are totally free. All you gotta do is press that pretty little subscribe button and YOU’RE IN.
I’m someone who reallllly likes to talk about the things I’m passionate about, which means I also like to listen to people talk about the things I’m passionate about. The problem is, I realized there weren’t really any podcasts targeted toward people my age. There are so many interesting issues that are relevant to young adults in their late teens and early 20s, but the podcast world is mainly targeted toward older age groups. Like, mid to late twenties and beyond. Ya feel?
I decided that the gap needed to be filled in, and I was going to do it.
I pitched the idea to two of my dearest friends, Kailyn Glass & Janina Lamoglia, and they were in. YAAAAS!
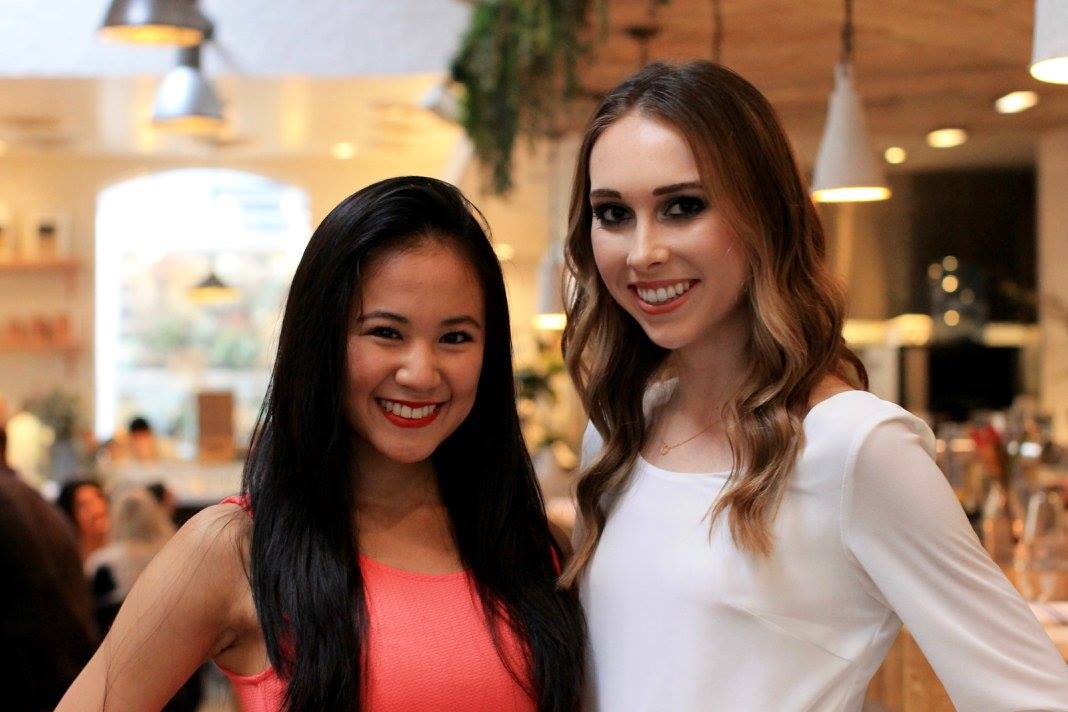
So we spent the last few weeks figuring out logistics, coming up with a plan, organizing the equipment, planning out our topics, and so on. AND TODAY WE FINALLY LAUNCHED. We’re having so much fun with it already, and I cannot WAIT to see what the future has in store. You guys are going to fall in love with Nina & Kailyn very quickly. They’re sassy, intelligent, independent, and just total girl bosses.
The thing is, I want this podcast to be a conversation. I really want to hear from everyone listening. I want to talk about the things that interest YOU. I want to get the perspectives of other people my age, from other states, cities, and walks of life. It’s not just about the three of us sitting down and spewing out our ideas and advice. It’s about all of us young adults figuring out this adulting thing together.
The podcast is going to be a mix of a bit of everything. Lotsa fun for everyone! We’ll have some episodes where we answer listener’s questions, some episodes where we just rant about random topics, and some where we bring guests on the show and either interview them or just have them join in on the conversation. And by guests, I basically just mean anyone we think is interesting. So that could be you, if your heart desires.
If you want to hear us talk about something, let us know! If you have a question or need advice, send it in! If you just want to tell us a story about something or give us your reaction to something we said, tell us! I’m serious. The more voices we have, the more interesting this will be!
To do any and all of the above, you can fill out our “Submit a Topic” form on our website, actuallyadultish.com, or email us at actuallyadultish@gmail.com, or tweet us (@actuallyadult). And remember, it can always be anonymous!
In episode 1, we’re talking COLLEGE RELATIONSHIPS. We talk about going into college in a relationship, leaving college in a relationship, what the college dating scene is really like, and how to approach touchy topics with your significant other.
In episode 2, we basically just go off on a tangent about The Bachelorette, ANTM, American Idol, and the Spice Girls. You know, all the good stuff.
Next time, we’re talking BODY IMAGE. I’m extremely excited for this one, because we all know I have veeeeery strong opinions about that topic. If you want to hear us talk about something specific related to body image or have a question you want answered, please please please send it in! Contact us via email, our website, or Twitter. And of course, you can always contact me personally through my blog, my email, my Twitter, or Instagram!
I cannot believe the podcast has finally launched, and I can’t wait to hear what you guys think! All feedback is appreciated. And if you’re into it, go ahead and leave us a (5 star) rating and review on iTunes! It will really help us out to see what everyone likes / doesn’t like! More importantly, SUBSCRIBE SUBSCRIBE SUBSCRIBE! Your support would mean the world to us.
Are you guys into podcasts, too?! If so, comment your favorites below! I’m always looking for new ones!

by Christina | Jun 20, 2016 | Recipes, Wellness
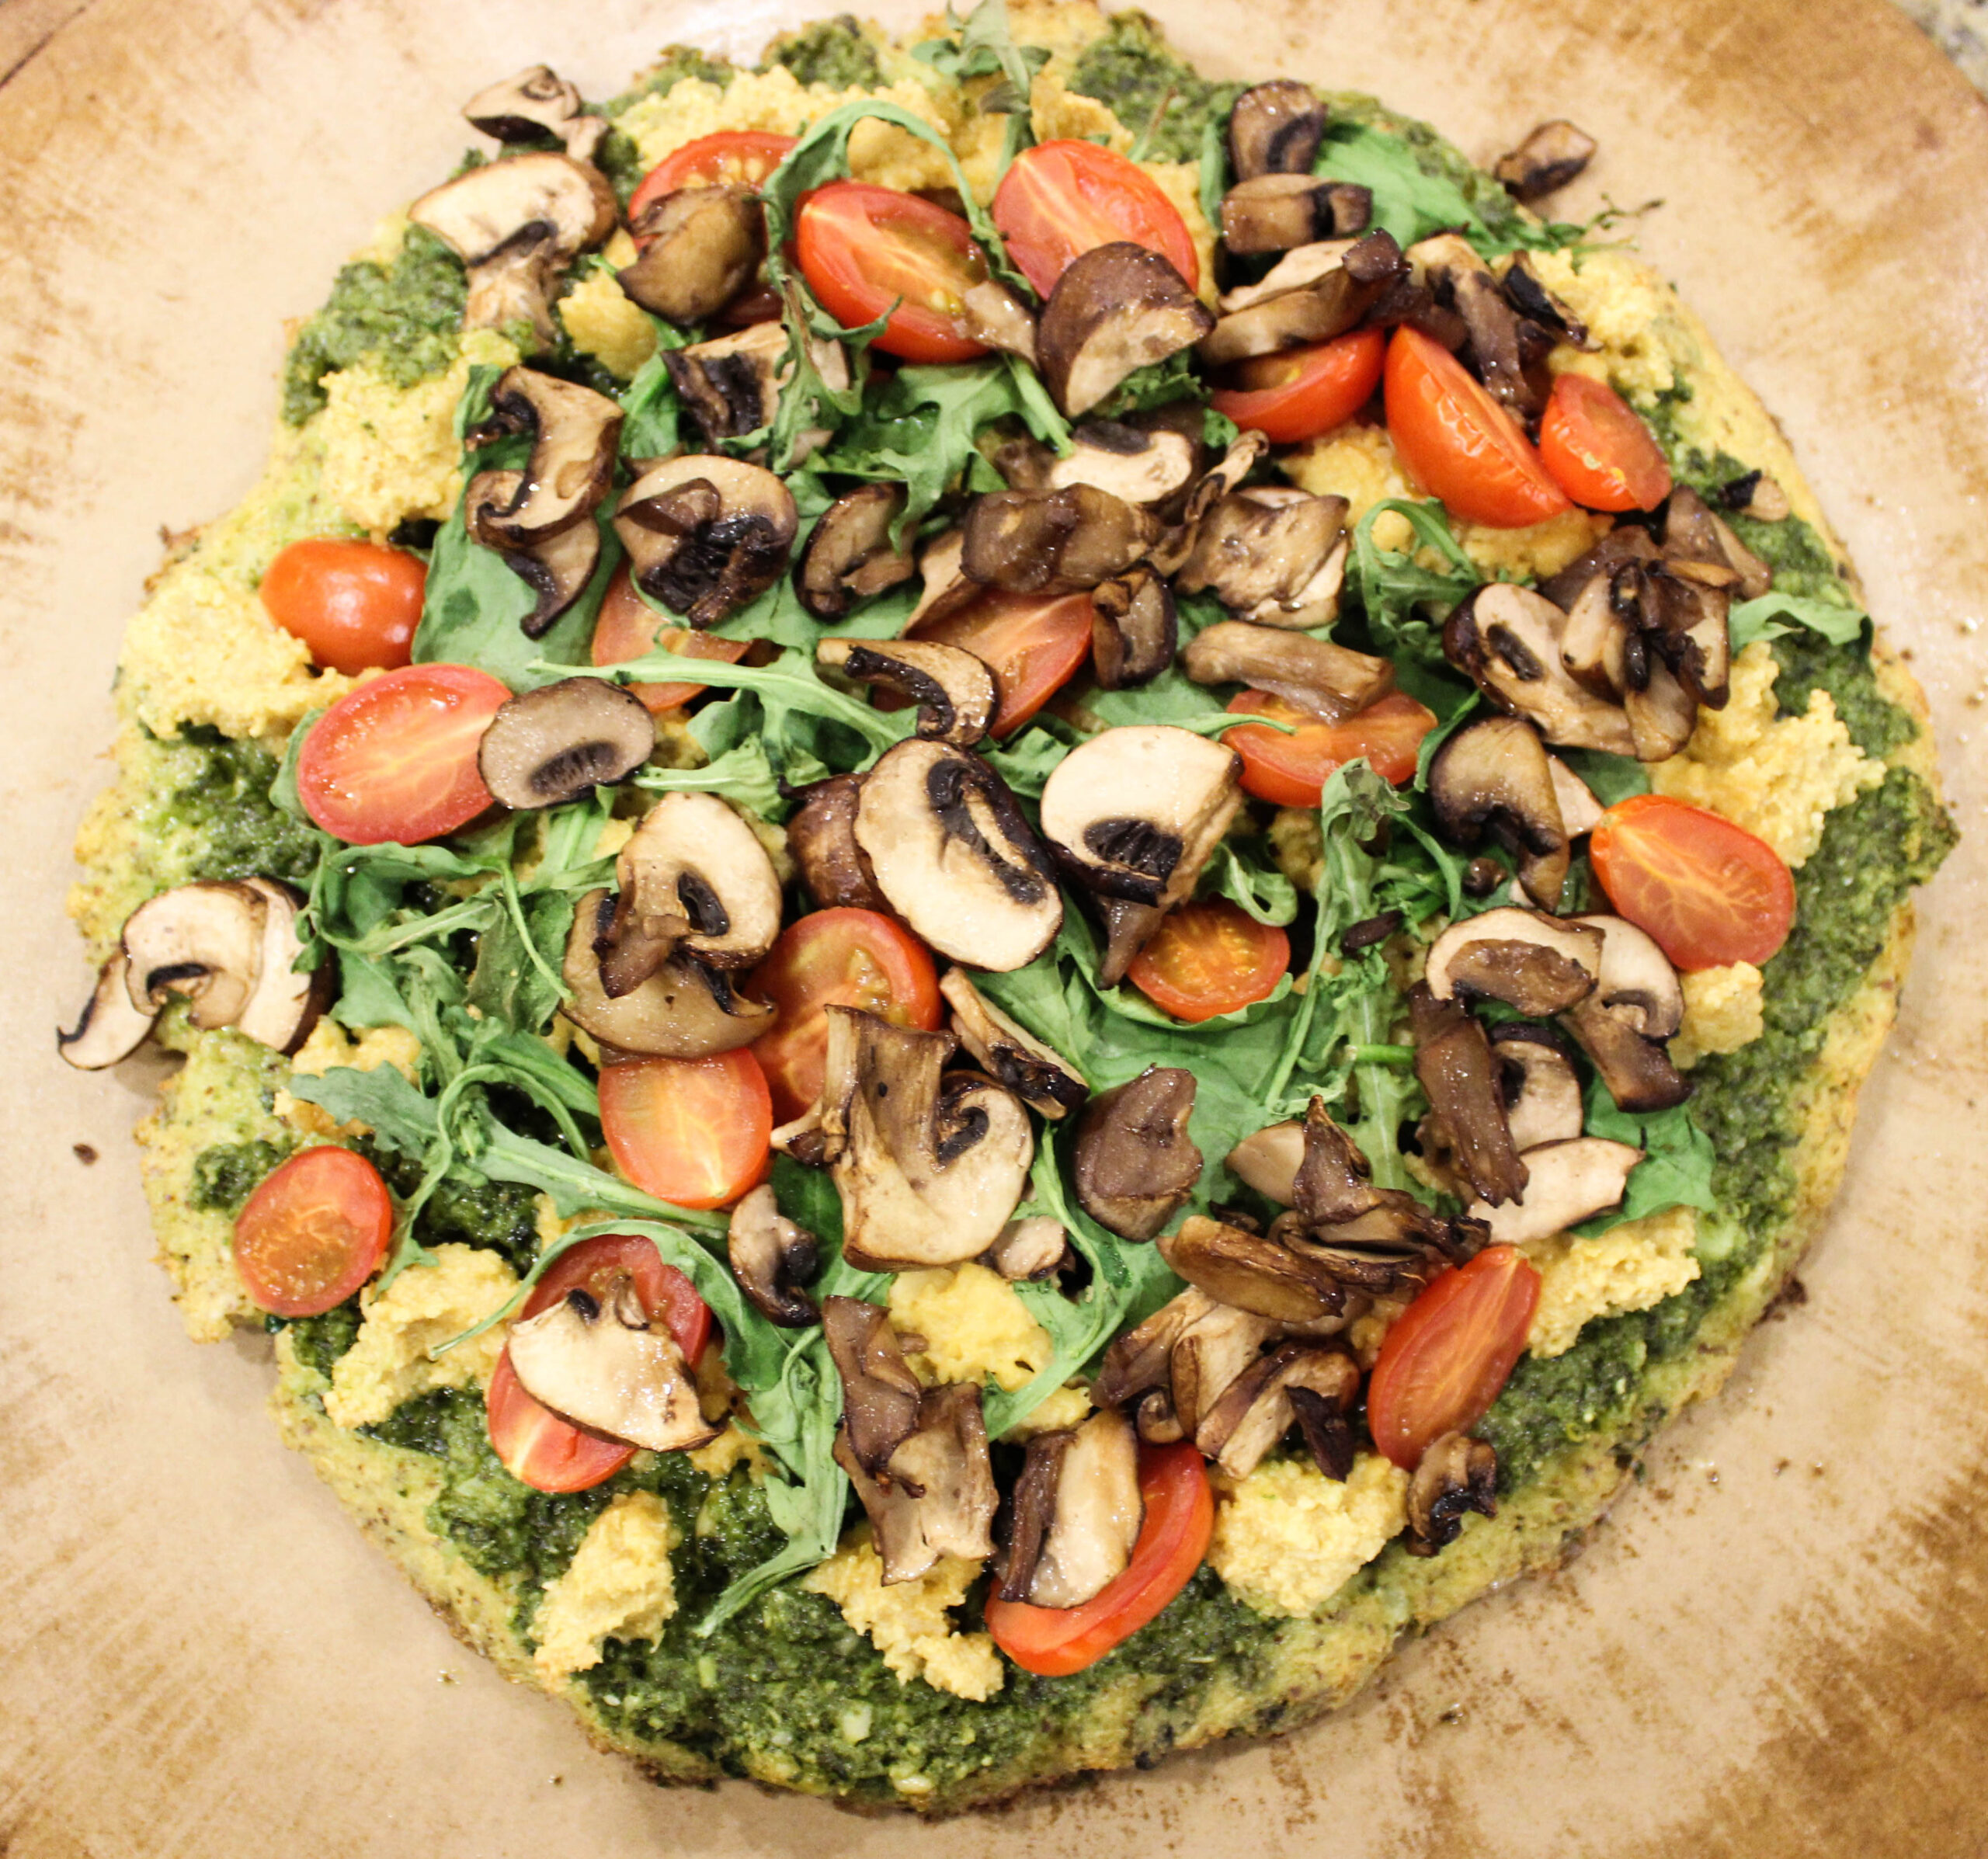
Happy Father’s Day! I hope you are all having a lovely Sunday and showin’ your dad all the love he deserves!
In celebration, I’m back with another recipe! A recipe that I am truly madly deeply 100% in love with.
Growing up, my dad and I had a tradition we called Pizza Fridays. Basically, we made a pizza for dinner every Friday. I was OBSESSED with Costco pizzas – the frozen ones that you just pop in the oven. (I wasn’t much of an actual cook back then – things have definitely changed.) I’m not sure what made them so delicious, but Costco pizzas were better than any other pizza I had ever tasted. I lived for Pizza Fridays. We’d get a plain cheese pizza and load it up with whatever toppings we wanted. Usually, my dad plopped every single leftover in the fridge on top of his side of the pizza, and I usually left mine plain or put some chicken on it. I was one of those kids who only ate plain cheese pizza. Veeeeeeery picky eater.
Anyways, fast forward to 2016. I pretty much never eat pizza because I can’t eat gluten or dairy. I honestly haven’t really missed it that much, but for some reason I had a strong pizza craving last week that I could not push aside.
Lots of restaurants nowadays serve gluten-free pizza, but just because it’s GF doesn’t mean it’s healthy. Sorry to burst your bubble, but usually they throw a ton of nasty shit into the gluten-free pizza crusts that make my stomach feel just as bad as if I actually ate gluten. Same with vegan cheese. YES, it’s available, but have you looked at the ingredients in most vegan cheeses? They’re normally not that great. (Except Kite Hill, which is BOMB.)
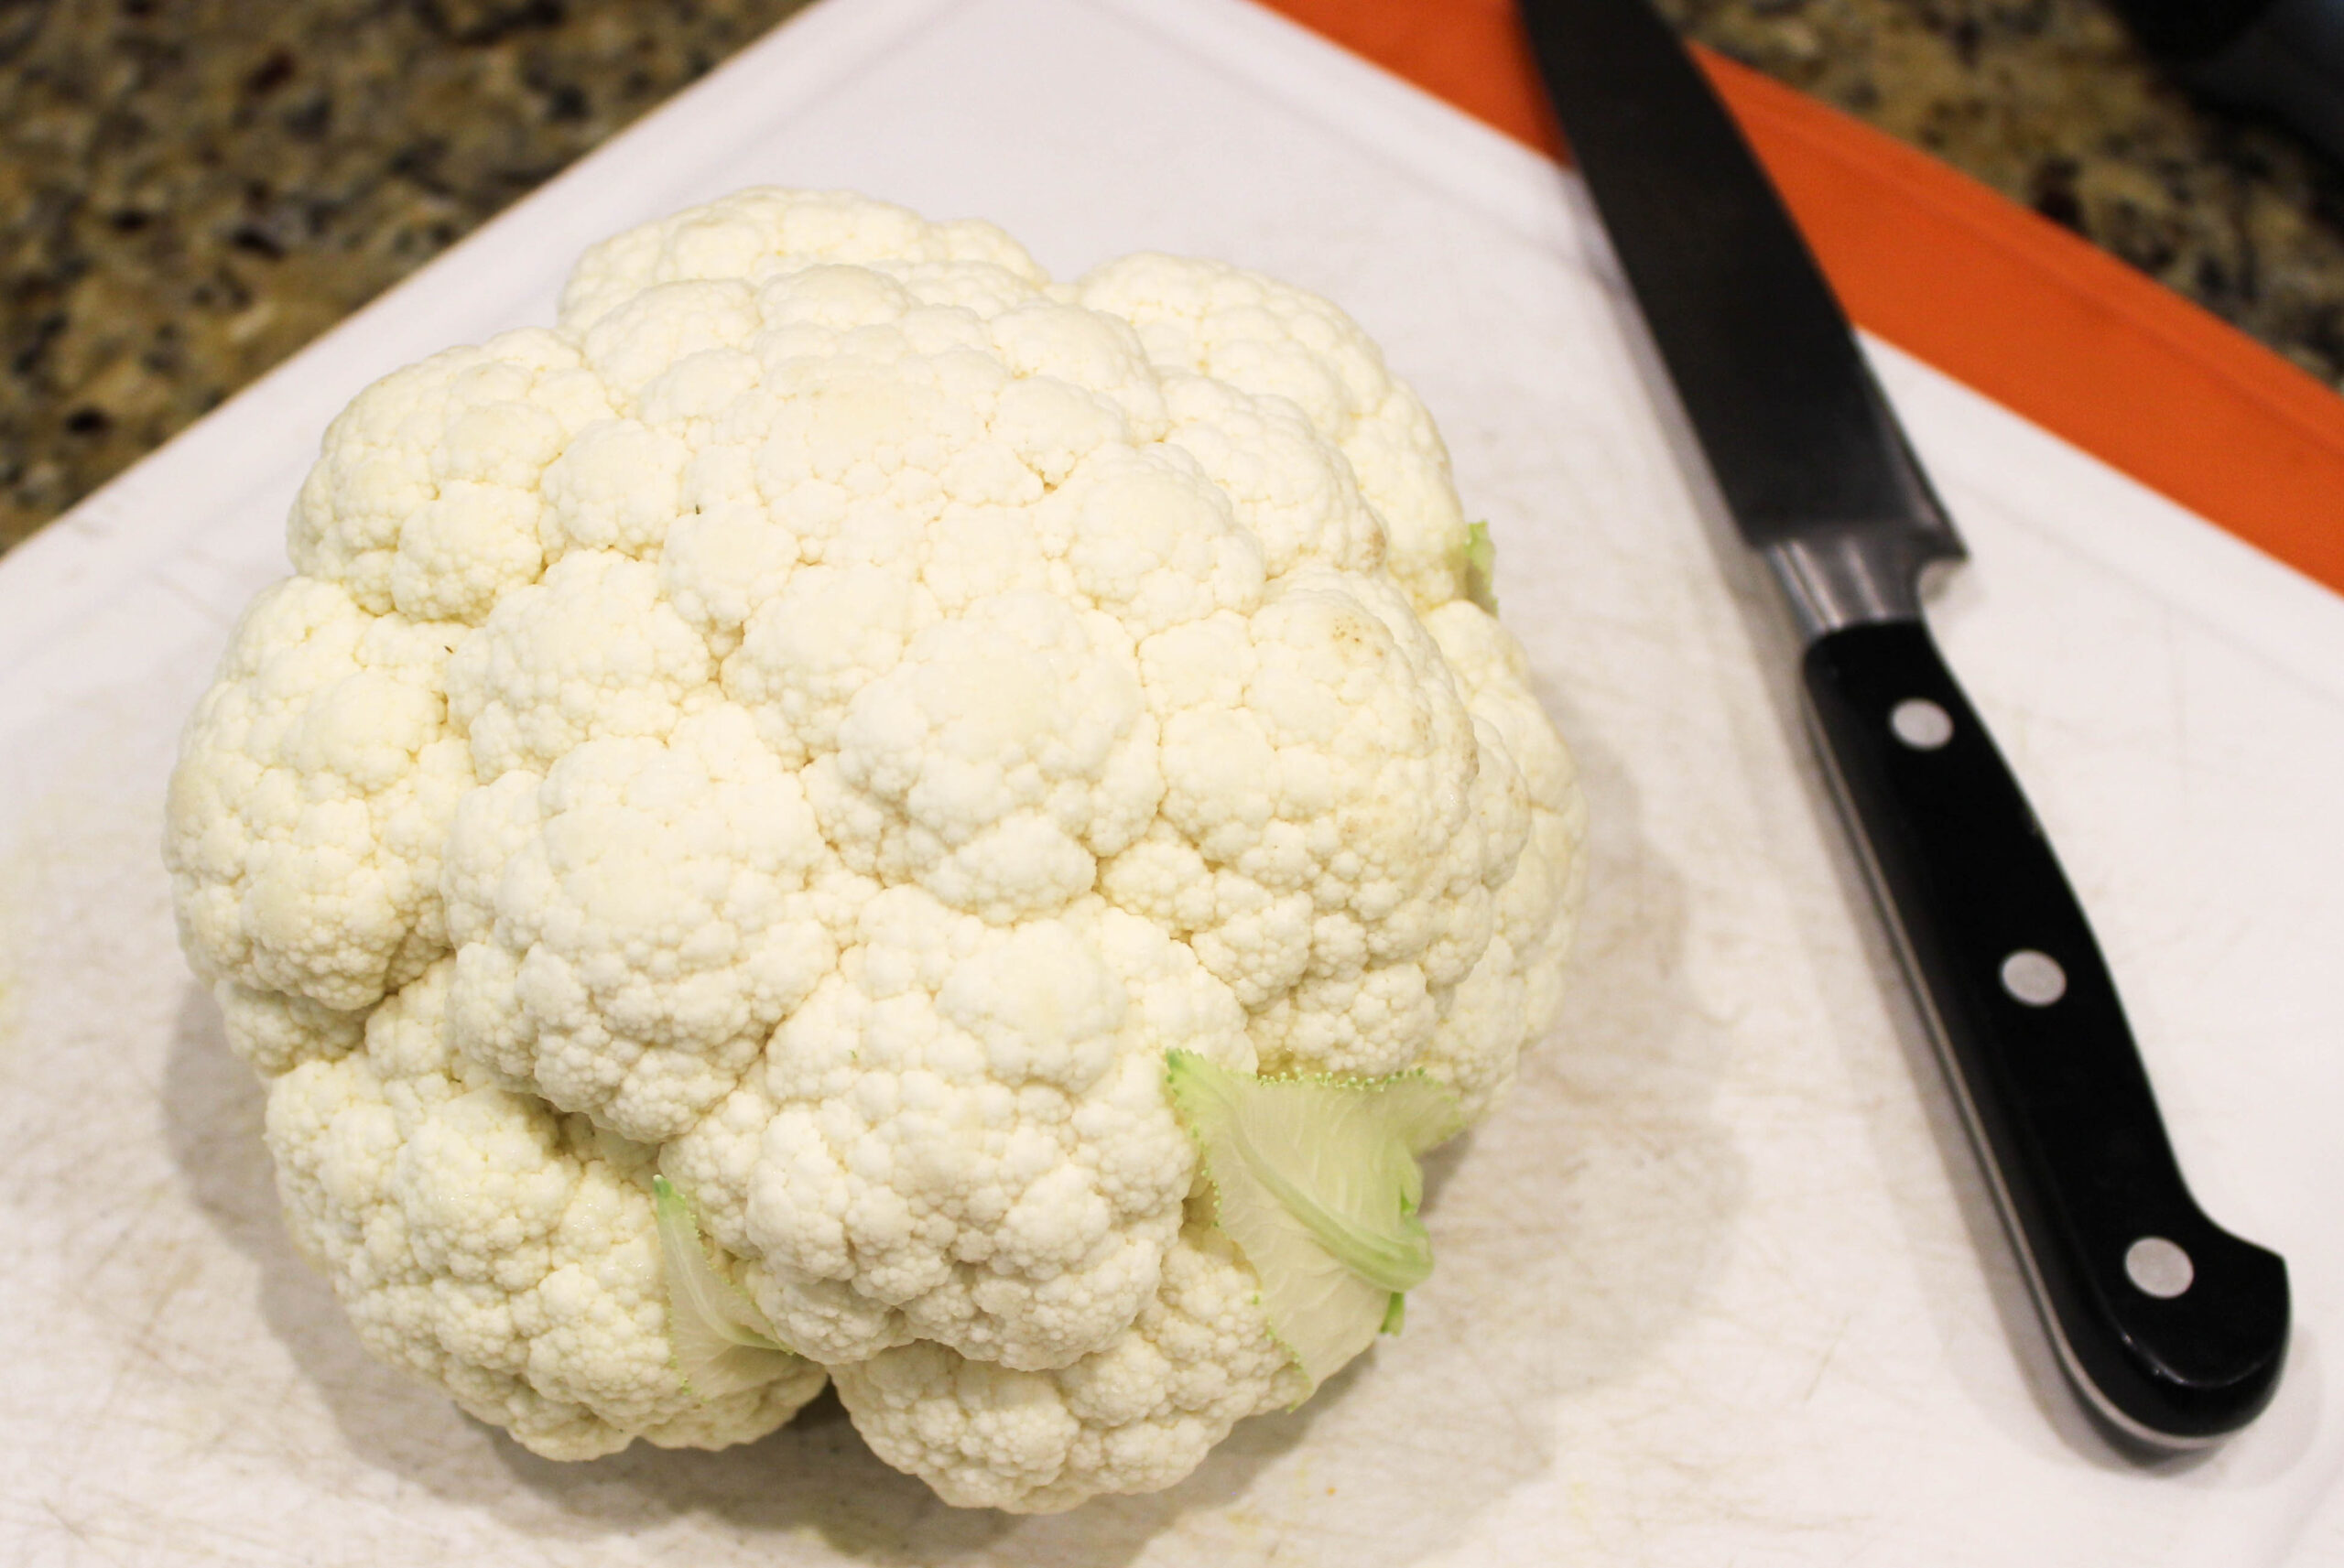
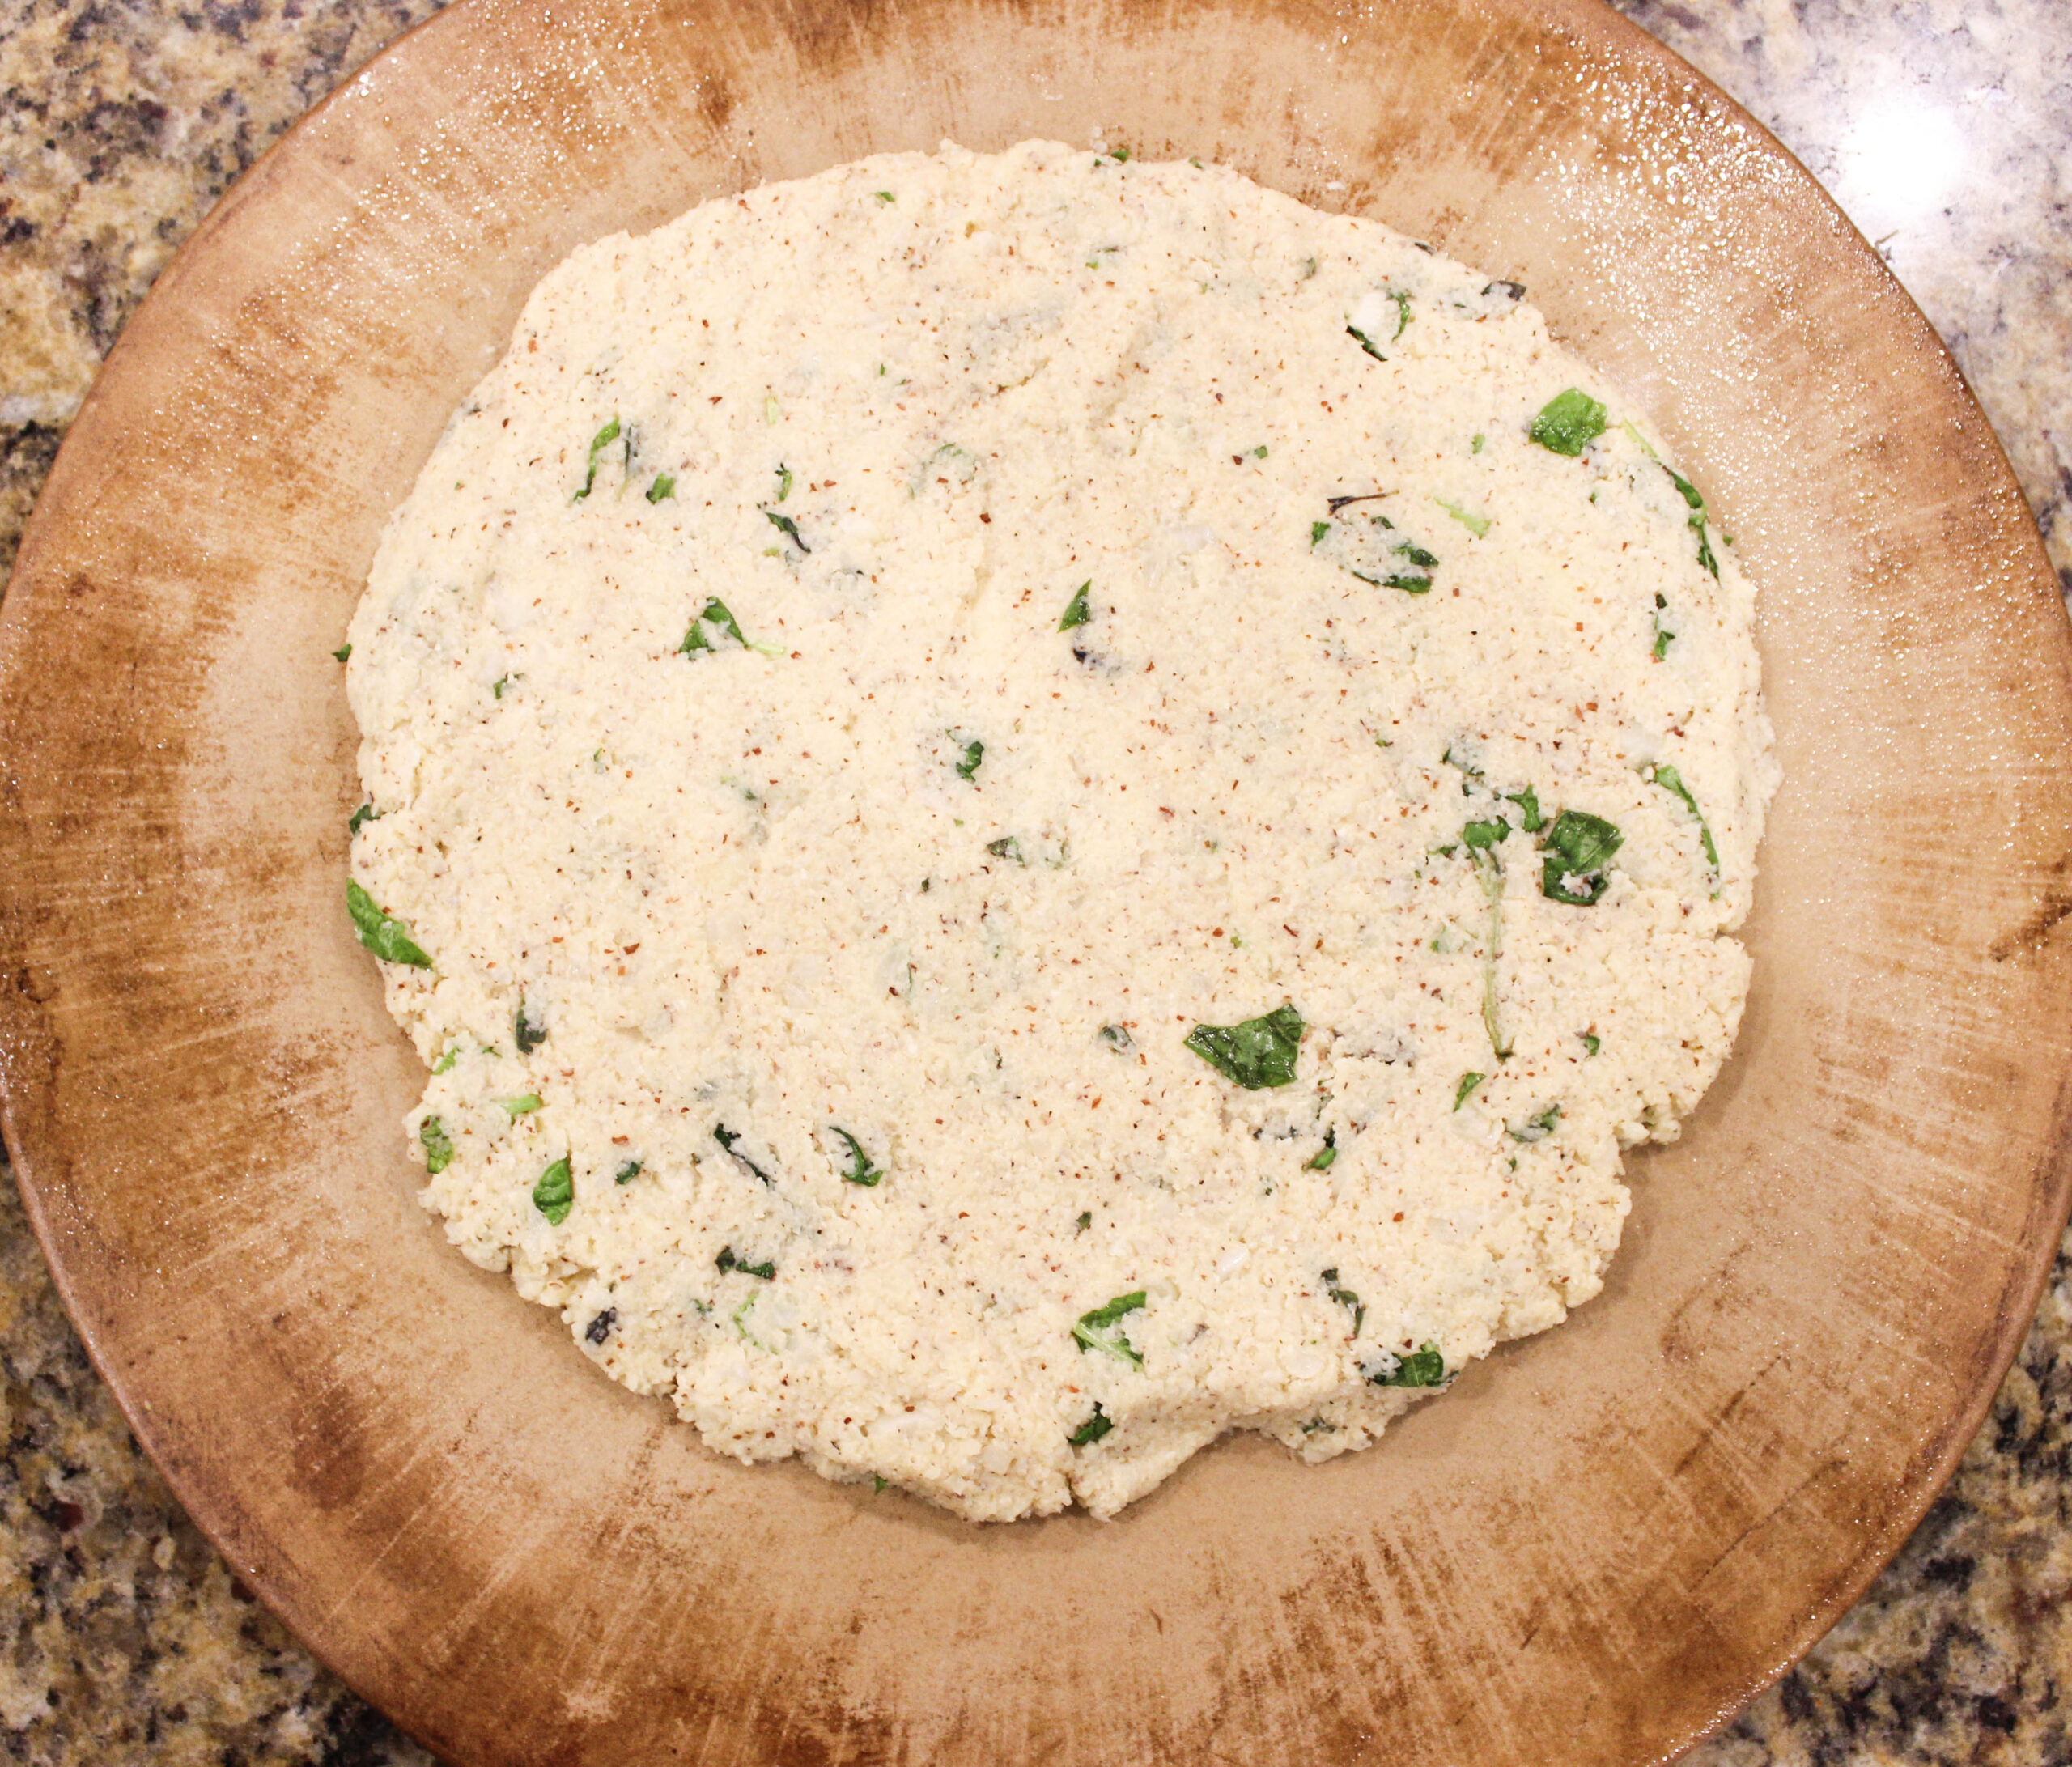
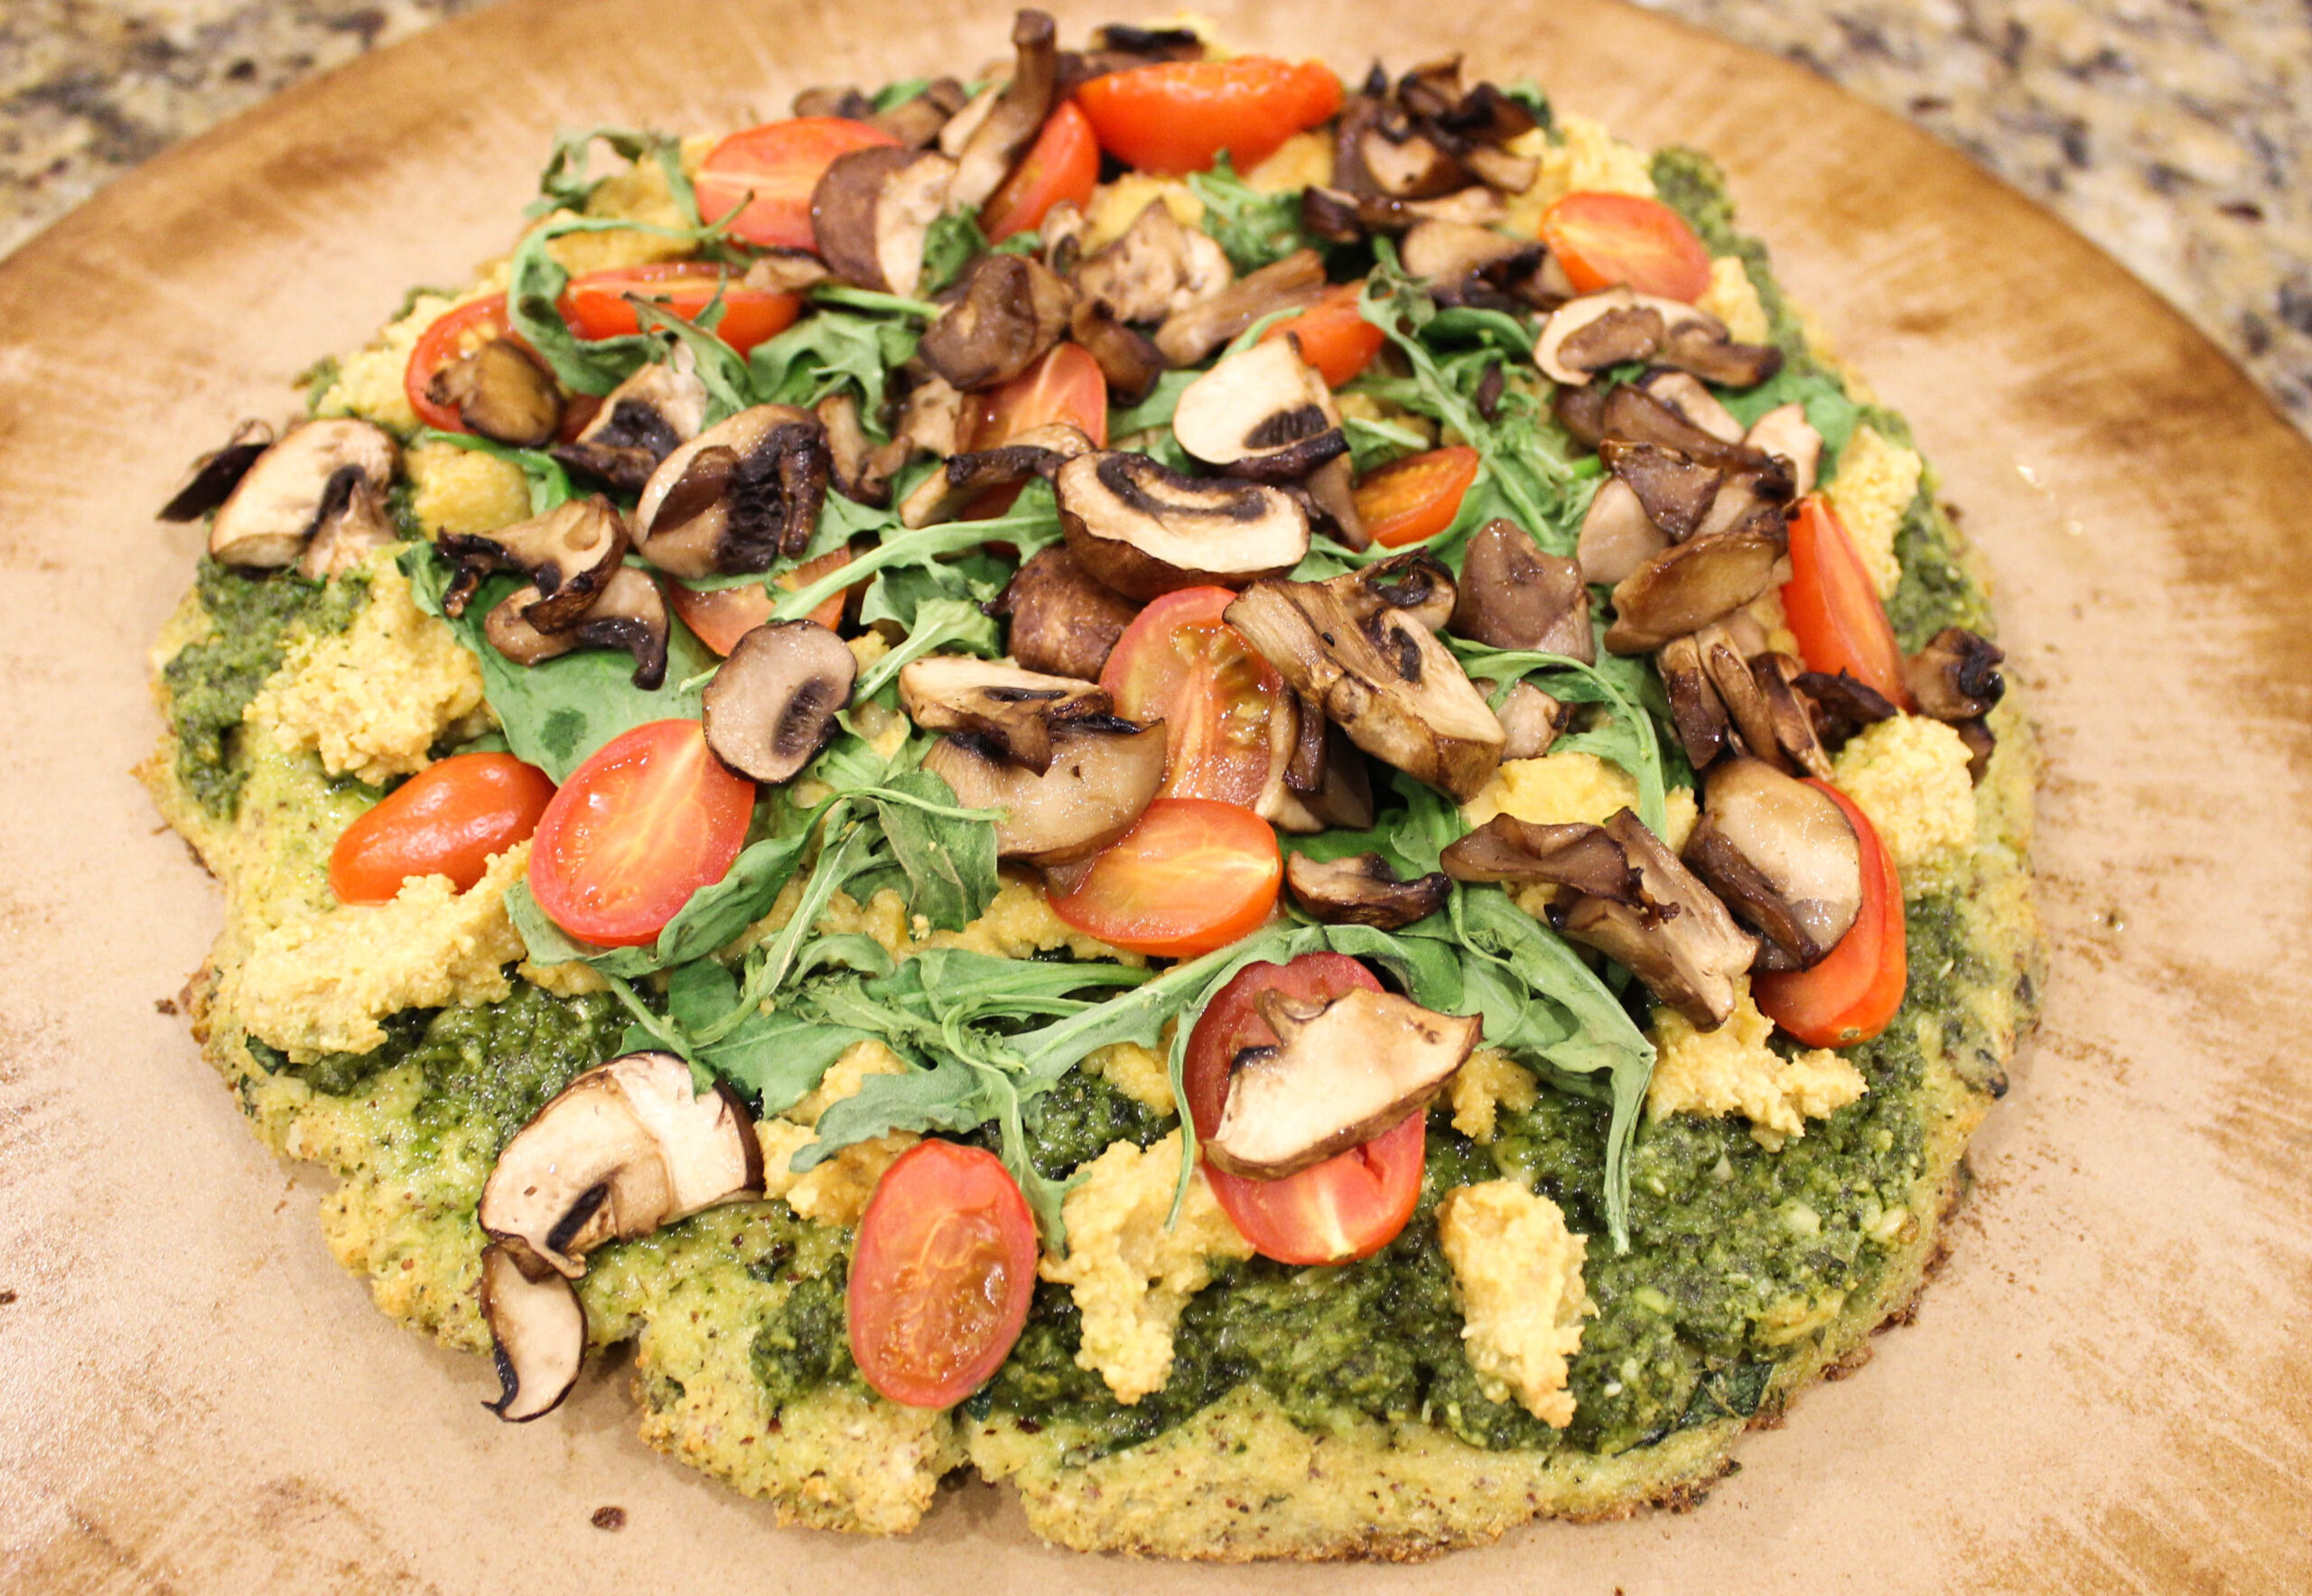
Enter: CAULIFLOWER PIZZA. Everyone and their mom has heard about it by now. Since diving into the cauliflower pizza world, I actually like the taste of cauliflower pizza crust better than regular pizza crust. It doesn’t make me feel gross and heavy after eating it, and if you put in the right spices, it has incredible flavor.
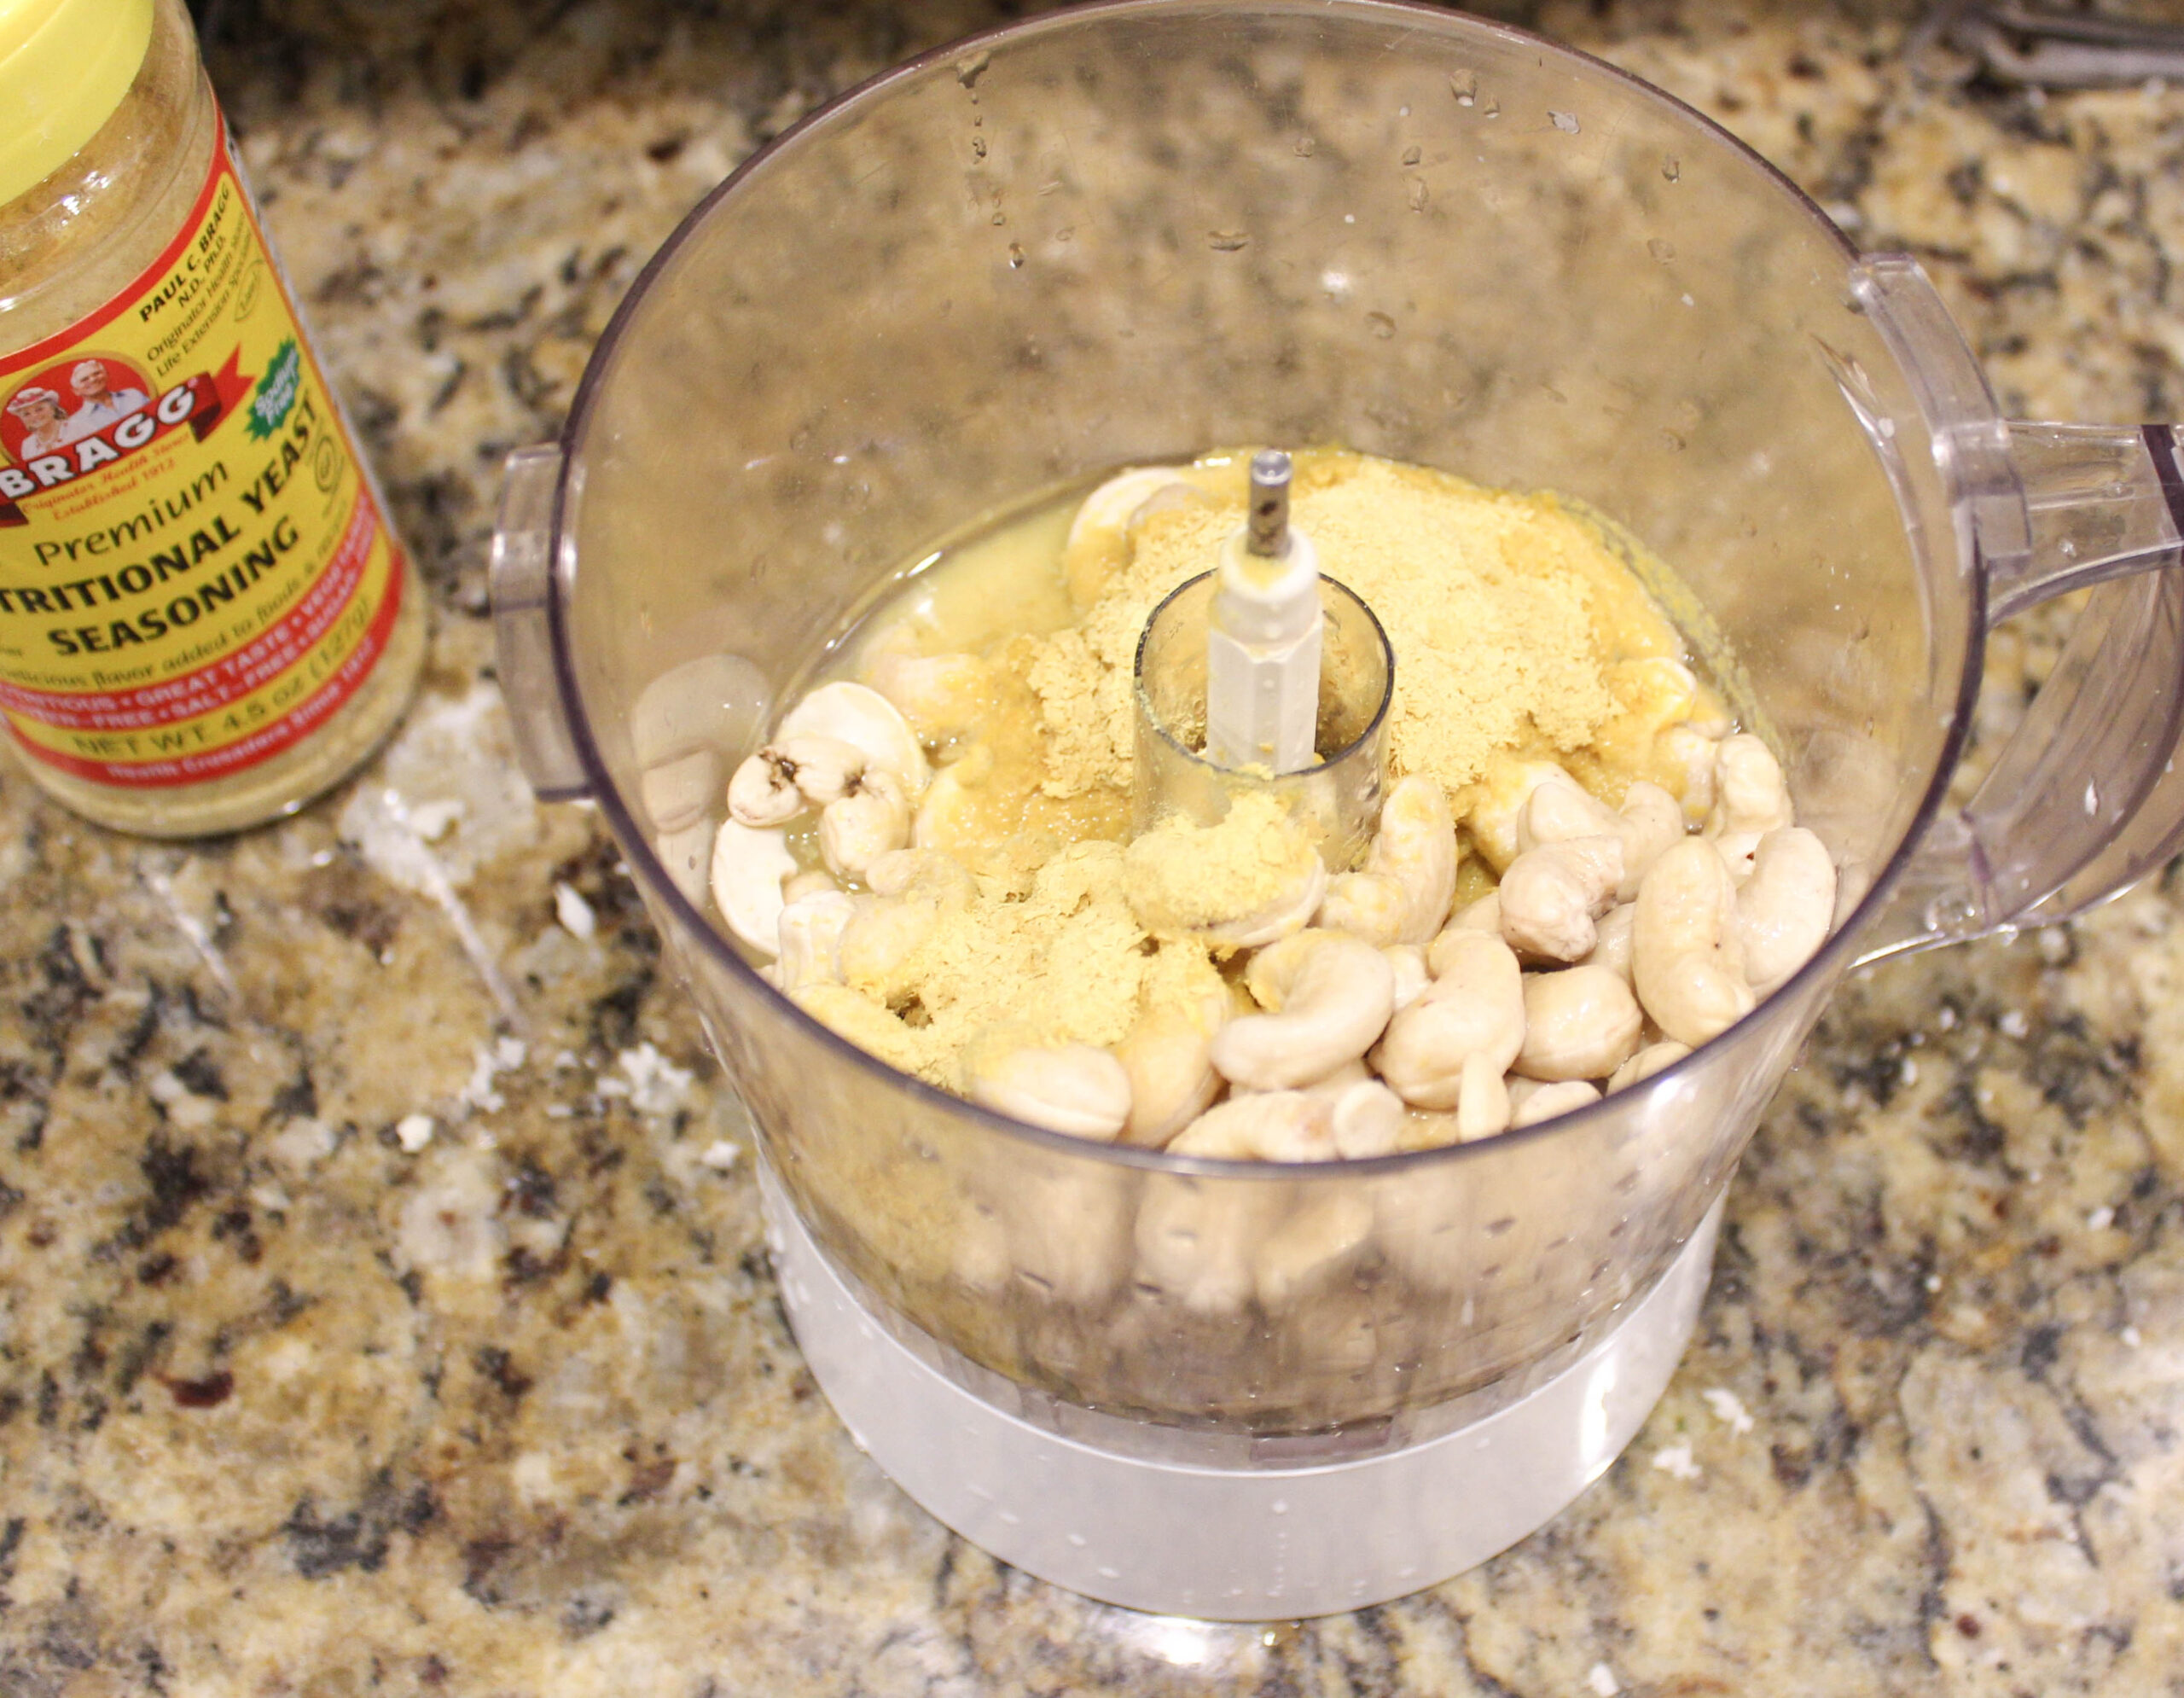
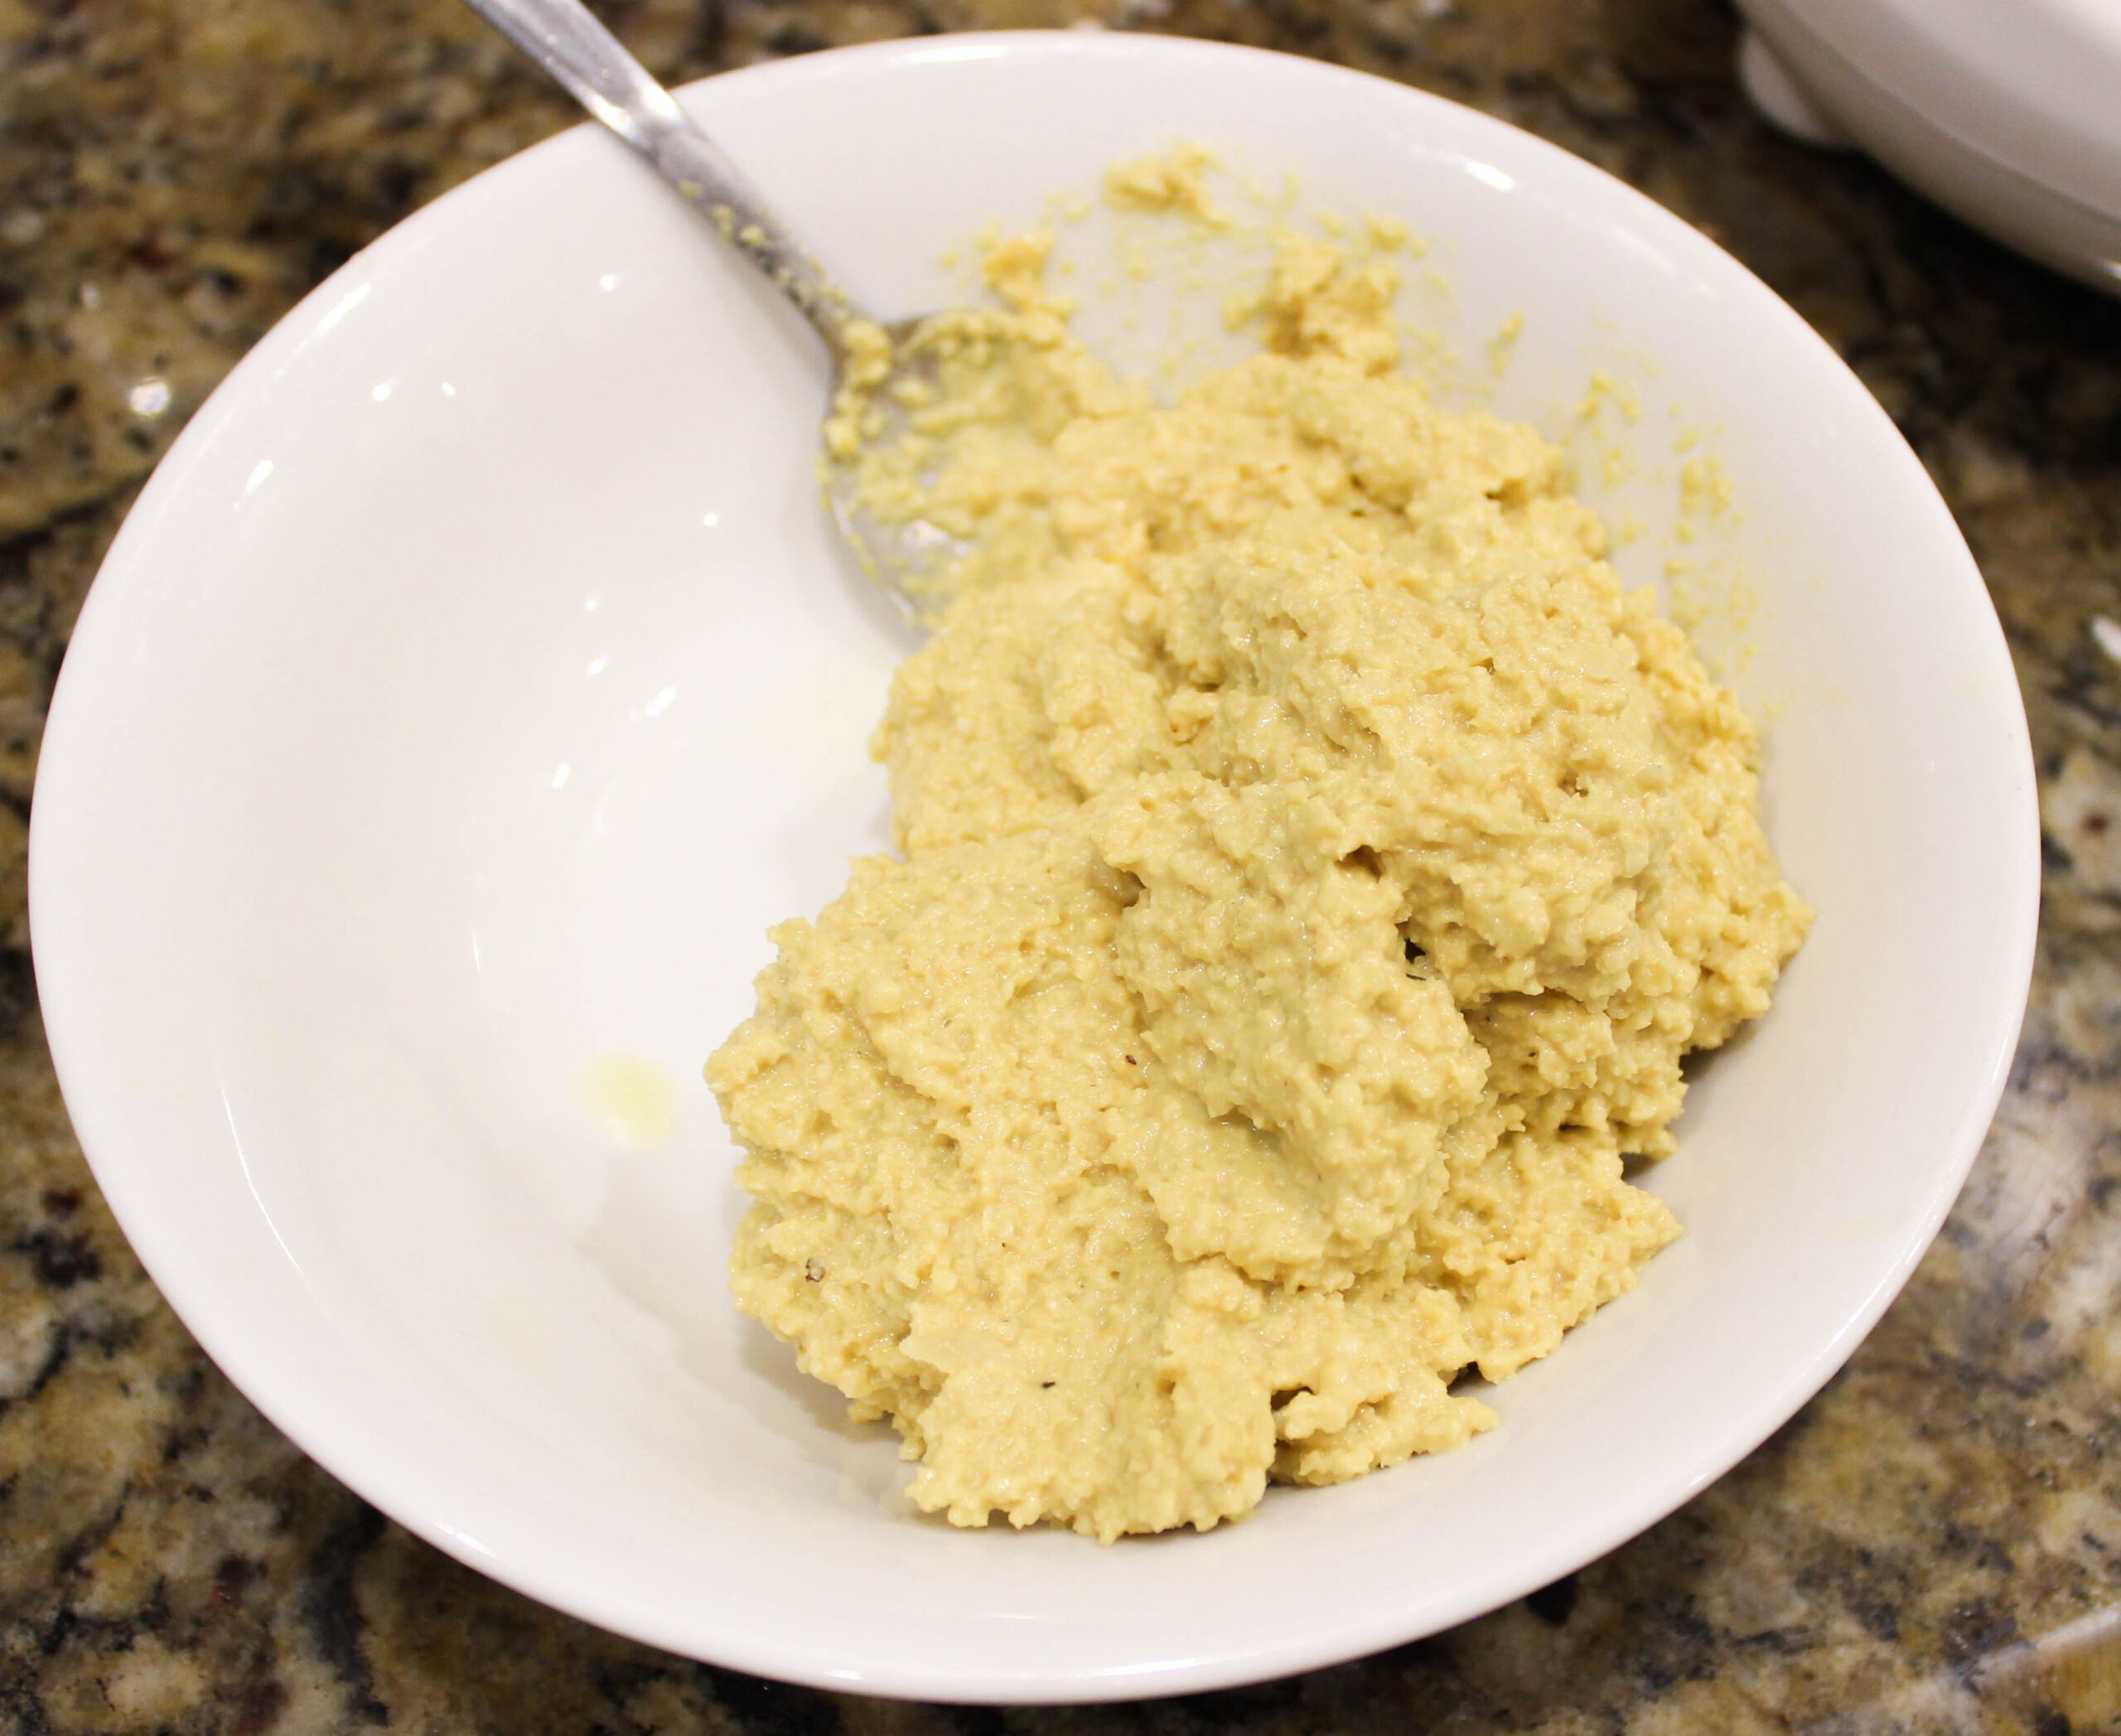
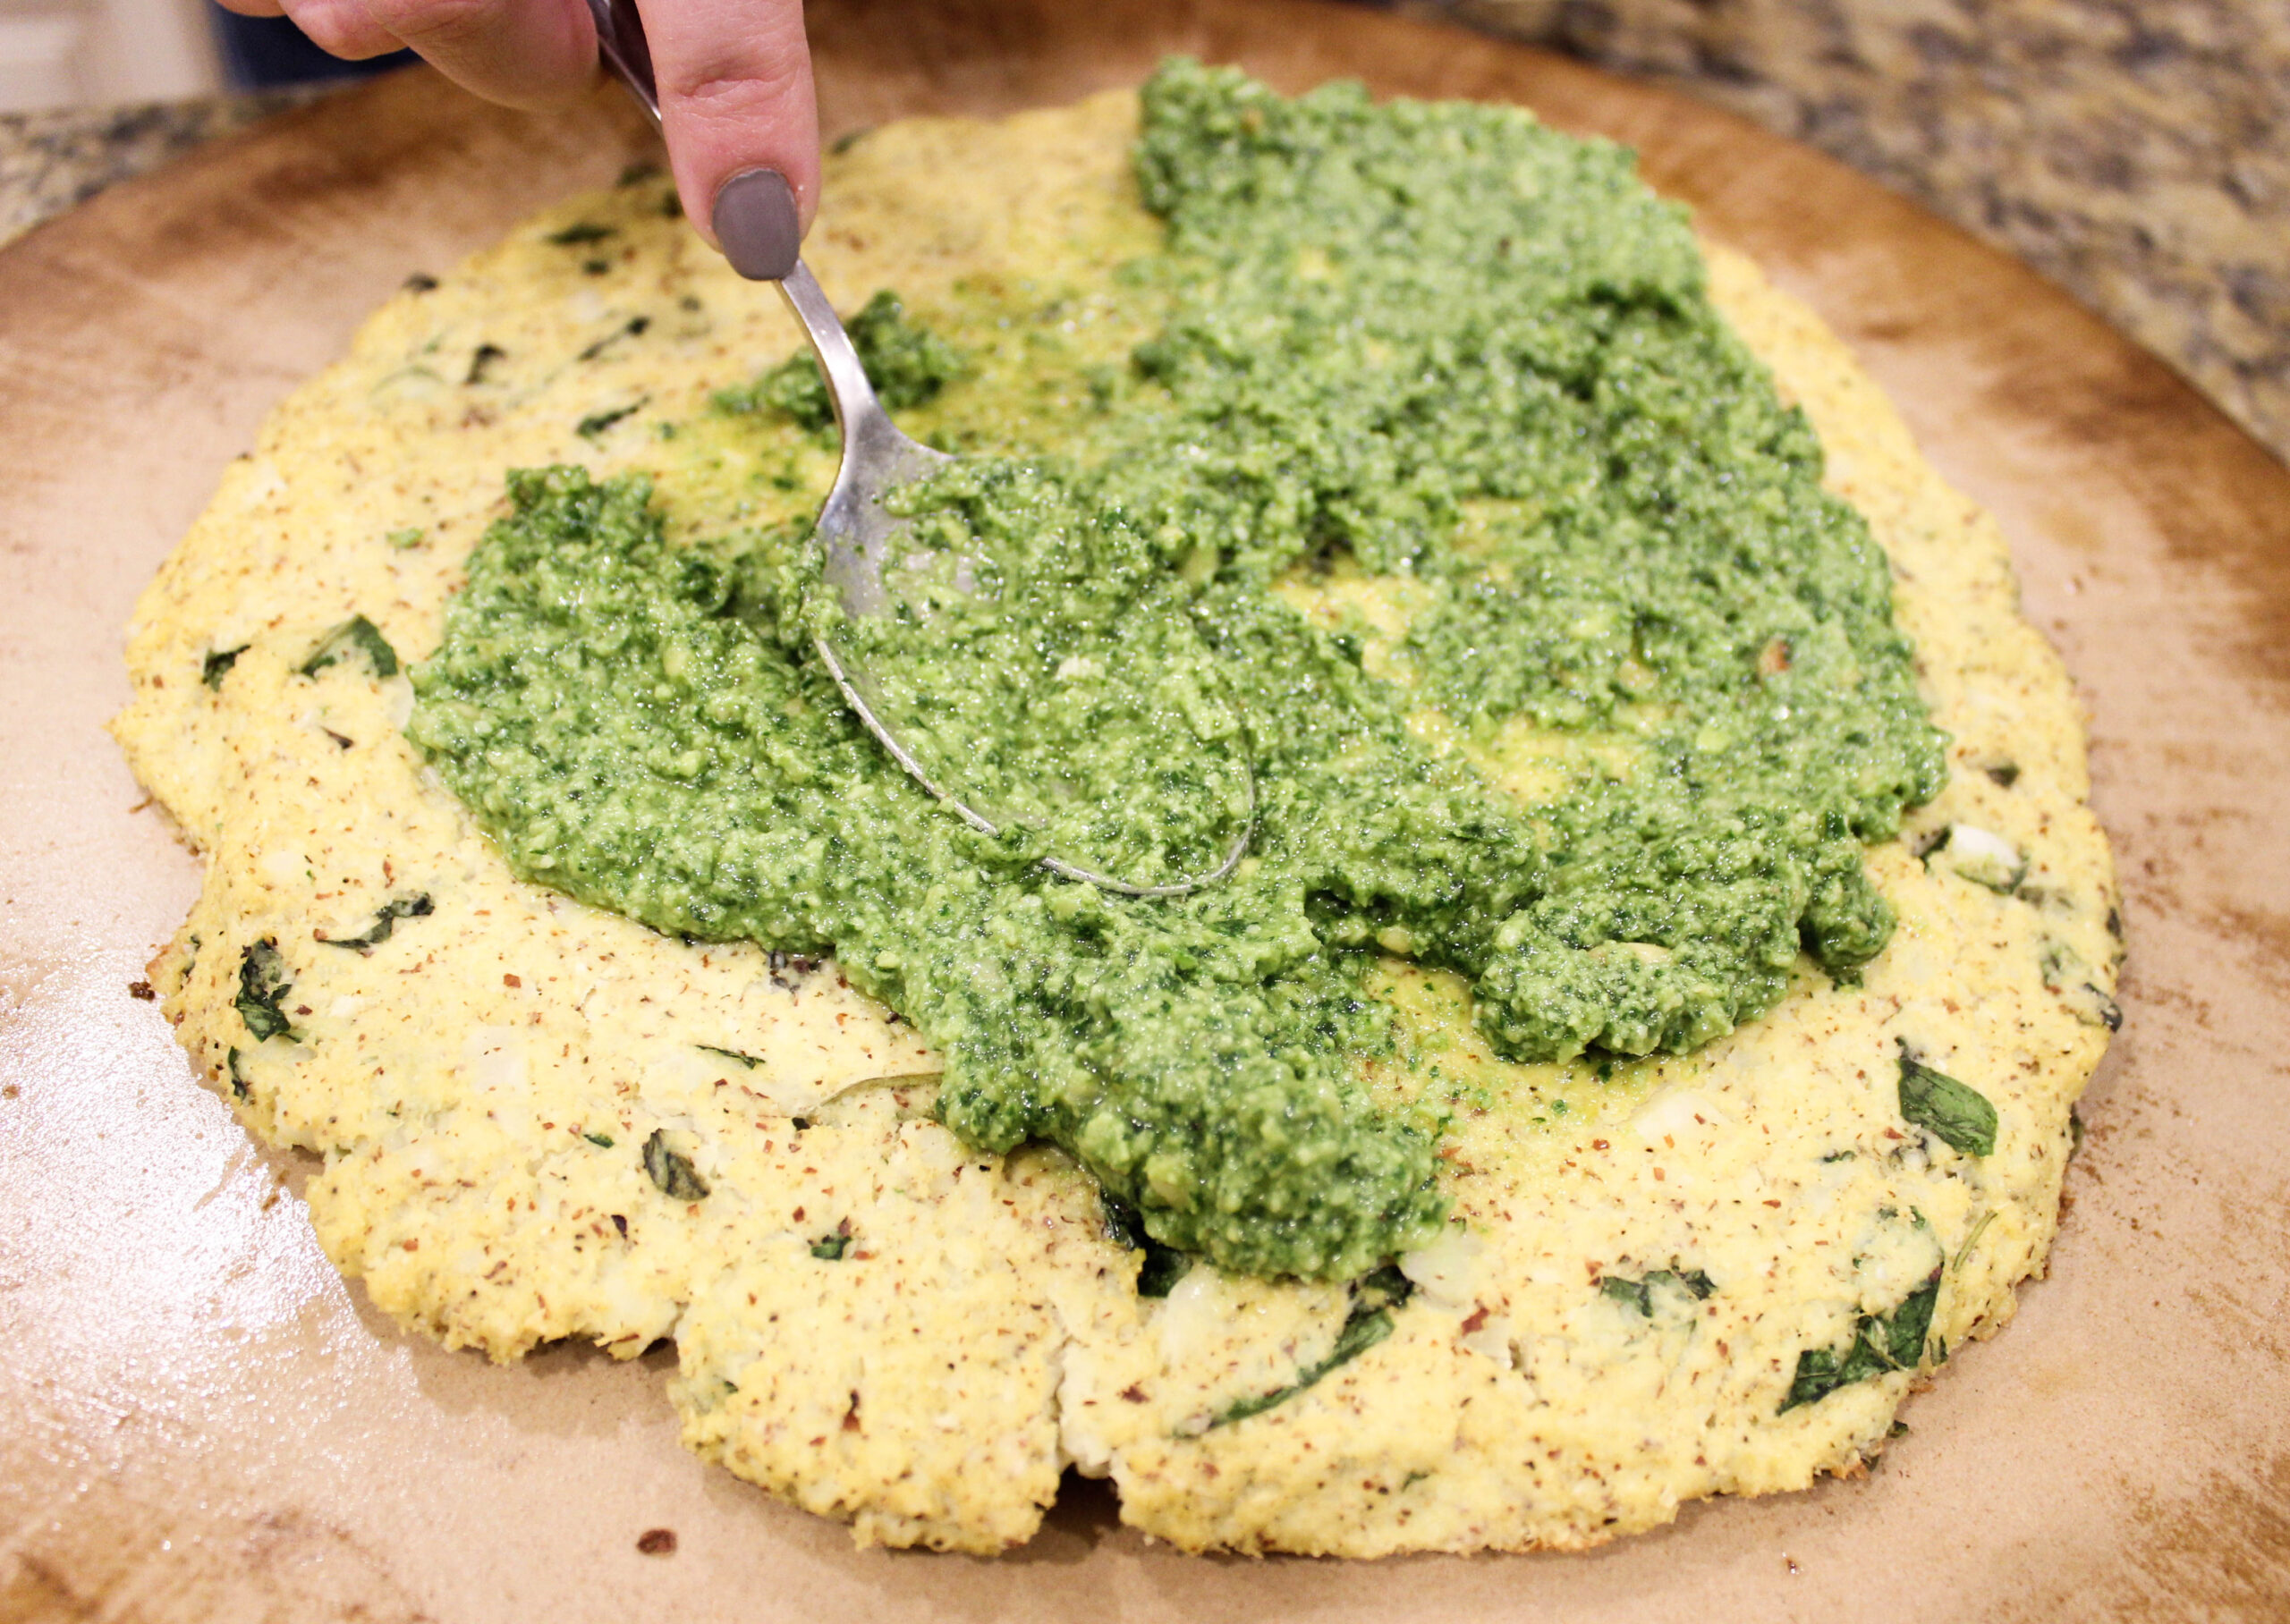
I decided to top this pizza off with some homemade pesto, but I still wanted cheese. If I’m gonna go out of my way to make a pizza, I’m going to add cheese! I have a not-so-secret obsession with cashew cheese. I cannot get over the fact that I like it better than regular cheese, and I love how you can easily customize it to create different flavors! For this pizza, though, I went with my basic, go-to cashew cheese recipe. It did not disappoint.
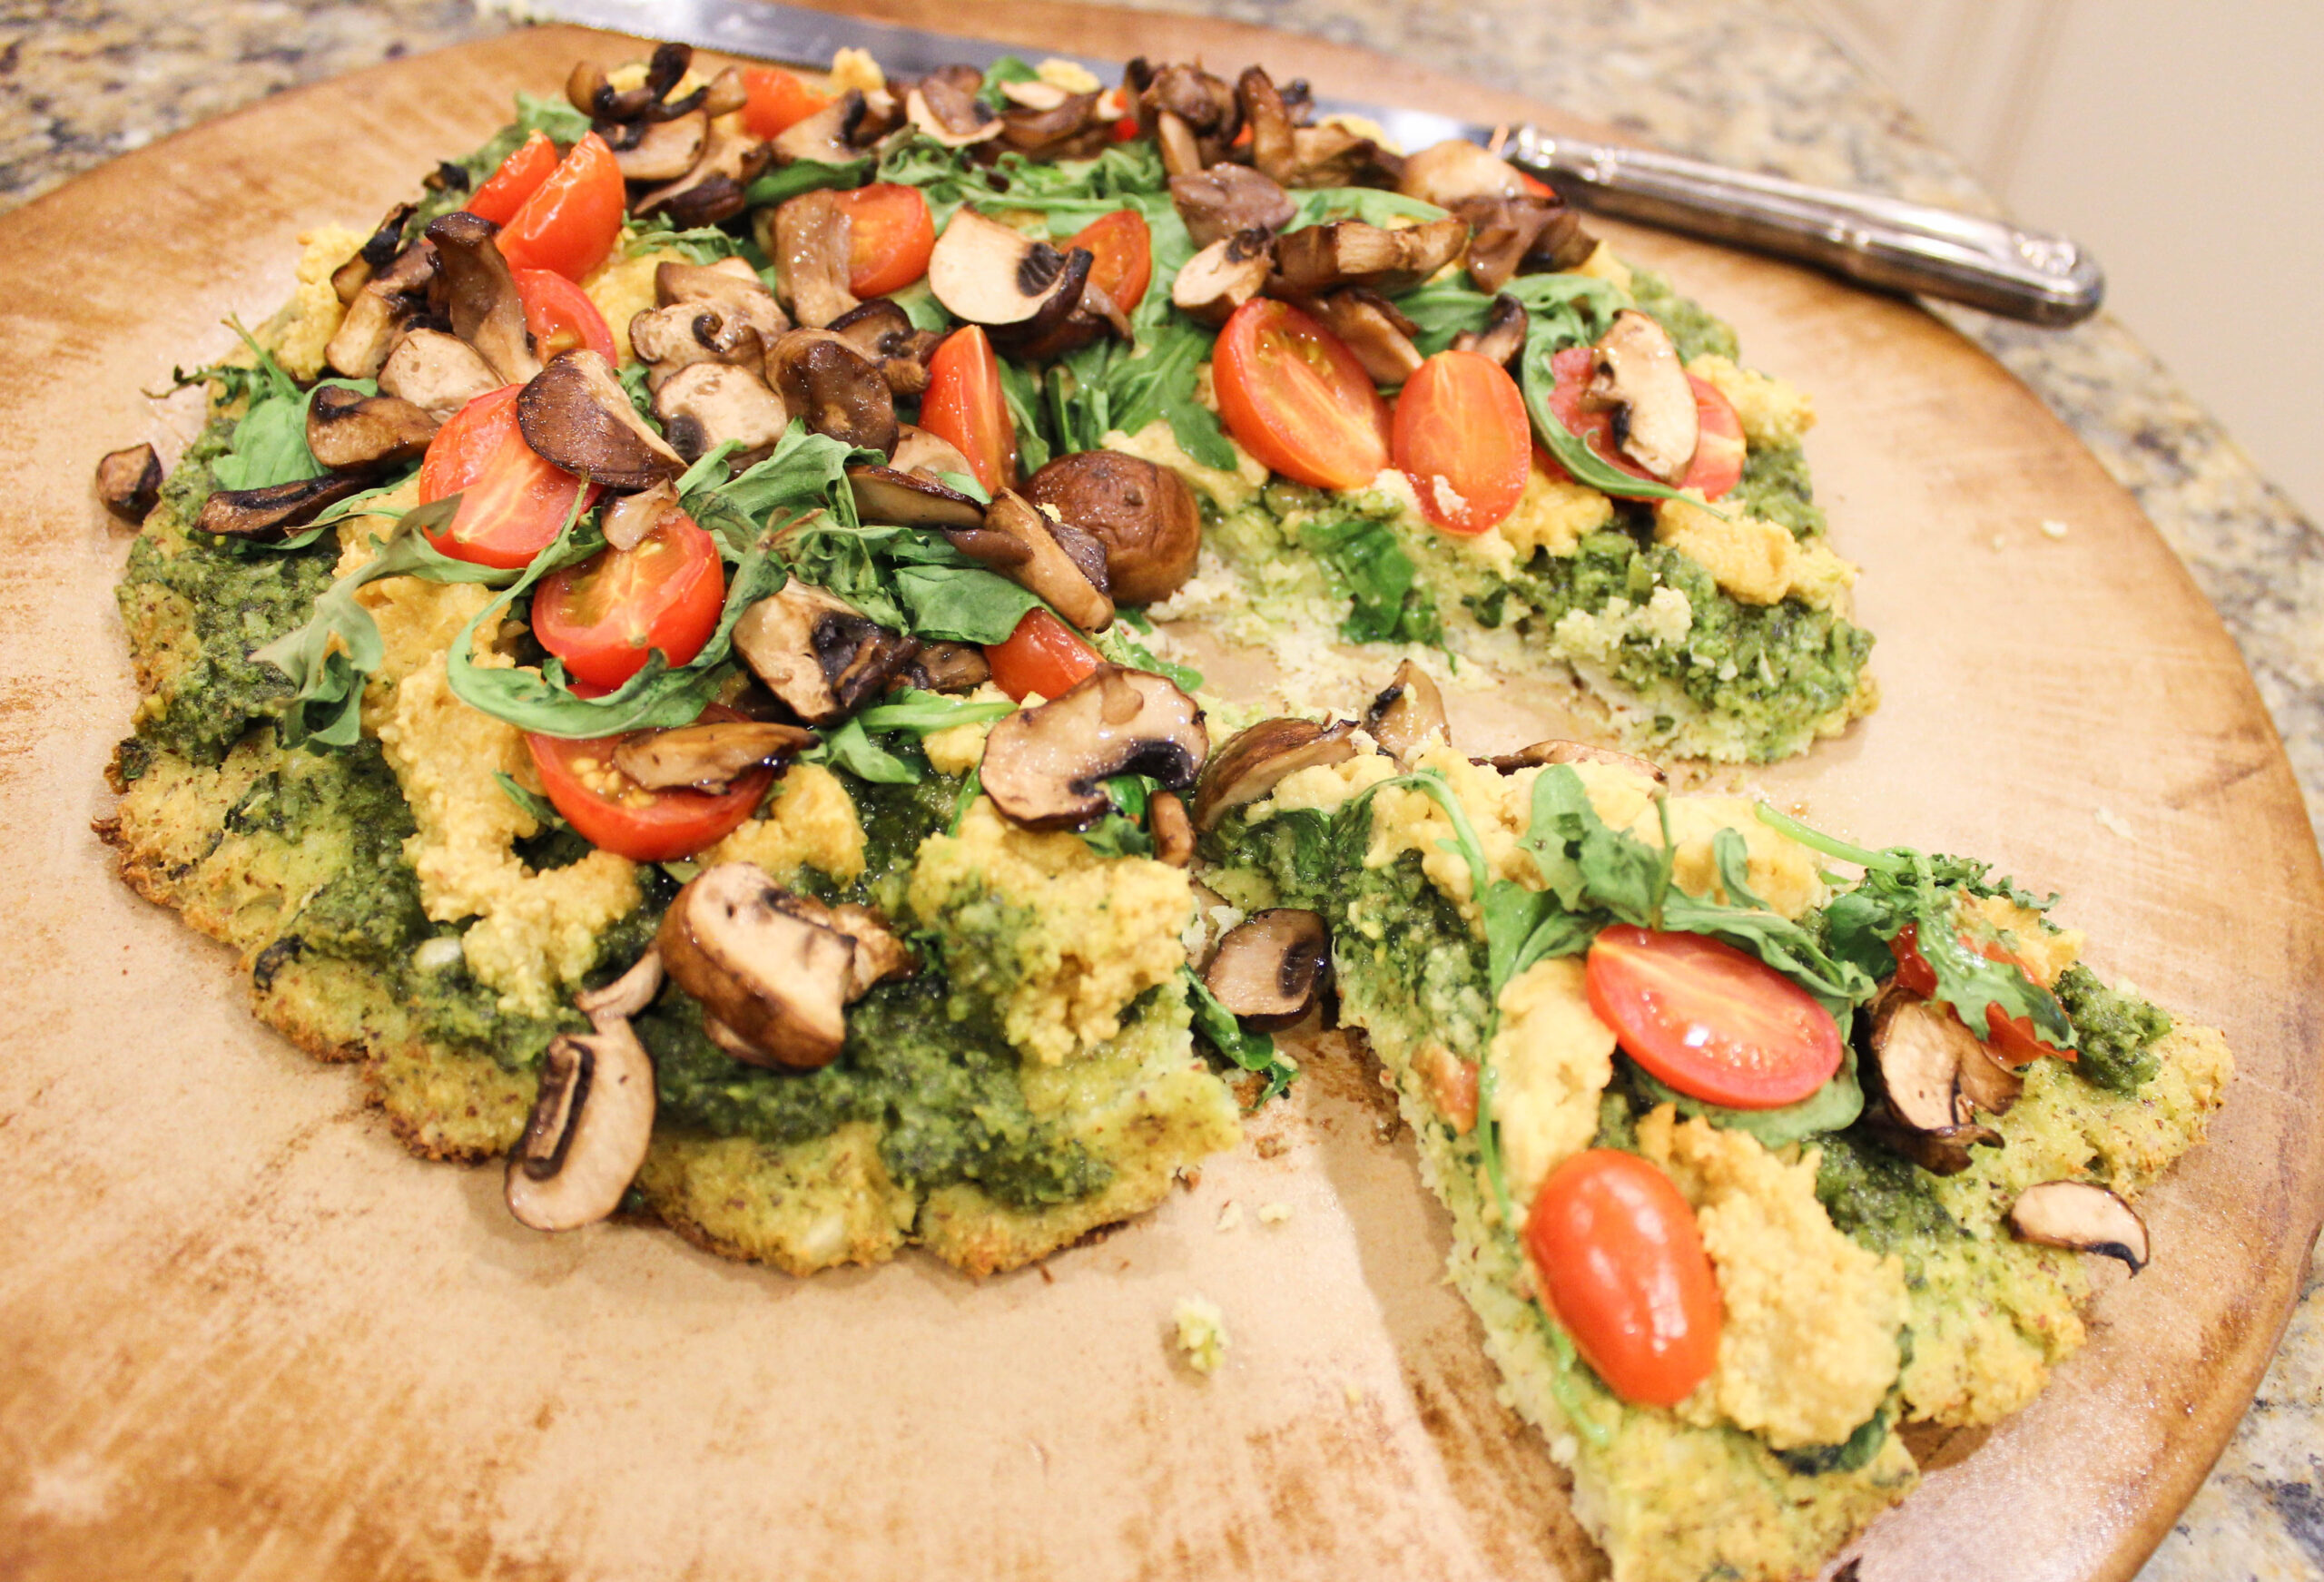
The best part of a pizza is the toppings, right?! It’s where you get to be creative! I put mushrooms, arugula, spinach, and cherry tomatoes on this one, but you can switch those out for whatever you want! You can bulk the pizza up with a protein like chicken, add more veggies like zucchini or broccoli, or you could even pop some pineapple on there for a sweet zing! YOU DO YOU.
This pizza requires making a few different “parts” (crust, cashew cheese, pesto, toppings), but it is so worth it. Everything came together beautifully, and the final result was infinitely satisfying. I INHALED this bad boy.
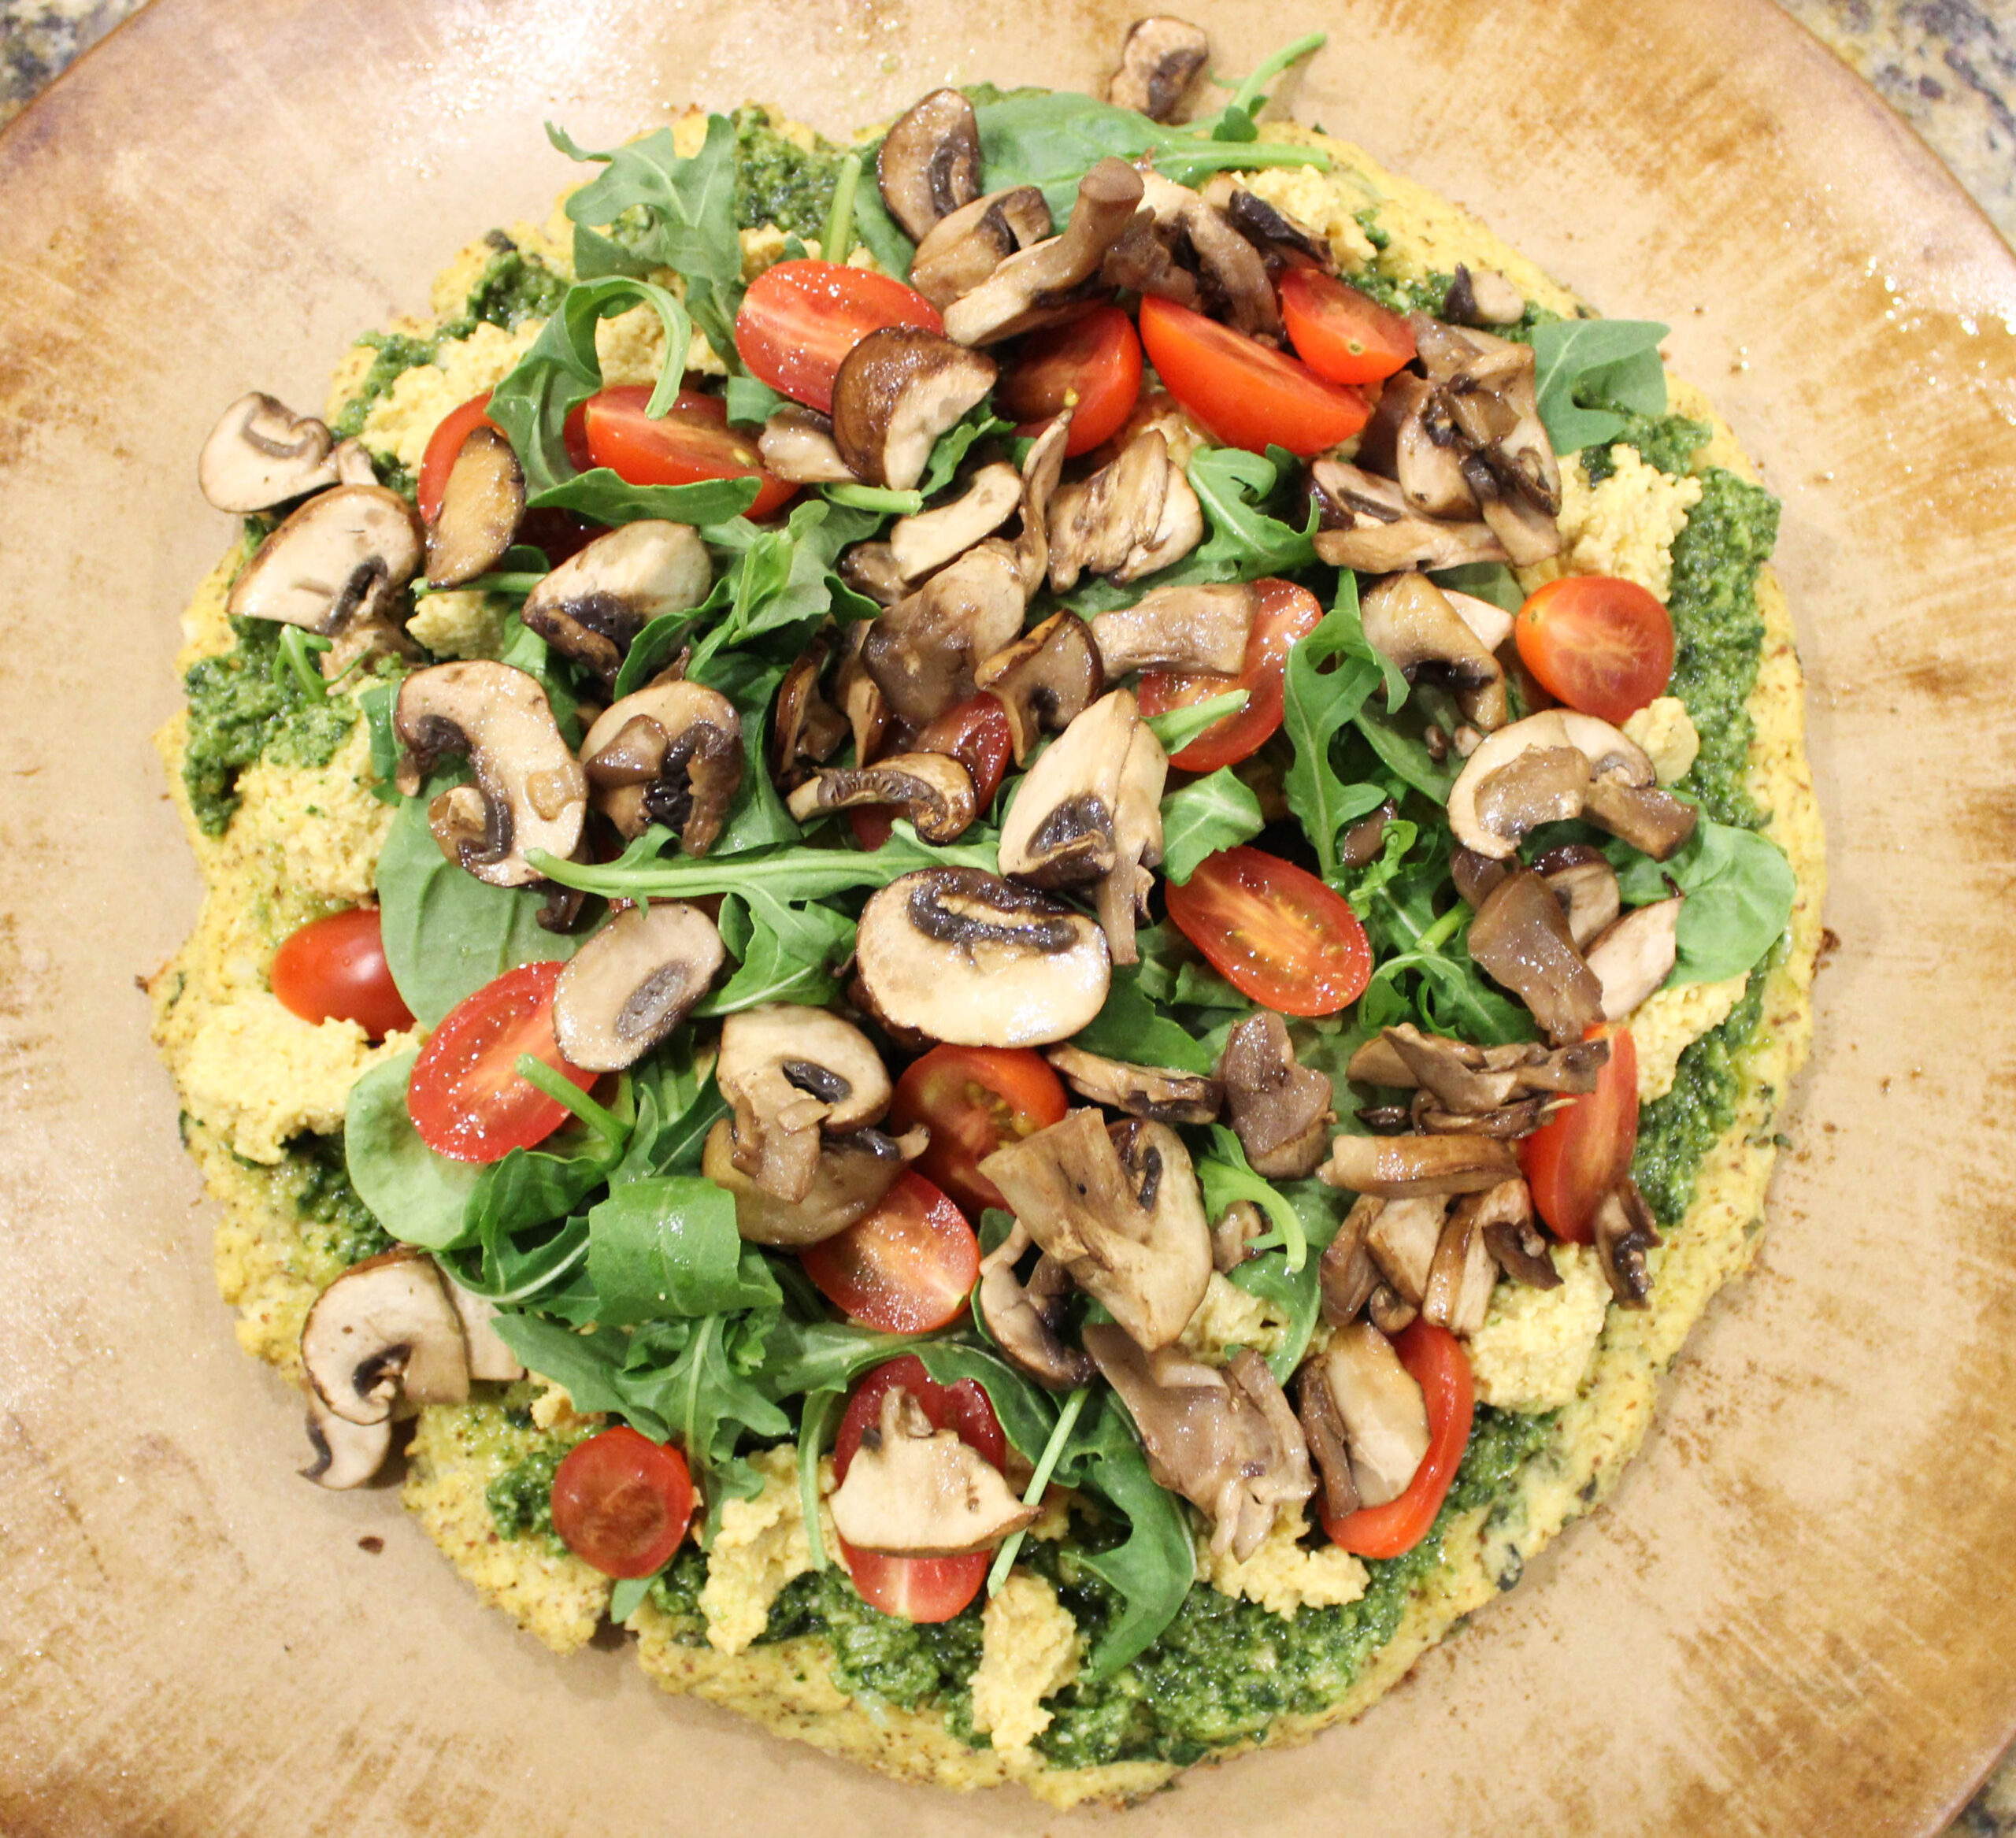
This is the perfect recipe to make with friends because everyone can work on a different part of the recipe, and each person can customize part of the pizza with unique toppings. There’s something so satisfying about a group effort. Perf for a family night, a girls’ night in, or a random party of 1!
Without further ado, HERE’S THE RECIPE!
Cauliflower Pizza Crust (GF)
Total time: about 30 minutes
Ingredients:
- 1 head of cauliflower
- 1/3 cup almond flour
- 2 eggs
- 1/8 cup fresh oregano, finely chopped
- 1/8 cup fresh basil, finely chopped
- 1/4 tsp garlic powder
- Dash of salt and pepper
Instructions:
- Preheat your oven to 400* F.
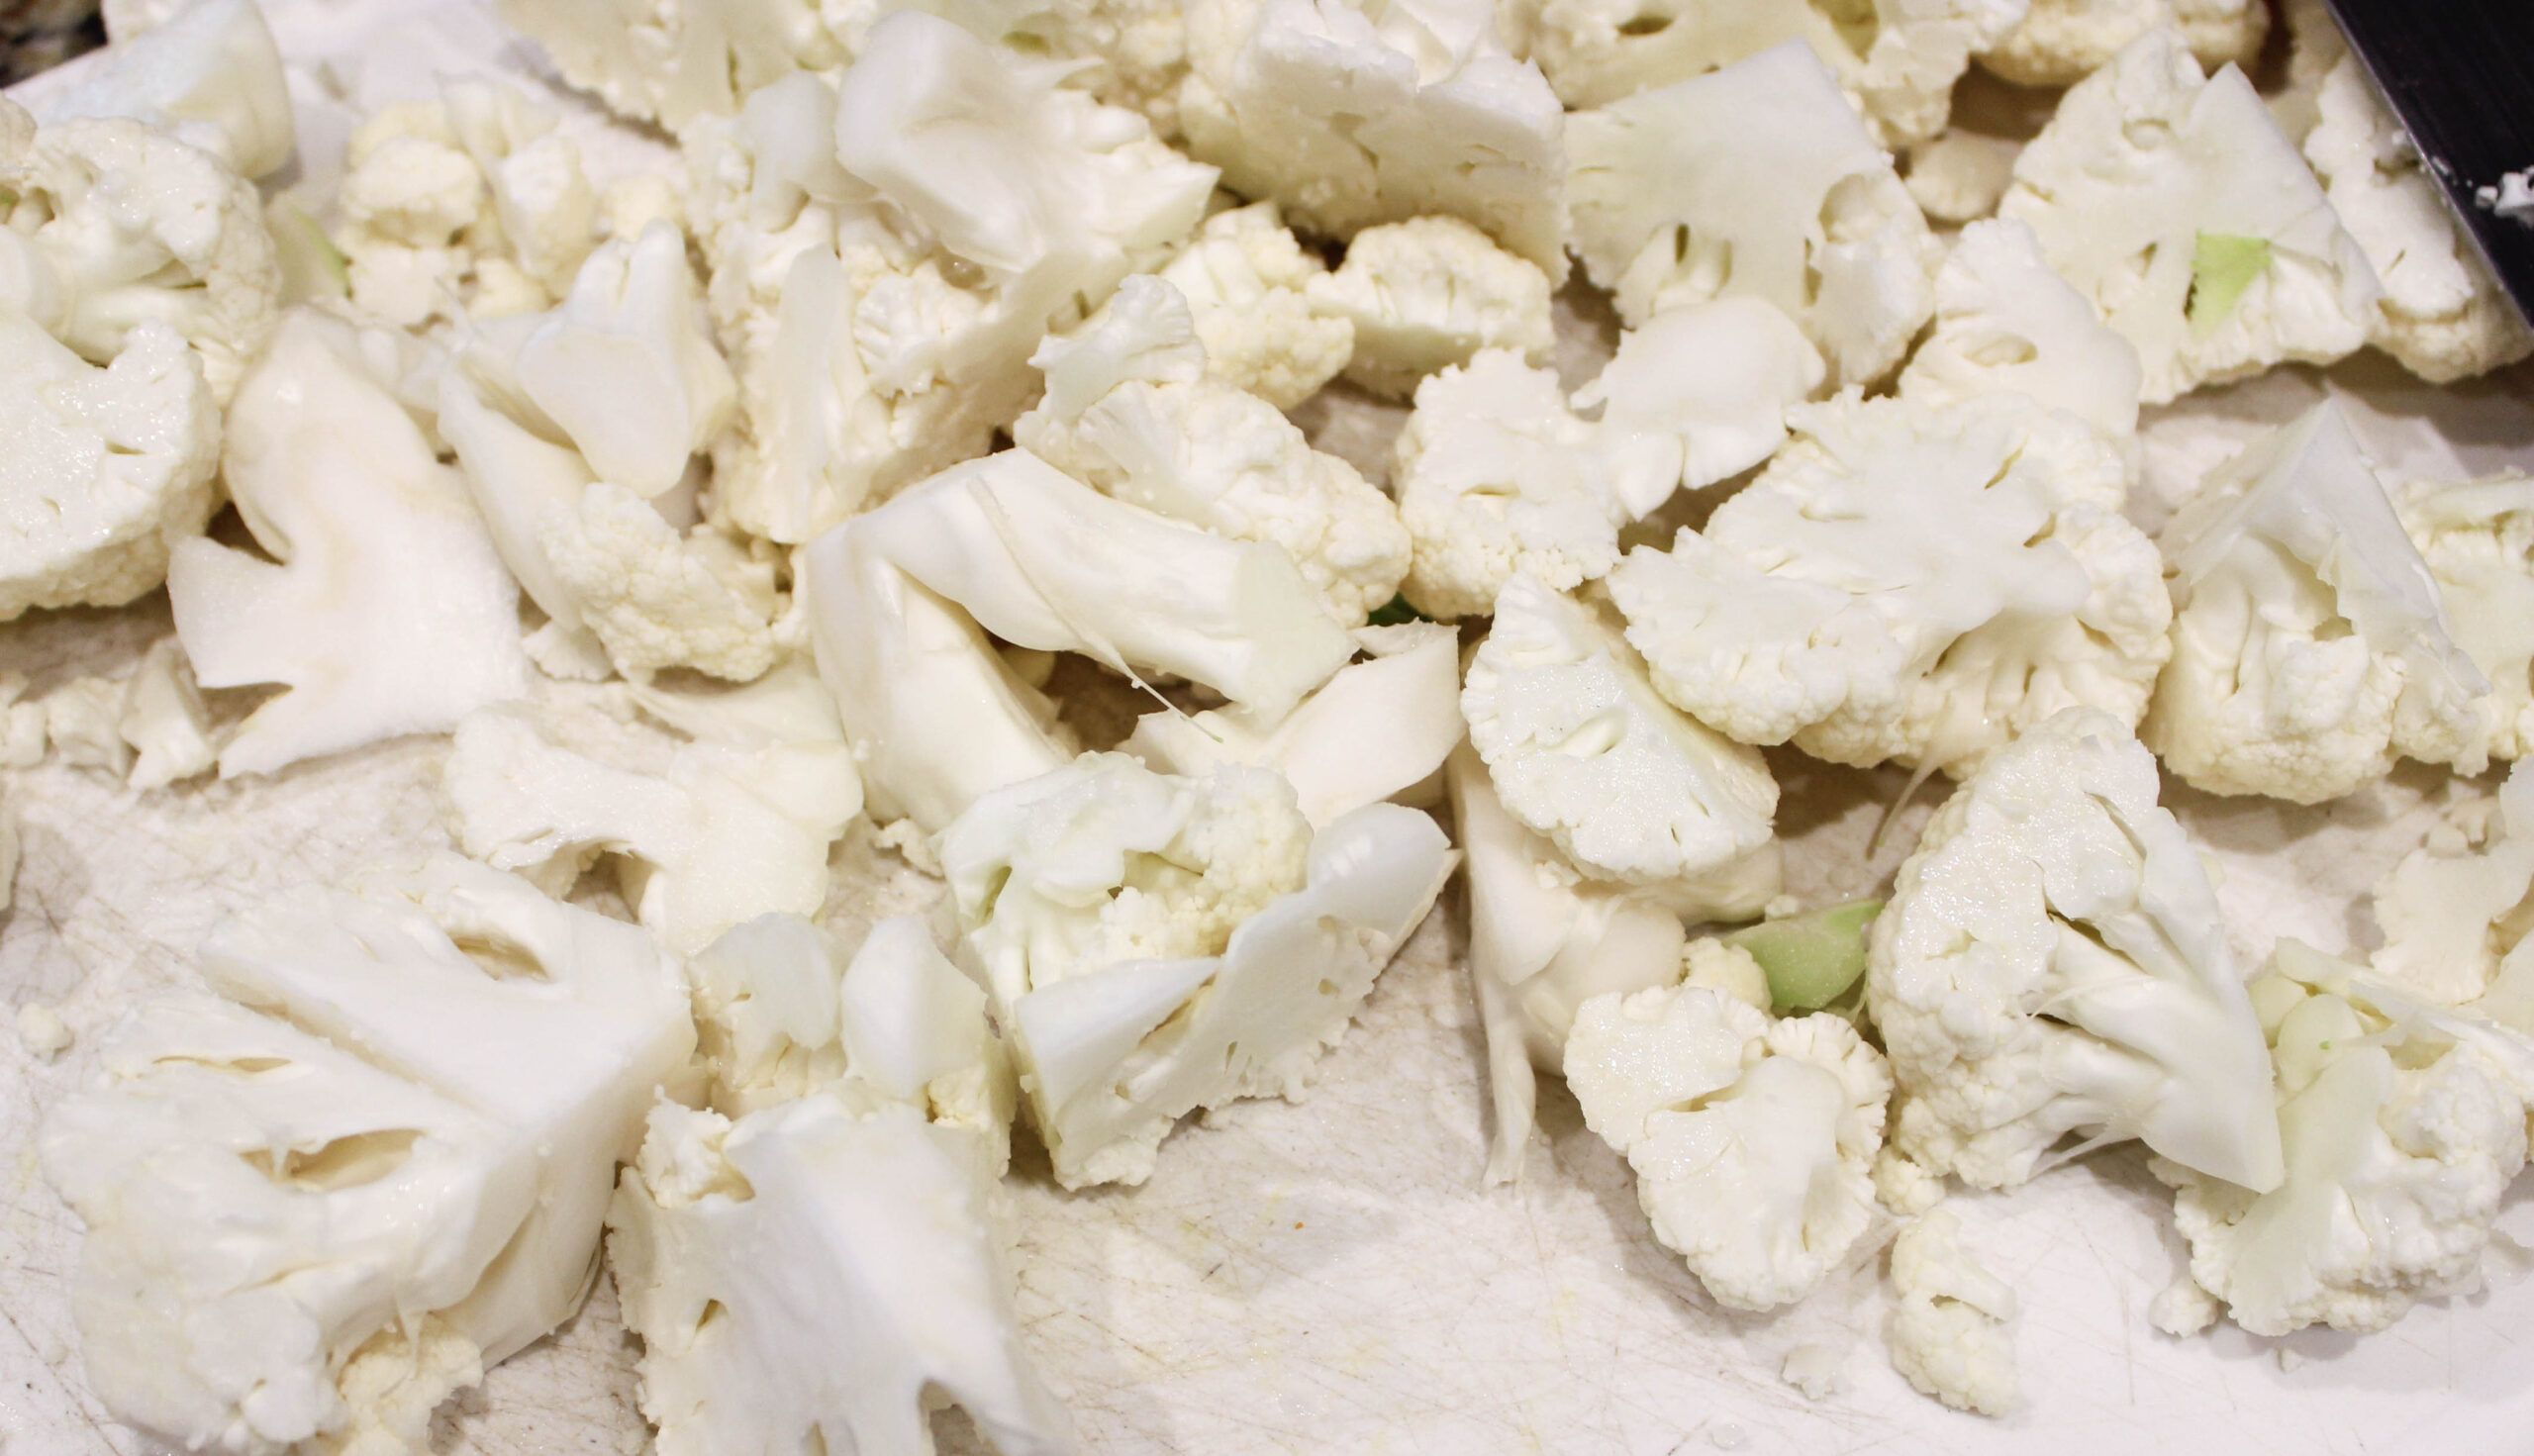
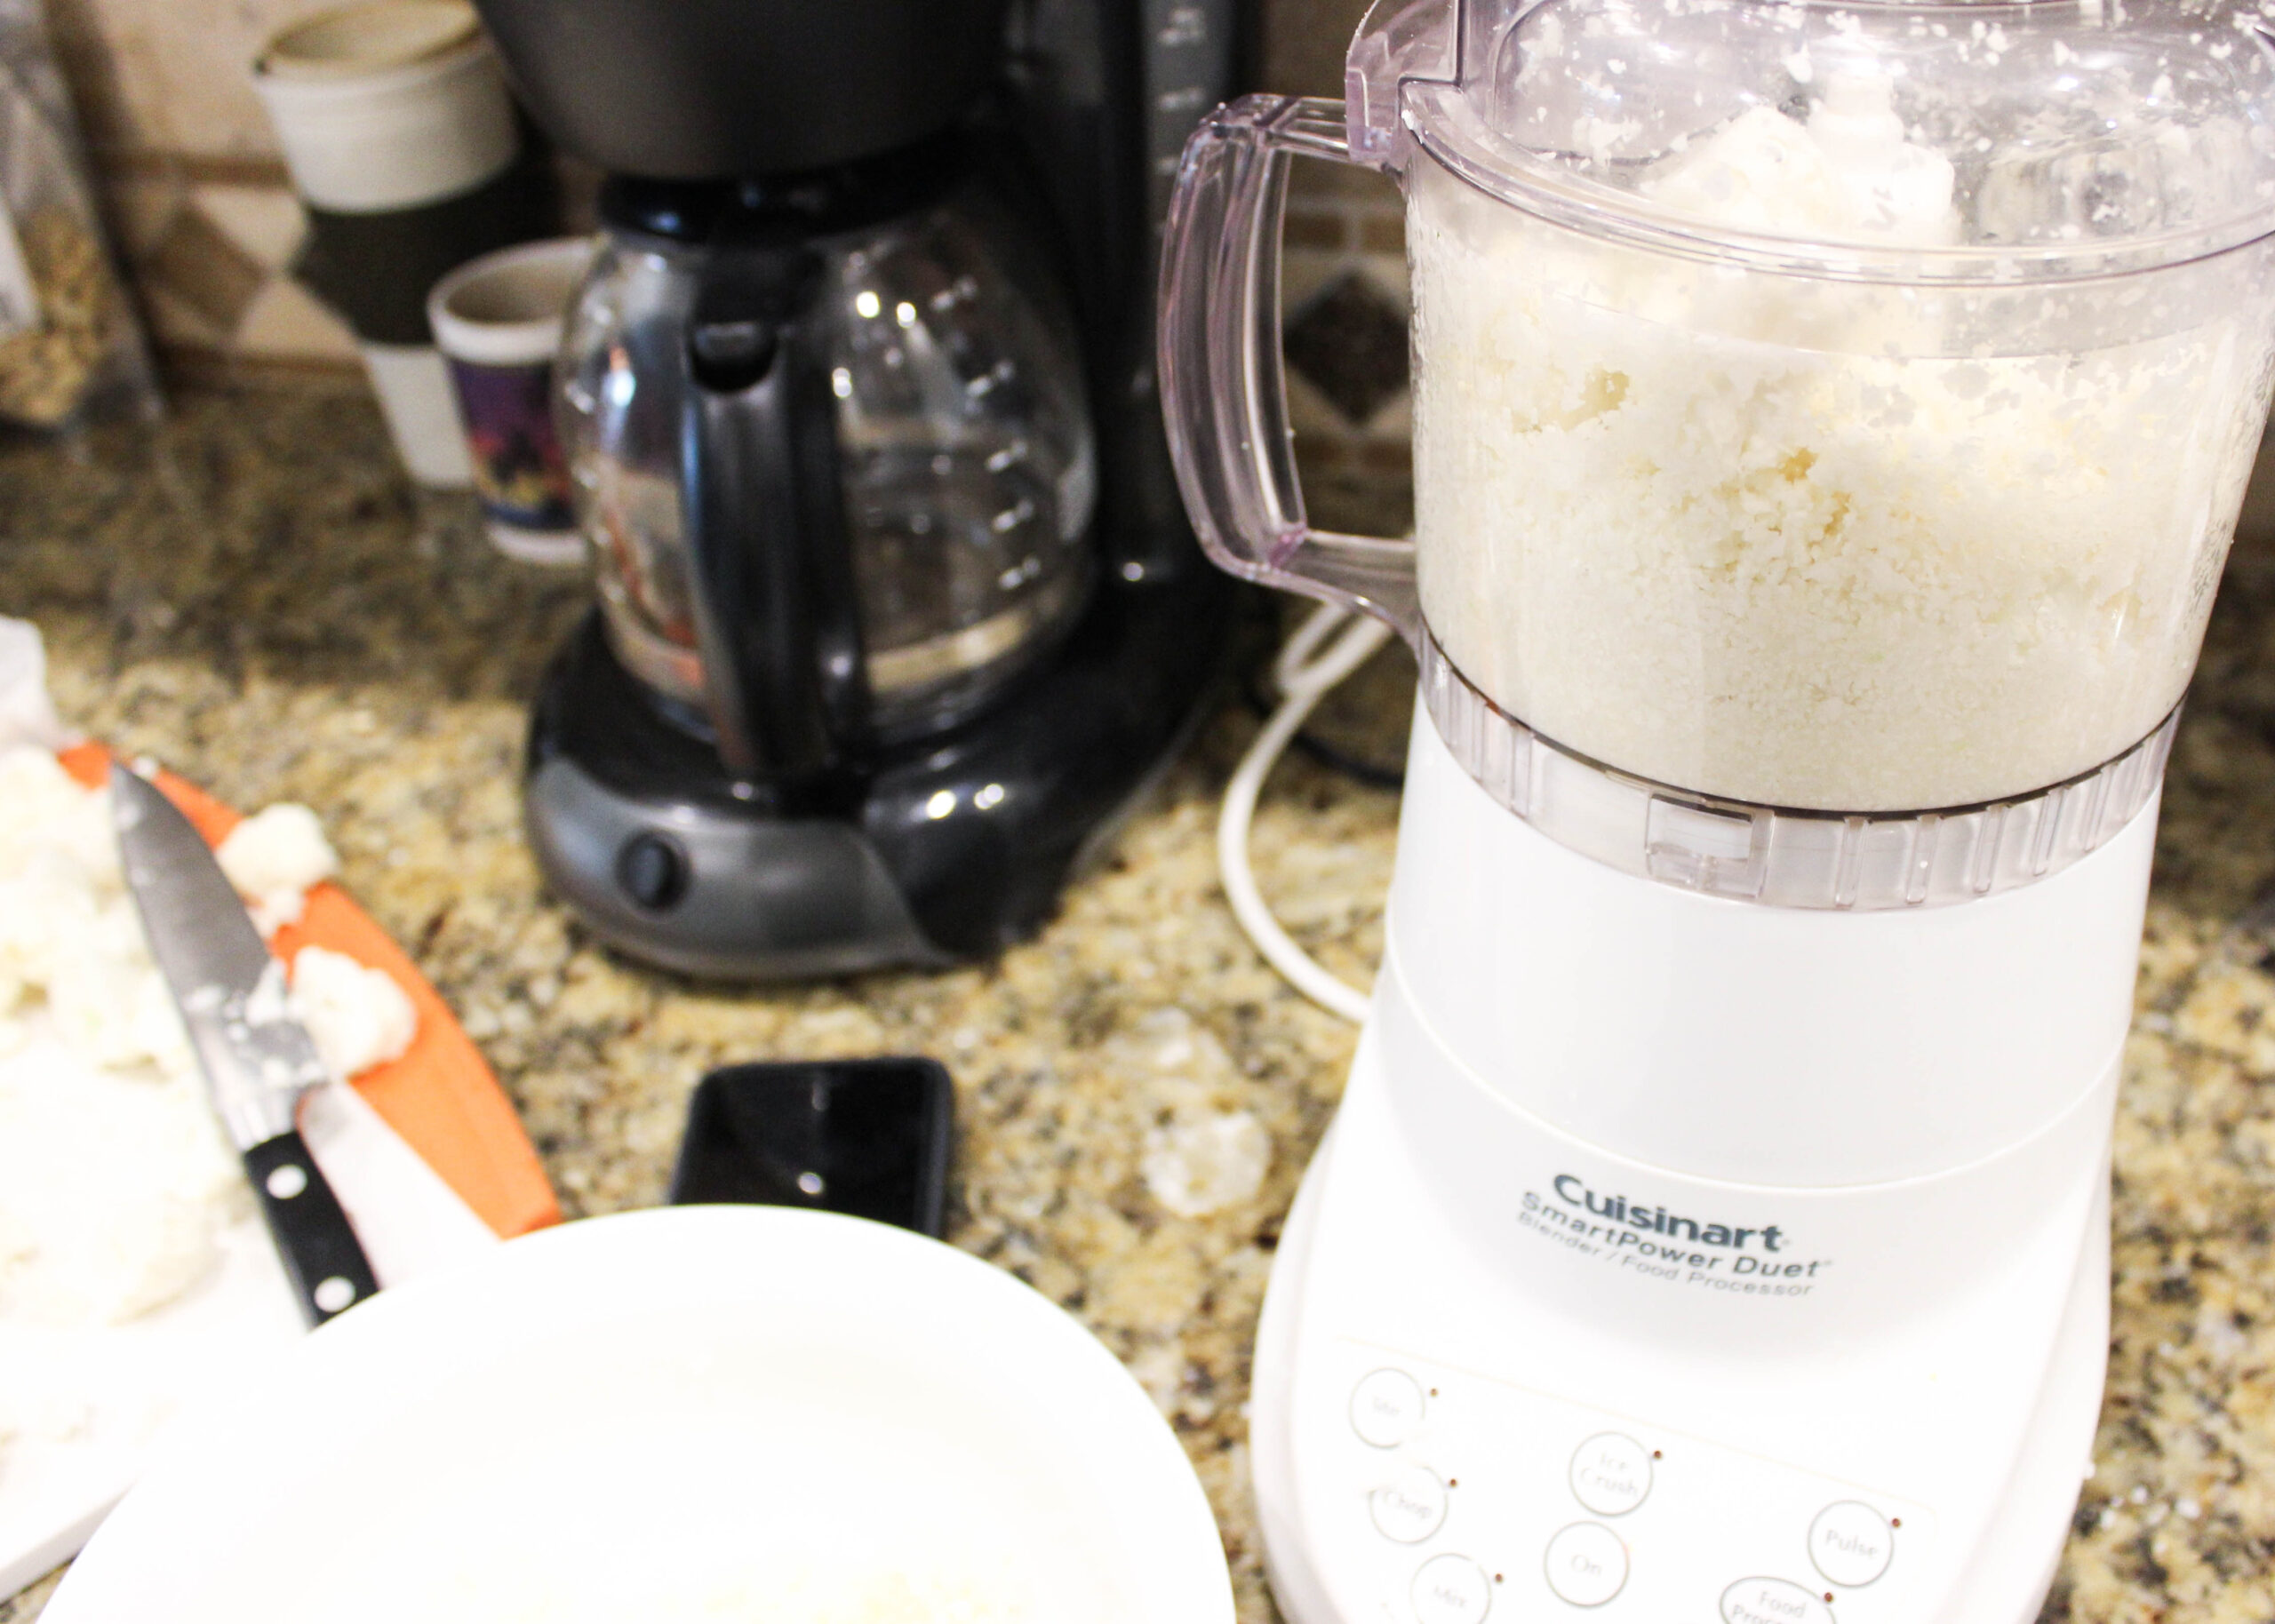
- Cut your cauliflower into small florets. Make cauliflower rice by processing the florets in a food processor. It’s easiest to do this in small batches.
- Fill a pot with about an inch of water and bring to a boil. Add the riced cauliflower and steam for about 5 minutes. Strain the cauliflower and let cool.
- Once the cauliflower has strained, grab a dishtowel, pour the cauliflower on top, wrap it up, and squeeze all of the moisture out. THIS IS THE MOST IMPORTANT PART. You want to get as much of the moisture out of the cauliflower as possible – this is what will help the crust stay in tact after it has cooked.
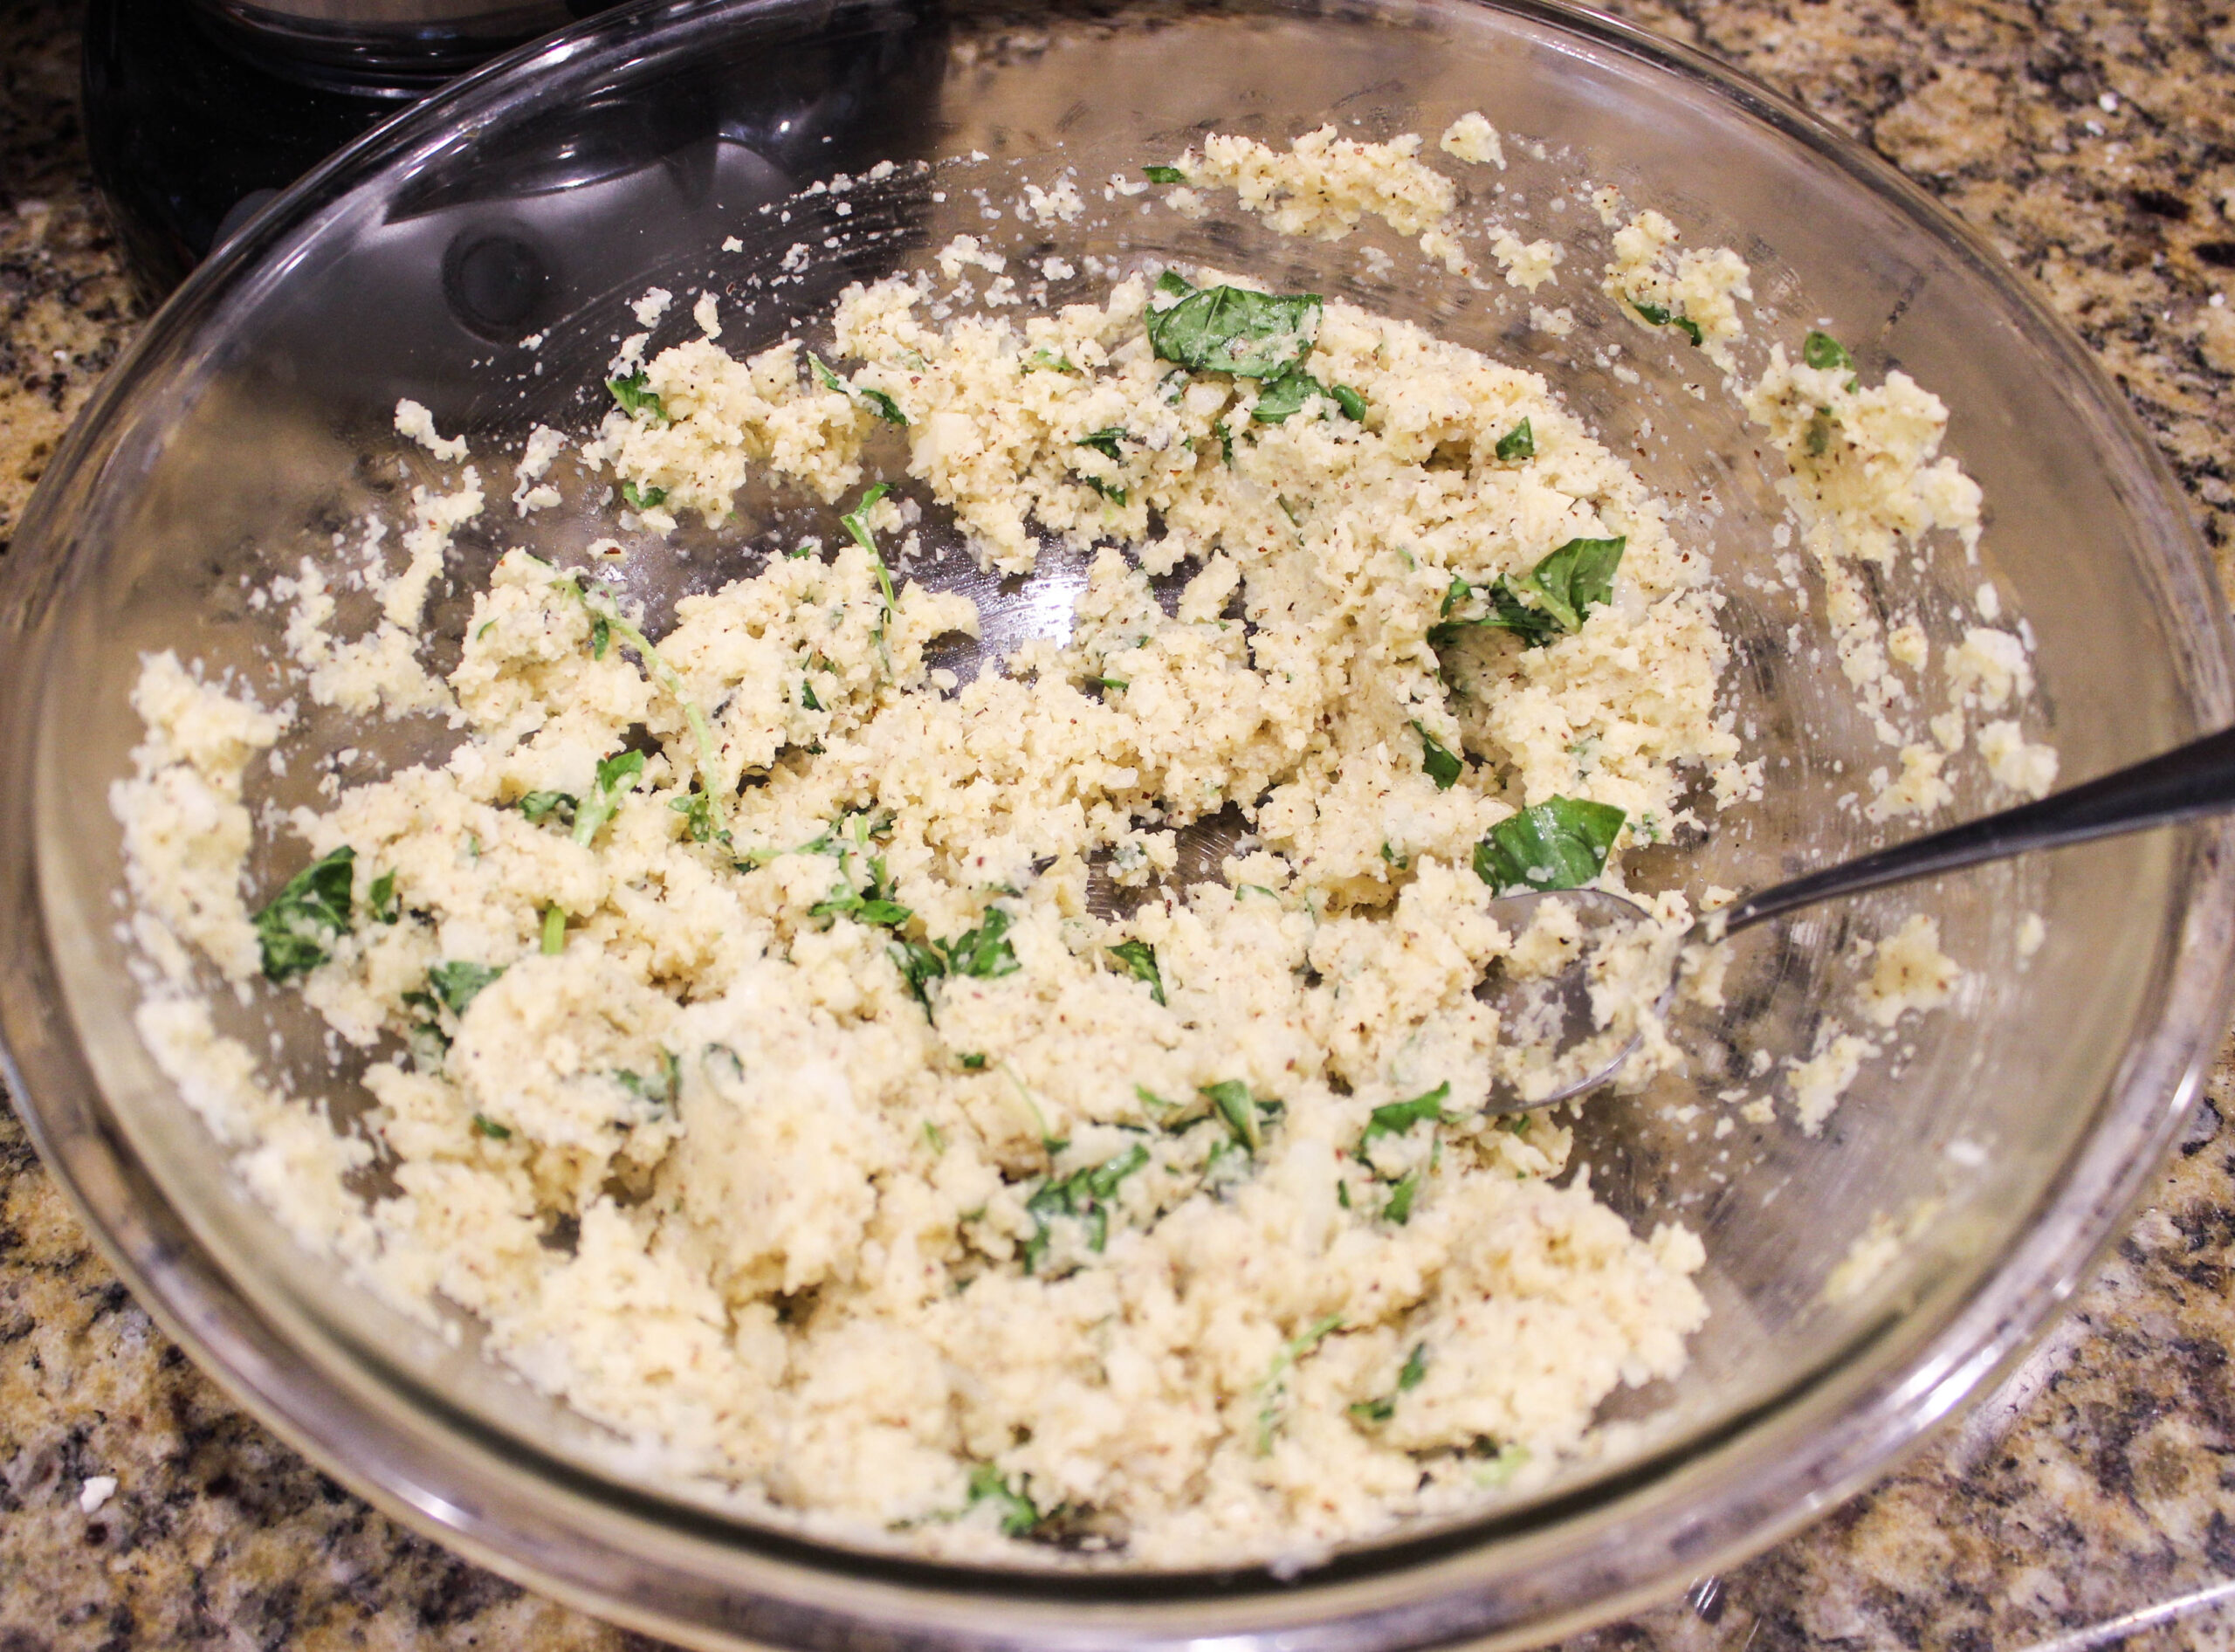
- Add the cauliflower, eggs, almond flour, oregano, basil, garlic powder, salt, and pepper into a large bowl. Mix everything together thoroughly to create the dough.
- Spread the dough onto a greased pizza pan in a circle. Leave the crust about 1/2 inch thick.
- Put the dough in the oven for about 20 minutes. While you’re waiting, get the rest of your toppings ready. I made the pesto and cashew cheese at this time and got my other toppings ready to go.
- After about 20 minutes, take the pizza out of the oven. Add your toppings, and bake for another 8-10 minutes.
- Remove from the oven, allow to cool, and EAT!
Basic Cashew Cheese (Vegan / GF)
Ingredients:
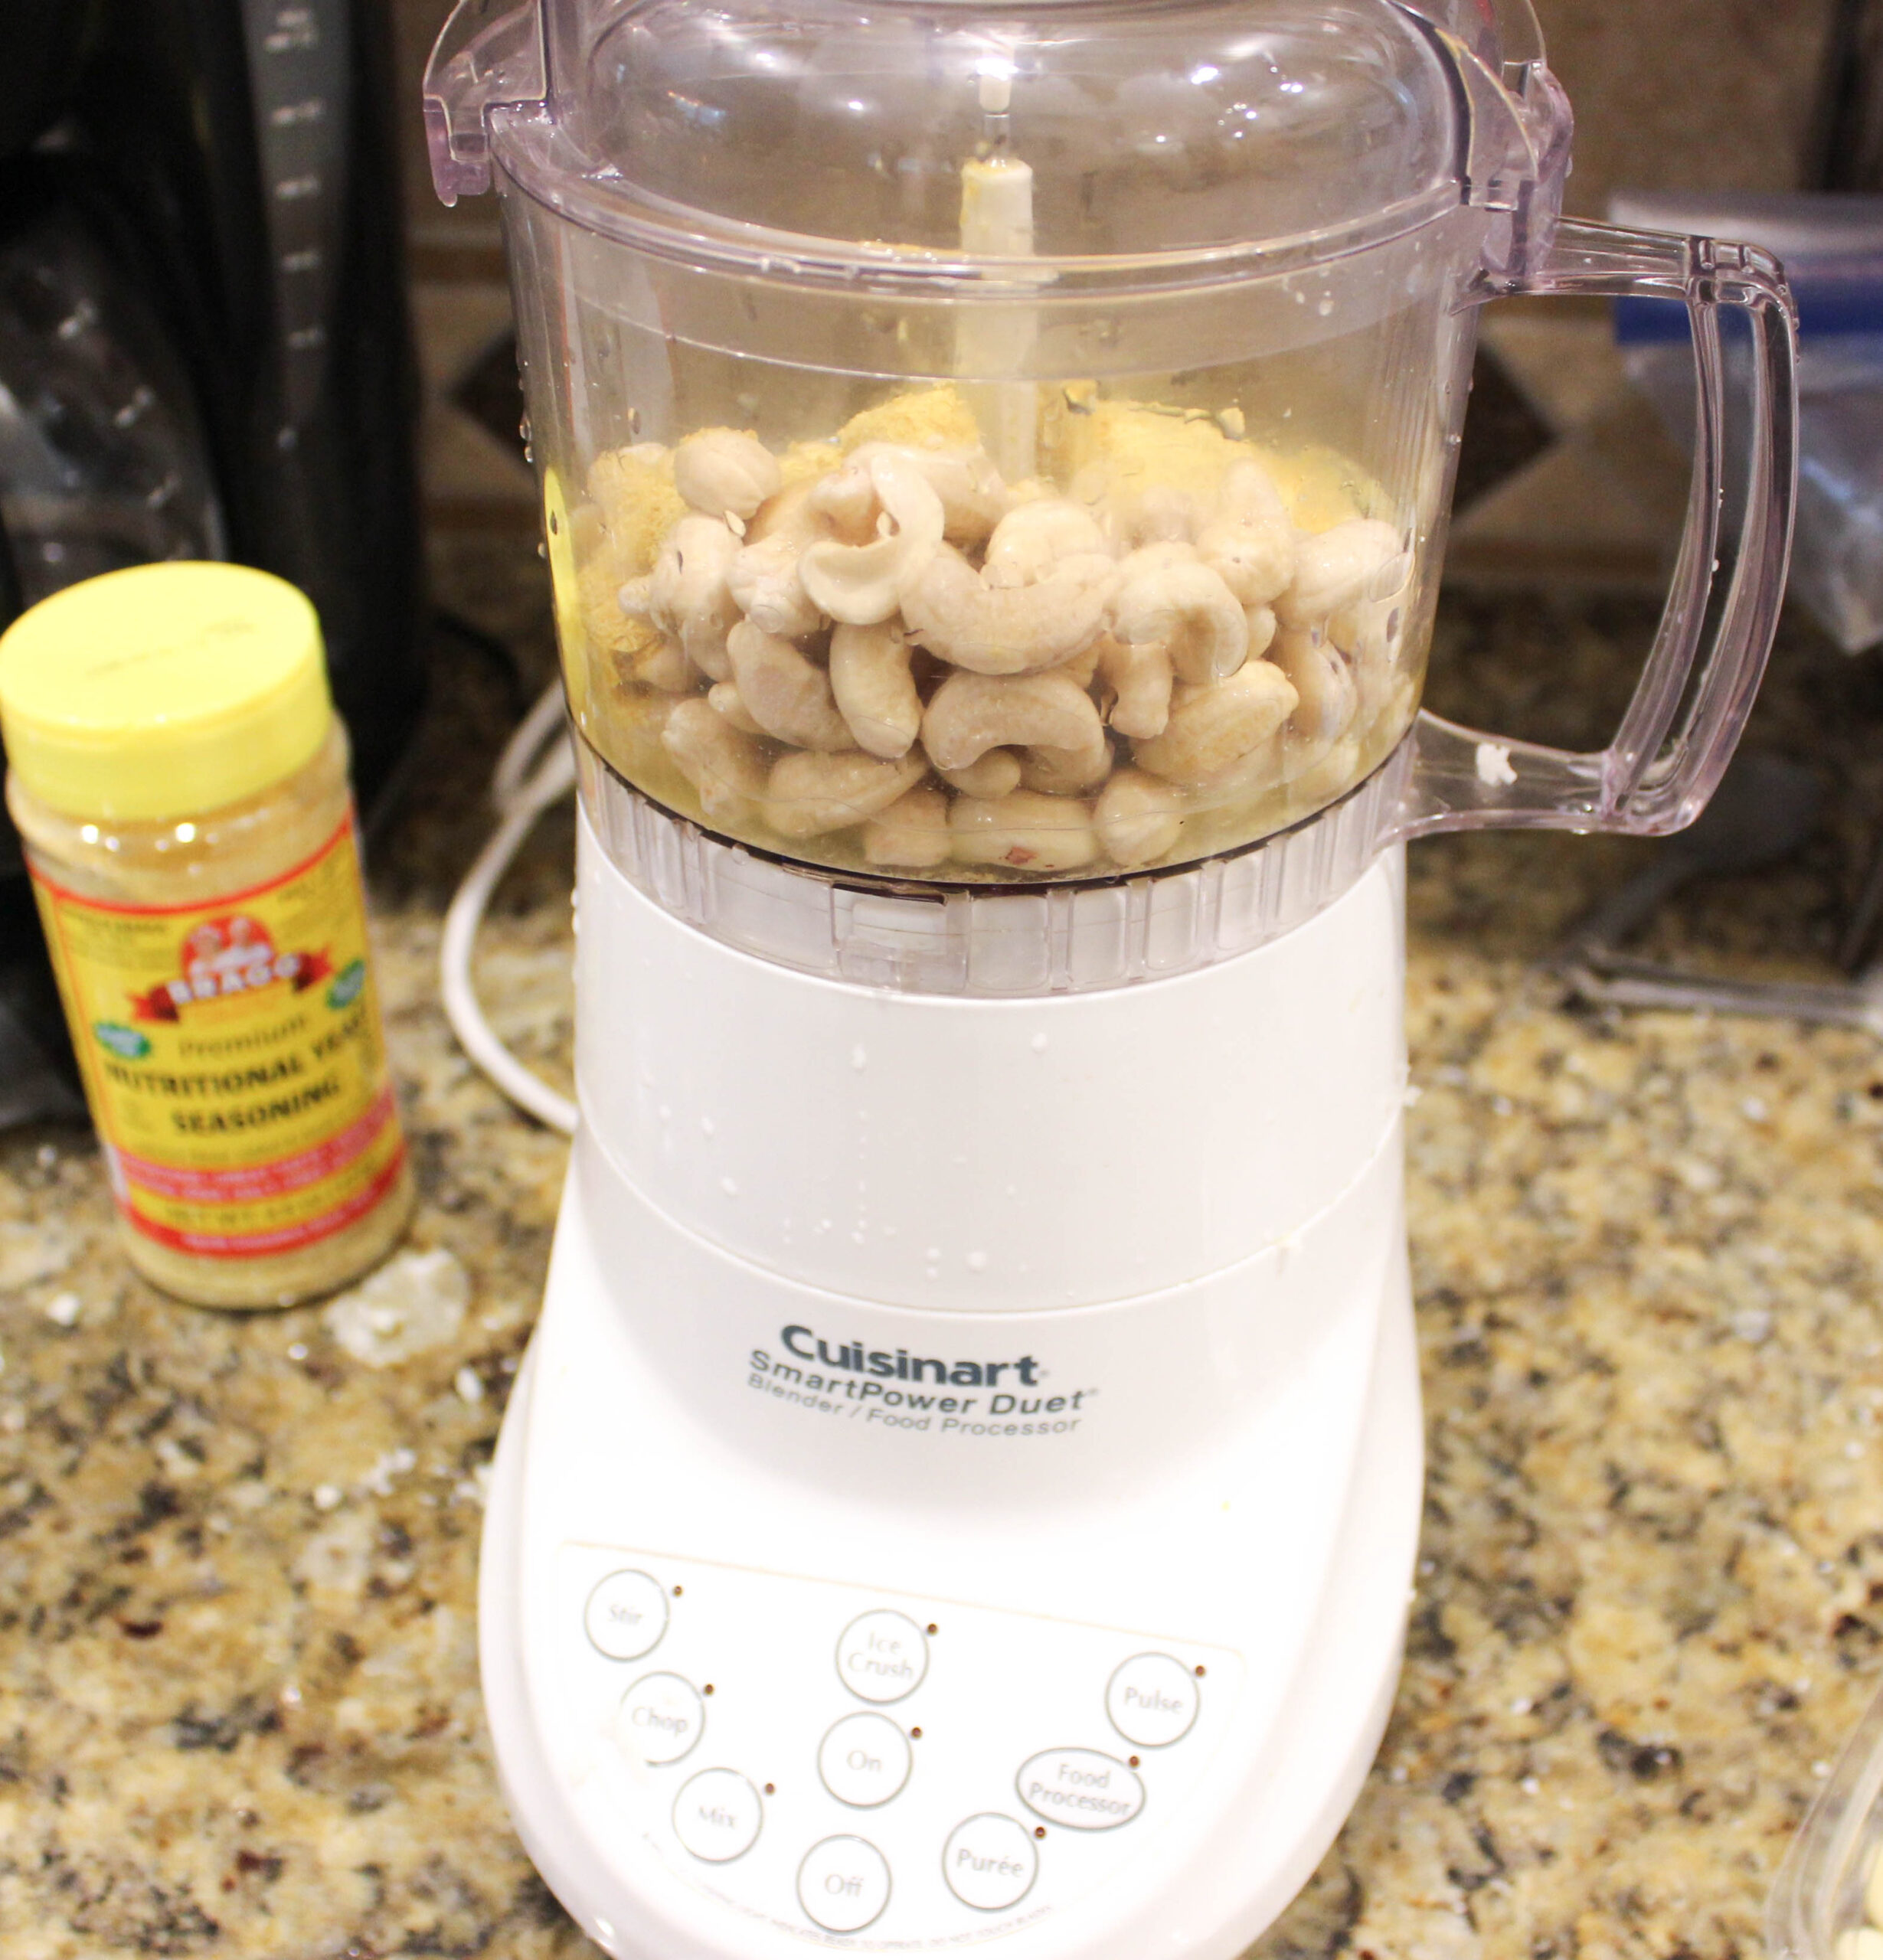
- 1 cup soaked cashews (they don’t have to be soaked, but it’s preferable)
- 1/4 cup filtered water
- 1/4 cup nutritional yeast
- dash of salt
- 1 clove fresh garlic
Instructions:
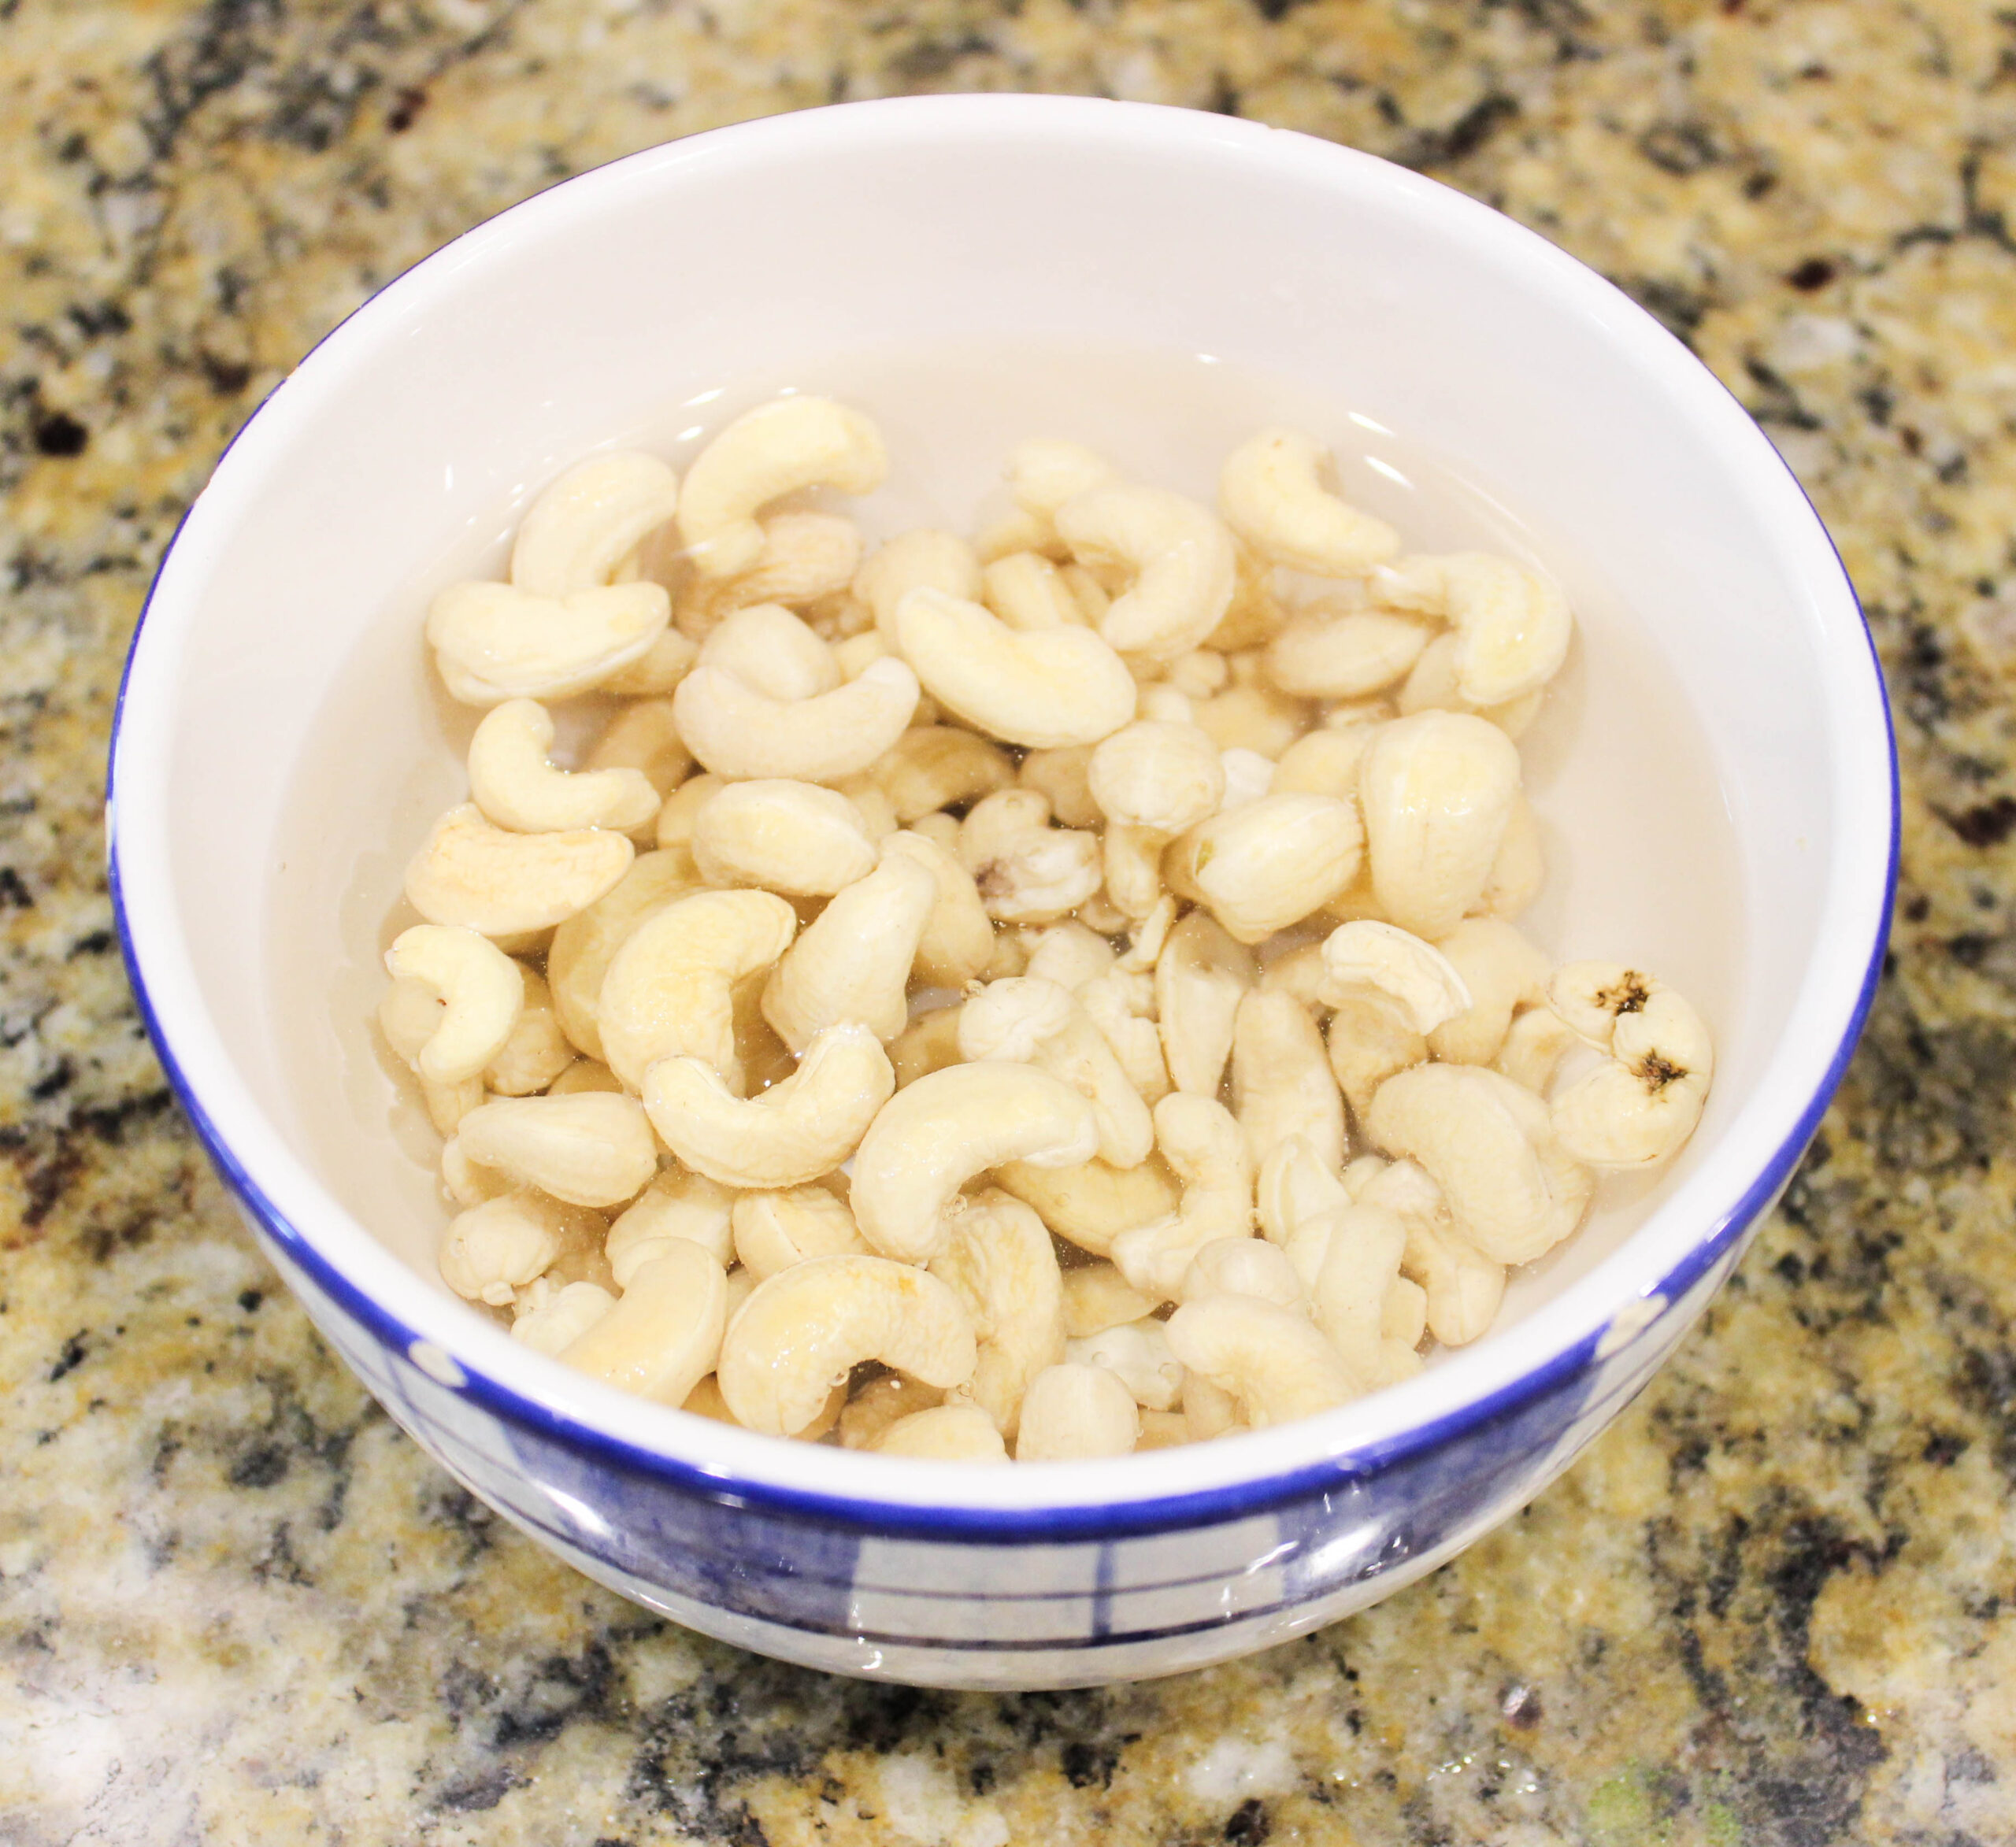
- Soak the cashews in filtered water for a few hours or overnight. Strain the cashews and get rid of the water.
- Add all ingredients into a food processor. Pulse until the desired consistency is reached. Add more water if you want a thinner cheese, or a few more cashews if you want it thicker.
- Feel free to add other ingredients to flavor your cheese if you want!
- The cheese will last in the fridge for about 5 days.
Basic Pesto Recipe (Vegan / GF)
Ingredients:
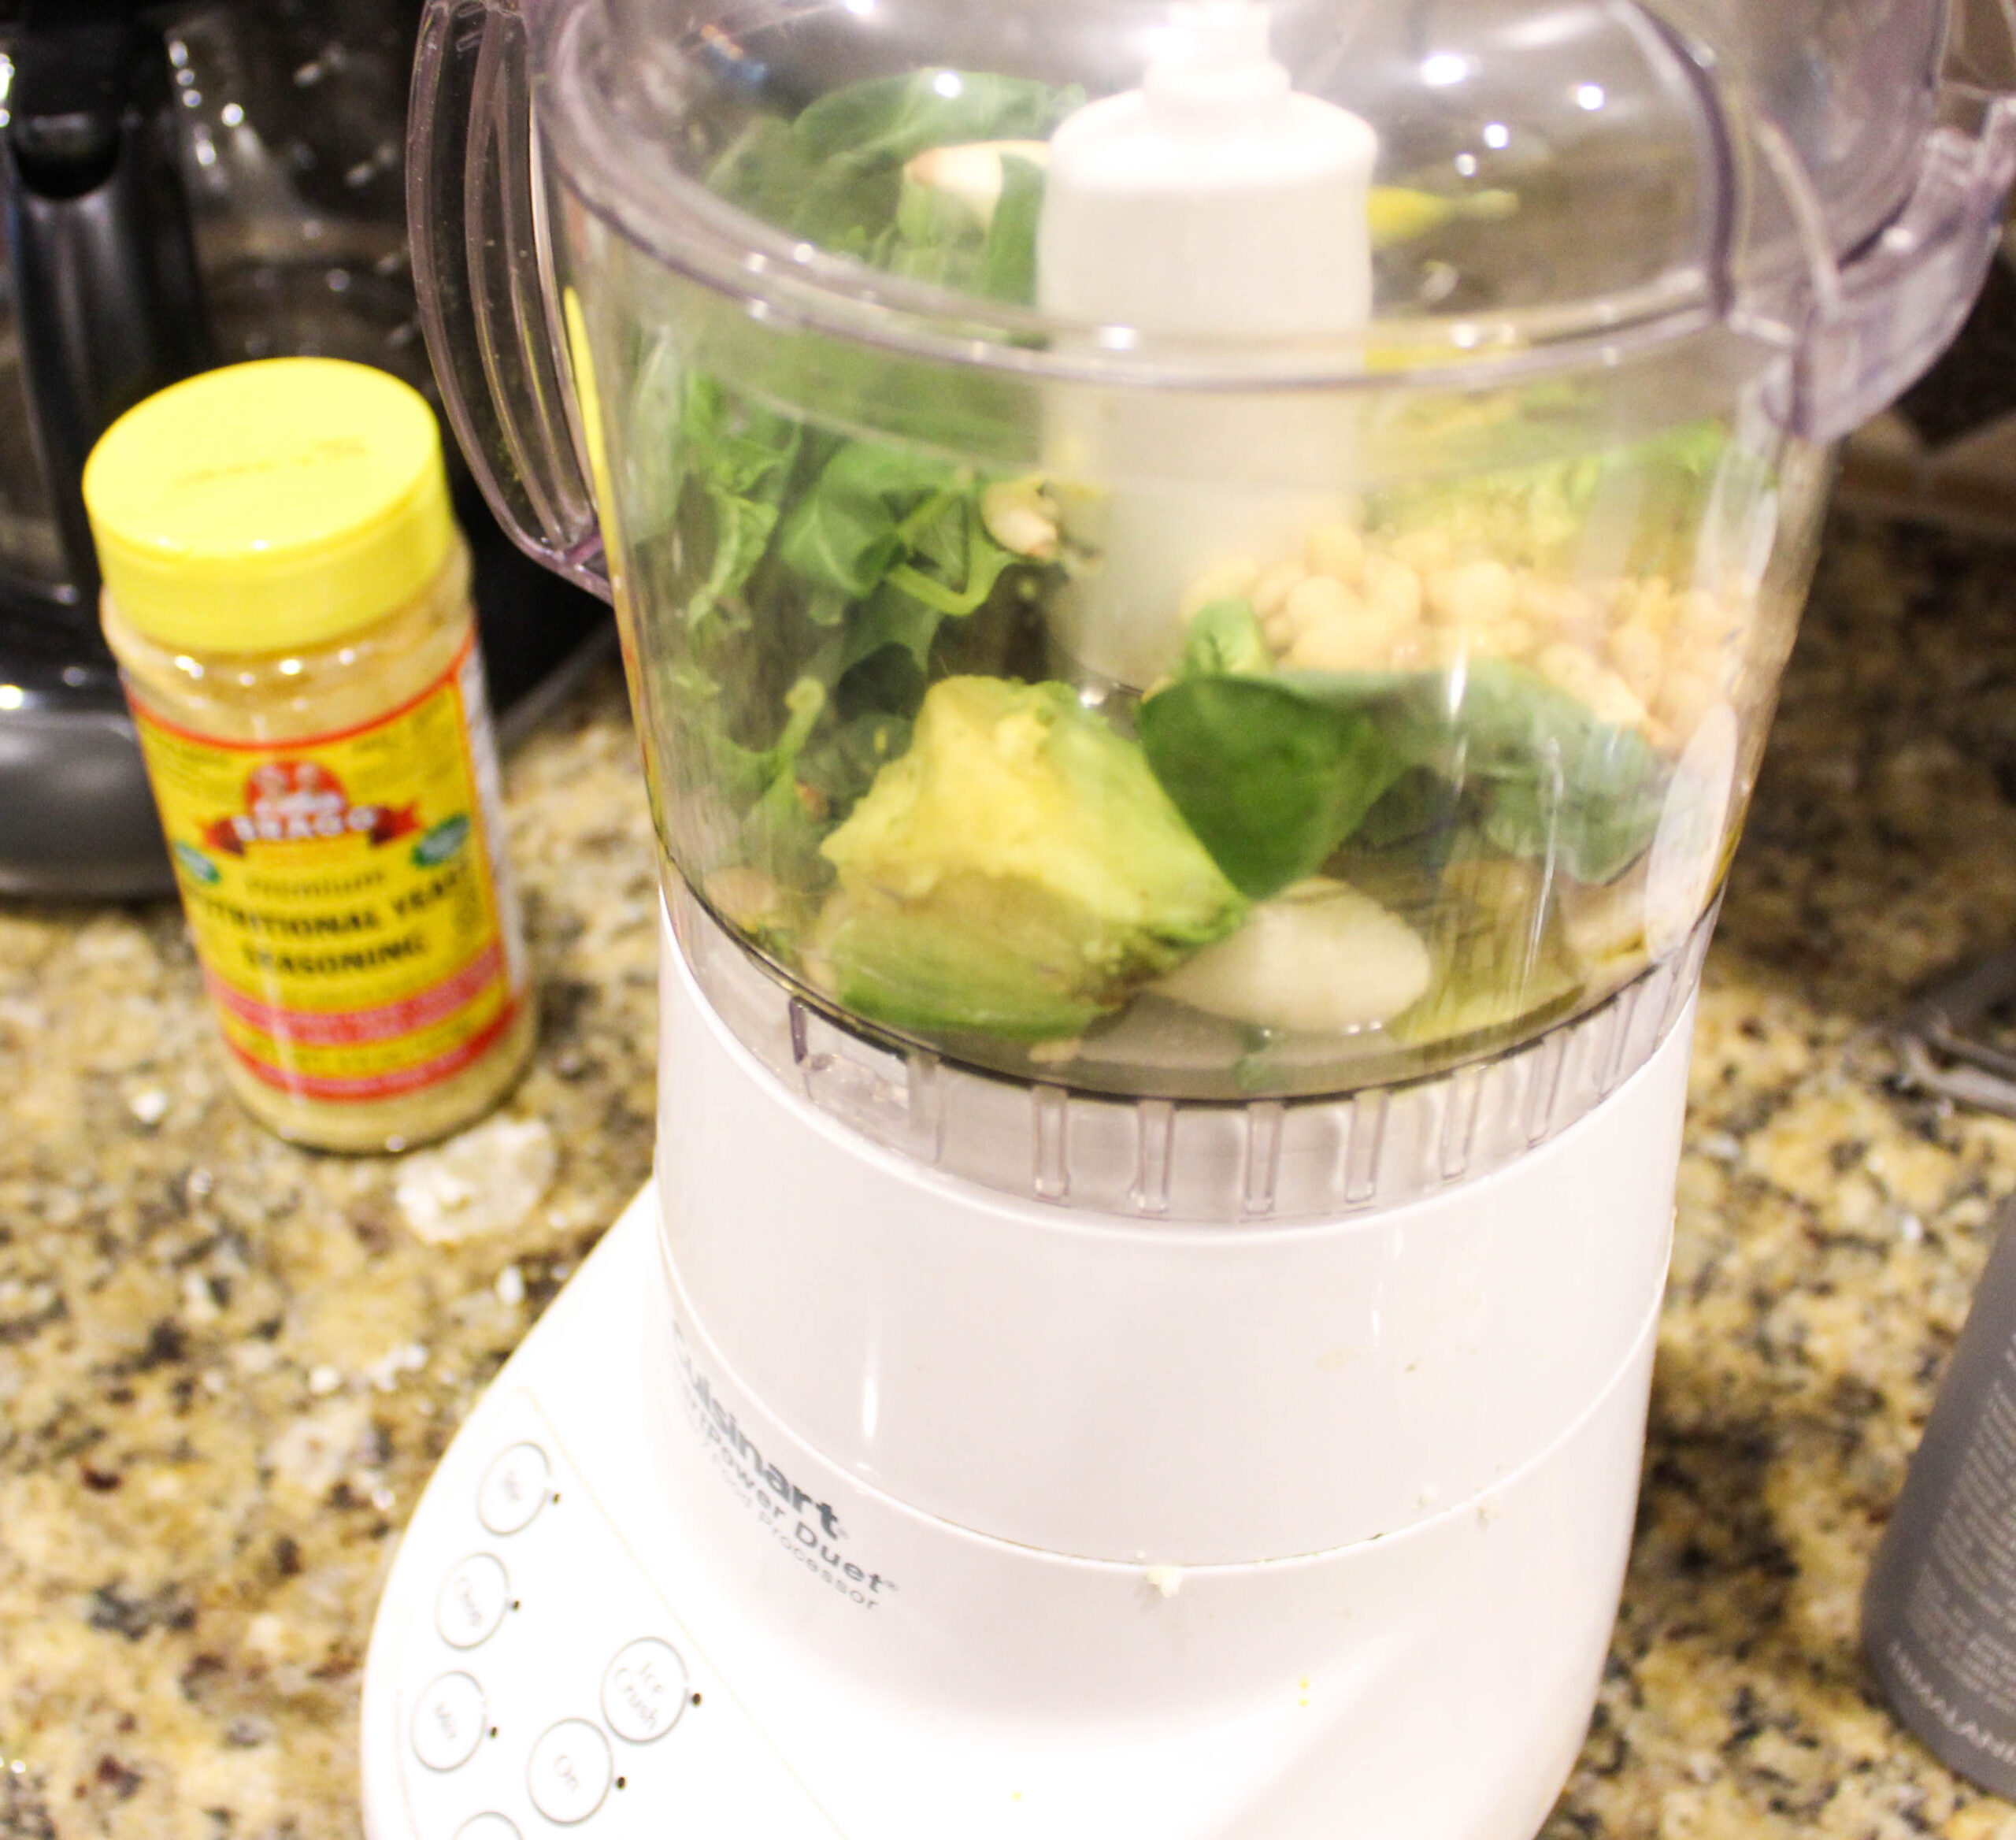
- 3/4 cup basil
- 1/3 + 1 tbsp pine nuts
- 1/4 cup olive oil
- 1/4 large avocado or 1/2 small avocado
- 2 cloves of garlic
- Juice of 1/2 lemon
- Dash of salt
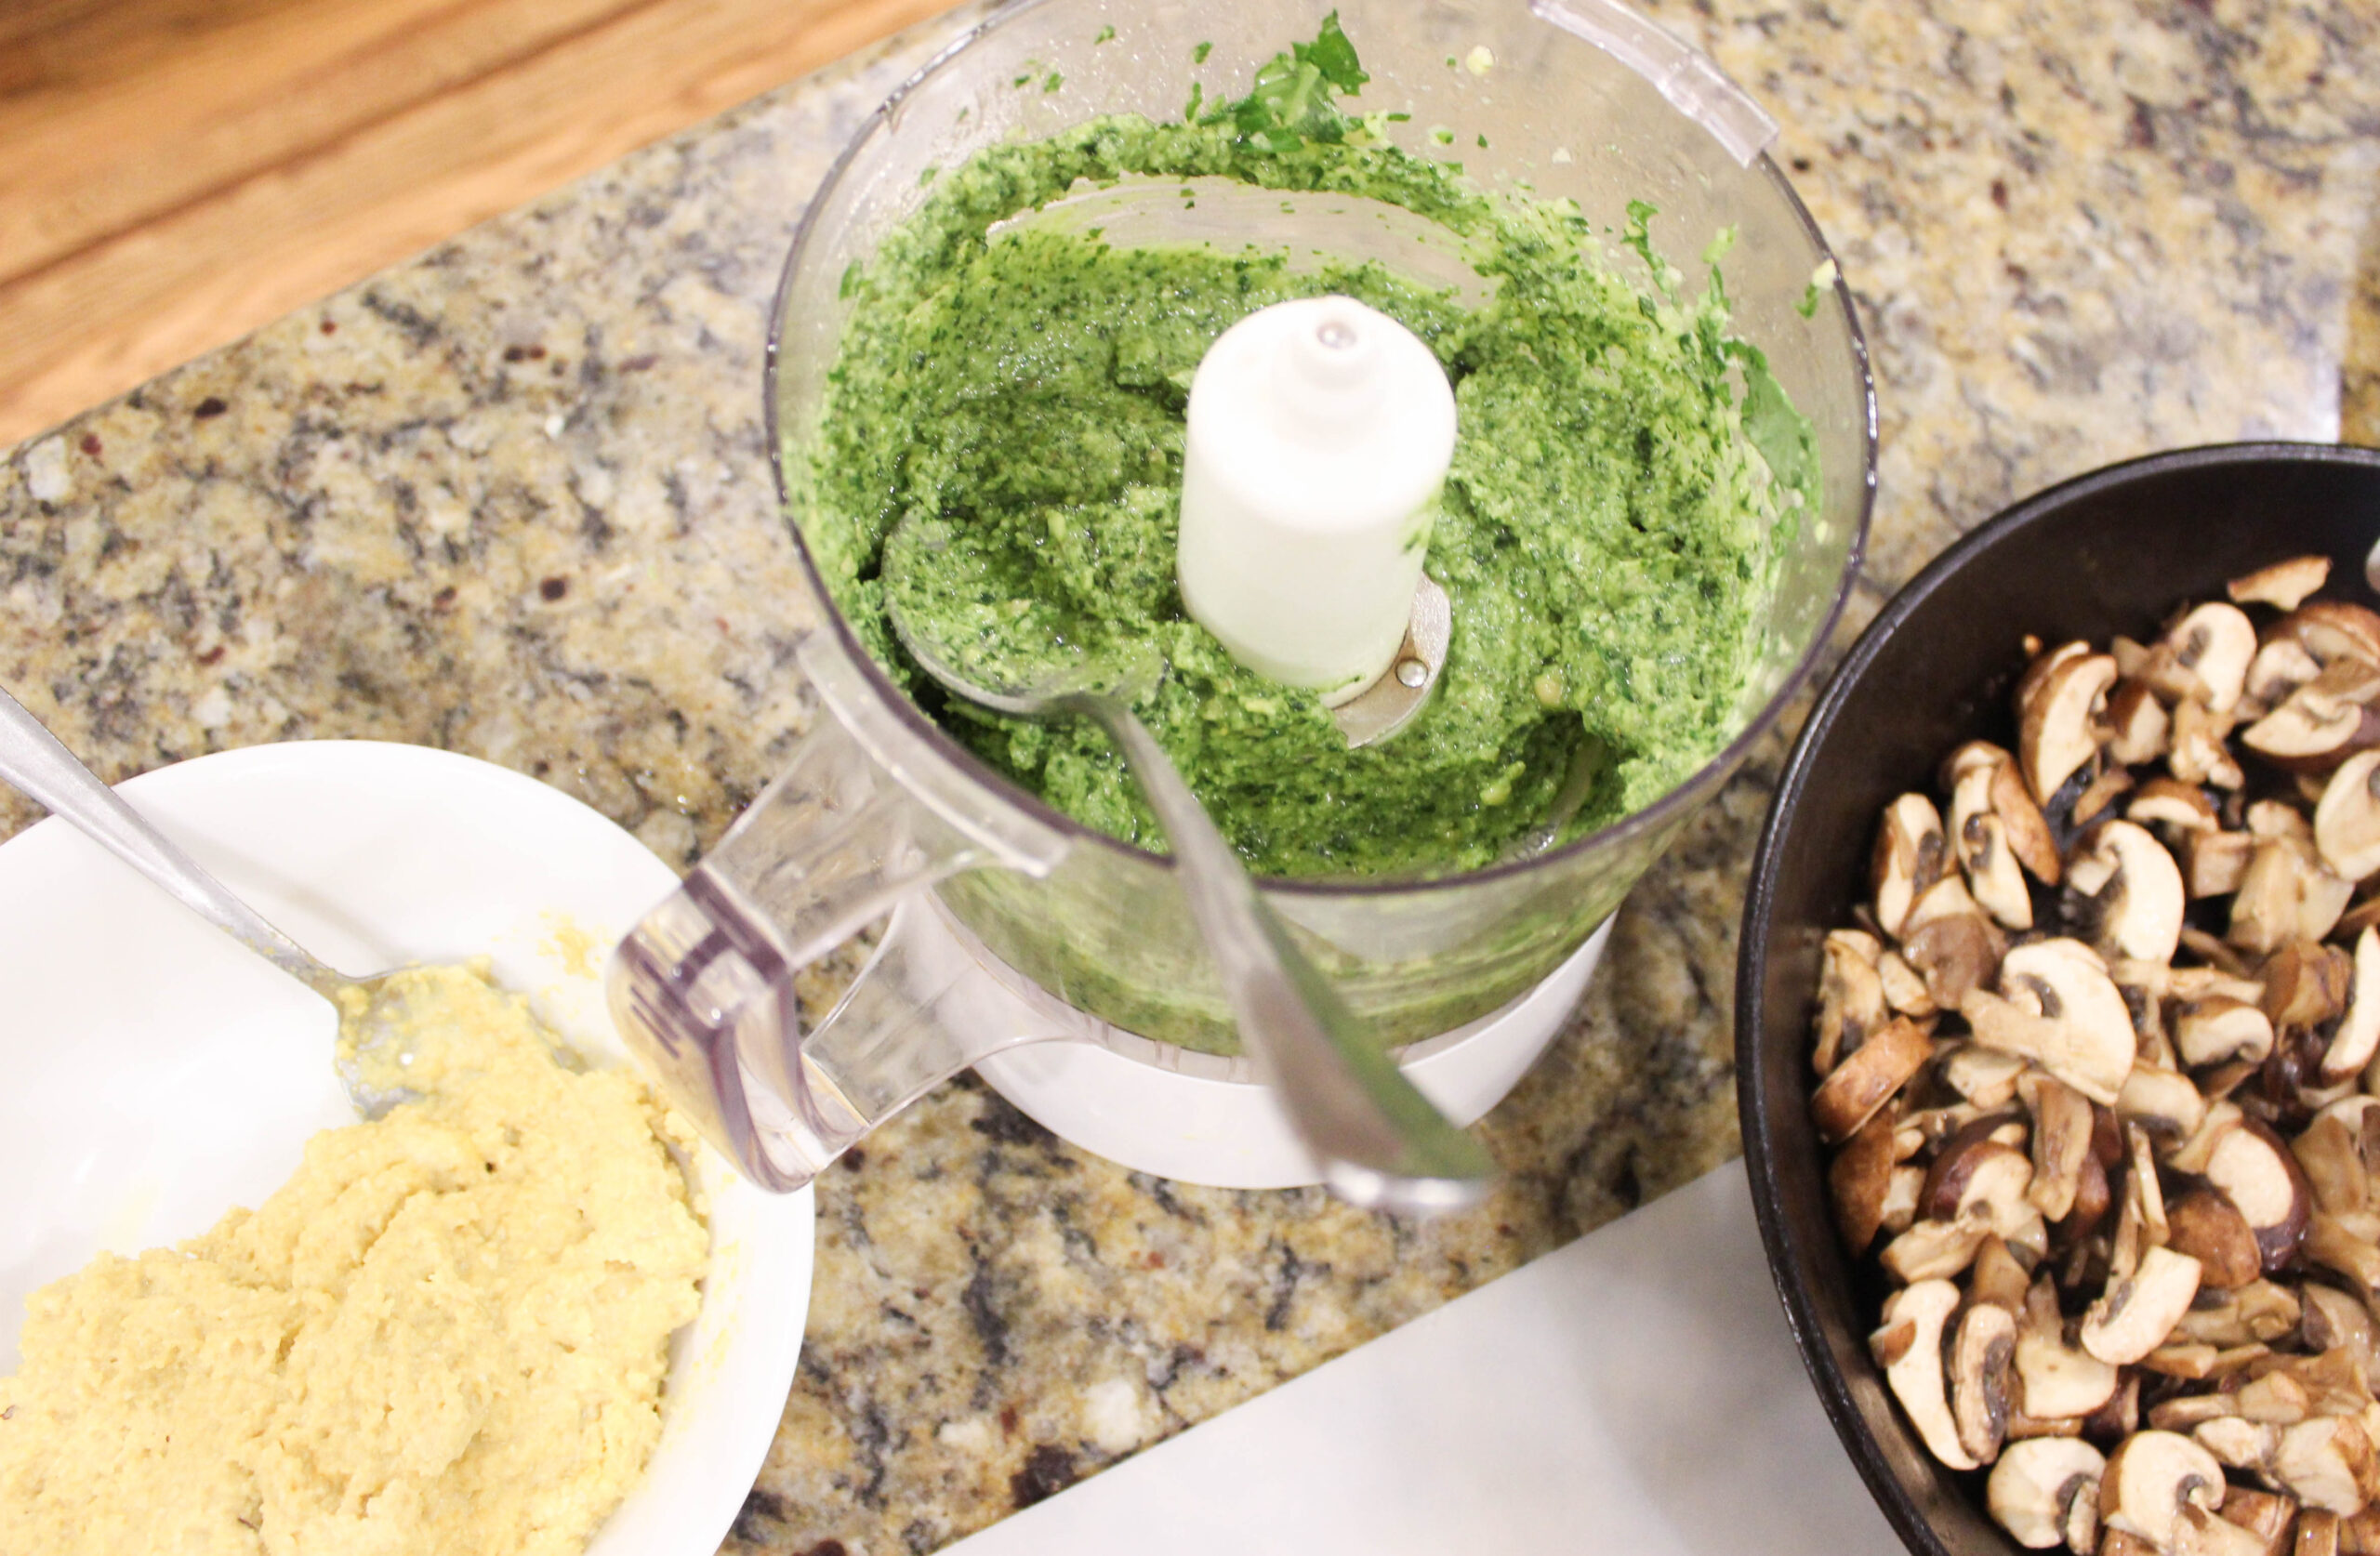
Instructions:
- Add all ingredients to a food processor. Pulse until everything is blended. Add some filtered water if a thinner consistency is desired. Enjoy!
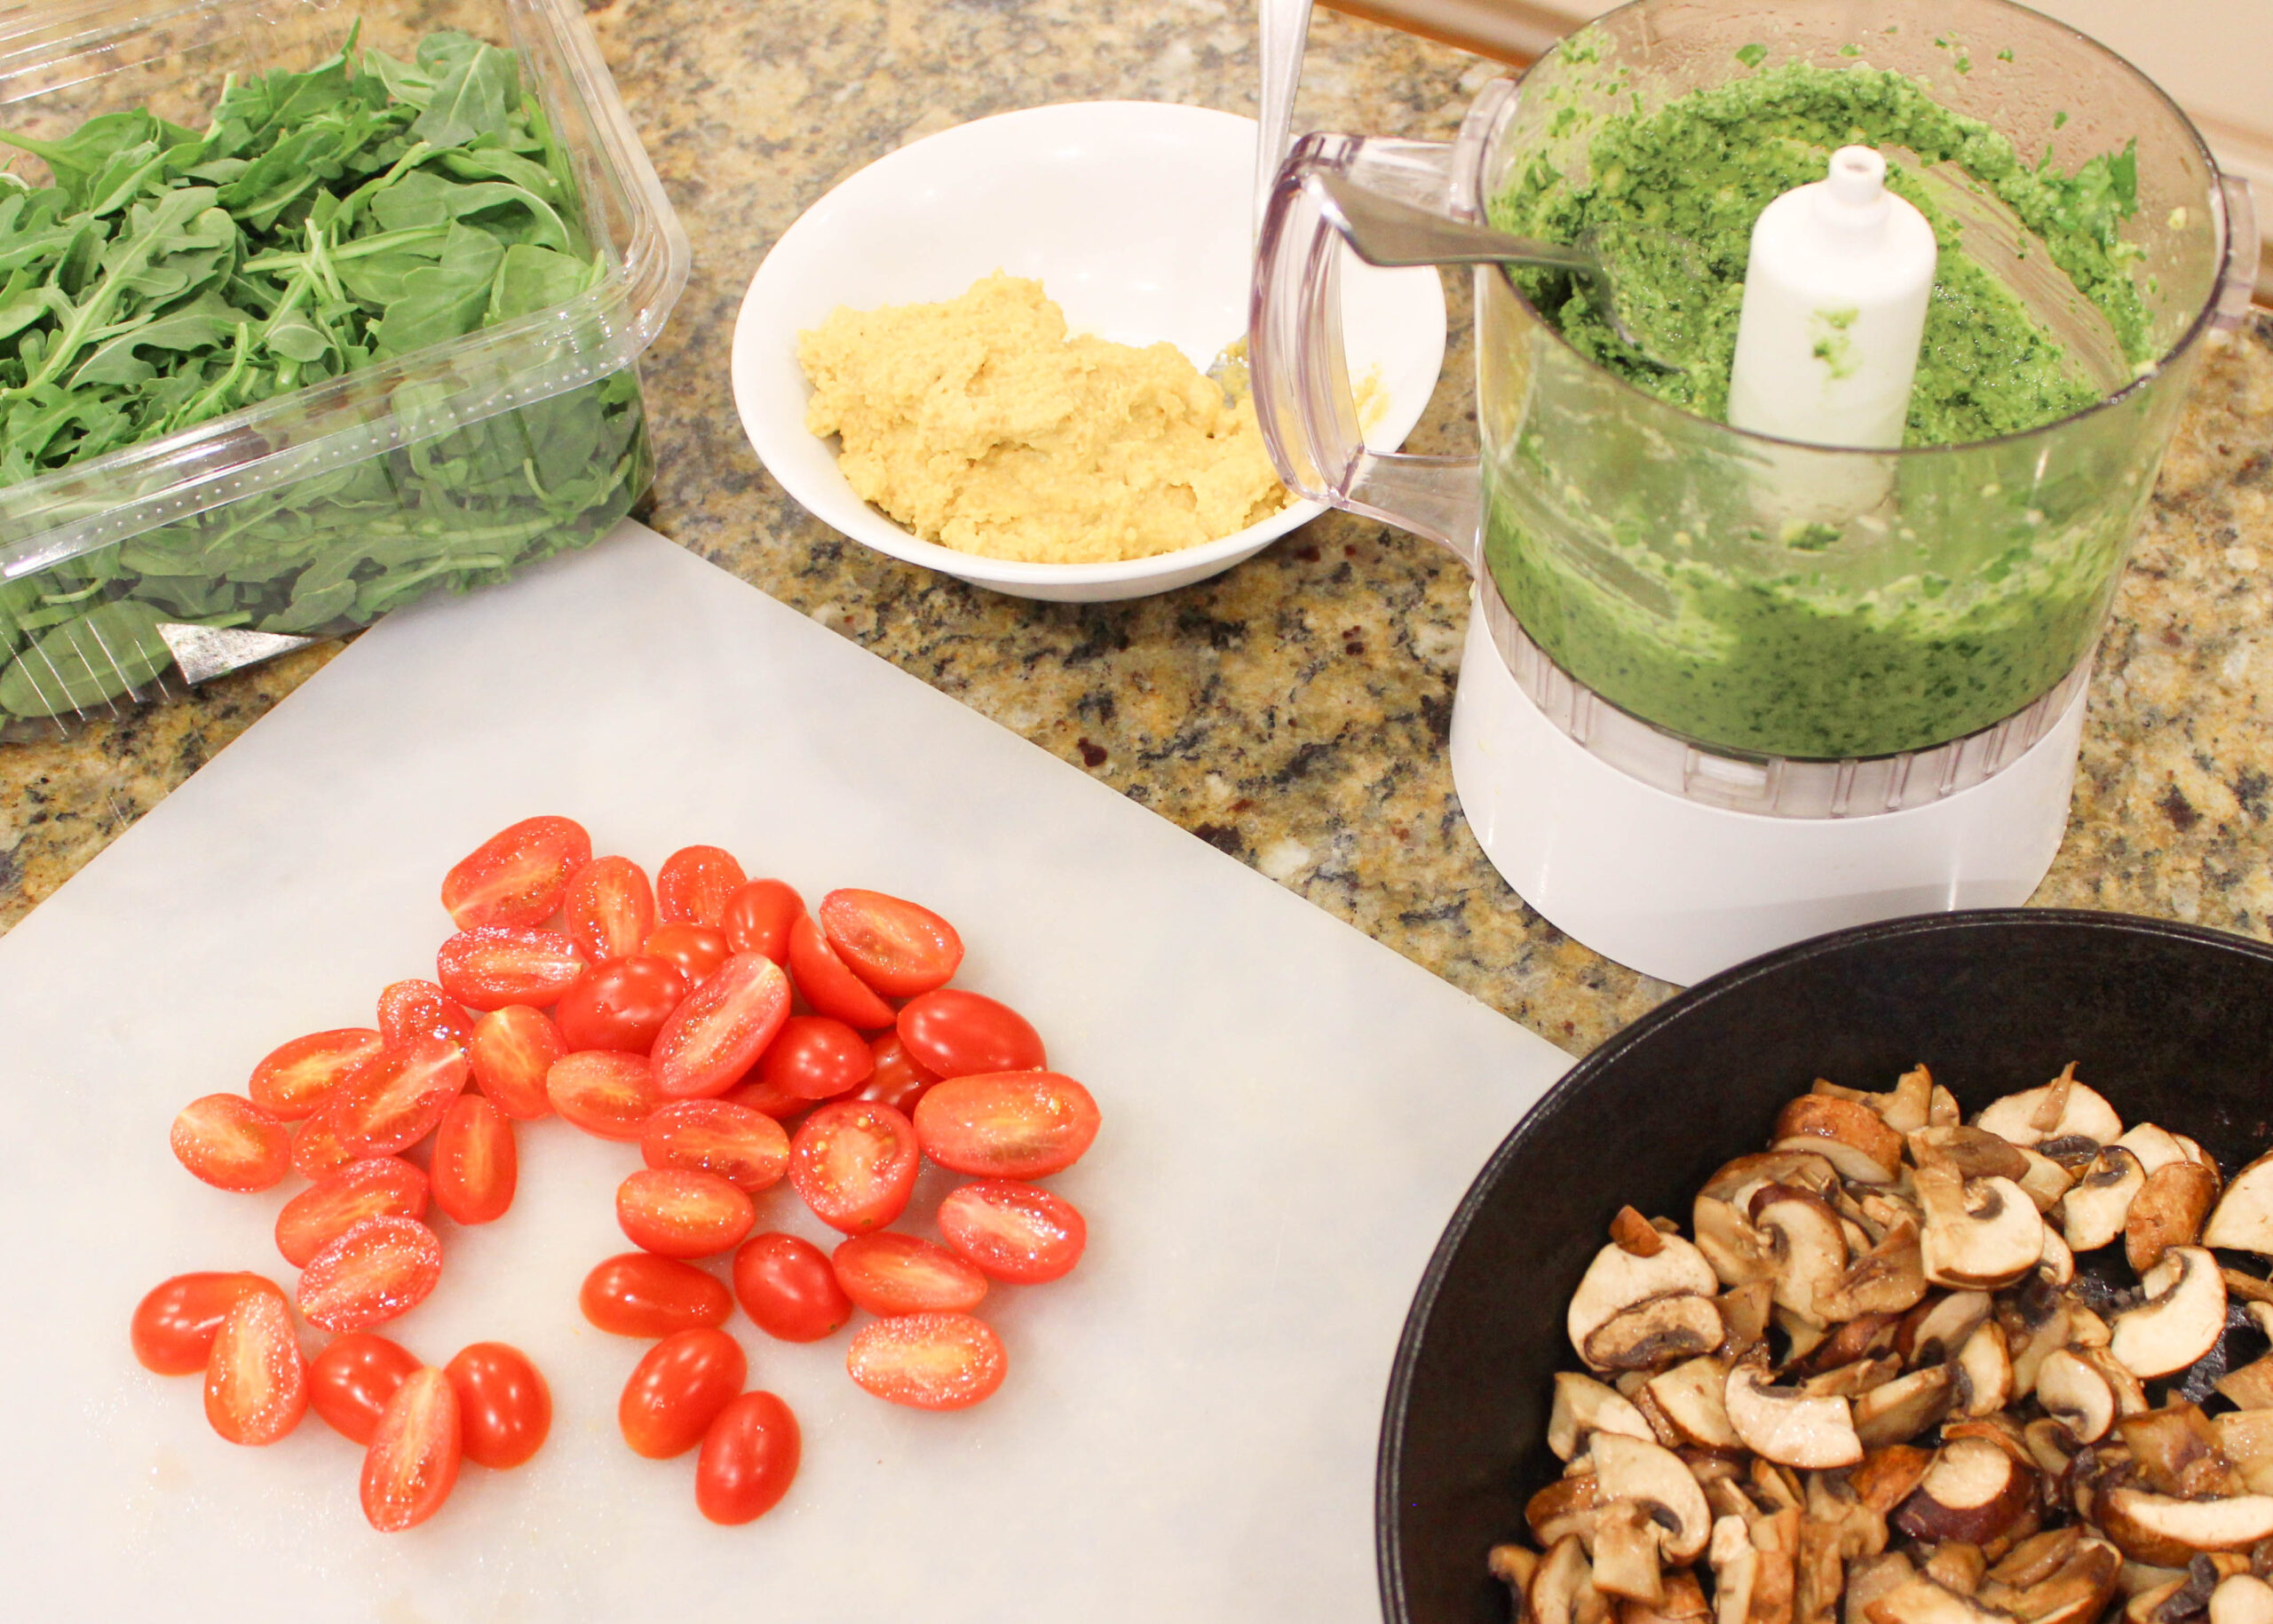
Pizza Toppings Prep
Ingredients:
- 1/2 cup cherry tomatoes
- 1 tbsp coconut oil
- 1/2 cup mushrooms
- 1 cup arugula
- 1 cup spinach
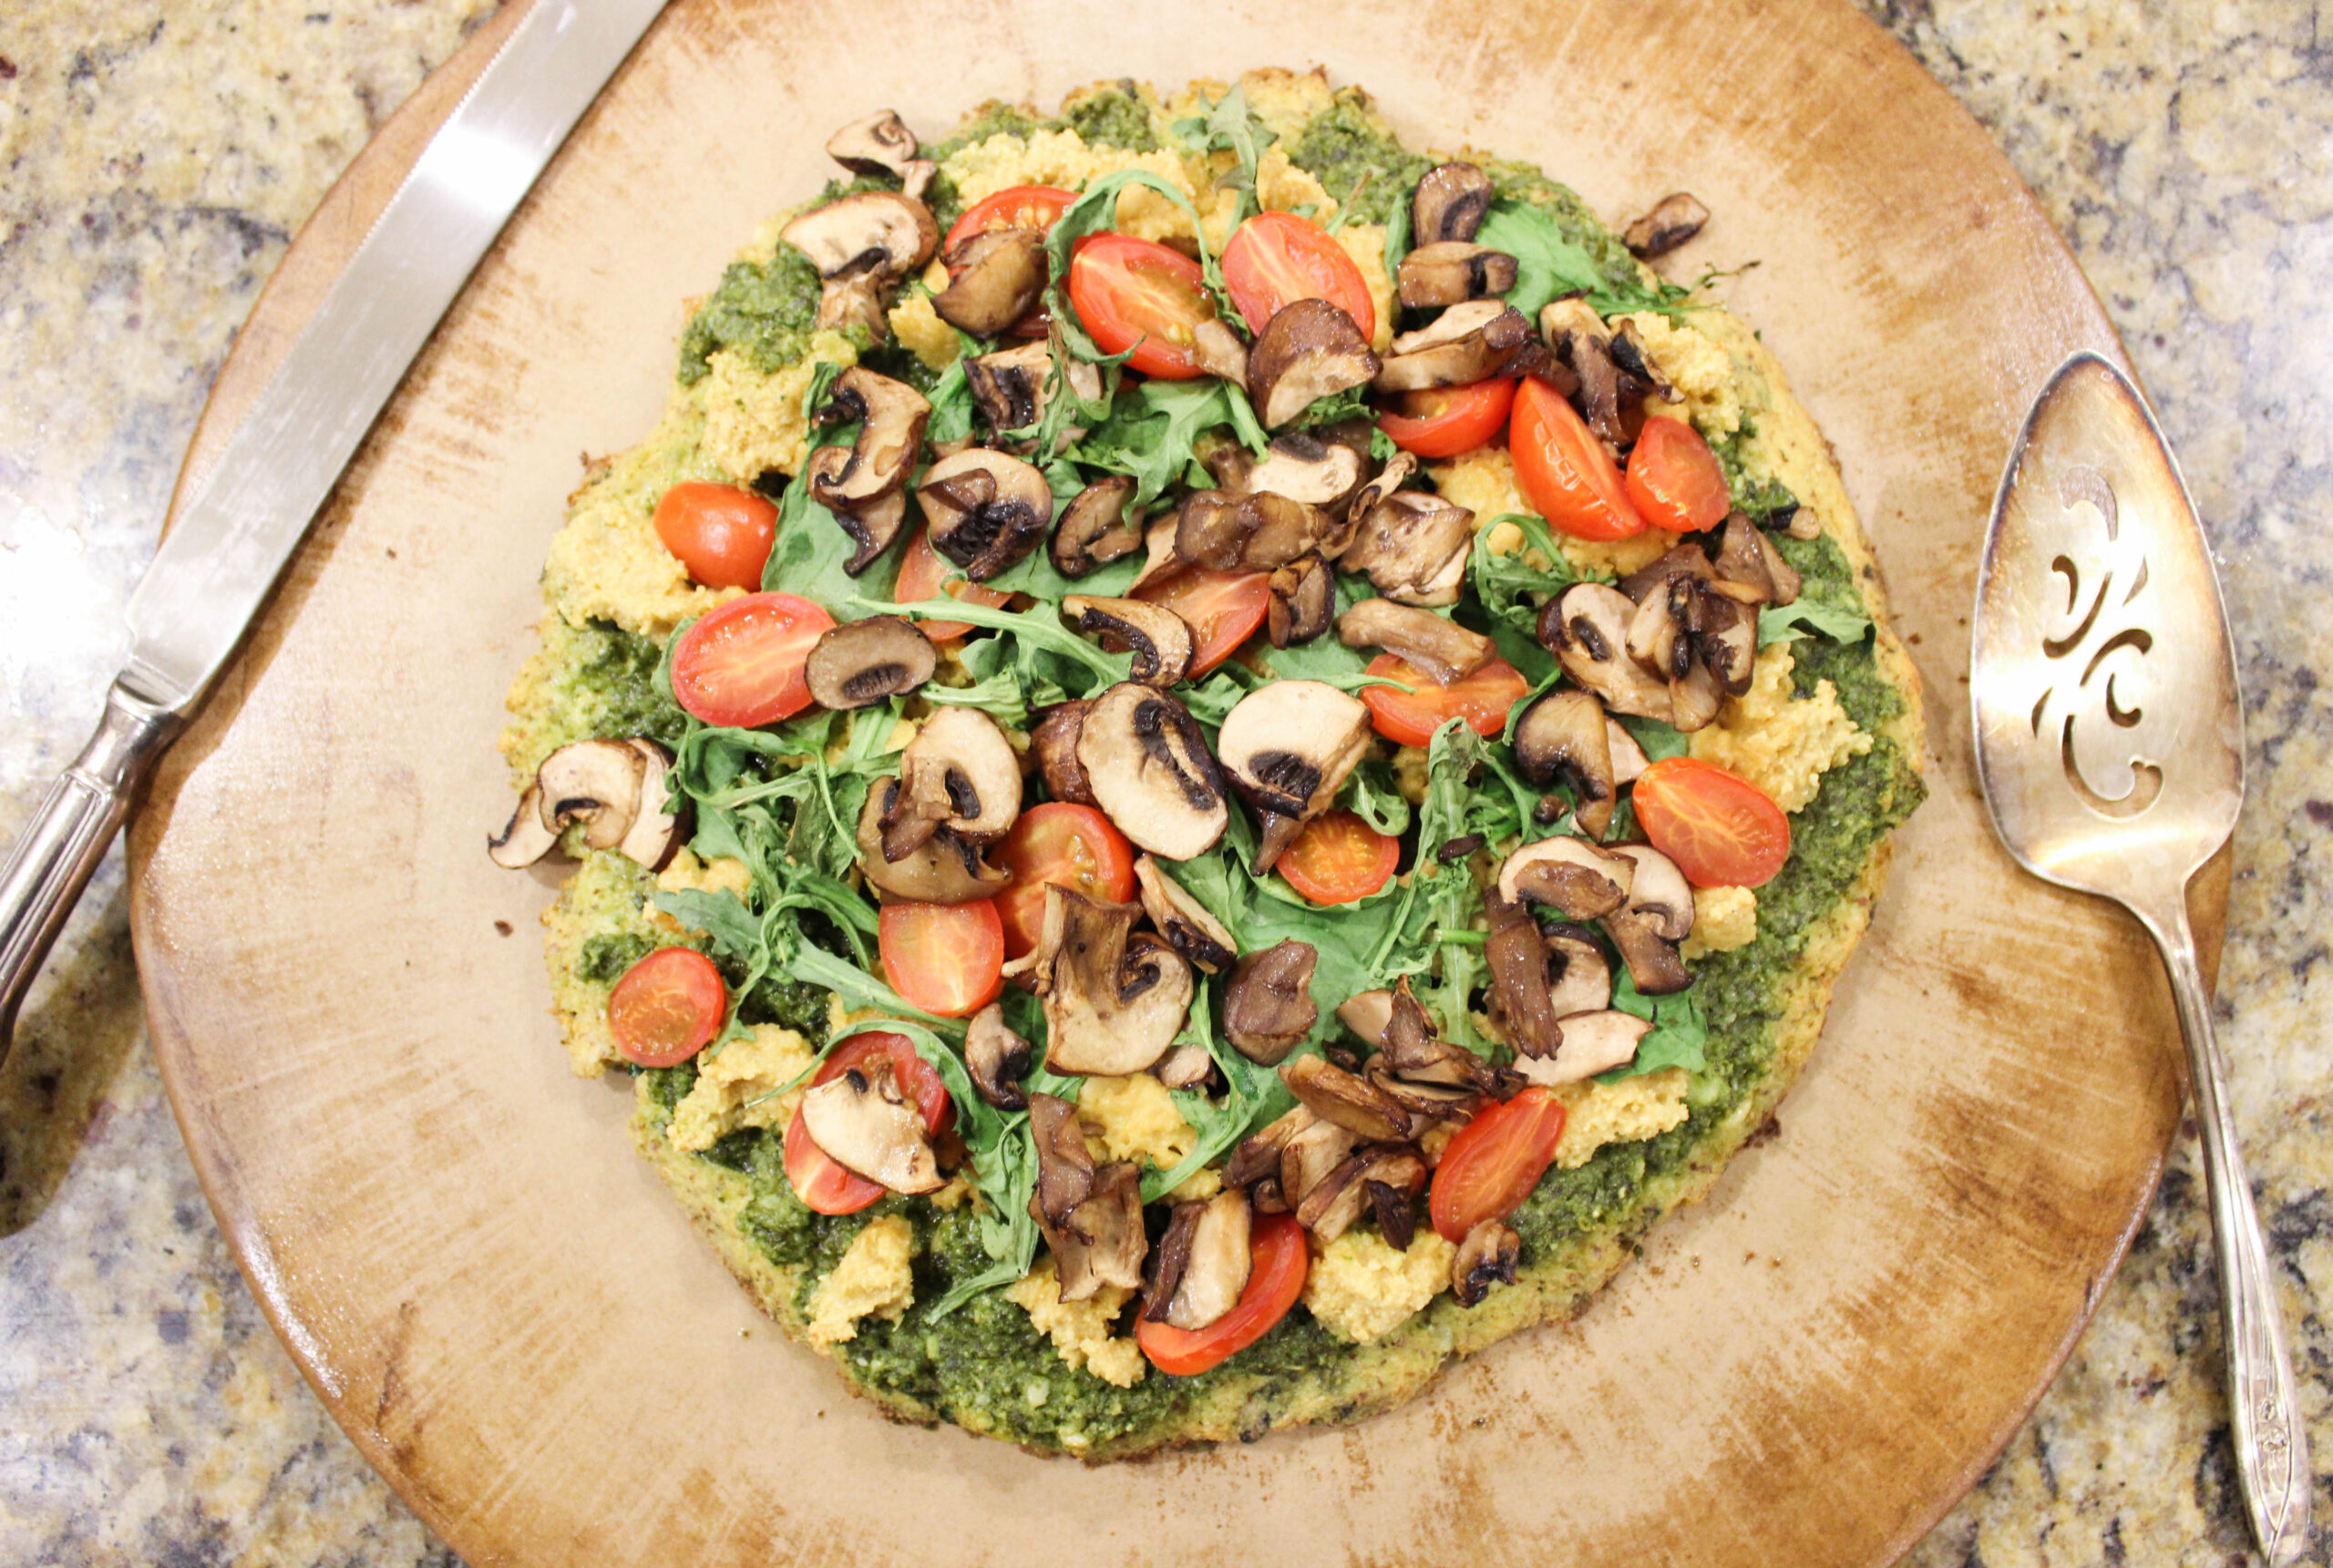
Instructions:
- Add the coconut oil to a pan and sauté the mushrooms for about 5 minutes.
- Cut the cherry tomatoes in half.
- After the pizza crust has been cooked for the first 20 minutes, spread the pesto on top. Add the cashew cheese. Place the spinach, arugula, sautéed mushrooms, and cherry tomatoes on top. Put back in the oven until it’s ready to eat!
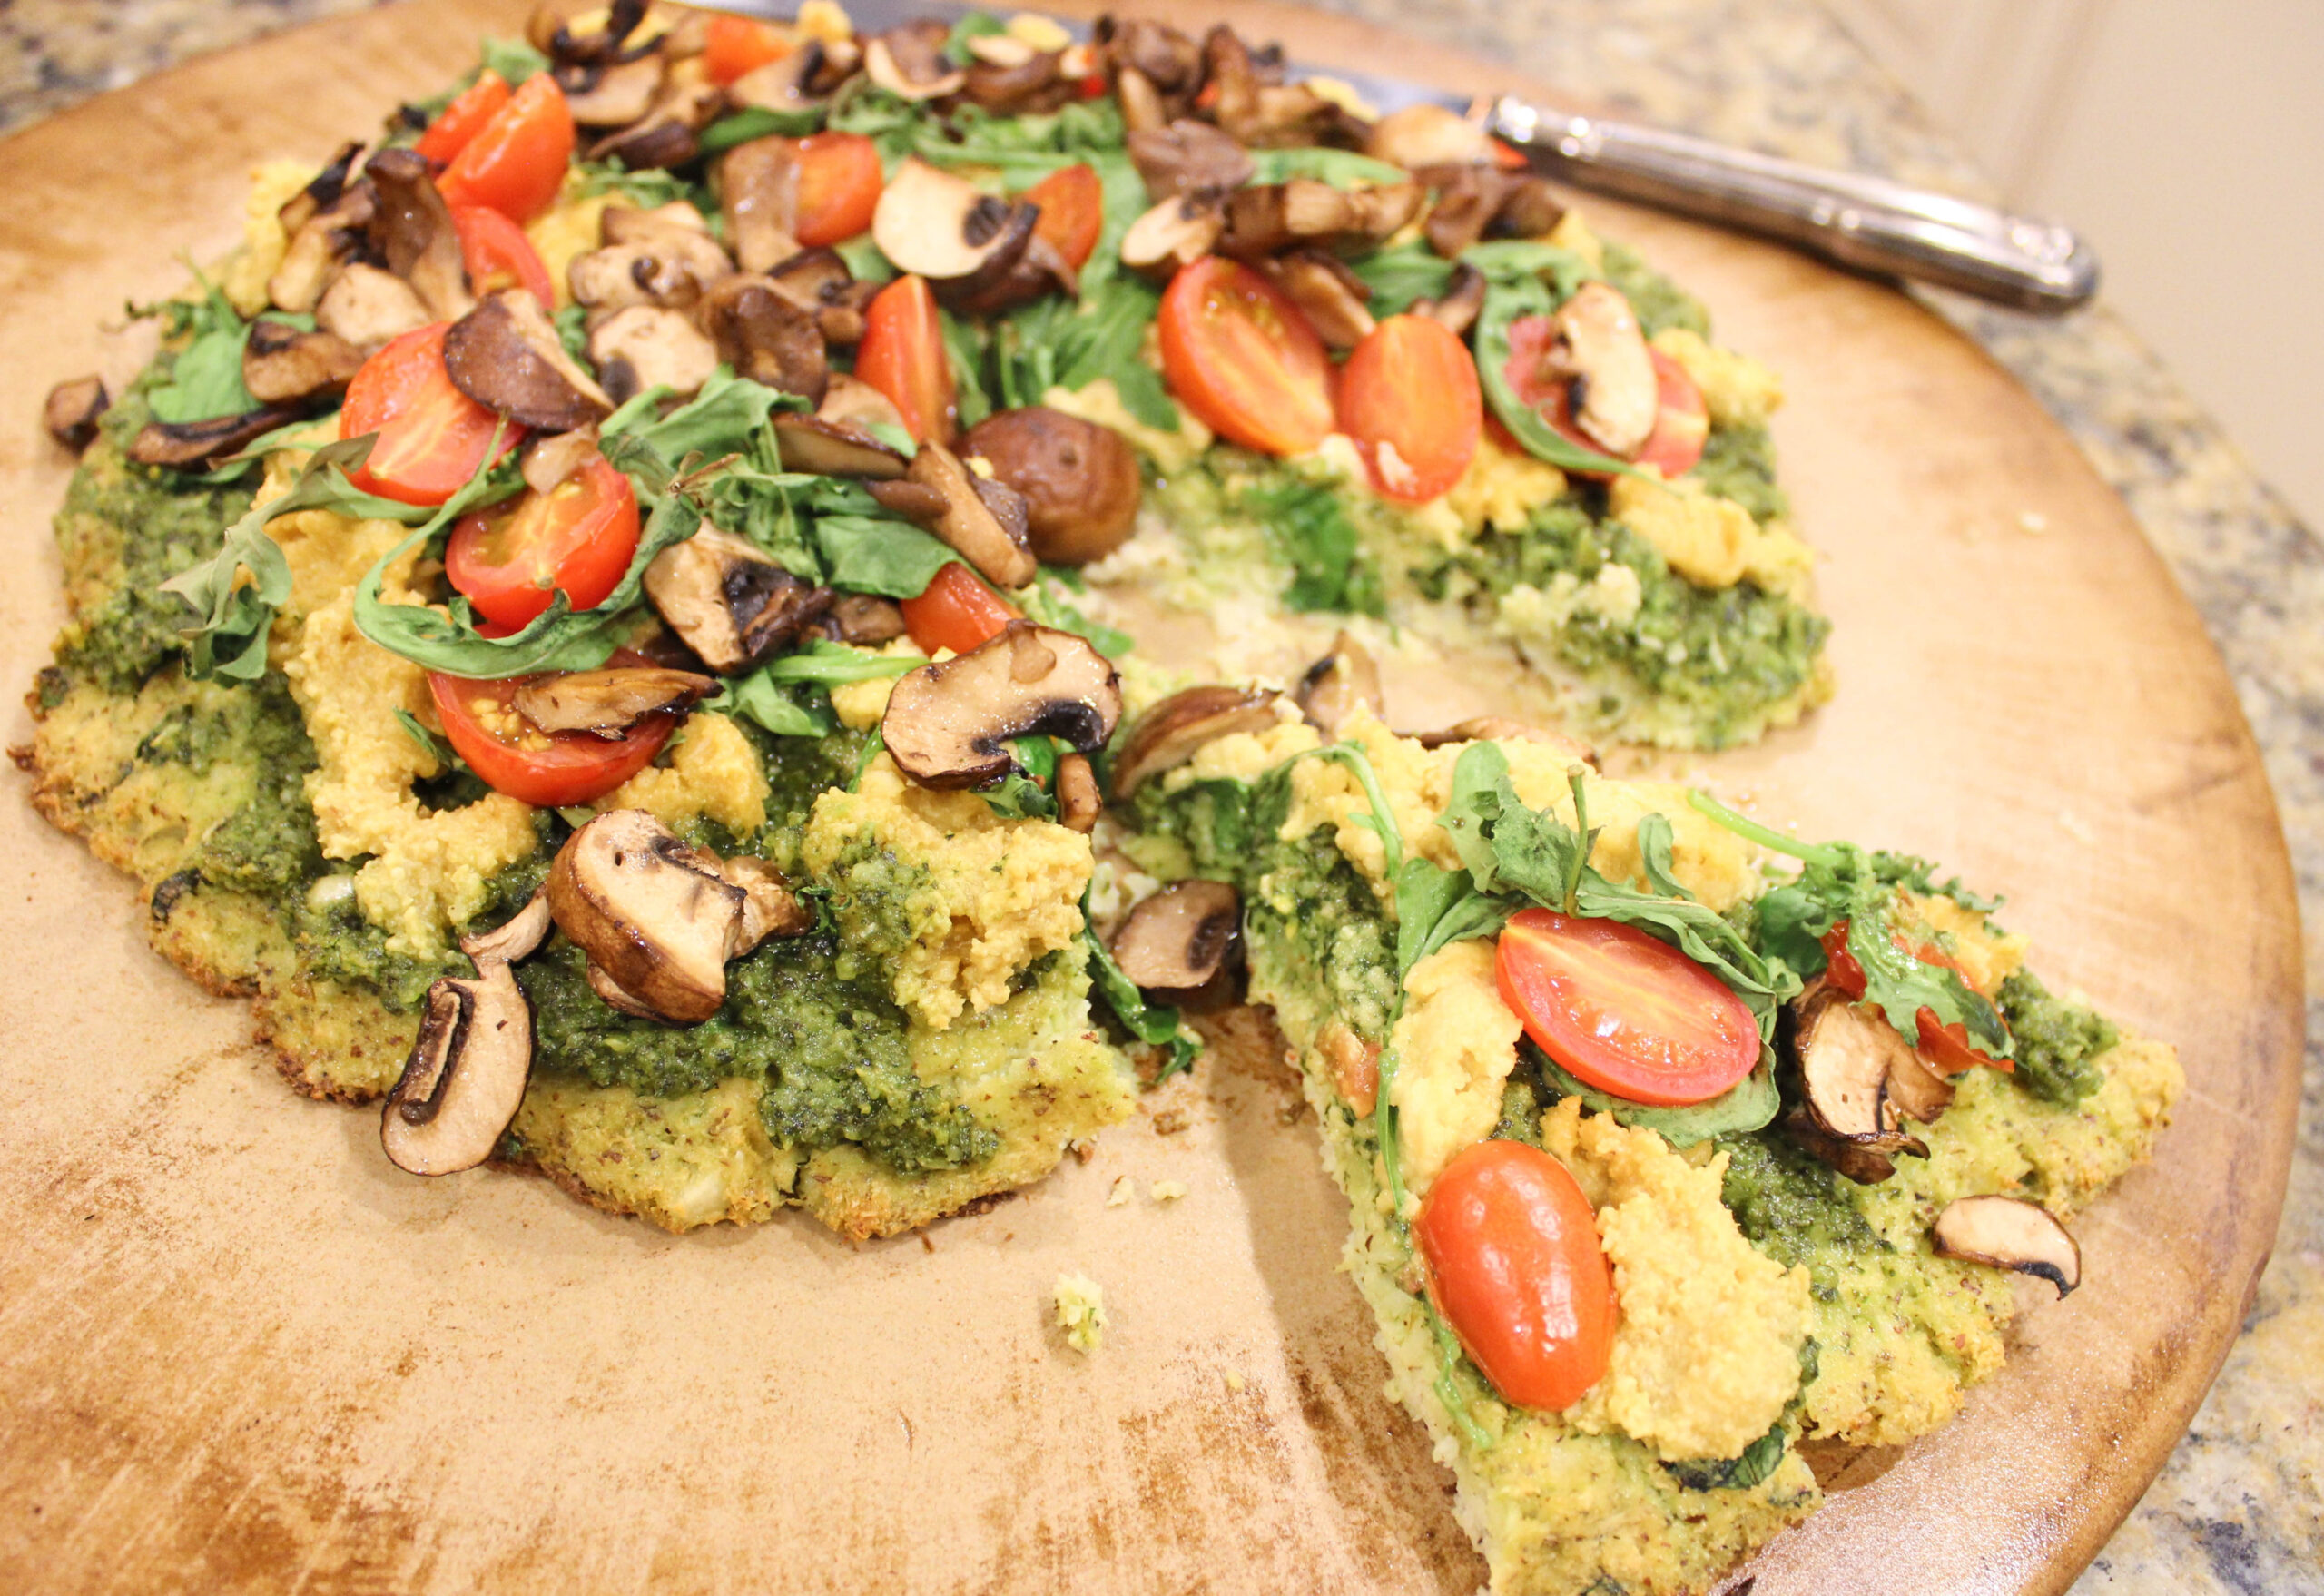
What’s your favorite kind of pizza?! Let me know if you try out this recipe! If you do, take a picture and TAG ME (@addicted_to_lovely)! Enjoy! XO

by Christina | Jun 16, 2016 | Wellness
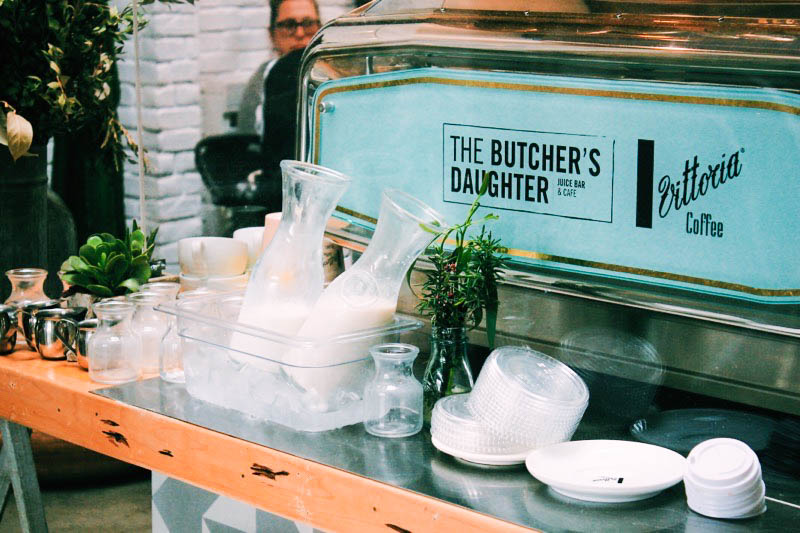
ALRIGHT ALRIGHT! It’s time for me to hop back into restaurant reviewing after a loooooong hiatus. I love love love to hunt for the most DELISH restaurants in town (and take food pics, obviously), but I paused on writing reviews for awhile. I couldn’t eat out for a few months while I was on a very annoying diet for my stomach, per my doctor’s orders, and continuing to write restaurant reviews during that time was too torturous. Thankfully, that diet is now DONE and I’m back to chowin’ down on whatever yummy food my heart desires.
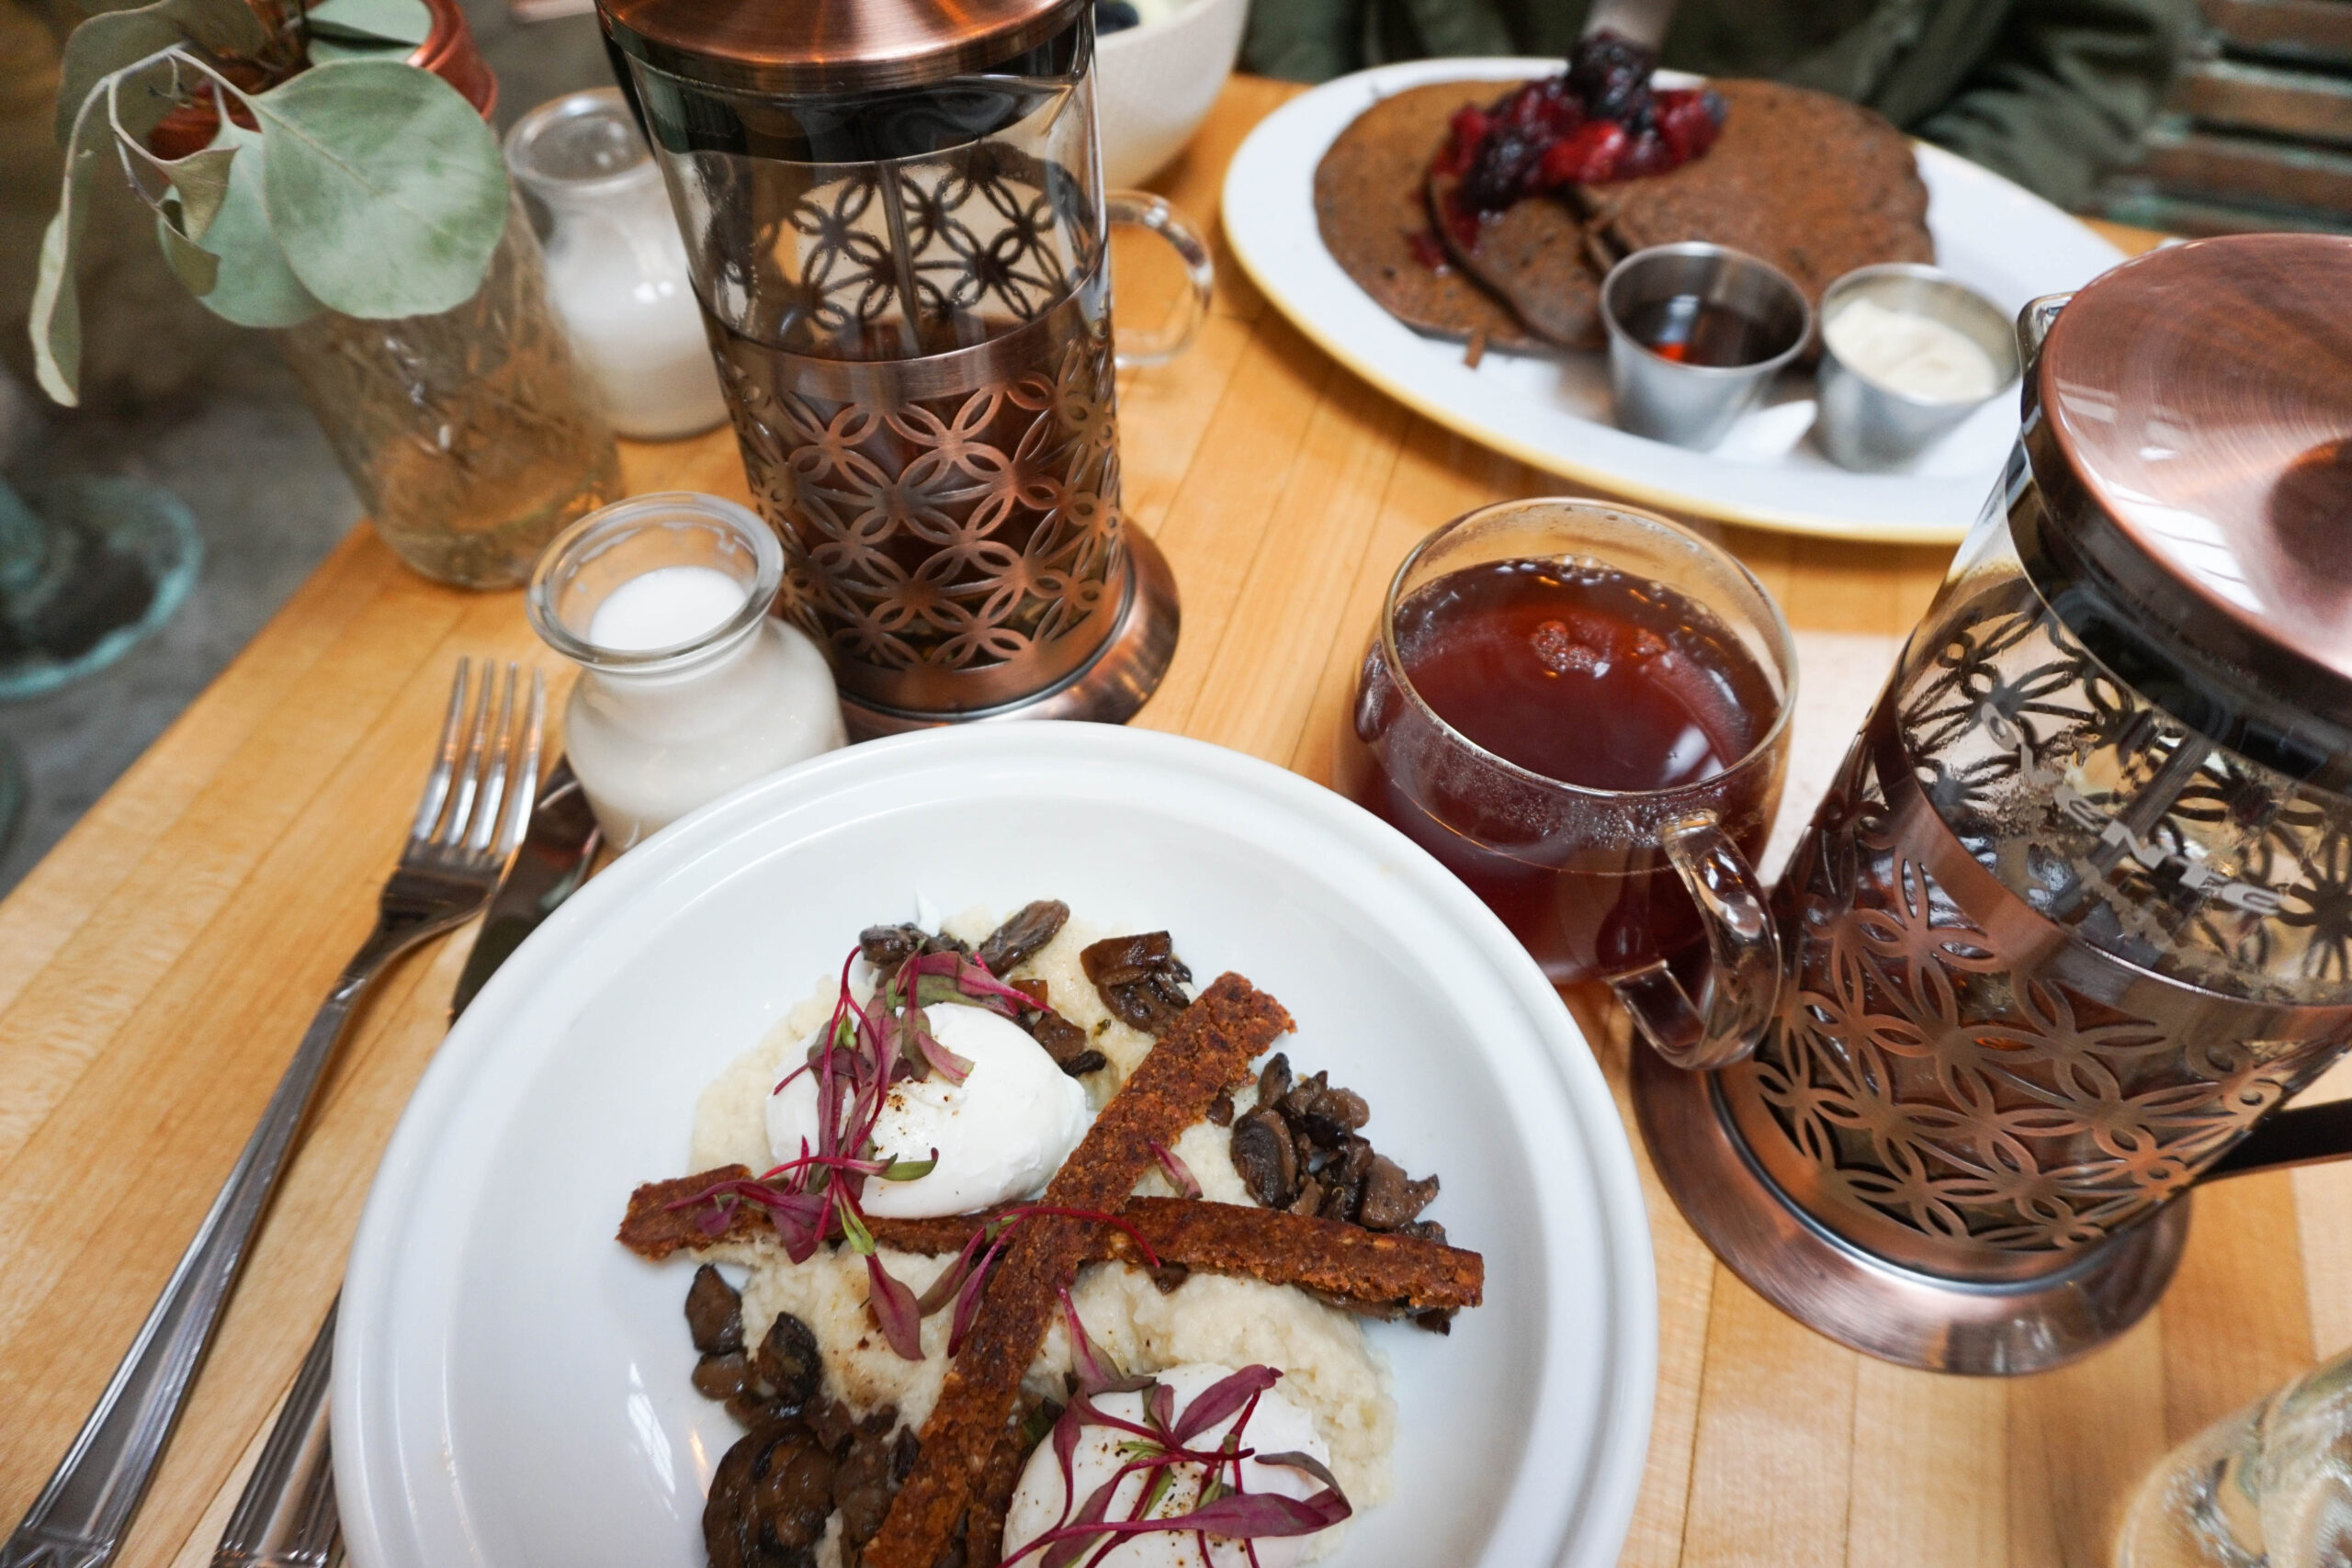
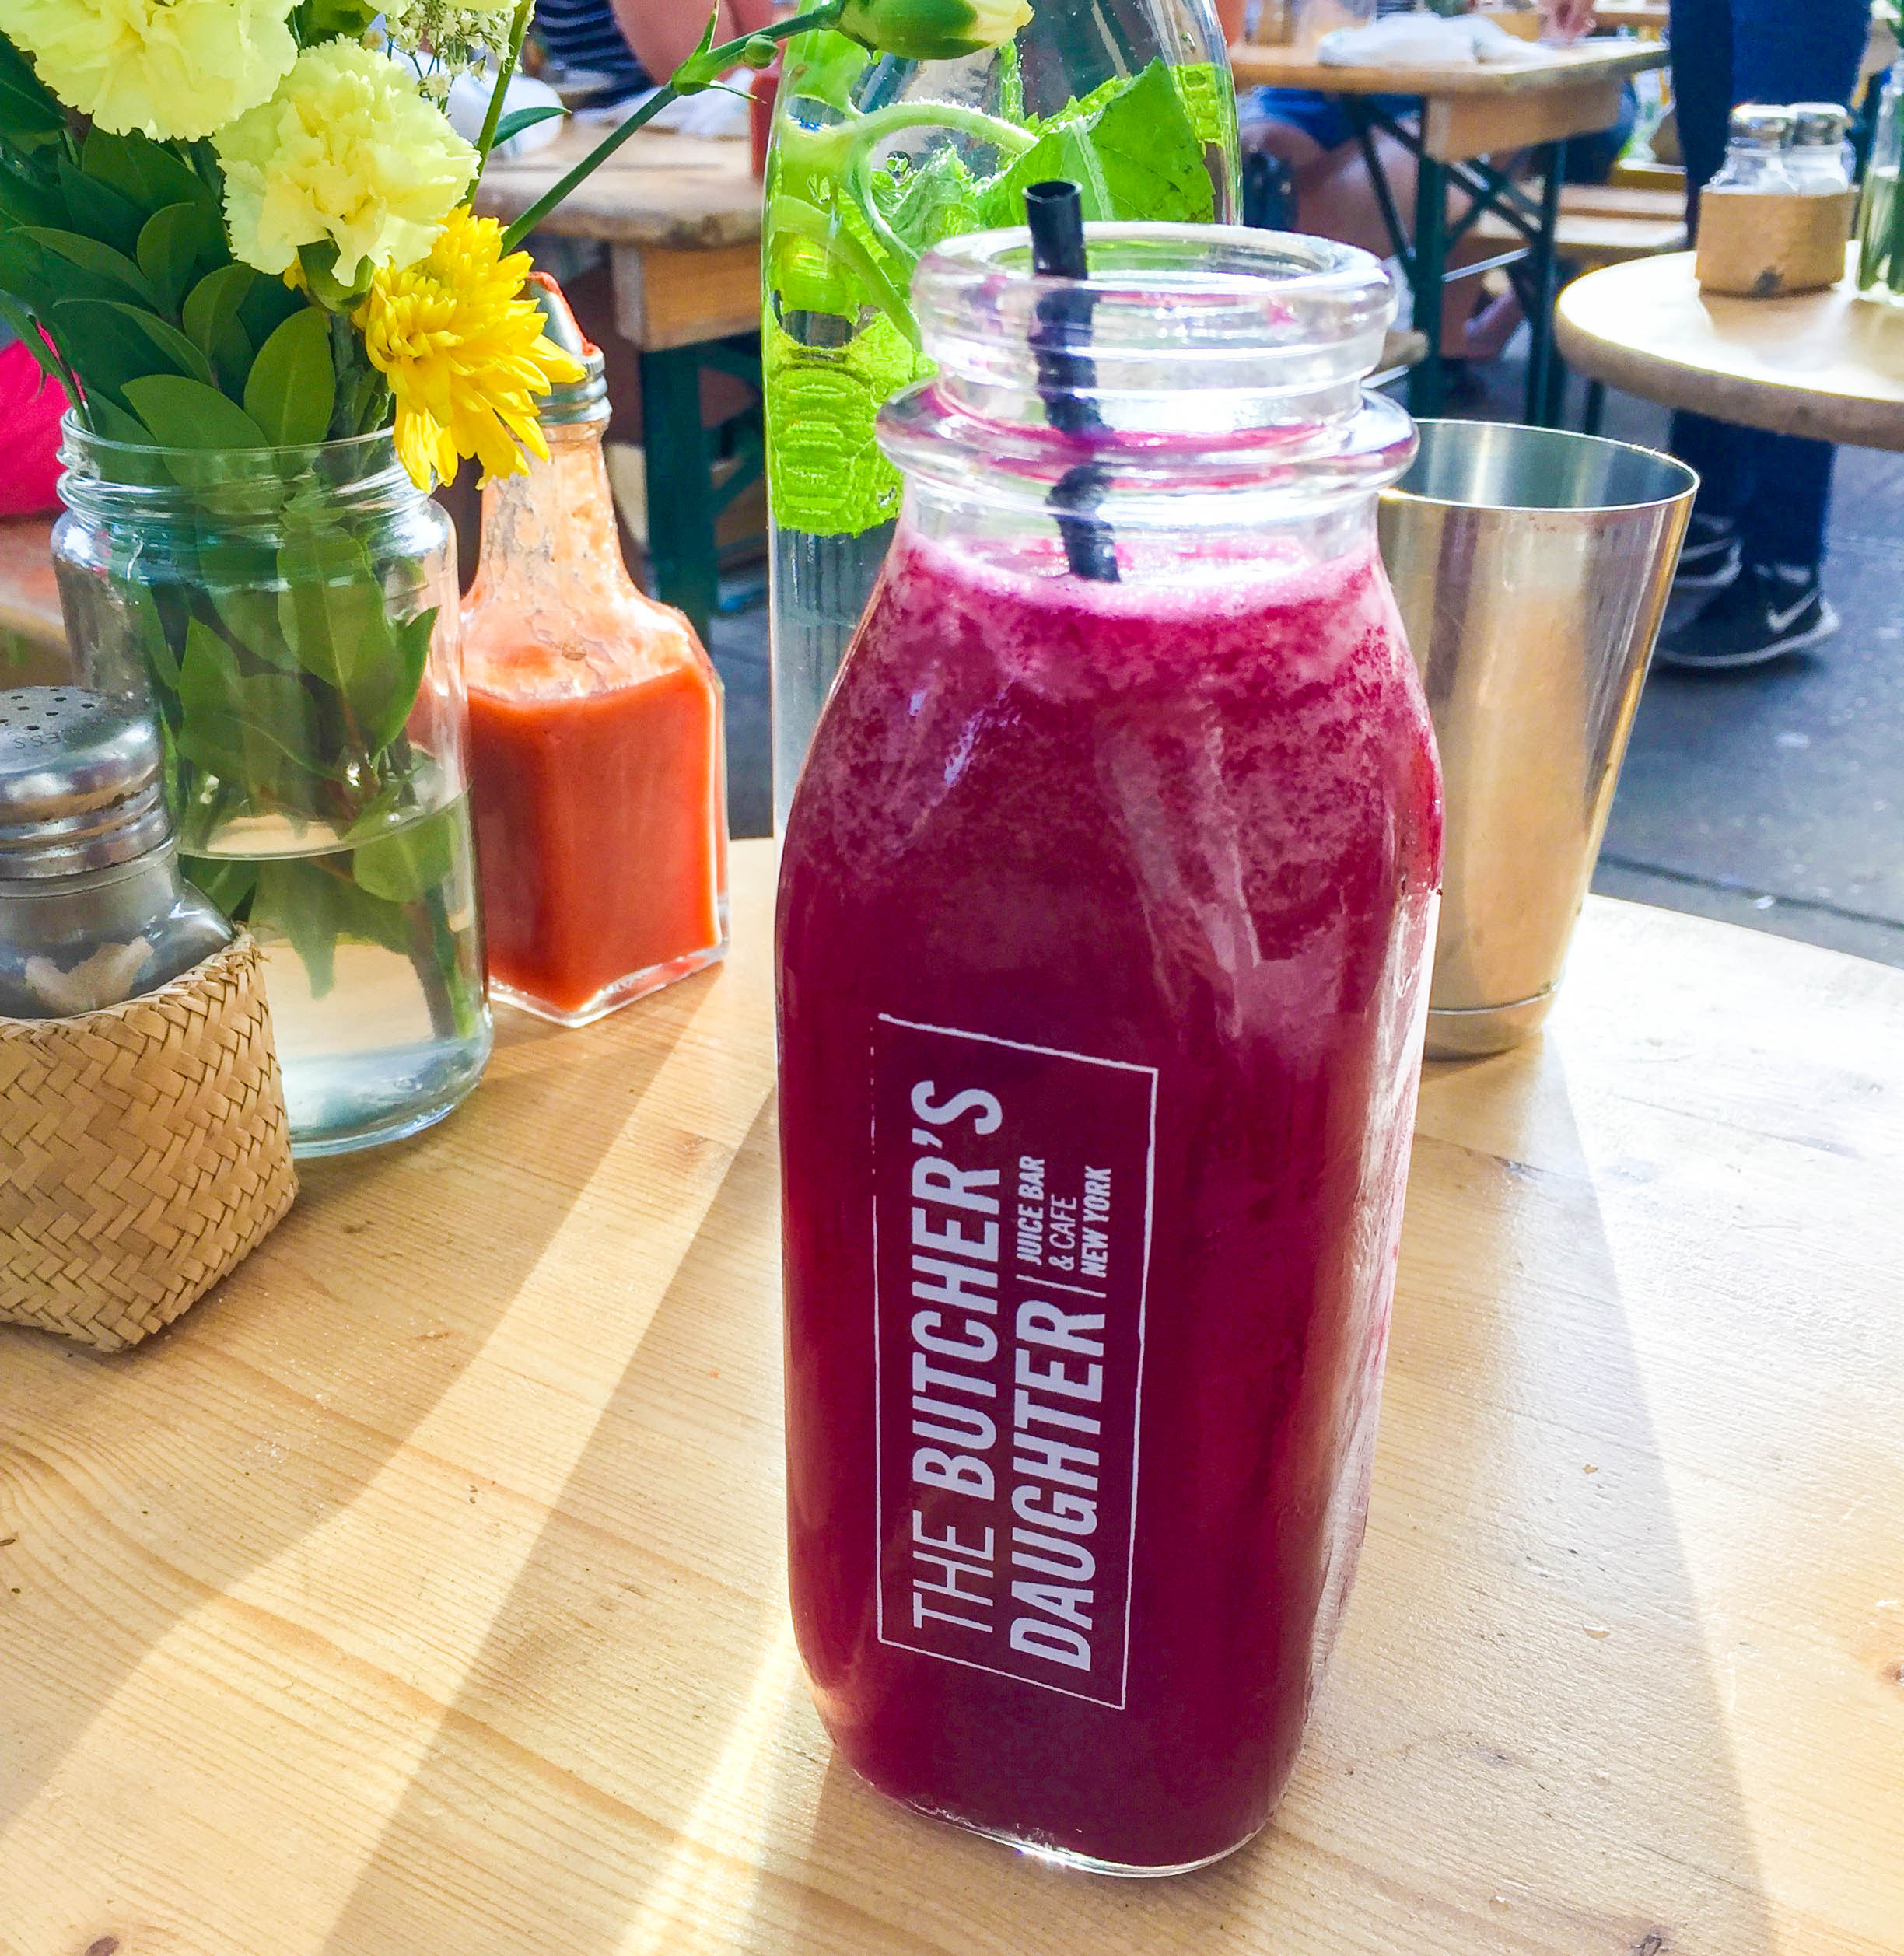
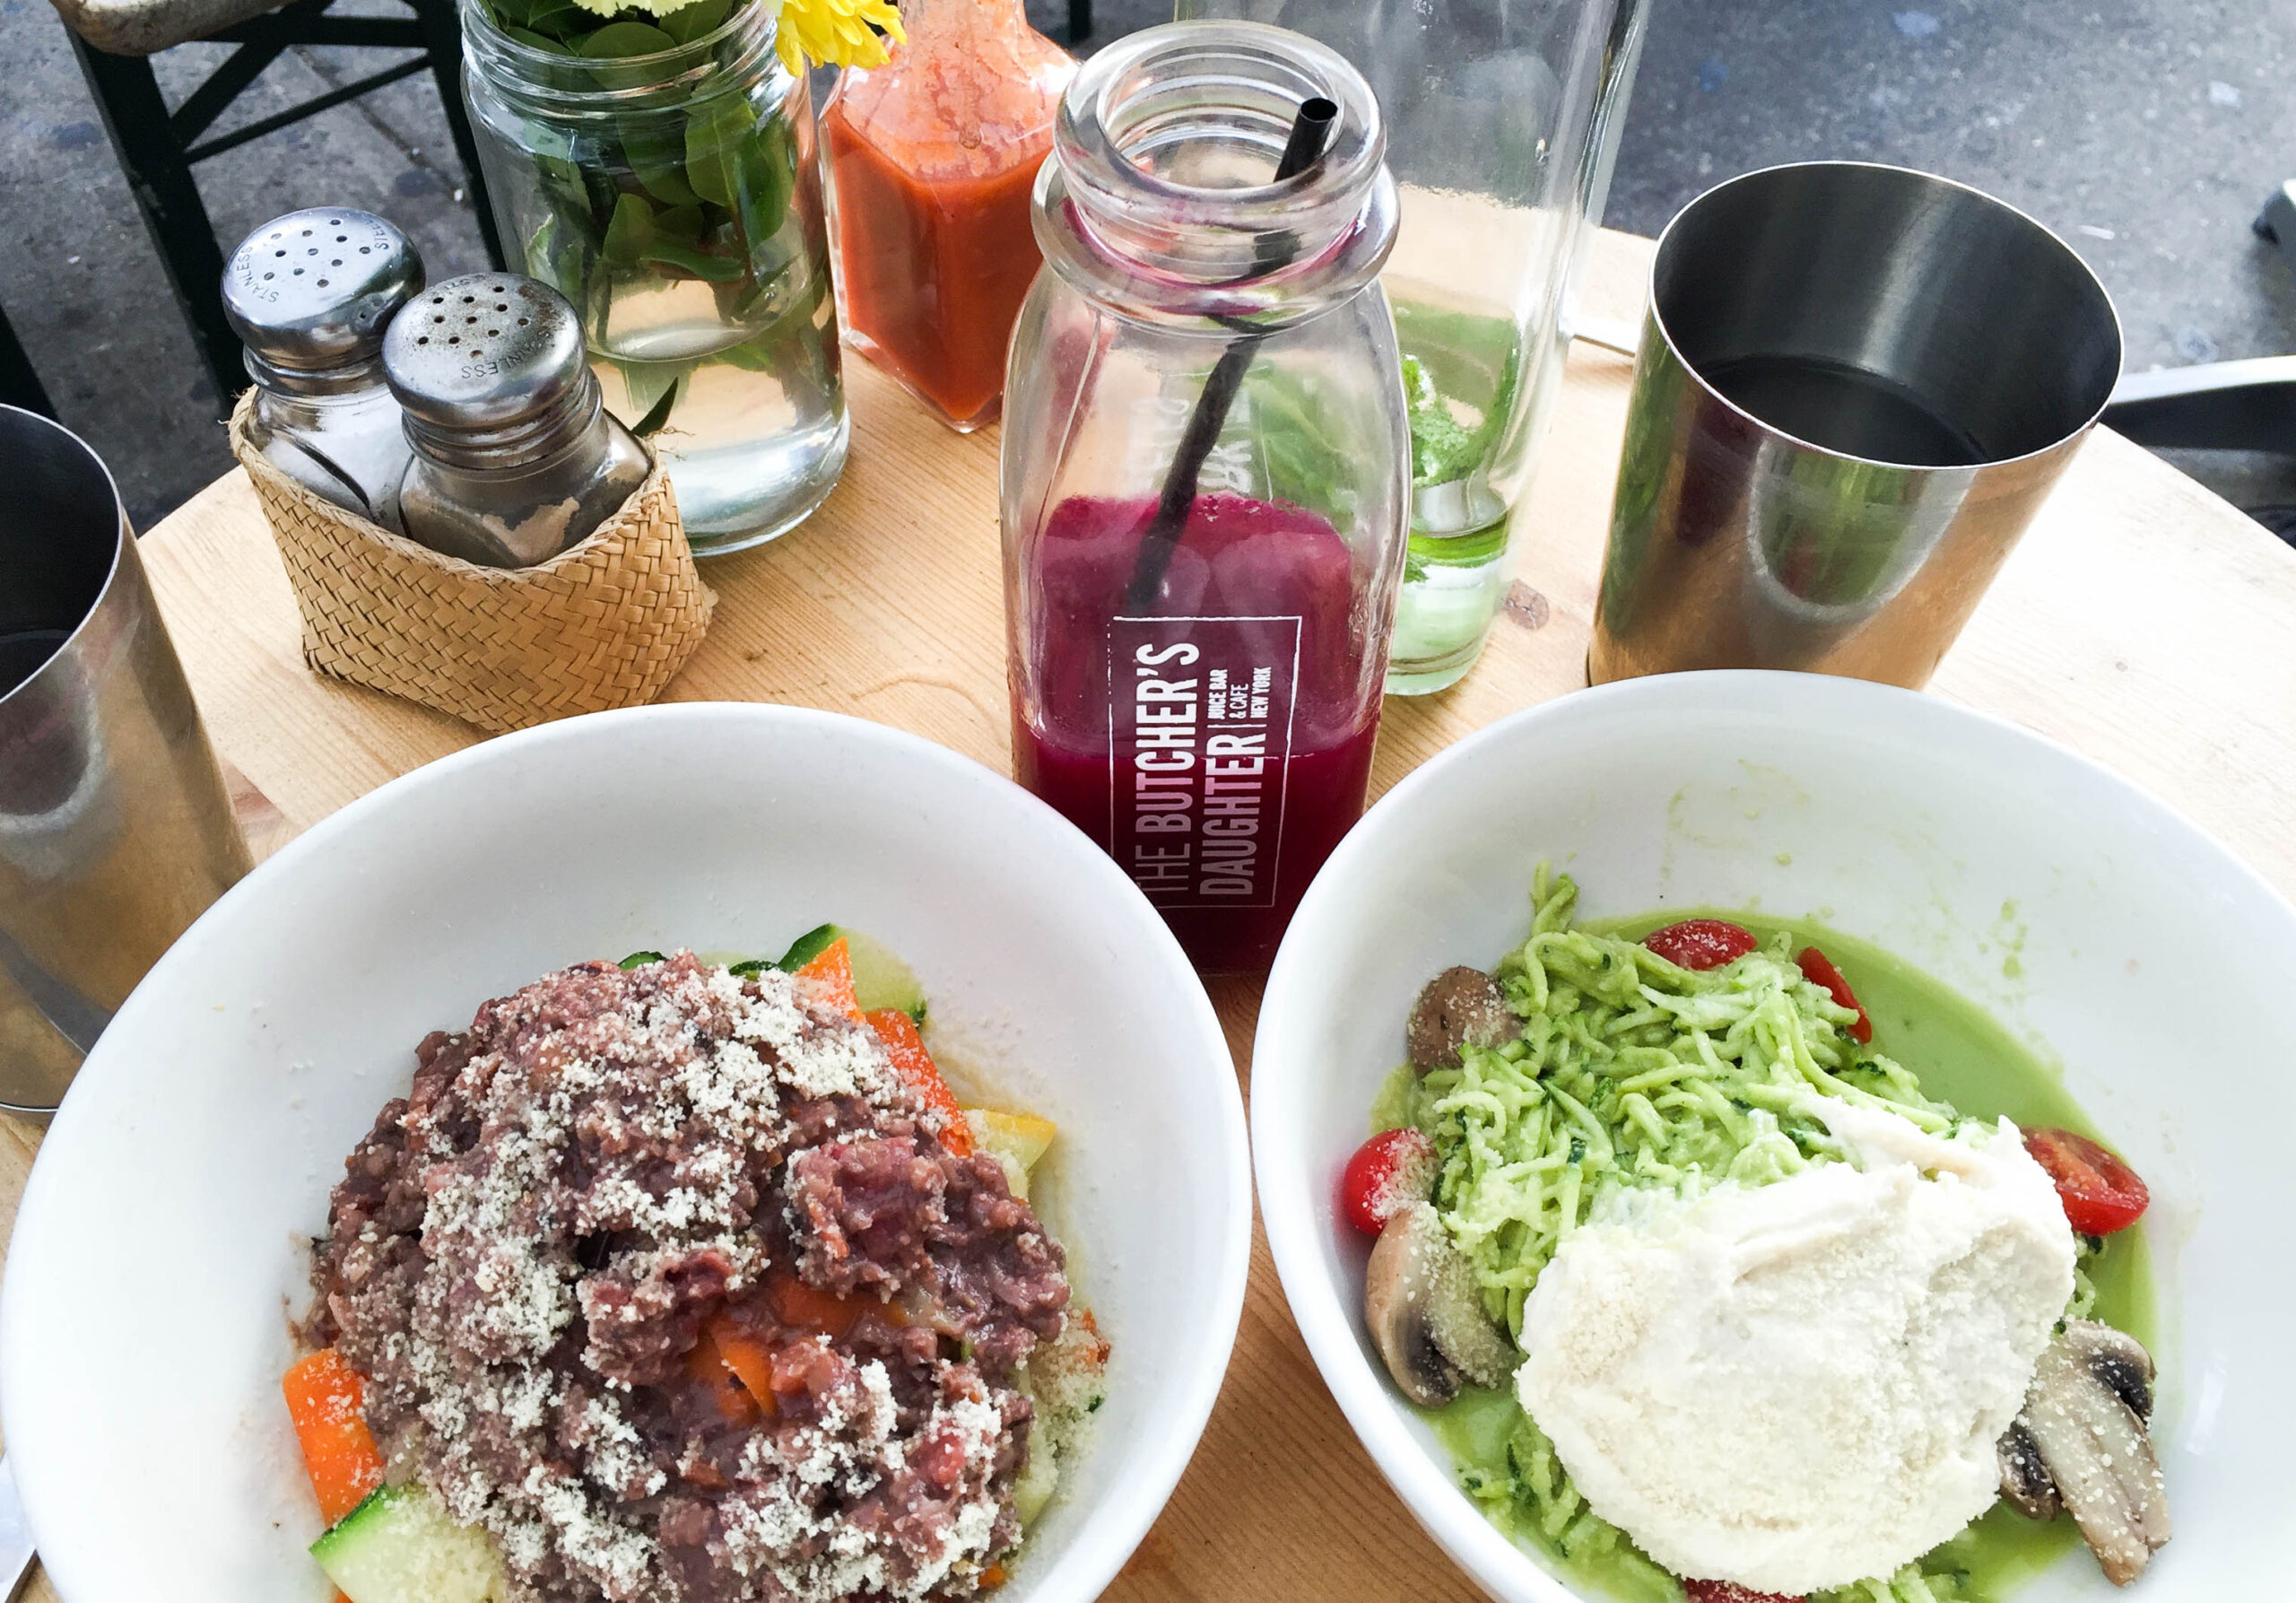
I want to kick things off with one of my favorite new L.A. restaurants – The Butcher’s Daughter! The first time I went to the Butcher’s Daughter, I was in New York botout a year ago. I practically died from how delicious the food was. My mother and I got a juice, the spaghetti squash carbonara, the zucchini lasagna, and the best damn artichoke dip I’ve ever tried. It was divine.
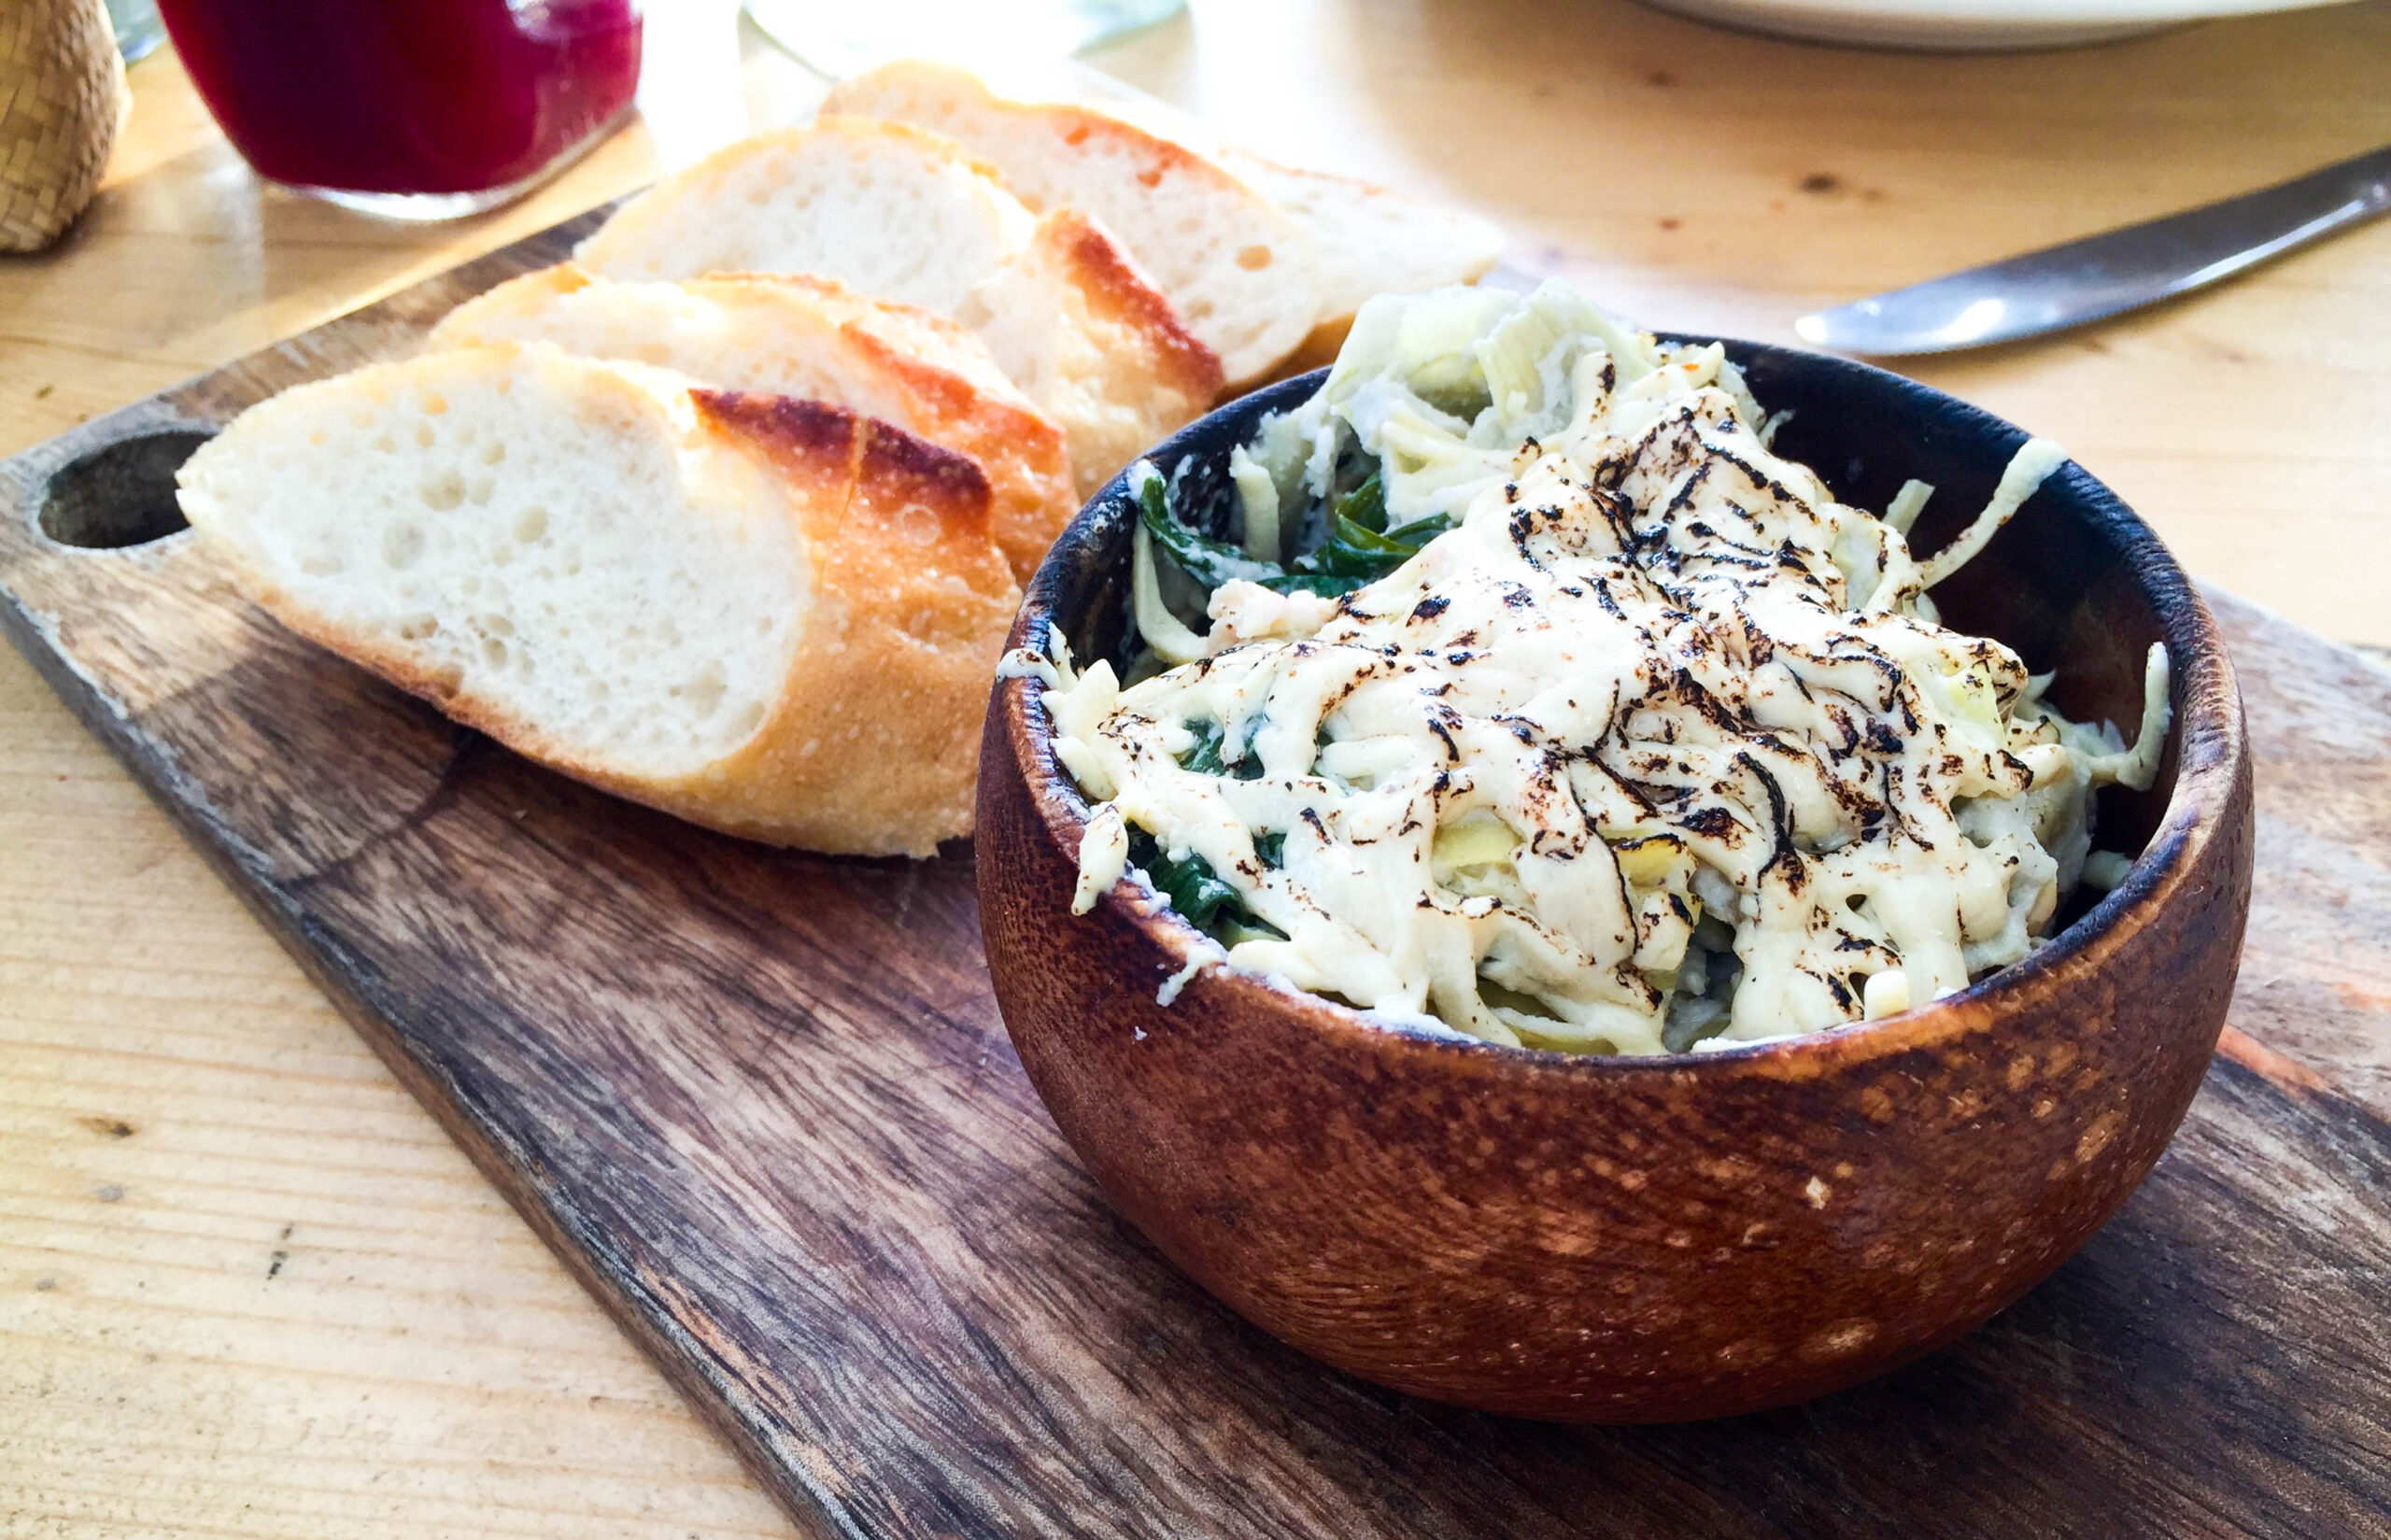
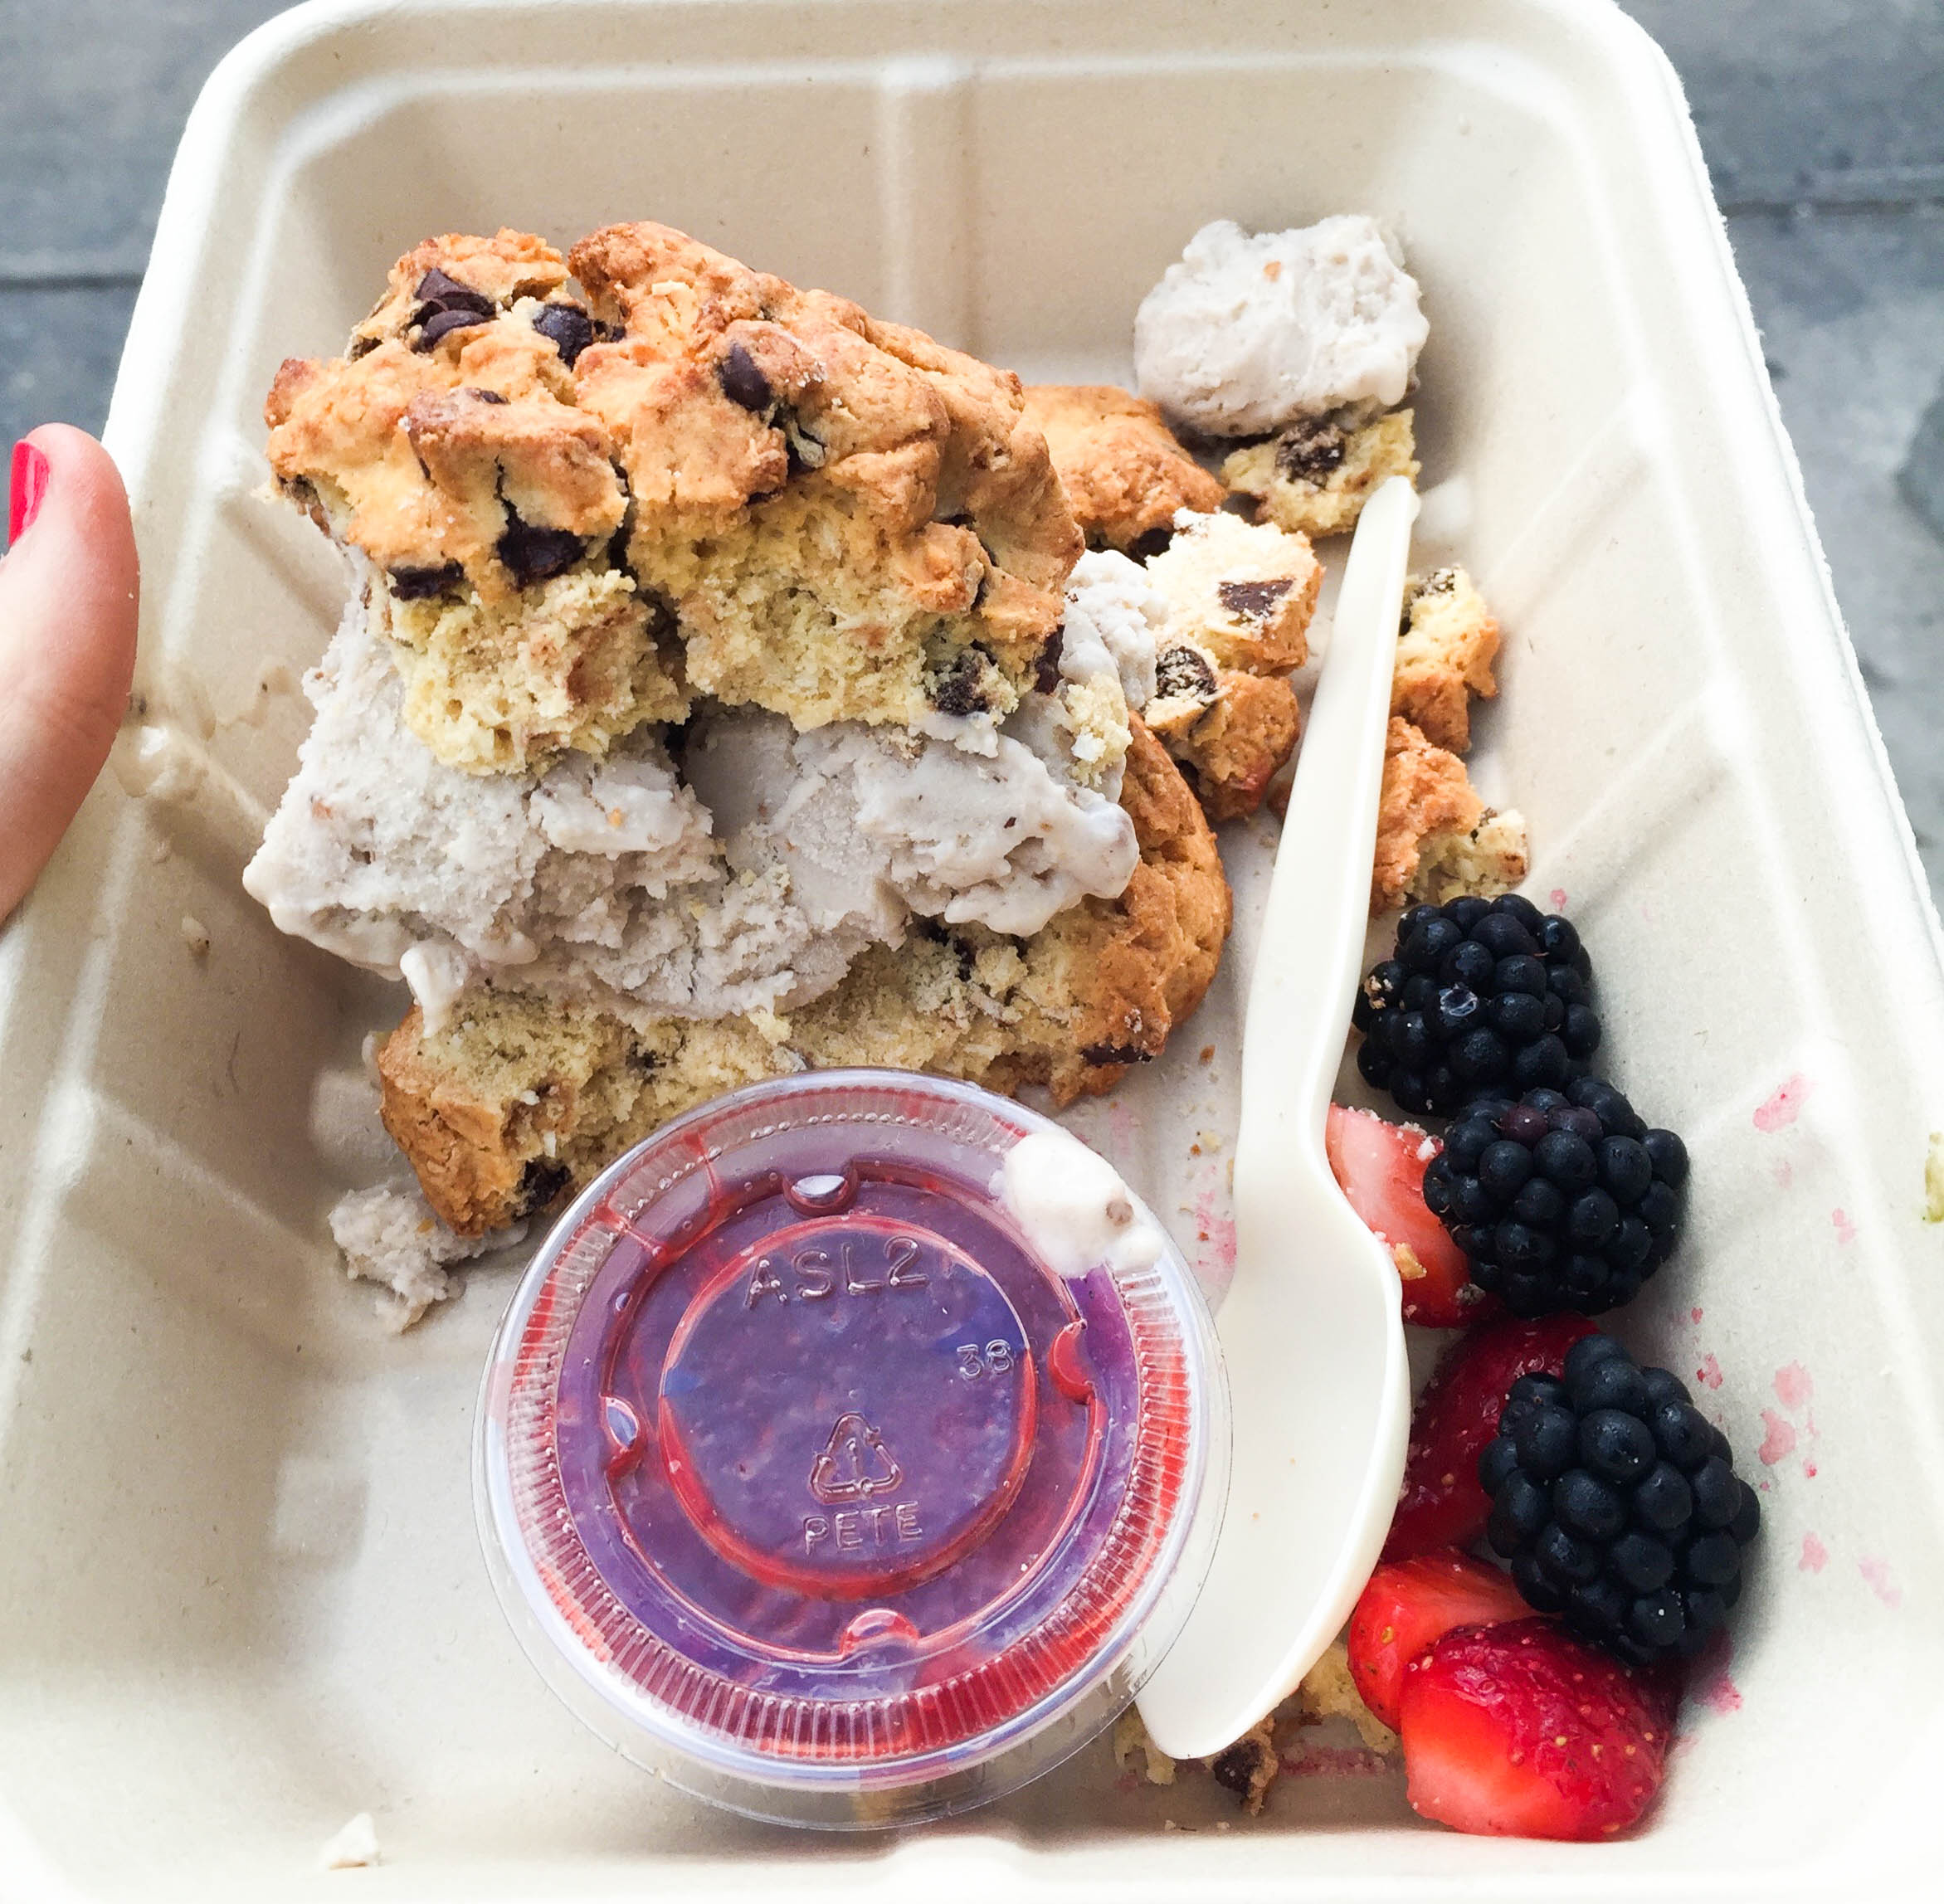
Then I was blessed with what, to this day, is the BEST dessert I have ever had in my life. I’m serious. (This is a BIG deal.) The picture makes it look really basic, but it was not. The photo does not do it justice. Two gluten-free chocolate chip scones with banana-walnut ice cream in between, with a side of fresh fruit and house-made preserves. Um…NOM! It was an explosion of perfection in my mouth. I scarfed it down like a crazy person, even though it was the size of my head, and I couldn’t stop talking about it afterwards.
When I found out that The Butcher’s Daughter was opening in Venice, my socks flew off in excitement. I was desperate to get some more of that oh-so-delicious grub back in my life.
To begin, let’s talk location. The Butcher’s Daughter Venice is obviously, in Venice. Duh. But specifically, it’s on Abbot Kinney, which we all know is one of the most happenin’ streets in Los Angeles. Abbot Kinney has a ton of adorable coffee shops, stores, and great eats in general. All the cool kids are there. So many good vibes.
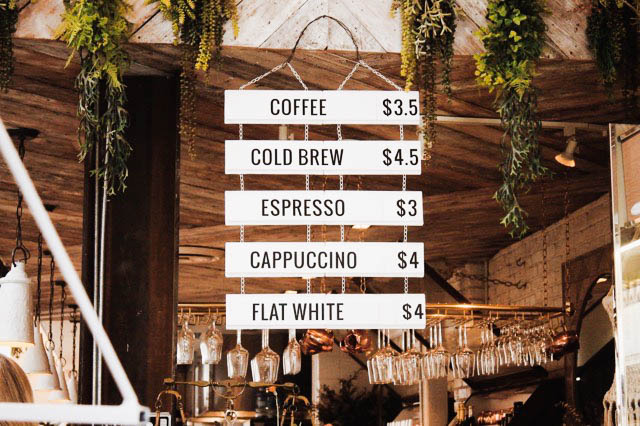
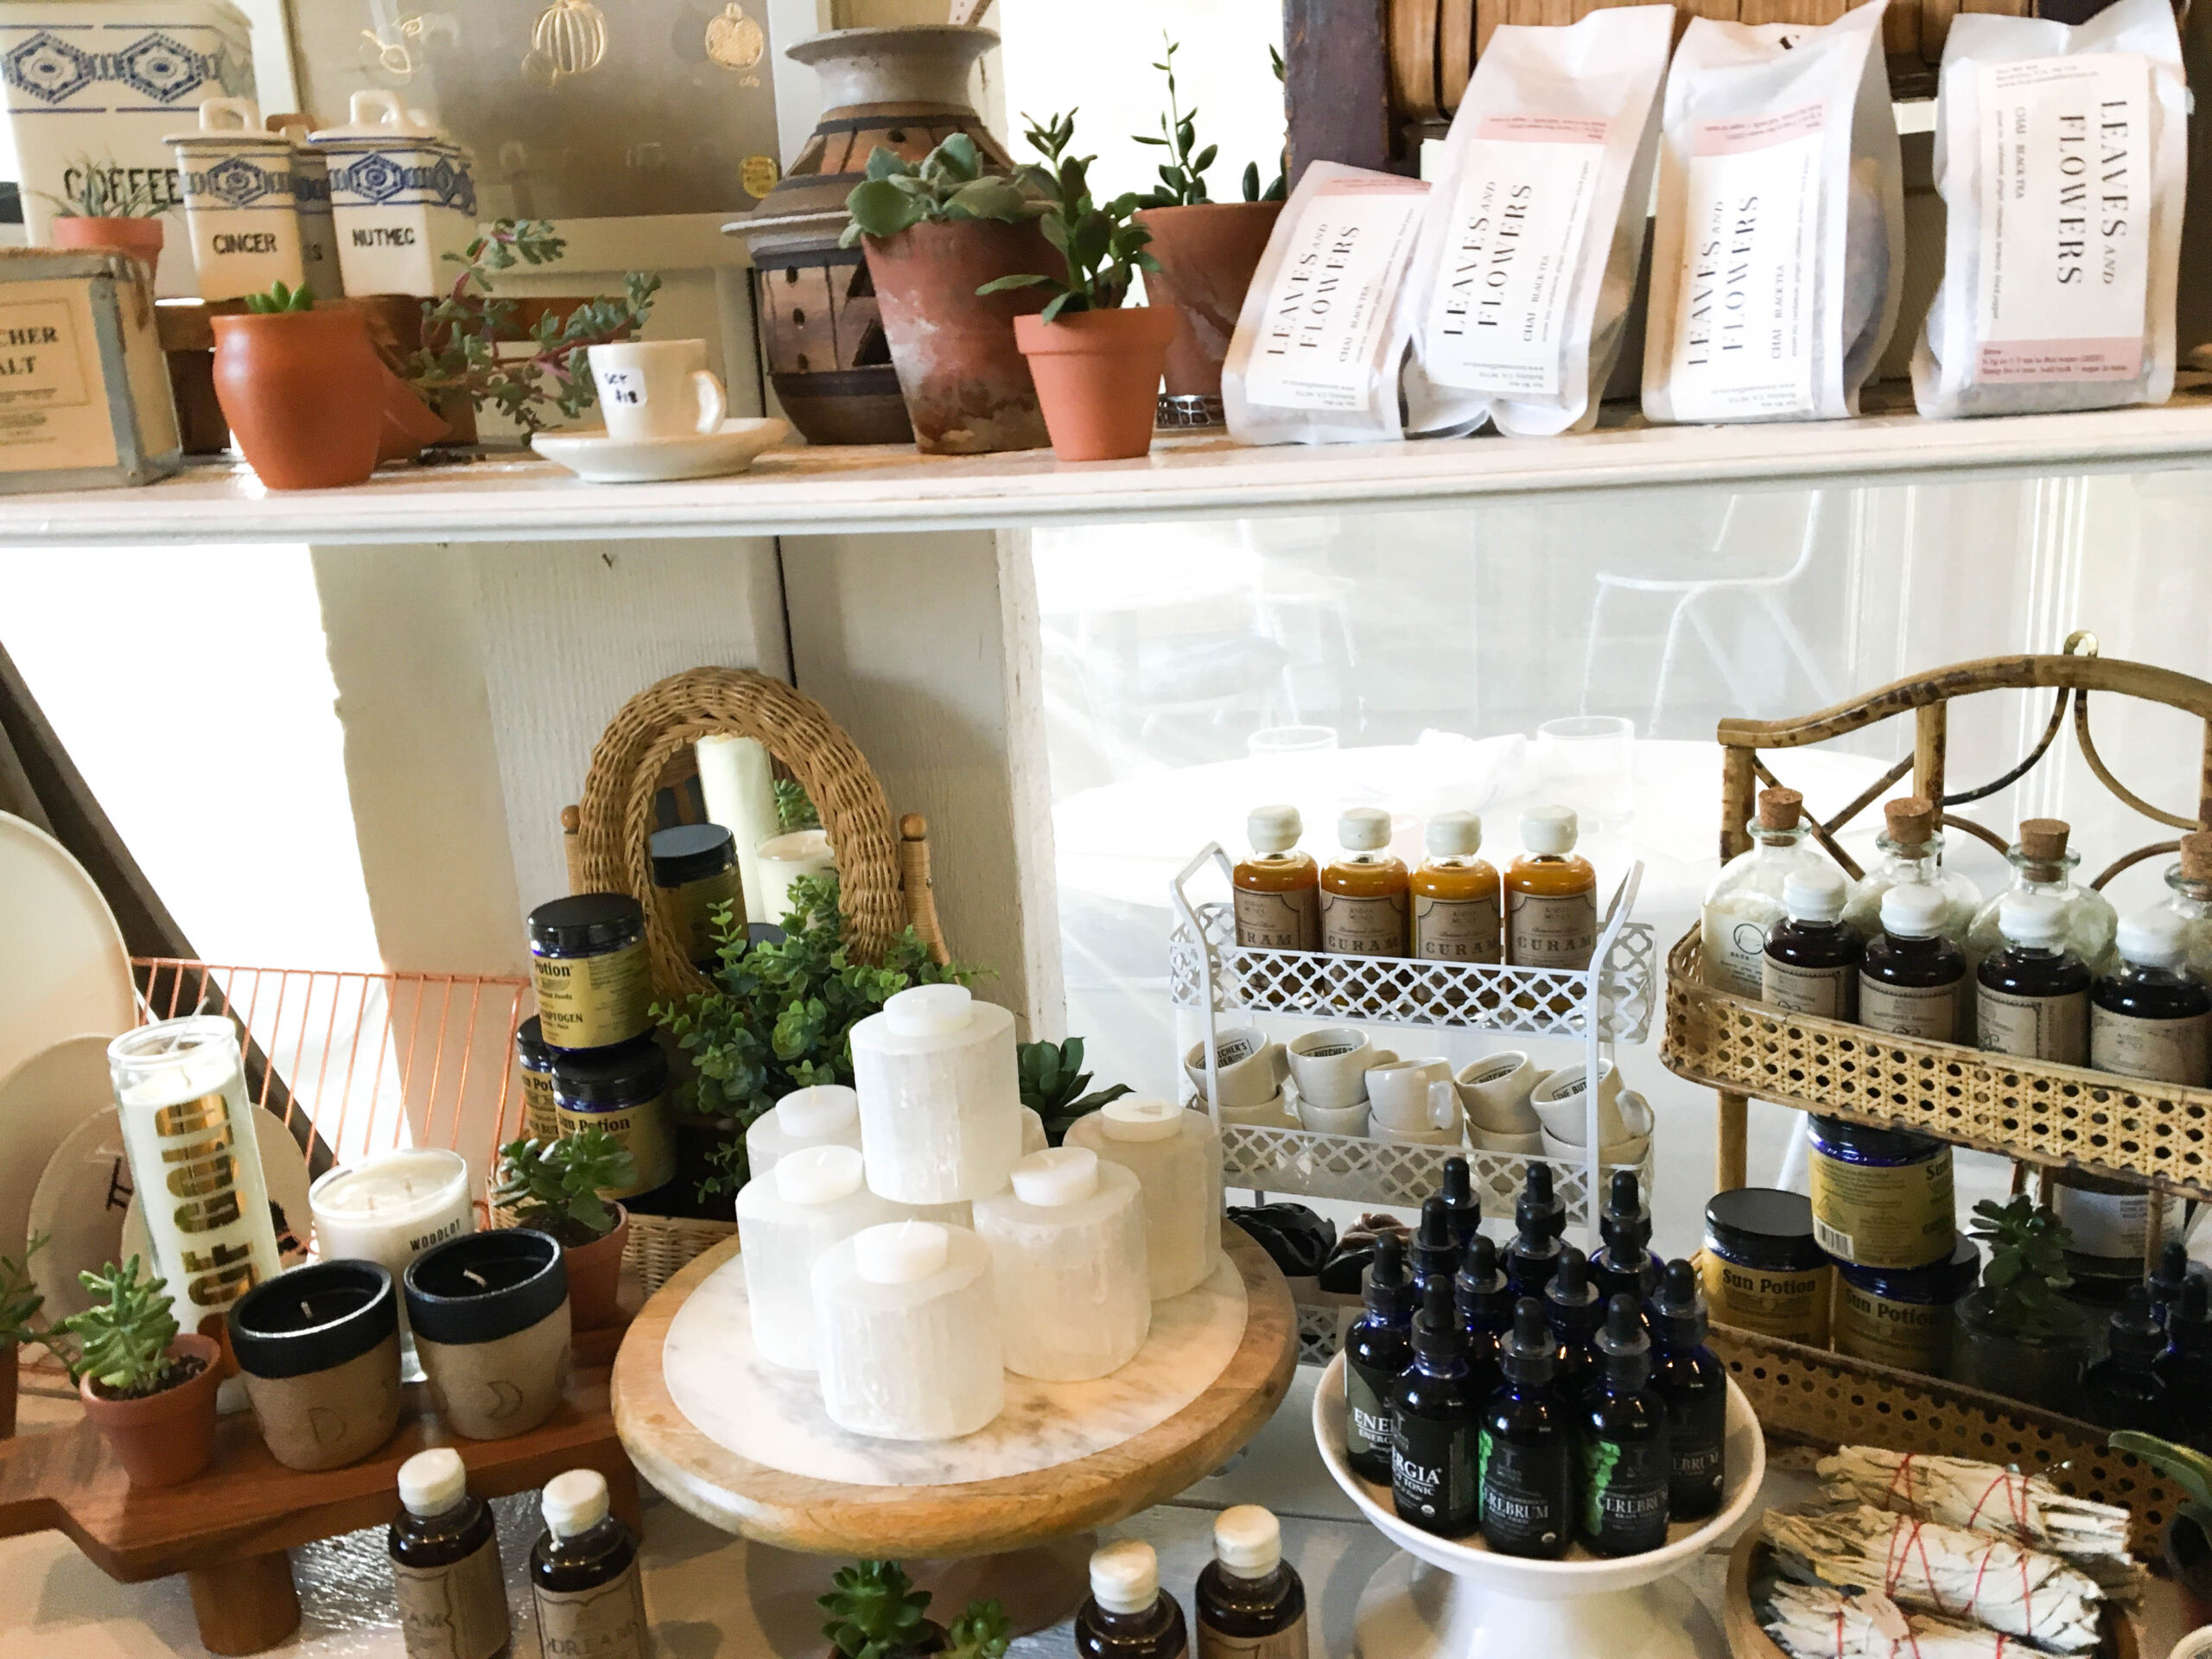
The Butcher’s Daughter Venice is all that I dreamed it would be. The decor is ON POINT. It’s what you imagine when you daydream about the ideal Venice restaurant. Hipster, trendy vibes, twinkly lights, and an adorable outdoor patio. Lush greenery and enchanting lanterns hanging from the ceiling. The service is always phenomenal, and the waiters look like they’re out of a mag. Even though it has that trendy L.A. vibe, it is not intimidating. Everyone is extremely friendly, and you get a homey, welcoming feeling. This isn’t a place that you need to wear a bodycon dress and heels to, but it’s also not the place to rock your sweats at either. You wanna look cute but not too overdone. It’s the perfect in-between, and it’s my go-to place if I’m in the mood for that classic “Venice” feeling.
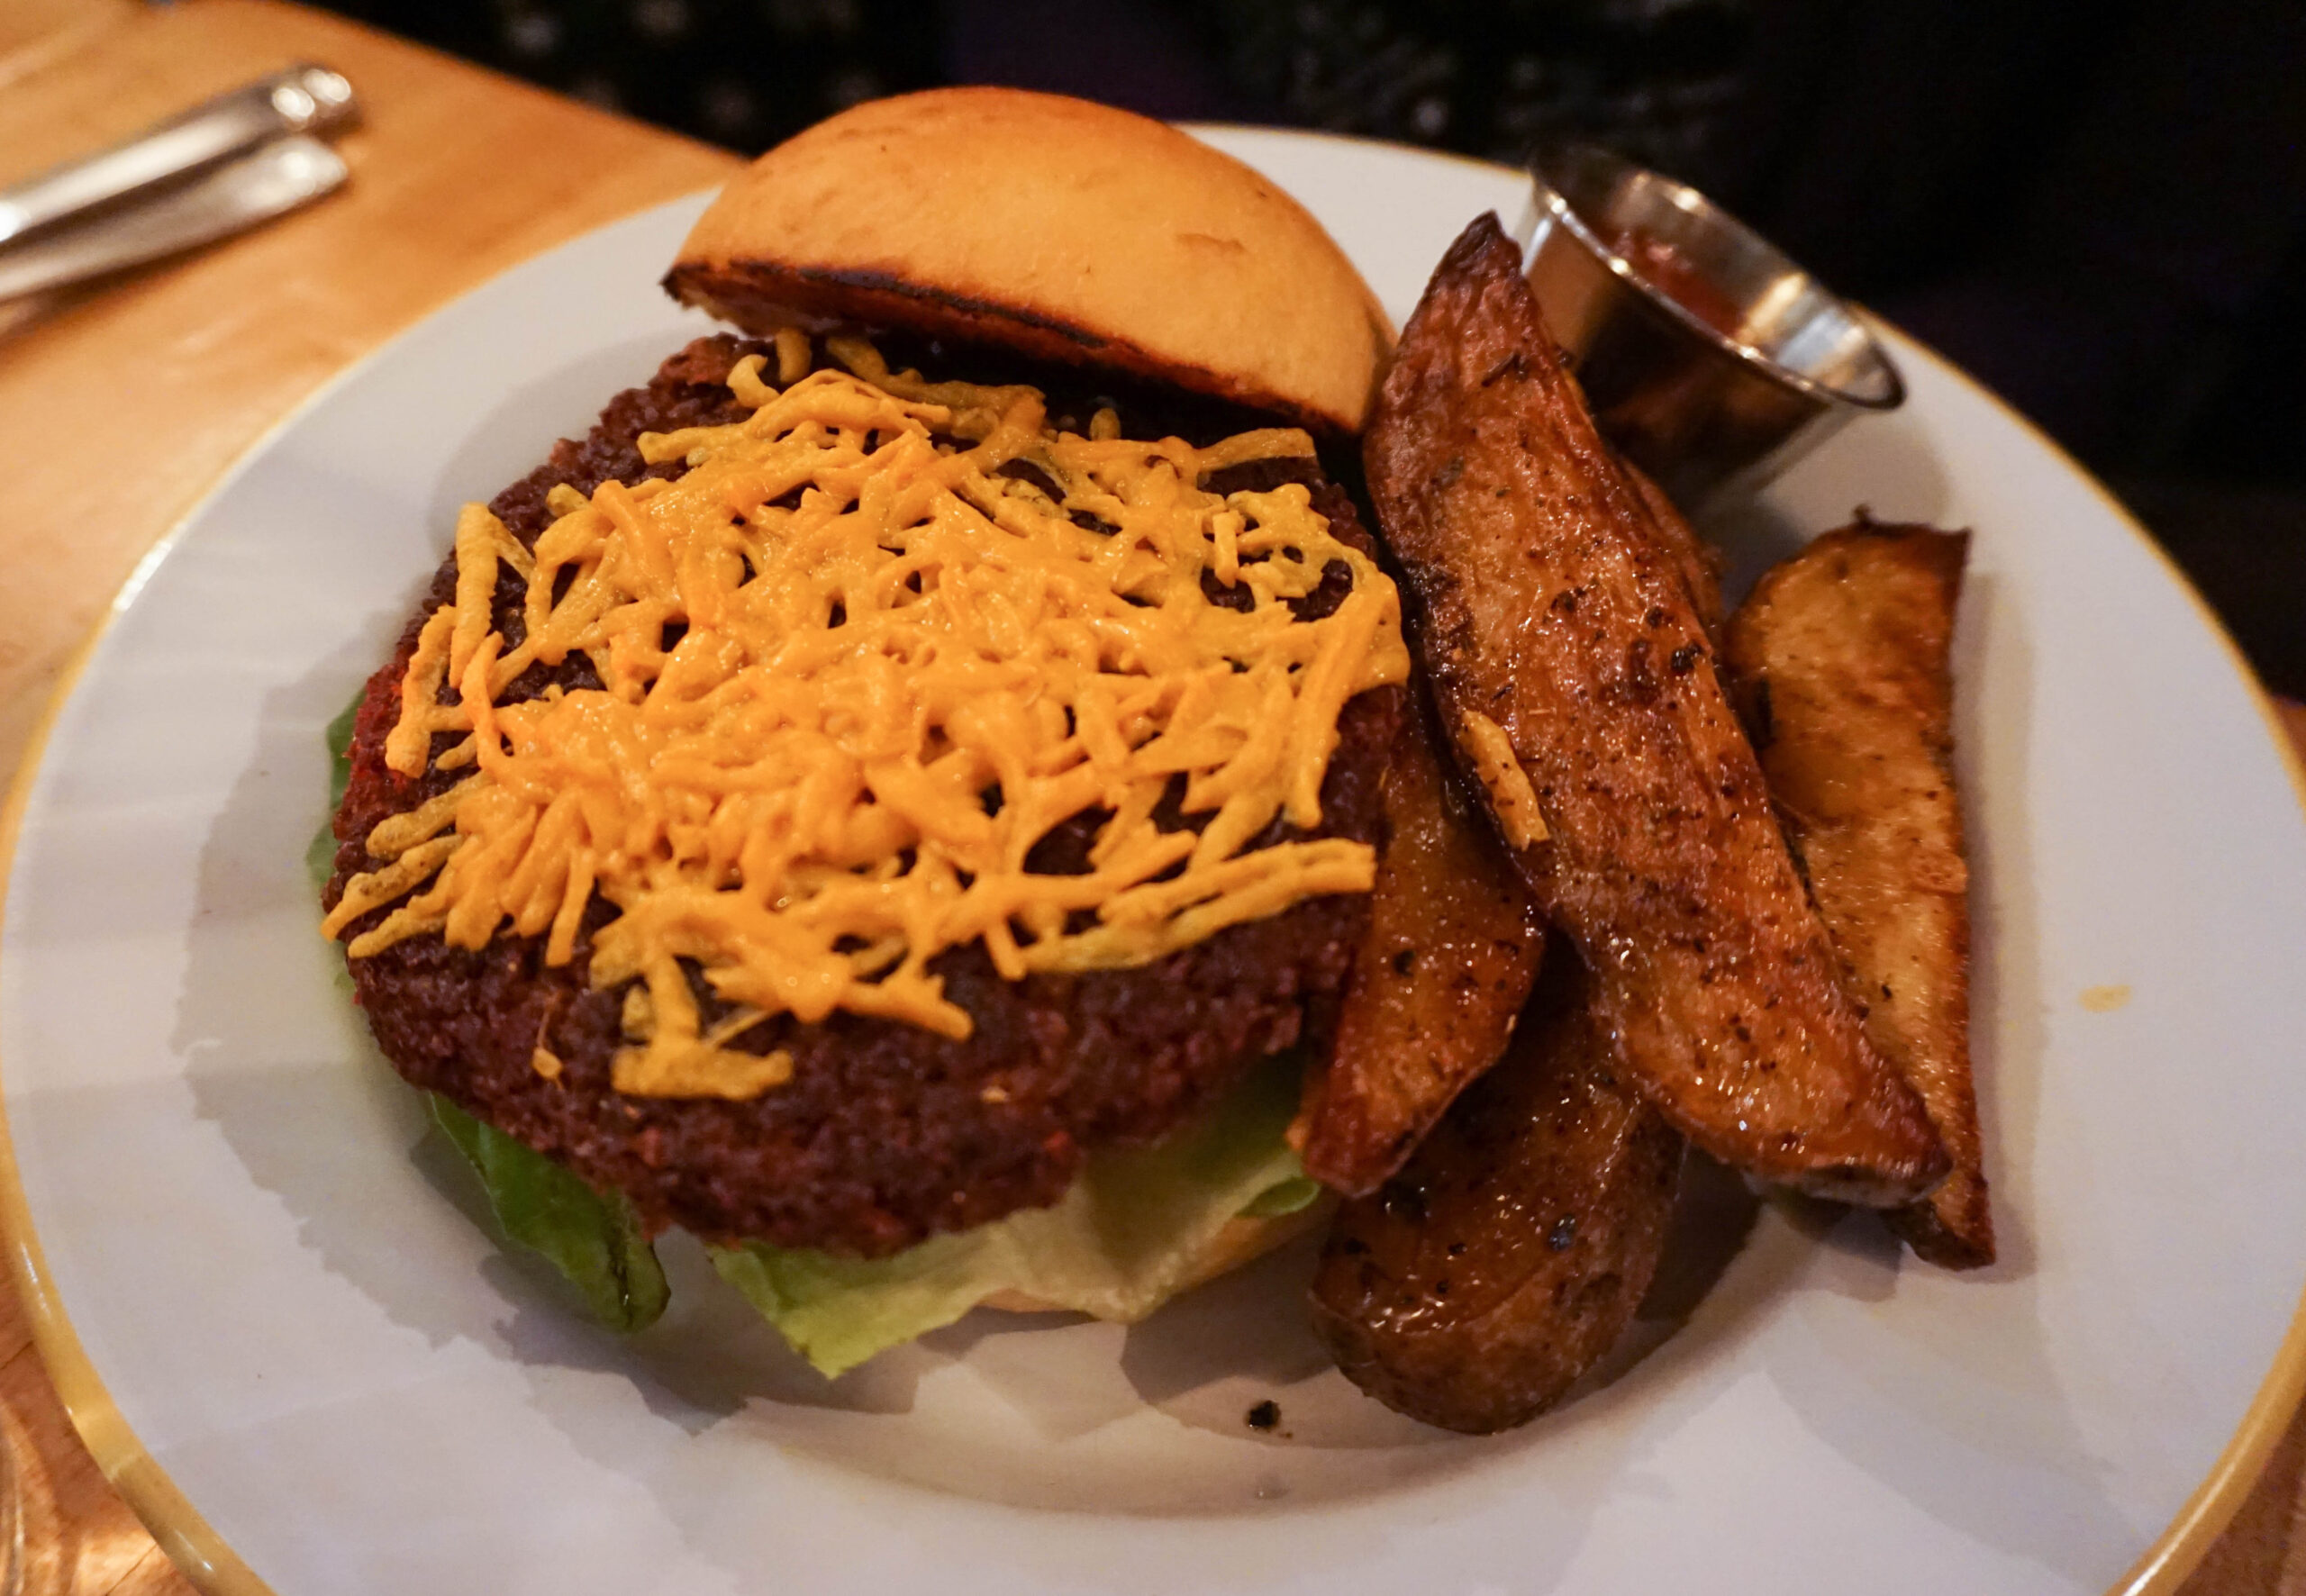
Now let’s discuss what is most important: FOOD. First of all, HIGH QUALITY. I don’t like to eat at restaurants where I feel like the chefs might be adding hidden, questionable ingredients into my food behind the scenes. This place is anything but that. The Butcher’s Daughter buys their produce from local farms, which helps support the community and ensures the food is the absolute best quality possible. The menu is vegetarian, but most options are vegan and gluten-free. Even though the restaurant is vegetarian, I truly think anyone would enjoy the food. I like a lot of vegan restaurants in L.A., but I wouldn’t necessarily take just anyone along with me to those restaurants because I know not everyone is into that kind of food. However, I would totally suggest the Butcher’s Daughter to anybody with functioning taste buds. My roommate’s boyfriend is a classic Southern fried-chicken lover, and he loved this place.
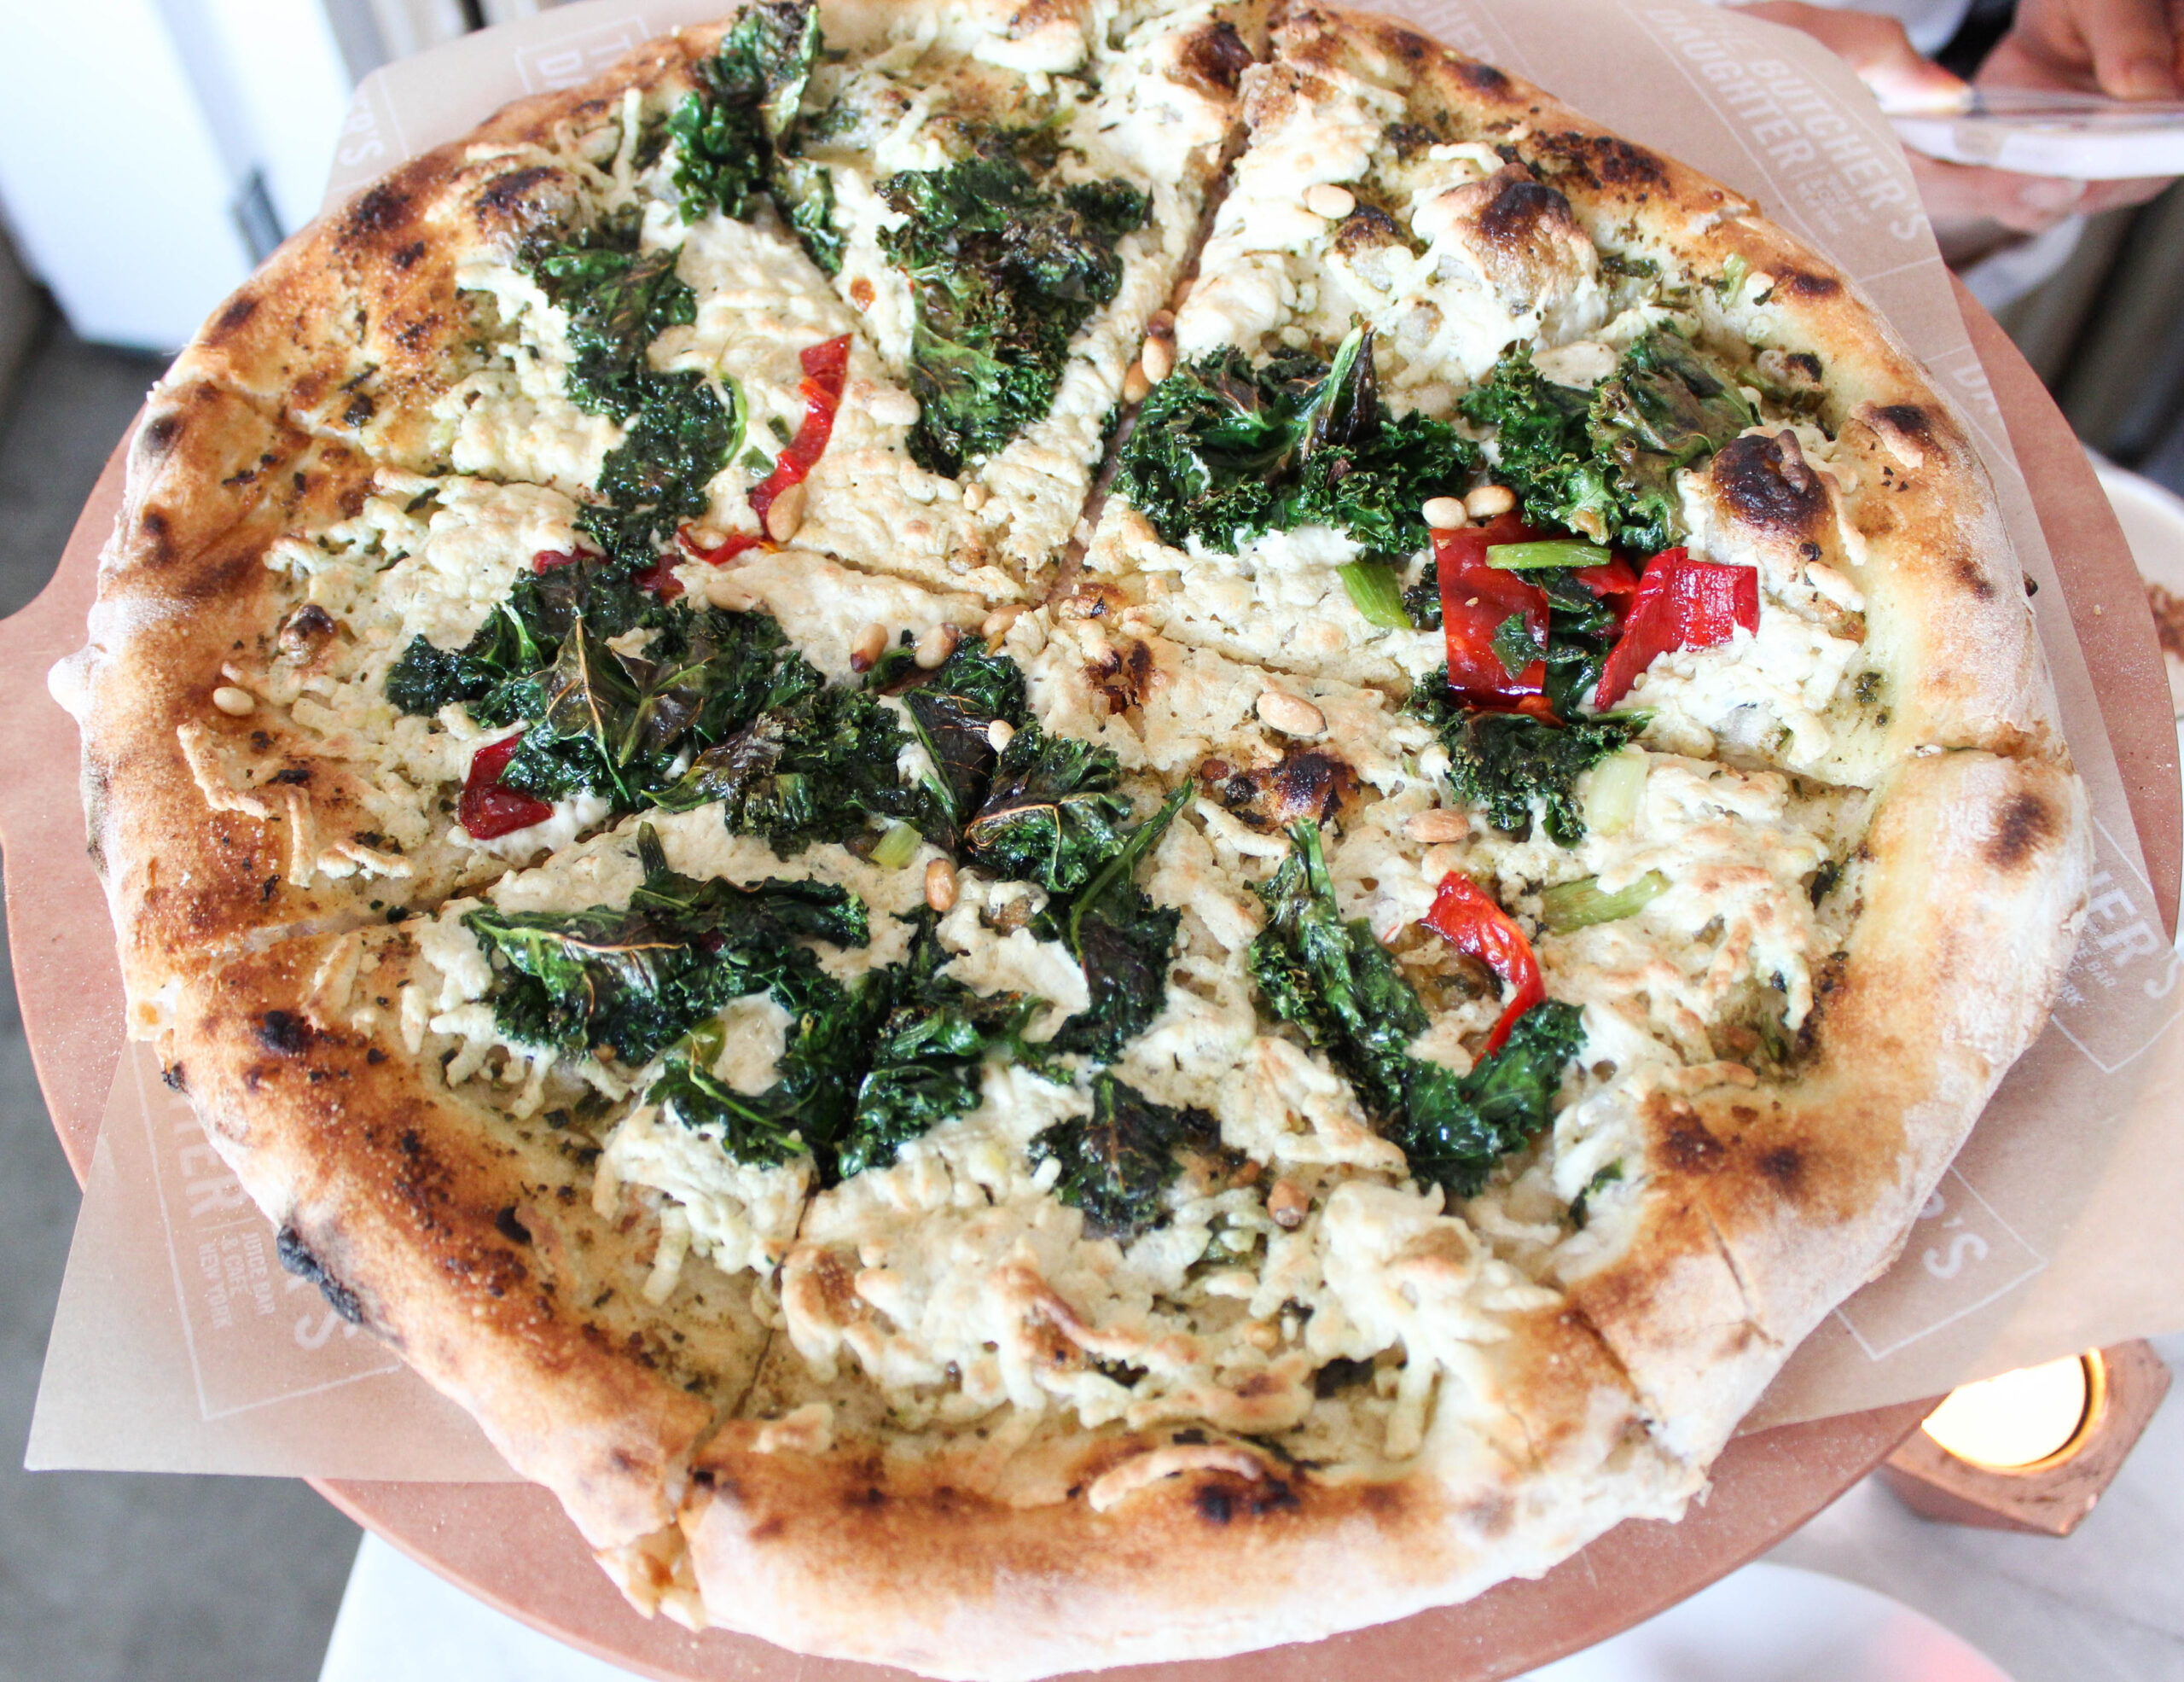
The prices are also very reasonable, in my opinion. It’s not a cheap restaurant, obviously, but it’s not very expensive either. For how delicious and fresh the food is, I think everything is perfectly priced.
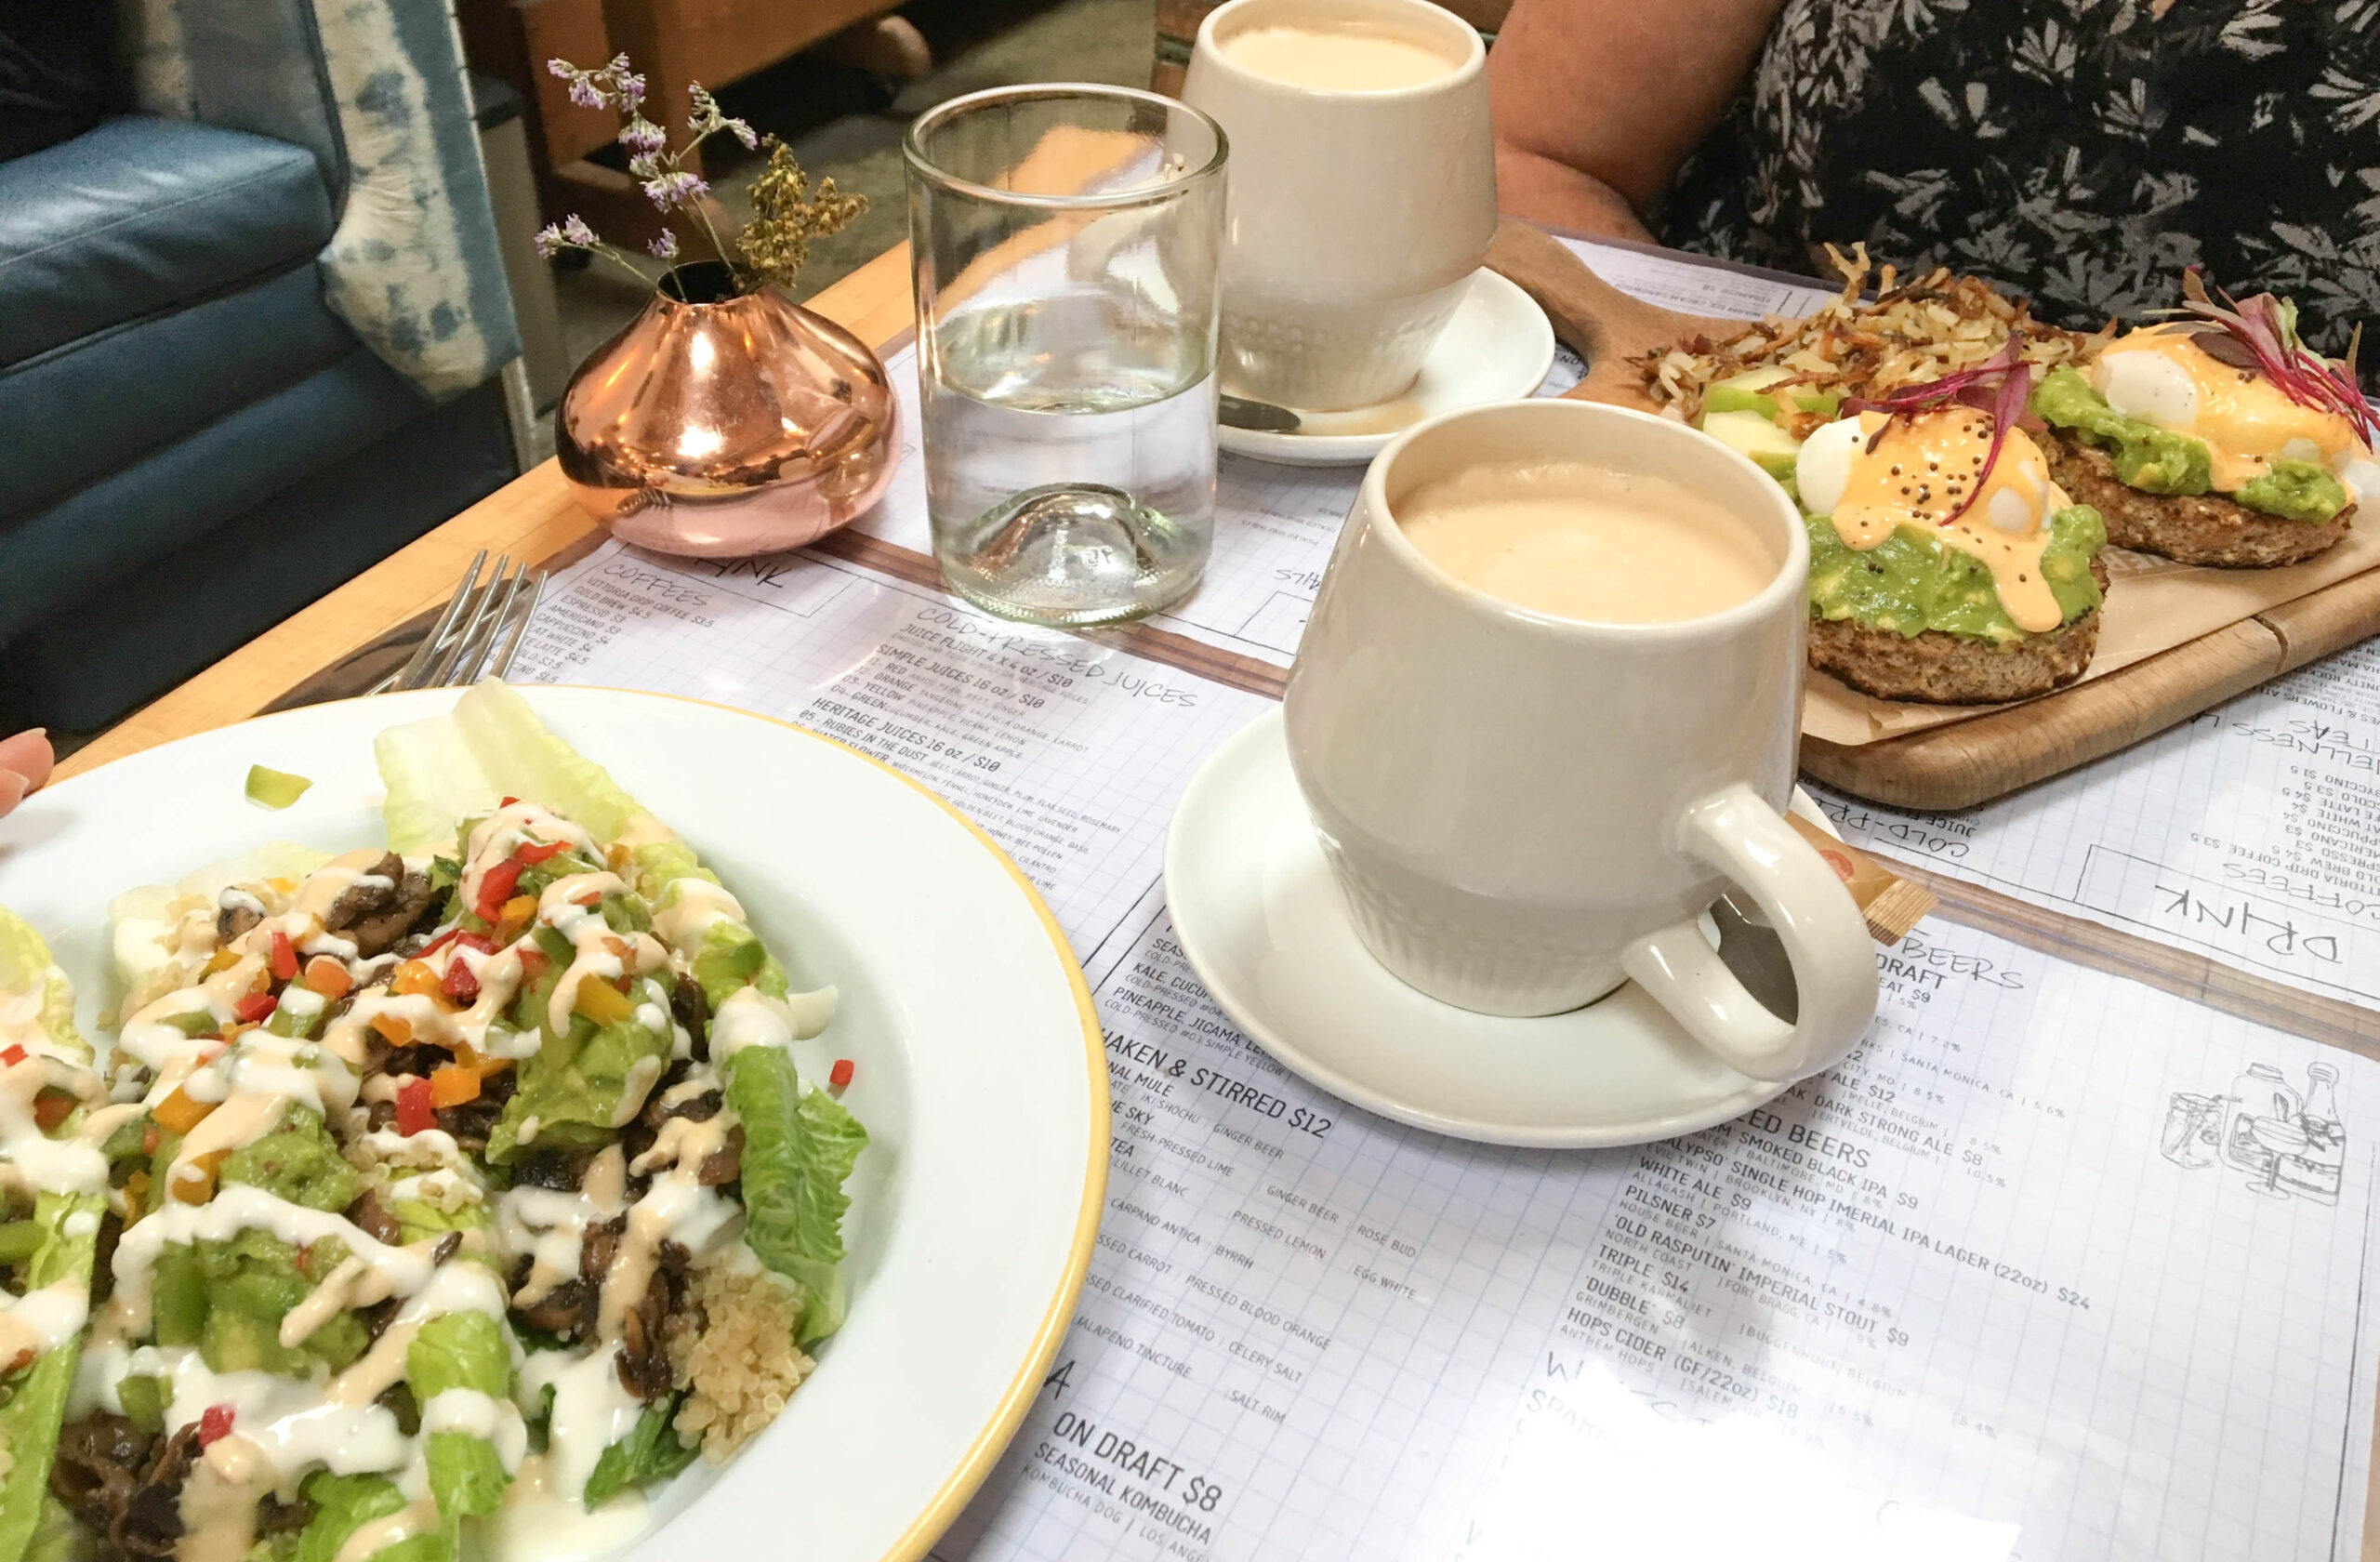
The one thing that’s tricky about The Butcher’s Daughter is the changing menu. The menu has been different every time I’ve eaten there, which means sometimes they’re not serving what I was planning on ordering. (Gossip: one waitress told me they rotate through five menus.) So if you have your heart set on a particular dish, be aware that it might not be there the day you go if the menu has switched. I’m not sure if they’re going to keep rotating the menus until they figure out what’s most popular or if they’re always going to switch up the food selection, but we’ll see.
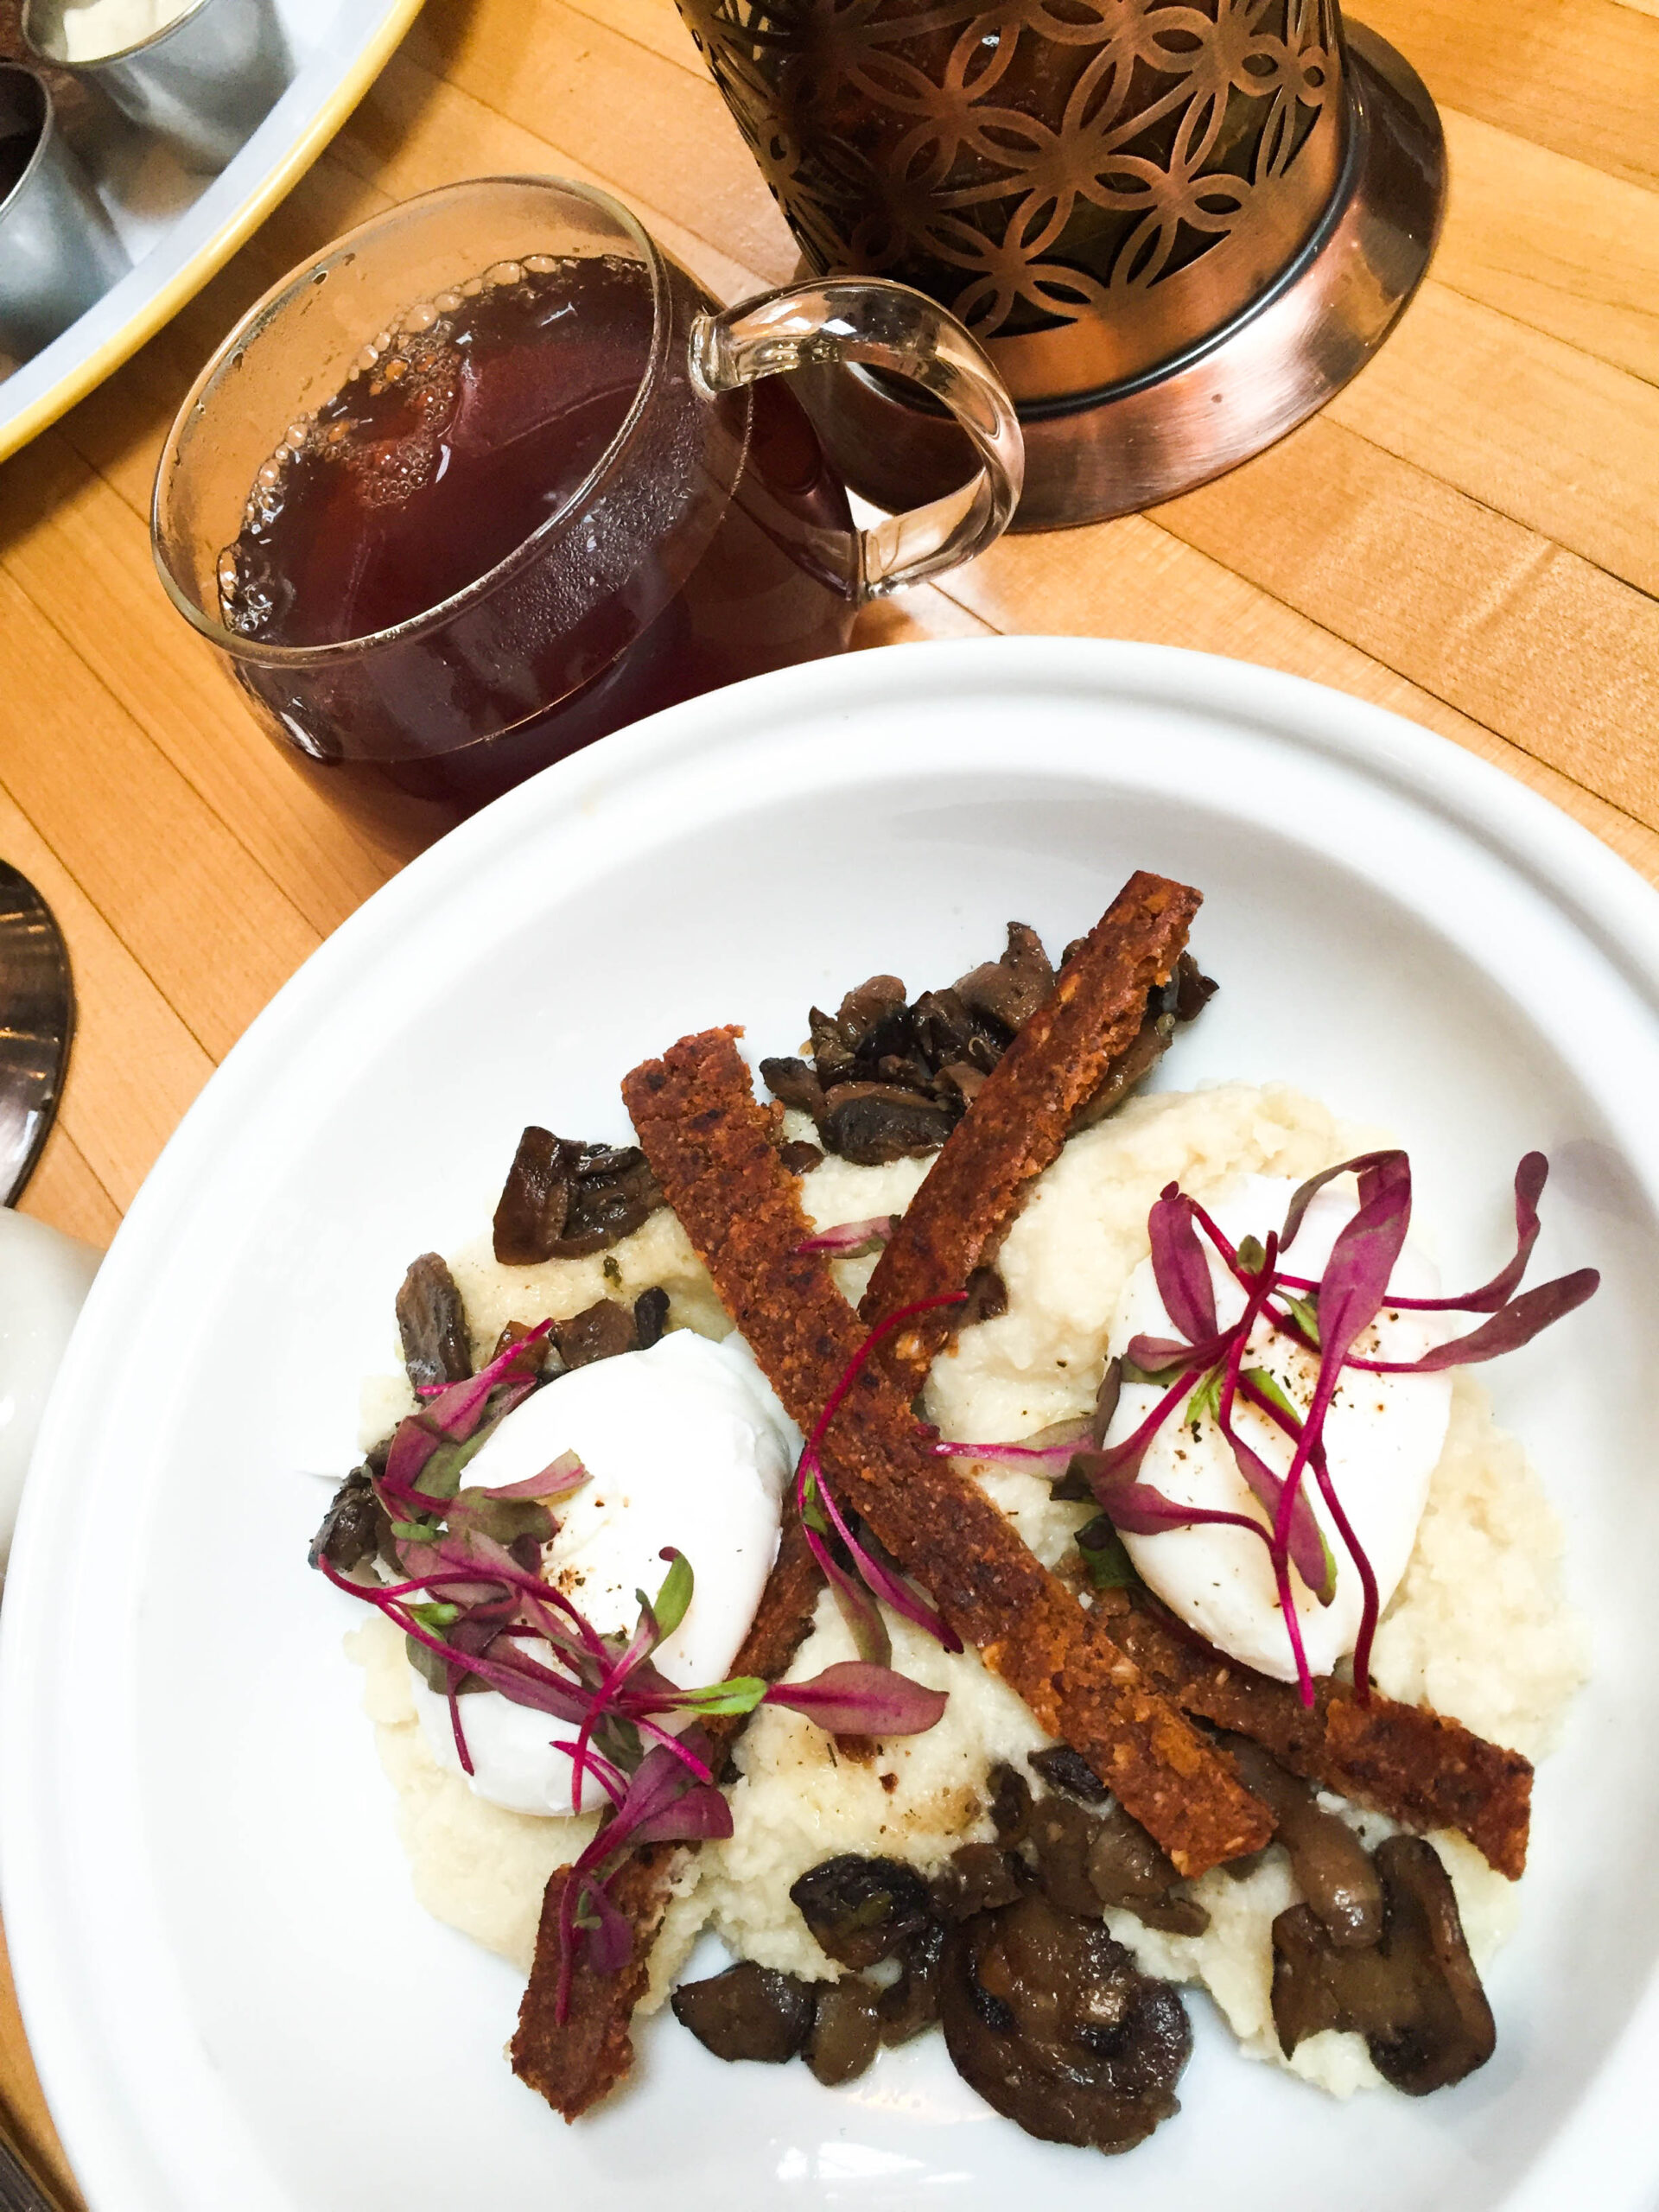
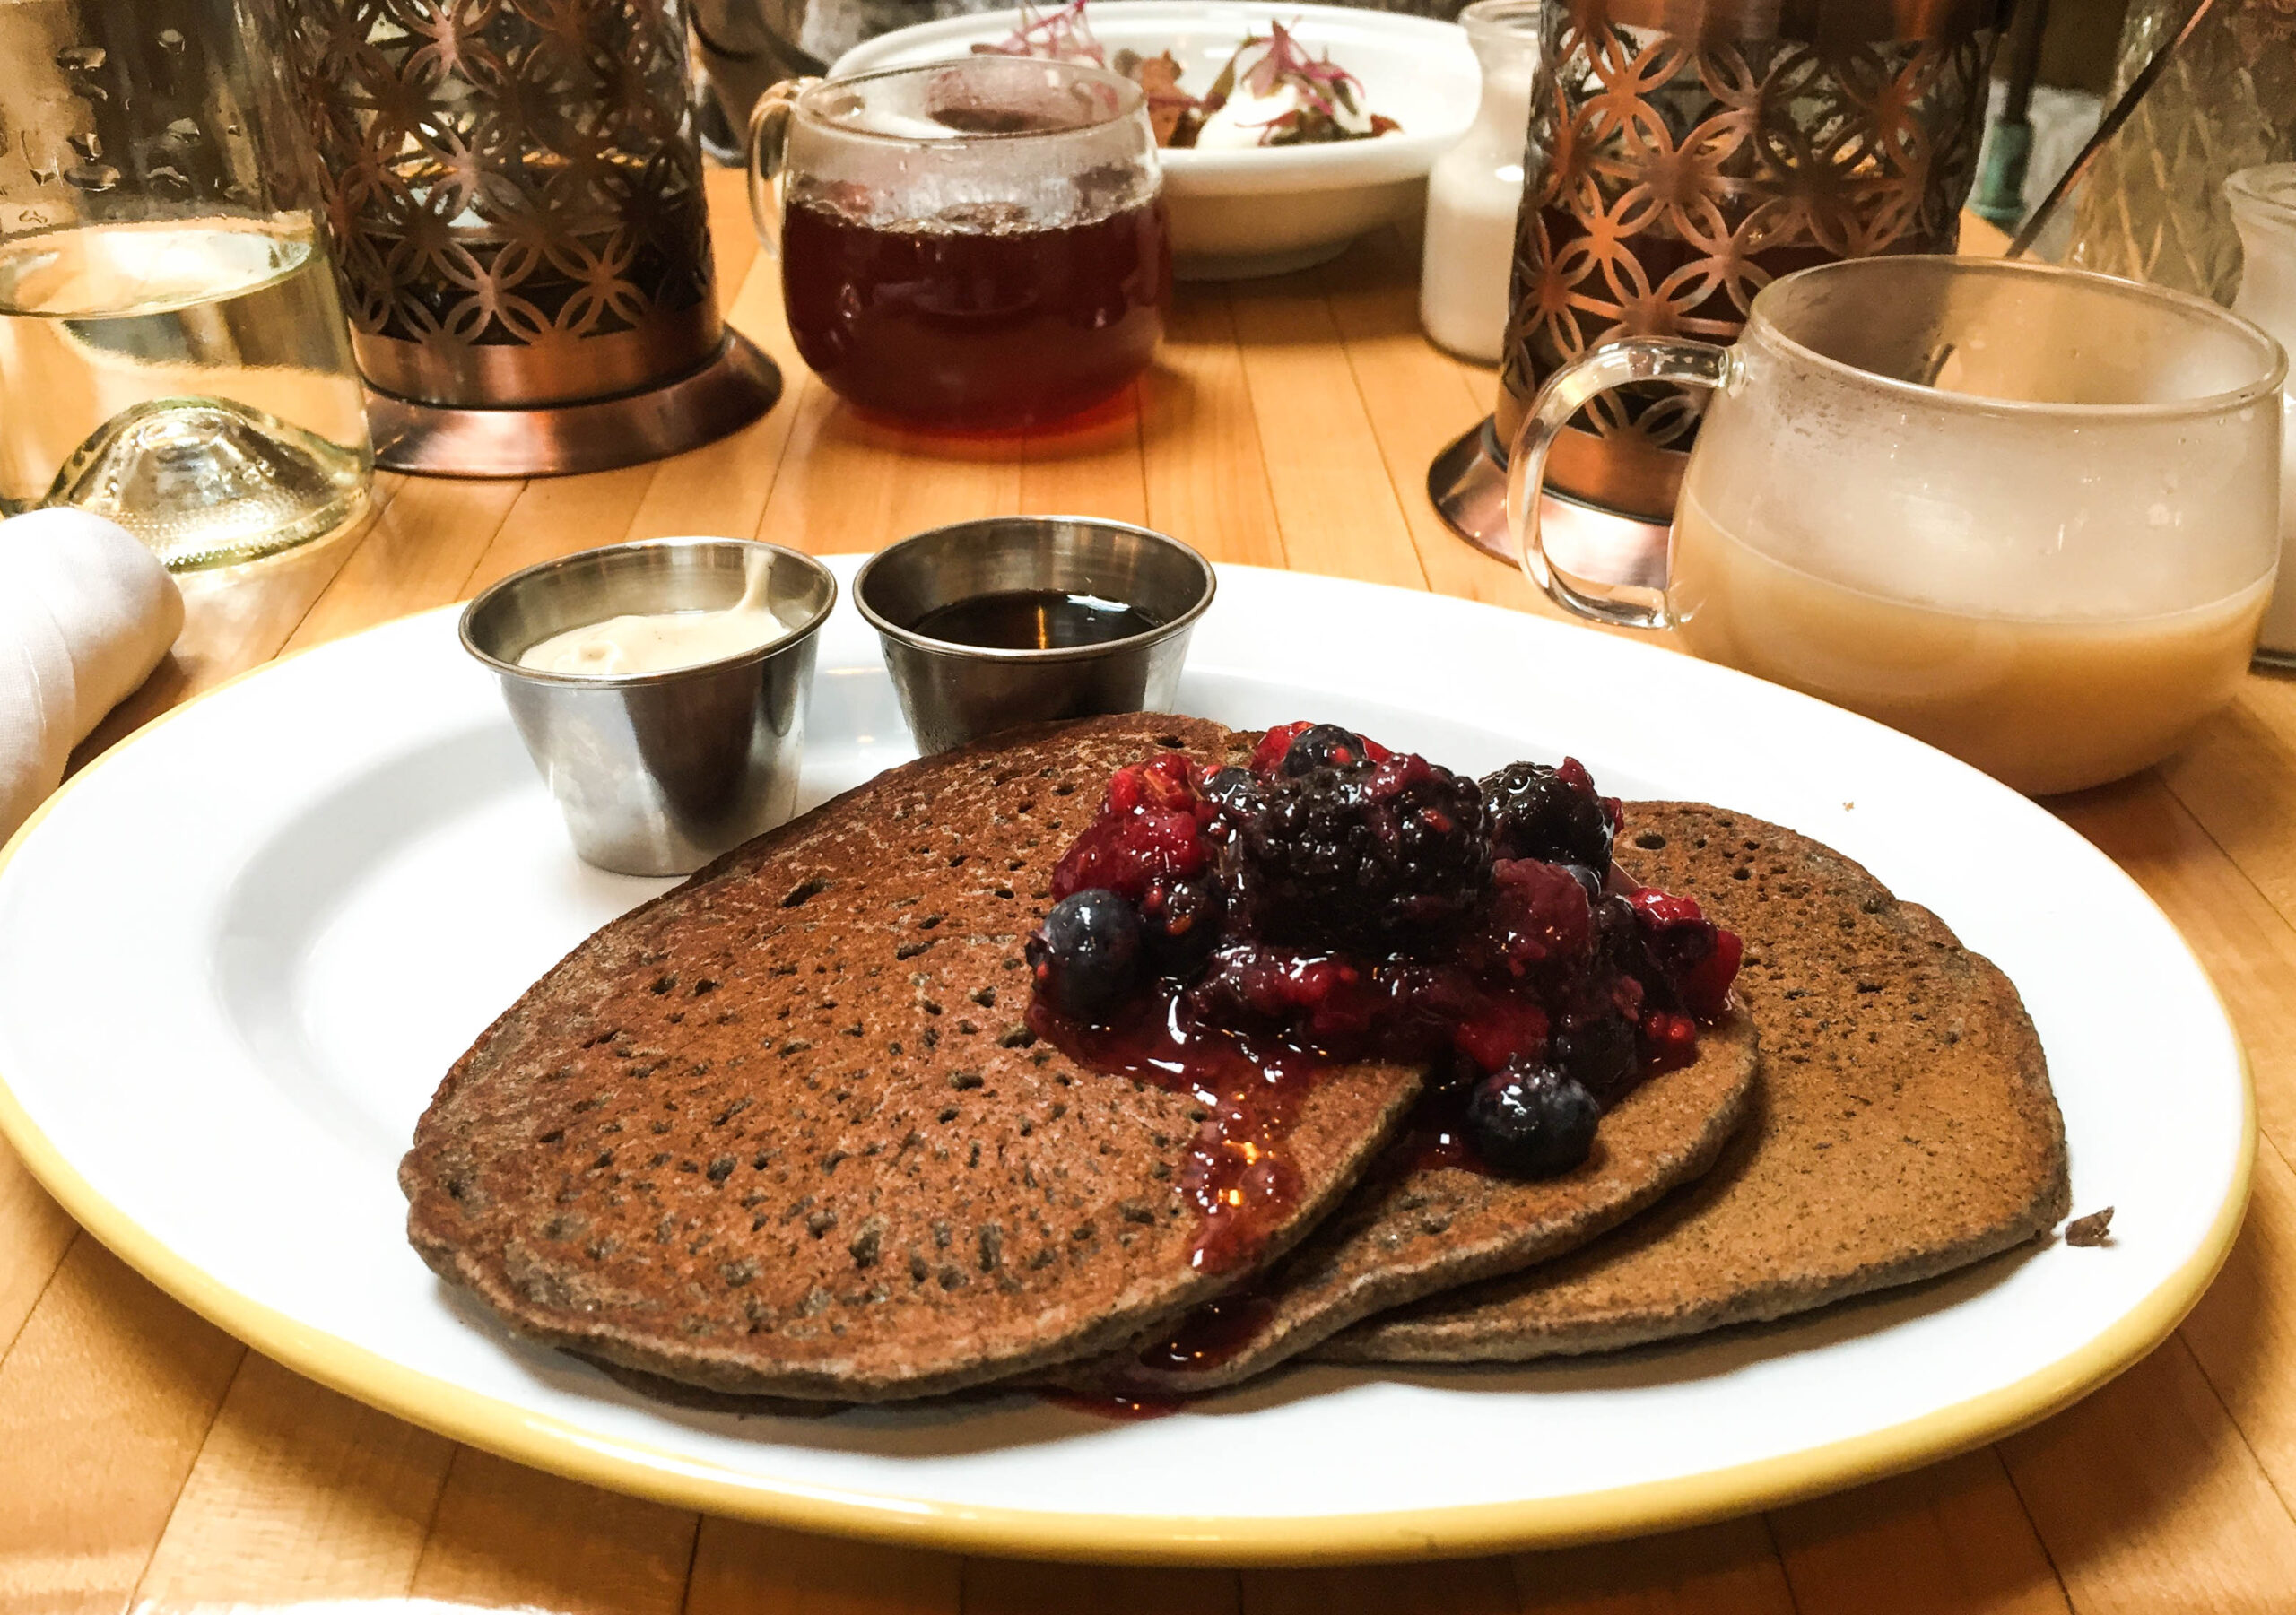
My FAVORITE thing to get for breakfast is the Cauliflower ‘Grits.’ I’m obsessed. If you love eggs & cauli like I do, then you will not be disappointed. It’s my dream breakfast. And I’m also super into their Coconut Cardamom Chai latte. It is SO creamy and smooth. Warms my soul.
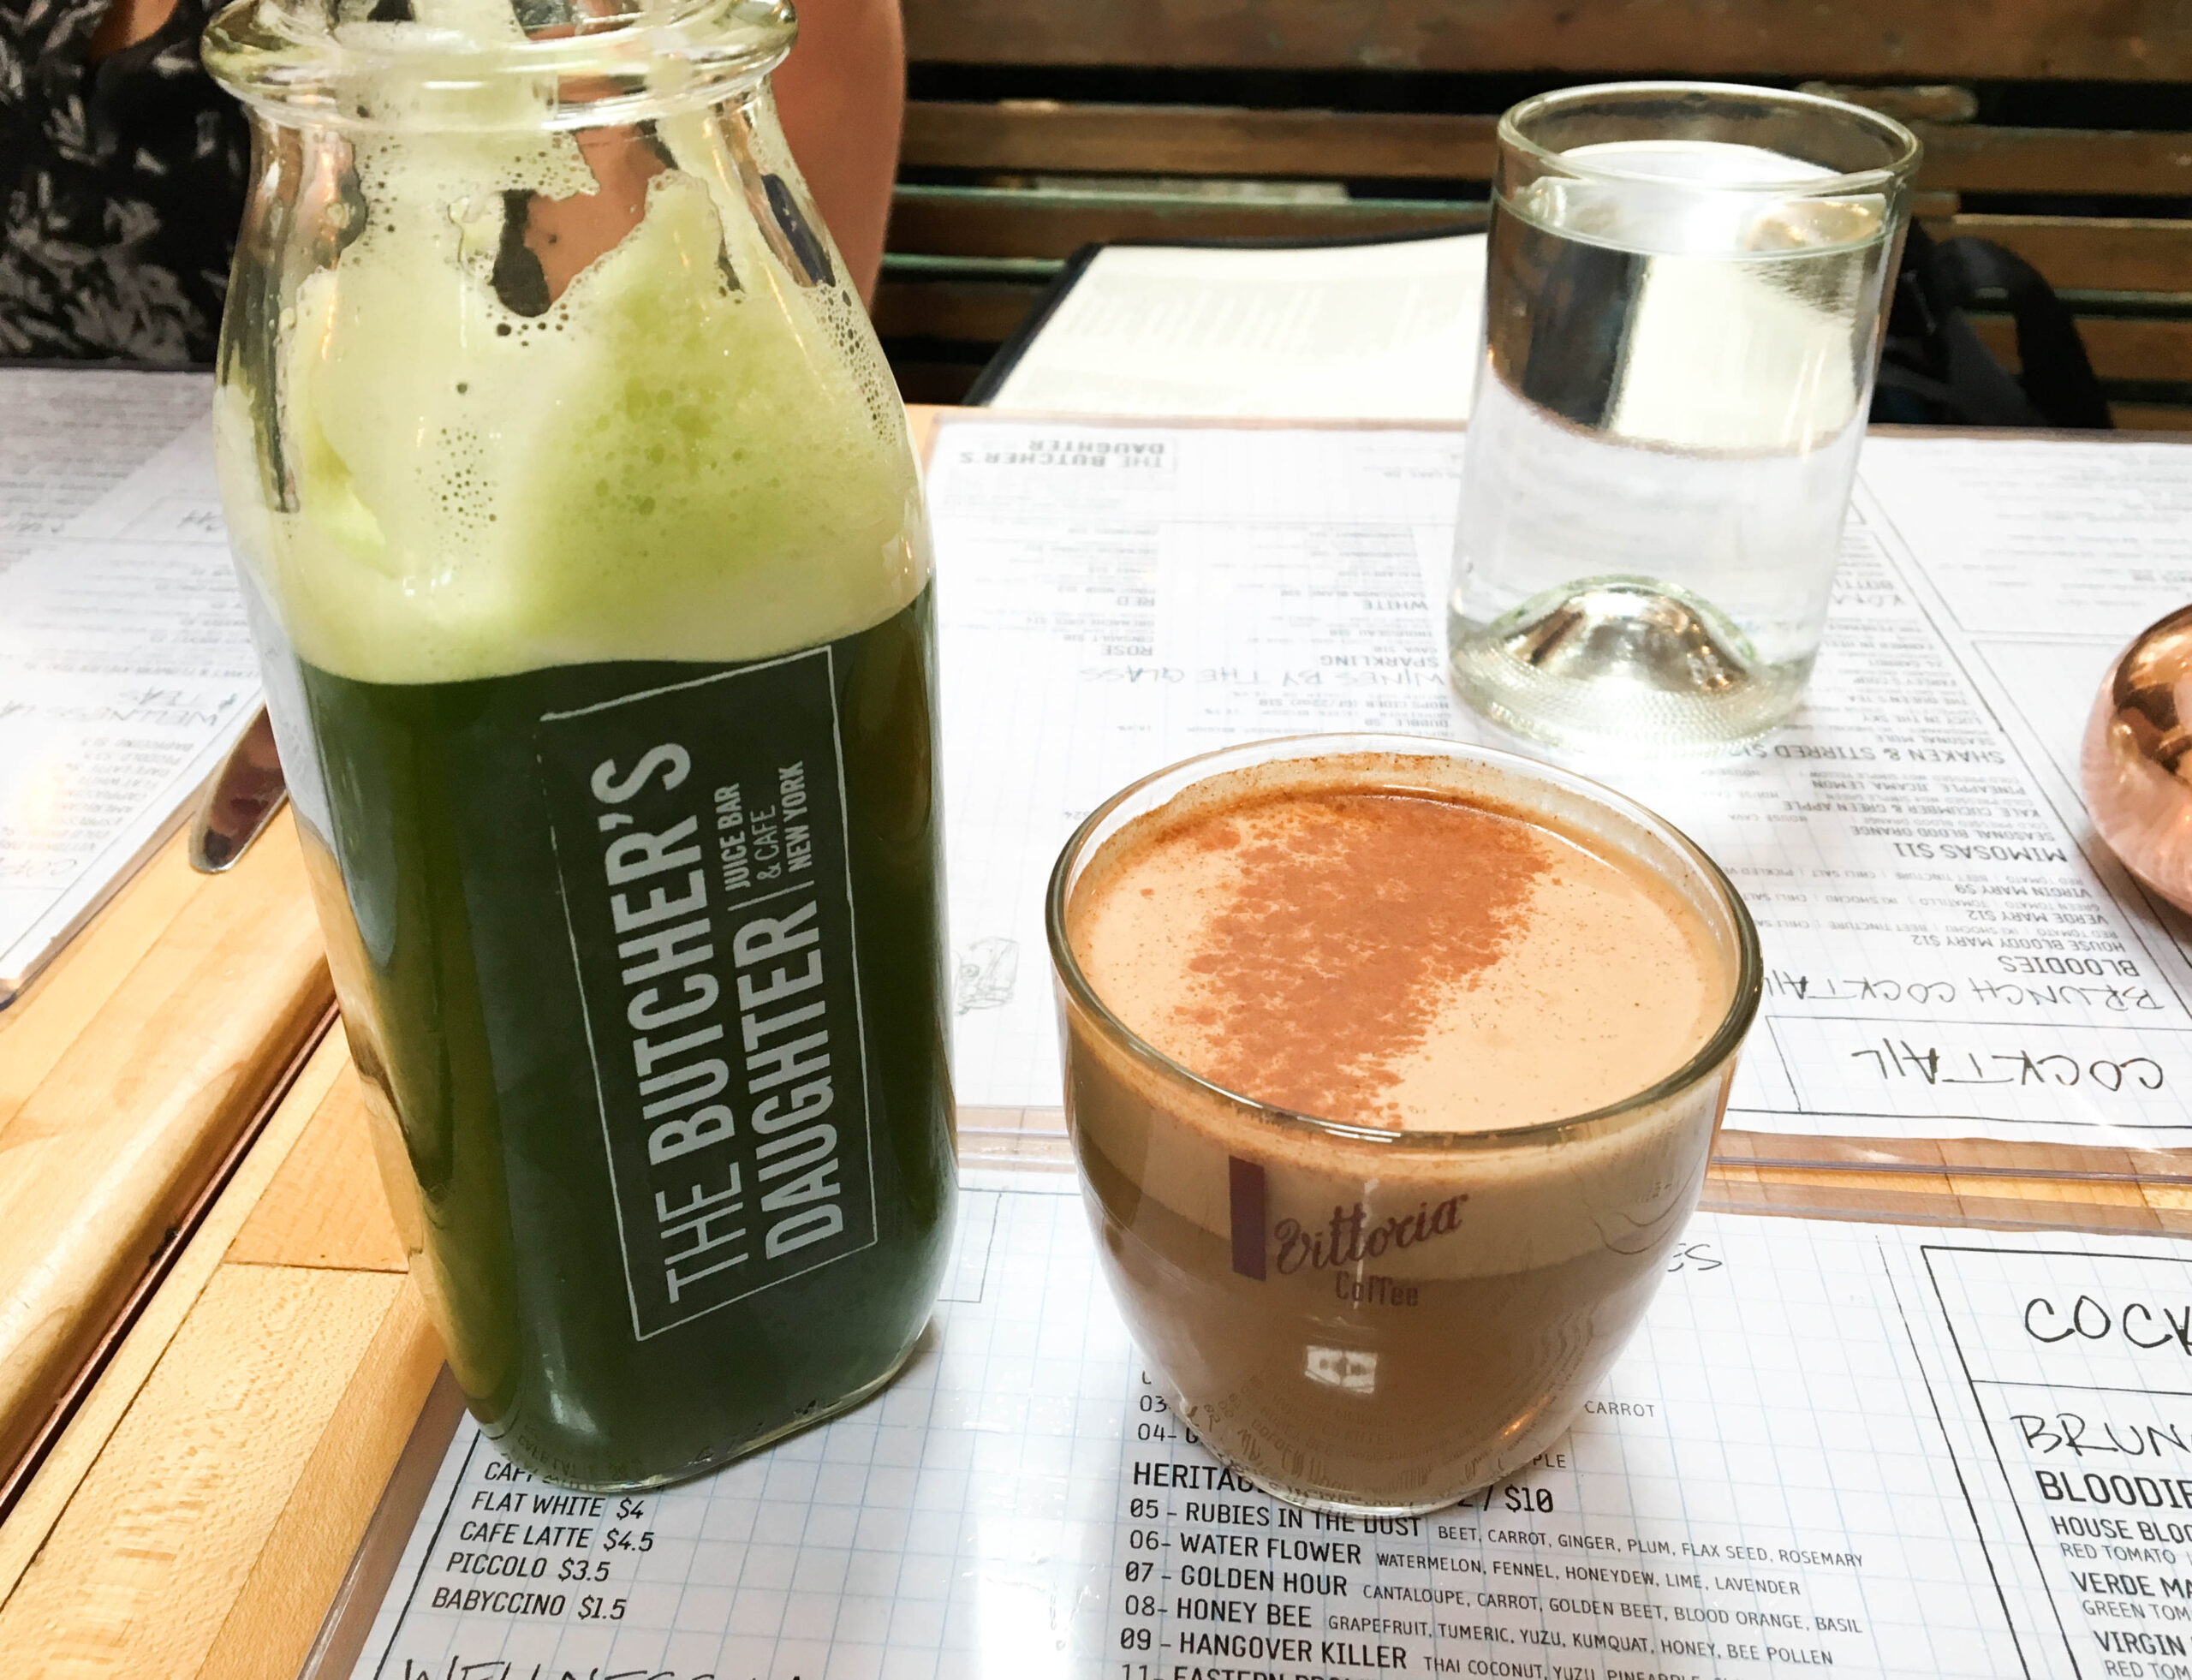
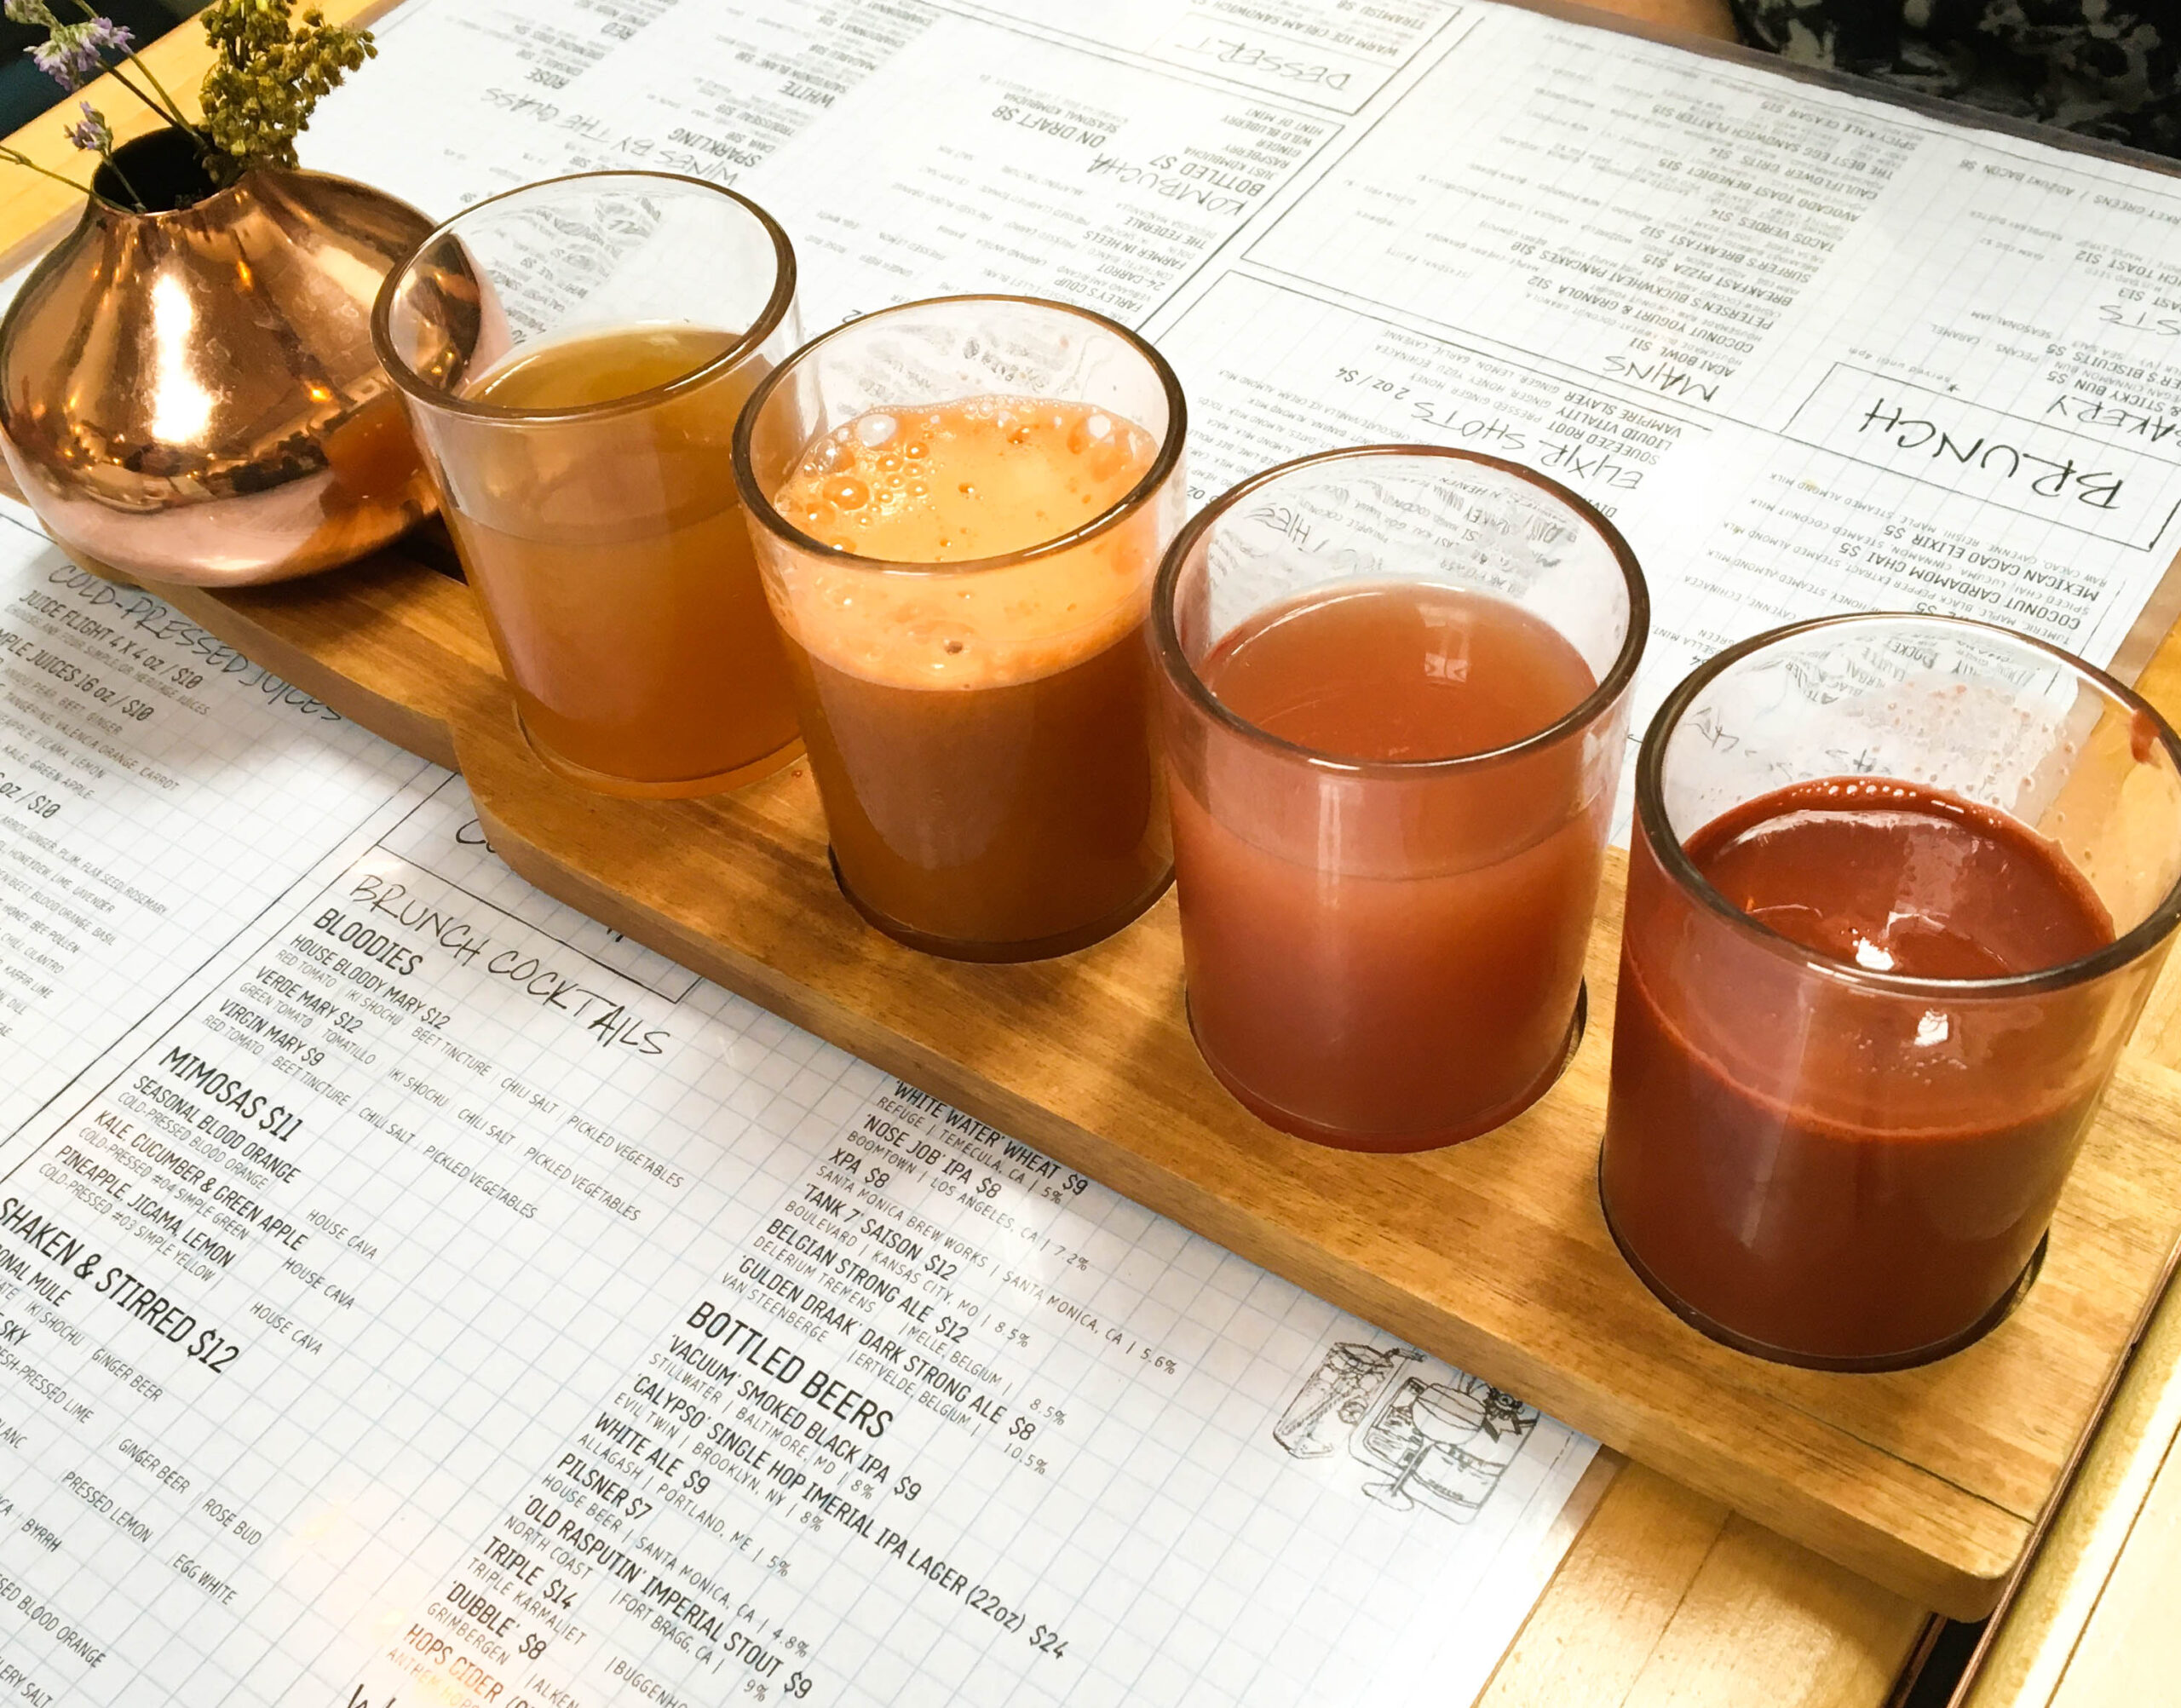
They also have AMAZING cold-pressed juices. I would highly recommend getting a juice flight so you can sample four different juices. Some of my favorites are Stalks & Leaves, Rubies in the Dust, and Golden Hour. Yummy yummy 🙂
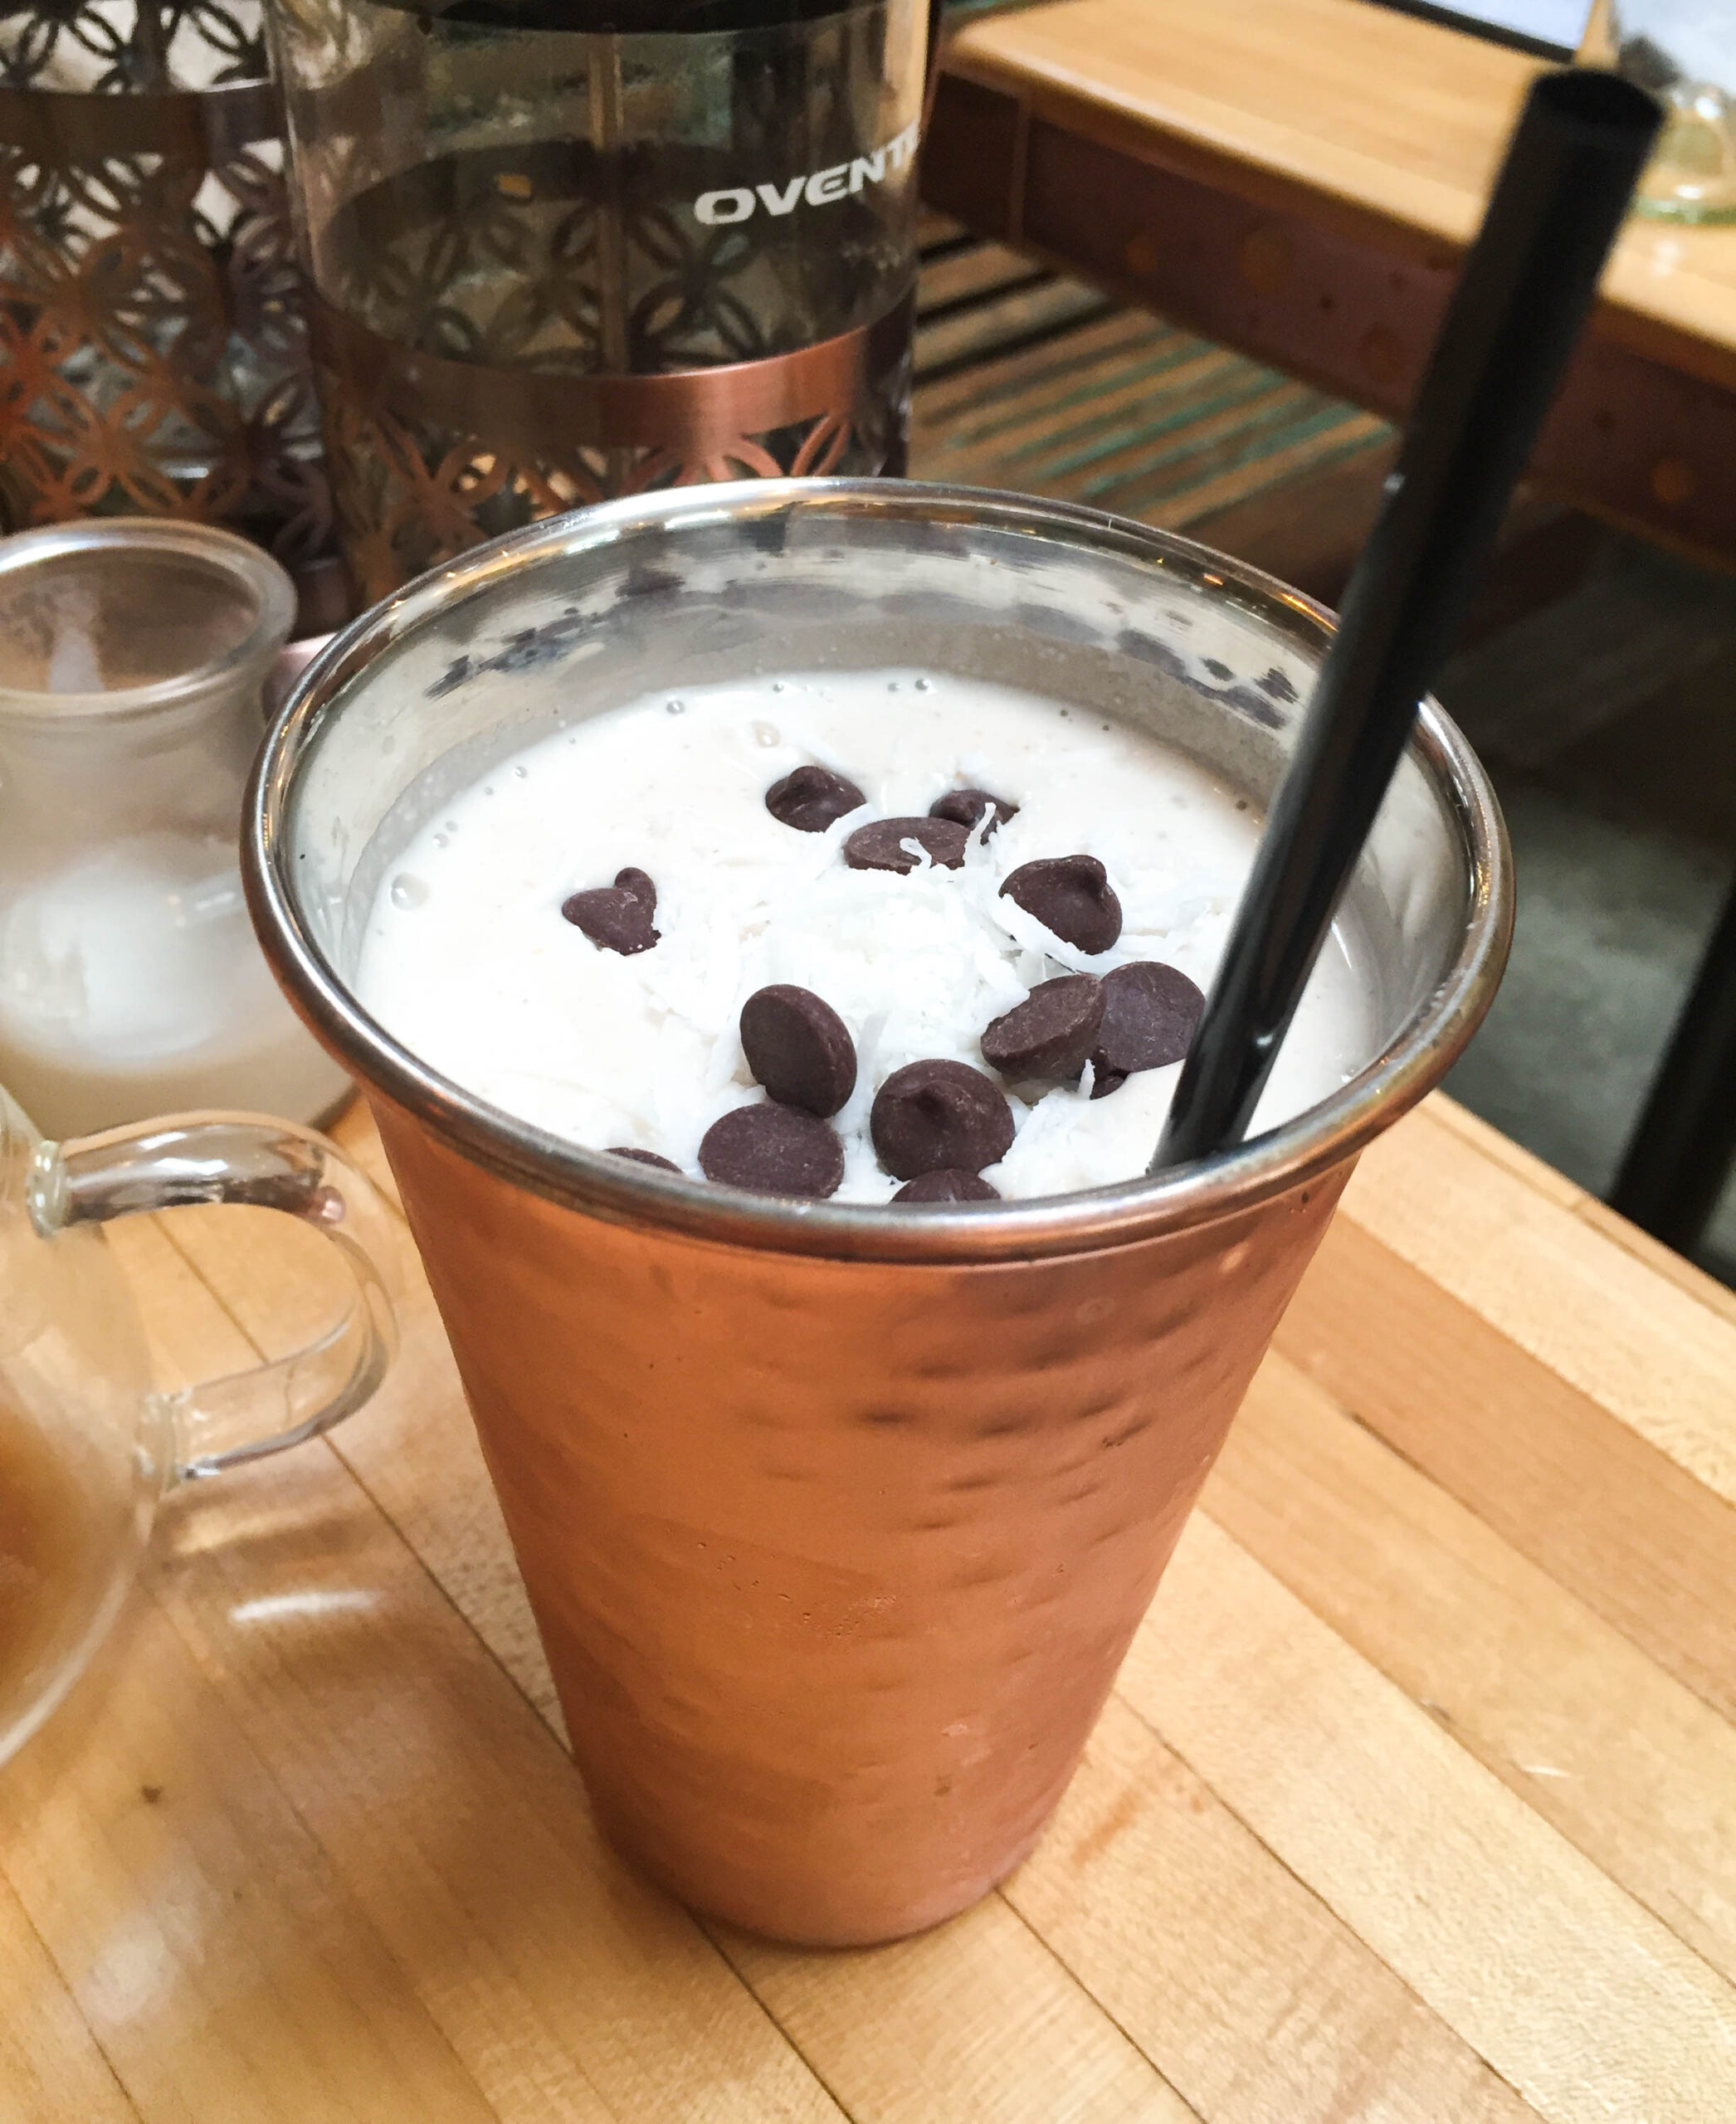
I’ve only tried one smoothie from the Butcher’s Daughter – 7 Minutes in Heaven. And let me tell you… it was 7 minutes in Heaven (more like 2 minutes because I chugged.) All of the smoothies look amaaaazing though, so I’m determined to eventually try them all. Only prob is they currently don’t serve smoothies at dinner (for dessert), which kinda bums me out. #Dreams
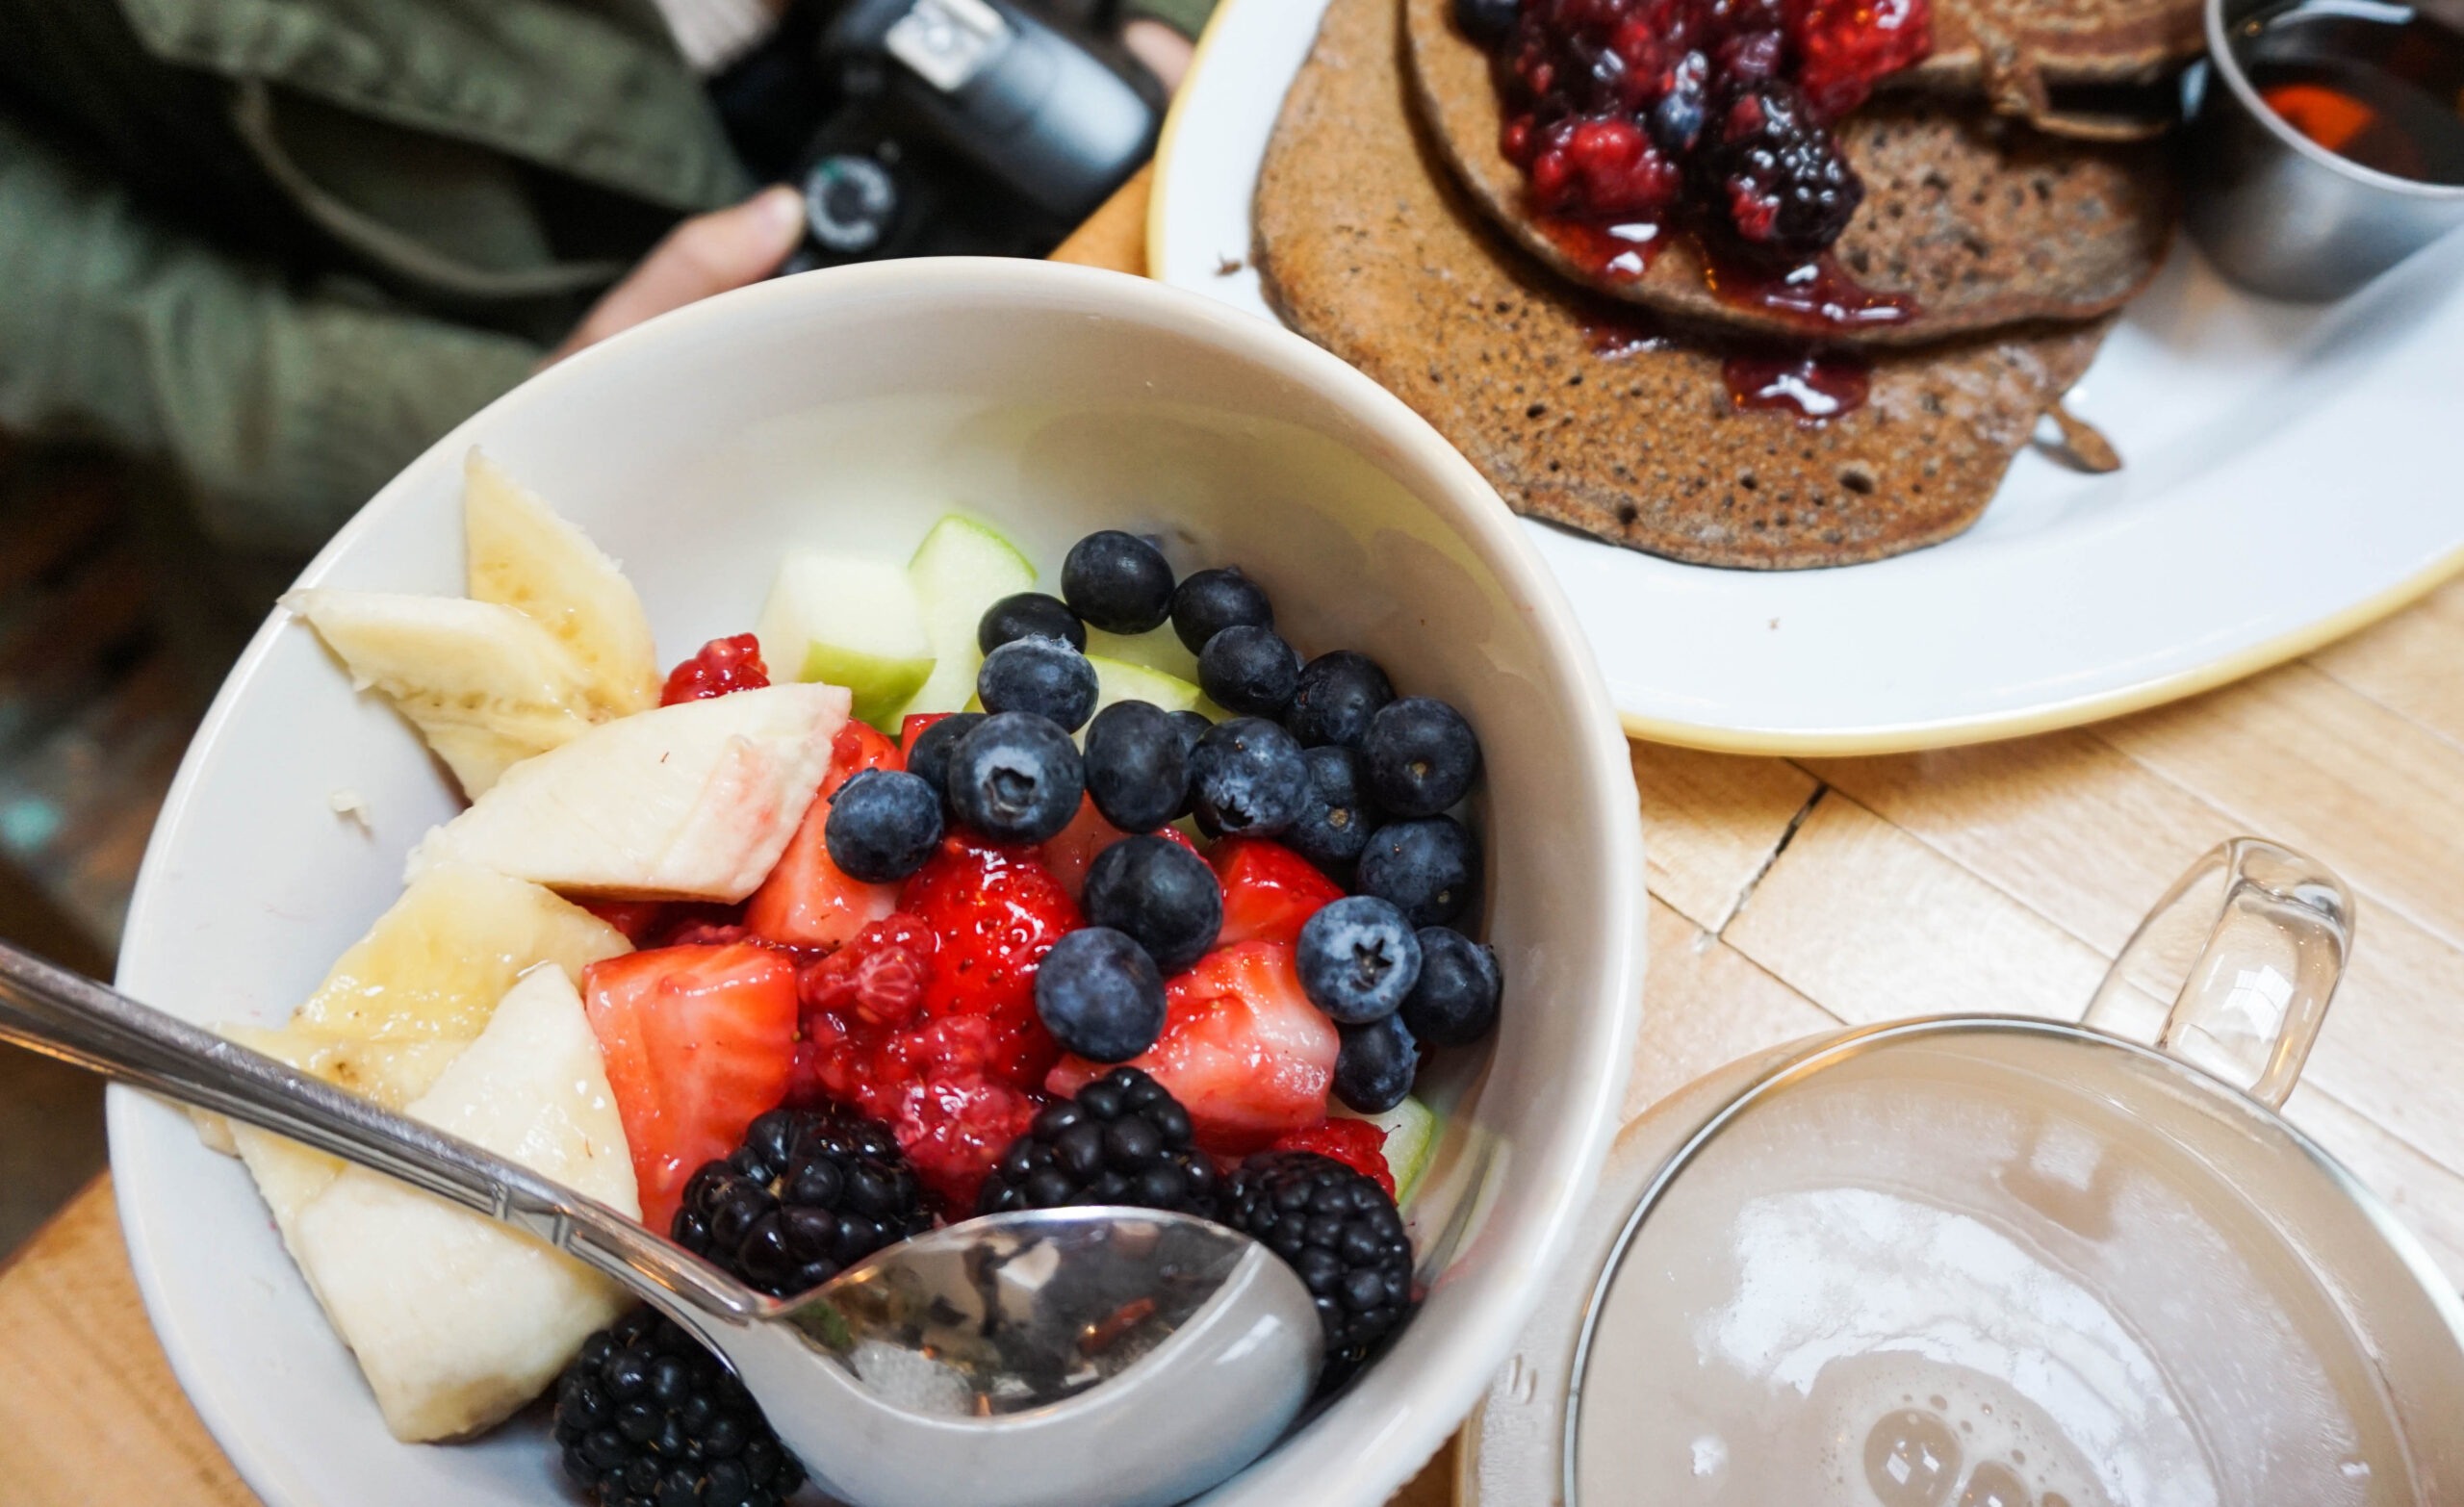
When it comes to the sides and appetizers, you actually can’t go wrong. Their market vegetables are always incredible, and I especially love the roasted rainbow carrots. If they happen to be serving brussel sprouts when you go, GET THEM!!!! You will not regret it.
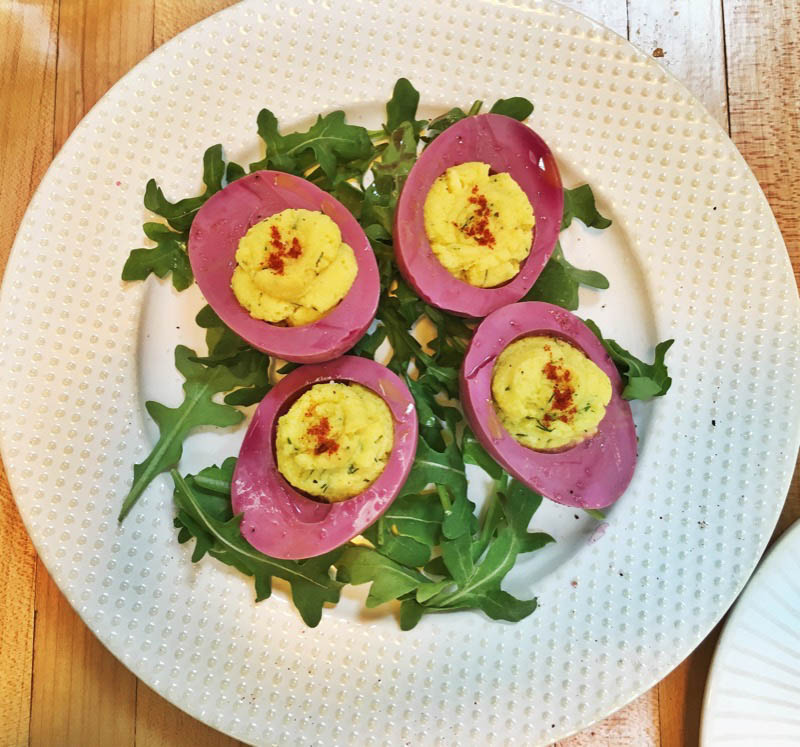
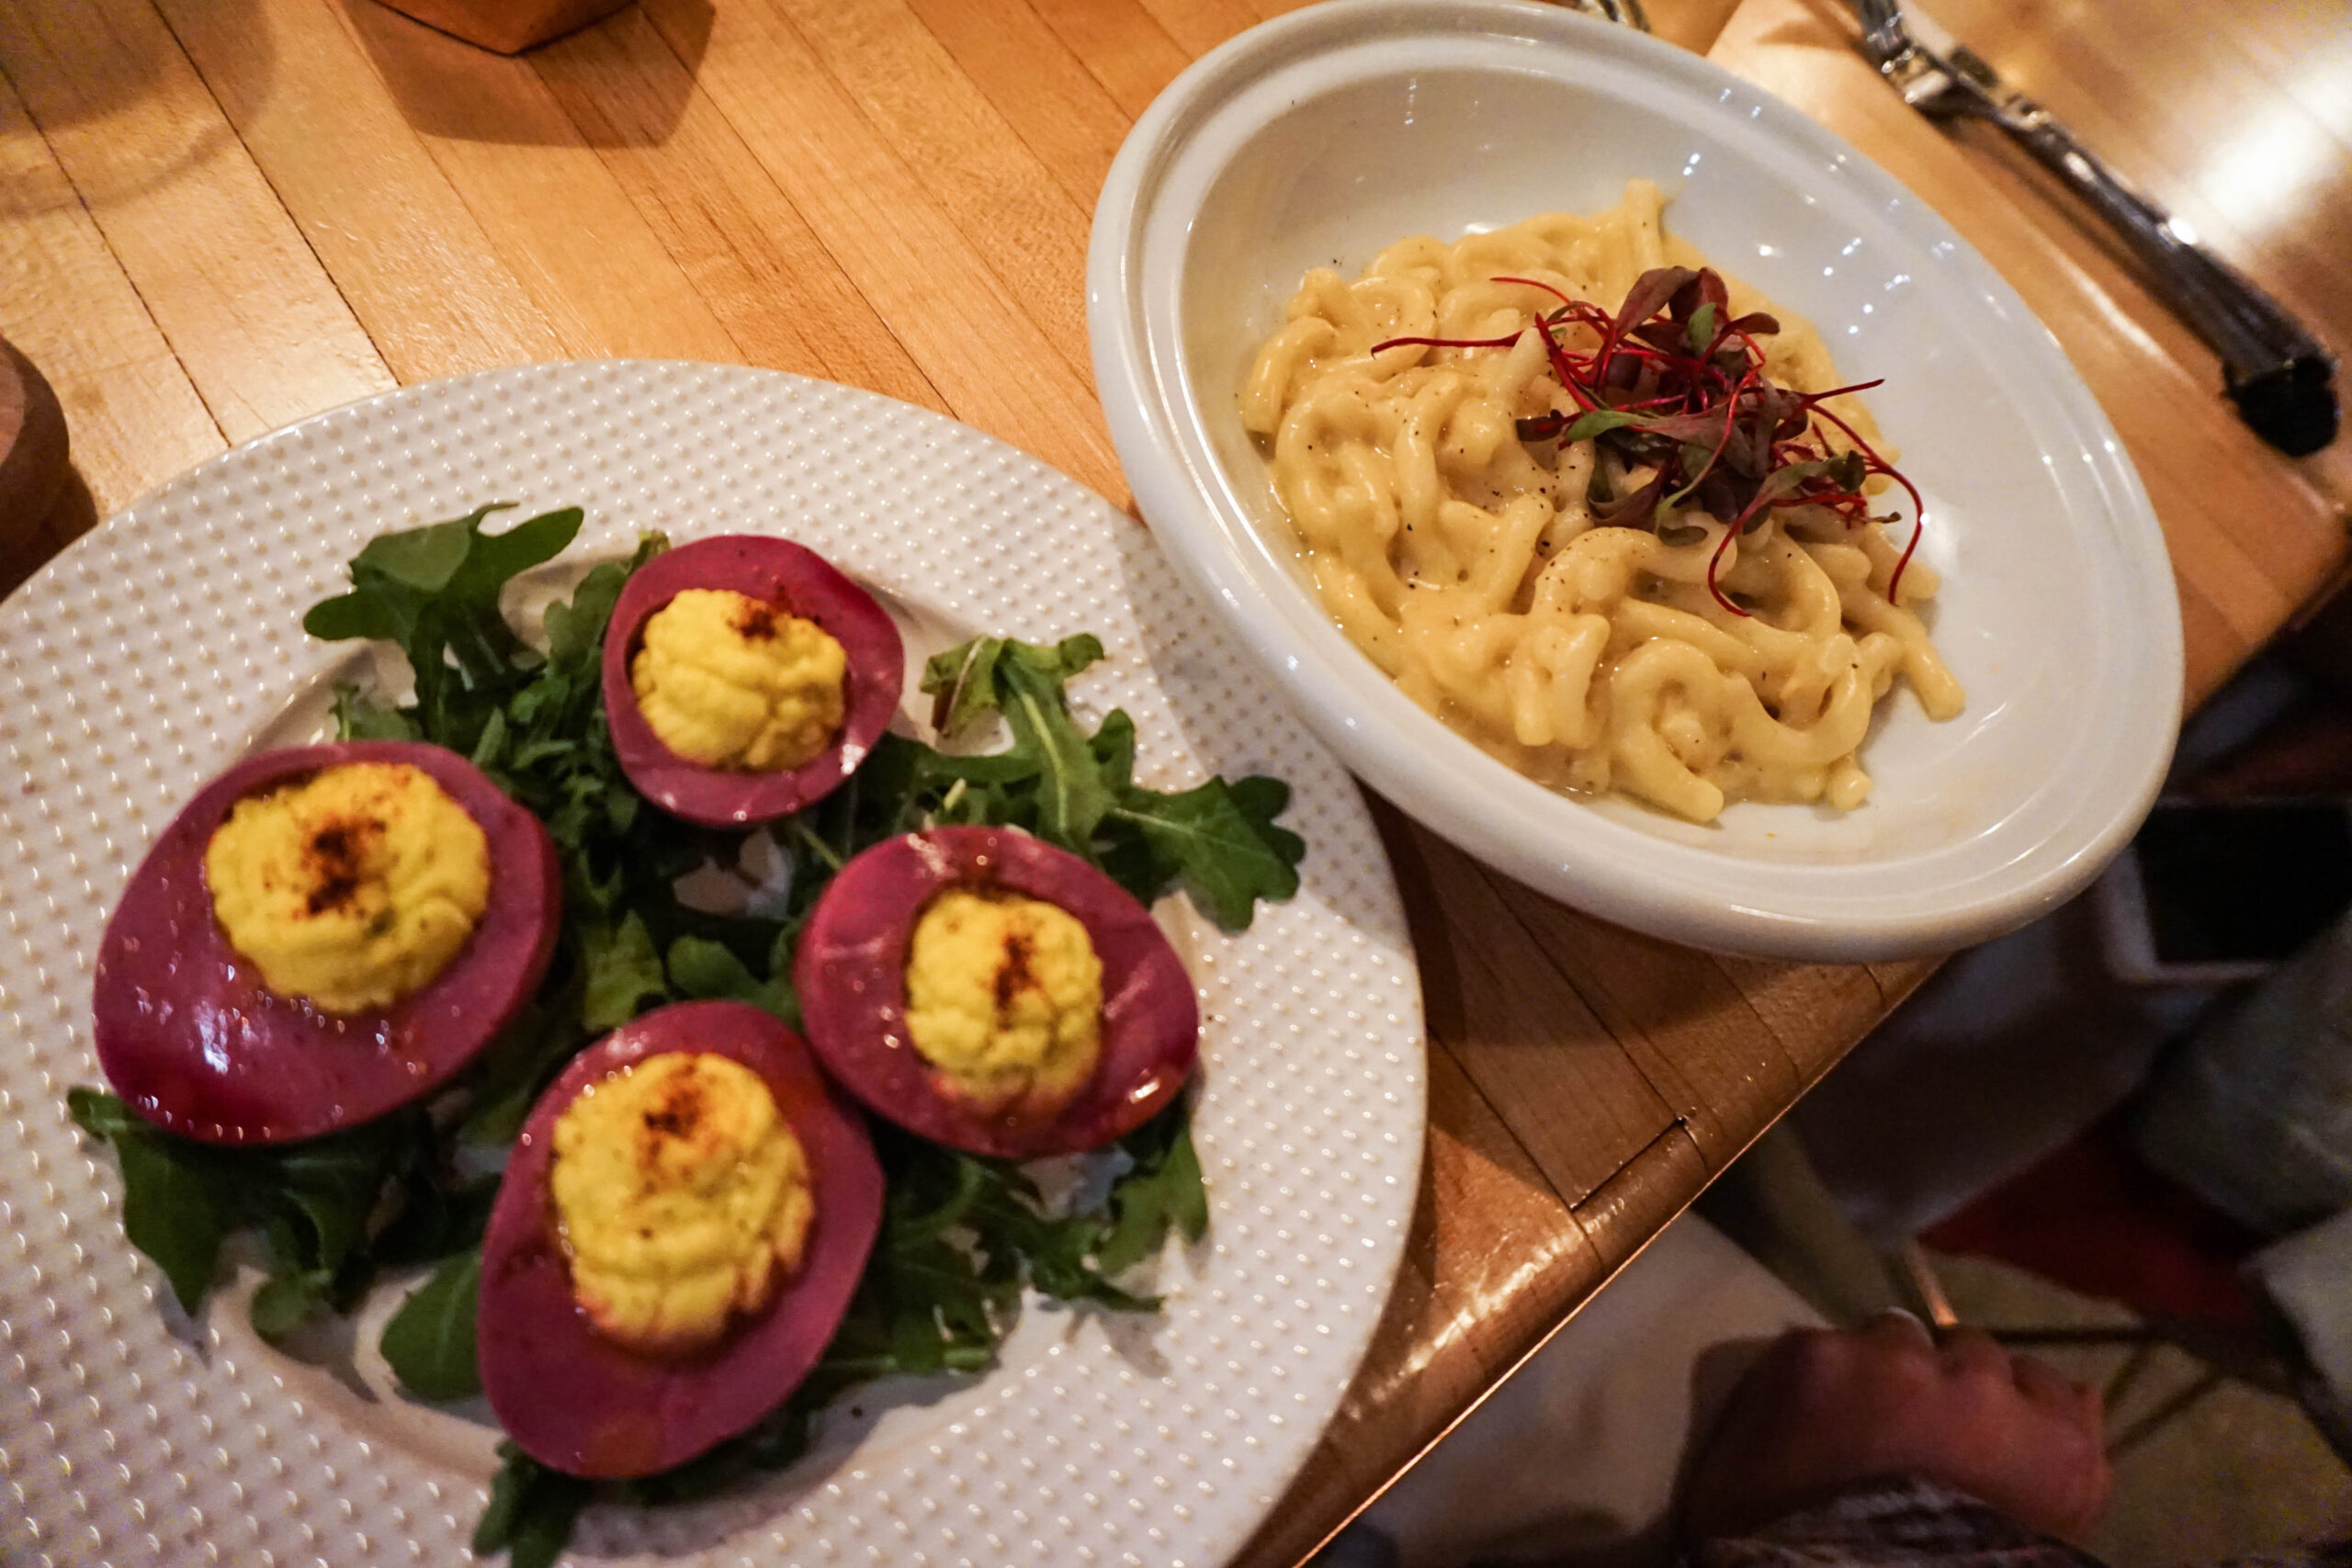
Their drink menu looks pretty on-point to me, but I basically never drink alcohol so I can’t tell you anything from experience. I literally just ordered the drink with the flower in it to take a cute picture for my birthday. No shame. What I can tell you is that the alcoholic beverages are damn beautiful. And the rose mint tea is FABULOUS.
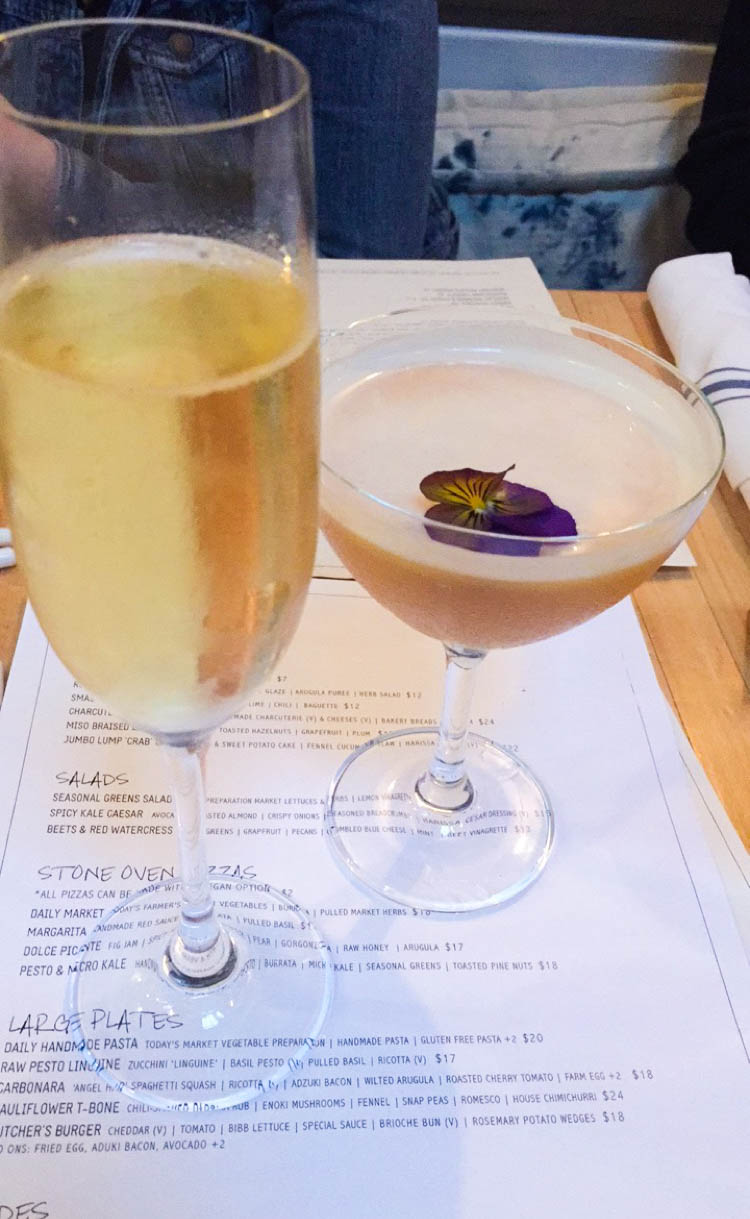
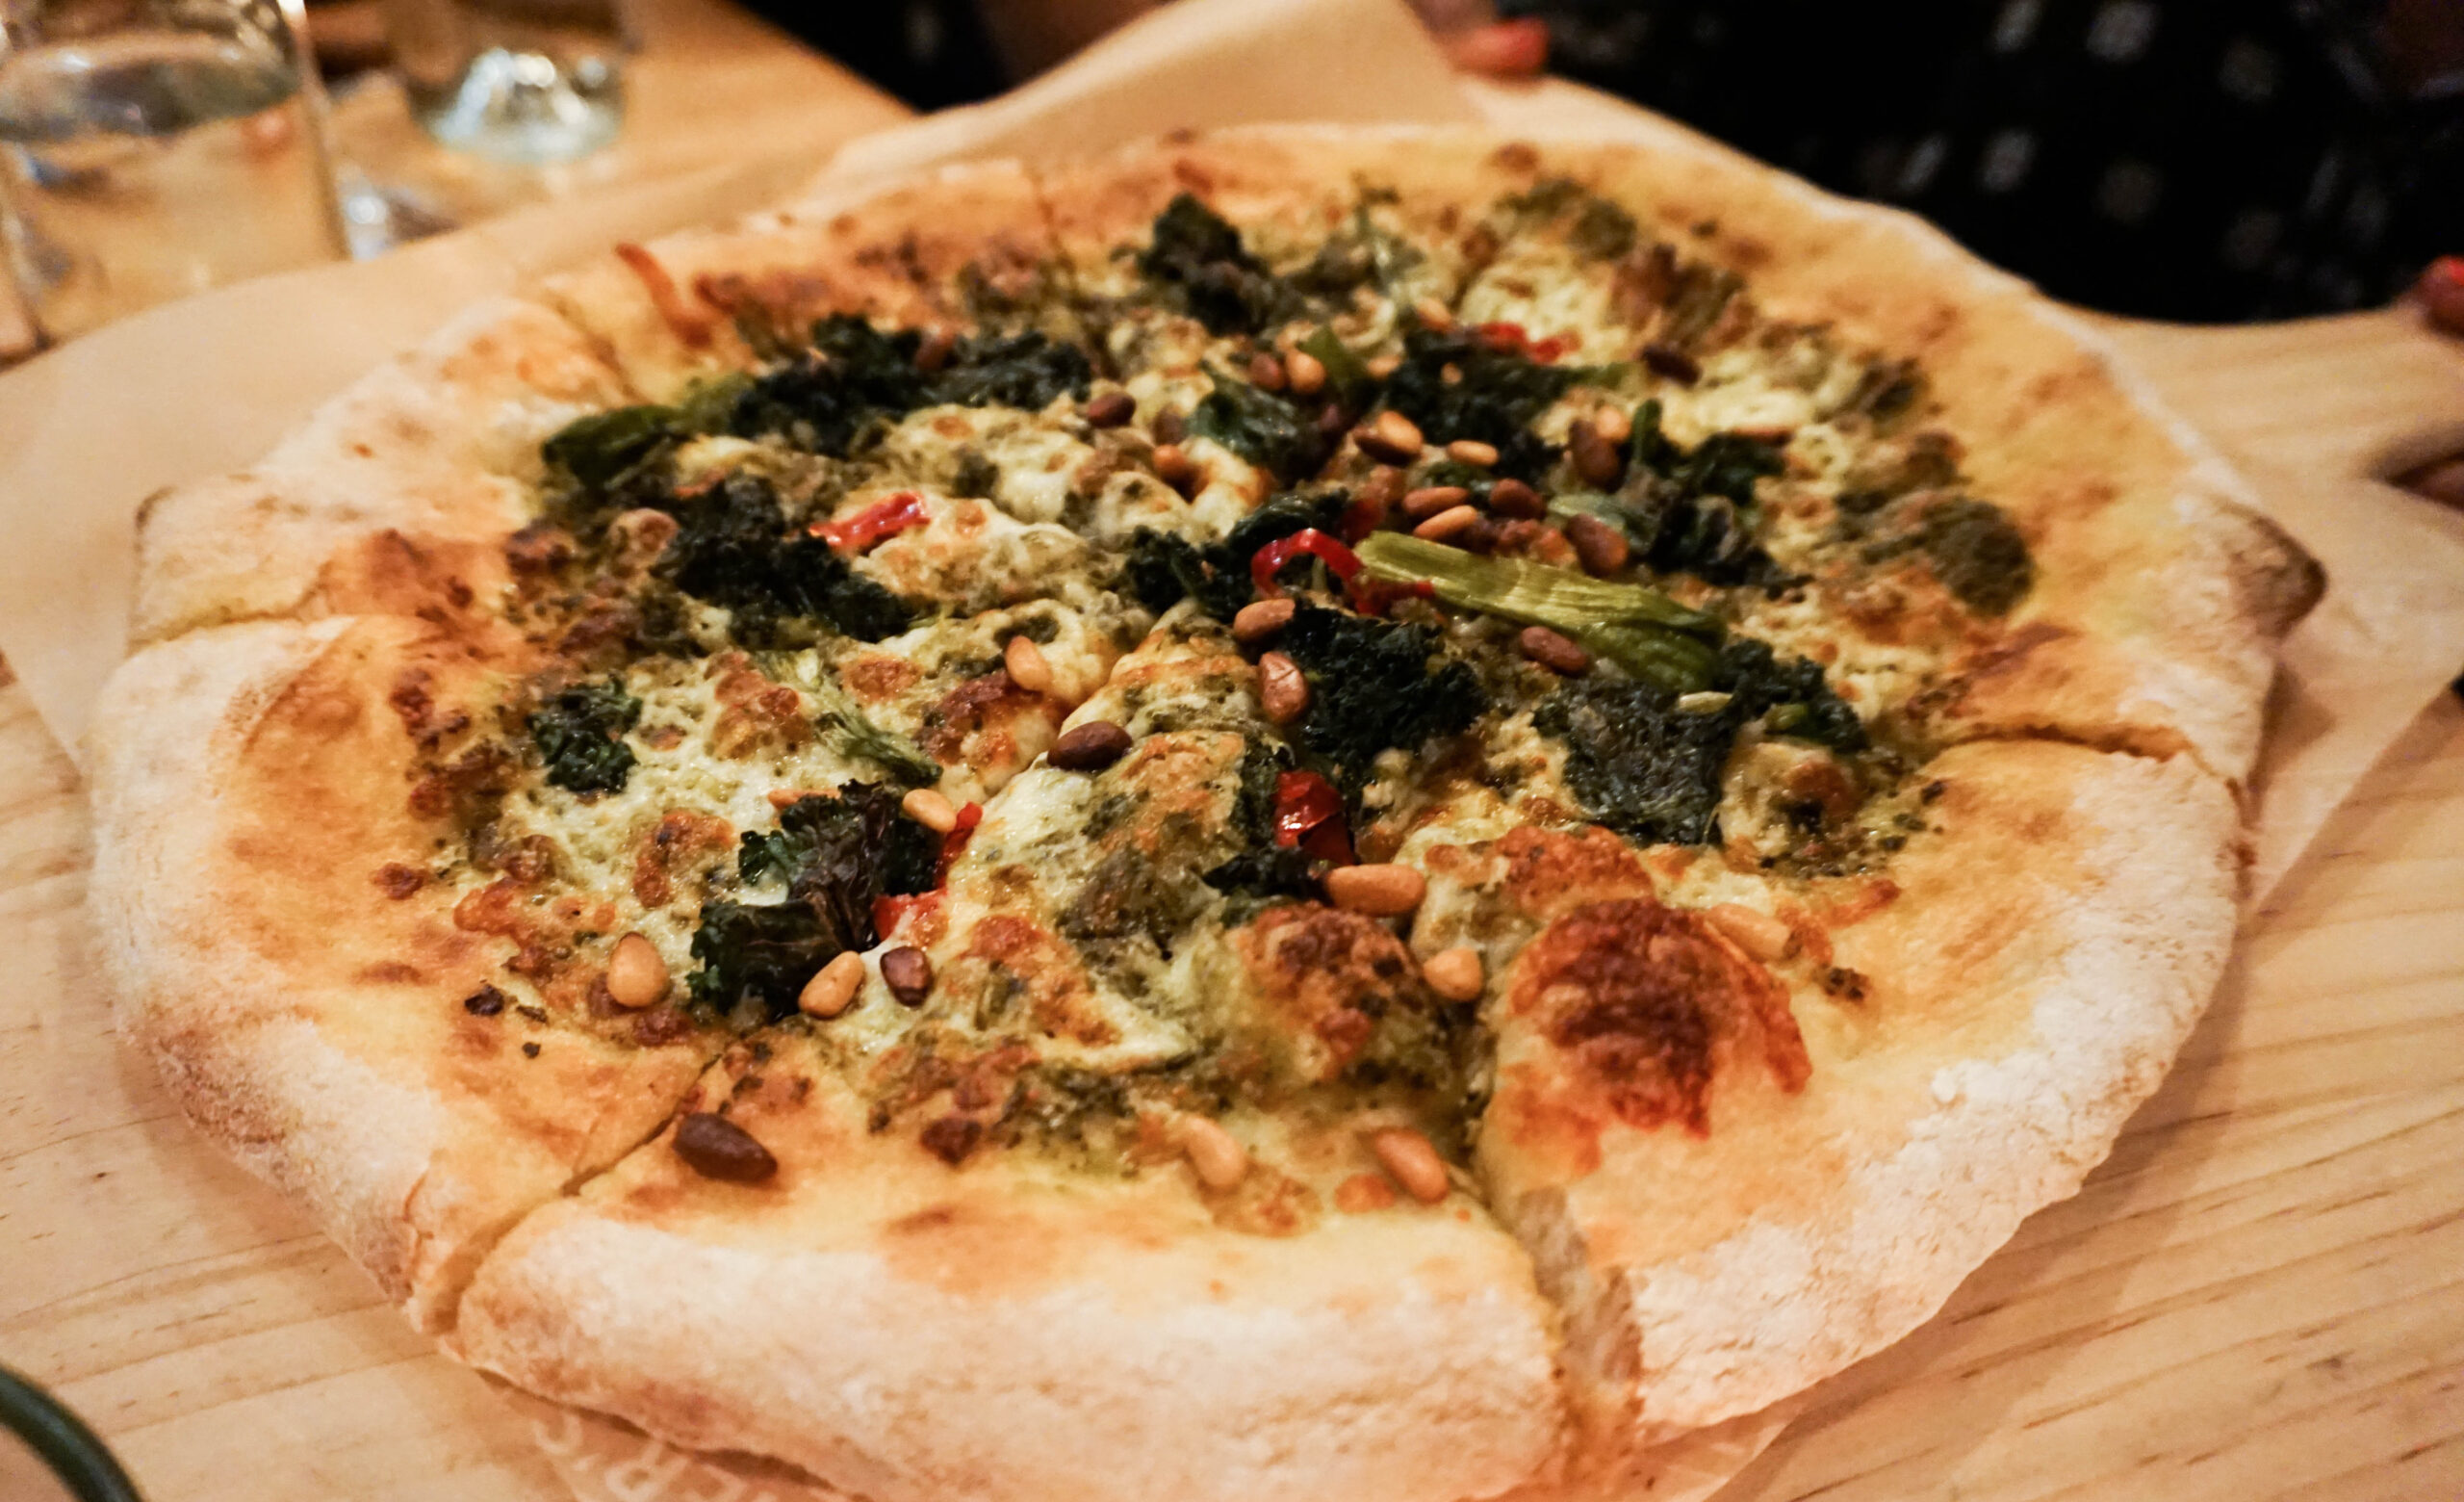
My faves for dinner are the Raw Pesto Linguine, the Cauliflower T-Bone, and the Carbonara. The Raw Pesto Linguine is like the king of zoodle dishes. It has this divine cashew cheese plopped on top that makes me want to faint of happiness. The Cauliflower T-Bone recipe mysteriously changes every time I order it, but I’ve liked it every way they’ve made it so far. Veeeerrrryyyy impressive!
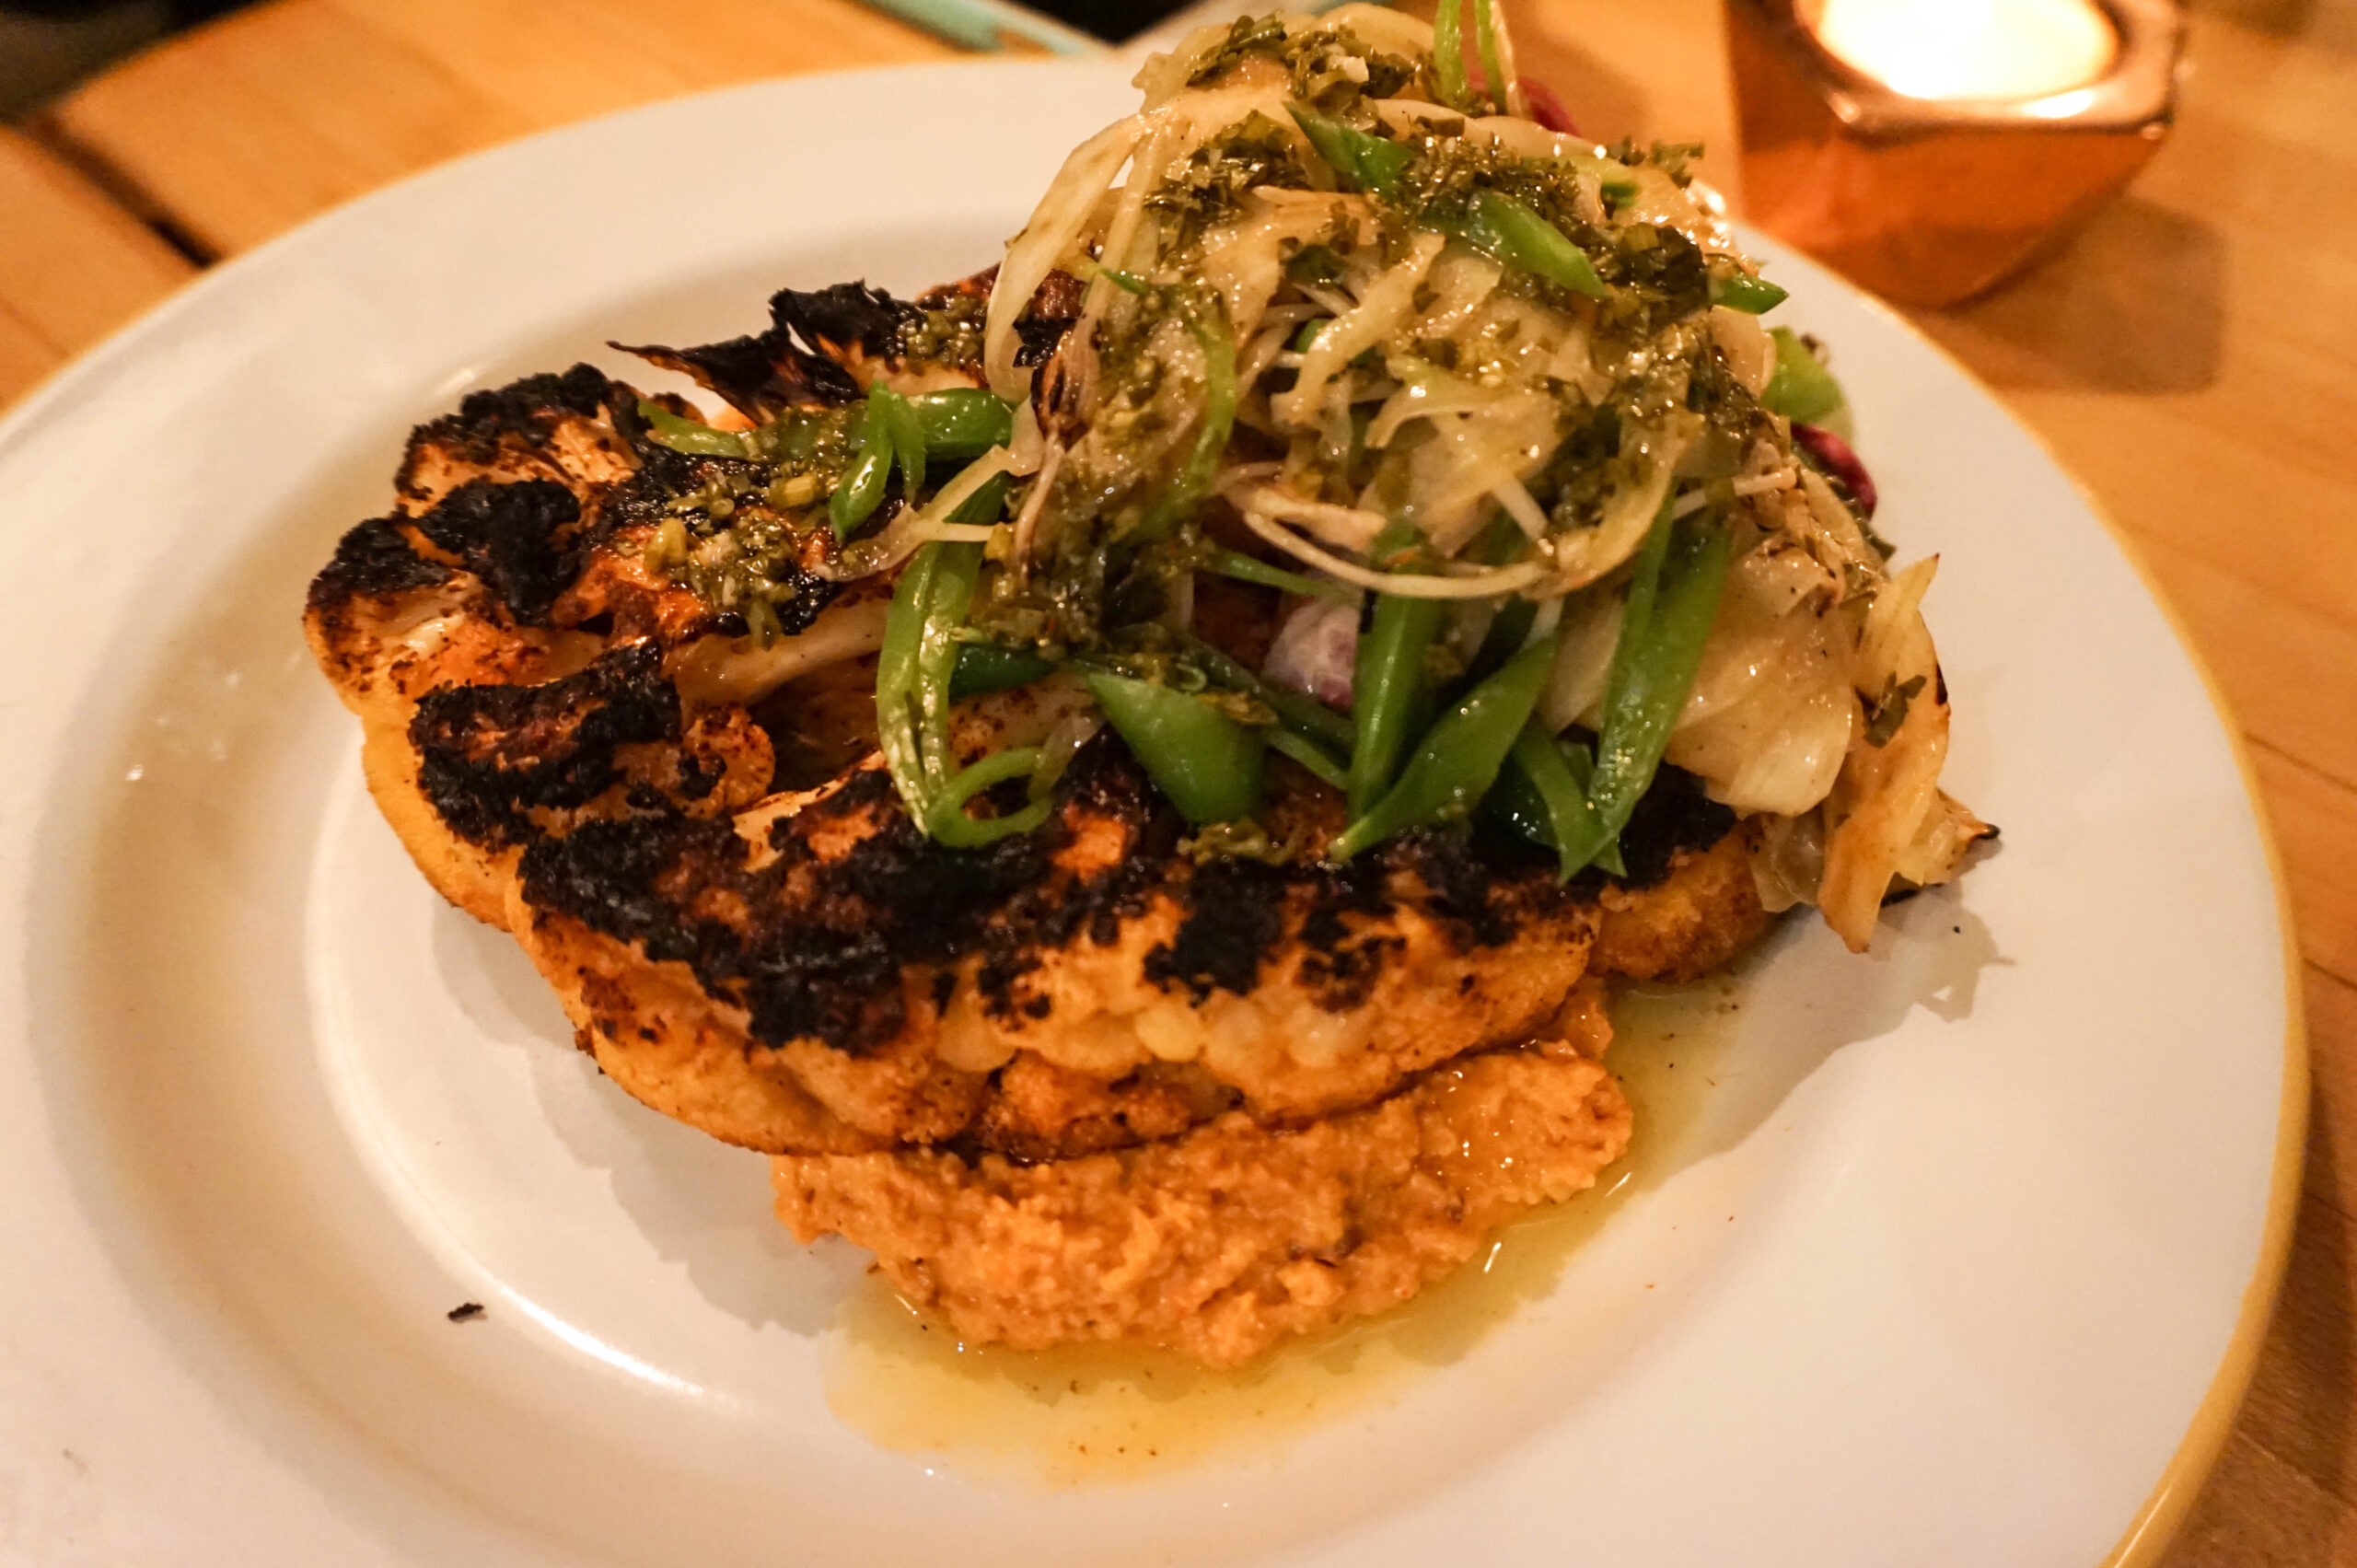
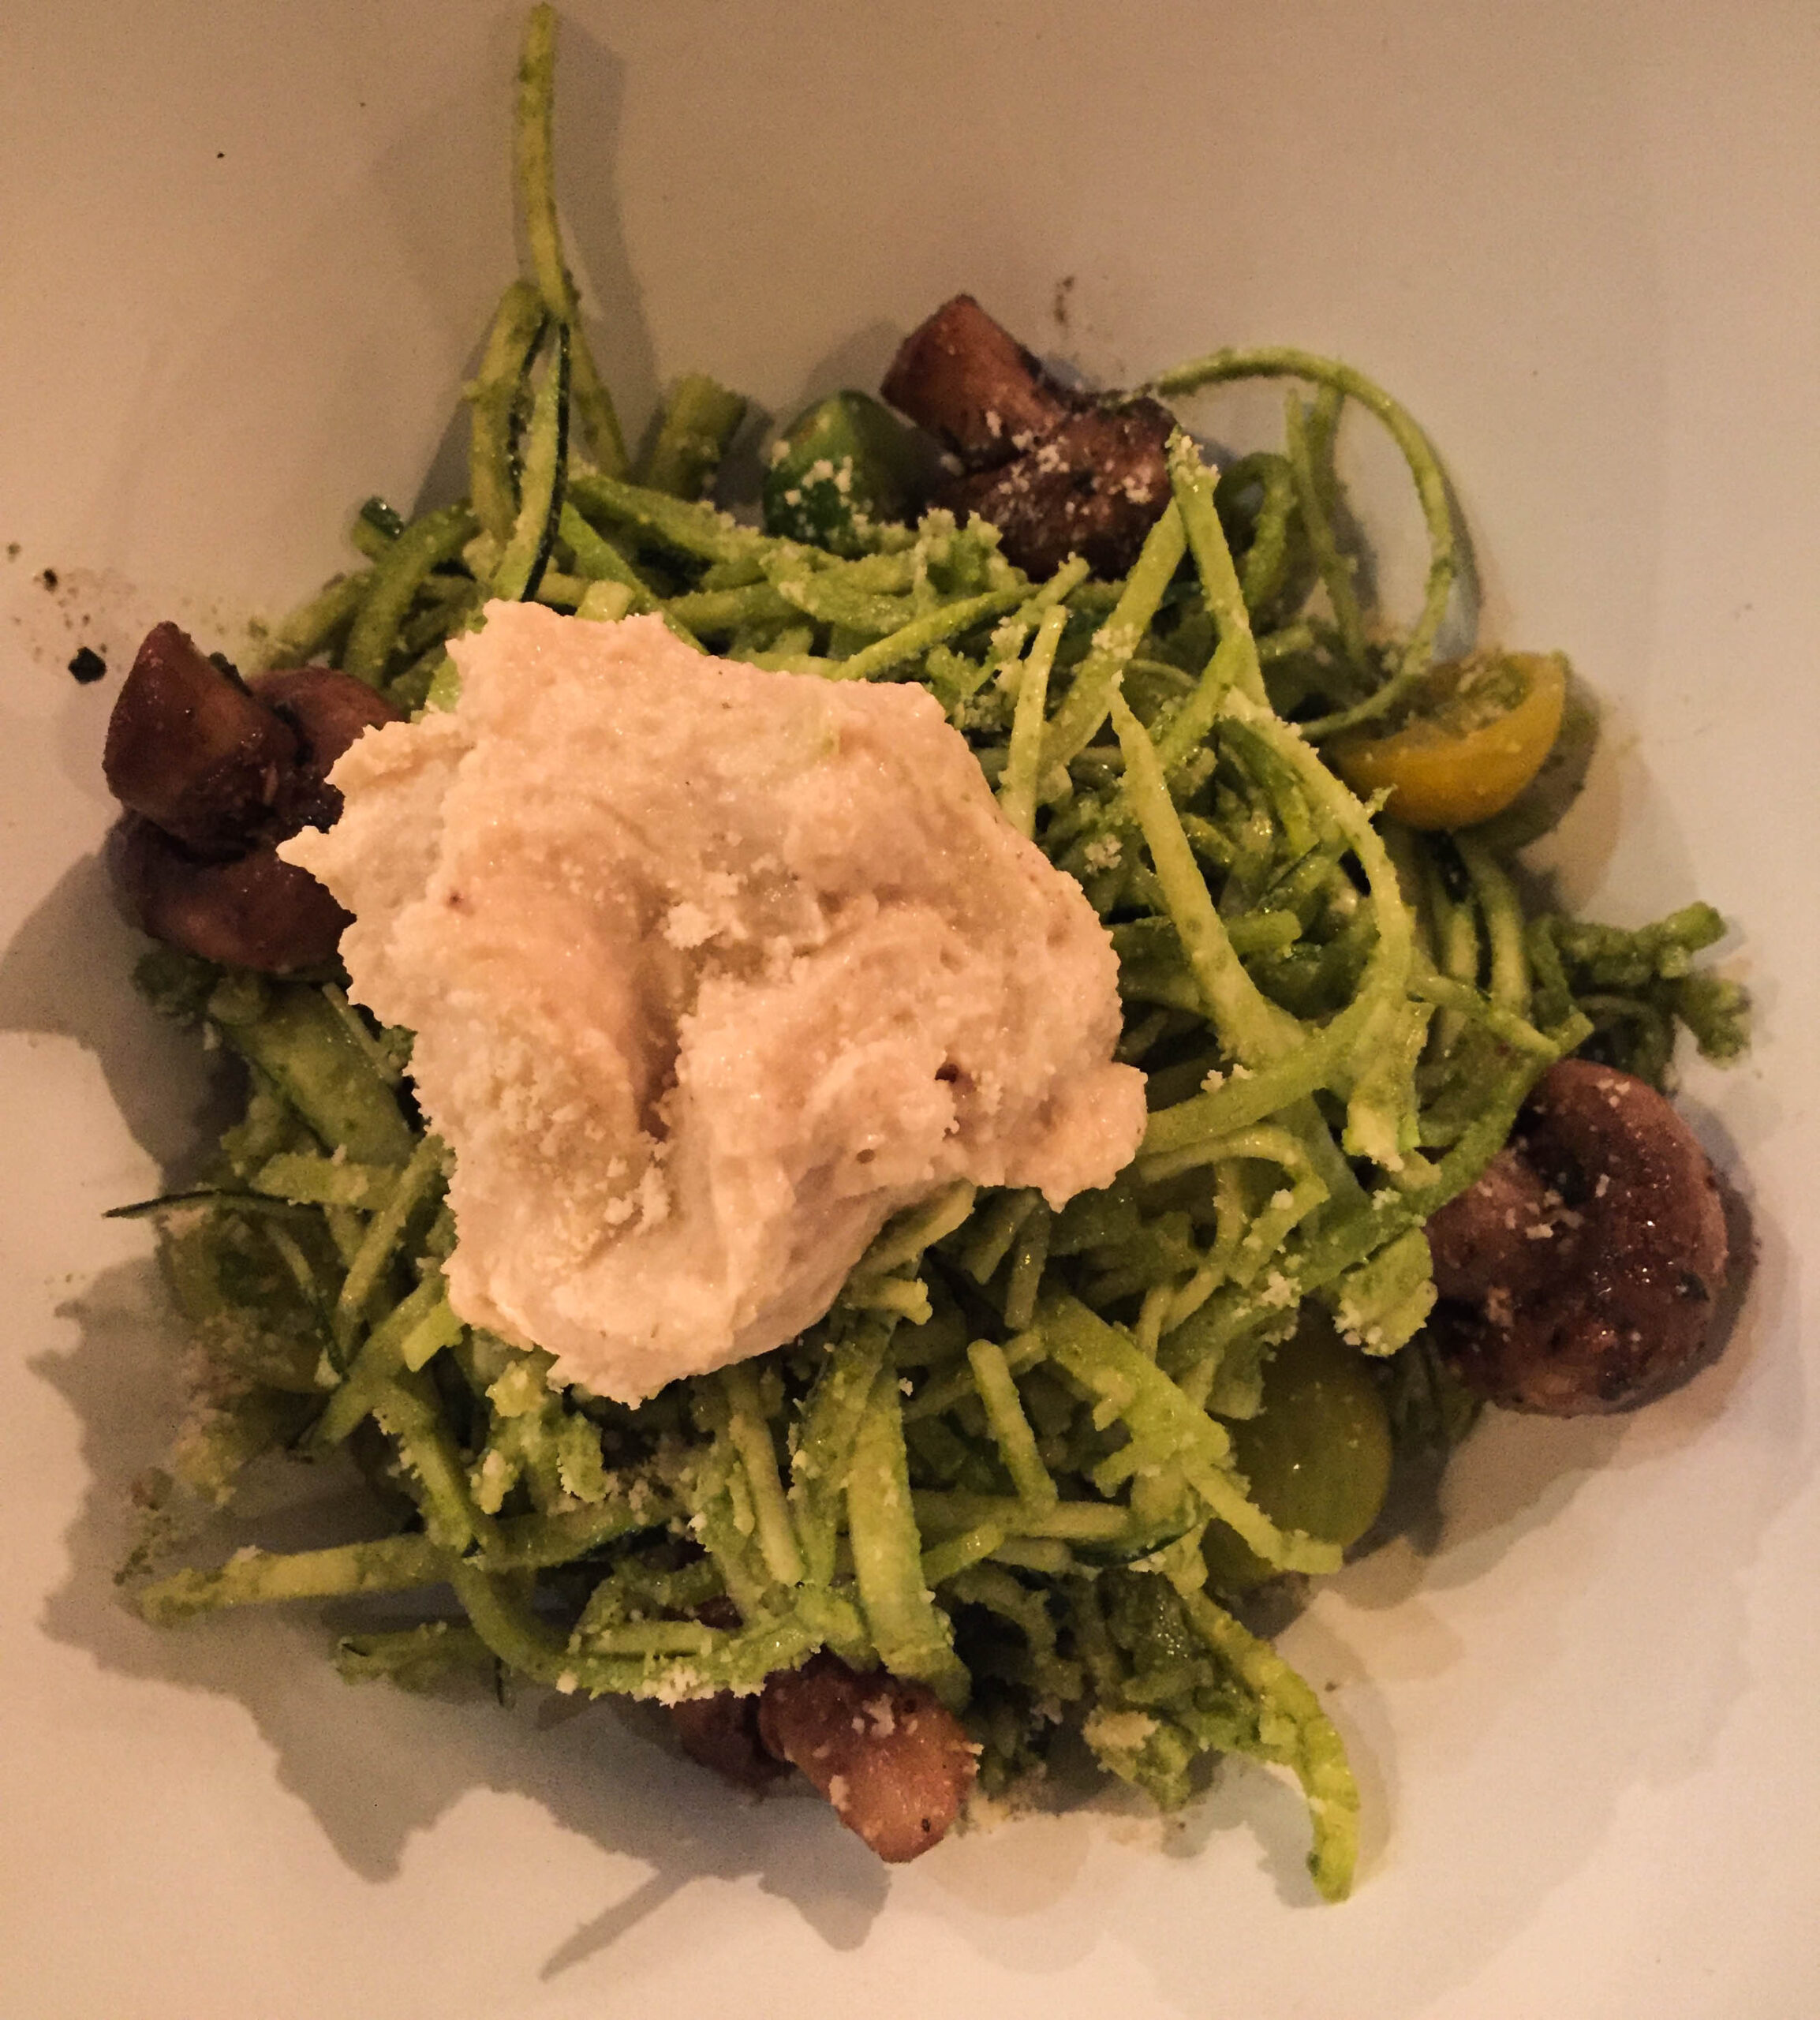
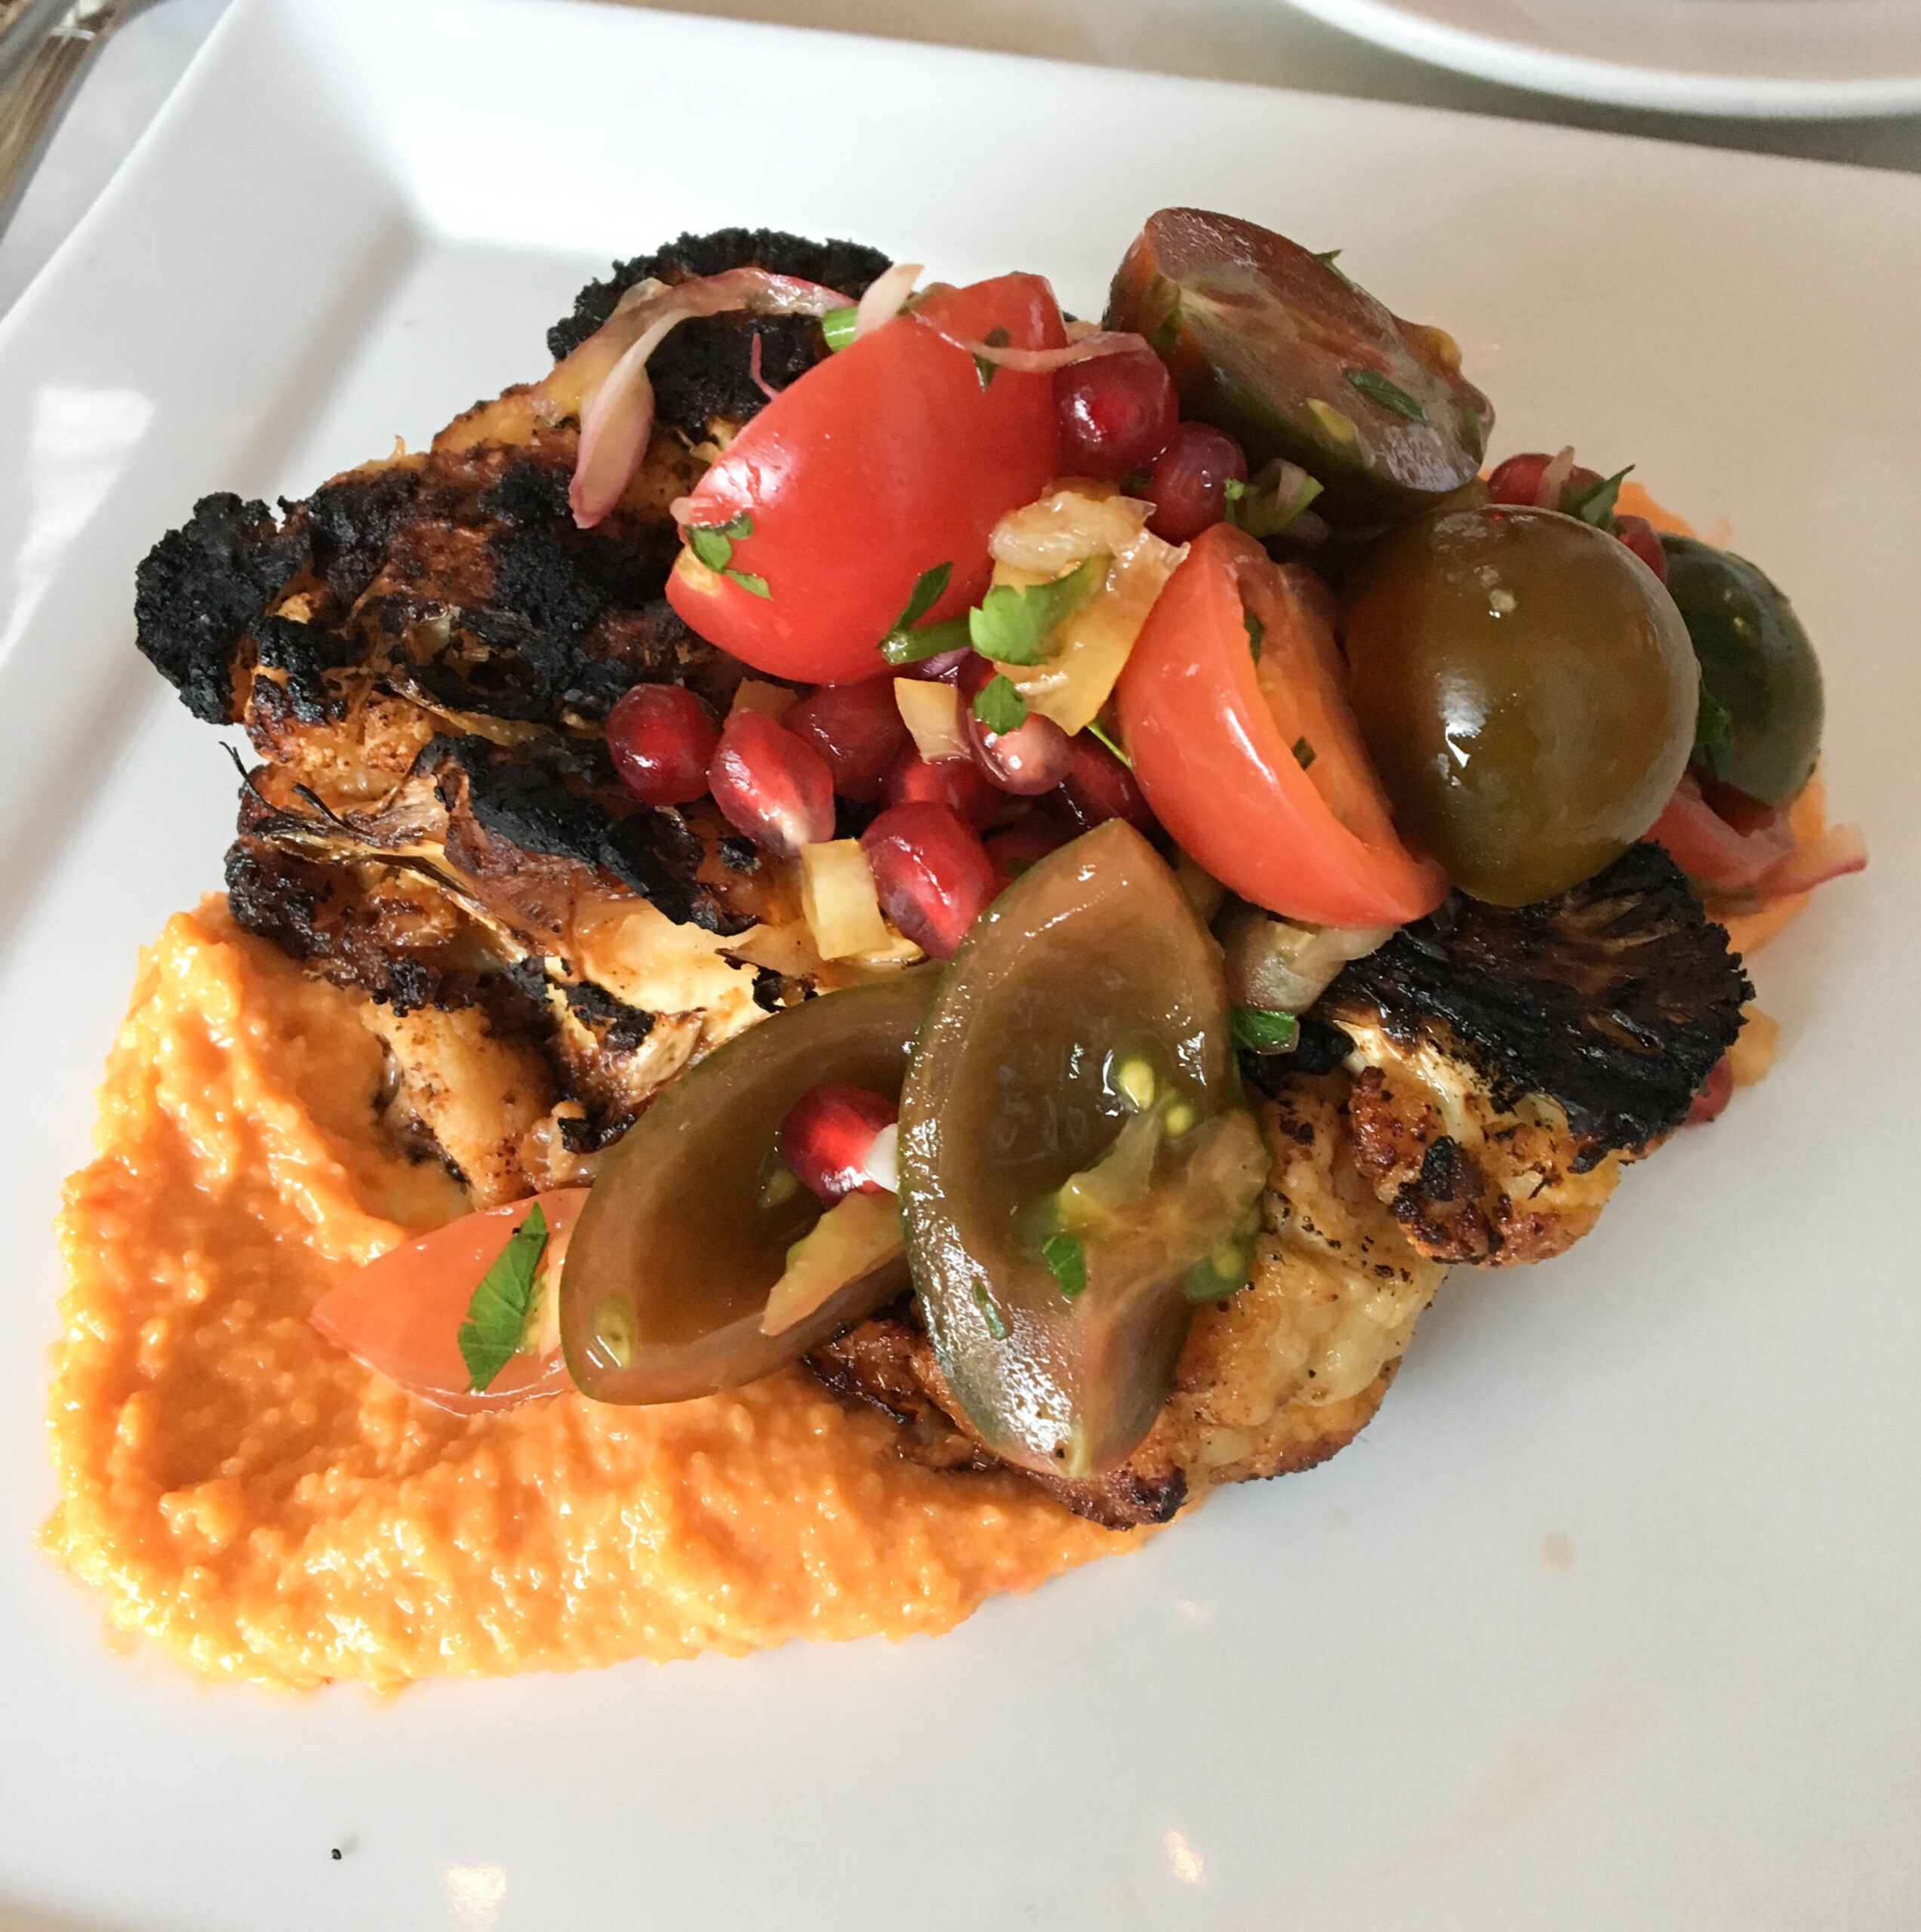
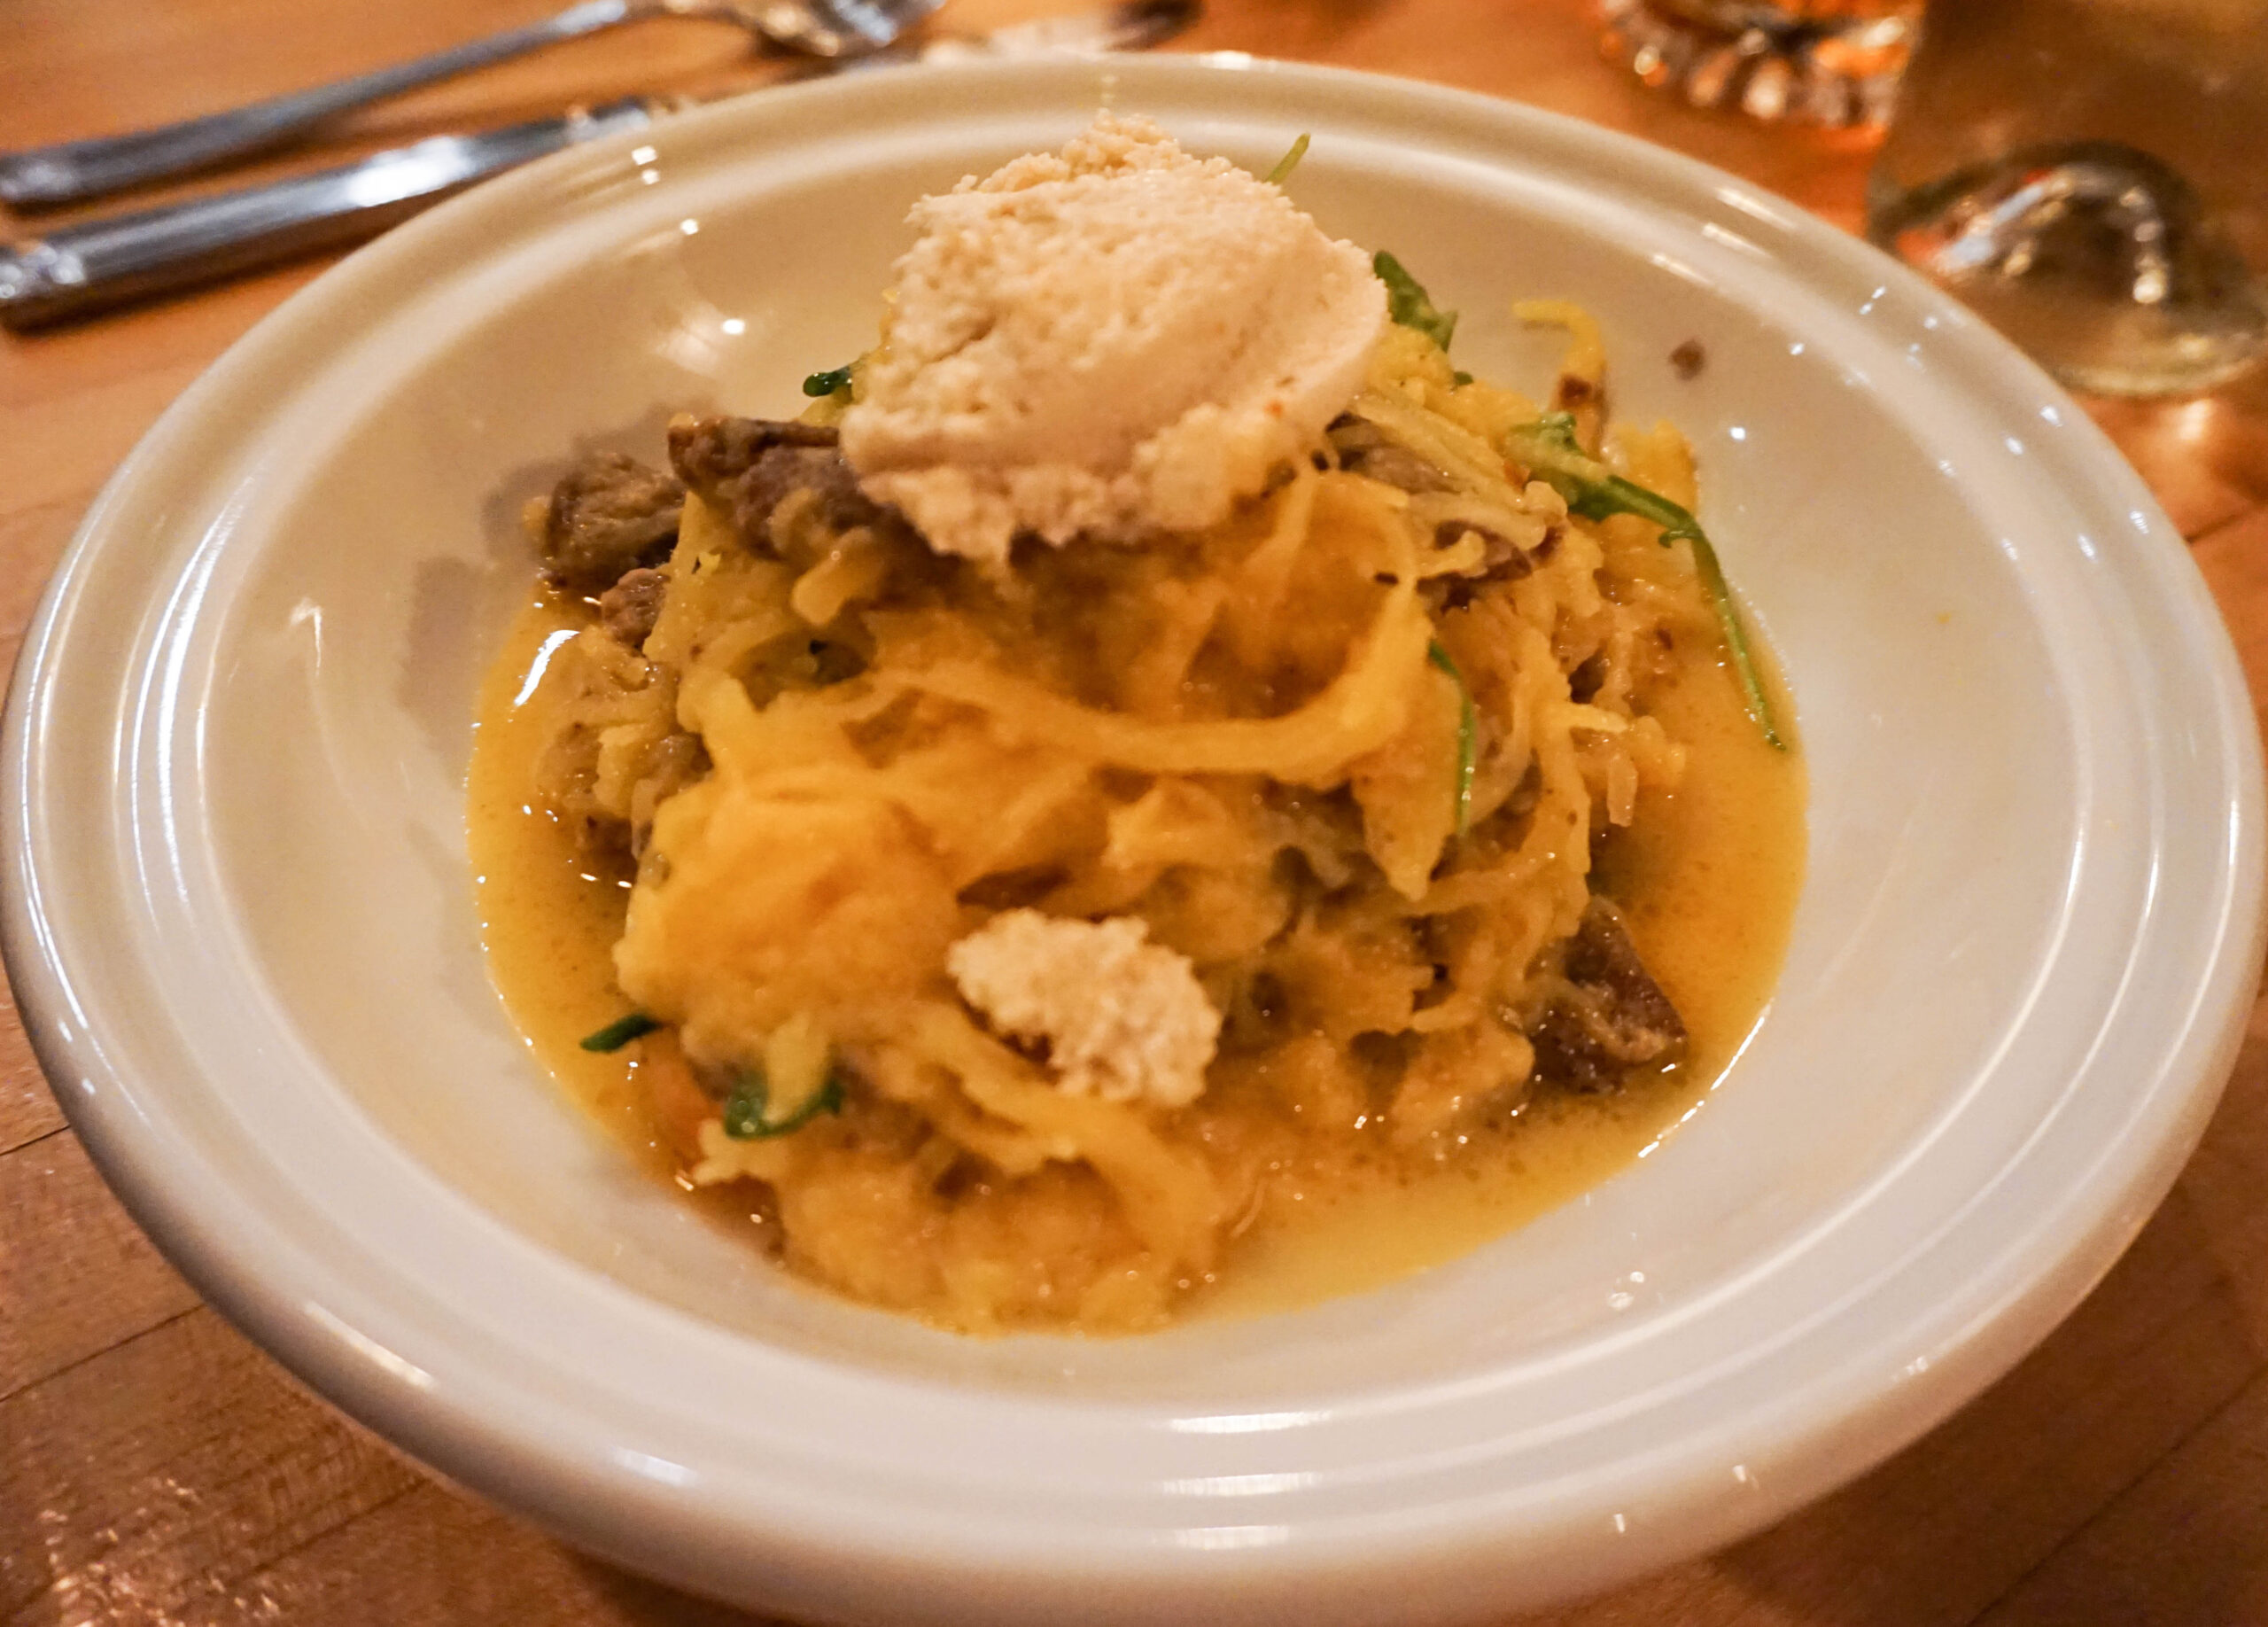
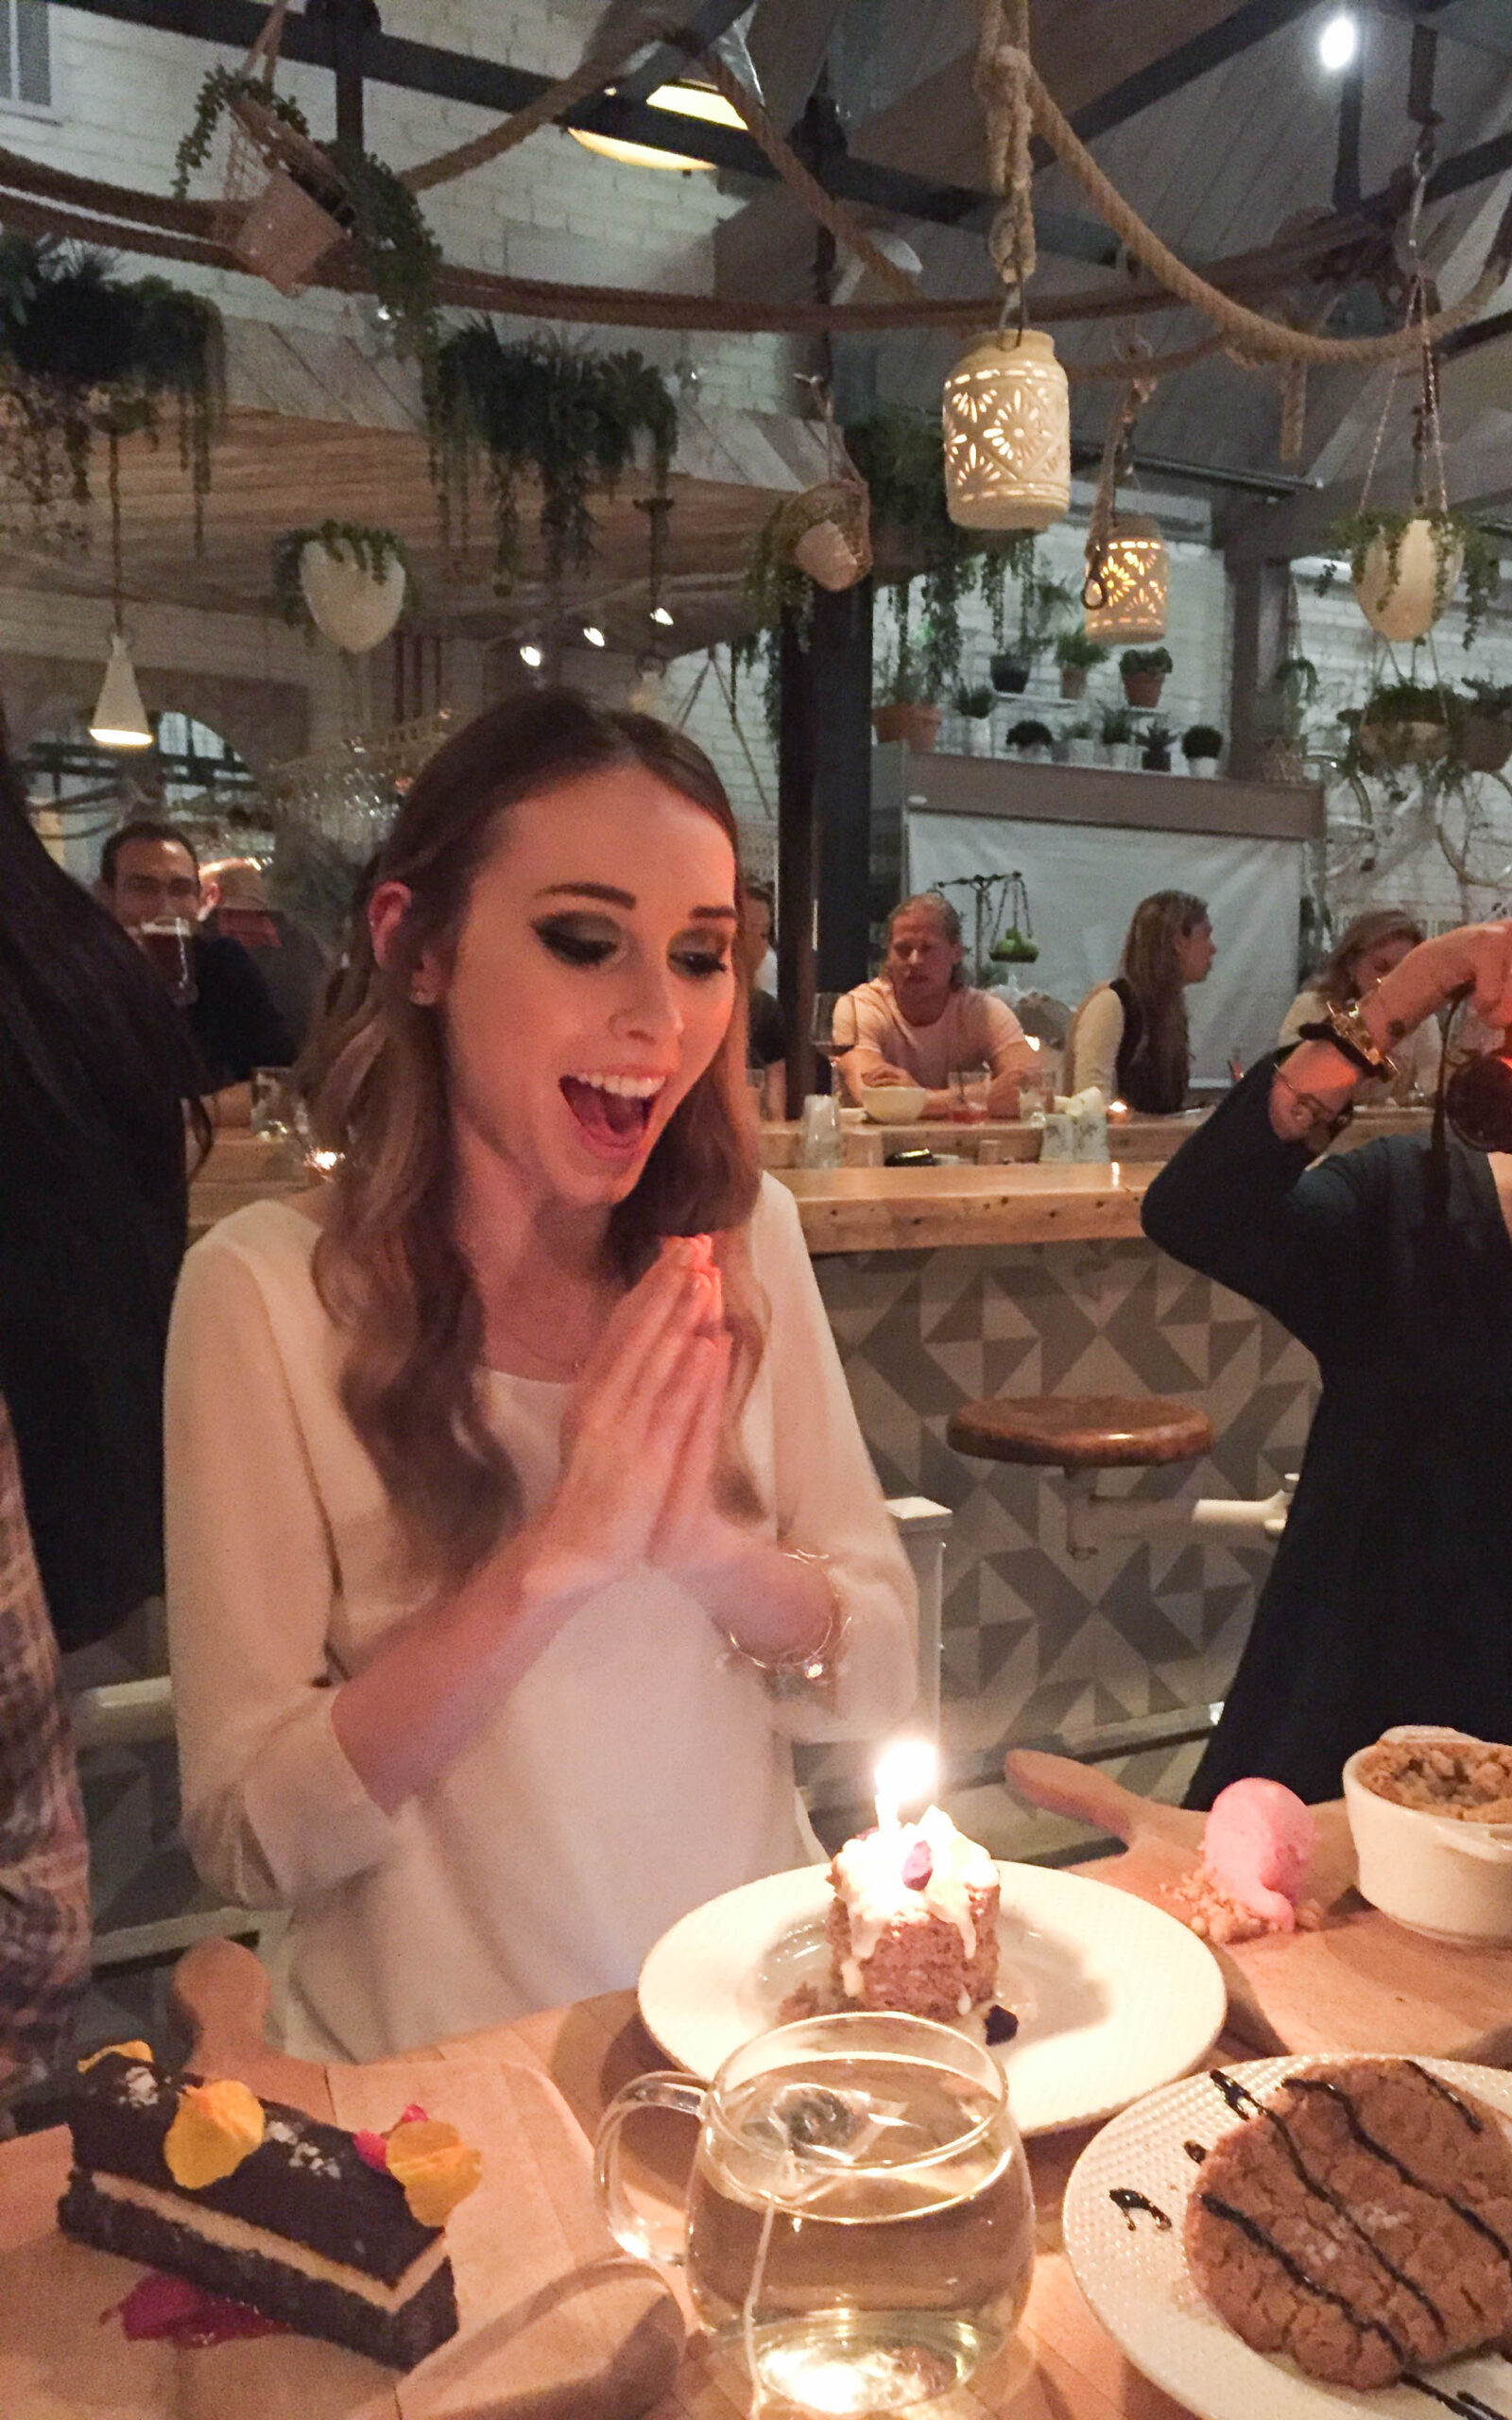
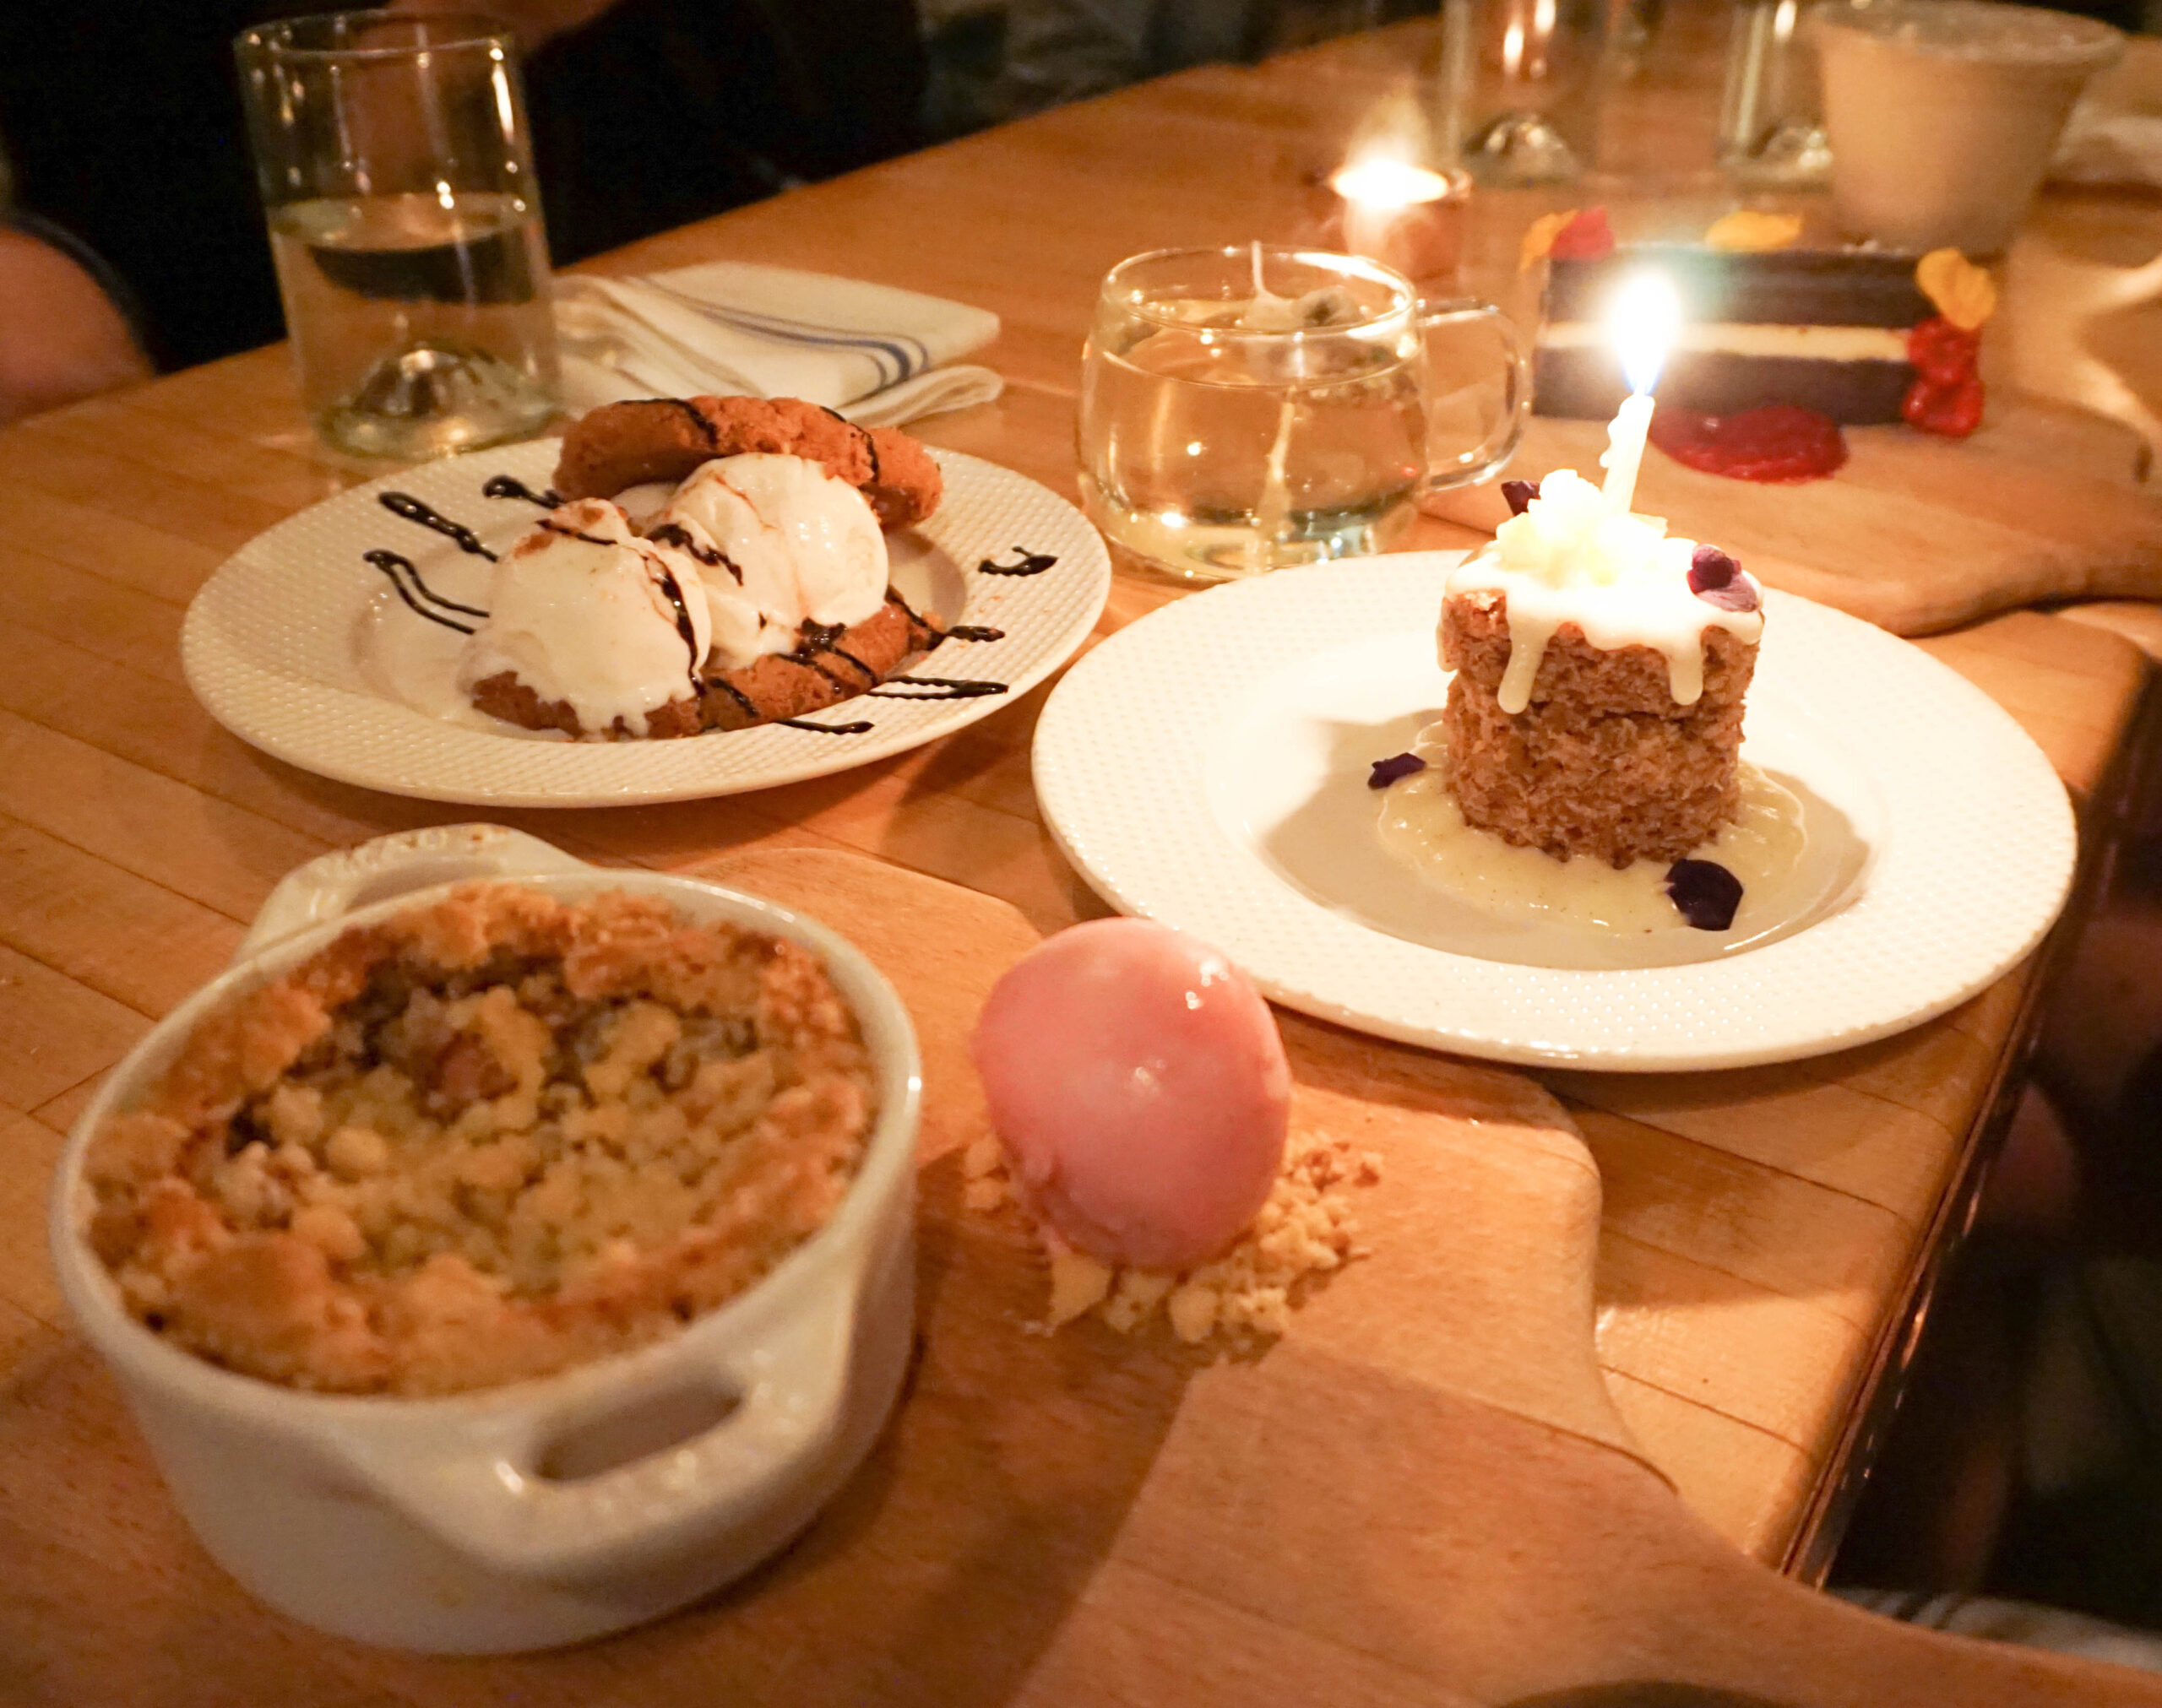
Lastly, my favorite part. DESSERT! I went to The Butcher’s Daughter for my 21st birthday this year, and I literally ordered every dessert on the menu. Did I get sick after? Yes. Did I regret it? NOT AT ALL. All of the desserts are vegan and gluten-free, so I was like…YAAAAAS!
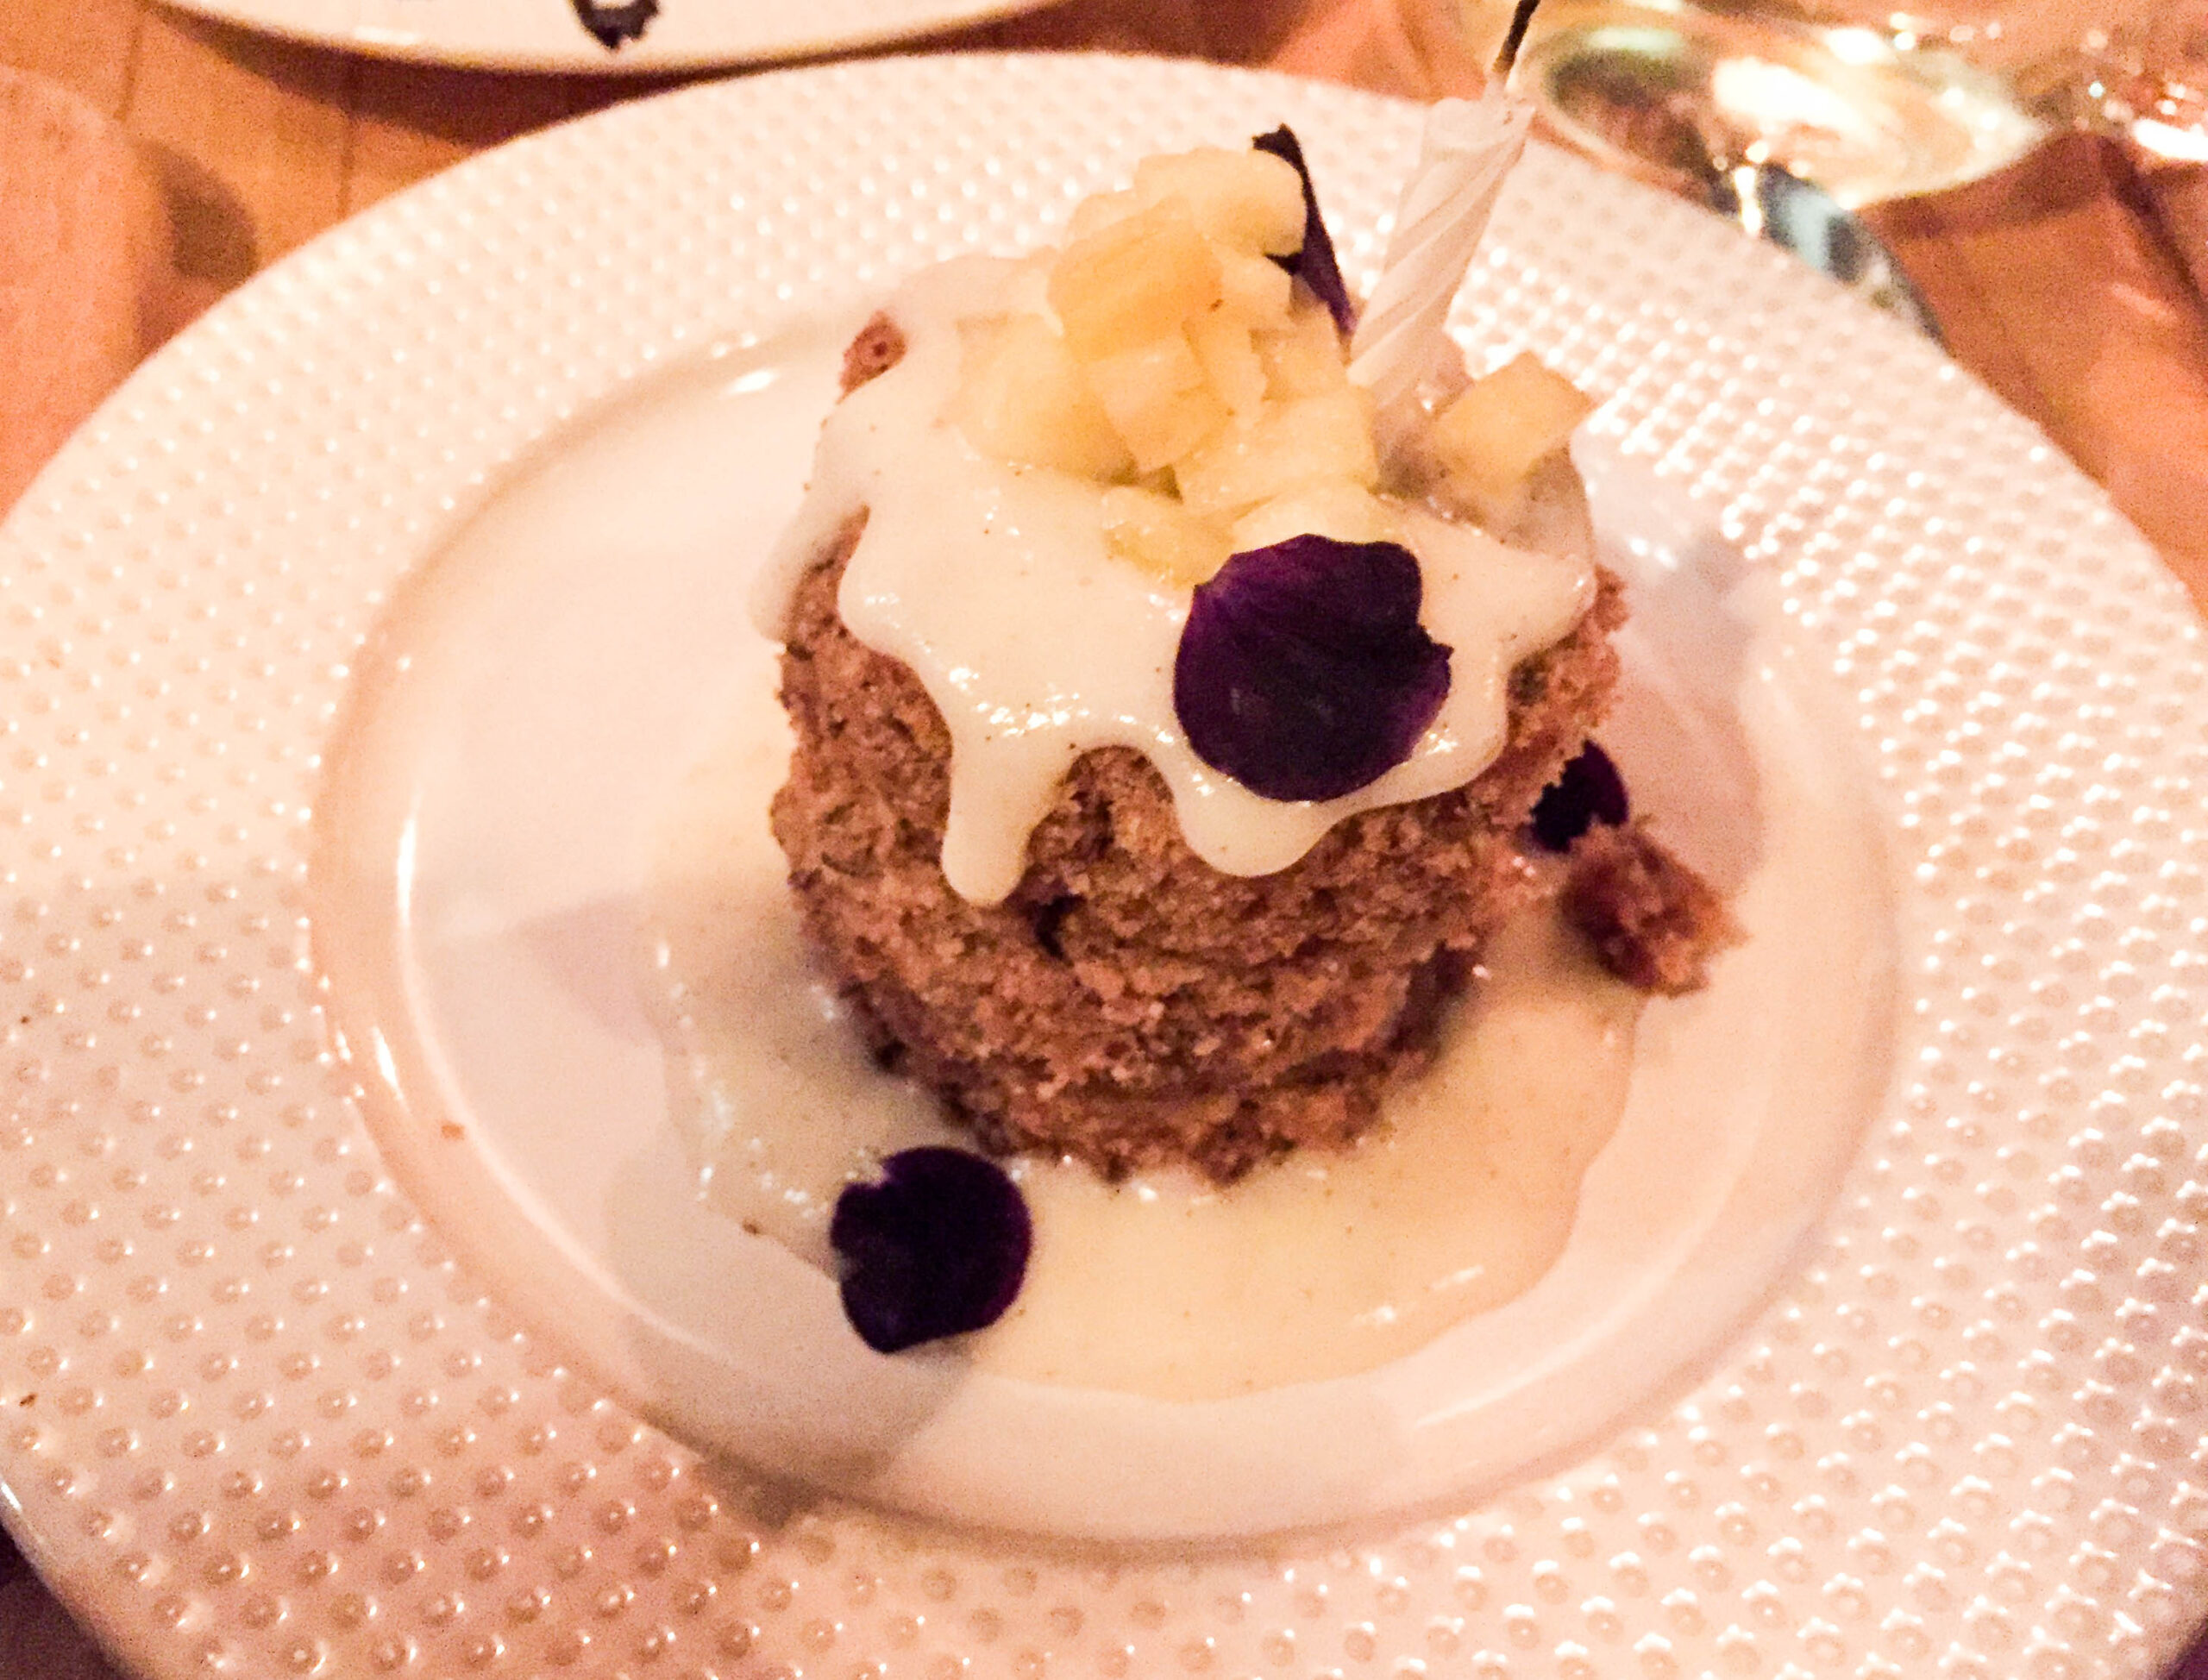
The Hummingbird Cake was def my favorite. Coconut & banana in one dessert? It’s like heaven on a plate. It’s the perfect combination of textures and flavors, and I’ve literally never tasted anything like it before. I’ve actually never even seen Hummingbird Cake on another dessert menu before. I always have a soft spot for unique dishes!
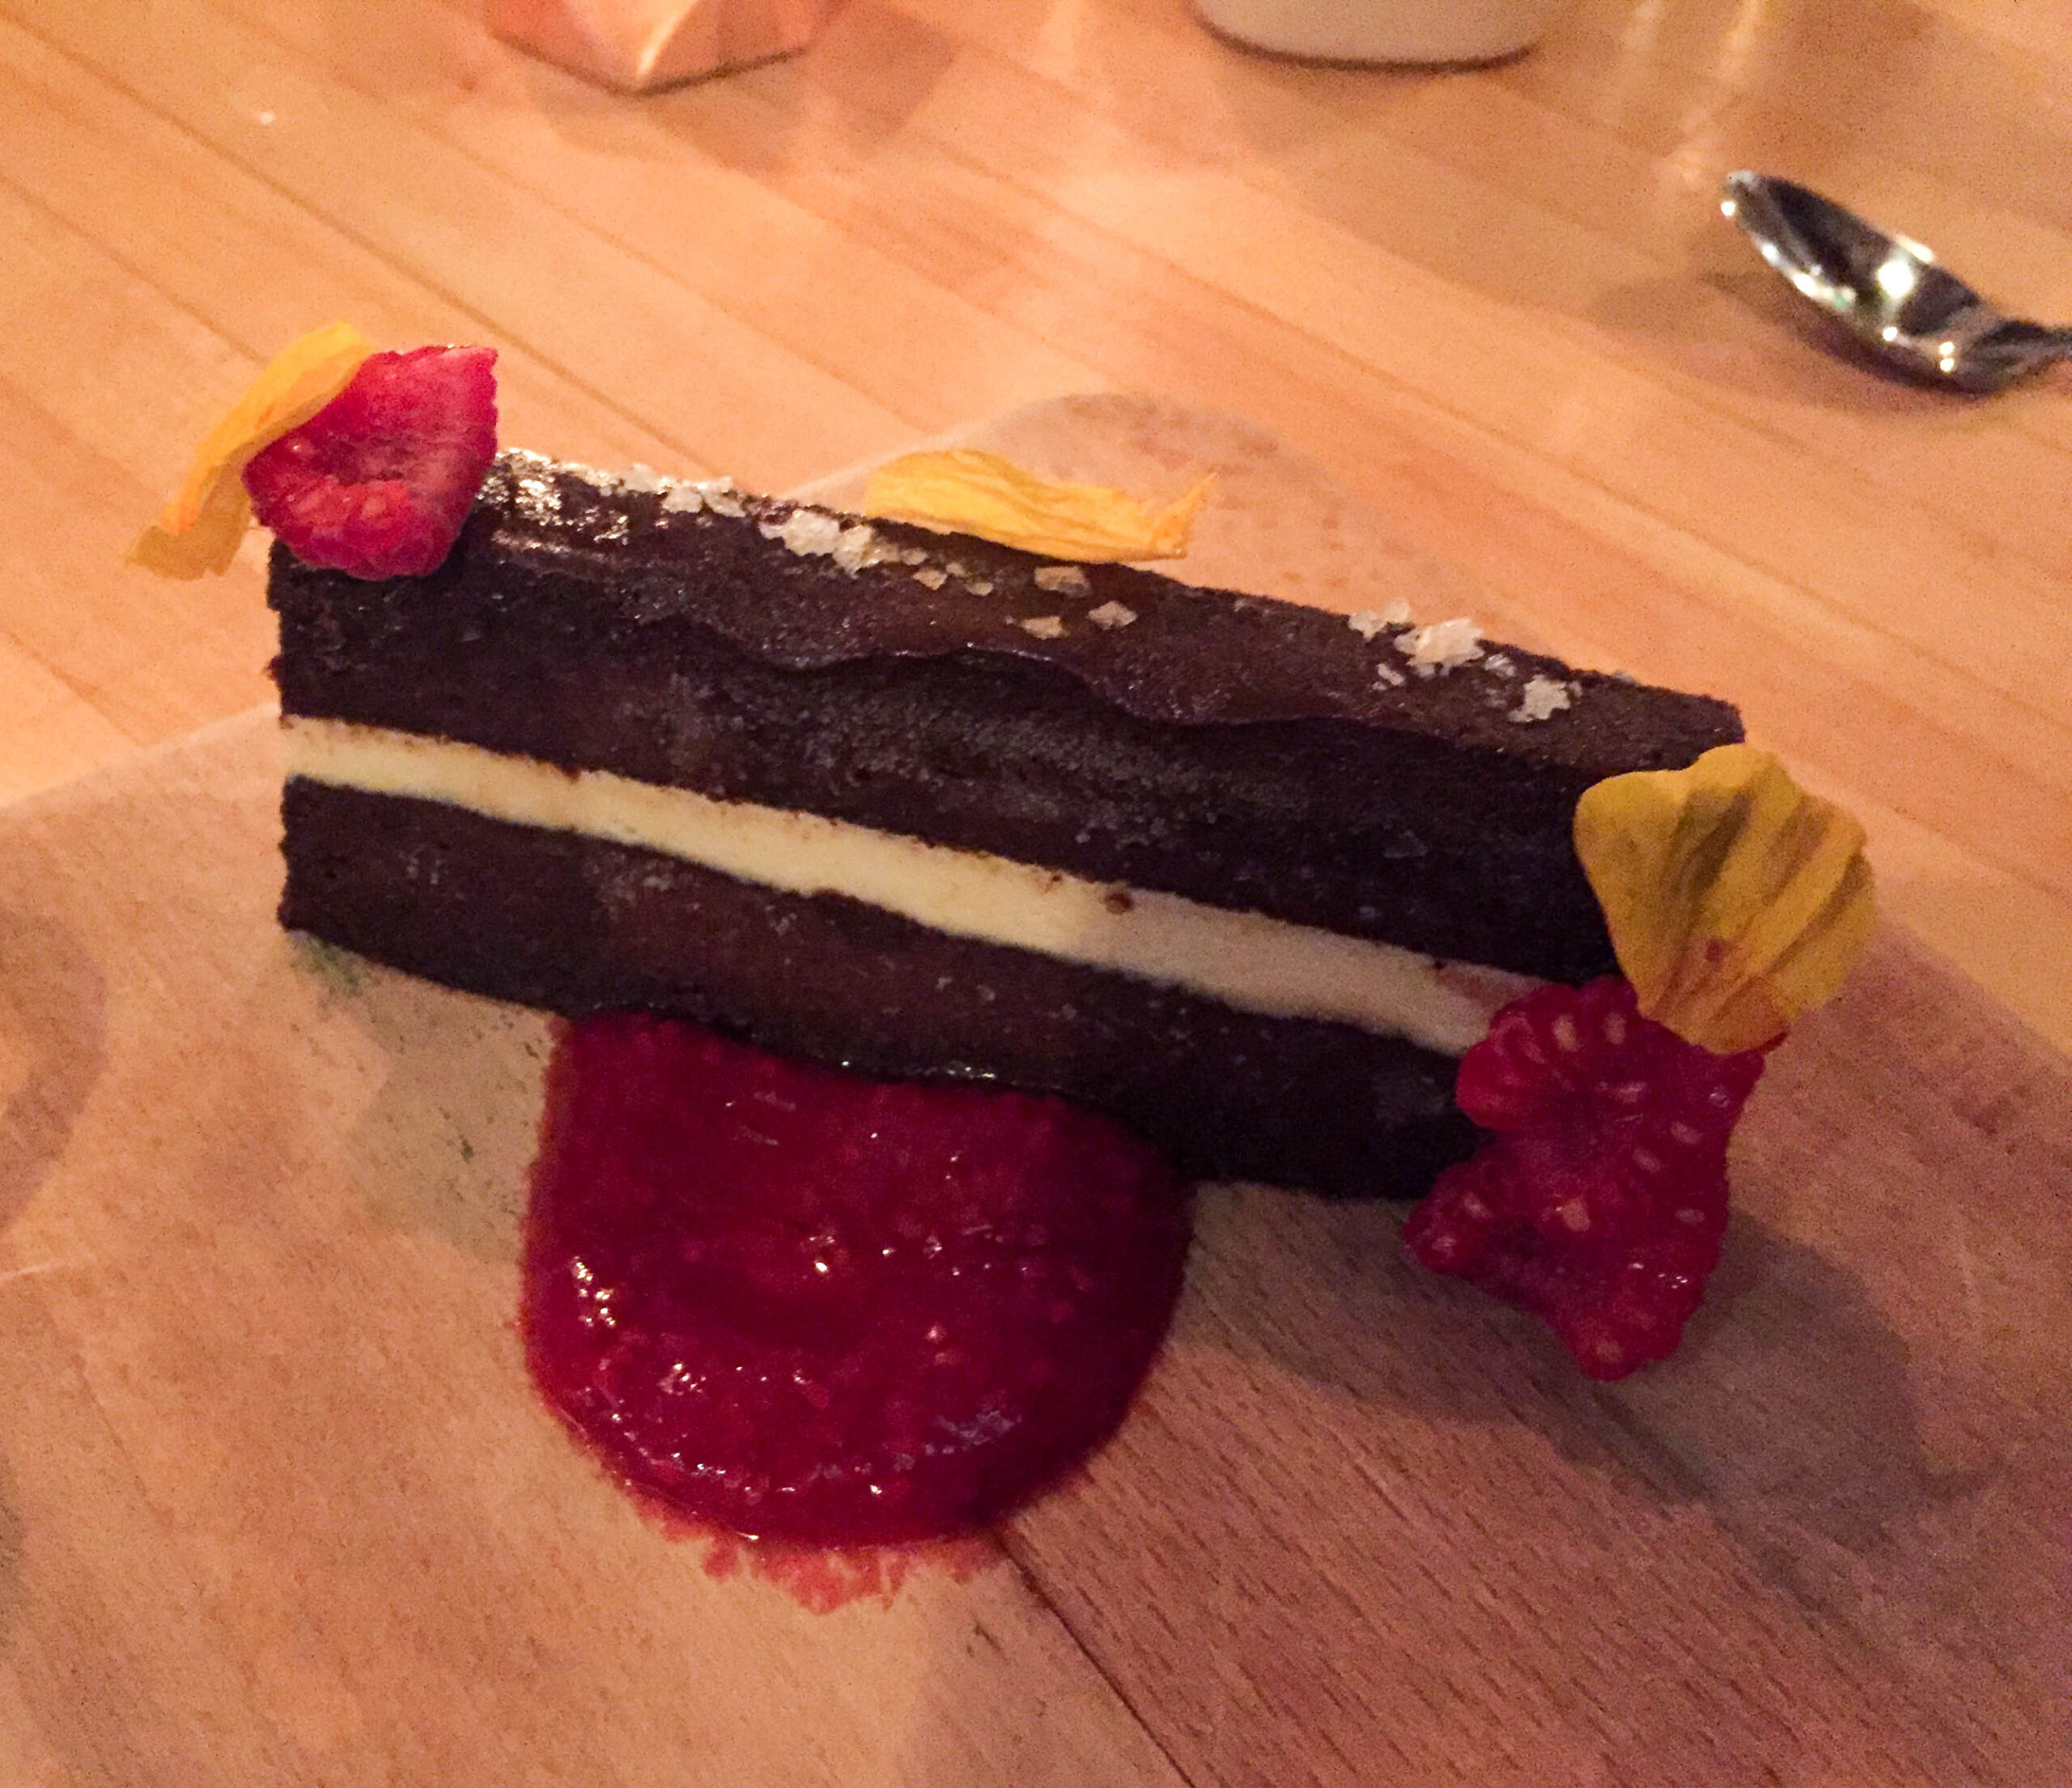
The chocolate torte is veeeerrrrrryyyy RICH. The raspberry paired with the dark chocolate is honestly incredible, but don’t underestimate how sweet this is. I was talking a big game and saying that nothing is too chocolatey for me…. I was wrong. It’s mouthwatering. I would highly recommend this if you’re a chocoholic.
I don’t like tiramisu, but the tiramisu here is the best I have ever had. One bite turned me into a tiramisu lover, but only a Butcher’s Daughter tiramisu lover. Ya feel? (Sorry I don’t have a pic, but it looked like fluffy heaven.)
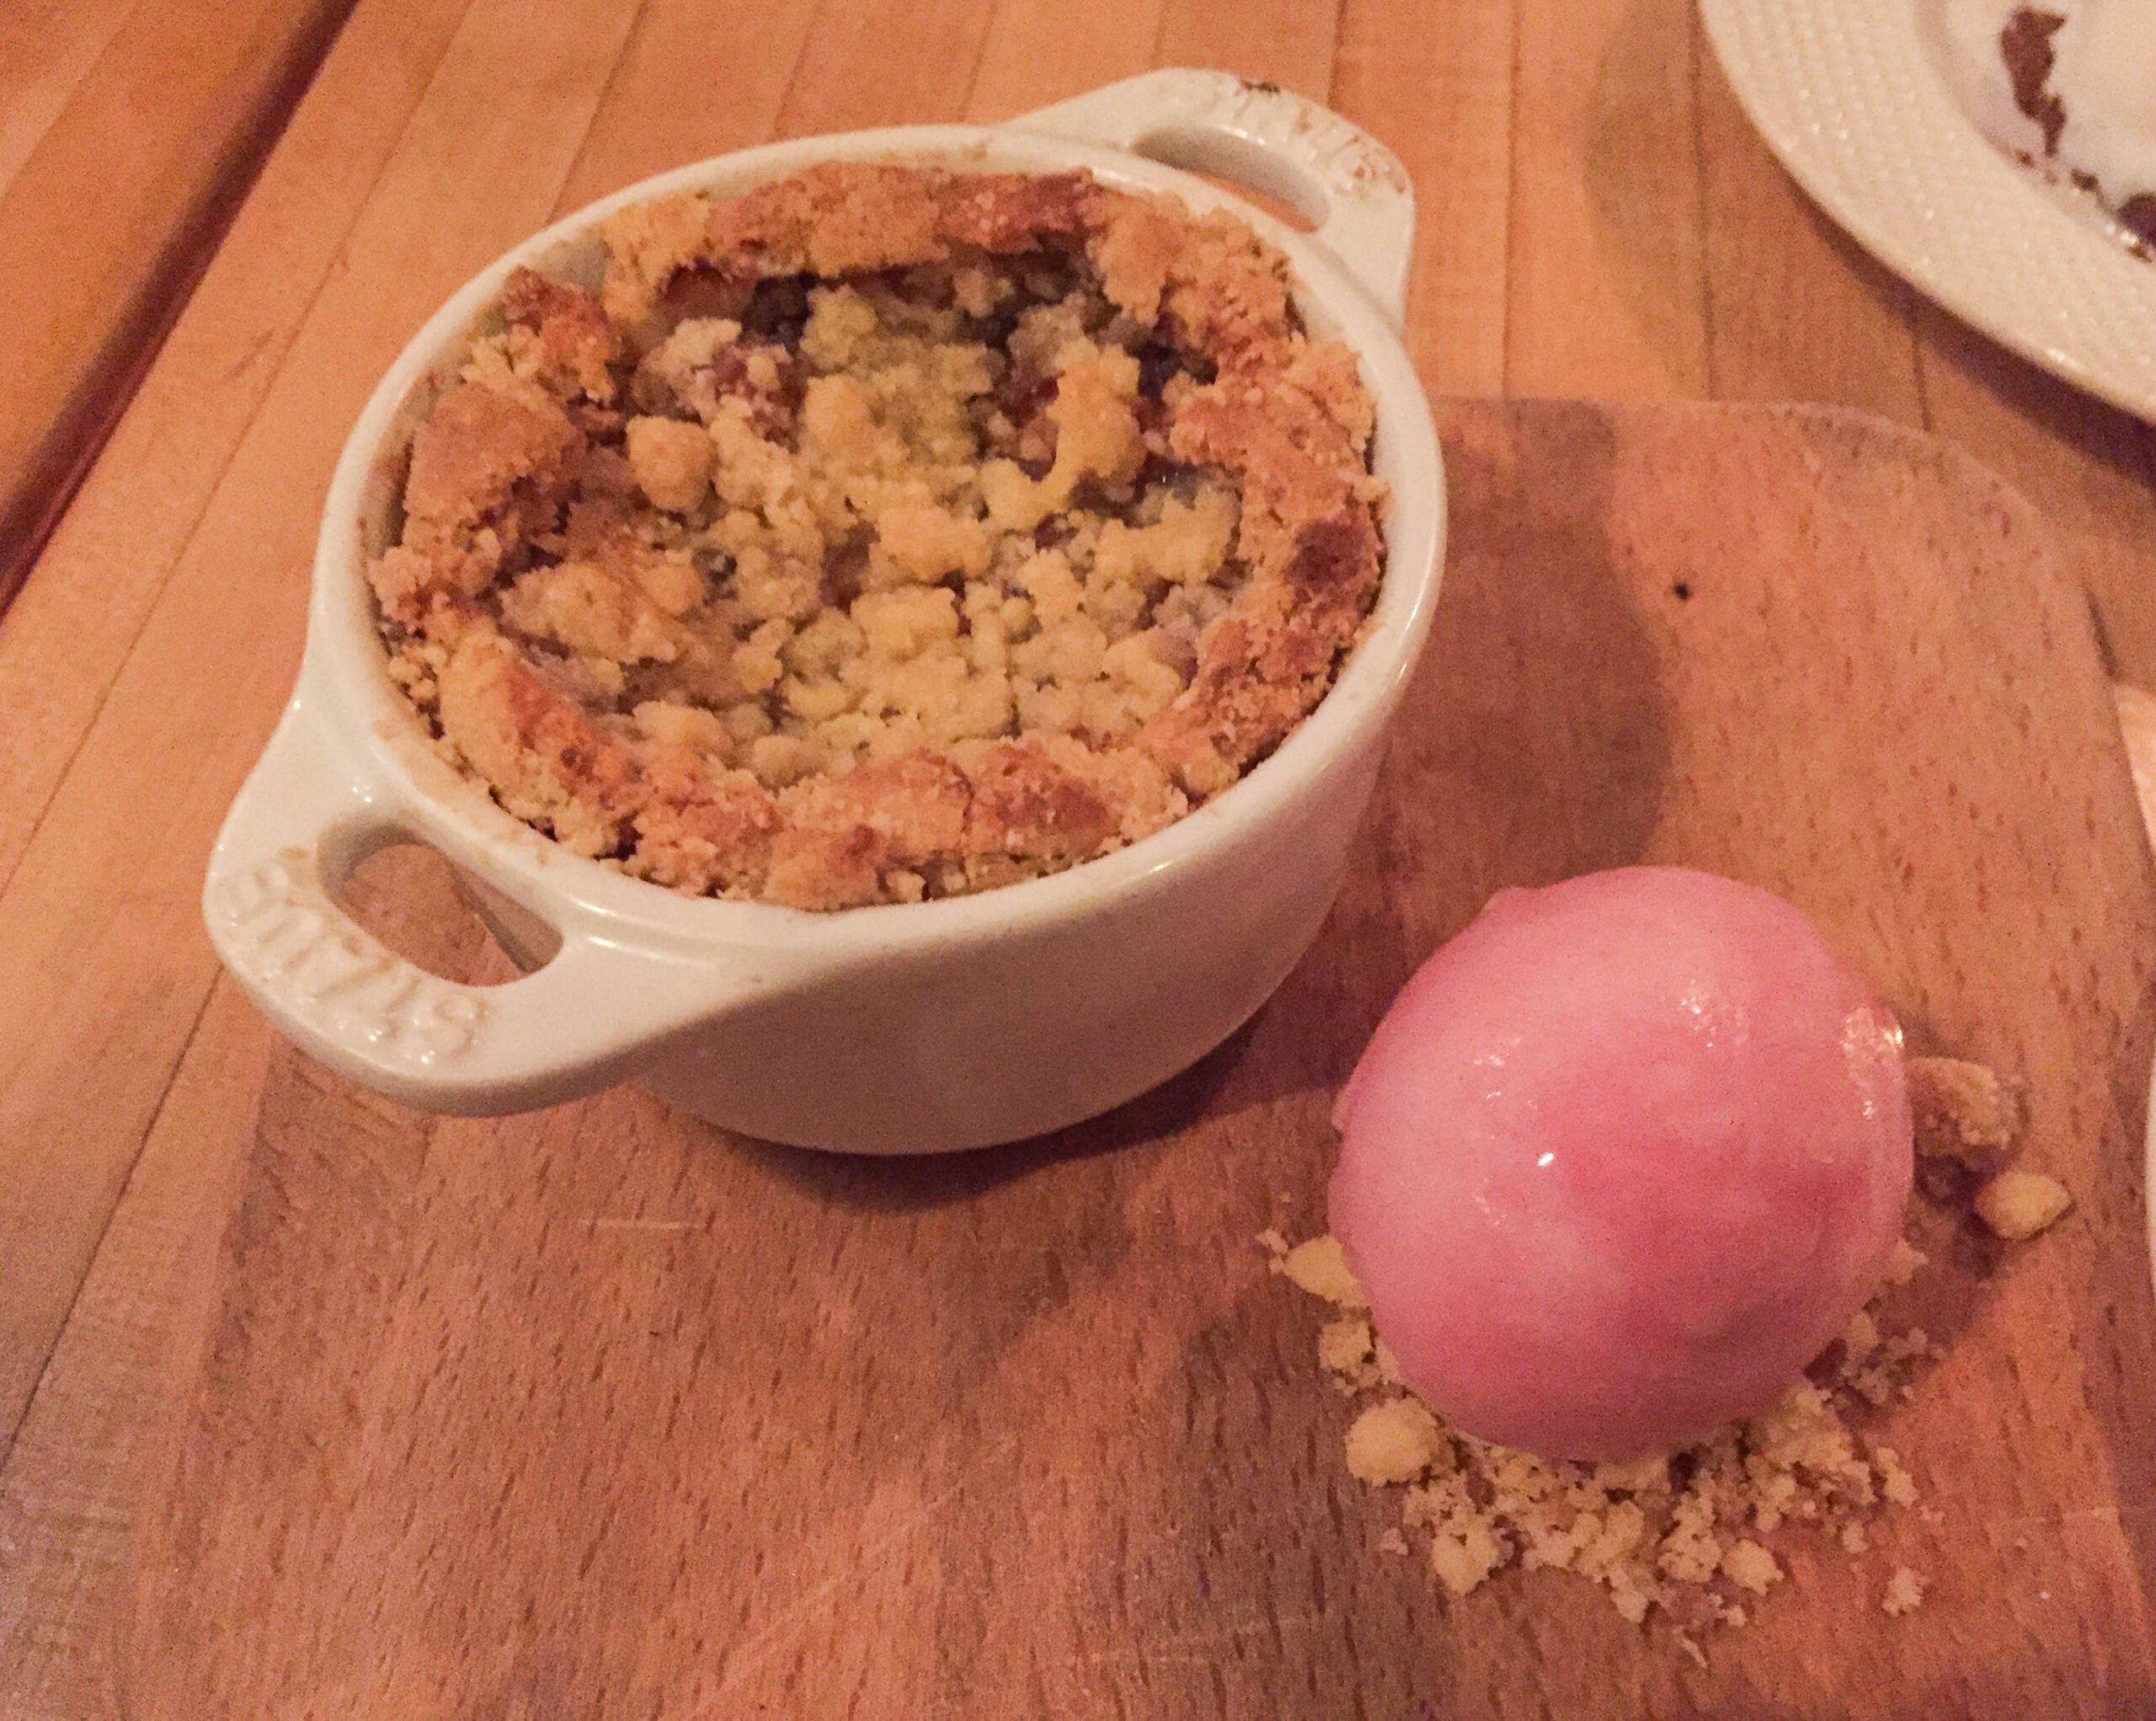
The rhubarb cobbler was warm and inviting and cozy. If you like a fruity dessert, this is perfect. It’s not too sweet, which is what I look for in a cobbler. The crumble on top isn’t too hard, but also not too soft. Basically, ON POINT. Also, when do you ever get to eat rhubarb cobbler?! It’s also served with some strawberry ice cream that’s nice and light, so the two pair together flawlessly!
The warm ice cream cookie sandwich. I have mixed feelings about this. I’m pretty sure it would have been my favorite dessert if I got the chocolate chip cookies with it. Sadly, the chocolate chip cookies aren’t gluten-free, so I could only get peanut butter. Unfortunately, I don’t like peanut butter cookies, so this dessert wasn’t for me. The ice cream was BOMB, though. Super creamy and out of this world. I would definitely be down to just order the ice cream without the cookies. (Also want to start a petition for GF choco chip cookies.)
There you have it – my complete review of The Butcher’s Daughter Venice! If you’ve been there, I would love to hear what your favorite dishes are! And as always, any restaurant recommendations AT ALL are always welcome! XO

by Christina | Jun 14, 2016 | Wellness
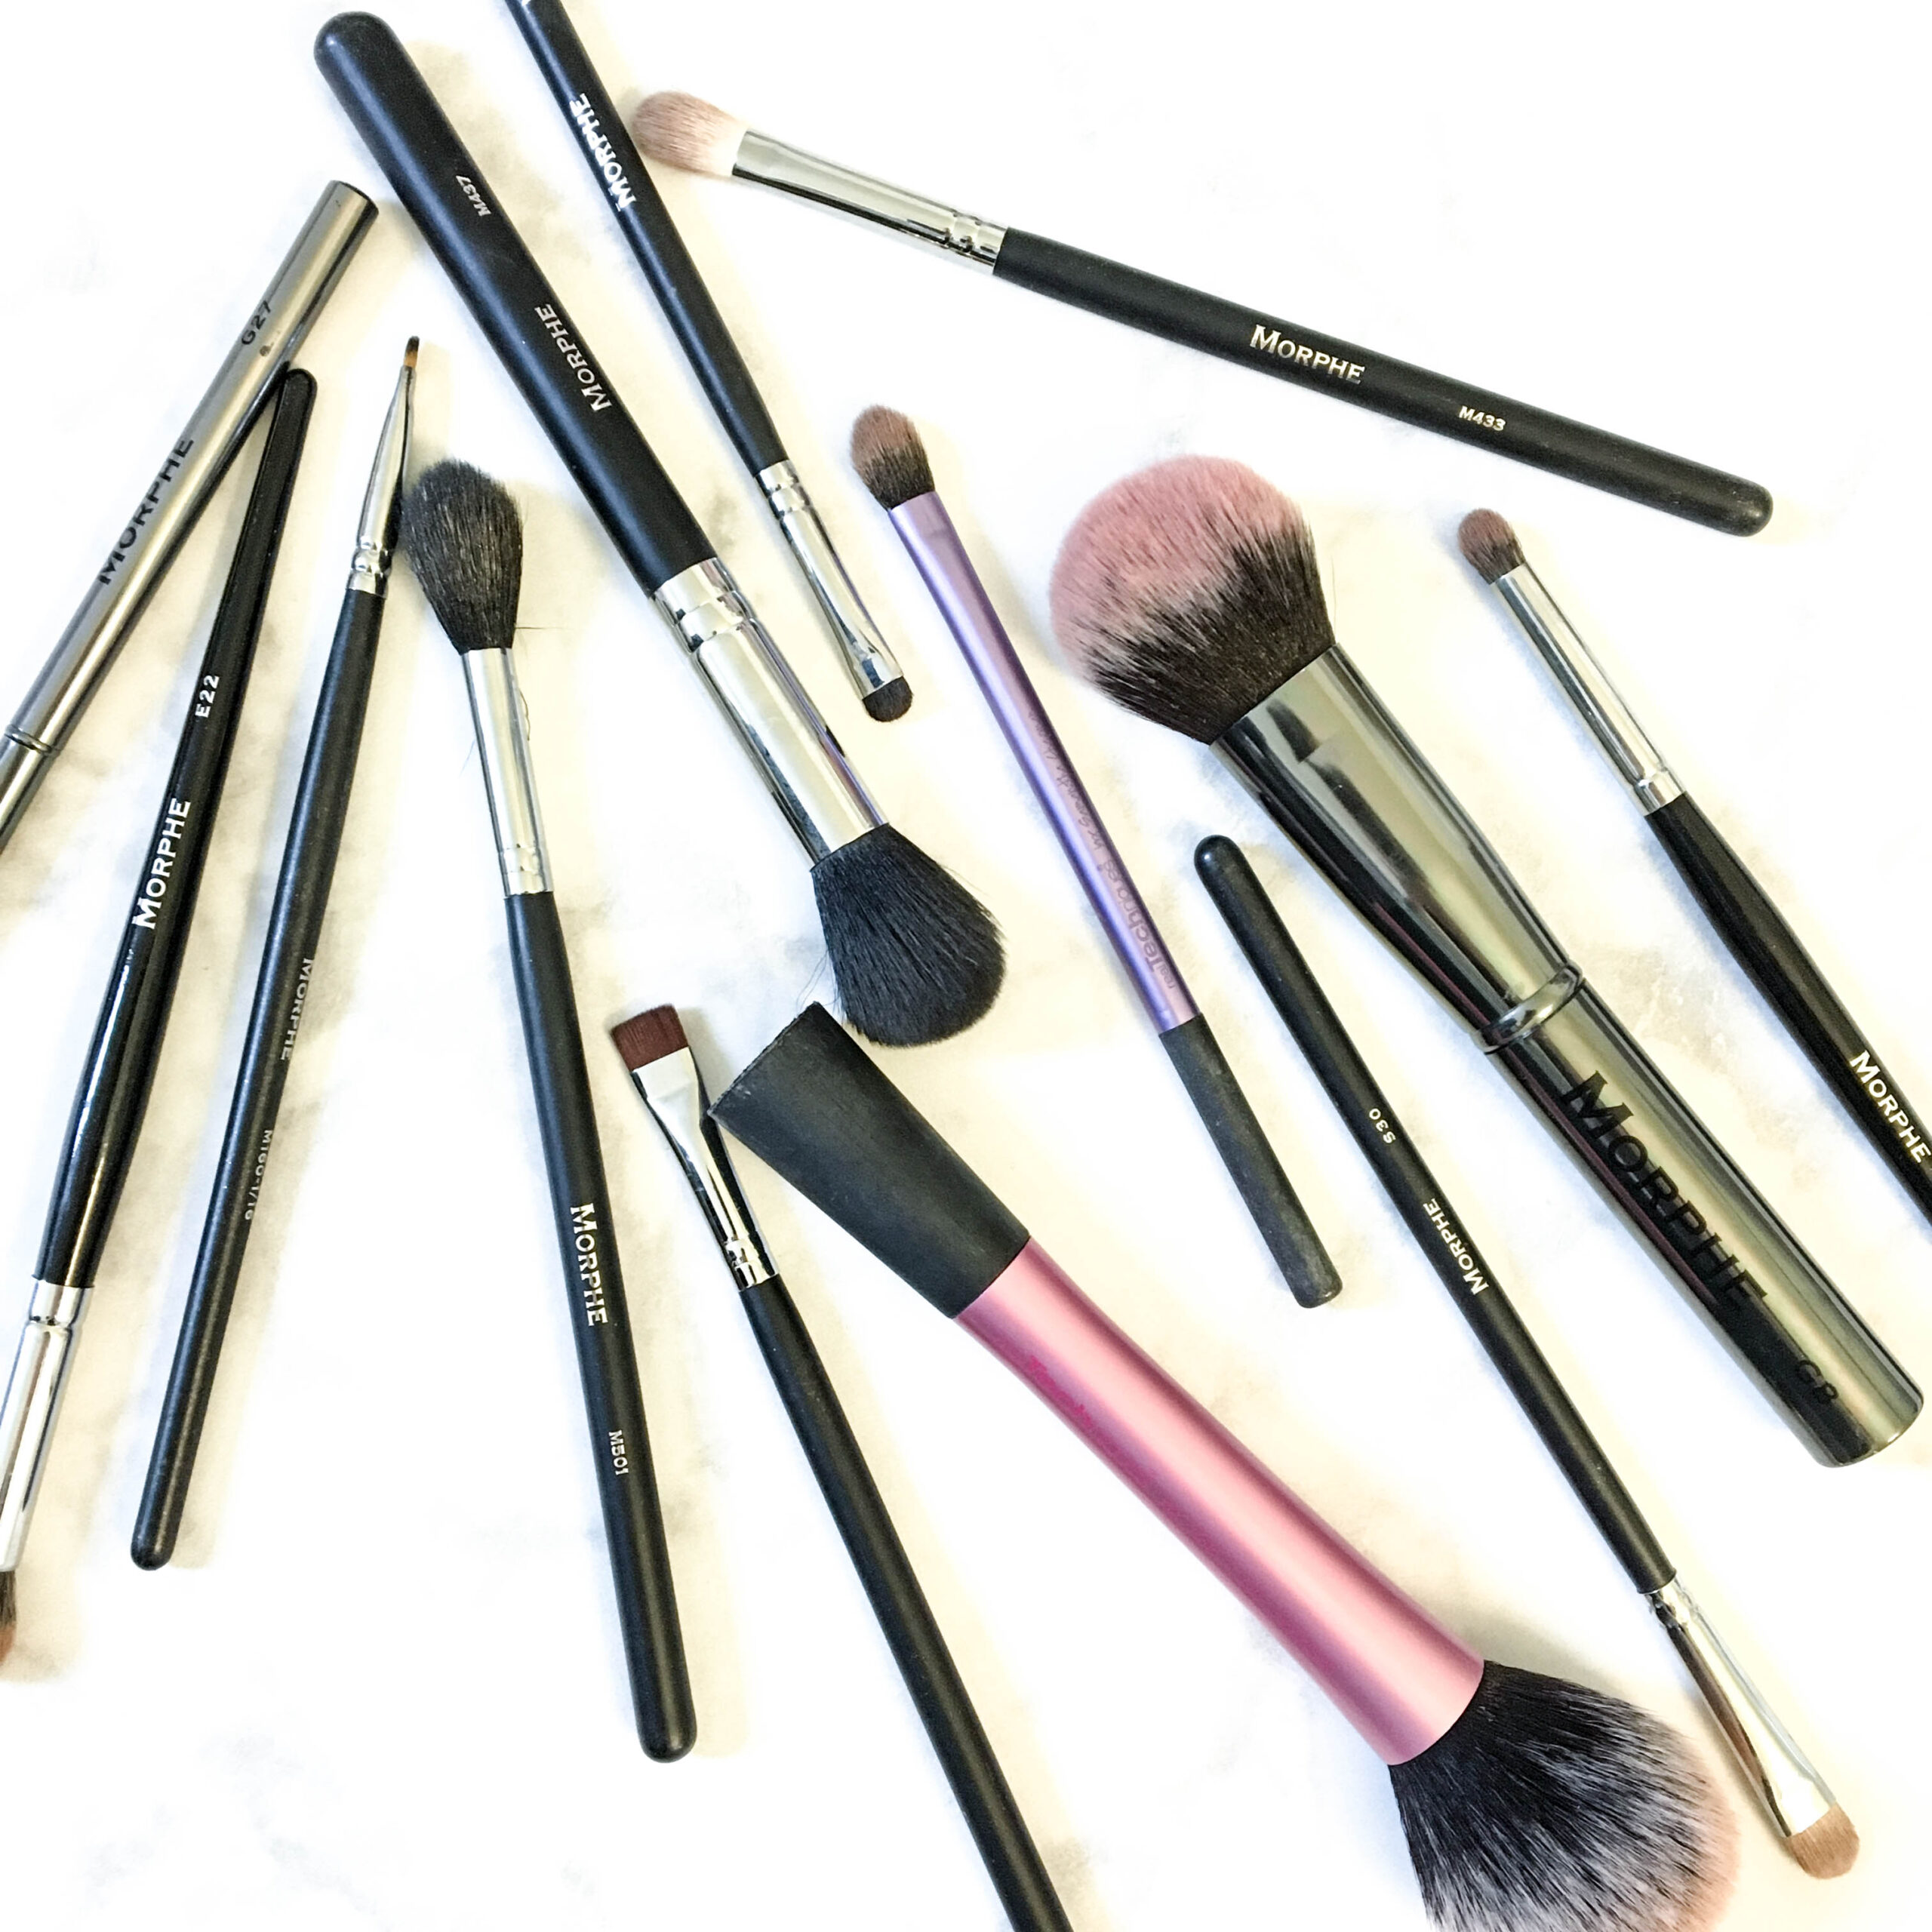
It has recently come to my attention that a lot of my friends are very overwhelmed with makeup brushes. They don’t know what brush to use for what, they don’t know what to buy, they don’t know where to buy it…the list goes on. There are SO many makeup brushes on the market that it can feel impossible to choose just a few to invest in if you’re not sure what you’re looking for.
Having good brushes is a total game-changer. It’s pointless to spend your money on great products if you don’t invest in high-quality tools to apply those products properly. Luckily, some of the best brushes in the game are NOT super expensive. I’m going to go over which brushes I think every woman needs in her collection, why she needs them, and what each brush does. These are my personal favorites, but it doesn’t necessarily mean you need them all! Just take this as information to help guide you through the makeup-brush-buying process.
FIRST. If you want to keep things as simple as possible, get a makeup brush set that’s already put together. This is how I officially started my brush collection back in the day, and it made things SO much easier. Once I started playing around with my new set, I figured out which brushes I liked the best, which I used the most, and what I wanted to get next.
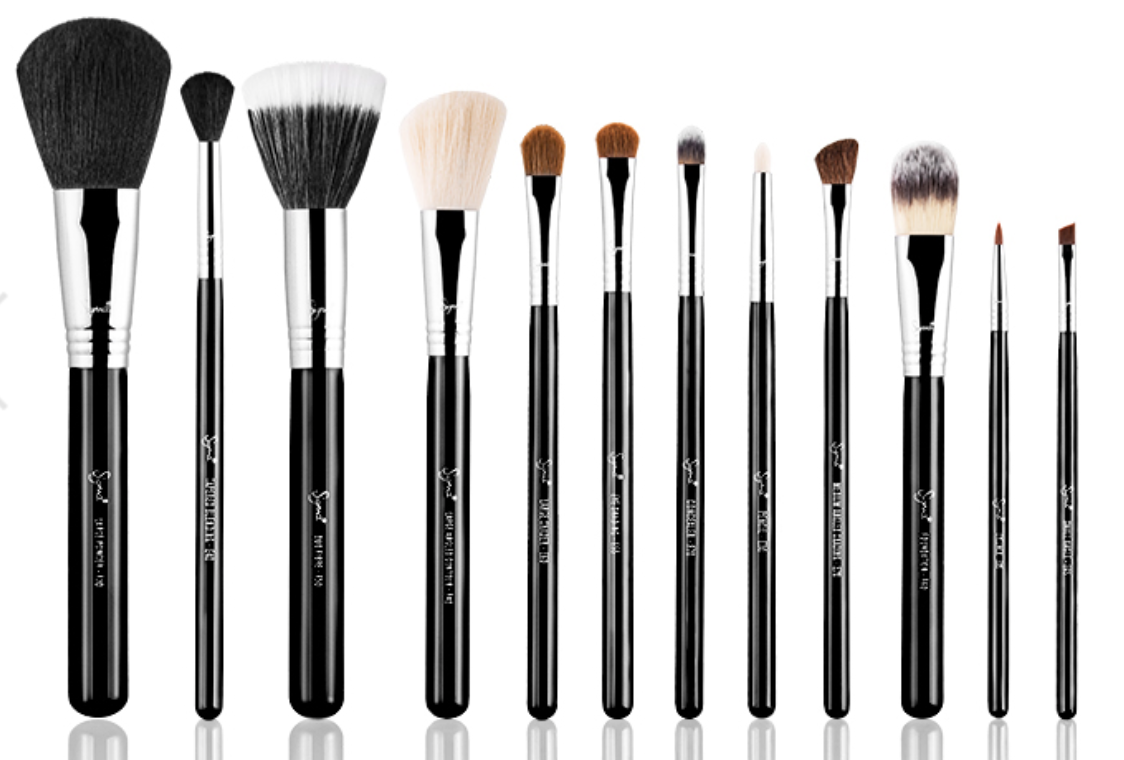
If you have the money, my #1 suggestion would be to invest in the Sigma Essential Kit. It has every brush you might need, and the brushes come in a case that will SAVE YOUR LIFE. These brushes are so soft, versatile, and very long-lasting. I personally prefer Sigma brushes to MAC. Suuuuper high quality.
As much as I love my Sigma brushes, the price can be a bit steep, which brings me to my next love – Morphe Brushes.
Once again, if you don’t want to have to think about it, go for a brush set. Morphe sets are less than half the price of Sigma, but they are still HIGH QUALITY. Trust me. Whenever I want a new brush nowadays, I always go straight to Morphe.
To get every brush you could possibly need, choose Set 697. It comes with 15 brushes in a snazzy little case (VERY USEFUL). Sidenote – if you’re ever going to buy a set of brushes, make sure it comes with a case.
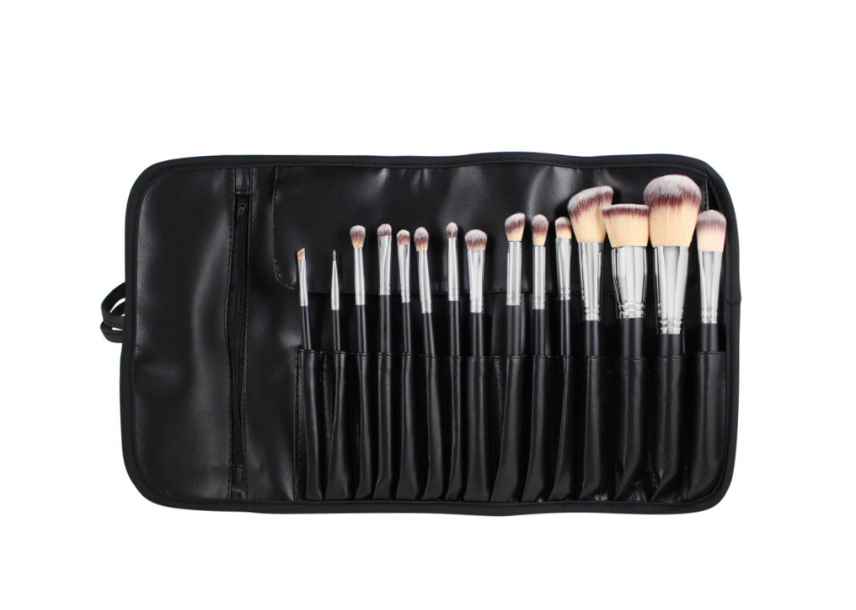
NEXT OPTION: If you don’t want to invest in a set because you can tell straight off the bat that you don’t want or need all of the brushes in it, then buy your brushes individually! If I were to create my own brush set completely from scratch, here are my top picks:
(Note: These are not my ONLY picks for affordable makeup brushes. There are so many fabulous, inexpensive brushes that I’m obsessed with. I’m just choosing my absolute faves to share in this post… Tryin’ to keep things as simple as possible for anyone just starting out!)
Kabuki Brush
I NEED a Kabuki brush in my life at all times. Kabuki brushes are so versatile. You can use them to apply setting powder, powder foundation, blush, or bronzer. Personally, I use my Kabuki brush every day to apply translucent powder to set my foundation. I honestly prefer Kabukis to regular powder brushes just because they’re so small and cute. Normal powder brushes usually have a really long handle which can be super inconvenient to fit in your makeup bag. I find that a lot of brands carry excellent Kabuki brushes. I love this one from Morphe, but you can also get a great Kabuki brush from e.l.f at Target!
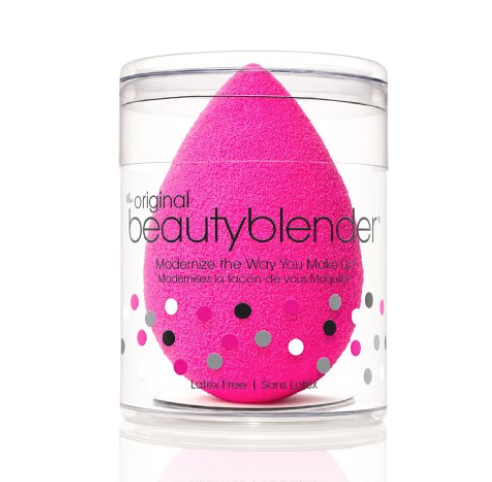
Beauty Blender
This isn’t technically a brush, but I think every woman needs a Beauty Blender in her collection. Beauty Blenders can be used for so many things and will last you FOREVER, so it’s beyond worth the $20. Just make sure you clean it regularly to ensure its longevity! The Beauty Blender is best for cream and liquid products. It blends foundation, concealer, cream blushes, cream contours, and liquid highlights like a dream. I could write an entire post about Beauty Blenders because they’re so freakin’ amazing. Basically, invest in one. It’ll change your life.
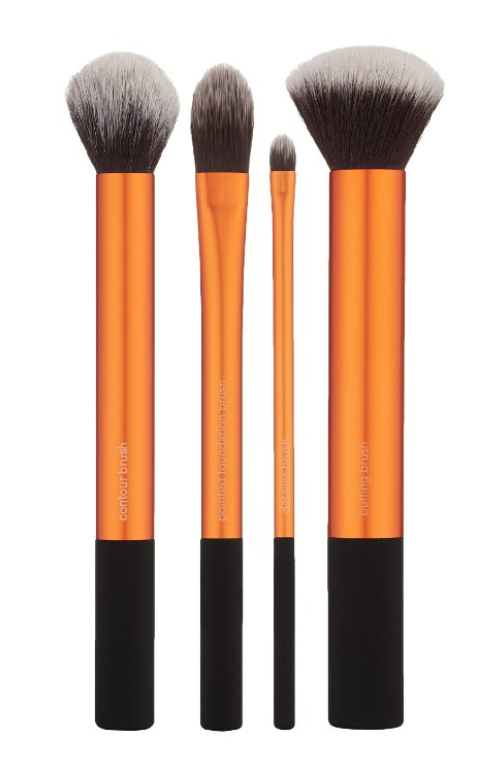
Real Techniques Core Collection Set
Most of my favorite affordable brushes for the face are in the Real Techniques Core Collection Set. These are ideal for face products because they have synthetic bristles, and synthetic bristles are exactly what you want when you’re dealing with cream and liquid products in order to get an even, buildable application (or you can use the Beauty Blender, as previously mentioned). Lemme break it down for ya.
On the far left we have the Contour Brush. This can be used to contour, as the name says, but I also sometimes use it for highlighting. Remember – there are no rules for makeup brushes! Do what works for you. This brush is on the smaller side and is rounded, so it works perfectly to carve out the hollows of your cheeks to achieve that extra-chiseled, sexy contoured look.
Second from the left we have the Pointed Foundation Brush, which can be used for foundation. However, I personally prefer a larger brush to apply my foundation so I can quickly cover a lot of area on my face. I prefer to use this brush to blend out my undereye concealer because it’s large enough to work quickly in the undereye area, but small enough to easily fit in the tight crevices under your eyes.
Second from the right is the Detailer Brush. This brush is perfect for concealing spots on your face because it’s extremely small, allowing for a very precise application. The synthetic bristles blend out cream or liquid concealers flawlessly. I also like to use this brush to apply glitter to my eyelids! I’ll wet the brush with my Fix+, tap the brush into my glitter, and voila! Party on my eyelids.
On the far right is the Buffing Brush. I am NOTHING without this brush. This is my favorite foundation brush, by far. It provides a perfectly even application and blends out foundation beautifully. BAM. DONE.
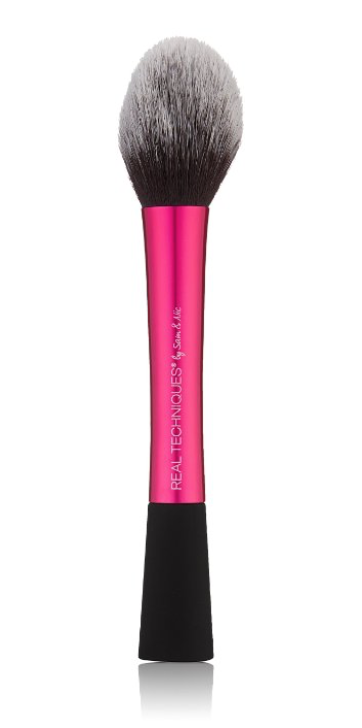
Real Techniques Blush Brush
I am obsessed with this brush. It’s big, it’s fluffy, and it’s SO SOFT. Like the name says, this brush is amazing for applying blush. However, I also like to use it to apply bronzer all over my face because it’s nice and large and not very dense. I also sometimes use this to apply powder all over my face when setting my makeup if I don’t want to use my Kabuki brush or if it’s dirty.
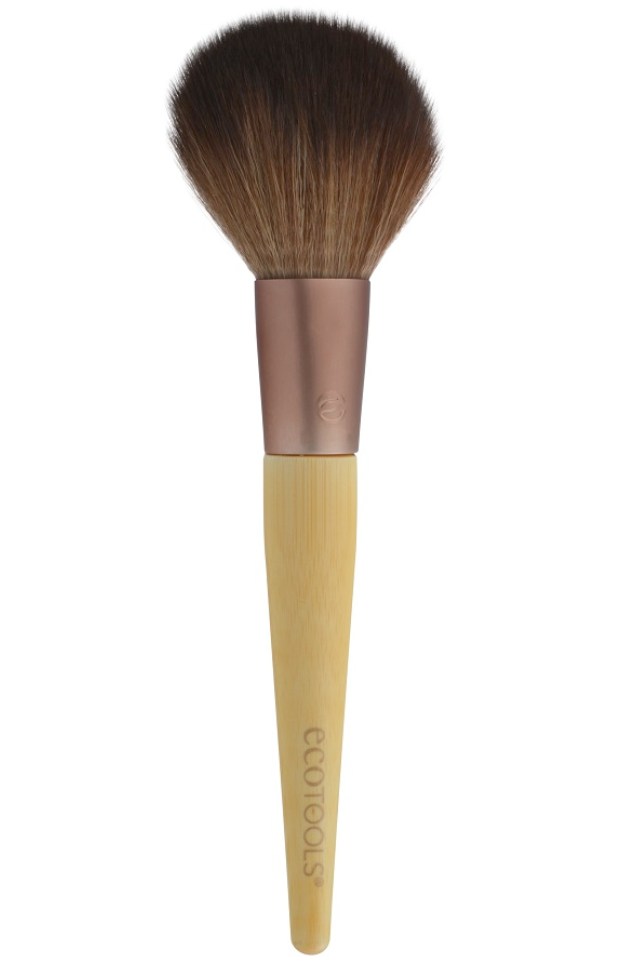
EcoTools Large Powder Brush
I love pretty much all EcoTools brushes, but this is my absolute favorite for bronzer! It’s sooo soft. It’s large enough to apply your bronzer quickly, but not so big that things get out of control. (Patchy bronzer face is NOT cute.) It’s also fab for setting your face with powder, like the name says, or for blush.
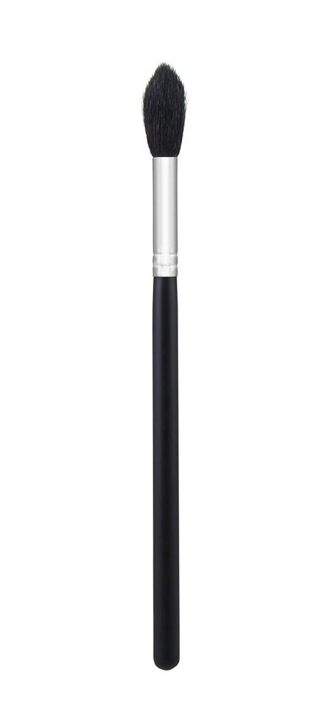
Morphe M501
If you want your highlight to be on fleek, YOU NEED THE MORPHE M501 BRUSH. I can’t not wear highlighter, and I can’t live without this brush. Fan brushes are also amazing for applying highlighter, but this is for sure my #1 choice. And Jaclyn Hill uses it, so you know it’s good.
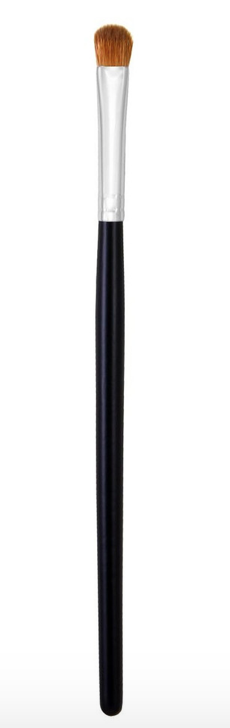
Morphe M124
Every woman needs at least one flat shader brush in her brush collection. I have about 10 of these, but I also use a lot of different colors all the time & pretend that I’m an actual makeup artist. You want a brush that is flat so that it can easily pack color onto the lid, and you want something medium-sized. Too small, and it will take forever to get the lid color on there. Too large, and you won’t have as much control over the color placement. When it comes to eyeshadow brushes, I prefer natural bristles because they tend to pick up and transfer pigment much better than synthetic bristles.
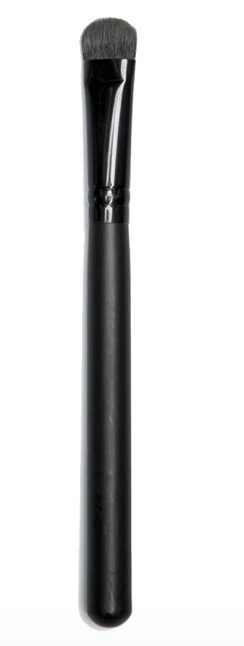
Morphe MB15
Alright, I admit this isn’t 100% necessary, but I use it every day so it’s one of my personal essentials. A small, dense brush like this is perfect not only for precisely packing color onto the lid, but also for applying your highlight shade underneath the brow bone. Because it is so dense and tiny, you get a very controlled application, and the pigment will REALLY show up.
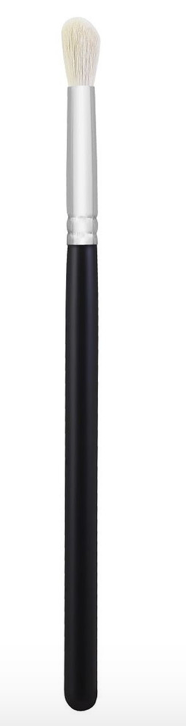
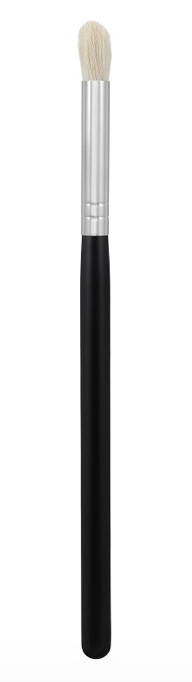
Morphe M441 & Morphe M519
Having a fluffy blending brush is ESSENTIAL. If you can only get one eyeshadow brush, get a fluffy blending brush. These are your dupes for the infamous MAC 217. I prefer to always have at least two on hand because I like to apply color with one and then use the clean one to blend everything out. I also like to have one blending brush that is slightly larger than the other. The smaller one is for precise crease work, and the other is for my transition shades. These fluffy brushes are both ideal for applying transition shades because they’re big enough to cover a large area, and they effortlessly diffuse the colors because they aren’t very dense.
For example, I might use the M441 to apply a color that’s 1-2 shades darker than my skin tone in my crease as a transition shade, and then I might go in with my M519 (SLIGHTLY smaller) to blend a brown shade into the crease. Then I would probably go back in with the M441 to fade everything out. Without a blending brush, your shadows will just awkwardly and bluntly start and stop, which isn’t very cute unless you’re going for a cut crease. Blending brushes are the key to a diffused, flawless look.
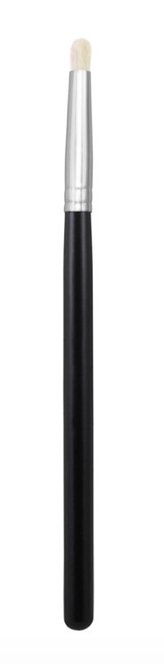
Morphe M431
A pencil brush is another key part of any brush collection. You can use a pencil brush to apply color precisely in the crease or in the outer V of the eye. I like to apply my darkest shades in the outer V of my eyelid and then use my fluffy blending brushes to blend it all out seamlessly. A pencil brush is also perfect for blending out colors on the lower lash line. It’s small enough to fit under your lower lashes, but large enough to blend out the color for a smokey look.
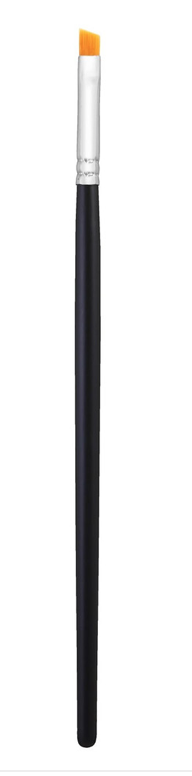
Morphe M160 1/8
You NEED a small angled brush in your life. Again, I own about 10 of these because I use them for so many different things. First of all, you can use this brush to apply eyeliner and create that perfect wing. Second, I love using this type of brush to apply dark shadows extremely close to my lower lash line. Then I go in with my pencil brush and smudge ’em out. A small angled brush is also exactly what you should use to apply your brow products (unless you’re a pencil kinda gal, like me). For your brows specifically, you can opt for a slightly larger angled brush, but nothing too crazy.
So there you have it! If I was starting my makeup brush collection from scratch and wanted only the essentials, this is exactly what I would get. I’d probably get doubles of many of the brushes mentioned because most have multiple uses, and it’s a hassle to try and use the same brush for two different things on the same day. Of course I could add a million more things to this list, but I’ll refrain. These brushes are all extremely affordable, but I promise that the quality is not sub-par in any way. Like I mentioned before, I reach for these more often than my MAC brushes. Why spend $20 on a single brush when you can spend $5?
Another note – Morphe has one store in Burbank, which means you’ll probably be ordering those brushes online. Real Techniques and EcoTools brushes can be found at Target (score!). If you don’t want to order brushes online, e.l.f. and Sonia Kashuk also have great options for eyeshadow brushes at Target, so feel free to check those out as well. Morphe is just my #1 true love. <3
What’s your fave makeup brush?! Let me know in the comments! XO

by Christina | Jun 12, 2016 | Wellness
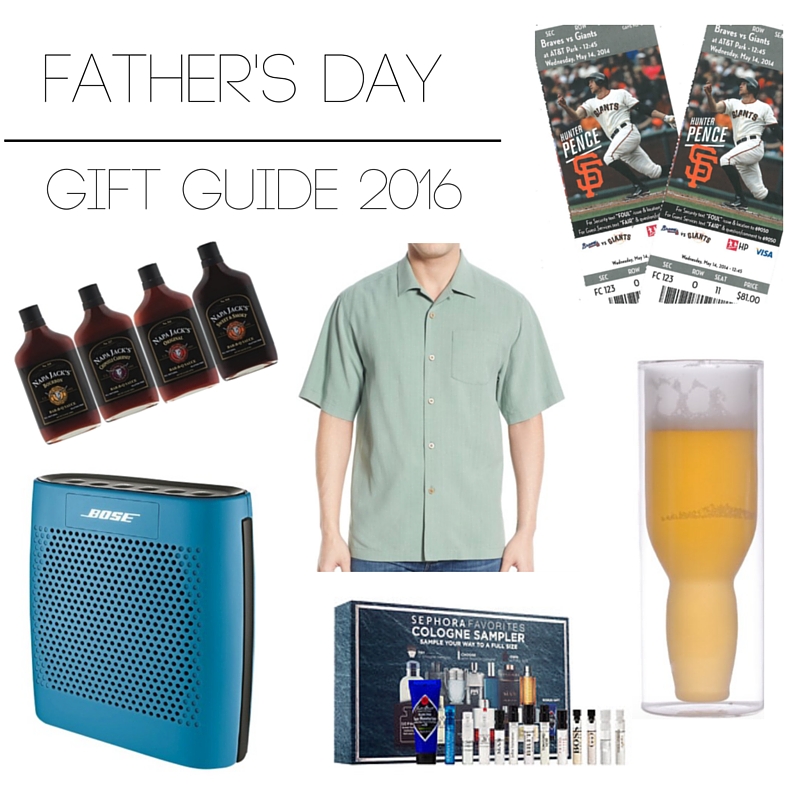
ALERT: FATHER’S DAY IS NEXT WEEKEND! Y’all know I take presents very seriously. If you’re on the struggle bus and you’re having a hard time coming up with something creative to give Daddy-O this year, I gotchu. I’m getting this gift guide up NOW because I always see gift guides popping up the day before the big event, whatever it may be, which seems pretty useless to me. You have a week from now to get ready, and Amazon Prime exists. YOU CAN DO IT. Here’s a list of some of my top gift picks, and most of these are things I have actually given my dad previously that he LOVED. I tried to cover different price ranges, so there should be something for everyone.
Just remember to try to tailor the gift to your father’s personality so that he knows you put real thought into it. If your dad’s a jokester, go for something funny. If he’s a classy kinda guy, go for something slightly more sophisticated. Tech-geek? Shoot for a gadget. You get the idea.
Honestly though, usually dads don’t even care what they actually get. It really is the thought the counts. A well-written card is far more impressive than any gift. YOU CAN’T GO WRONG WITH SENTIMENT. Heartfelt, personalized gifts are always the most beloved. If you’re really struggling, think simplicity. You could get him his favorite movie on DVD, you could give him a T-shirt supporting his favorite sports team, or you could just cook him a huge-ass steak for dinner. But cook it with love! If none of those sound appealing, check out the following recs:
Dollar Shave Club
First, if you haven’t heard of this or seen the commercial for it, THEN WHAT ARE YOU DOING WITH YOUR LIFE?! CLICK HERE AND WATCH. Second, you can never go wrong with a nice shaving set for the Pops. Ain’t nothin’ like a clean shave! Aaaand this is the gift that keeps on giving for mom, too. Amiright?! 😉
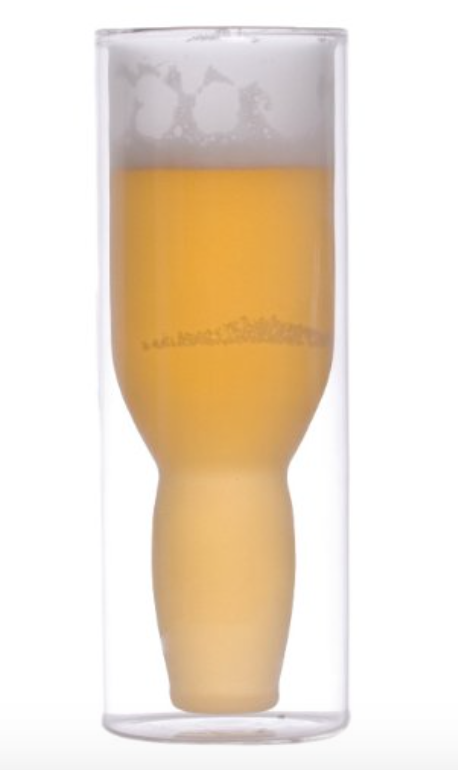
Australian Beer Glasses
If your dad is a beer-lover like mine, then he will be obsessed with these glasses. Each glass holds an entire beer bottle! Notice the shape of the upside down bottle inside of the glass? Let’s be honest, it looks cool. More importantly, though, the double-glass layer provides extra insulation to keep the beer ice-cold for a long period of time. Trust me when I say that any beer-connoisseur will think this is the most amazing glass in existence.
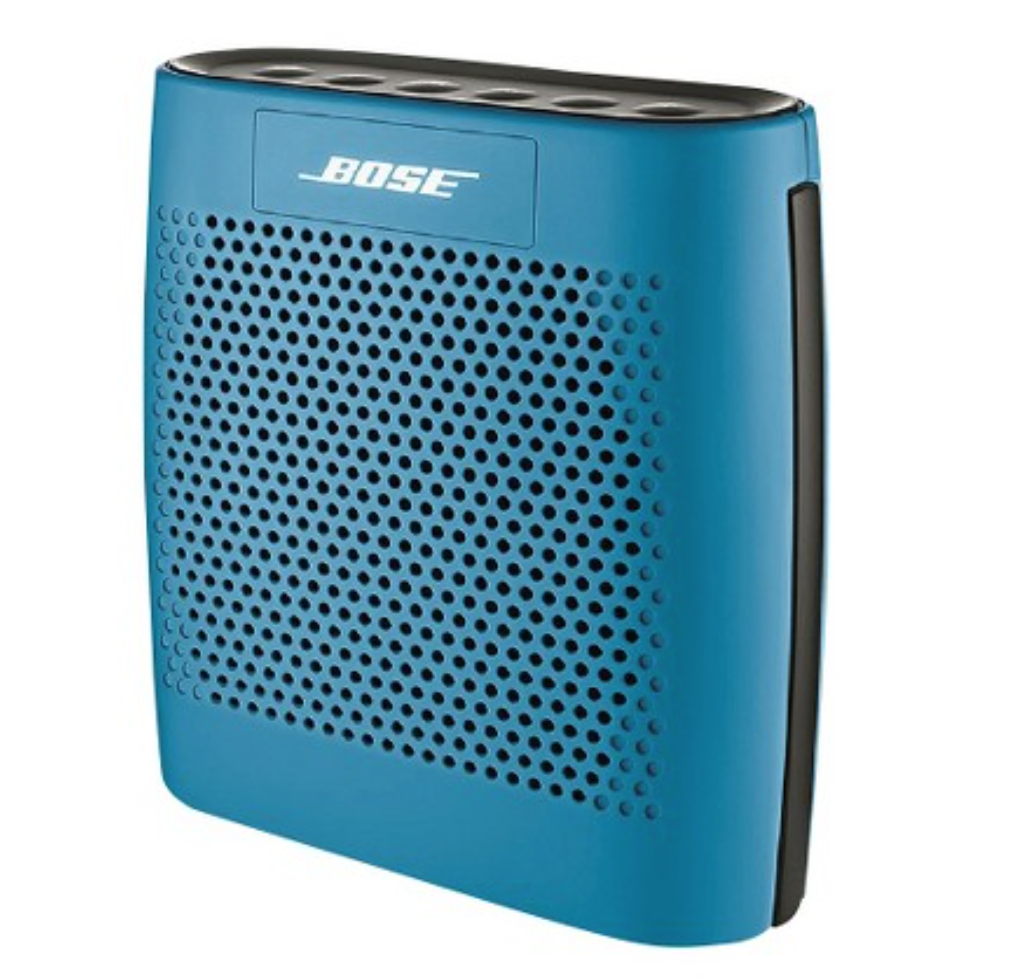
Bose SoundLink Color Bluetooth Speaker
If you feel like splurging or going in on a big gift, GO FOR THE SPEAKERS. My dad knows nothing about technology, but he became obsessed with these speakers as soon as I gave them to him last year. Suddenly he was carrying this thing around with him everywhere, jamming out to some Huey Lewis and the News with a big grin spread across his face. Too damn cute.
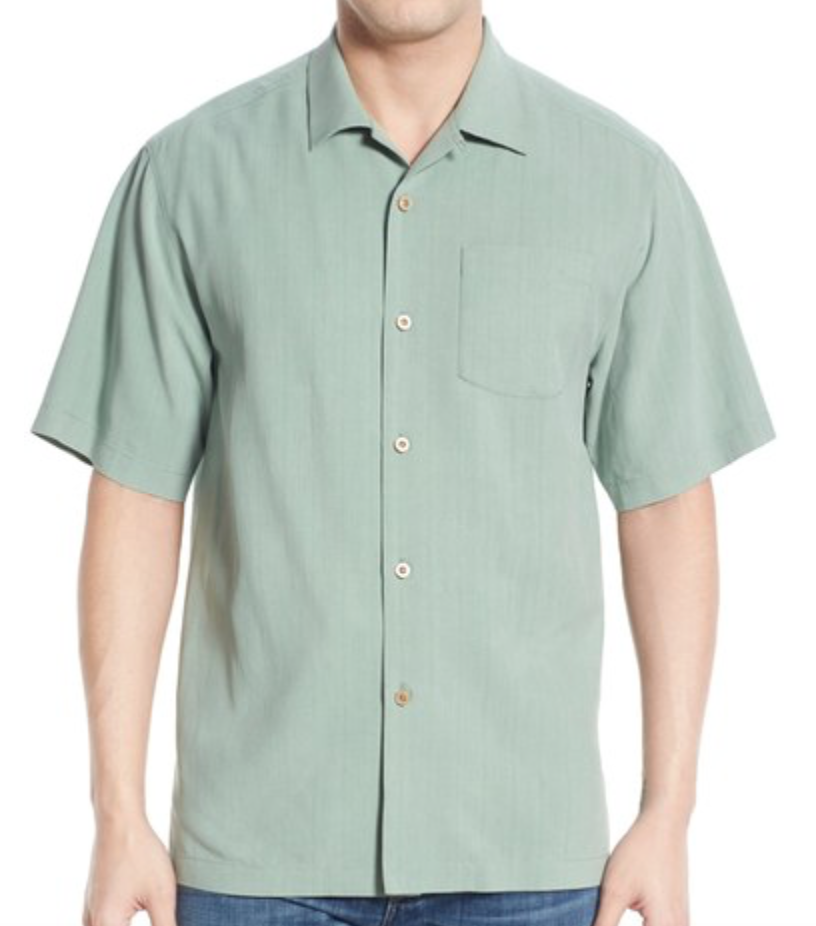
Tommy Bahama Fit Silk Camp Shirt
My dad literally refuses to wear shirts that were made after 1983. But Father’s Day is the perfect excuse to spruce up your dad’s wardrobe! Tommy Bahama has always been Jimbo’s fave designer, so I always gravitate towards a TB shirt when I get the chance. Since he already likes the brand, he’s less likely to resist wearing it and is more open to updating his wardrobe. I like to go for a clean-cut shirt that goes well with a variety of looks – something not too dressy, but also not too casual. If you know your dad likes a particular brand or designer, try to find something from that brand. Even if he doesn’t end up liking the exact shirt you choose, just knowing that you tried to get him something from his favorite designer will warm his heart.
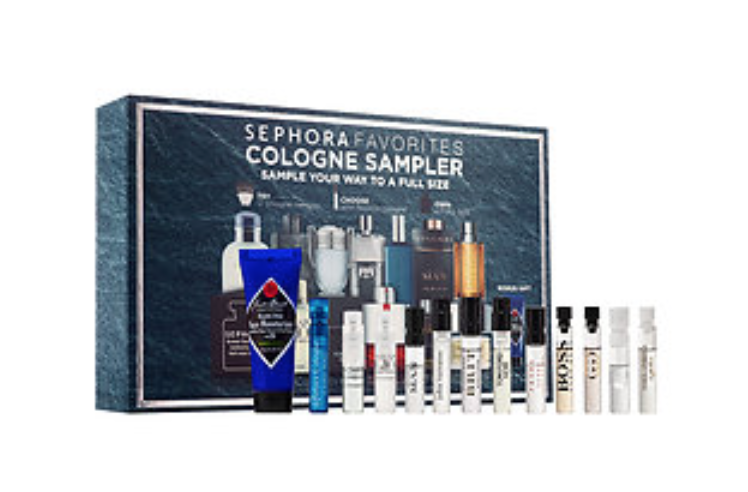
Sephora Favorites Cologne Sampler
My dad does have a “signature” scent, a cologne he’s worn for as long as I can remember. While I’m not sure what it is, I AM sure it hasn’t changed since 1970. It’s like something he found in a fancy hotel bathroom that literally smells like it’s trying too hard, but he just latched onto it. Actually, I wouldn’t be surprised if he did find this scent in a hotel gift shop somewhere…that’s the kinda guy he is. Anyways, it’s time to UPGRADE. This is the perfect set to give your dad because he can test out a bunch of different scents and ultimately choose his fave, rather than putting the pressure on YOU to shell out the big bucks for a cologne he might not even like. Scents are personal, and this gift allows him to find what he PERSONALLY likes.
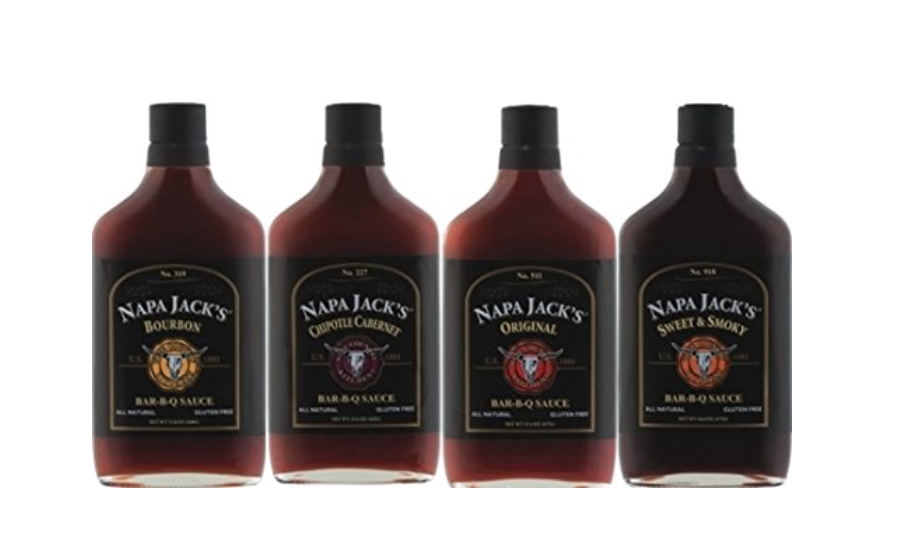
Napa Jack’s BBQ Sauce
If your dad is a BBQ master, he will DIE over these. Jimbo is straight-up obsessed. I thought he was going to cry when I gave these to him for his birthday. The variety of flavors gives him something fun to test out each time he’s at the grill so that he can literally spice things up every single day! This set comes with Original, Sweet and Smokey, Chipotle Cabernet, and Bourbon flavor BBQ sauces. Aaaand they’re are all natural and gluten-free! You know I had to choose something gluten-free…. HE WON’T KNOW THE DIFFERENCE, THOUGH. It tastes like BBQ heaven either way!
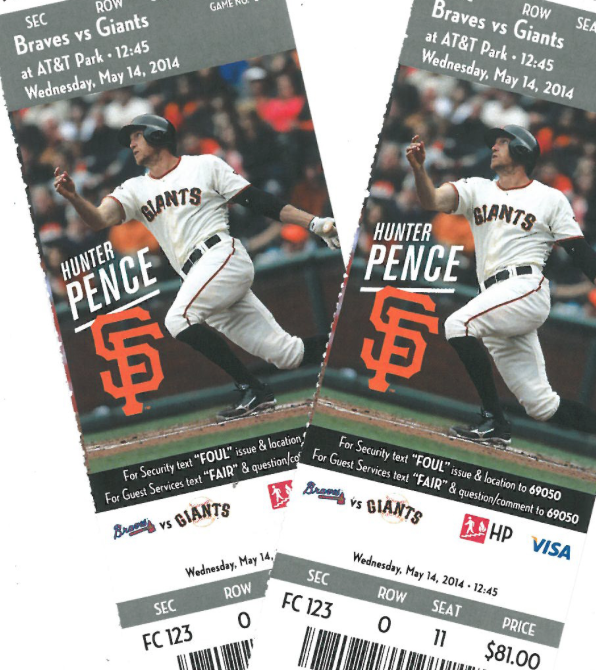
Tickets to A Sports Game
Any father will LOVE the chance to have a night out and watch his favorite sports team play live. My dad, like the rest of my fam, is a huge Giants fan, so Giants tickets are an obvious choice. This gift is perfect for the minimalist father who doesn’t need any more “things.” Instead, you’re giving him a memory! Depending on how much you want to spend, you could get him a cheap set of nosebleeds or some totally kickass seats. Either way, he’s gonna have a great time. And hey, if he likes you enough, he might even bring you with him!
What are you getting your dad this Father’s Day?! I’d love to hear!
