Paleo “Cheesy” Potato Casserole (with Low-Carb and Vegan Options)
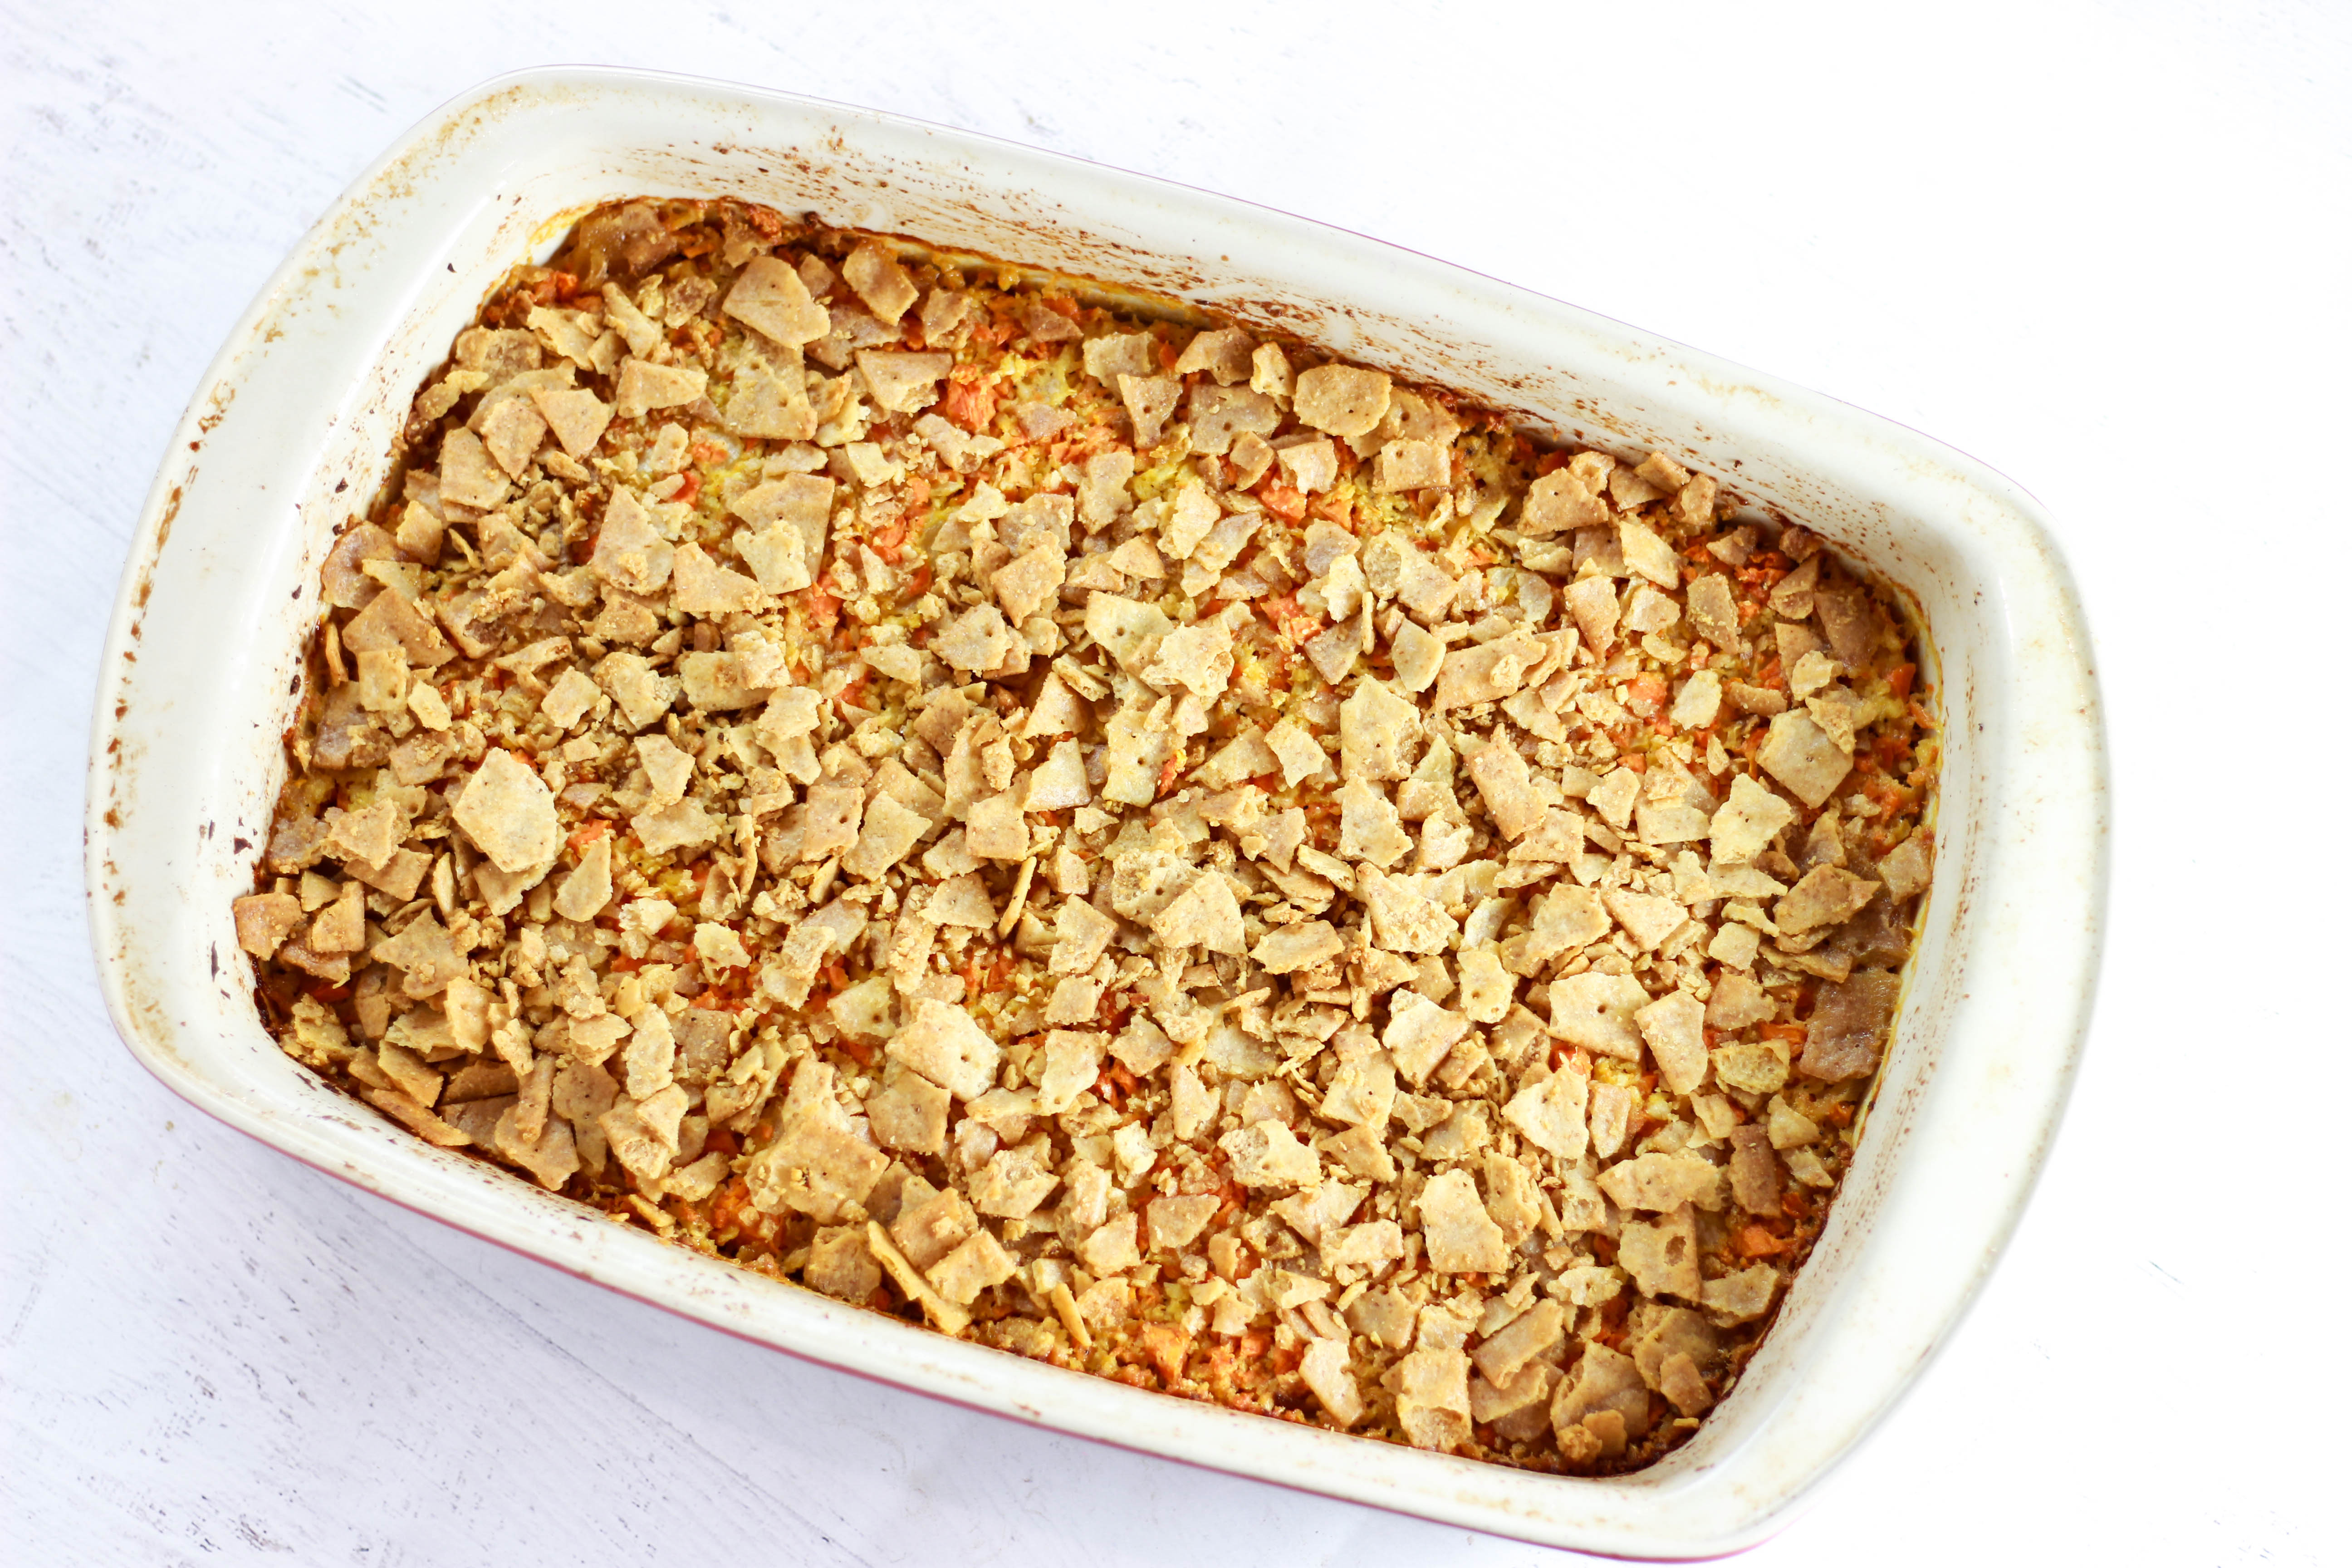
If you didn’t grow up eating cheesy potato casserole, I hate to tell you that you missed out… big time. Cheesy potato casserole is the ultimate comfort food, and while it’s traditionally made with some very unhealthy ingredients, I gave it an extreme paleo makeover.
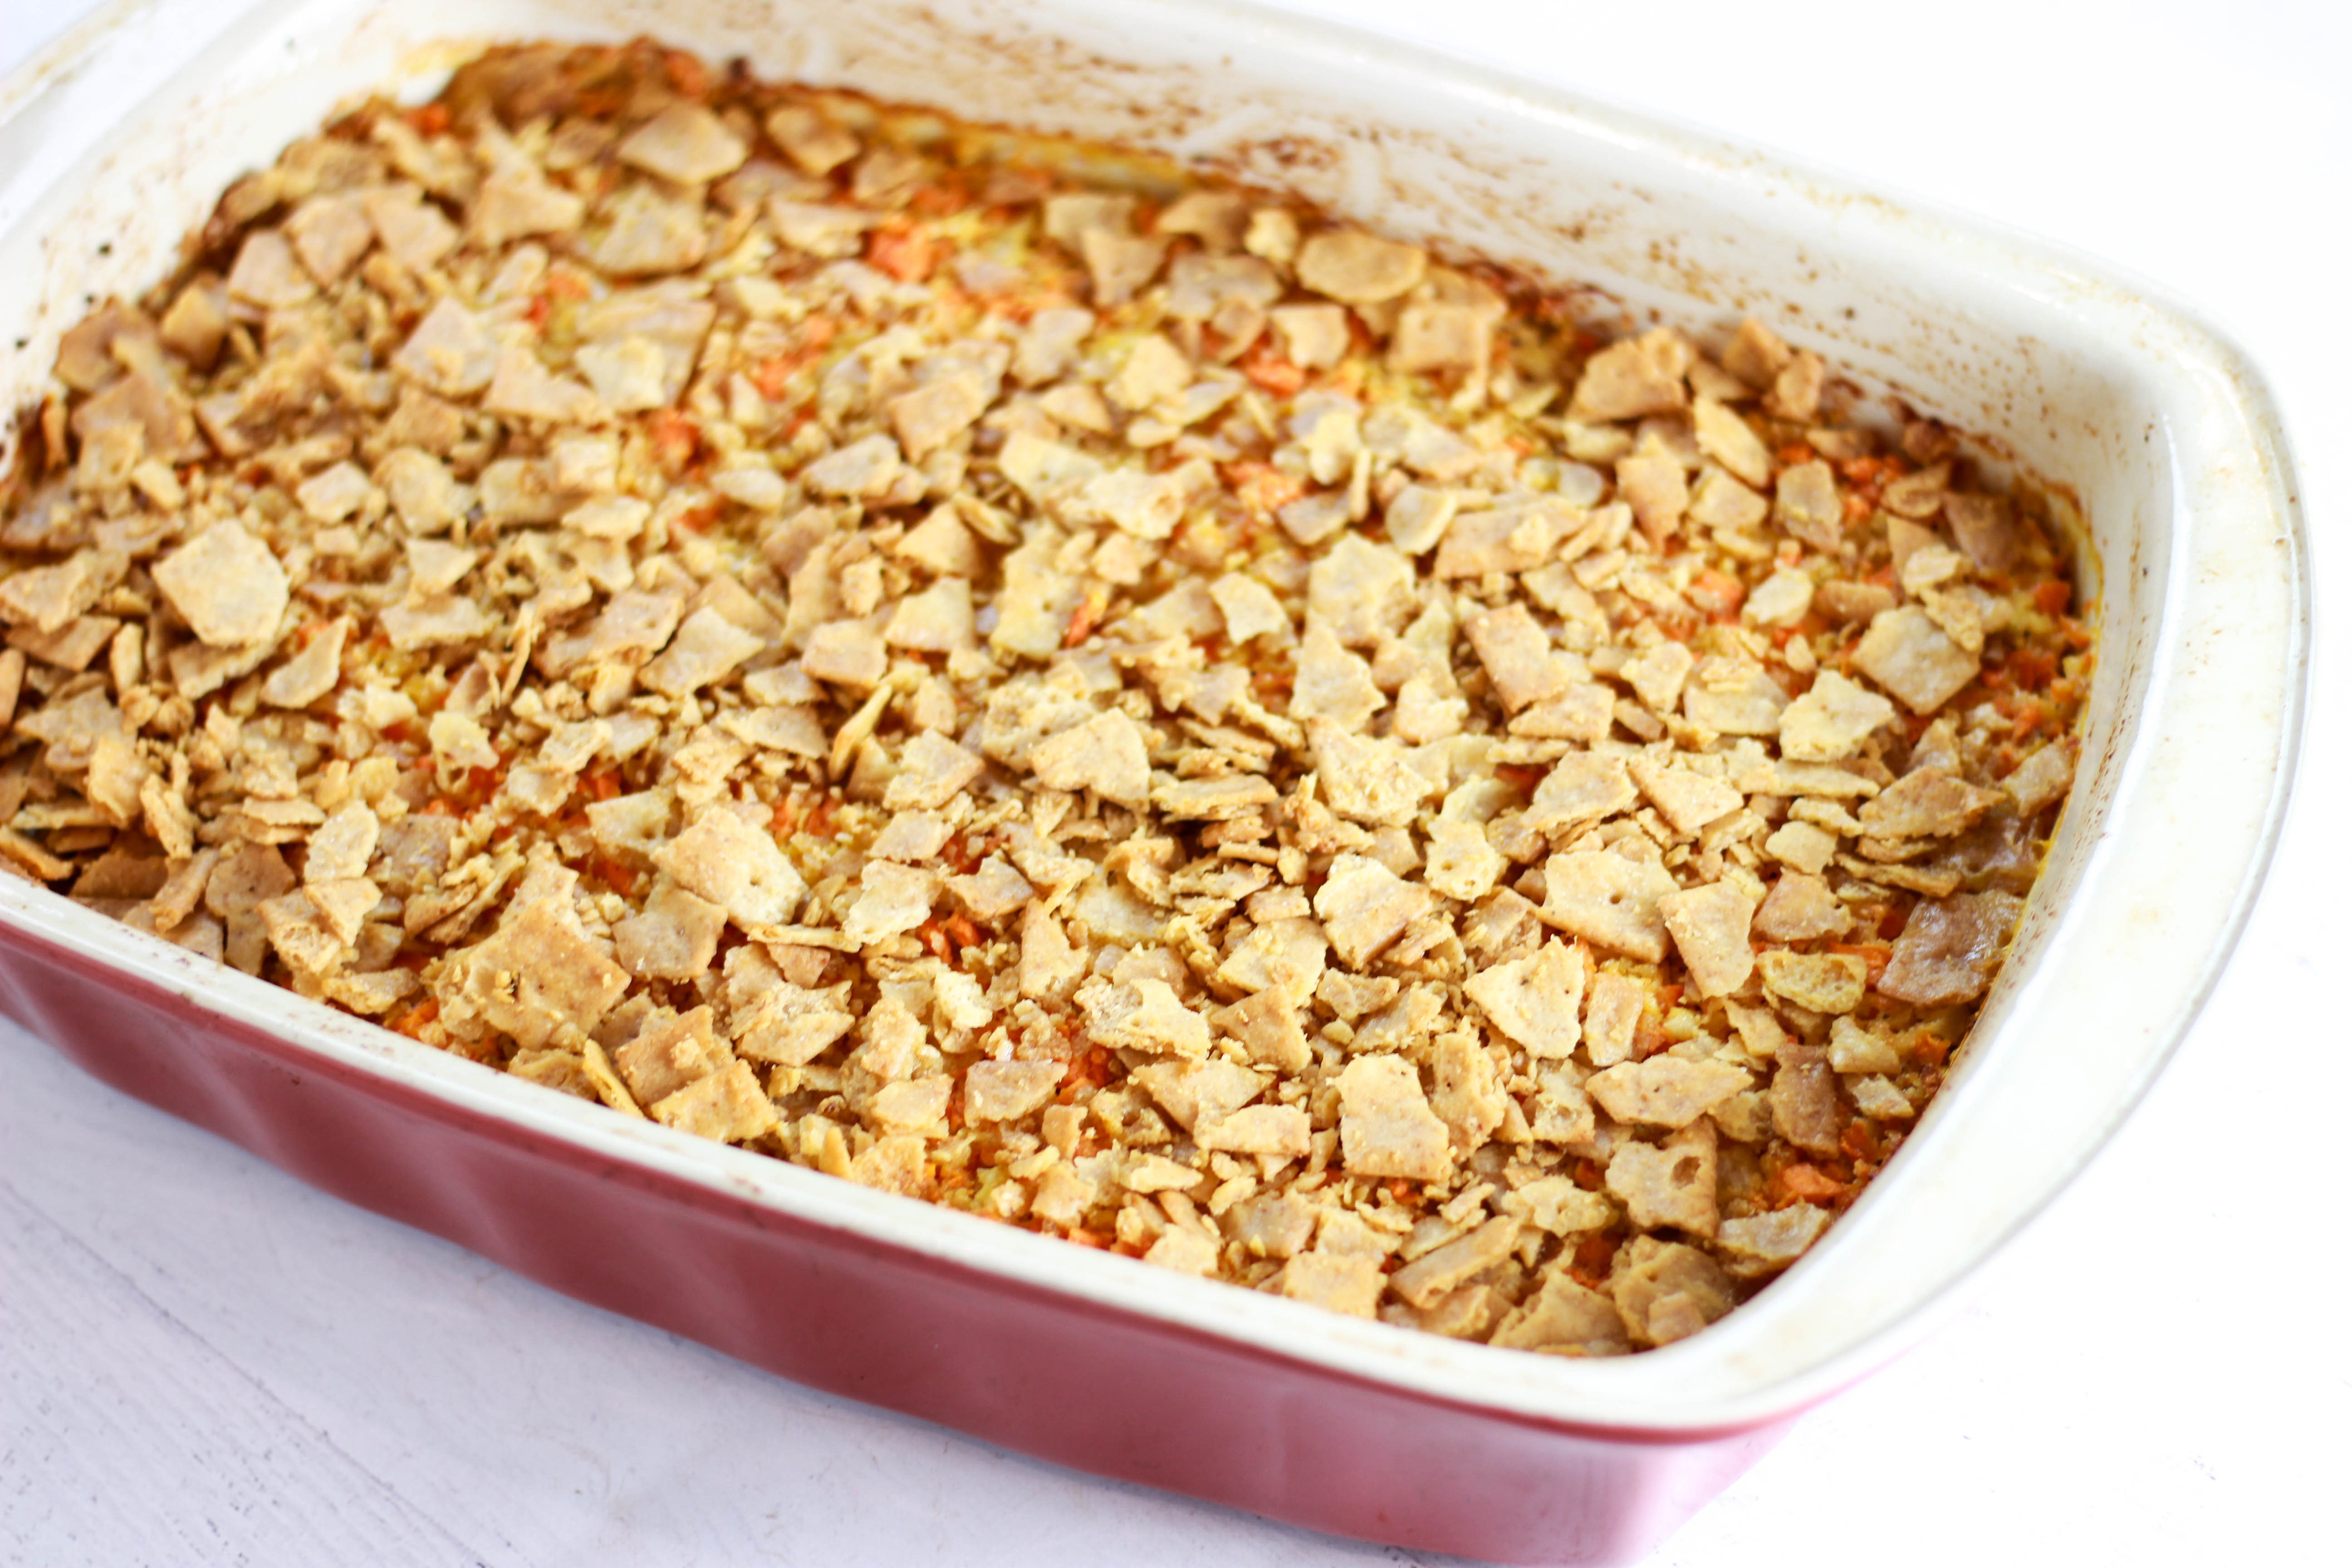
Whenever I think of holiday gatherings, I always think of cheesy potato casserole. It’s a dish that we always made for holidays and family events, and one that I’d always bring to potlucks. Everyone makes it a bit differently, but the version I grew up eating was made with shredded potatoes smothered in a sauce with sour cream, cheese, onions, butter, and who knows what else, all topped with corn flakes for an added crunch. The first time I ever had cheesy potatoes, I remember thinking they were not going to taste good. I’ve never been a potato person. I always hated baked potatoes – I could only get them down if I had about two cups of sour cream on top. When I took my first bite of cheesy potoatoes, though, everything changed. Cheesy potato casserole became my new obsession.
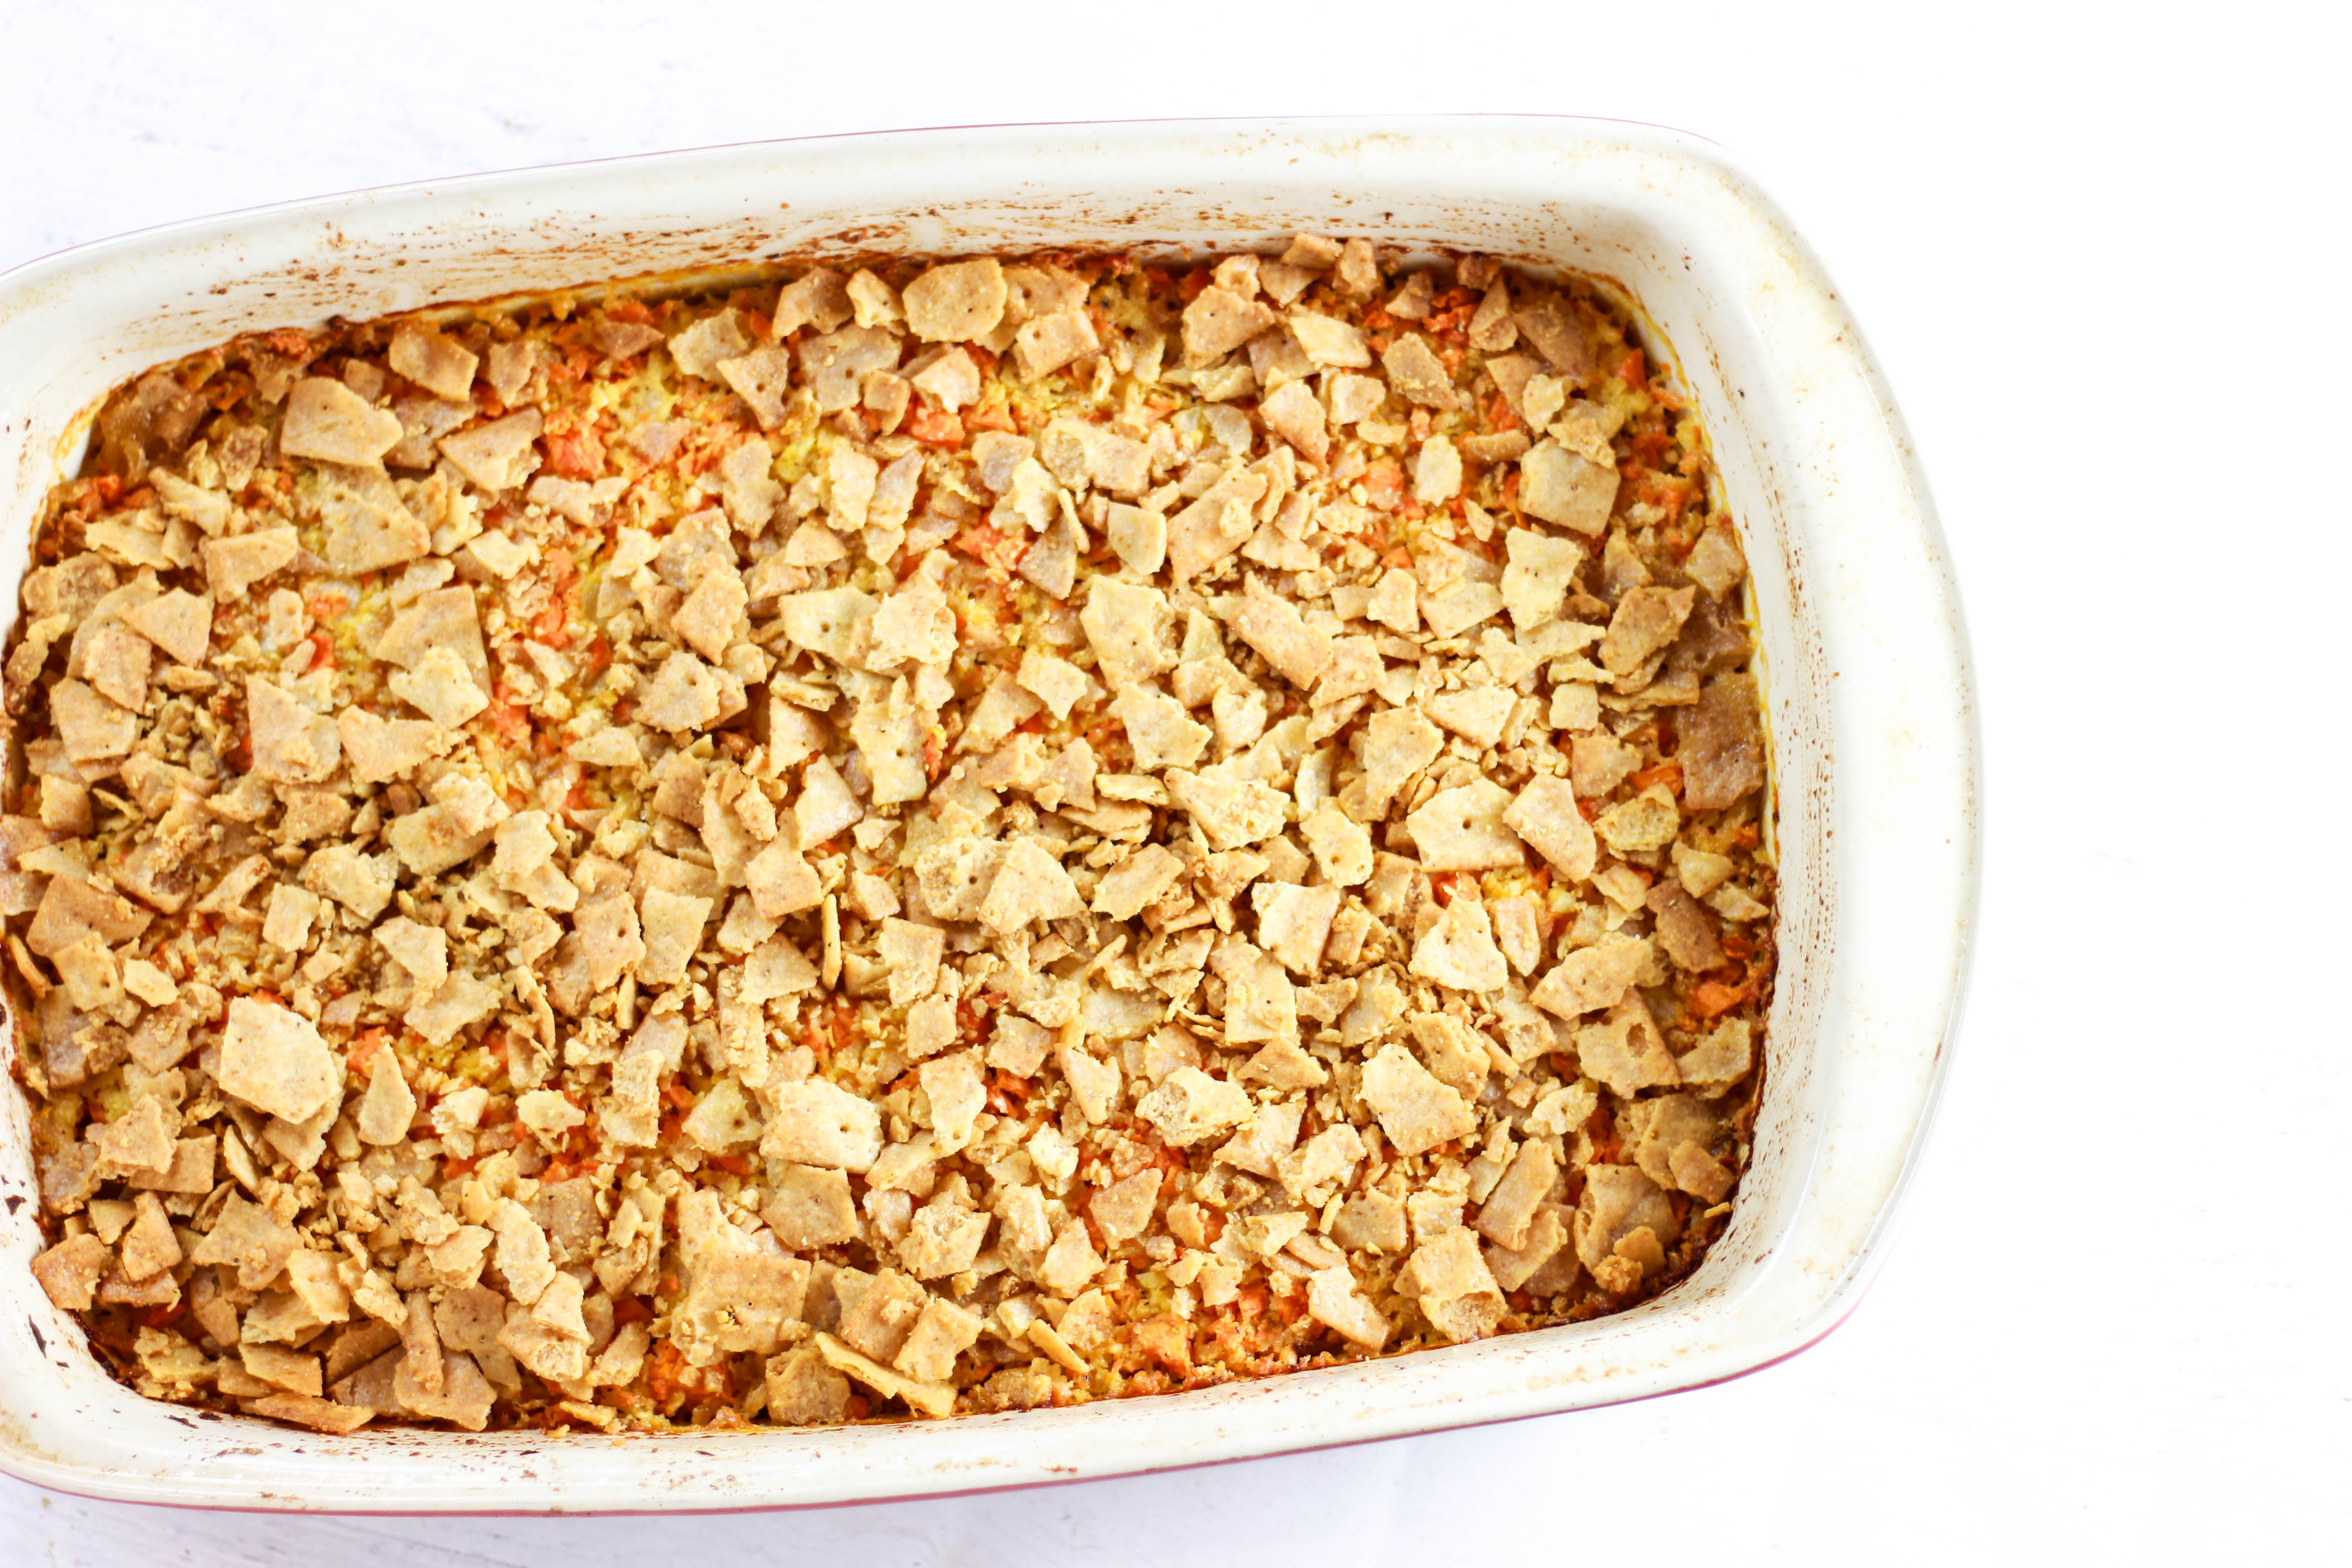
If you know my taste, you know I love dishes that combine a lot of different textures and flavors to create something new, and that’s exactly why I have always loved cheesy potato casserole! There’s a lot going on – soft but crispy potato shreds mixed with creamy, cheesy sauce, topped with a nice big crunch. My kinda dish.
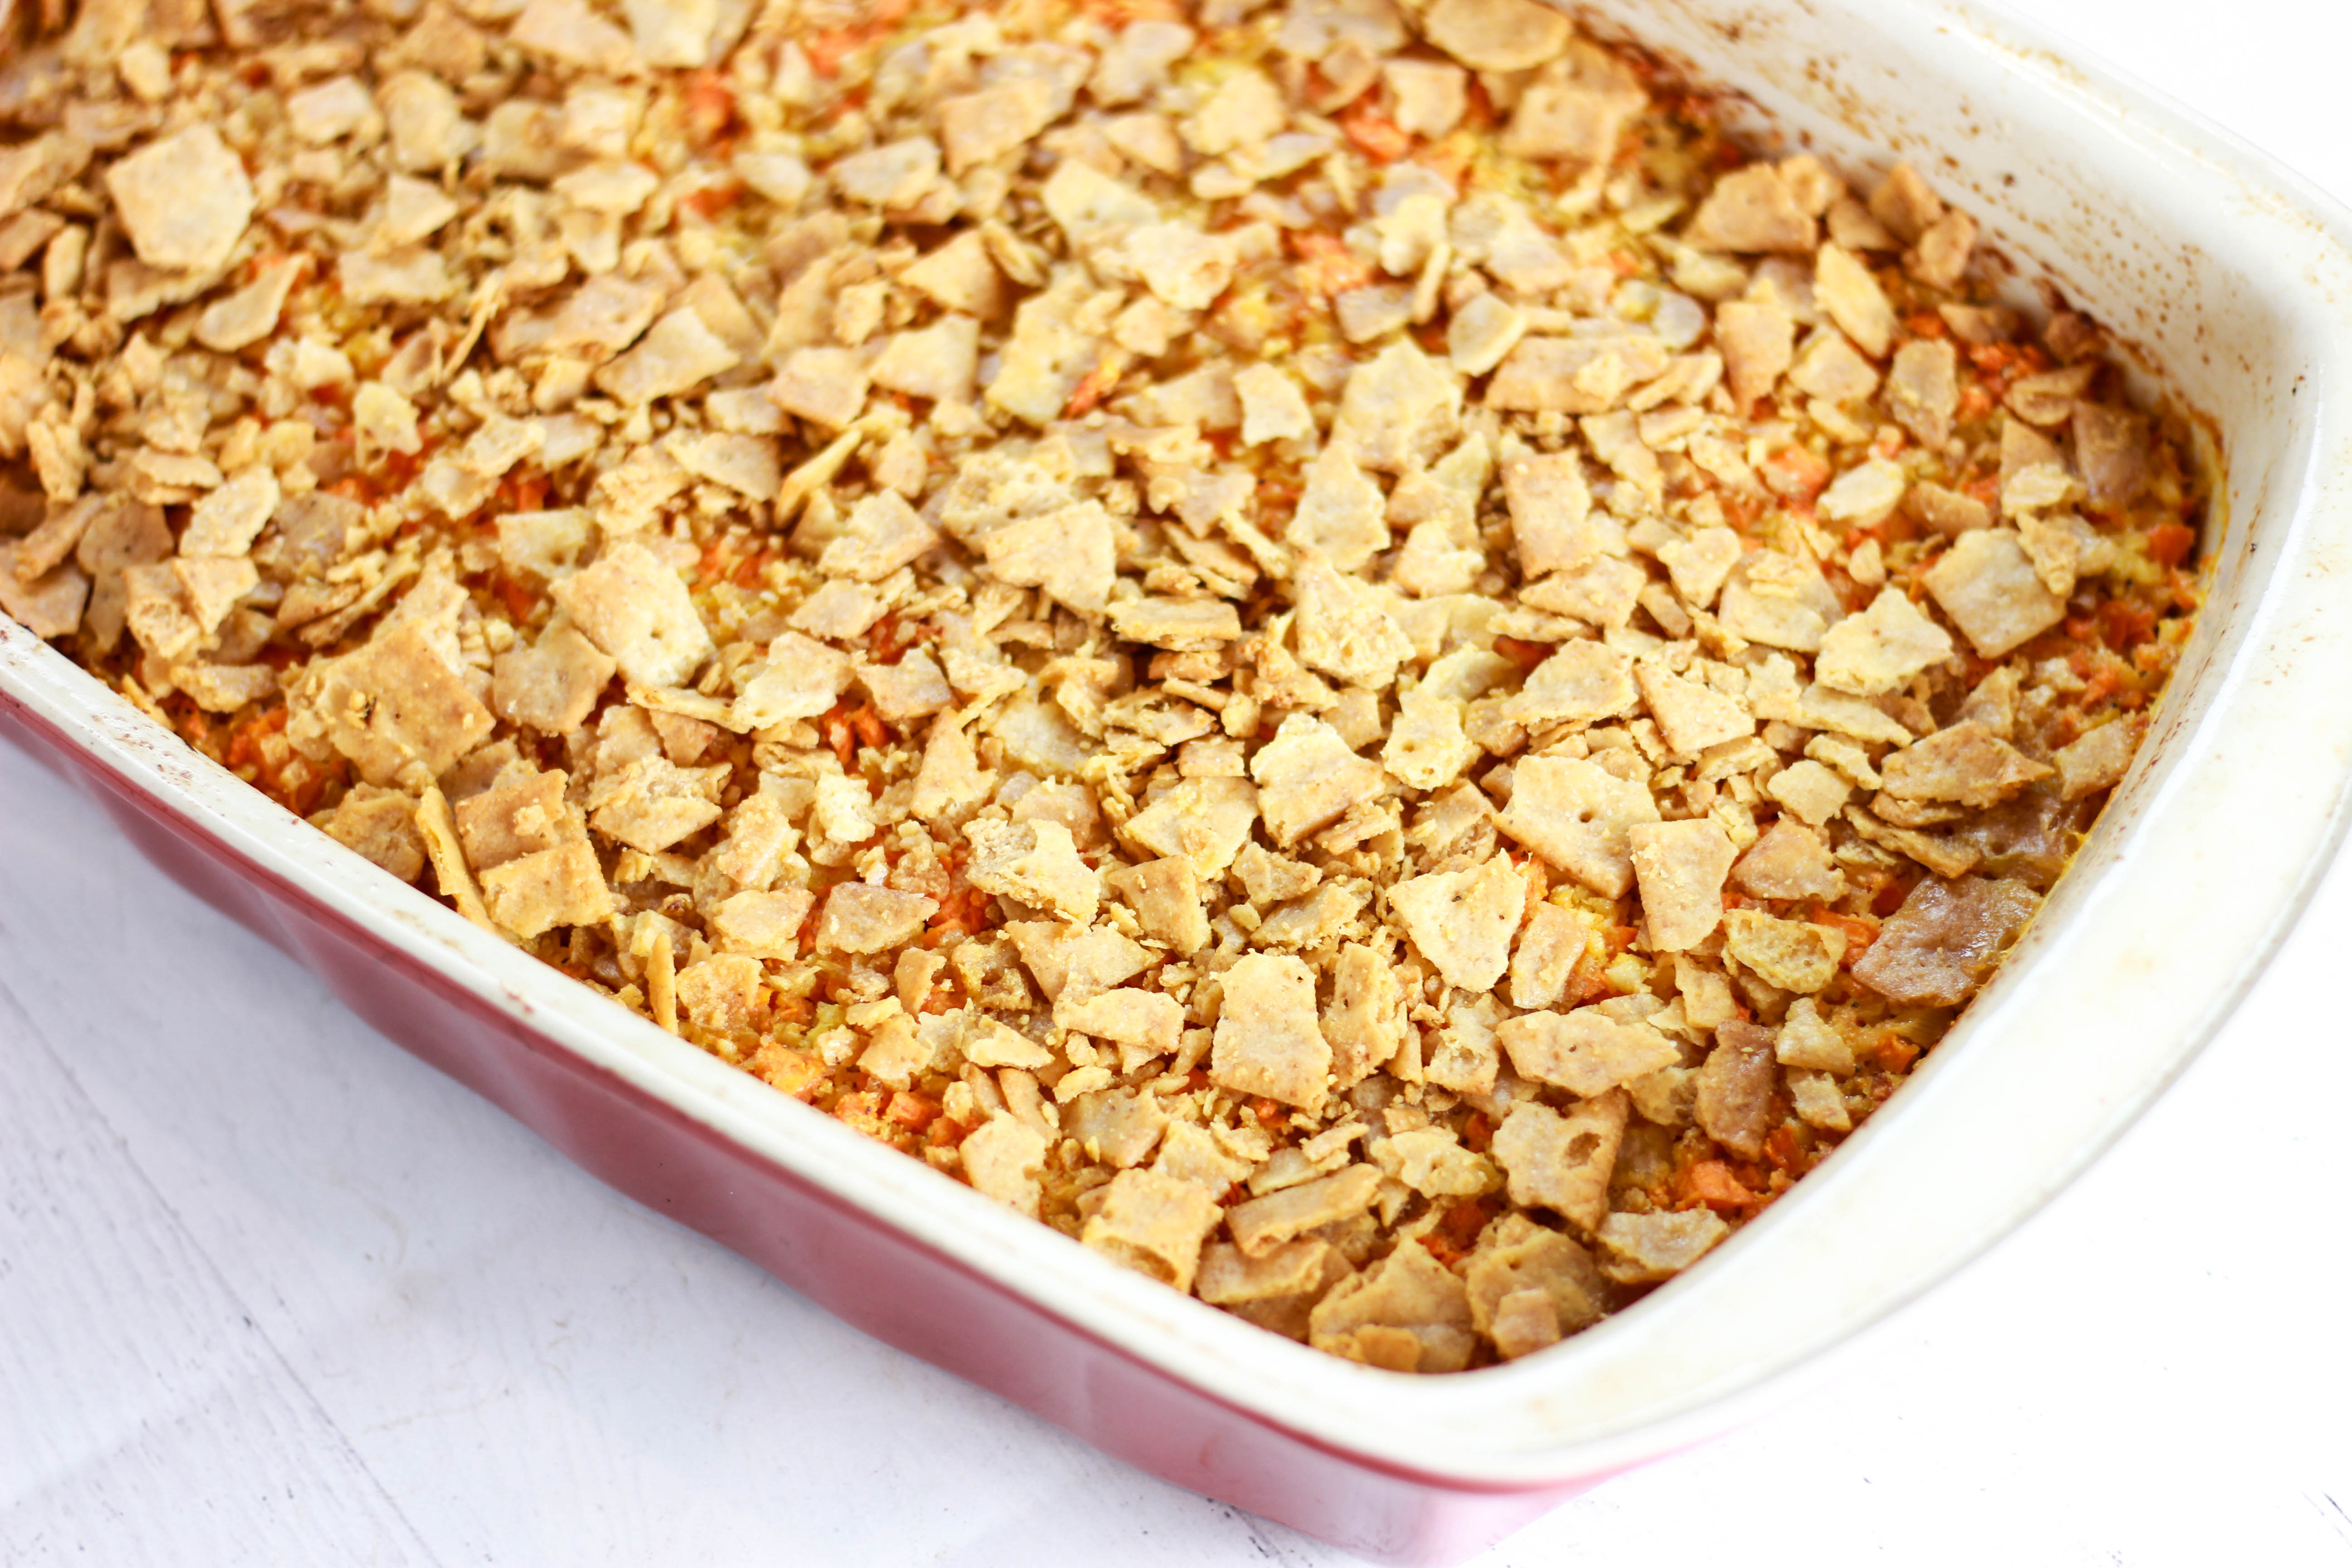
I grew up loving this type of comfort food, but then I eventually realized how horrible it made me feel physically. I haven’t had traditional cheesy potato casserole in a few years since going paleo, but this holiday season I was craving my old favorite! So, like always, I decided to make a paleo version.
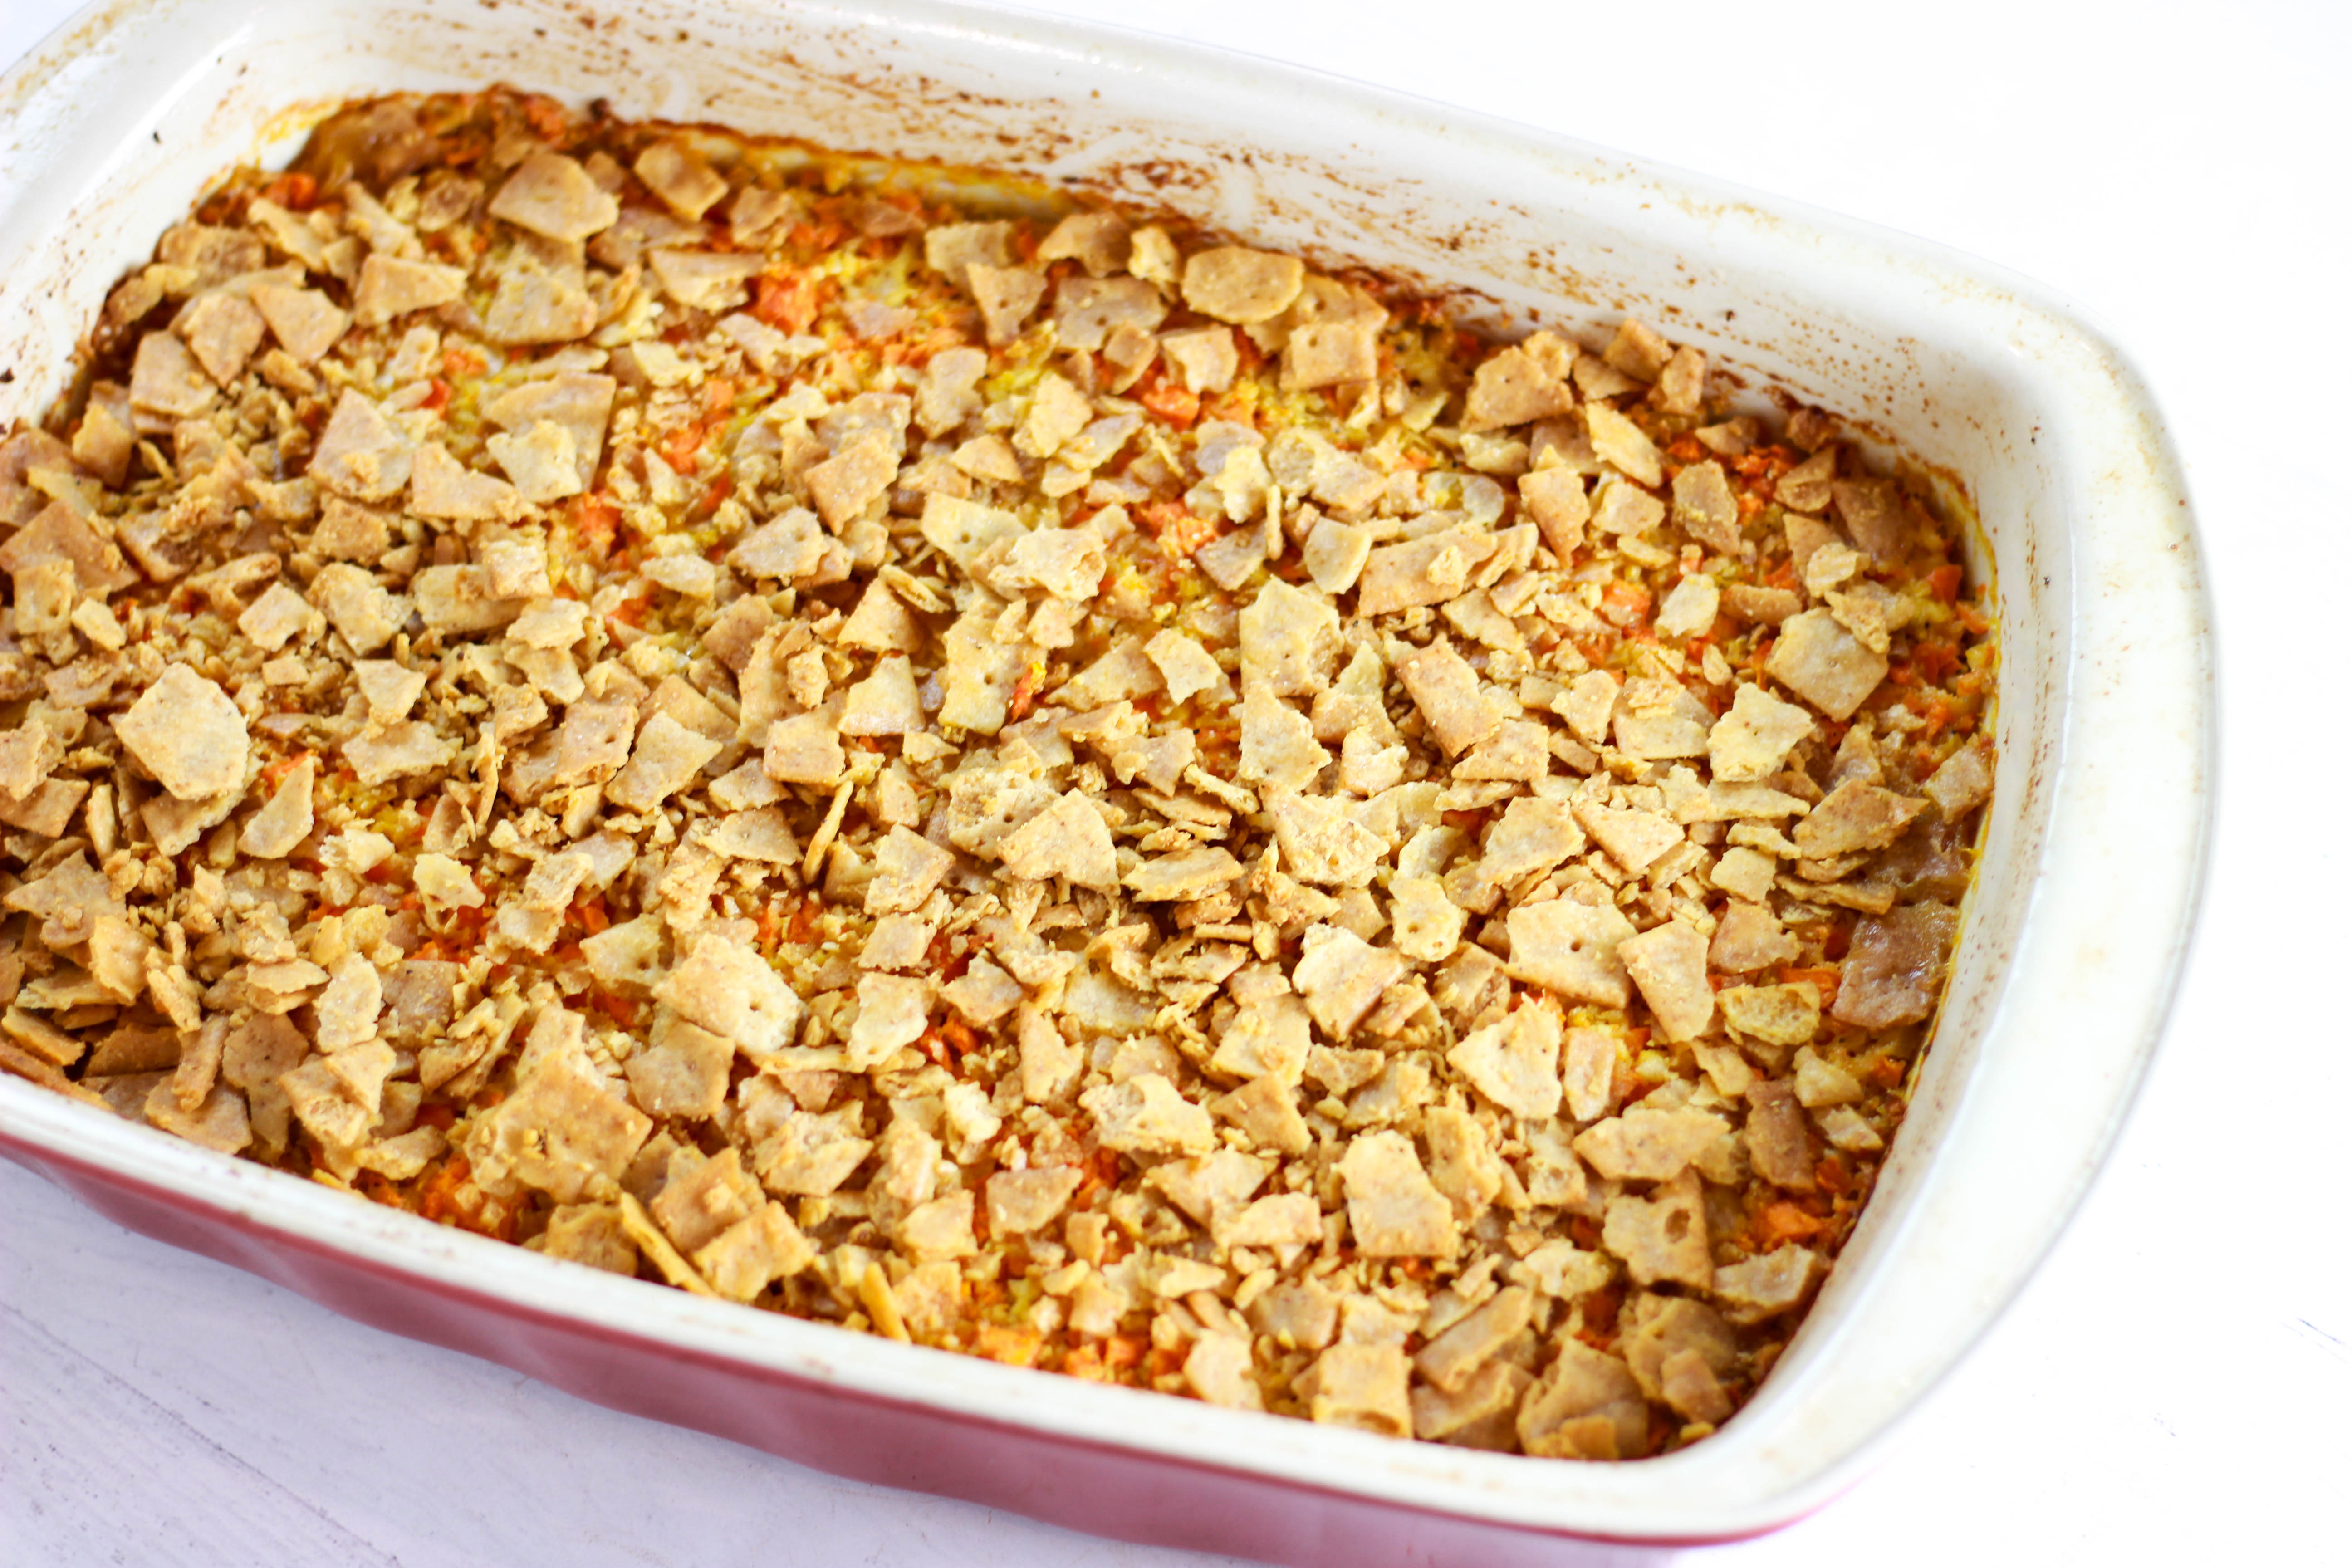
It’s not exactly the same as the old cheesy potato dish, but it hits all the same notes for me. I wasn’t totally sure how it was going to turn out, but I fell in love after my first bite! There are a few steps to putting it together, but overall, it’s a really easy dish to make, and a great casserole to bring to potlucks or family gatherings. It’s also great for a big meal prep!
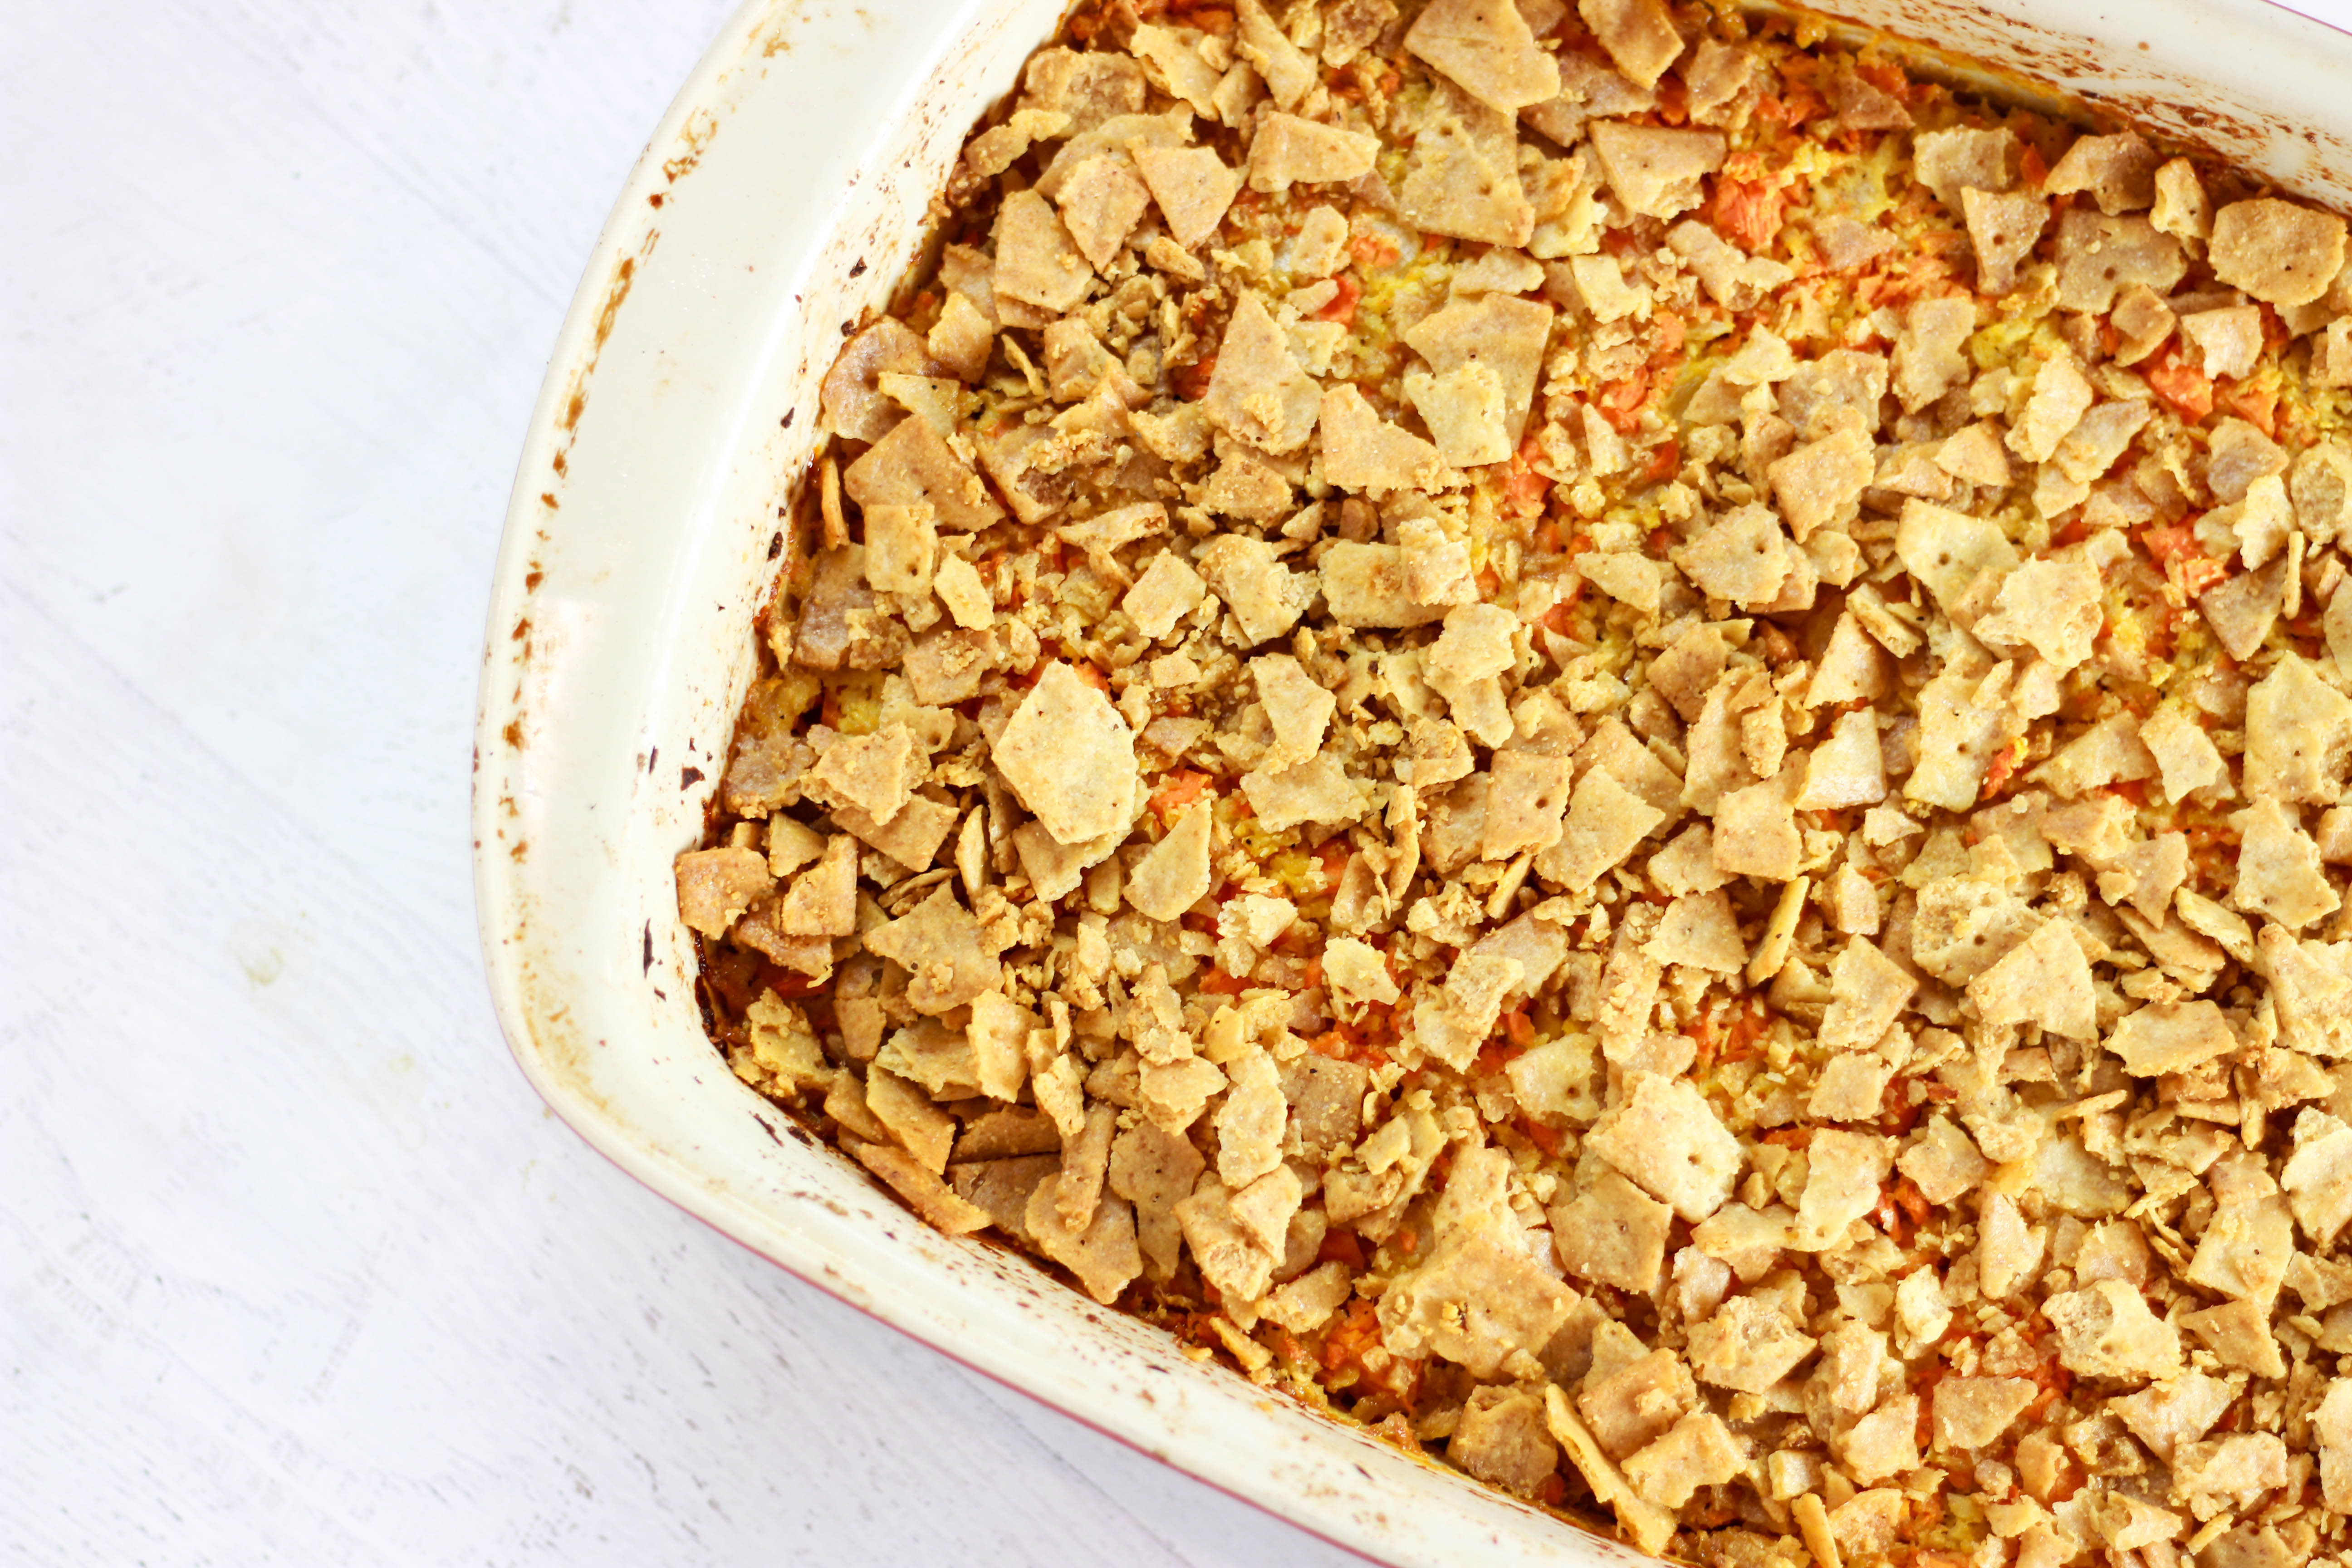
Rather than using regular shredded potatoes, I used a mixture of cauliflower rice and sweet potatoes. There’s definitely flexibility with this! If you like regular potatoes, feel free to use those instead. I used half cauliflower rice and half sweet potatoes just to lighten it up a bit, because the sauce and crackers contribute to the heavier part of the dish. You can use all sweet potatoes, though, or all cauliflower rice. If you’re keto or low-carb, I recommend using all cauliflower rice! Use whatever combination of potatoes and cauliflower rice (or just one) you like. I used 3 pounds of vegetables total, but if you use two pounds you’ll get an even stronger flavor because there will be more sauce on the veggies. There’s no science to it – use closer to 2 pounds of vegetables (total) if you want an extra creamy casserole, or 3 pounds total if you want it to be less creamy and a bit lighter. Either way, the flavor packs a big punch!
For the potatoes, I simply pulsed sweet potatoes that were already peeled and chopped (got those from Trader Joe’s) in my food processor until they were broken down a bit. I wanted them to be bigger than cauliflower rice crumbles, but smaller than sweet potato cubes. If you’re too lazy to shred potatoes, like me, then I recommend just using your food processor!
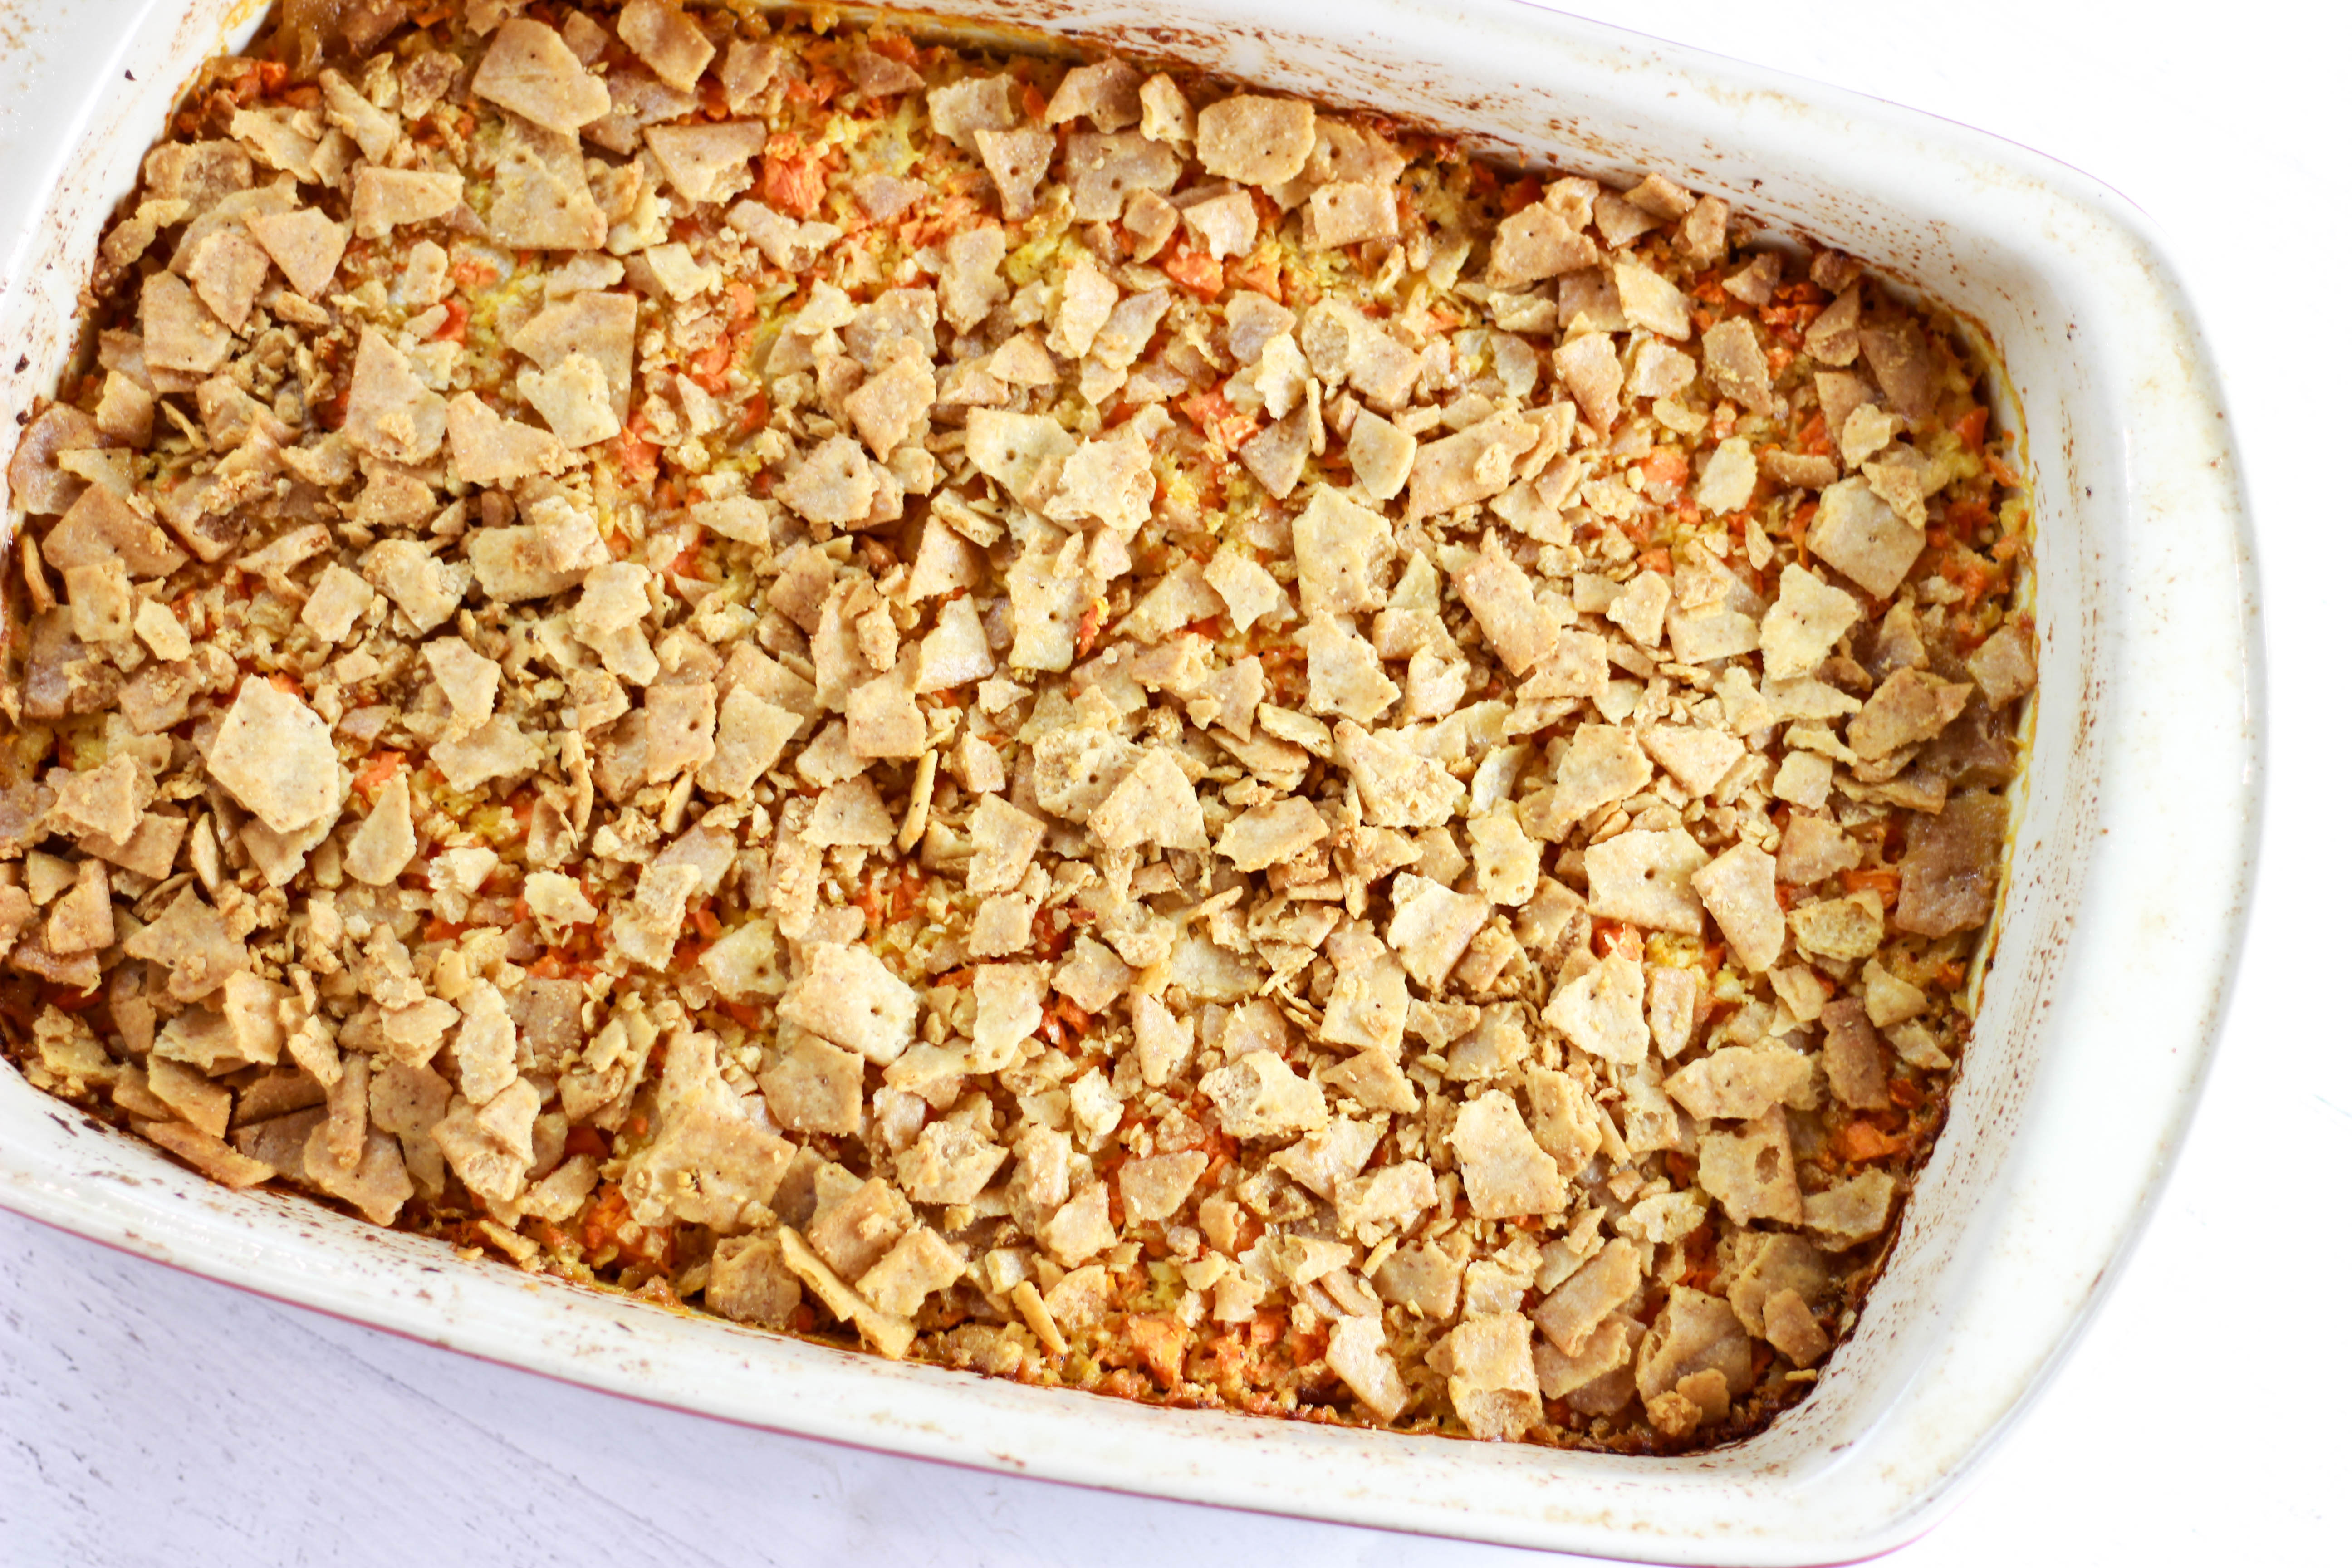
For the cheesy sauce, instead of using dairy-heavy ingredients like sour cream, butter, and cheese, I went for paleo-friendly coconut milk, grass-fed ghee, and homemade cashew cheese! I have not tried this recipe yet with a pre-made nut cheese, but I’m sure it would taste great. If cheese works well for your body, you could also opt for a raw, grass-fed cheese. However, I love the cashew cheese in this recipe, and it is incredibly easy to make! You just need to soak some cashews for a few hours (although, honestly, you don’t really have to soak them), toss in some nutritional yeast, water, and salt, and blend! It might be an unpopular opinion, but I actually think cashew cheese tastes much better than regular cheese.
Ghee is clarified butter, and most people who don’t tolerate dairy do just fine with ghee because the milk solids have been removed. This means that the problematic proteins, whey and casein, have been removed, and so has the lactose. Ghee is basically pure butterfat, and it has a very rich flavor. It provides the flavor of butter without the negative digestive or hormonal effects! In fact, ghee is a rich source of CLA (conjugated linoleic acid) and butyrate, which are fatty acids that offer a number of health benefits including reducing inflammation, improving gut health, regulating insulin levels, and more. Some of my favorite ghee brands are Gold Nugget Ghee, Tin Star Foods, 4th & Heart, and Organic Valley.
Substituting the ghee for another oil won’t provide the same flavor or texture. If you can’t tolerate ghee, I recommend trying out butter flavor coconut oil. The recipe will work with regular coconut oil, but it will taste different. If you can’t do ghee or butter-flavored coconut oil, I recommend simply leaving it out and increasing the amount of coconut milk and cashew cheese to make up for the missing oil.
Lastly, the crunch! The crunch is key – this is what makes the dish. If you tolerate corn, you could definitely get some organic, plain corn flakes in the cereal aisle to use on top. Corn flakes are what’s regularly used, so you’d be staying true to the recipe. Just be careful when looking for corn flakes, though. It might be hard to find any without added sugar or other added ingredients, and you also want to make sure it’s organic and non-GMO.
Instead of using corn flakes, though, I decided to used Simple Mills Fine Ground Sea Salt Crackers to keep this recipe entirely paleo. If you haven’t tried Simple Mills crackers yet, run to the store immediately – they are a game changer! They’re so delicious and go with any dip. They’re a staple for anyone’s paleo pantry! For this recipe, I just smashed them up into smaller pieces and sprinkled them on top to get that perfect crunch!
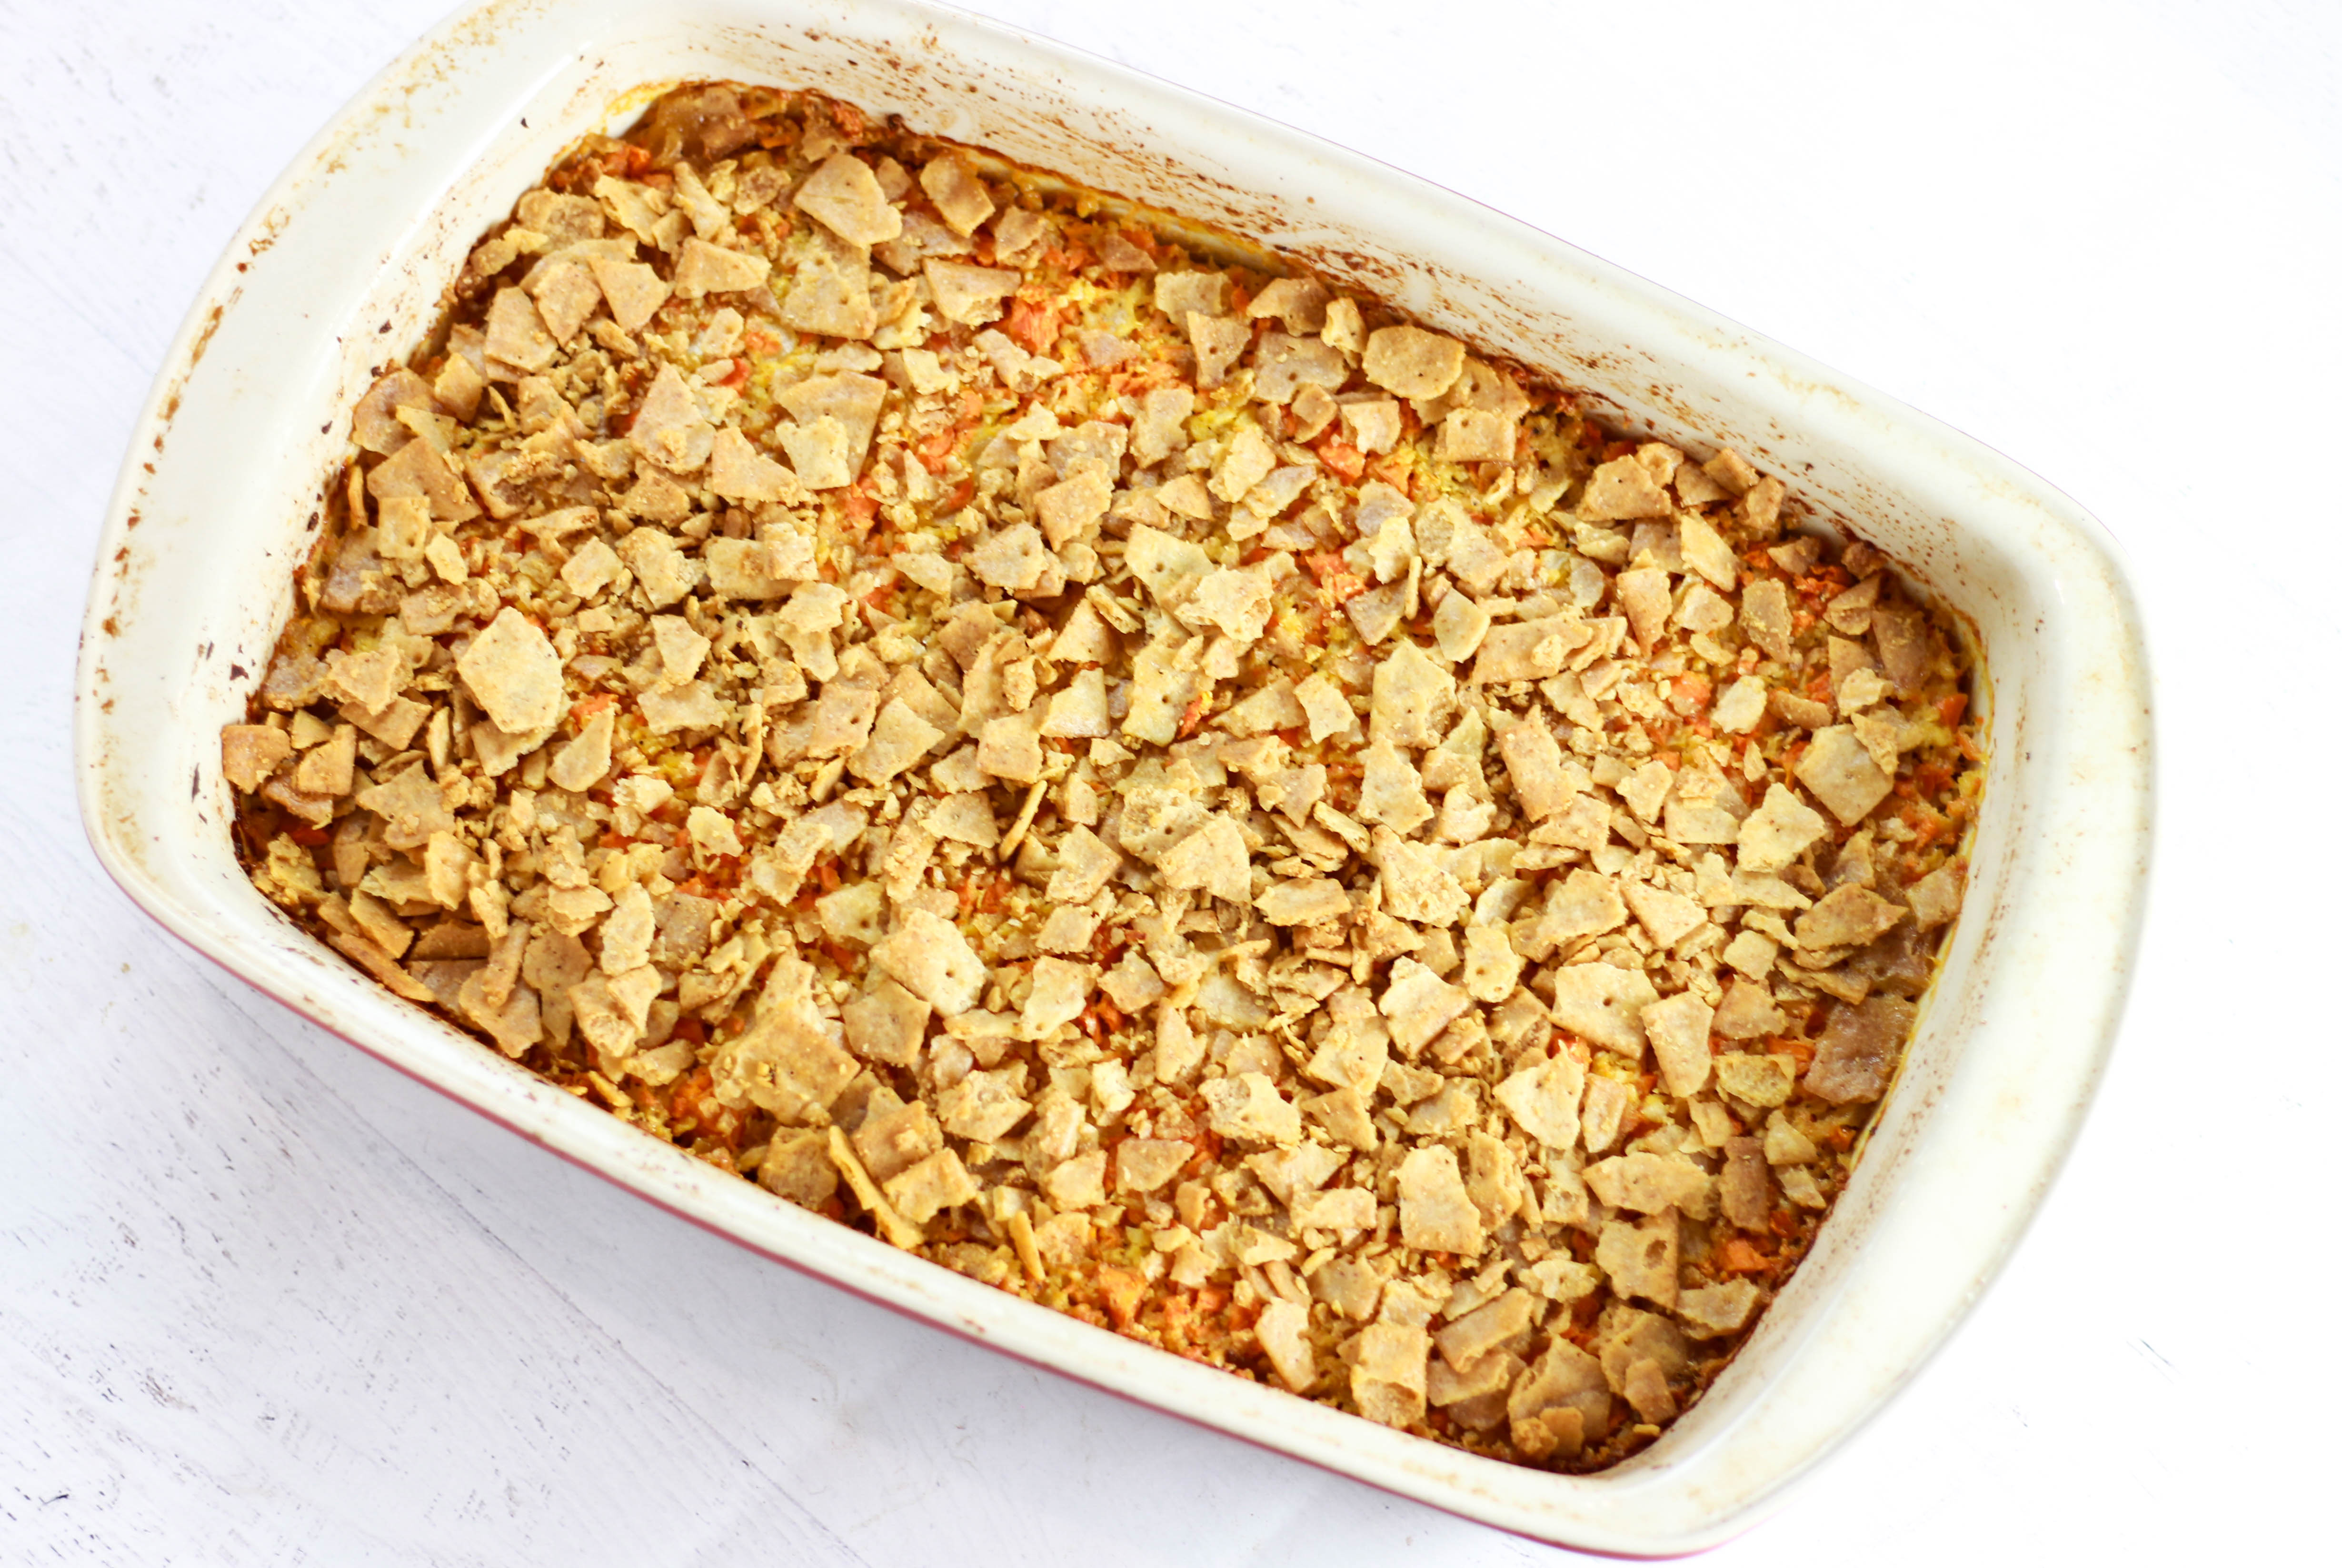
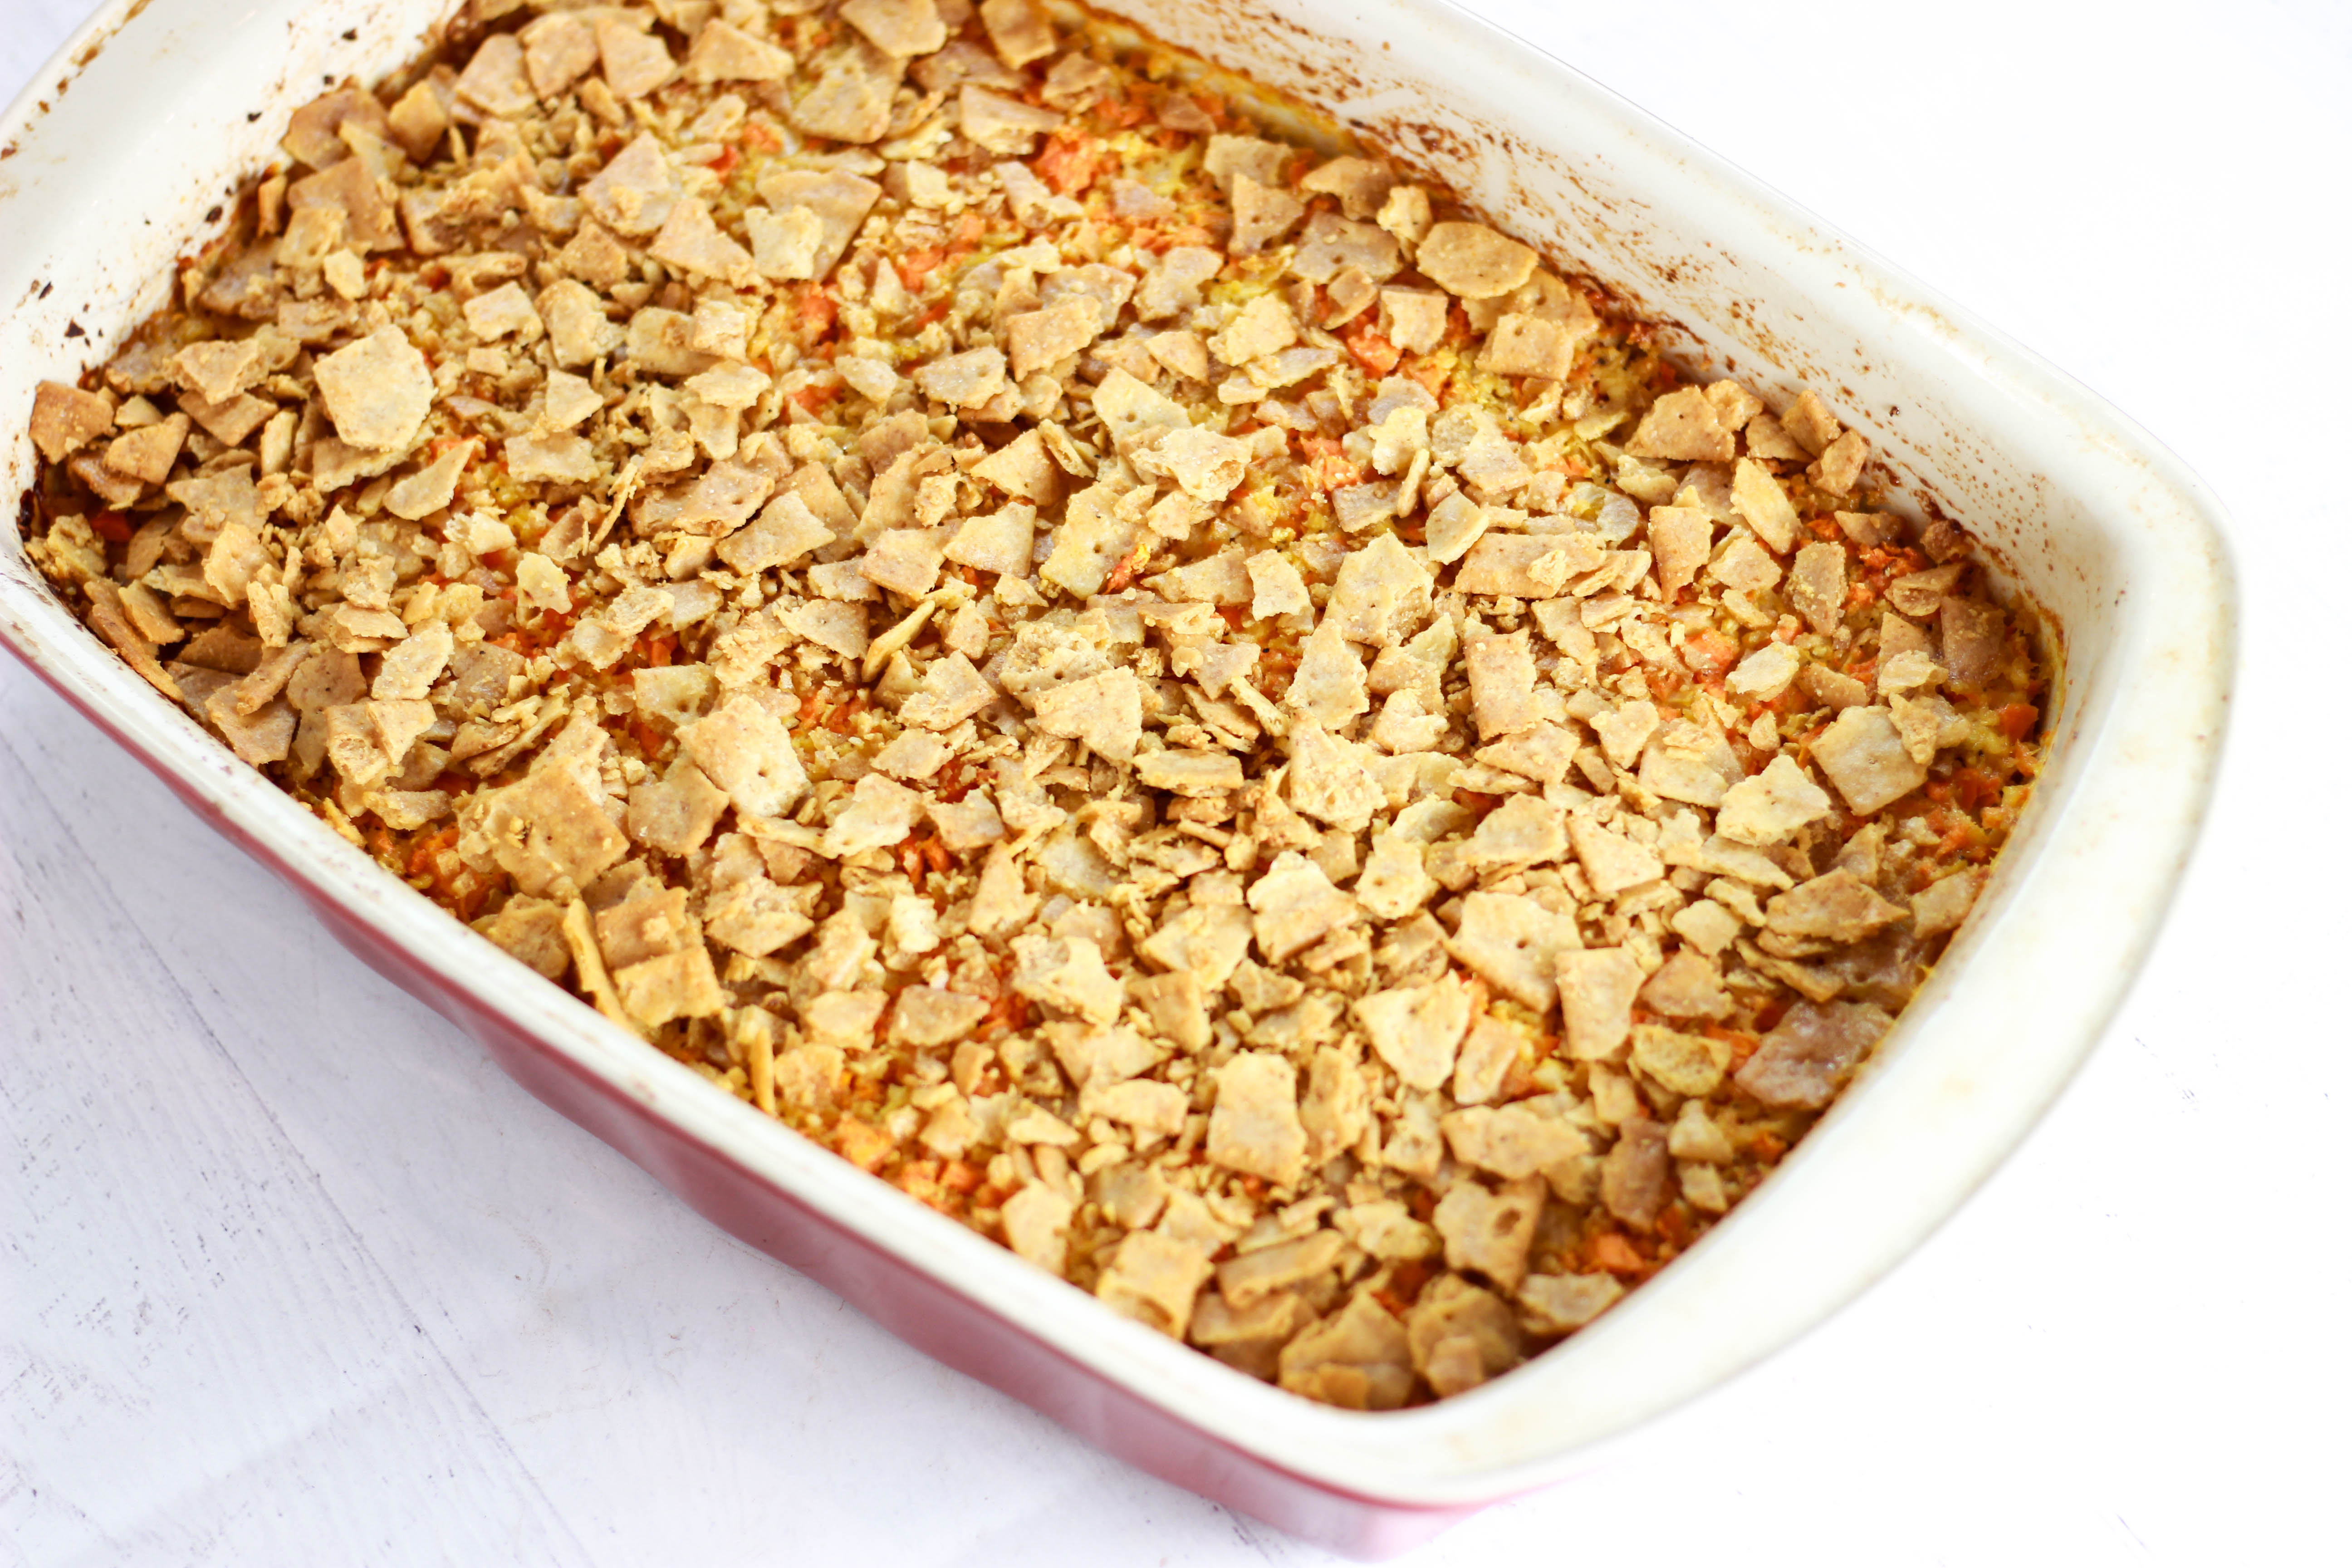
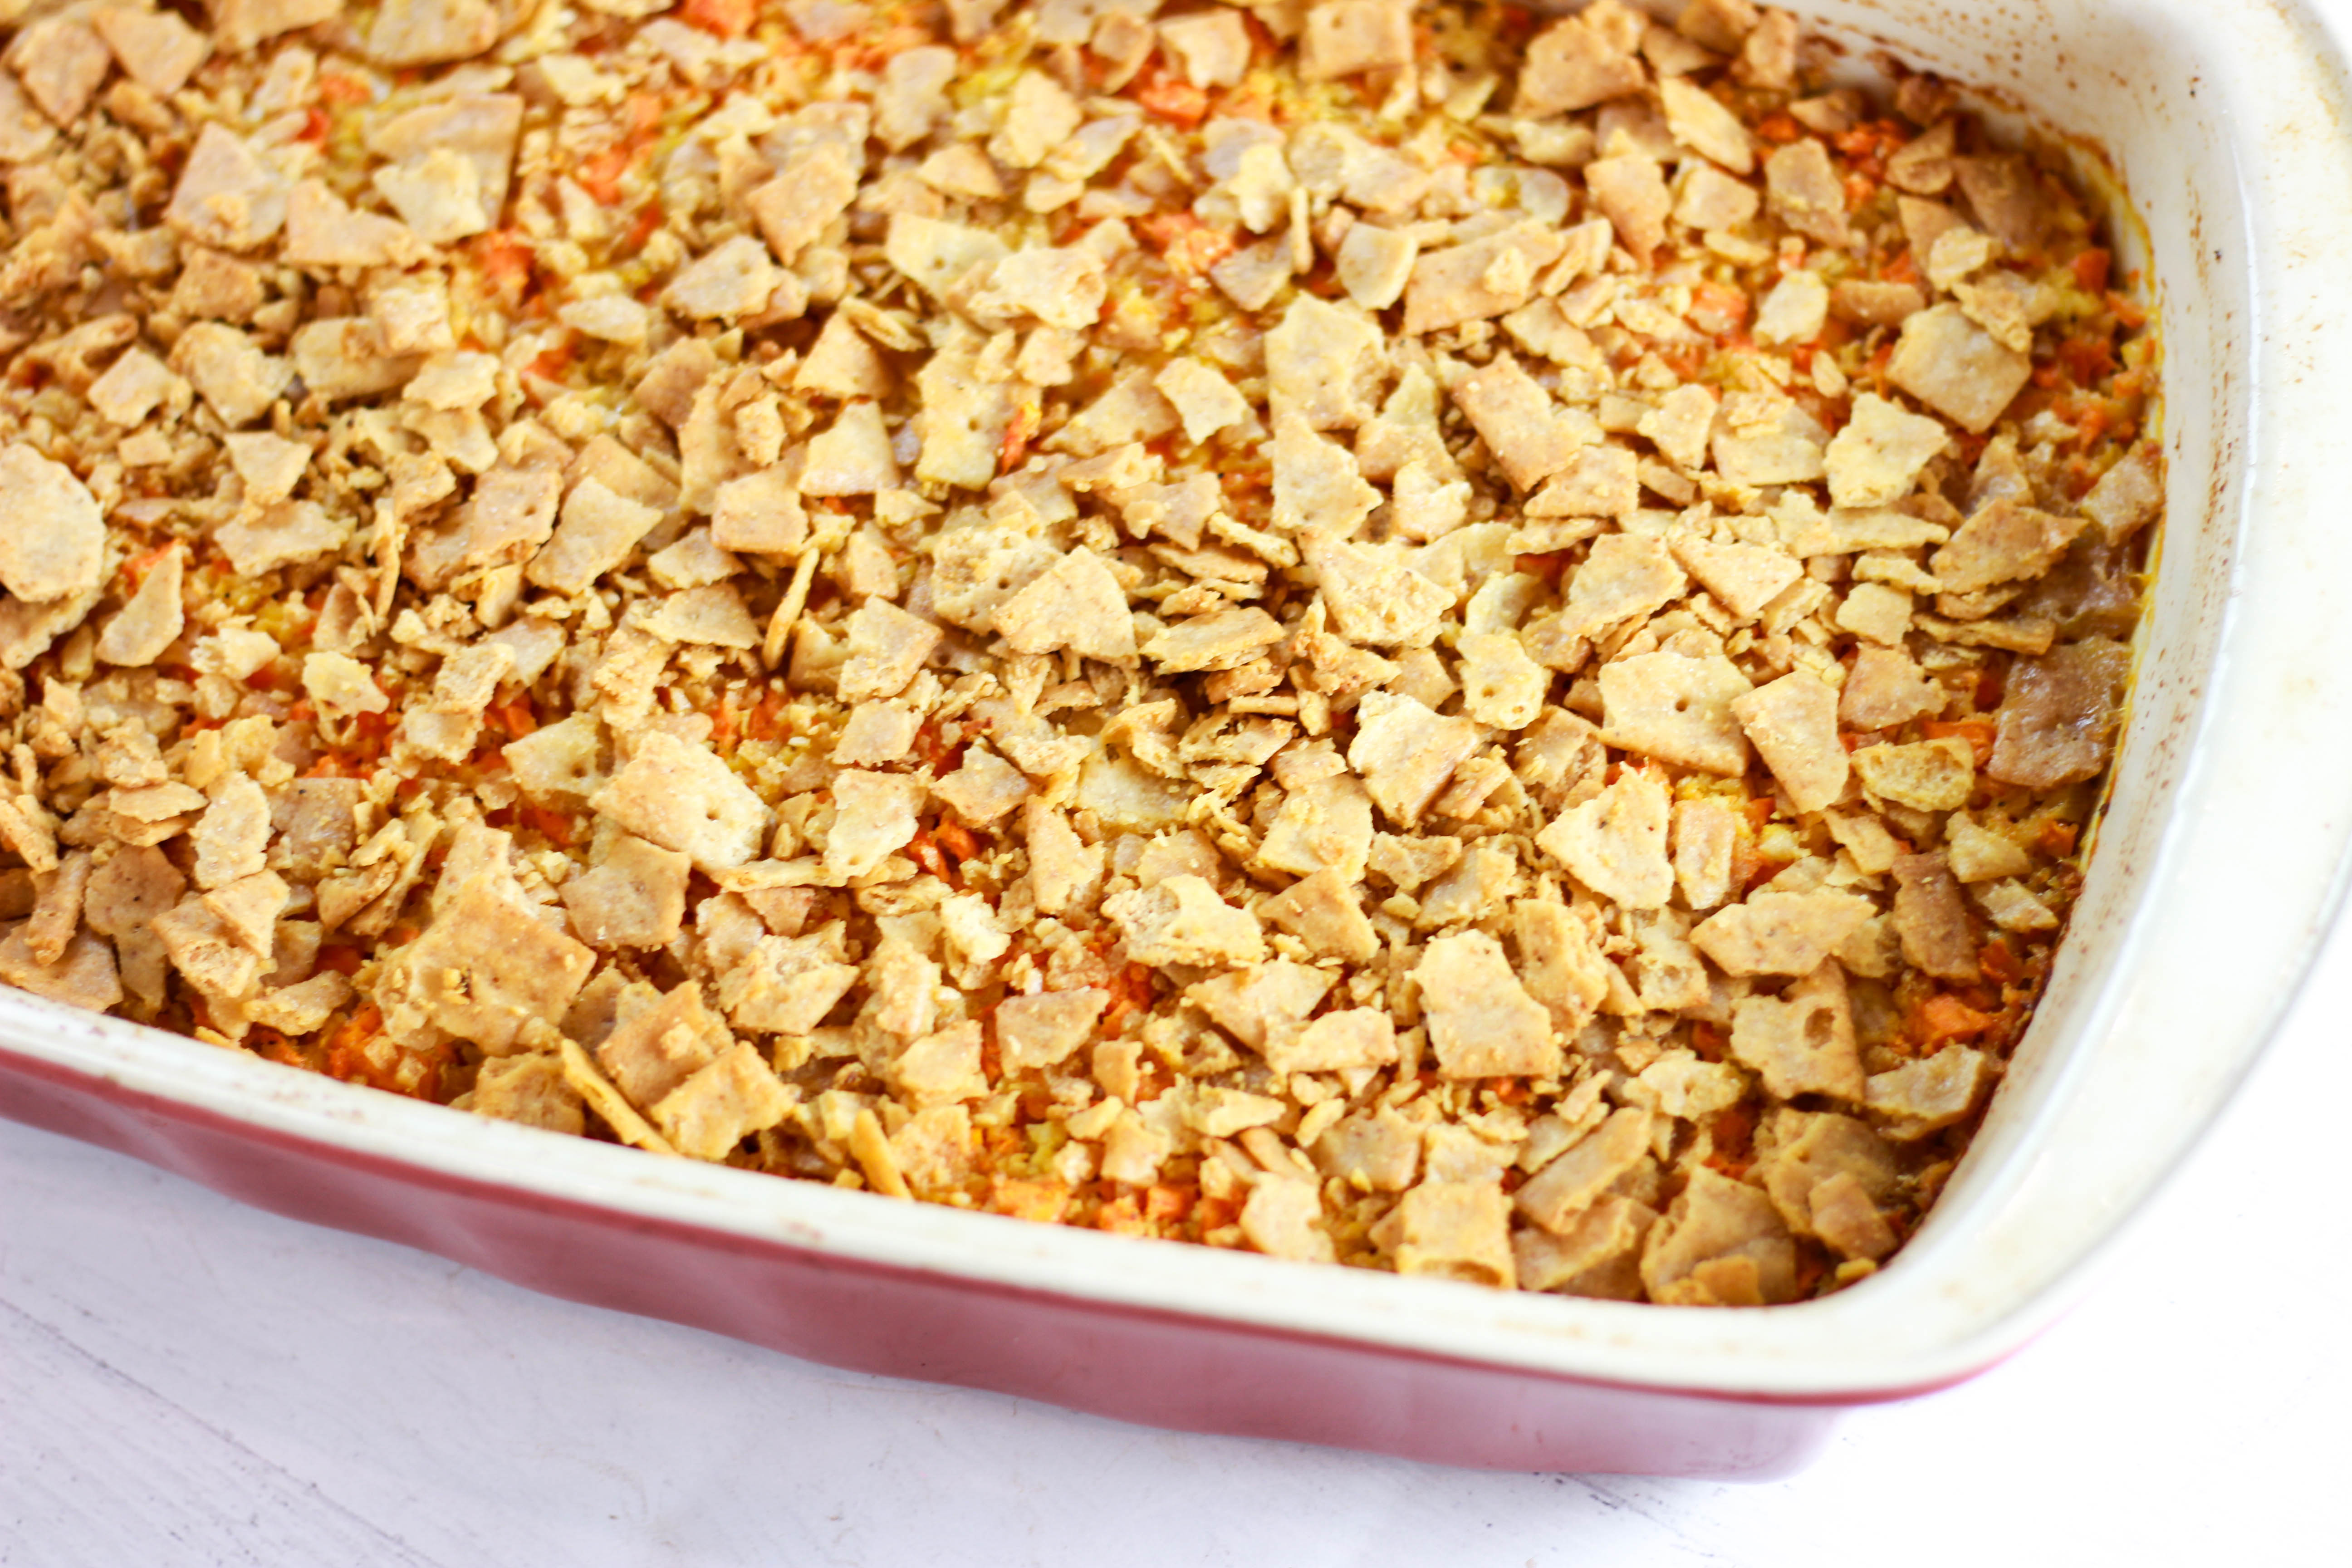
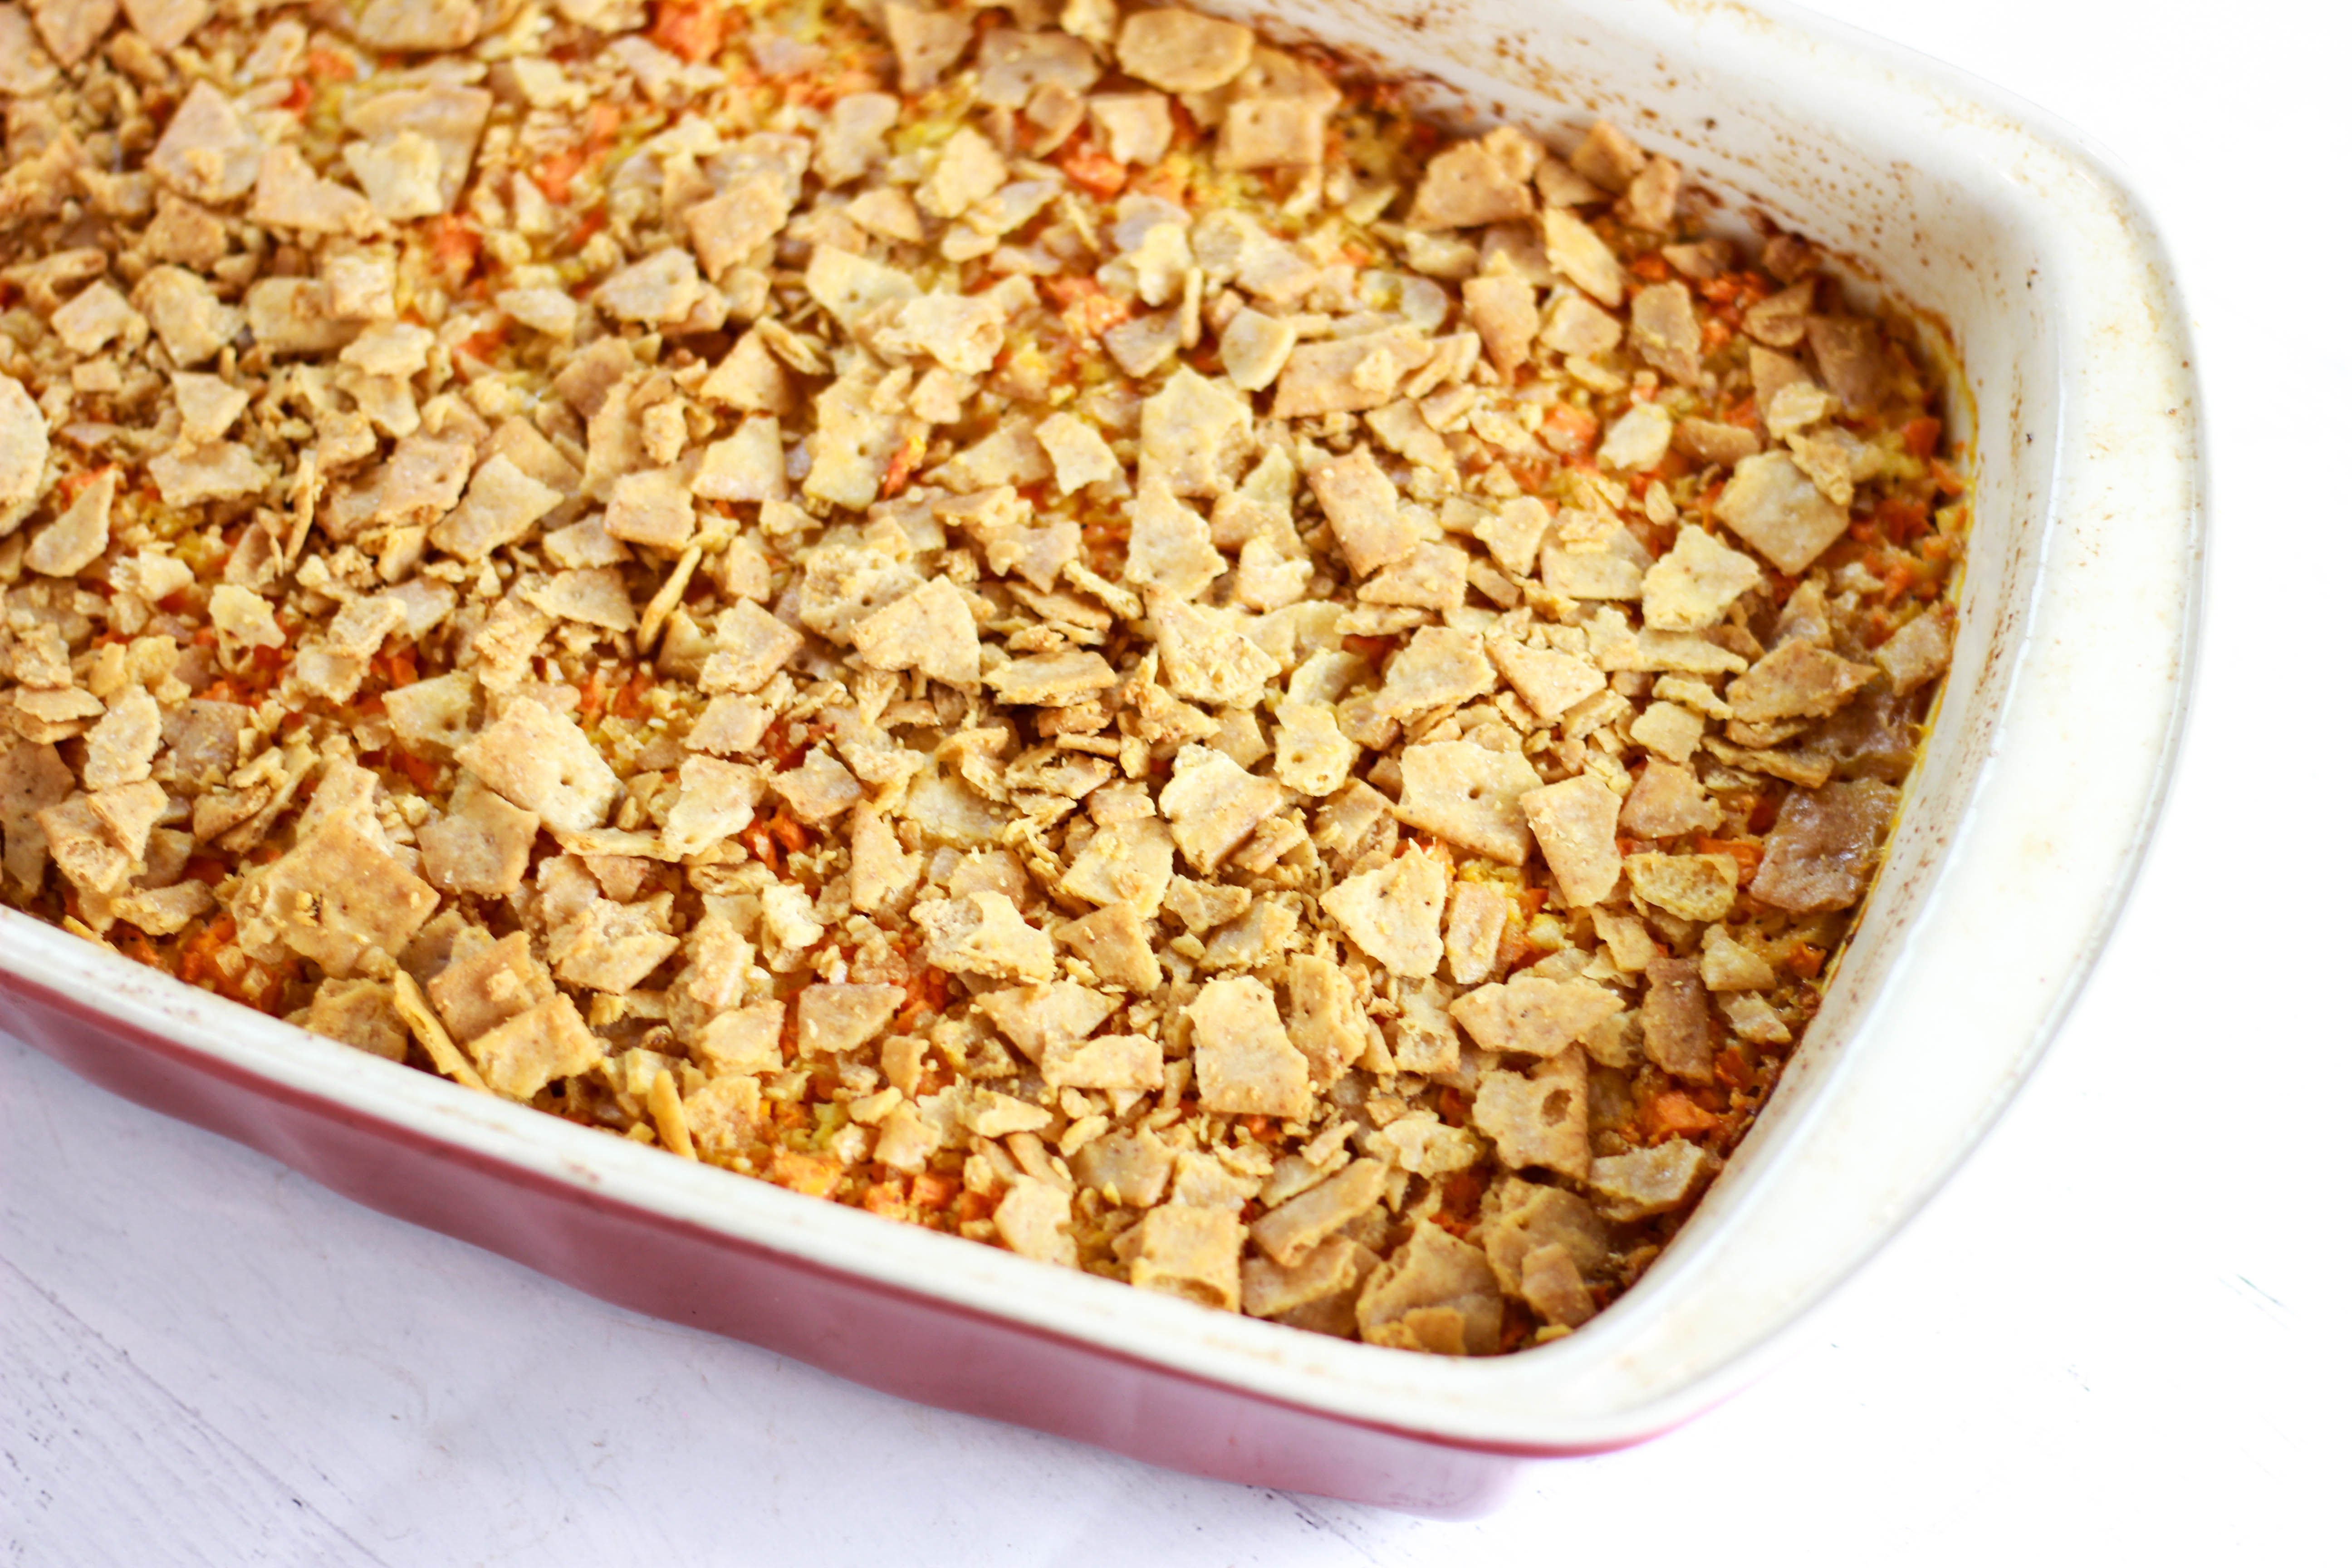
All of these flavors meld together perfectly to create the ideal healthy remake of traditional cheesy potato casserole. If this was one of your childhood favorites, too, then you definitely need to try out this healthier version. This recipe is paleo, but it can easily be made vegan if you substitute out the ghee. As with all recipes, feel free to make whatever substitutions you want! Even though there are a few steps, this casserole is really simple to make. You basically just toss everything together and mix it up, then top it off with some crushed up crackers! I love this recipe because it makes a huge batch that will last a long time, and it’s a great casserole to bring to events because even unhealthy eaters will enjoy it. If you love “cheesy” or creamy dishes with hidden veggies, this one’s for you!
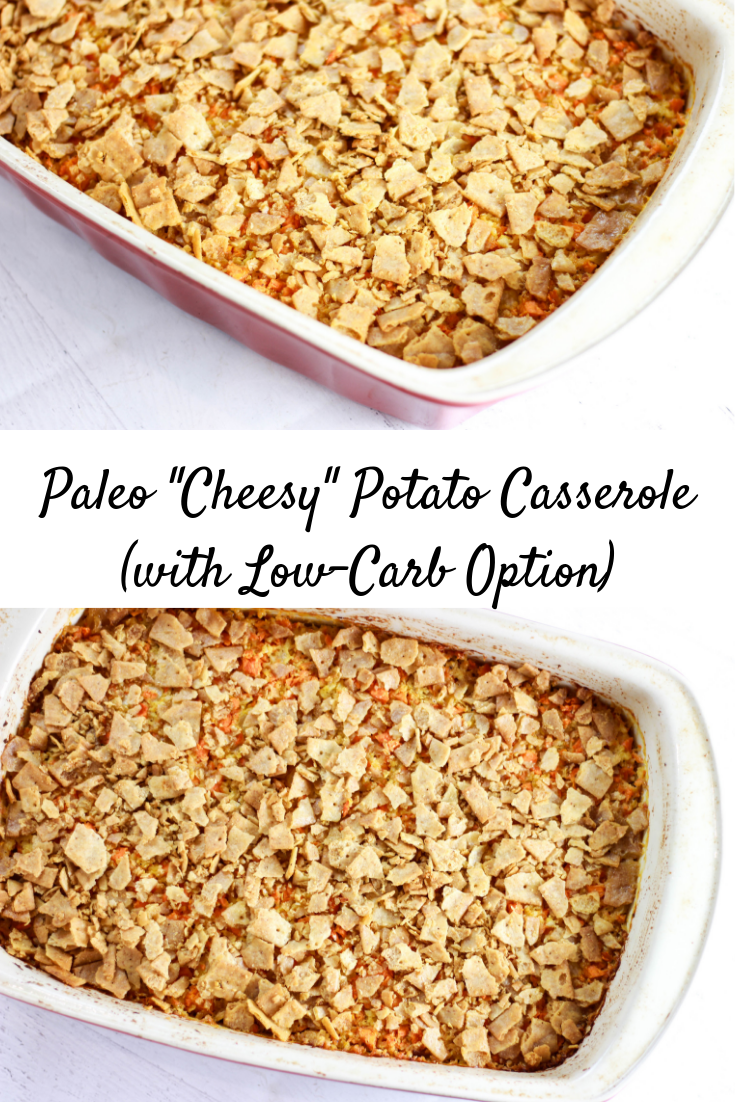
Paleo “Cheesy” Potato Casserole (with Low-Carb and Vegan Option)
Serves: 8-10
Prep time: 25-30 minutes
Cook time: 50-60 minutes
Ingredients:
- 1 lb cauliflower rice (usually 1 bag from the store)
- 2 lbs chopped and peeled white or orange sweet potatoes (You can get a 2-lb bag from Trader Joe’s. You can also use regular potatoes for this if you want!)
- You can use just one pound of potatoes if you want the dish to be extra creamy (using just one pound will increase the sauce:vegetable ratio).
- Sub the potatoes for more cauliflower rice for the low-carb option.
- You can also use just sweet potatoes (or regular potoates) and no cauliflower rice if you want a potato-only dish.
- 1 cup chopped white onion
- 1/2 cup melted grass-fed ghee
- For vegan option, use butter flavor coconut oil, or add 1/2 cup extra full-fat coconut milk and 1/2 cup extra cashew cheese.
- 1 cup full-fat coconut milk
- 1 tsp salt
- 1/4 tsp black pepper
- 1/4 cup nutritional yeast
- 1 box Simple Mills Fine Ground Sea Salt Crackers
- Paleo / vegan cashew cheese
- 1.5 cups raw, soaked cashews (soaked for about 4 hours)
- 1/4 cup filtered water
- 1/4 cup nutritional yeast
- 1/2 tsp salt
Instructions:
- Preheat your oven to 350*F. Grease a large 9×13 inch pan with avocado oil, olive oil, or coconut oil.
- Place your chopped sweet potatoes into a food processor. Pulse until the sweet potatoes are broken down into smaller pieces – larger than “rice” but smaller than cubes, similar to shredded potatoes. (Or you can shred the potatoes, if you want.)
- Add your cauliflower rice and sweet potatoes into a very large bowl (or the baking dish dish directly if you want less dishes).
- Make the cashew cheese. Add the cashew cheese ingredients into a food processor, and process everything together until you get a smooth, creamy mixture. You will probably have to scrape down the sides a few times as you process the ingredients. You can add some more filtered water if needed to blend.
- Add the chopped onion, coconut milk, melted ghee, salt, pepper, and nutritional yeast into a medium sized bowl. Add in the cashew cheese. Mix everything together thoroughly.
- Pour the mixture over the cauliflower rice and sweet potatoes. Stir everything together until all of the vegetables are coated well with the sauce. Pour it into the baking dish, if you didn’t already mix it in the baking dish to begin with.
- Put the Simple Mills crackers in a bowl or small bag, and smash the crackers so they break apart into little pieces, like corn flakes. (You can also smash the crackers directly in the bag they came in, just be careful they don’t fly out.)
- Pour the broken crackers evenly over the top of the casserole.
- Place in the oven for 35 minutes. After 35 minutes, cover the casserole with foil and bake for another 15-20 minutes. The casserole is done when the vegetables are cooked (slightly soft) and the crackers have browned a bit. It should be fully cooked between 50-60 minutes.
- Remove from the oven, and remove the foil. Allow to cool for 15-20 minutes. Serve and enjoy!