
by Christina | Aug 23, 2017 | Recipes, Wellness
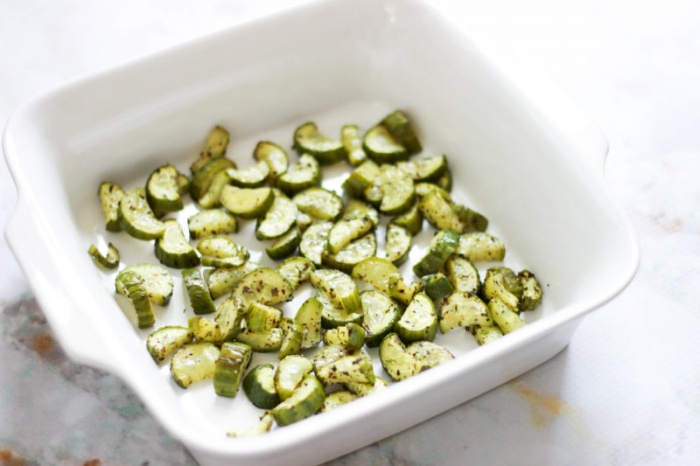
After posting about my recent obsession with roasted celery fries, I was pleasantly surprised at how many of you hopped on the bandwagon and fell in love with them, too! There is nothing I love more than seeing you recreate my recipes. I think it’s time to introduce you to my other ridiculously simple addiction as of late…roasted cucumber!
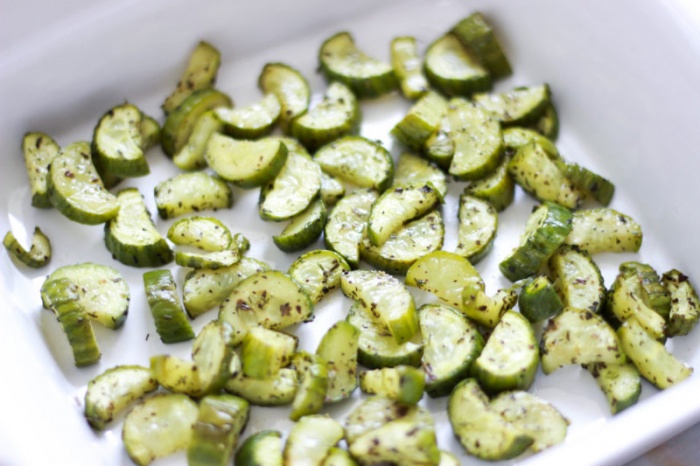
Again, I credit months of being on a repetitive, monotonous elimination diet for this discovery. Cucumbers tend to be a “safe” food for most people. They’re included in almost every type of healing diet out there. Problem is, though, cucumbers, like celery, can get boring. And they’re kind of bland. I don’t not like cucumbers, I’m just kinda meh about them. I’ll eat them, but I don’t crave them the way I crave other veggies (like cauliflower, for instance…). Cucumbers do add a nice crunch to my salads, though, so I keep them in for some variety.
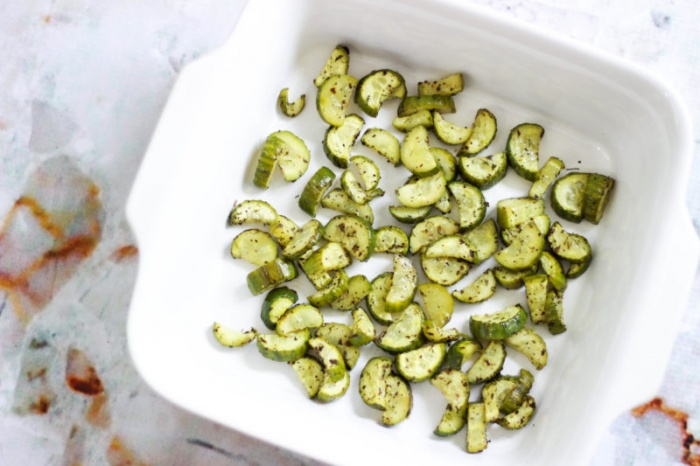
As you know, I’m obsessed with roasted veggies in general, especially with fall and winter coming up (SO EXCITED)! After realizing how much roasting celery changes its flavor, I thought, why not roast my cucumber, too?! Results? Excellent. It’s official – everything is better roasted.
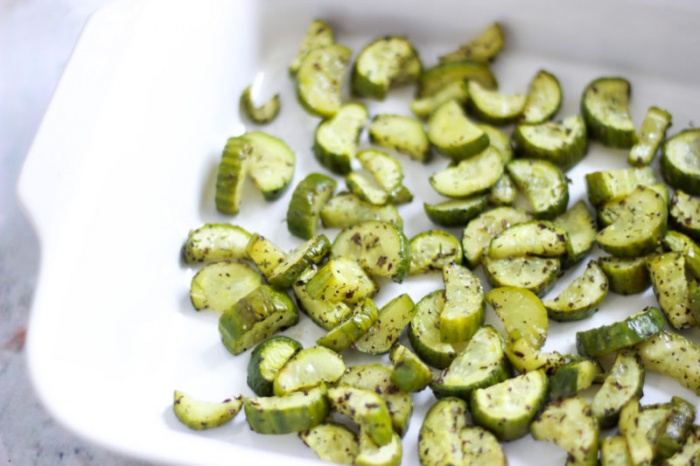
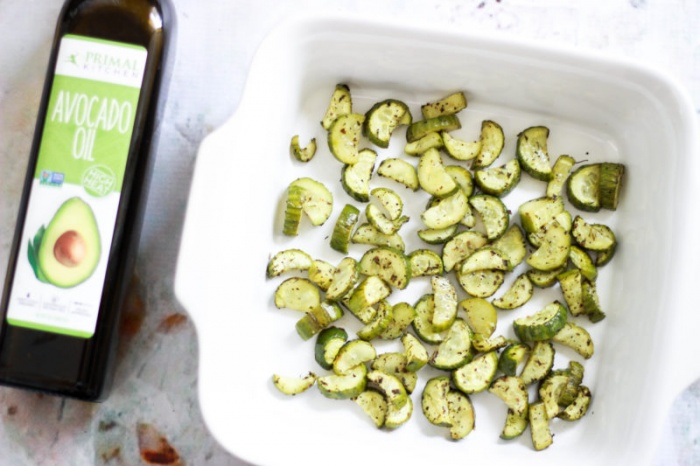
You can really toss any spices and oil onto your cucumbers and roast them, but I shared one of my favorite combos in this post. Dill and cucumbers go together perfectly, in my opinion, and it’s especially delicious topped off with some Ranch dressing or avocado mayo! Cucumbers cook really quickly, especially when you cut them up into small pieces, as I like to. I also love cutting cucumbers into “fries” and making cucumber fries (Can you tell I like fries?). Let me know if you want me to post about those, as well!
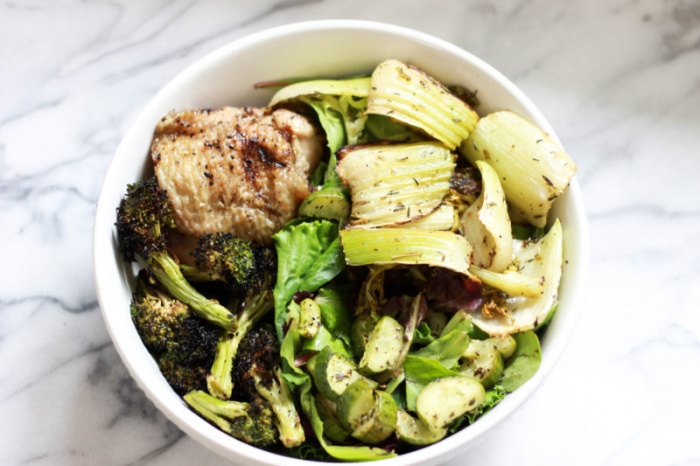
Roasted cucumbers are the perfect addition to any salad or meal. They’re kind of like roasted zucchini, but not. If you don’t usually like cucumber, you might just fall in love with it when it’s roasted! It was a game changer for me – now I actually look forward to eating cucumber. Roasting brings out much more flavor in the veggie compared to when it’s raw. I’ve served these to friends before, and they didn’t even realize they were eating cucumbers!
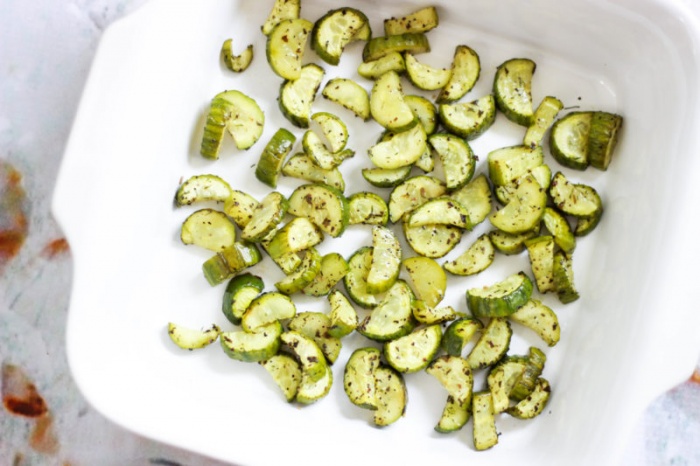
I tend to use Persian cucumbers, but you can use any kind of cucumber you have on hand! This is just a great way to use an old veggie in a new way. That’s the key to spicing up your life and keeping variety in your diet!
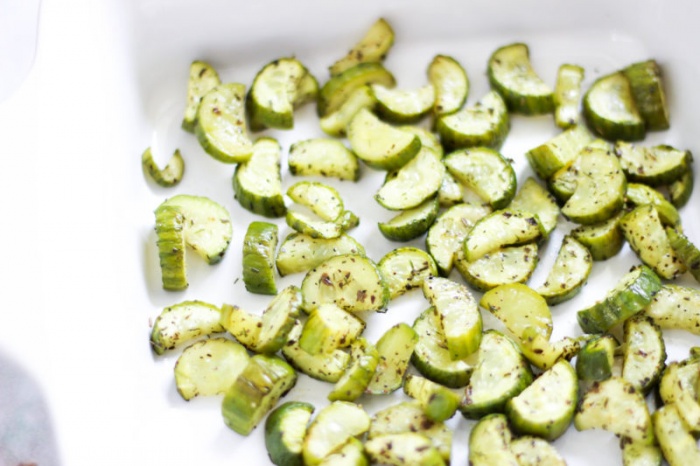
Many of my clients and friends are on elimination diets or healing protocols that can, over time, get really repetitive. Trying new things with the same foods you eat every day is, in my opinion, the easiest way to get out of a food rut. Try roasting or sautéeing things you never thought to before. I love sautéeing cucumbers, too! I put them in my skillet meals all the time. Play around with different combinations of seasonings. There is no wrong way to cook!
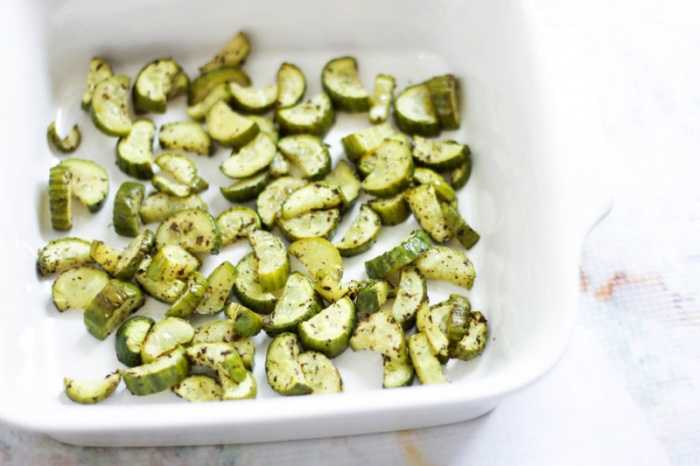
Oven Roasted Cucumbers (Paleo / Vegan / Whole 30)
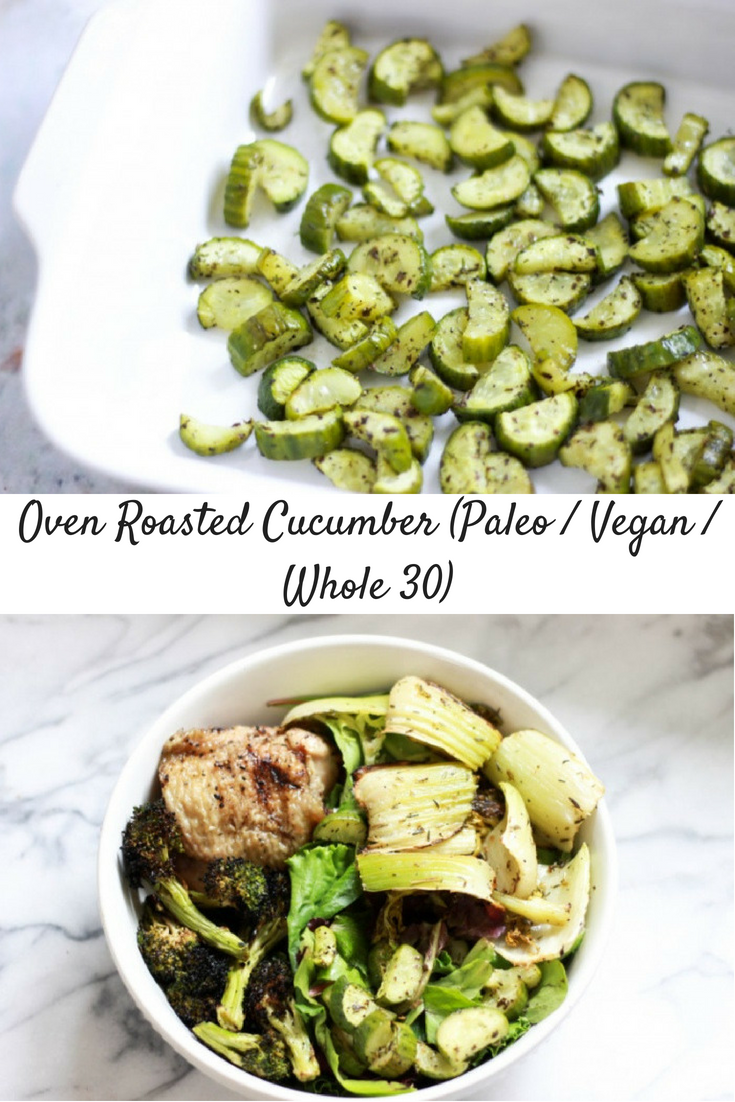
Ingredients:
Instructions:
- Preheat your oven to 415*F. Line a baking sheet with parchment paper.
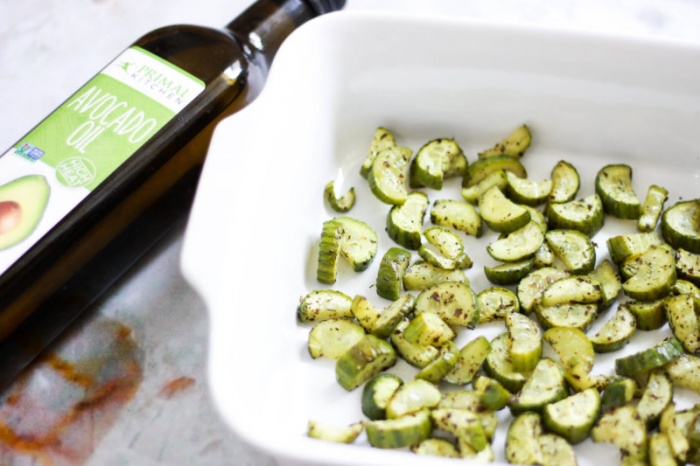
- Wash, dry, and slice your cucumbers into the size of your liking. Toss with avocado oil and spices – enough so the cucumber slices are glistening with oil and evenly coated with spices. You should be able to see a bit on each! If using lemon, squeeze it evenly over the slices.
- Roast in the oven for about 20-25 minutes, or until the edges start to brown and get crispy.
- Remove from the oven and enjoy!
Do you have a favorite vegetable to roast that’s “untraditional”?! I’d love to hear!
SaveSaveSaveSave
SaveSave
SaveSave
SaveSave

by Christina | Aug 18, 2017 | Recipes, Wellness
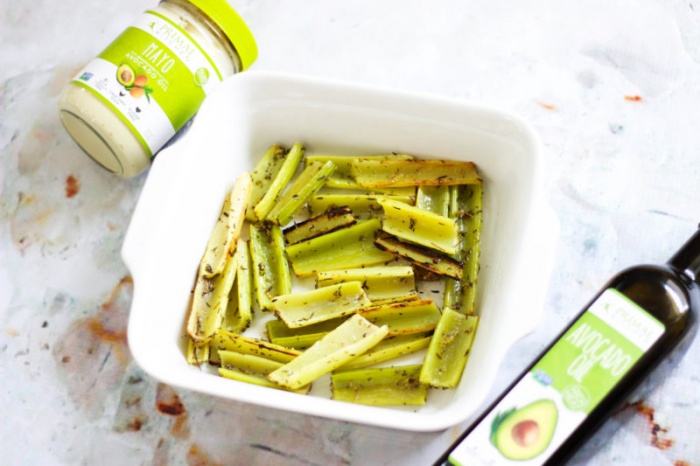
CELERY FRIES! These are my most recent obsession, for a number of reasons. I’ve been talking about roasted celery on Instagram for awhile now, and everyone always asks me to post the exact “recipe.” I feel like this isn’t really a “recipe,” but I’m happy to share precisely how I do it. Get ready to fall in love with celery. (I bet you’d never expect to…)
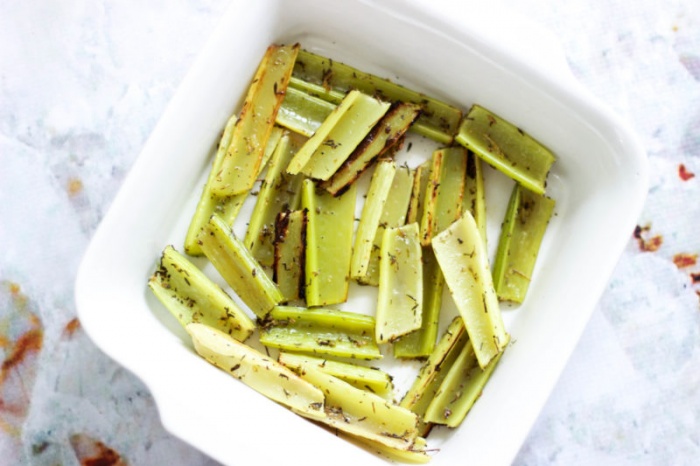
I remember the exact moment when I decided to roast my celery. It was a Friday night, and there were a bunch of leftovers in the fridge, ready to be eaten. I was very unenthusiastic about reheating any of my food, though. IT WAS FRIDAY. I wanted to do something …special. A cozy meal with a good chick flick sounded divine.
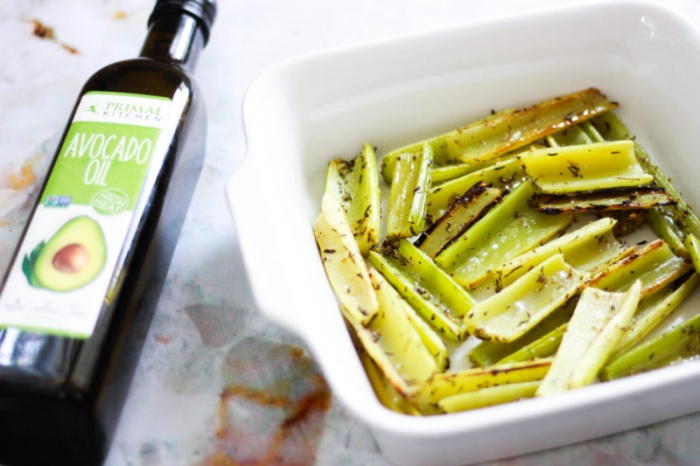
While being on a number of elimination diets over the past few months, I’ve gotten a lot more creative in the kitchen. I’m very happy about that. Since I have a limited list of vegetables to work with, it’s pushed me to try new flavor combinations, cooking techniques, and foods in general. When you cook food in new ways, it completely changes the flavor. You can make something taste like an entirely different food just by adding a new spice. When you have to eat the same things over and over again, finding ways to trick yourself into feeling like you’re not doing so is ideal. Otherwise, you get bored.
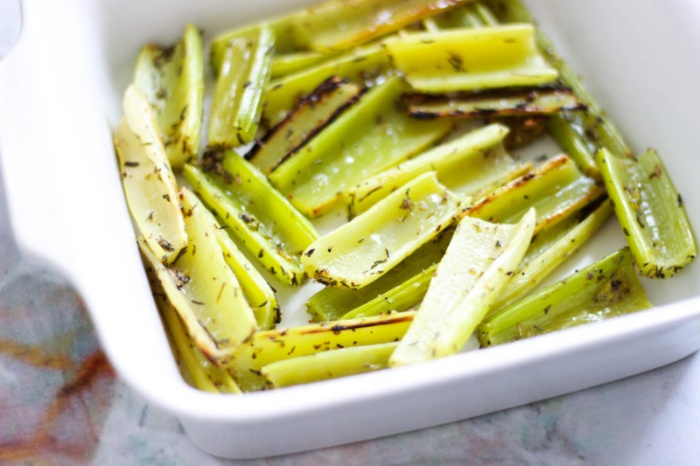
Anyways, I always leave the celery bunch until the end of the week to eat because, honestly, I don’t really like it. I eat it because it’s one more option in my diet, but it doesn’t really excite me. I love the crunch of celery, but it doesn’t really have a taste. Ideal for dipping, yes, but lifeless on its own. Sorry, celery.
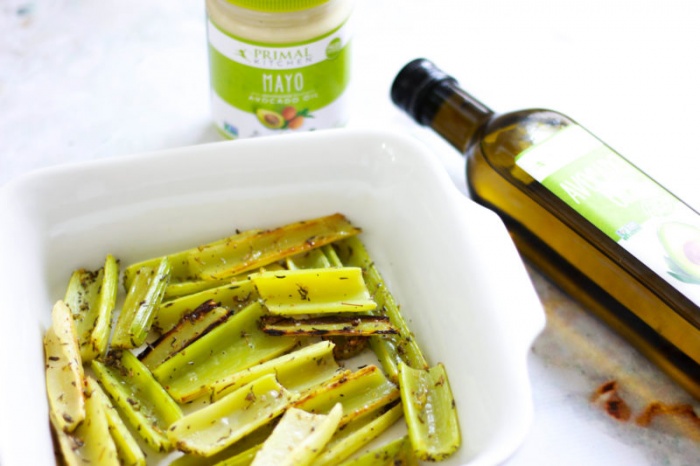
Then the lightbulb went on, and I thought, I should try roasting it. GENIUS. I love roasted vegetables, as you know. Is there a single vegetable that isn’t good roasted? I don’t think so.
Why hadn’t I thought of this before?! I was beyond excited. I roasted the celery immediately, and suddenly I had a newfound love for the otherwise boring veggie. Roasted celery is much more flavorful than raw, especially with added spices. The texture obviously changes, so it’s softer and feels easier to digest.
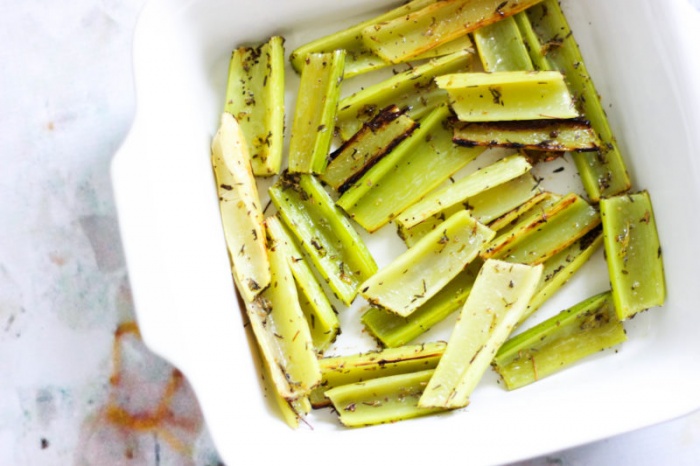
I’ve been roasting and sautéing my celery ever since. I pretty much refuse to eat it raw, now that I’ve seen the light. I’ve tried a lot of different flavor combinations, but I’m going to share my all-time favorite here. I don’t have exact measurements, because I don’t measure anything when I roast vegetables. I think it’s important to learn to eyeball things and to go by taste. TRY IT. Just throw some salt on, and however much looks good, will be good. Over time, you’ll learn how much is “enough” for your liking. Everyone’s taste buds are different, so the amount of salt I like might be different than what you like, and so on. Don’t fear seasonings!
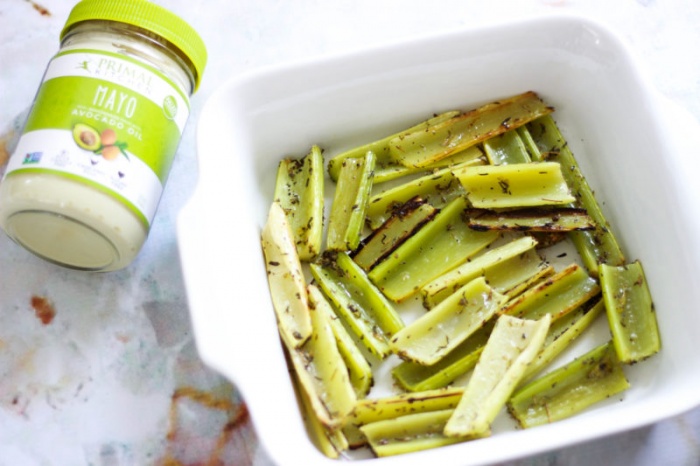
My favorite way to roast celery is to make celery “fries.” Everything tastes better when it’s a fry, don’t you think? I love to make these celery fries and dip them into Primal Kitchen Mayo. We all know I have an obsession with Primal Kitchen Mayo (it honestly tastes good with everything), but it pairs especially well with anything shaped like a fry. Like these celery fries.
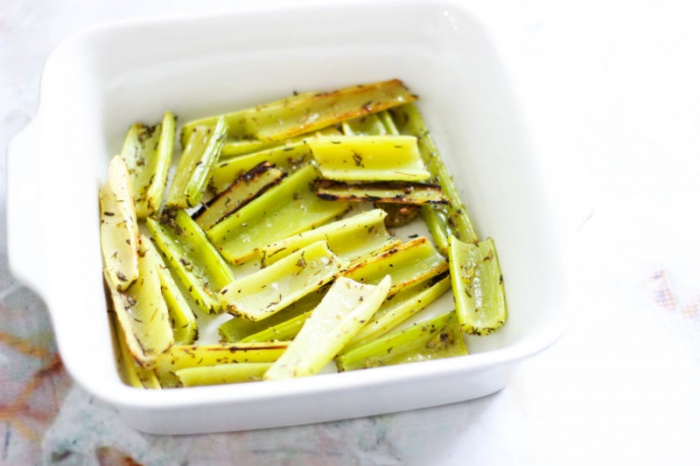
Oven Roasted Celery Fries (Paleo / Vegan / Whole 30)
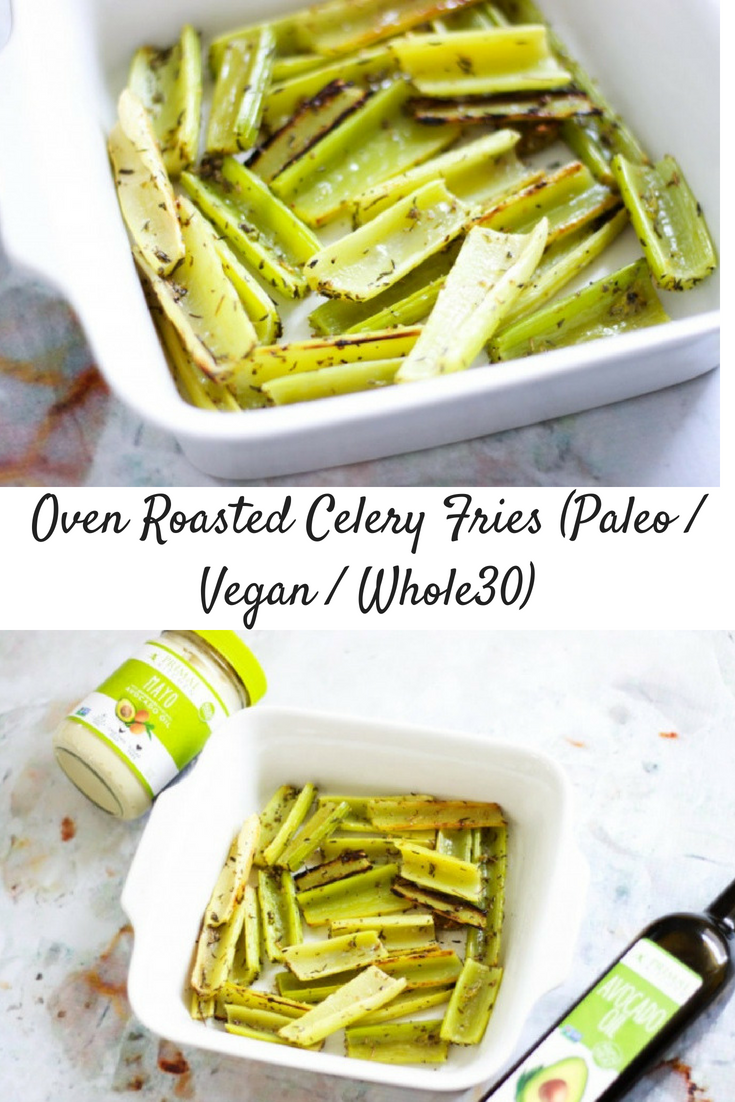
Total Time: 50 minutes
Ingredients:
Instructions:
- Preheat your oven to 415* F. Line a baking sheet with parchment paper.
- Wash and dry your celery stalks. Cut the stalks into fry-length pieces (It’s up to you exactly how long. I like them about two inches long).
- Toss the celery with avocado oil, salt, pepper, oregano, and thyme until all pieces are well coated. The stalks should glisten with oil. I usually do about equal parts of all spices, but a little less pepper. Make sure you can see oregano and thyme on every stalk – that’s how I know I’ve added enough.
- Lay the stalks out on the baking sheet in a single layer so they all cook evenly.
- Put the celery in the oven for about 40 minutes, or until the edges start to brown and they’re soft to the touch! I also like to flip them halfway through cooking (if I remember).
- Eat them on their own or dip them into some Primal Kitchen Avocado Oil Mayo. Enjoy!
SaveSave
SaveSave

by Christina | Aug 11, 2017 | Recipes, Wellness
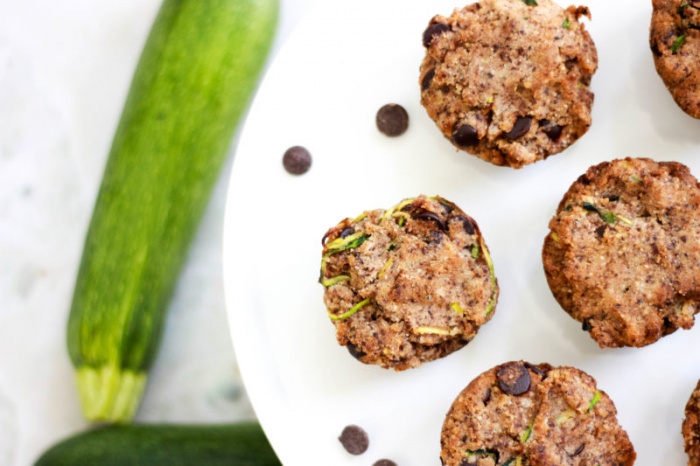
When I first transitioned over to eating a healthier diet a few years ago, I became obsessed with baking healthy treats. I have always had a sweet tooth, and I probably always will. When I changed my diet, I was in college, and I was surrounded by people who ate cookies and muffins and cupcakes and ice cream all the time without thinking about it. At first, I was sad that I wouldn’t be able to do that anymore because of my food intolerances. Then, I turned to the Internet, and I discovered a whole new world.
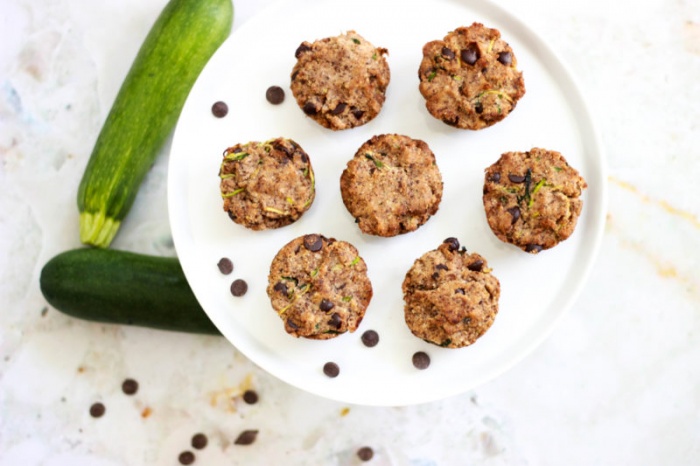
I spent hours on food blogs and Pinterest, and I quickly discovered millions of recipes for “healthier” sweet treats. I made mile-long lists of all of the gluten-free desserts I could find, determined to prove to myself and others that I wouldn’t have to miss out on anything just because I couldn’t eat gluten or dairy anymore.
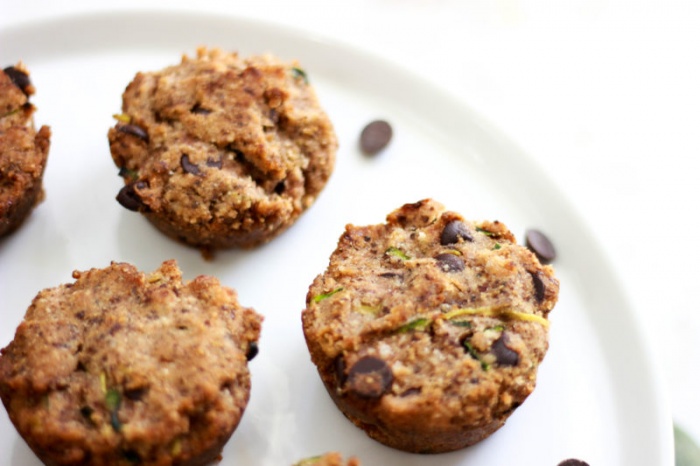
That is what started my baking obsession, and it hasn’t left me since. Anyways, I started baking every gluten-free/dairy-free recipe I could find, and I made my roommates taste test it all to see what they liked, too. I was determined to find recipes that other college kids would love as well, just to prove that eating healthy wasn’t boring or lame. Oh, young Christina.
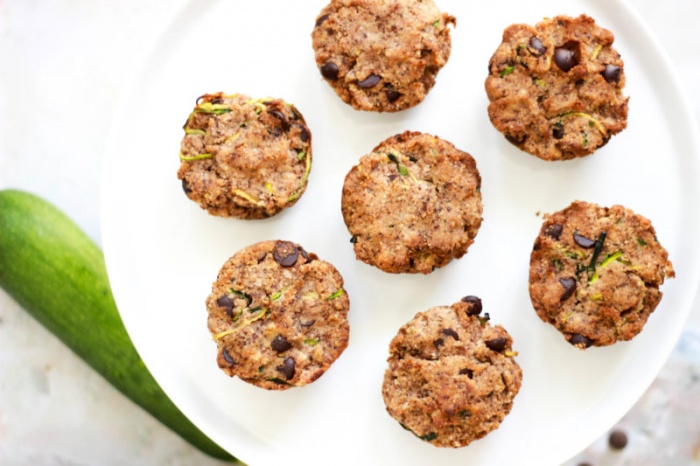
At first my roommates loved the free baked goods, but I think after awhile they started to get irritated with all of my baking. The table was constantly piled with cookies, breads, and muffins, and the apartment was 500* from the perpetual oven use. One day I found a recipe for gluten-free coconut zucchini muffins, and I decided to try them out. History was made.
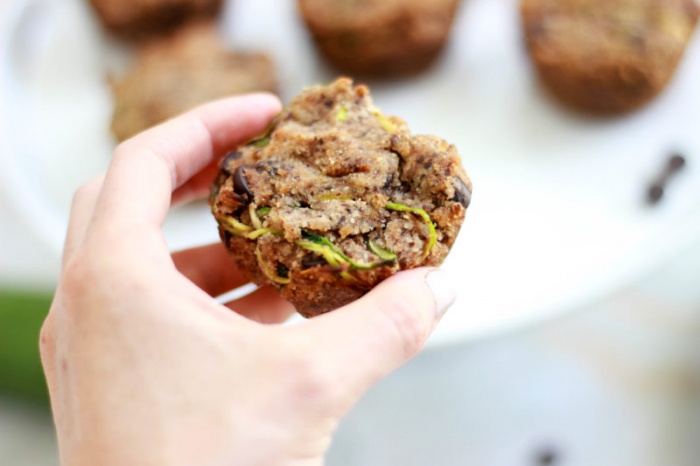
I was shocked at the response to those muffins, because they didn’t sound like anything that special before I actually made them. They were the biggest hit. I made multiple batches that week because everyone who ate one asked me for more. When I brought them to my club meeting, the girls all asked for seconds and wondered where I bought them. I gave a few to my friend in the dorms, and she asked me to make her a full batch so she could have them for breakfast the rest of the week. My roommates were bummed that everyone else was eating them because they wanted them for themselves, and they asked me to make more. One of my roommates begged me to make her her own batch for her birthday instead of a cake. I was floored. And extremely satisfied with my success.
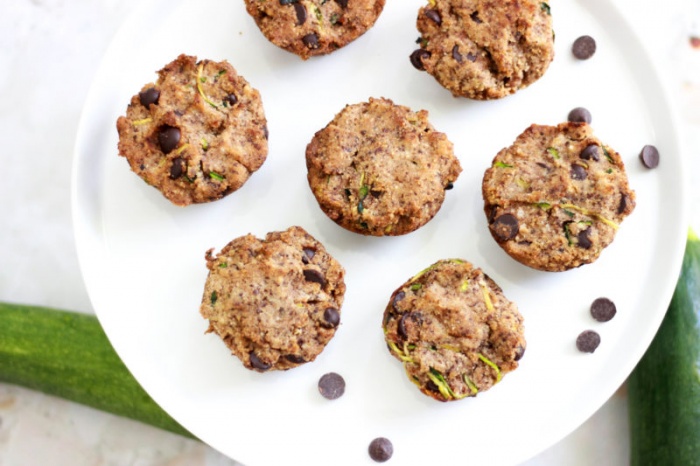
I think part of the appeal of these is that they have zucchini in them. People love that there’s a sneaky vegetable inside, but they still taste like a dream. That’s the thing I’ve learned – a lot of people will resist healthy treats and say that they don’t taste good until they find the one they love. When that happens, they hop on the bandwagon faster than the wind.
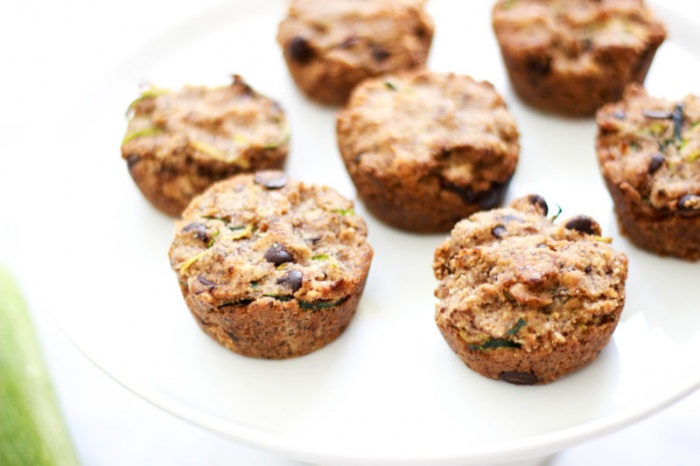
With the immediate success of these muffins among my peers, I decided to use them to debut my newfound baking skills and healthy diet to my family. I knew my family didn’t really understand “what I was eating now” and thought I ate “weird food.” I was desperate to prove them wrong.
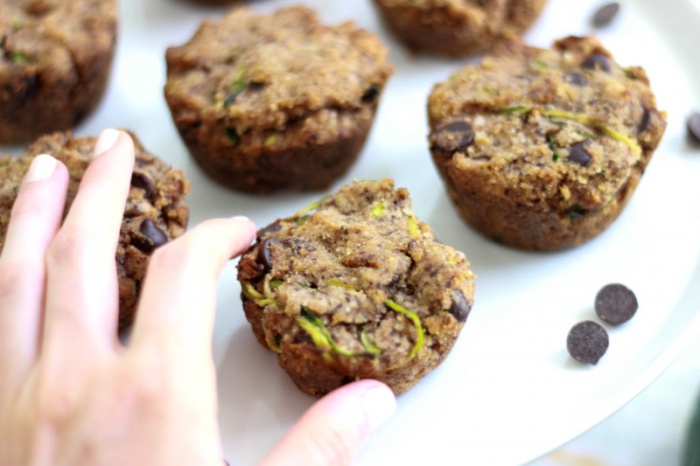
The reason this recipe holds a special place in my heart is because a version of these was the first Christina-made gluten-free baked good I shared with my family, and it was the first one that was a true hit with all of my friends. I have so many memories associated with these muffins. My college friends still talk about them, always asking me to make another batch.
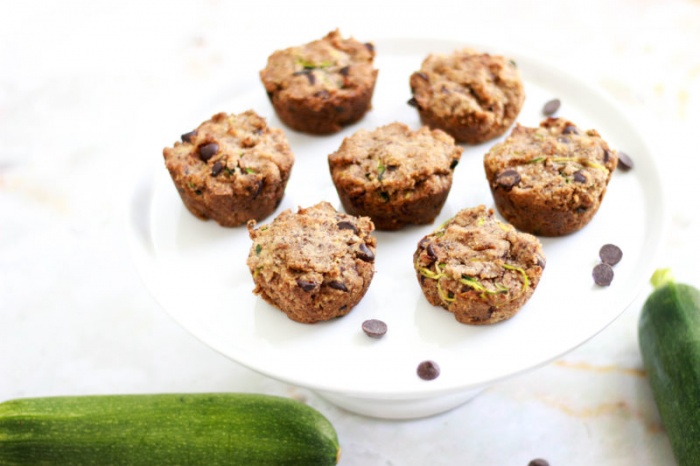
Since then, I have played with the ingredients a lot. The original was gluten-free, but it wasn’t paleo. It was also really high in sugar, even though it was still “healthier” sugar. I finally perfected the recipe for a low-sugar, paleo version just a few weeks ago, so I brought in my taste testers again to check for their approval.
I actually created two versions of these chocolate chip coconut zucchini muffins. The “regular” version is still low in sugar, but it does contain some maple syrup. The second is completely sugar-free – perfect for anyone on a sugar detox, Candida diet, keto diet, or any other type of healing diet. Or anyone who just doesn’t want extra sugar!
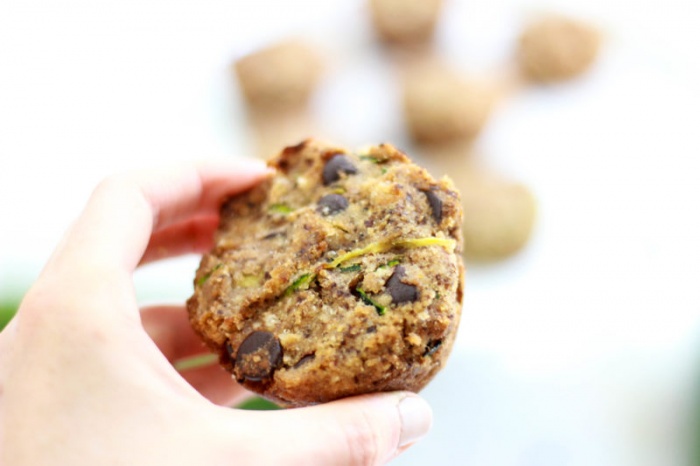
I tested these out on all of the OG taste-testers. My old roommate, who was the very first person to taste the original version of these back in the day, approved of both the low-sugar and no-sugar variations of the updated muffins. If they’re Meghana approved, then that’s all I need. I took it a step further, though, and brought them home to my family. My parents, sister, sister’s fiancee, uncles, and family friends all tried them out. I was pleasantly surprised – they were fighting over who got to eat the extras.
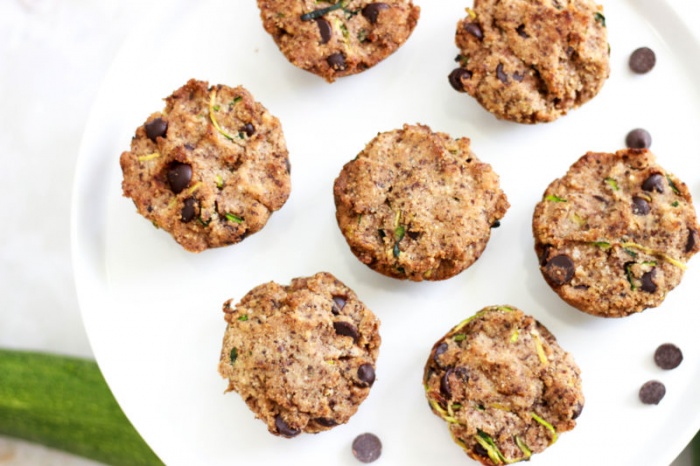
When my family and family friends enjoy my food, I know it’s a solid recipe because their taste buds haven’t “adjusted” to healthy ingredients yet. That being said, I’m BRIMMING with joy that I have finally perfected this. I was also extra impressed because I gave a batch to my friend, and she shared them with her roommates and Uber driver. She said they all loved them. Success.
I still get a major kick out of the fact that her Uber driver wanted a muffin.
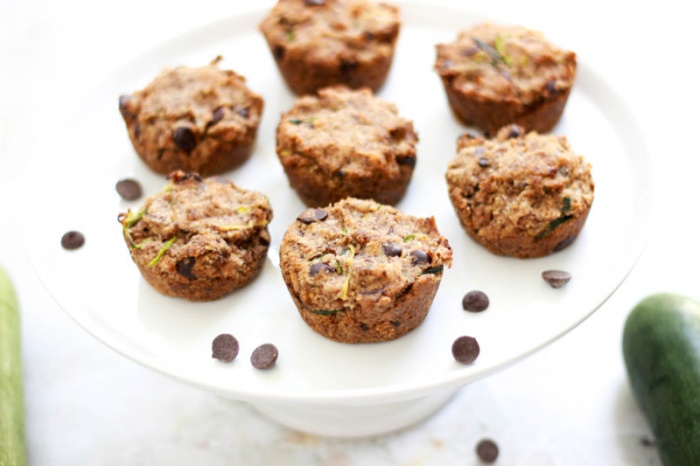
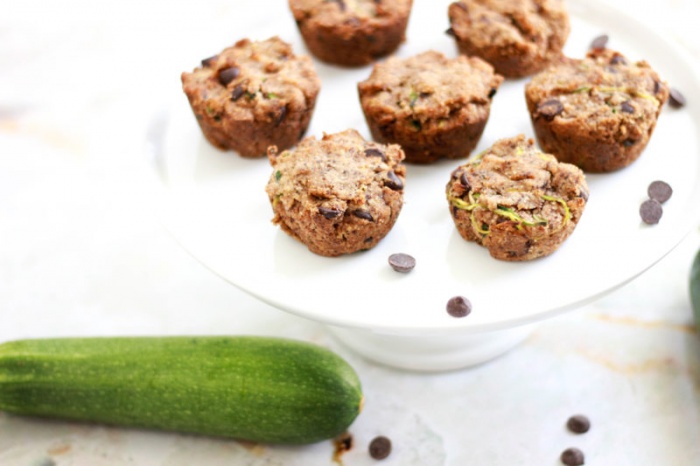
So, the Chocolate Chip Coconut Zucchini Muffins have officially arrived. If you think this combination sounds random, it’s really not. I promise. Give it a chance, and you’ll fall in love. Zucchini is the type of vegetable that doesn’t really have a taste. Well, it does, but it’s a chameleon. It blends in with the tastes around it, which is why it’s so great for baked goods. The zucchini helps to keep these extremely moist – I hate dry muffins! Chocolate and coconut always pair well together, and I think we all know that chocolate and zucchini (chocolate zucchini bread, anyone?) are an epic duo.
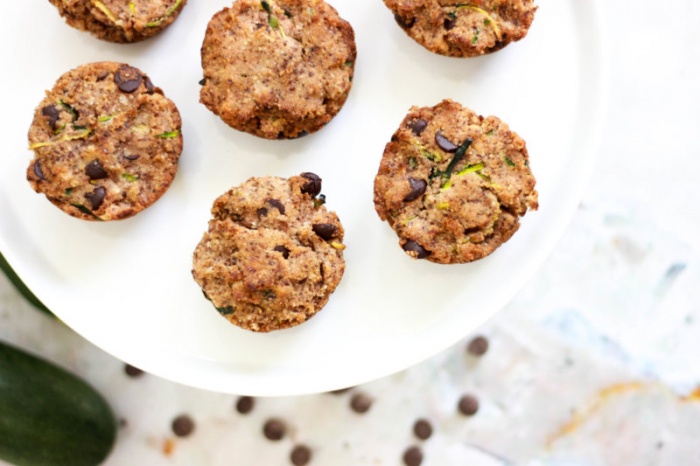
These Chocolate Chip Coconut Zucchini muffins are moist, delicious, and completely divine. They’re not the texture of your average muffin – they’re sort of… creamy. Dense. Once you try them, I know you’ll fall in love. If you love chocolate or coconut, these will definitely hit the spot. I love to heat up leftovers and smear some coconut butter on top as well – so divine.
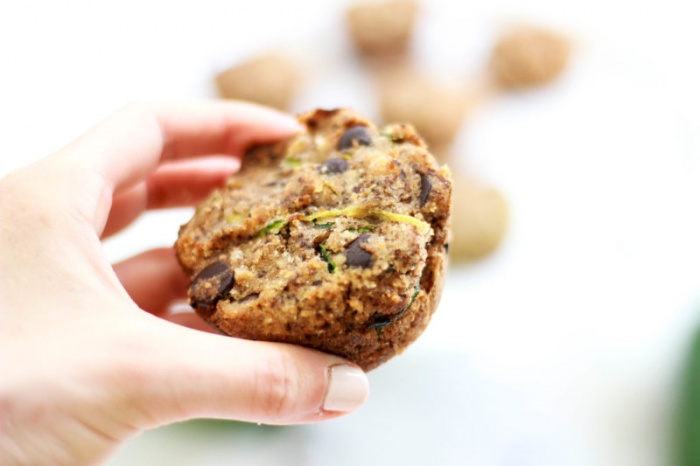
Like I said, there are two versions of these. Because I love these muffins so much, I wanted to make sure this recipe would work for as many people as possible. The muffins are paleo and vegan, so if you don’t eat eggs, you can still have these! If you don’t do flax, you can replace the flax eggs with chia eggs or regular eggs.
The difference between the versions, though, is the sugar content. One is completely sugar-free. I love sugar-free recipes, because I want to show people that they don’t need to turn to any sugar replacements at all if they don’t want to. All you need to do is allow the natural sweetness of real food shine through! Like I mentioned, this version is perfect for anybody following a no-sugar diet – the Candida diet, keto, a sugar detox, or anything else. You don’t really need a reason, though. They’re just really delicious. Especially if, like me, your taste buds have changed so much that almost anything with cacao or coconut butter tastes sweet to you!
The regular version contains organic maple syrup, but it’s still really low in sugar. 1/2 cup of maple syrup spread over 12 muffins is really hardly anything. Organic maple syrup is not a refined sweetener and actually does contain some health benefits, so it’s the sweetener I tend to gravitate towards most. This is the version I make for my friends who eat a typical SAD diet. In other words, everybody will love them.
These Chocolate Chip Coconut Zucchini muffins are paleo, gluten-free, dairy-free, grain-free, soy-free, refined sugar-free, completely sugar-free depending on what version you make, and nut-free if you don’t consider coconut a nut. That topic is debatable… HA. (You could also turn these into a bread, if you toy with the baking time!) Enjoy!
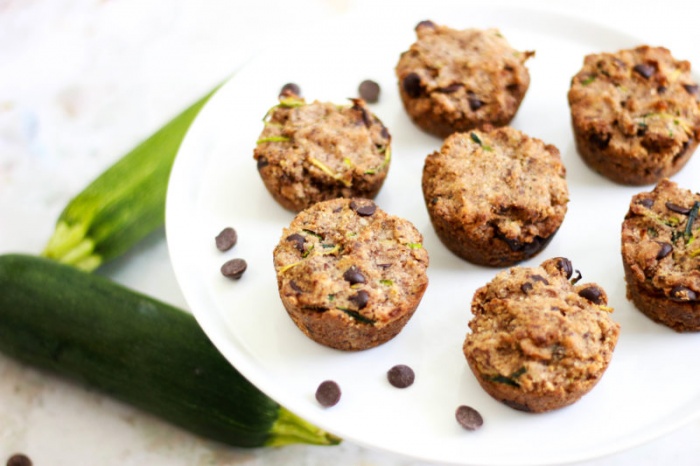
Chocolate Chip Coconut Zucchini Muffins (Paleo / Vegan / Sugar-Free)
Makes: 12 muffins
Total Time: 35 minutes
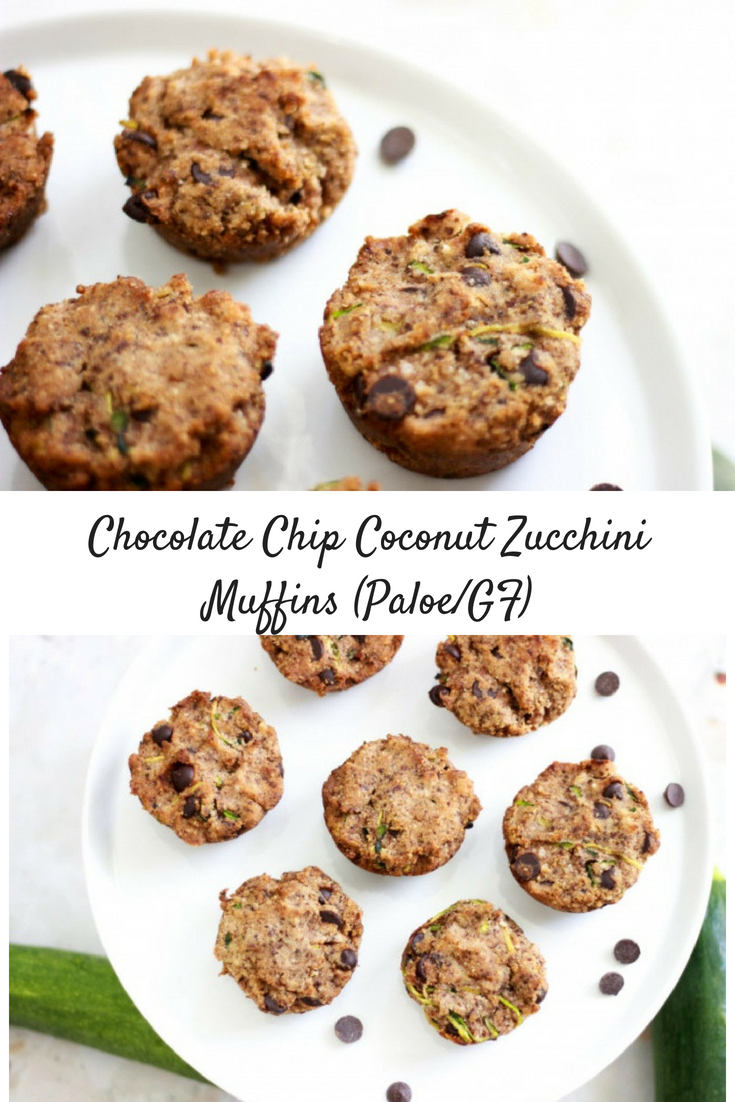
Regular Version Ingredients:
*** To make one flax egg, mix one tbsp flax with 3 tbsp filtered water. Leave in the fridge for at least 5 minutes to gel up. Can also replace with one regular egg.
Sugar-Free Version Ingredients:
Instructions:
- Preheat your oven to 350* F and grease a muffin pan with coconut oil, or fill all 12 spots with muffin/cupcake liners.
- Prepare your flax eggs if you haven’t already, and place them in the fridge.
- Add all of the dry ingredients into a large bowl, and mix together. Then add in all of the wet ingredients, including the zucchini and flax eggs, and mix it all together again. Make sure everything is well incorporated!
- Pack the dough together into balls and portion it out into each of the muffin cups.
- Once the muffin cups are filled, place the muffin tray in the oven for about 25 minutes, or until the edges at the top turn golden.
- Remove from the oven and allow to cool.
- Remove from your muffin tray and enjoy!
SaveSave
SaveSaveSaveSave
SaveSave
SaveSaveSaveSaveSaveSave

by Christina | Aug 6, 2017 | Recipes, Wellness
I recently realized that I have thousands of photos hiding on my external hard drive that need to be organized ASAP. I always see them as I search for other specific photos, but I honestly never have the motivation to actually sit down and sort through everything. There always seems to be something more important to do. The problem is that there are a lot of gems in there! So I’m going to start getting around to it… I think.
Anyways, going through old photos made me realize how many recipes I made and took photos of a long time ago, and was planning on posting, but never did. There are so many dishes and sauces I like to make but never bother to post because they seem too “basic” or “easy.” I would make meals, take some pictures, and then decide not to put them up after all because there are lots of other instructions on the Internet for the same thing. I’m starting to realize, though, that I should still post them.
Whenever I ask what my readers want to see more of, I’m always shocked at how many people ask for more basic meal ideas. People ask me how to cook meat, how to roast vegetables, what spices to use, what to make for a quick dinner, and so on. Because of that, I realized that I do really want to post some more basics on here to even out the more involved recipes. Even though you can find instructions for the basics all over the Internet, I want my blog to be a one-stop shop for you. I want to have it all in one place for you in case you don’t even know what to google to begin with. So yes, you can certainly google how to bake chicken. But you can also just browse my blog, especially if you’re already on here, and see how I do it. Maybe it’s the same as other people, maybe it’s different. But it’s just what I do, for anyone who is curious!
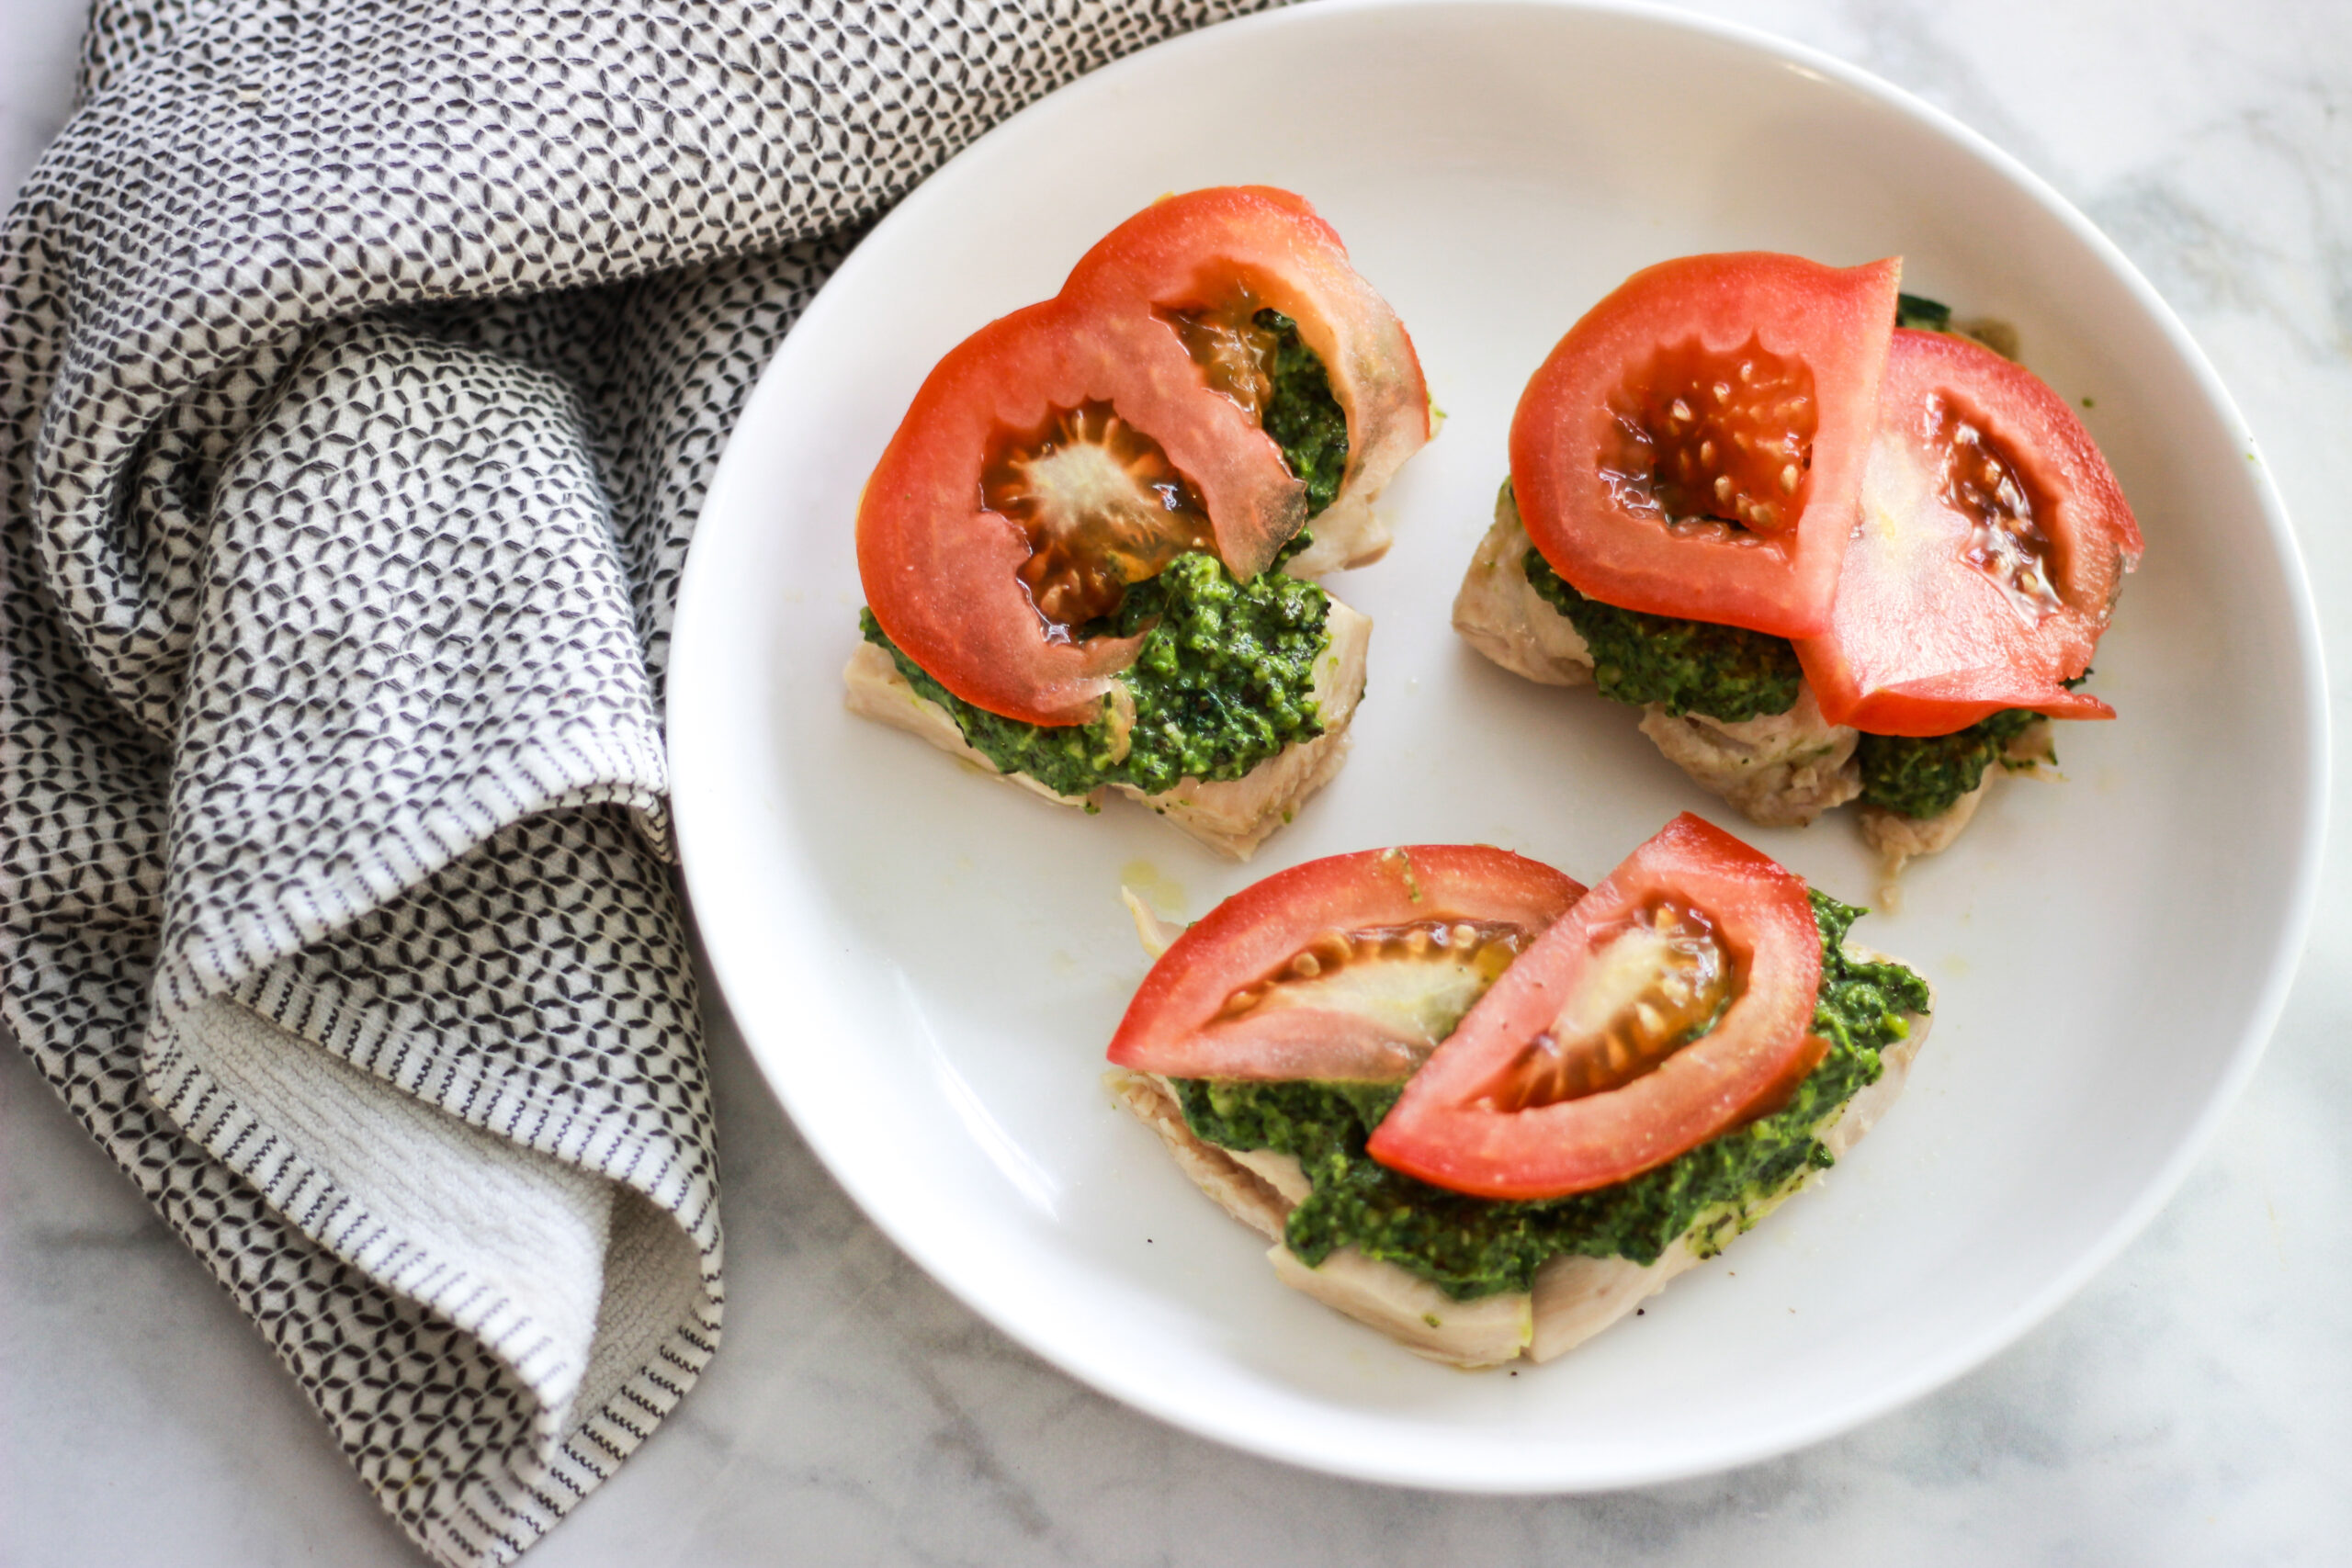
That being said, over the holidays, which was kind of forever ago, I hosted a lot of dinner parties. I love to cook for other people, as you know, but cooking for a large group can be exhausting. There are some staple dishes I like to make when I’m cooking for a big party – things that are ridiculously easy to throw together but pack a big punch in terms of flavor. And things I can cook in bulk.
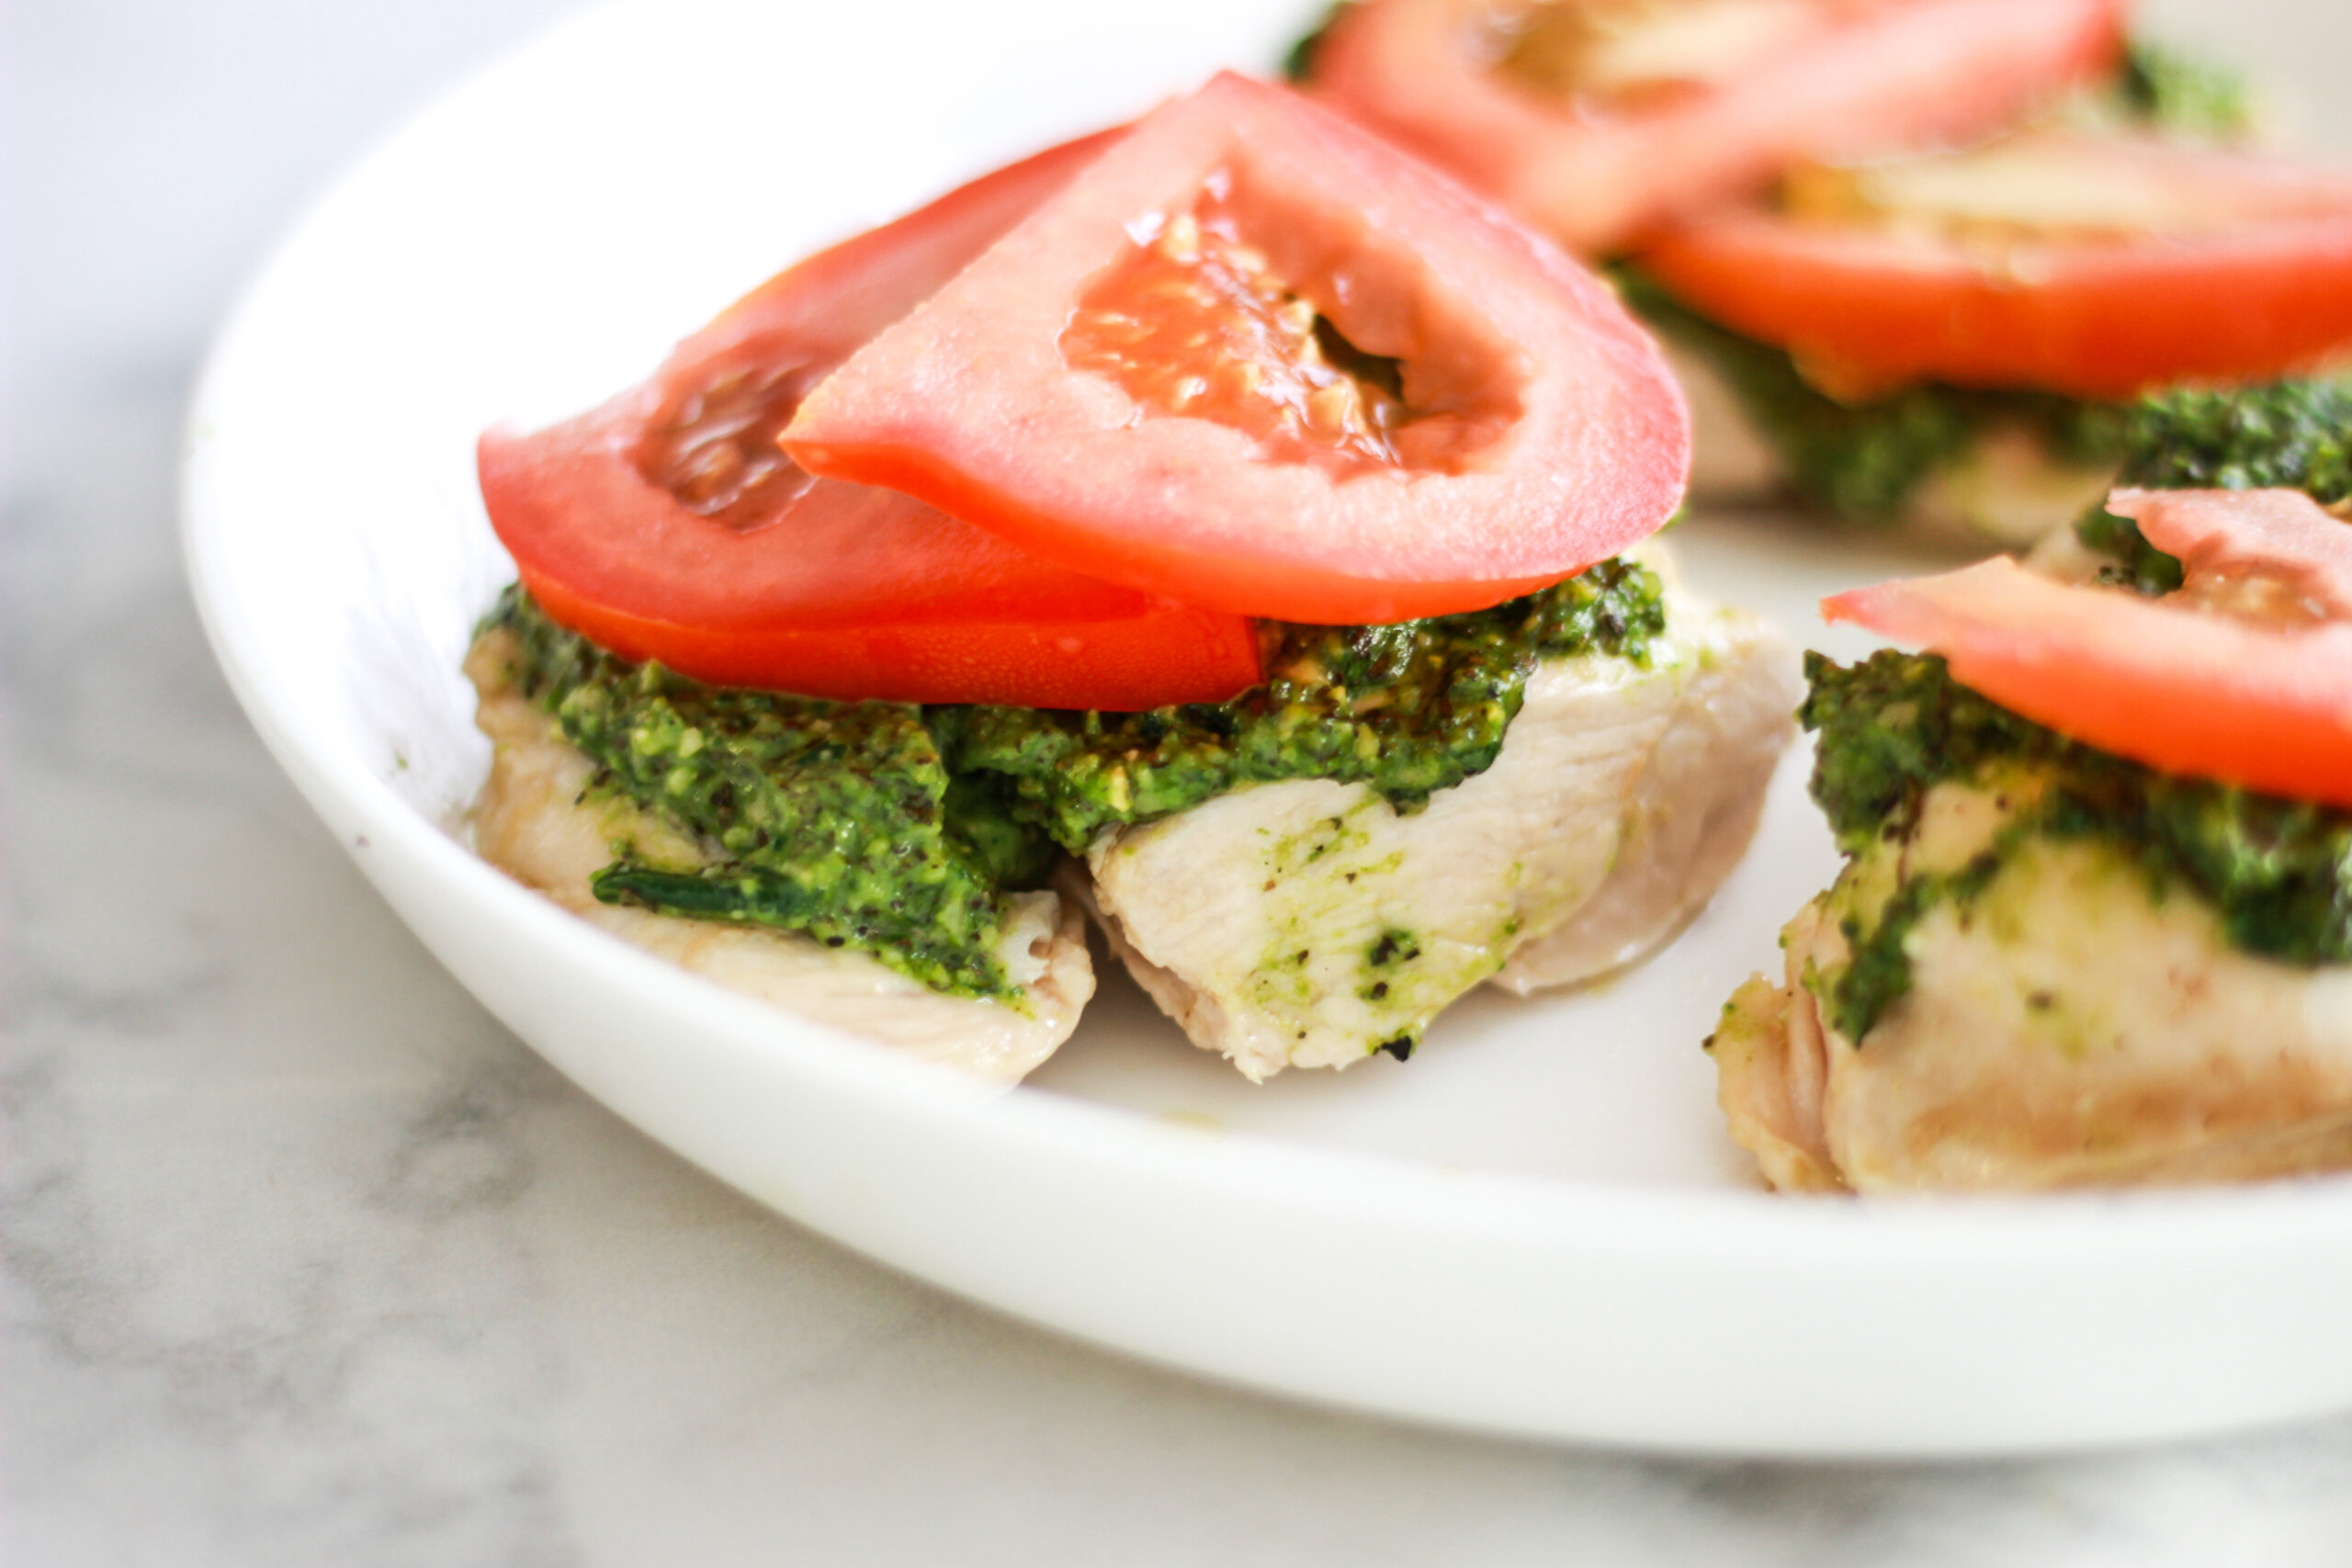
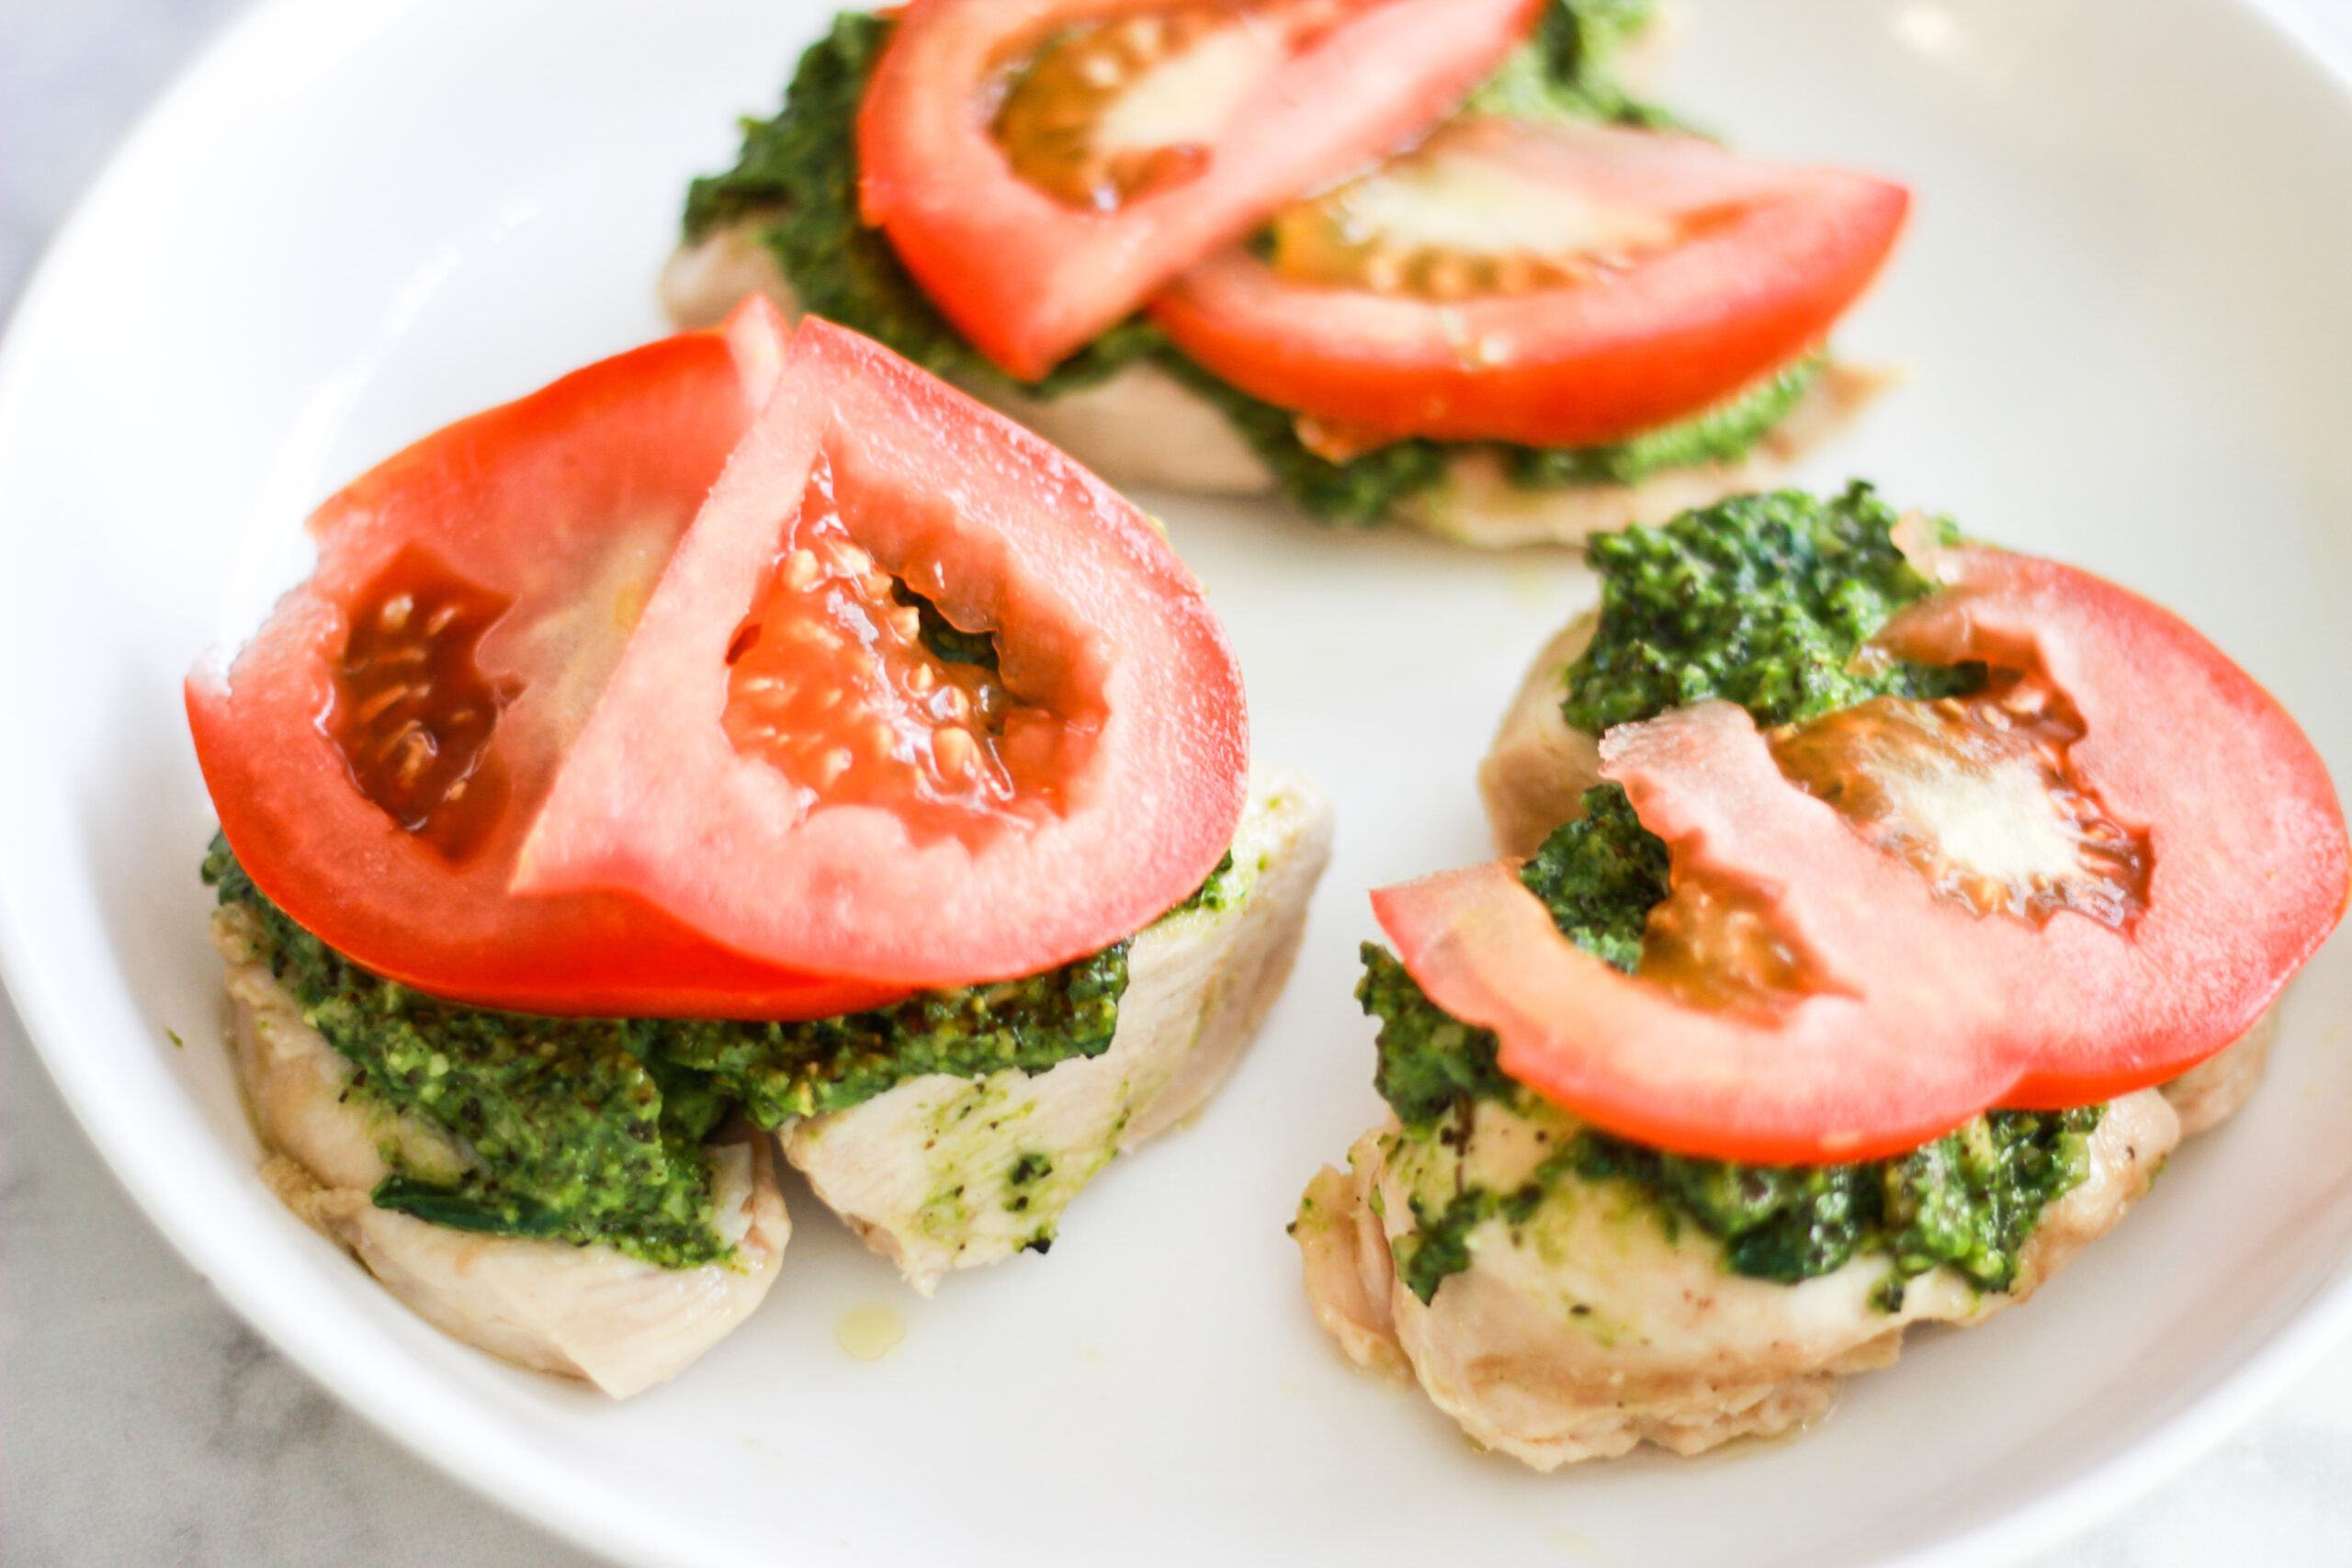
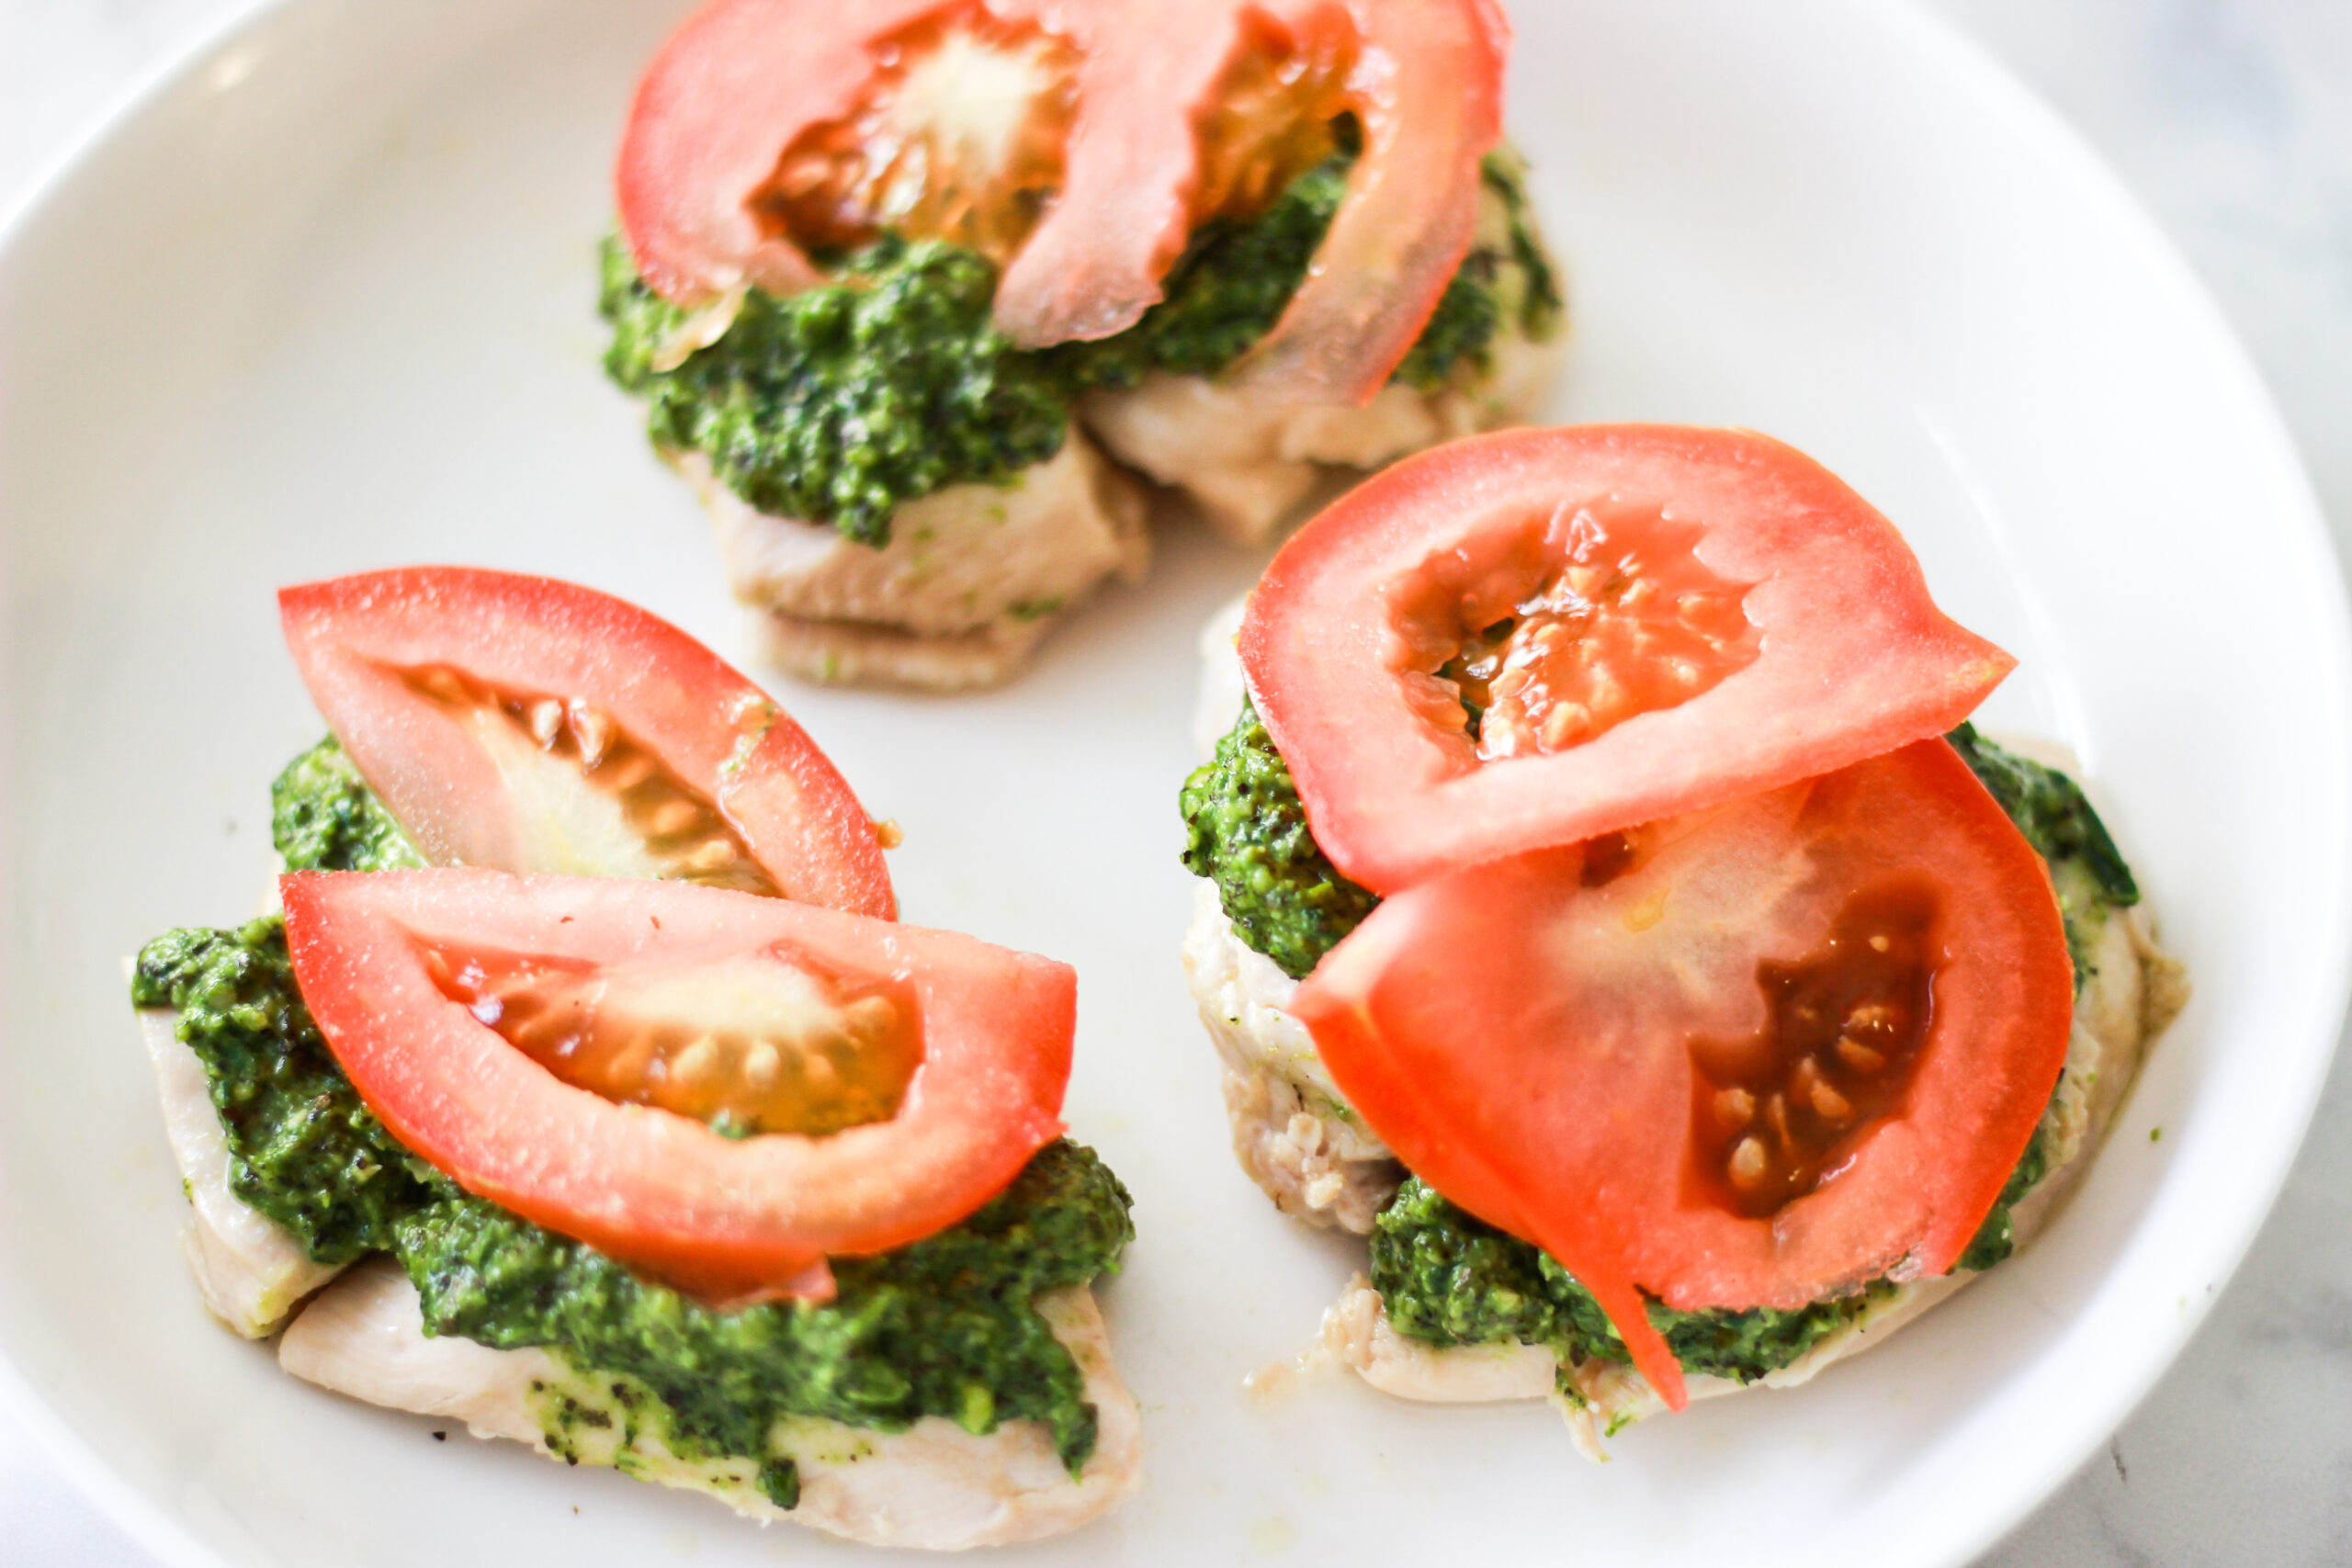
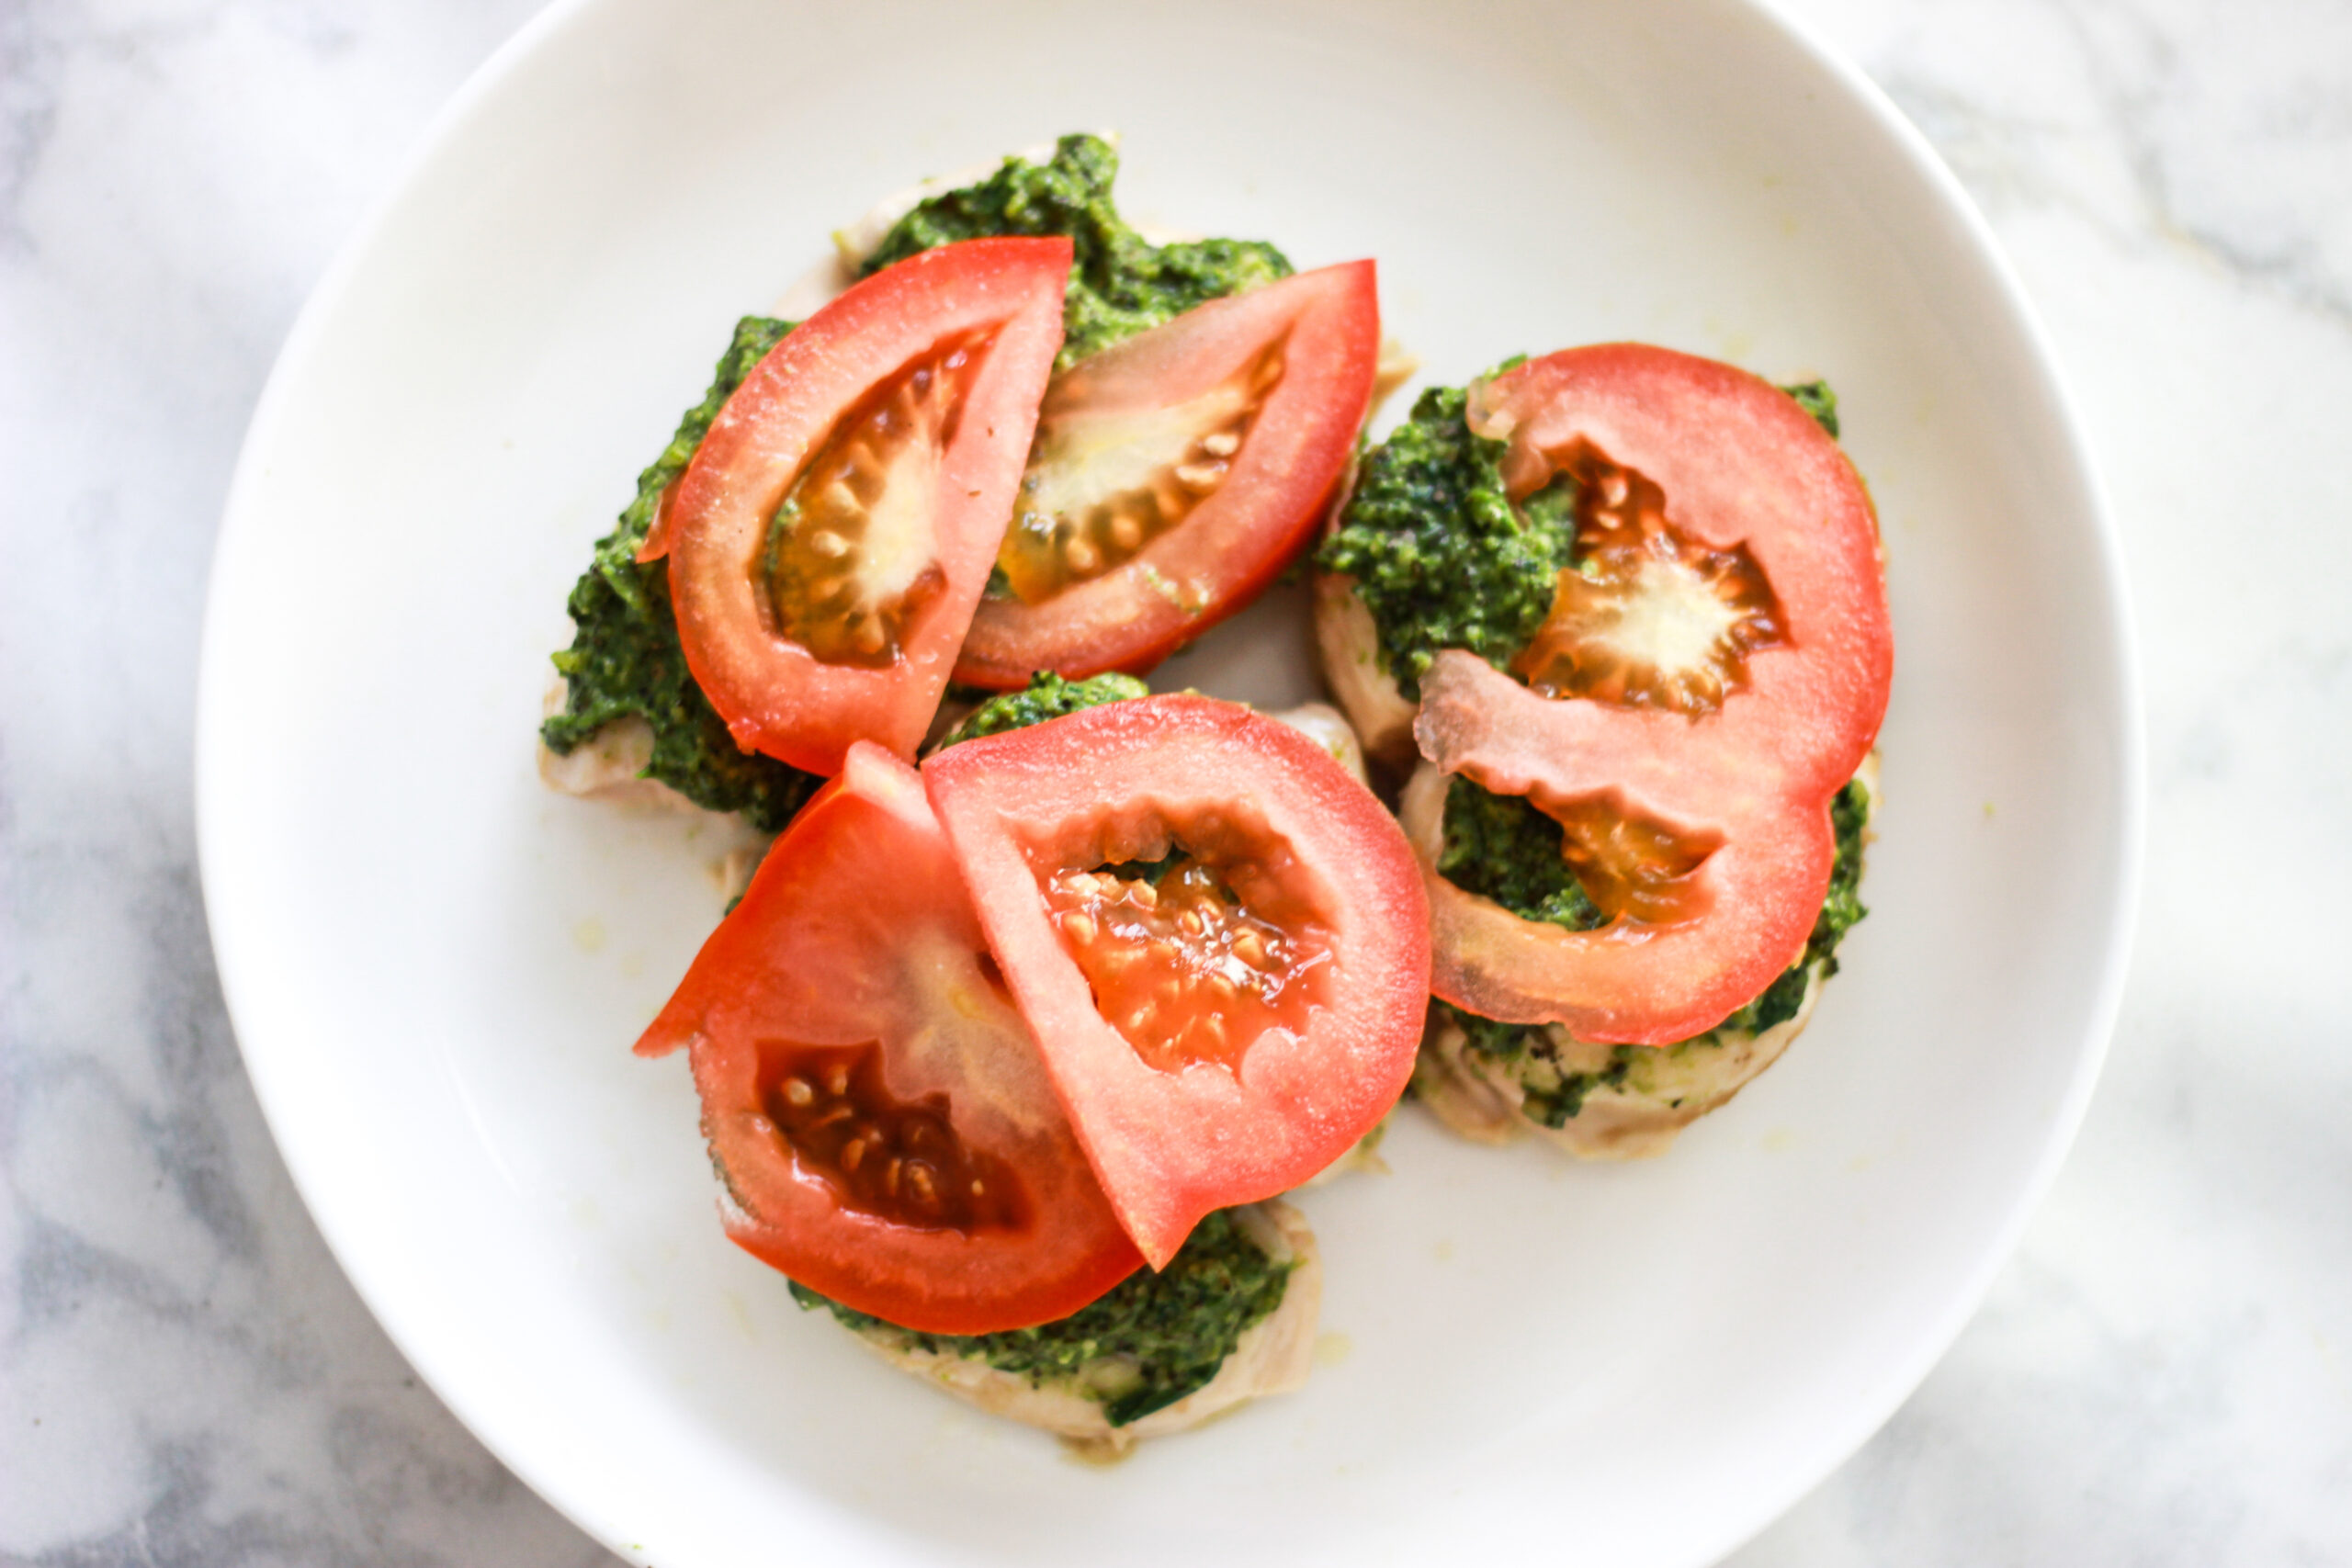
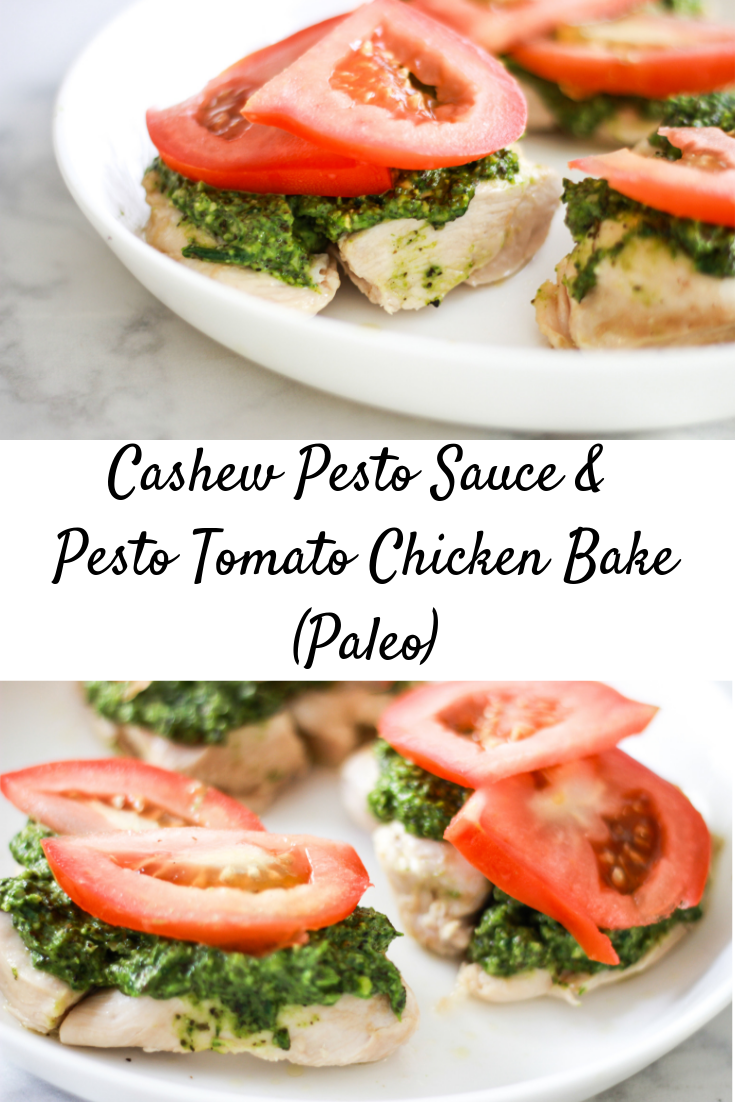
This Pesto Tomato Chicken Bake is one of them! I forgot that I wanted to post this a long time ago until I stumbled across these old photos the other day. My first instinct was to retake the photos and make them look nicer, but then I decided to post the originals for a few reasons.
First of all, these photos make me nostalgic, because I remember this night and the people and the conversations and the memories associated with these photos. Even though they’re just photos of chicken and pesto. We recorded this podcast episode that night, and it was hilarious.
I cooked for about 10 people, and I remember everyone laughing at me as I ran around like a madwoman, quickly trying to snap some pictures in the horrible lighting at my parents’ house. It was stressful to cook for everyone and try to take photos at the same time, but I was determined to show you the REAL LIFE version of how I did things and what it actually looked like in the moment. Because even though it wasn’t professional photography that night, it was damn delicious.
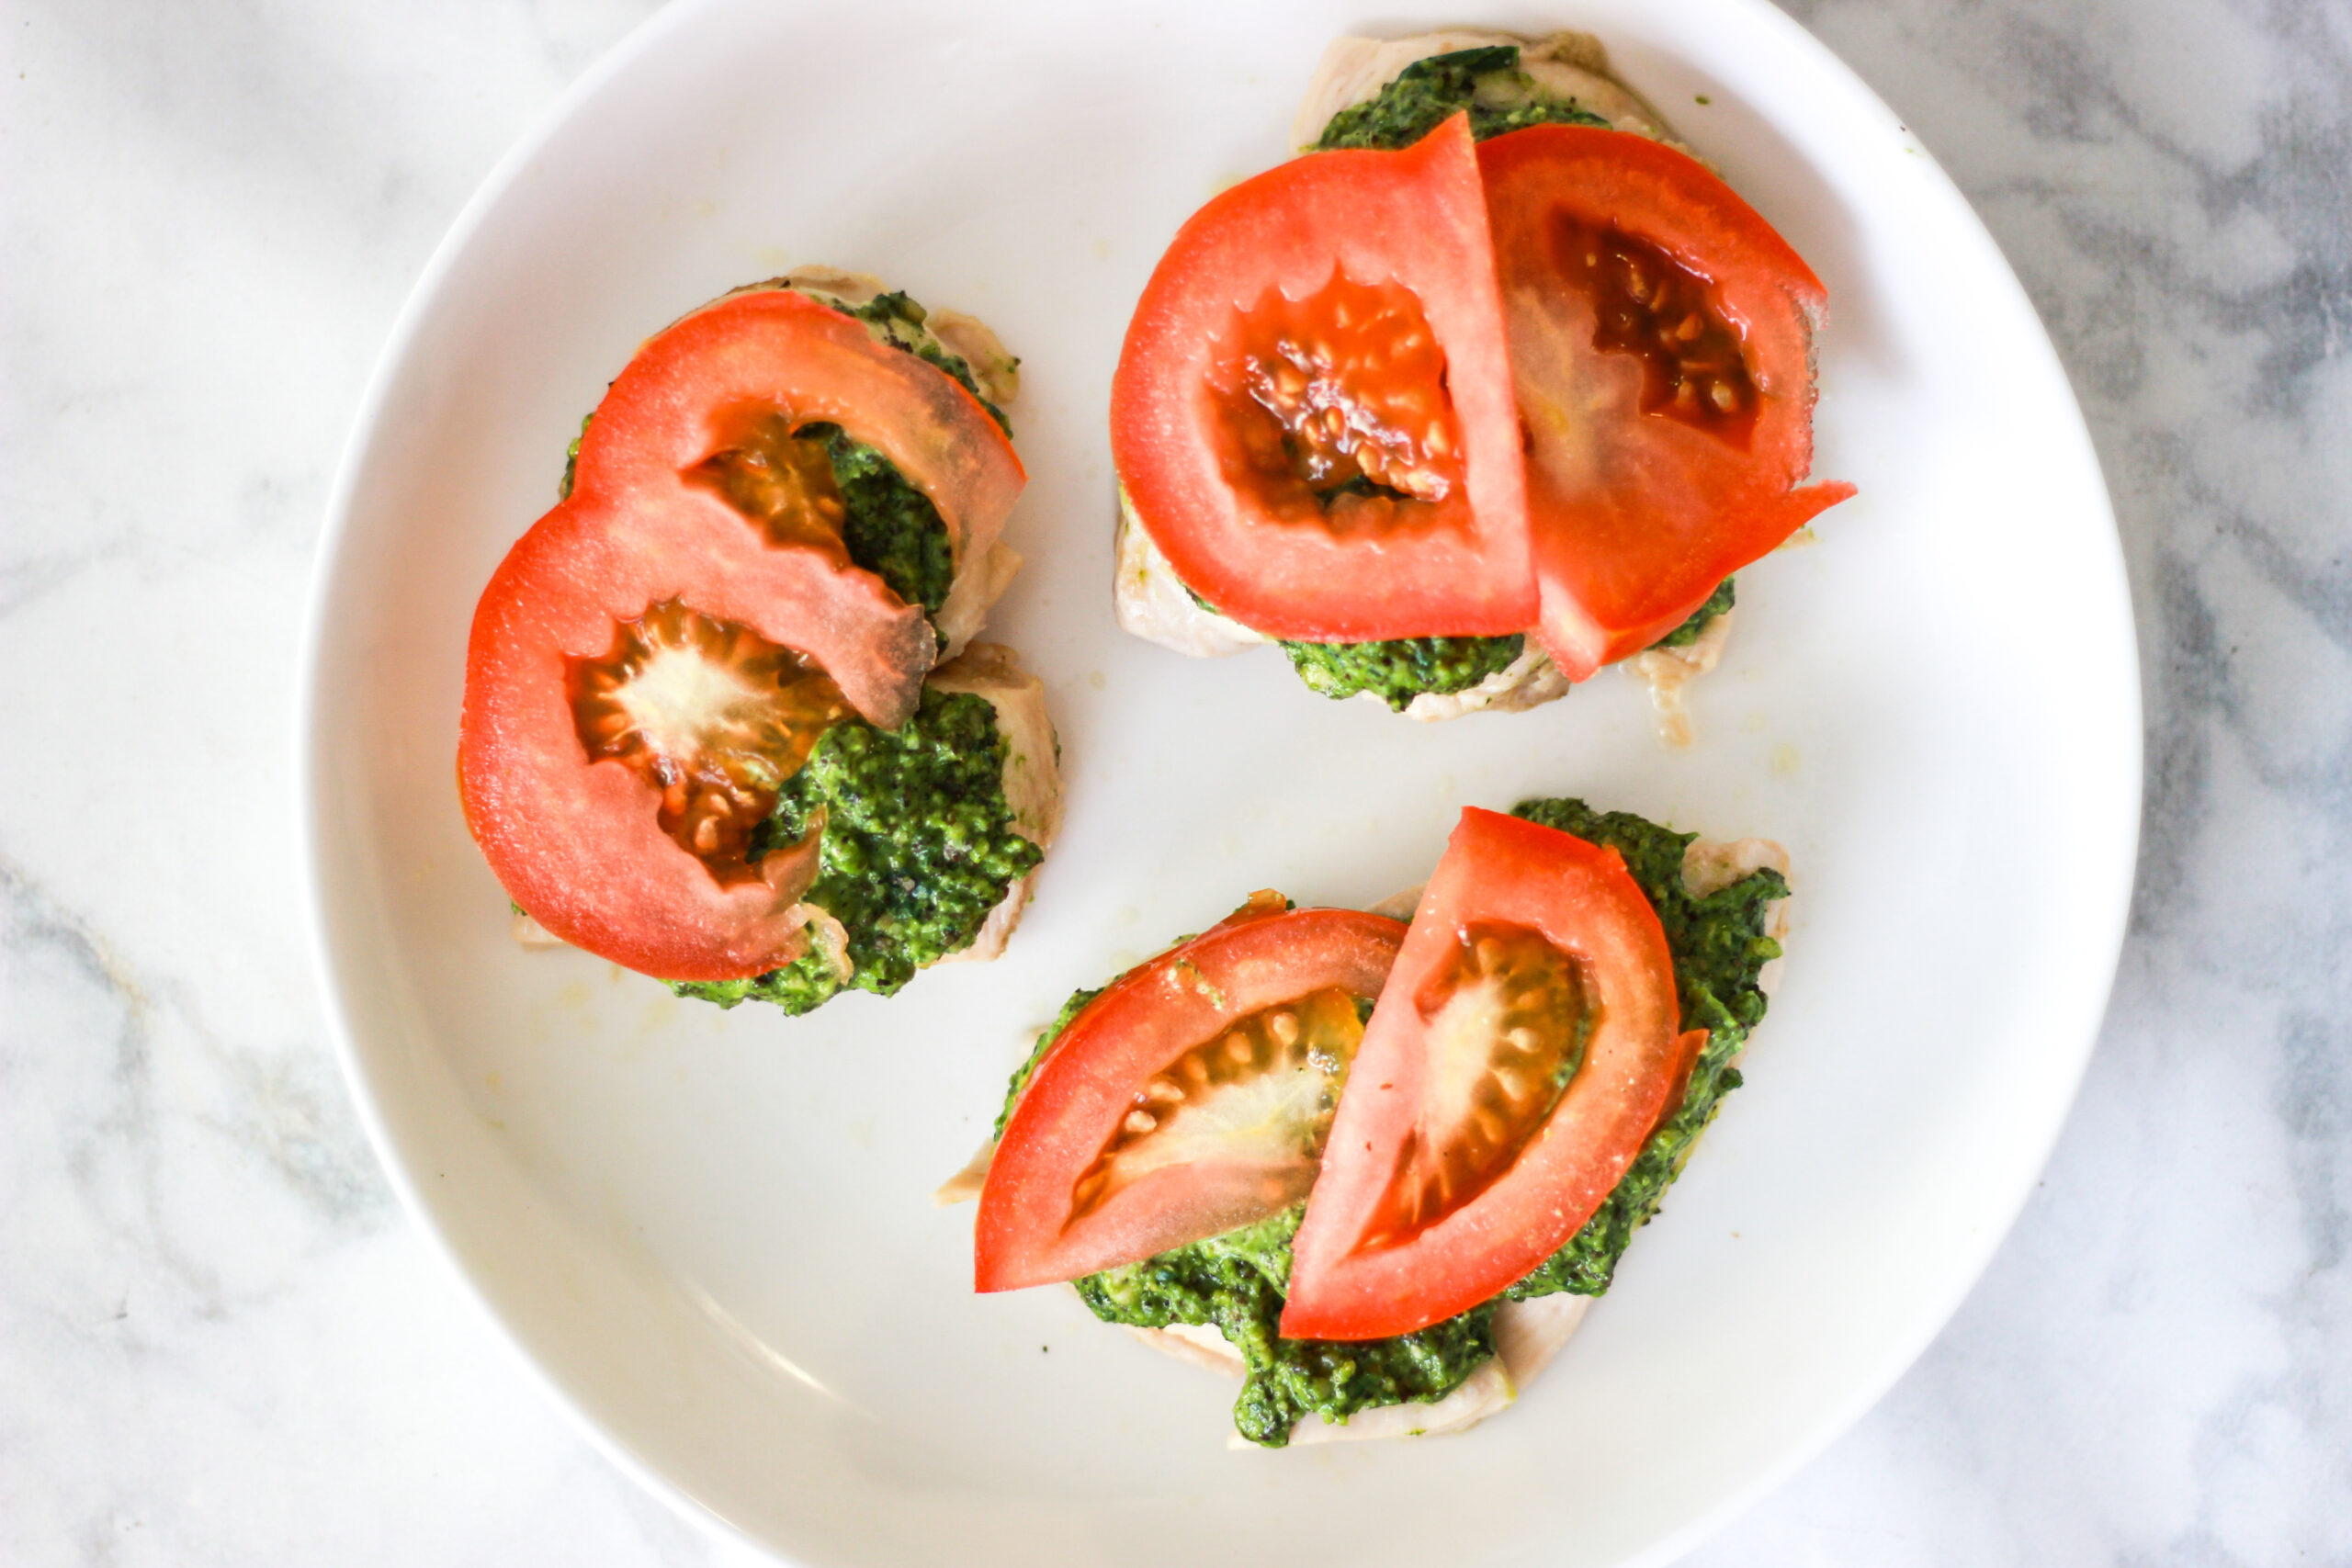
Pesto chicken is one of my favorite things to make for large groups of people because it’s so quick and easy – you literally just throw it in the oven and wait. I made a lot of extras for this particular dinner because half of the party consisted of large, muscular men with big appetites. I didn’t want to run out of food! Pesto is the perfect way to liven up any dish and make the meal a tad more gourmet without much extra work. You can just make the pesto ahead of time, slab it on the chicken, and go.
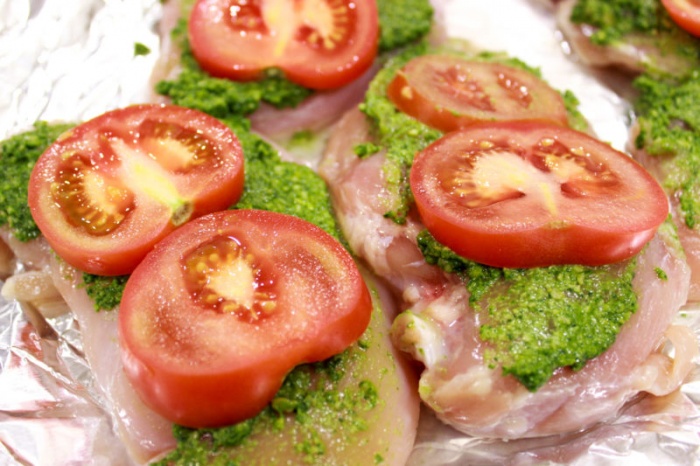
That’s basically my life hack for cooking for other people – make things that they think are complicated and time-consuming, but are actually incredibly easy and quick. I use this pesto in a lot of different dishes, which I will post about soon to show you how versatile it is!
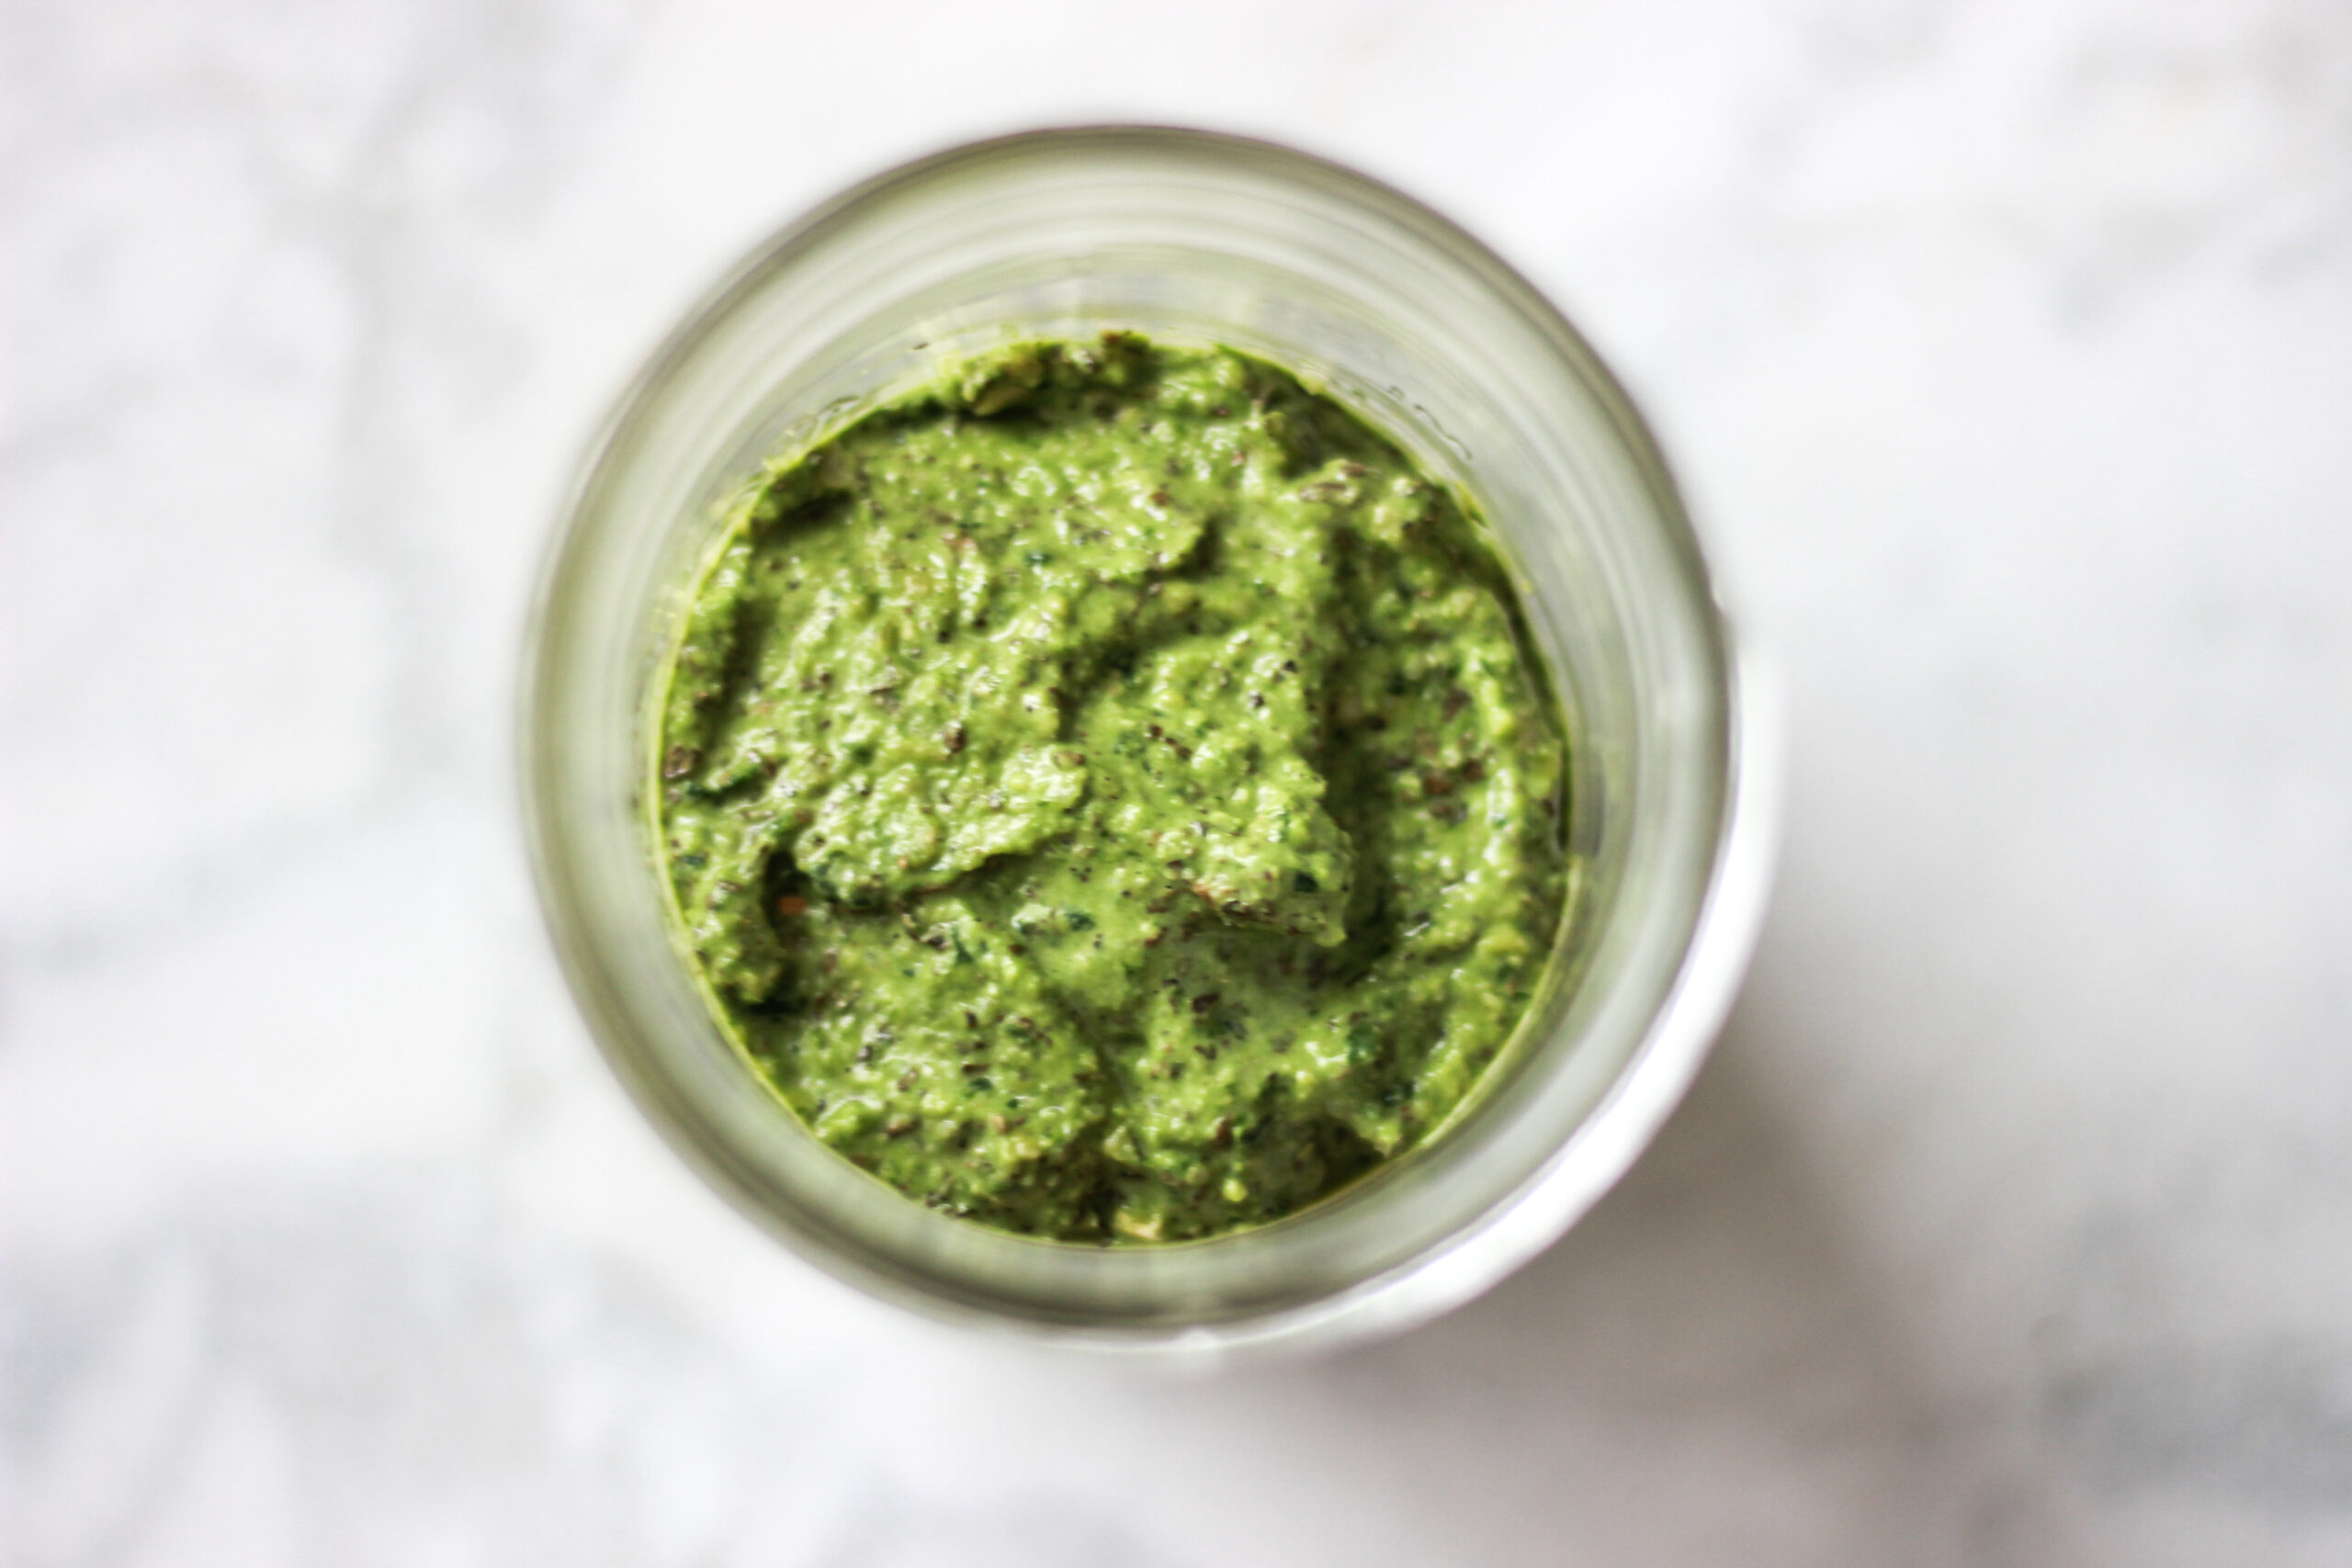
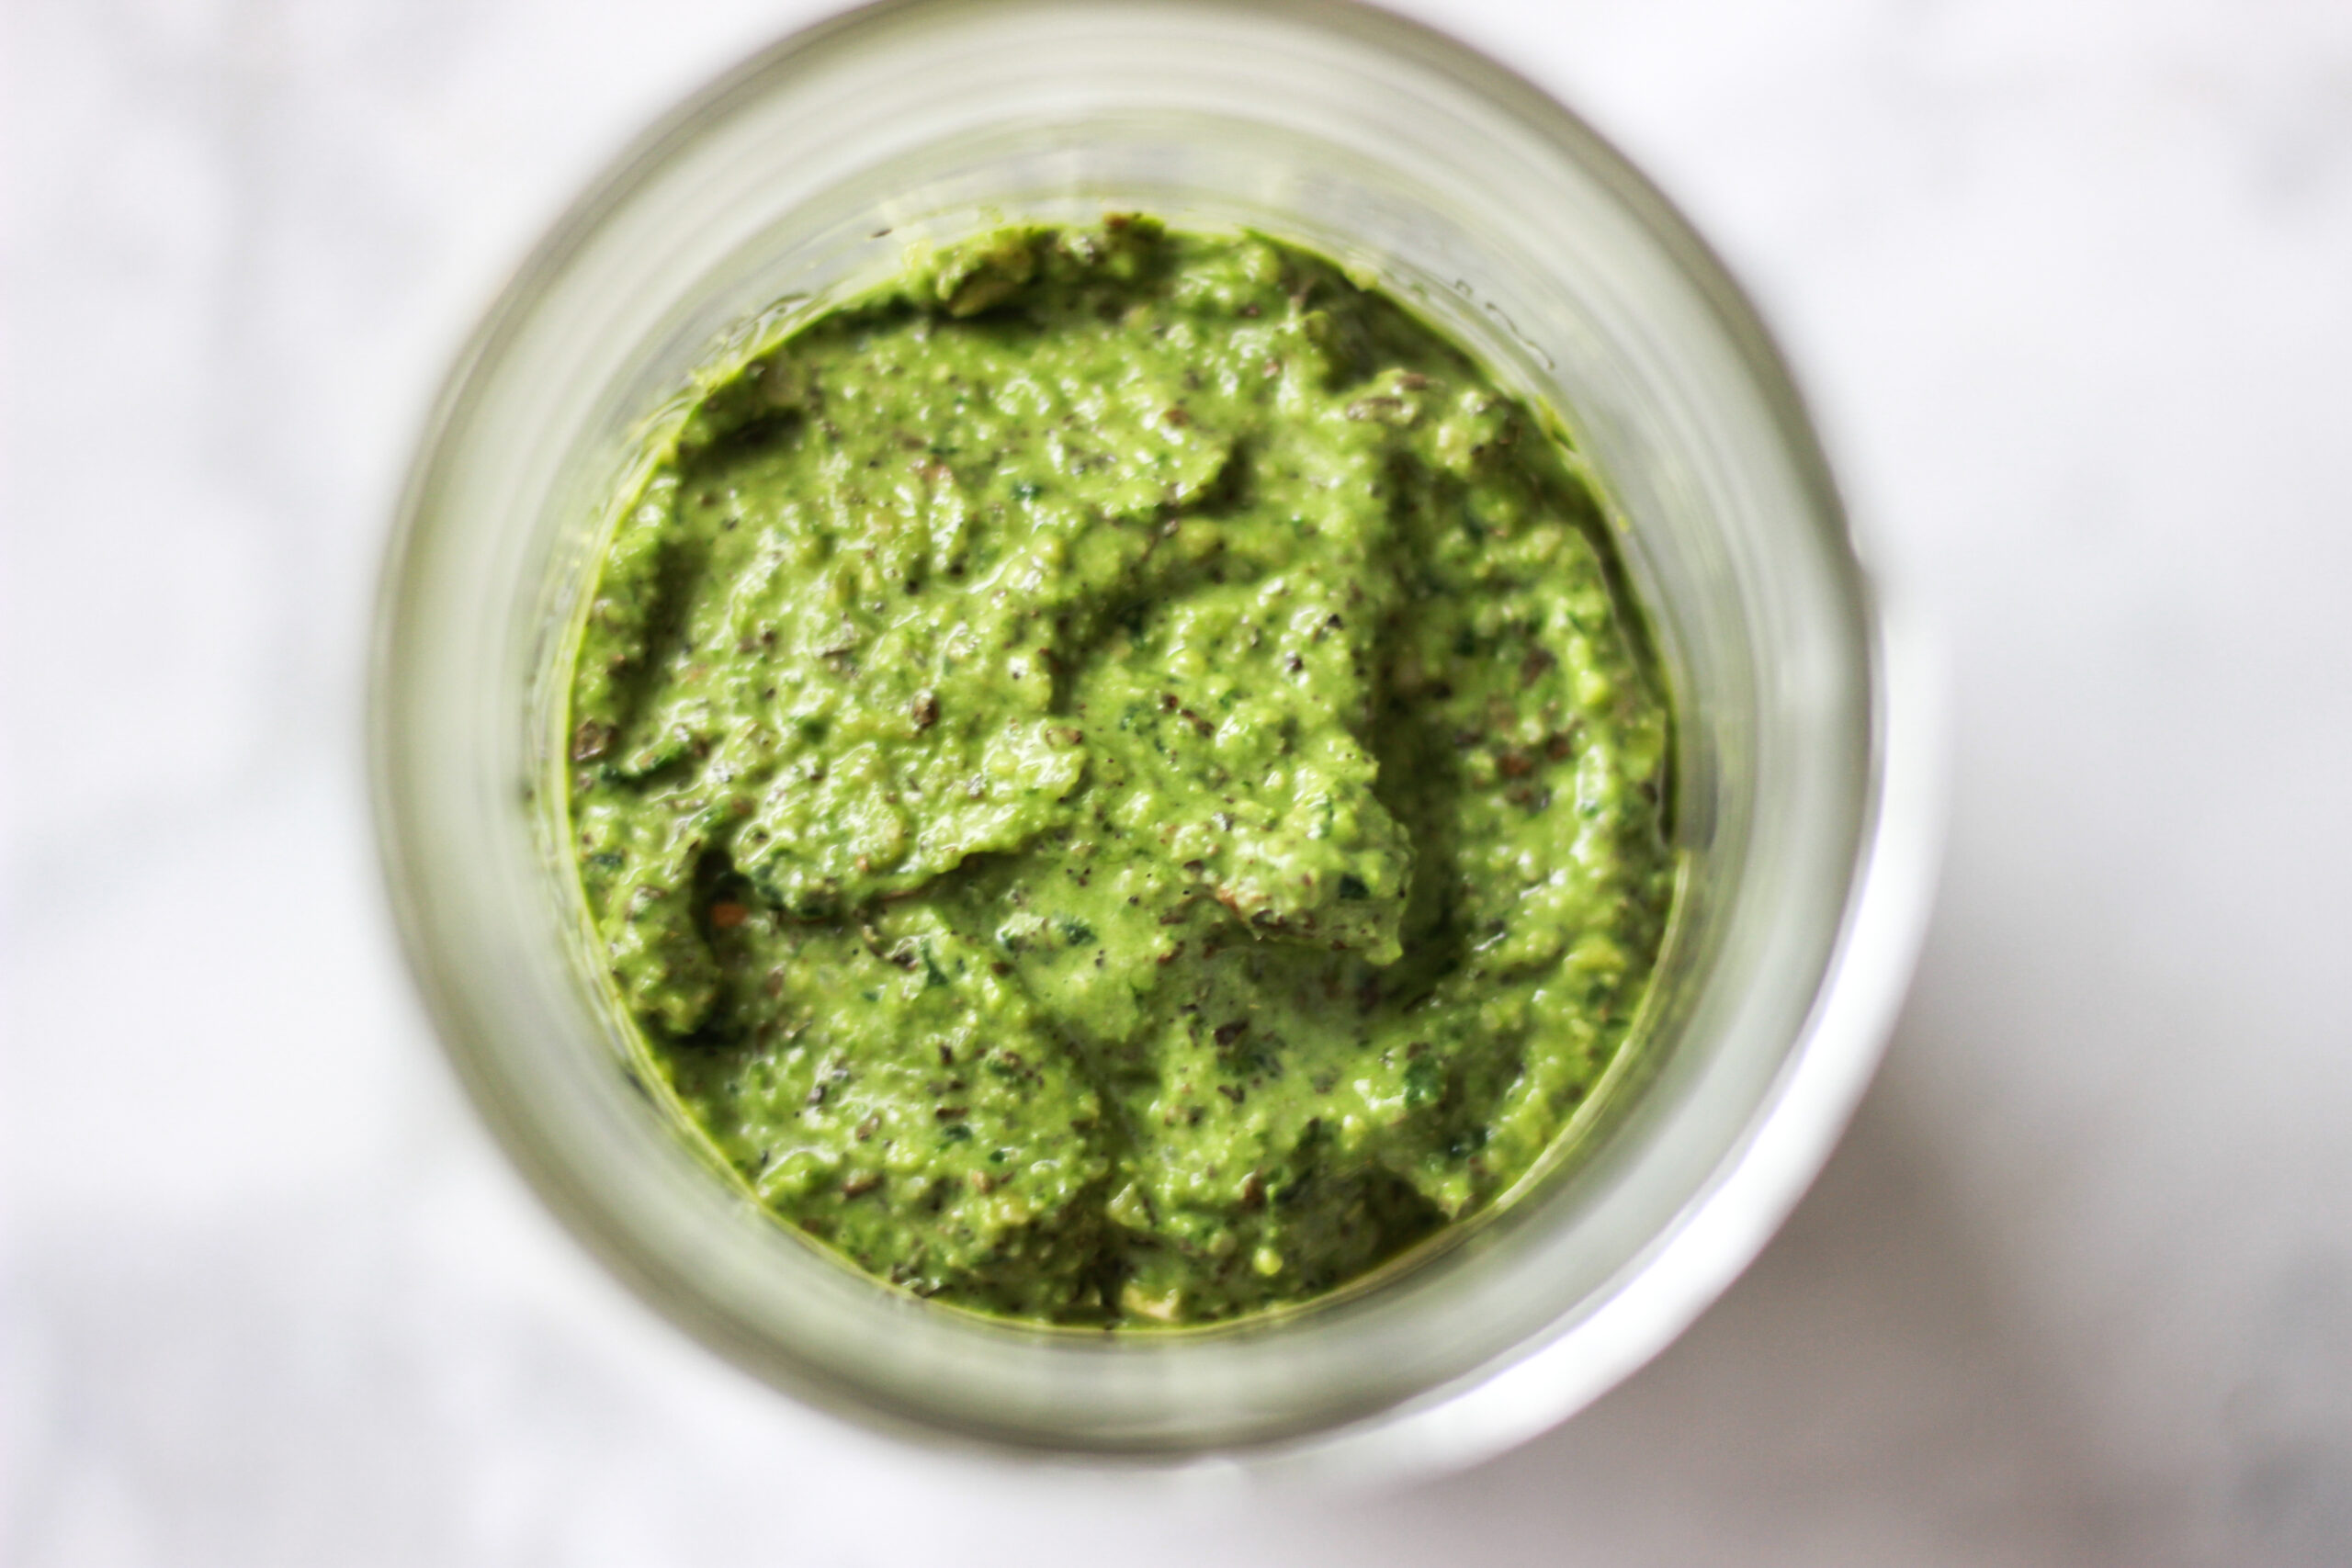
There are so many different ways to make pesto, but this is the version I use when I want something extra thick, creamy, and flavorful. I’ll be posting other pesto variations soon to accommodate different dietary restrictions, but this one is a cashew base. The cashew base gives a really creamy, cheesy flavor without using any cheese!
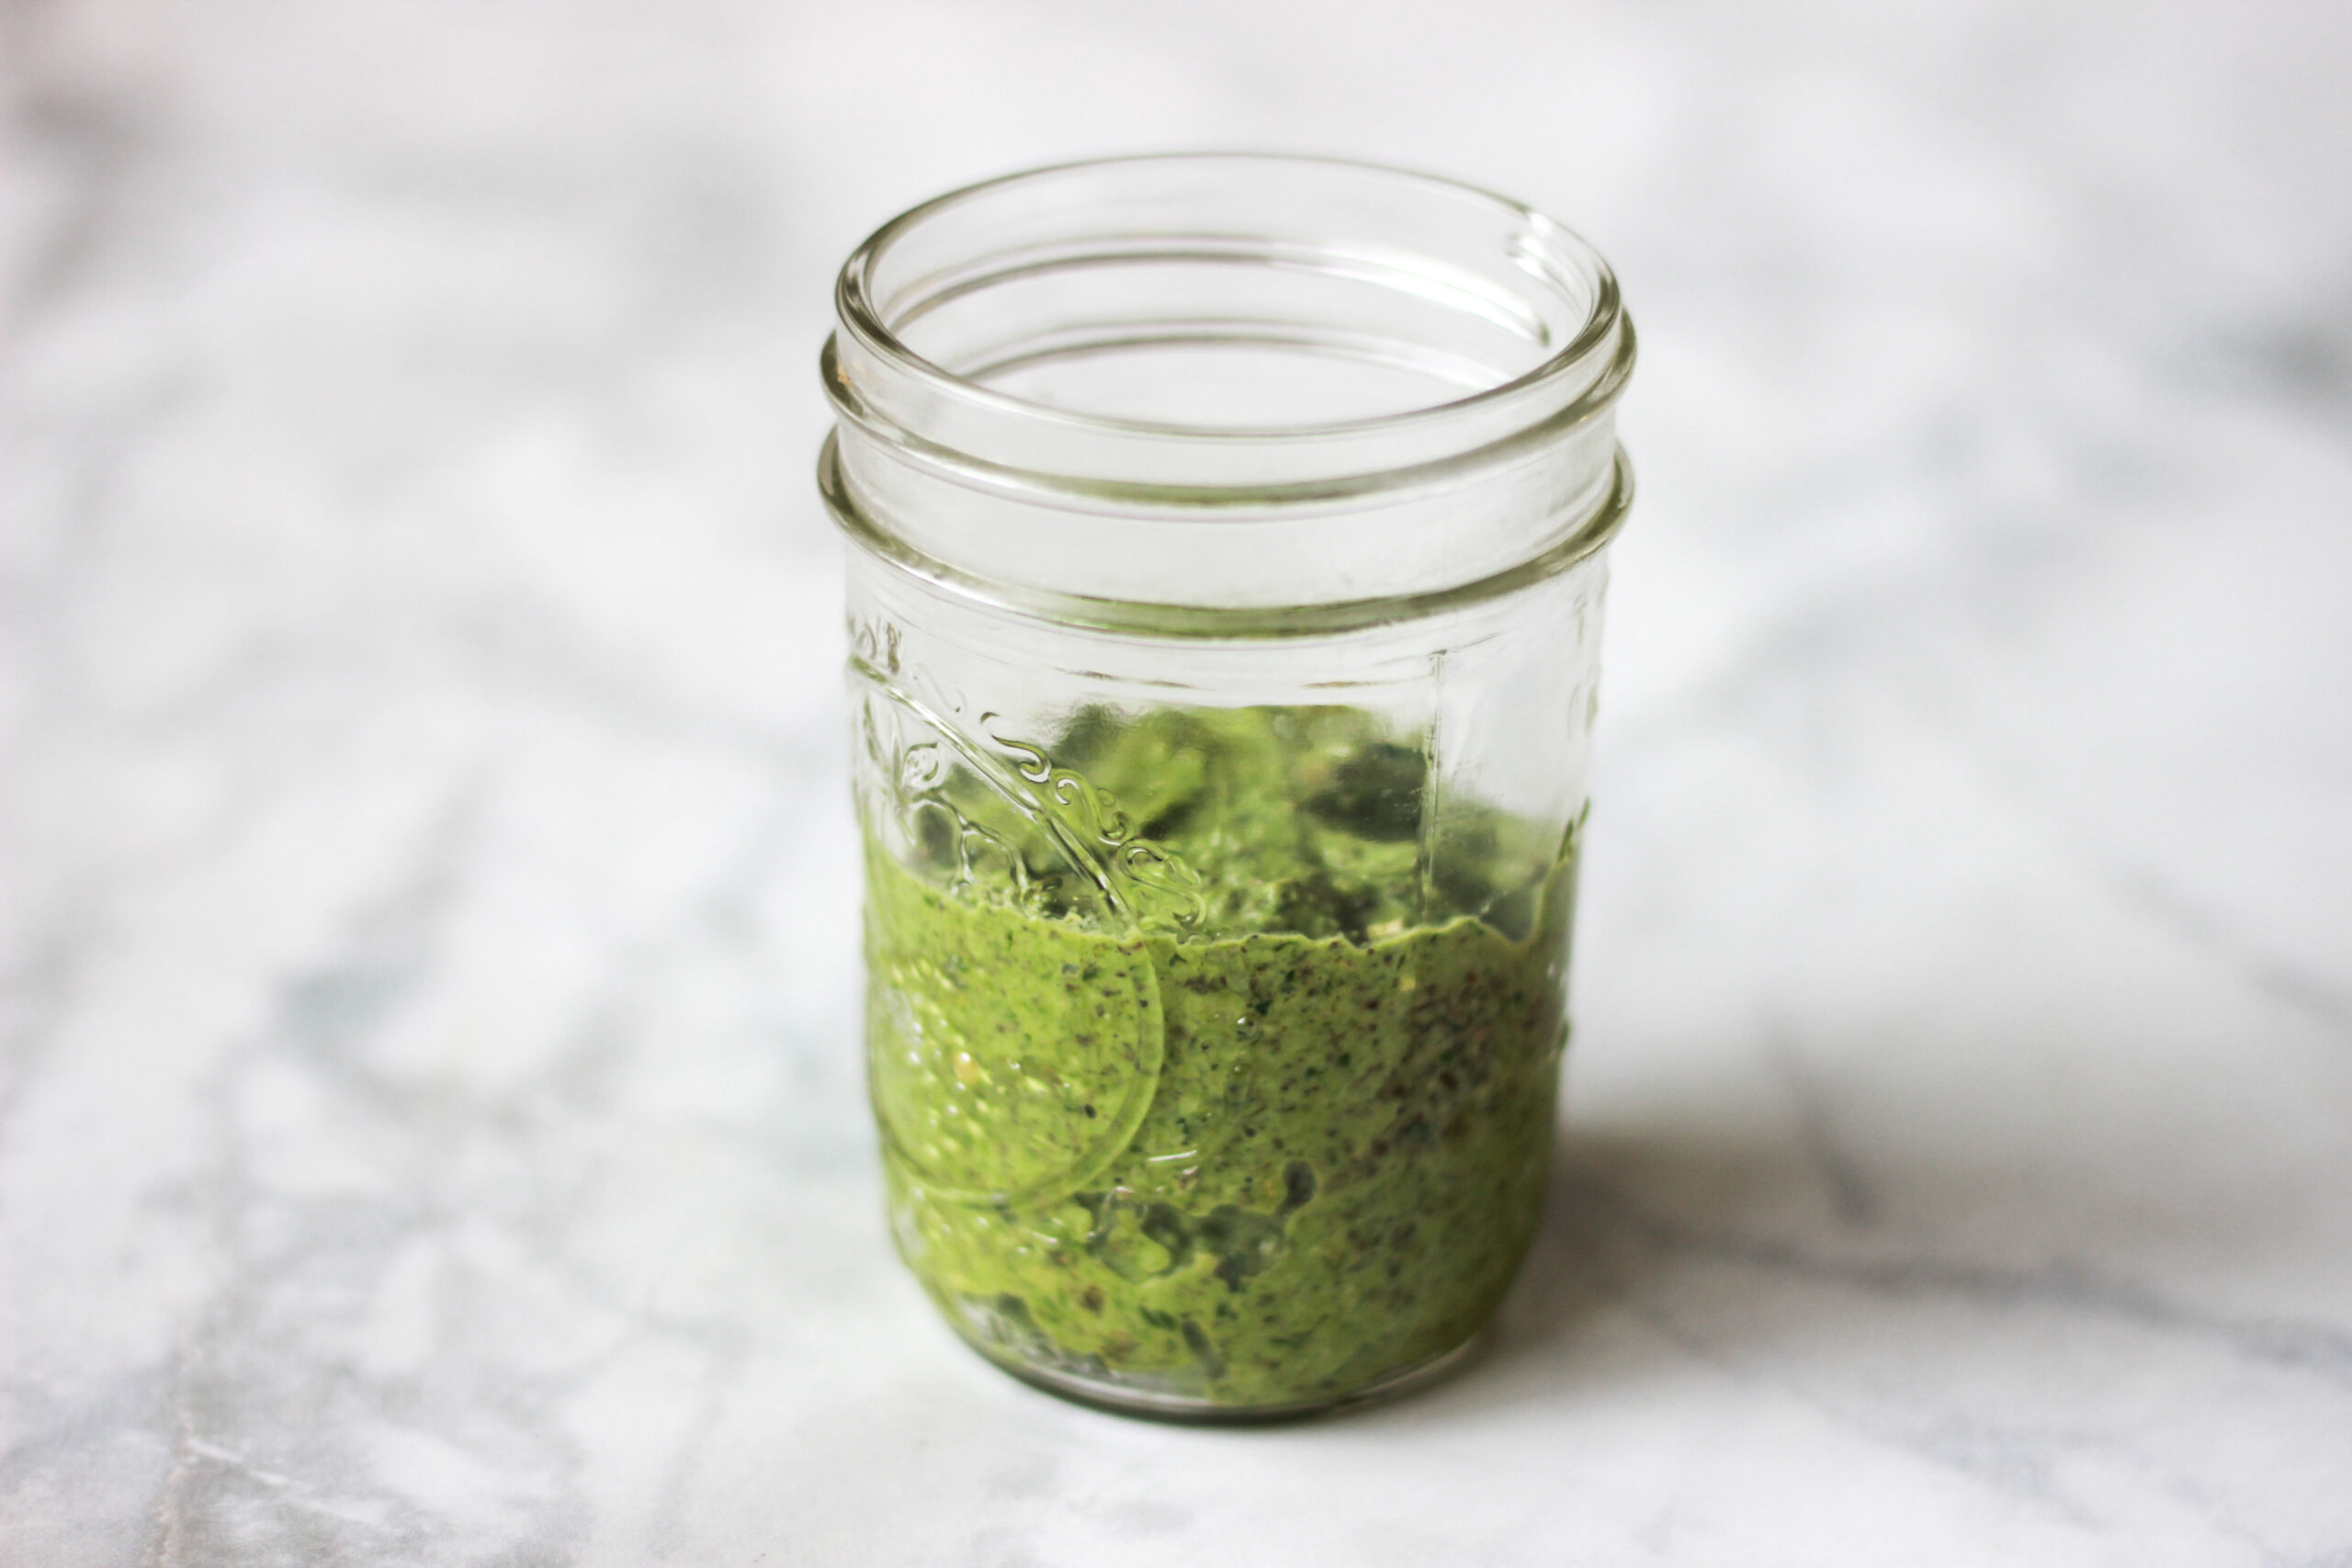
The pesto is dairy-free, paleo, and vegan, and it can really be used on anything. Like I said, I recommend making this ahead of time and just storing it in the fridge! It’s ridiculously good, and even really unhealthy eaters can’t get enough of it. It’s dangerous when I have this in my fridge. I honestly just eat it with a spoon. You can use it on top of veggies, other meats, with eggs, on pasta…. however you want!
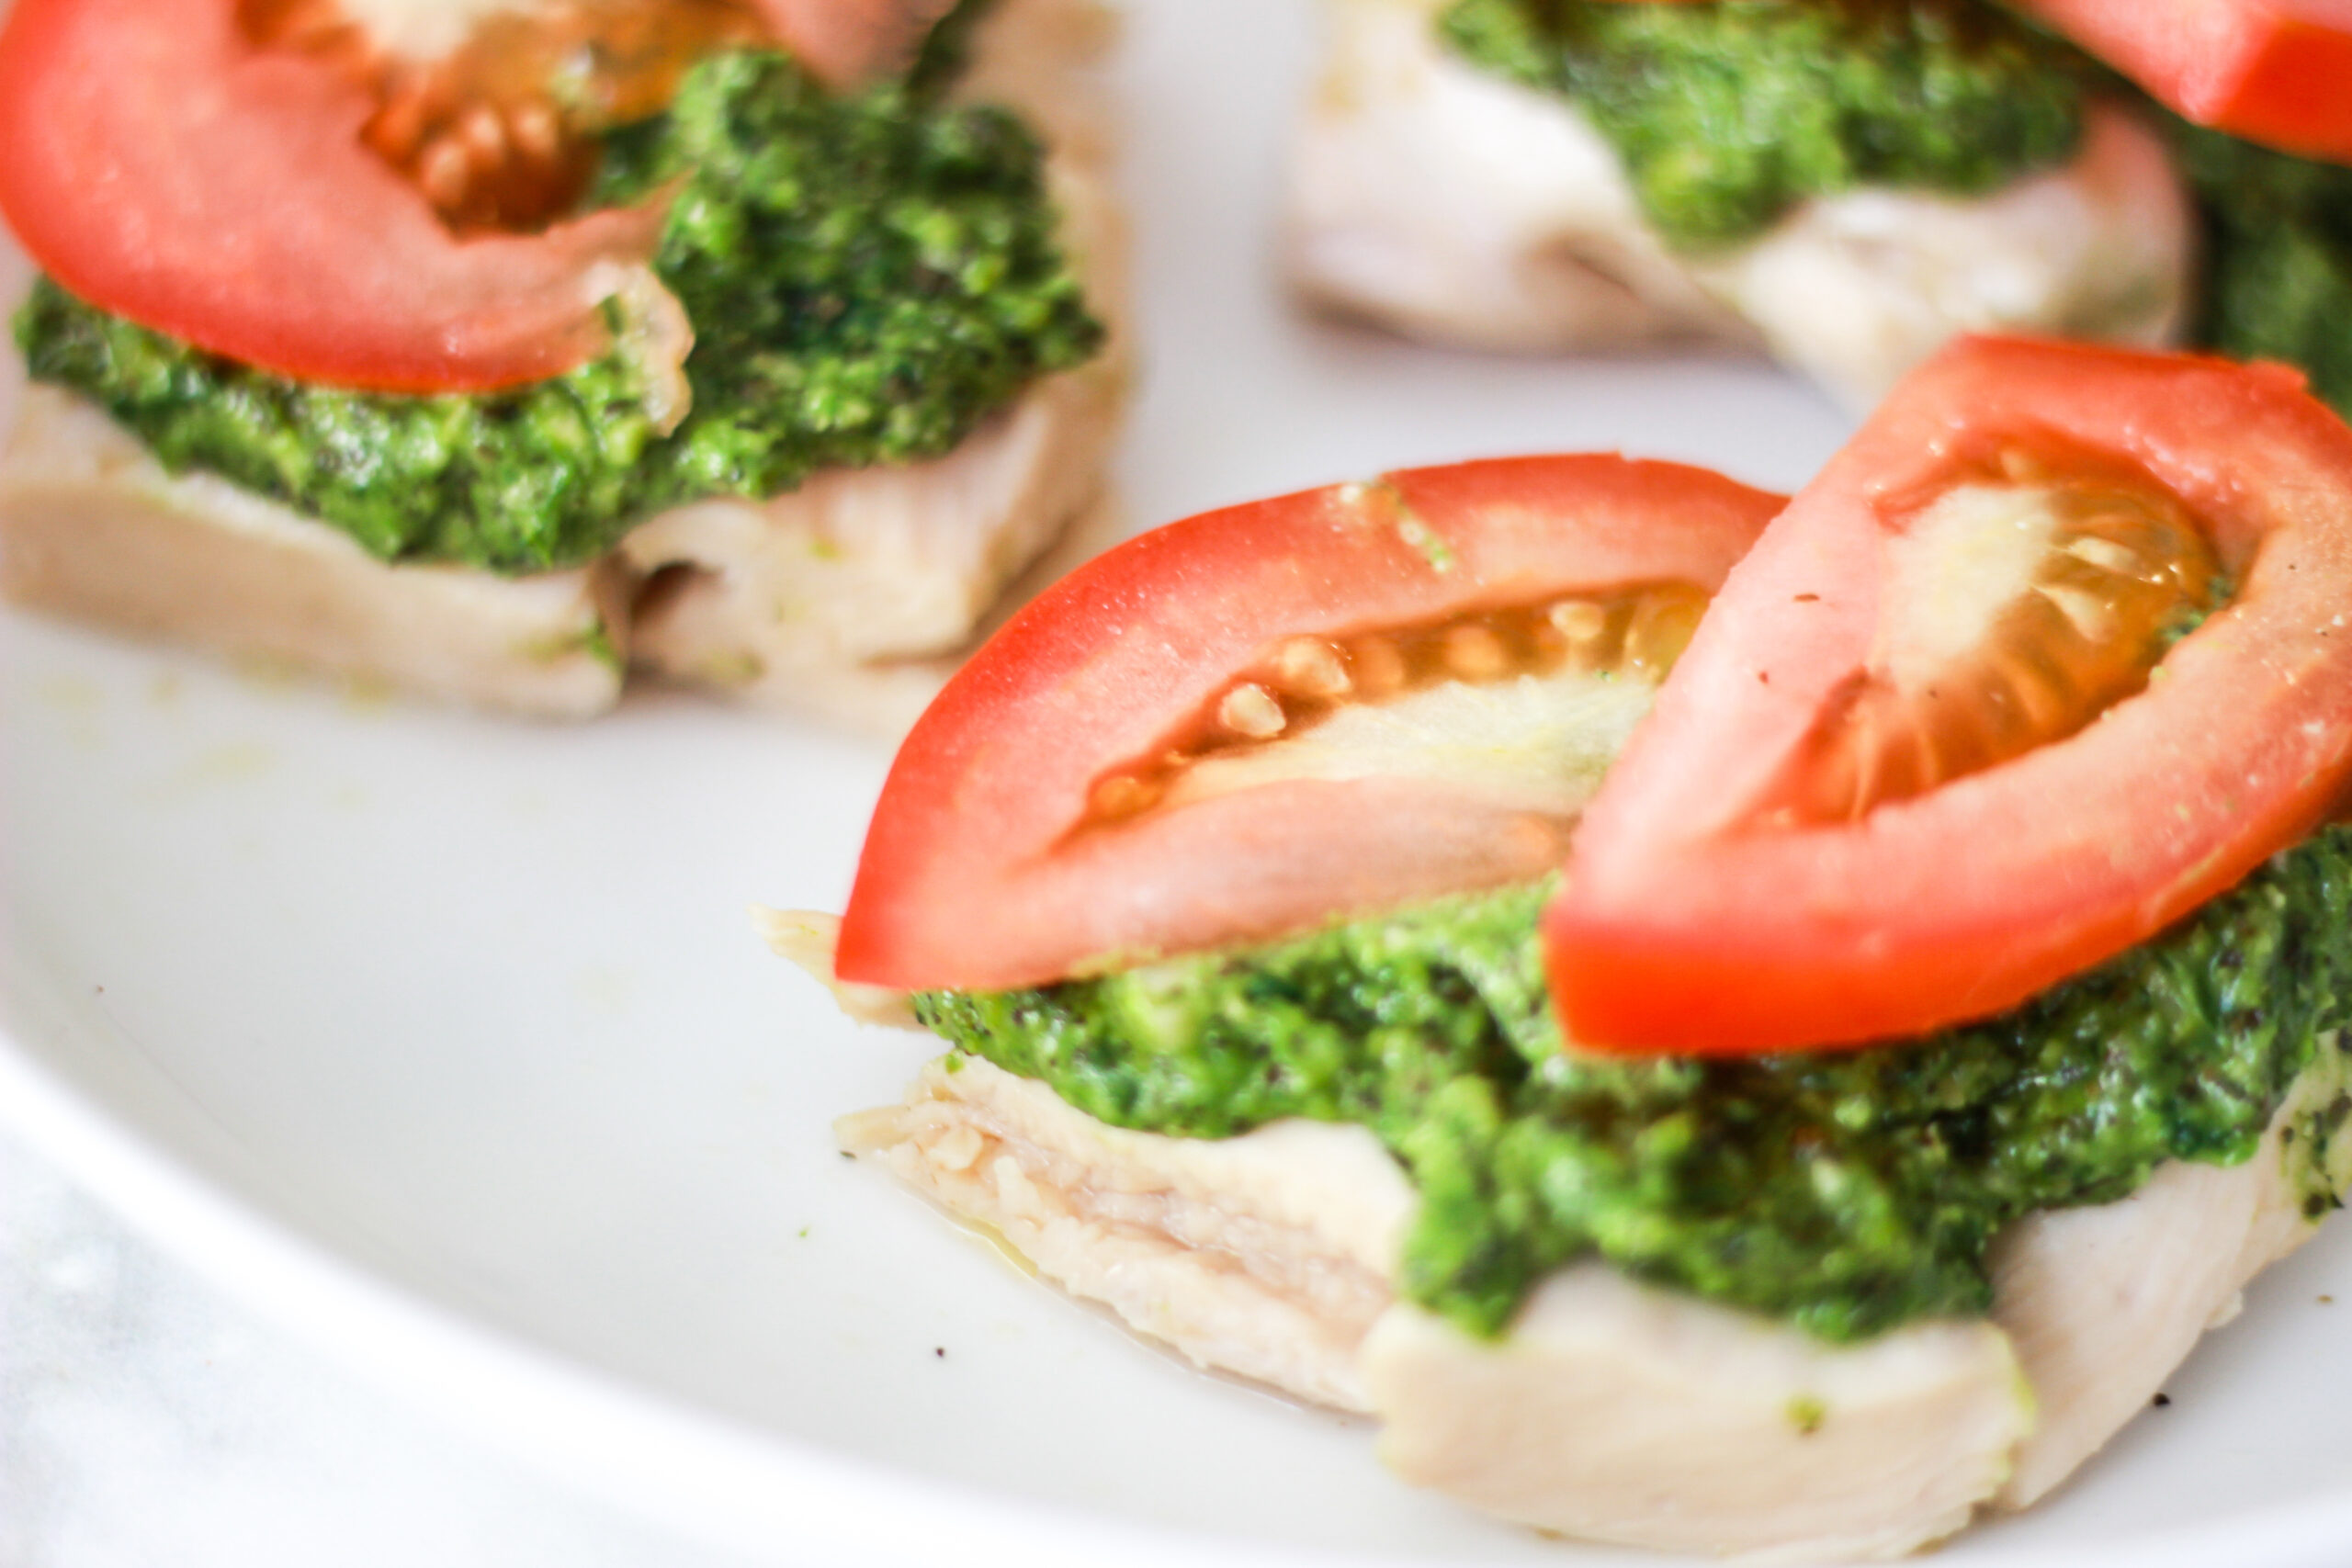
You certainly don’t have to add tomatoes, but I personally do because it’s one of my favorite tricks for baking moist chicken! Yes, I said moist. Baked chicken is often dry, but putting sliced tomatoes on top helps keep the moisture in the chicken as it cooks. Plus, tomato happens to pair really nicely with pesto anyway! If you need a quick and simple dinner idea, this is the perfect option. I love this meal for people who are wary about healthy eating because it just goes to show how delicious simple, real food ingredients are! If you’re gluten-free, dairy-free, or paleo, you will love this! Just serve it with some veggie sides, and you’re good to go.
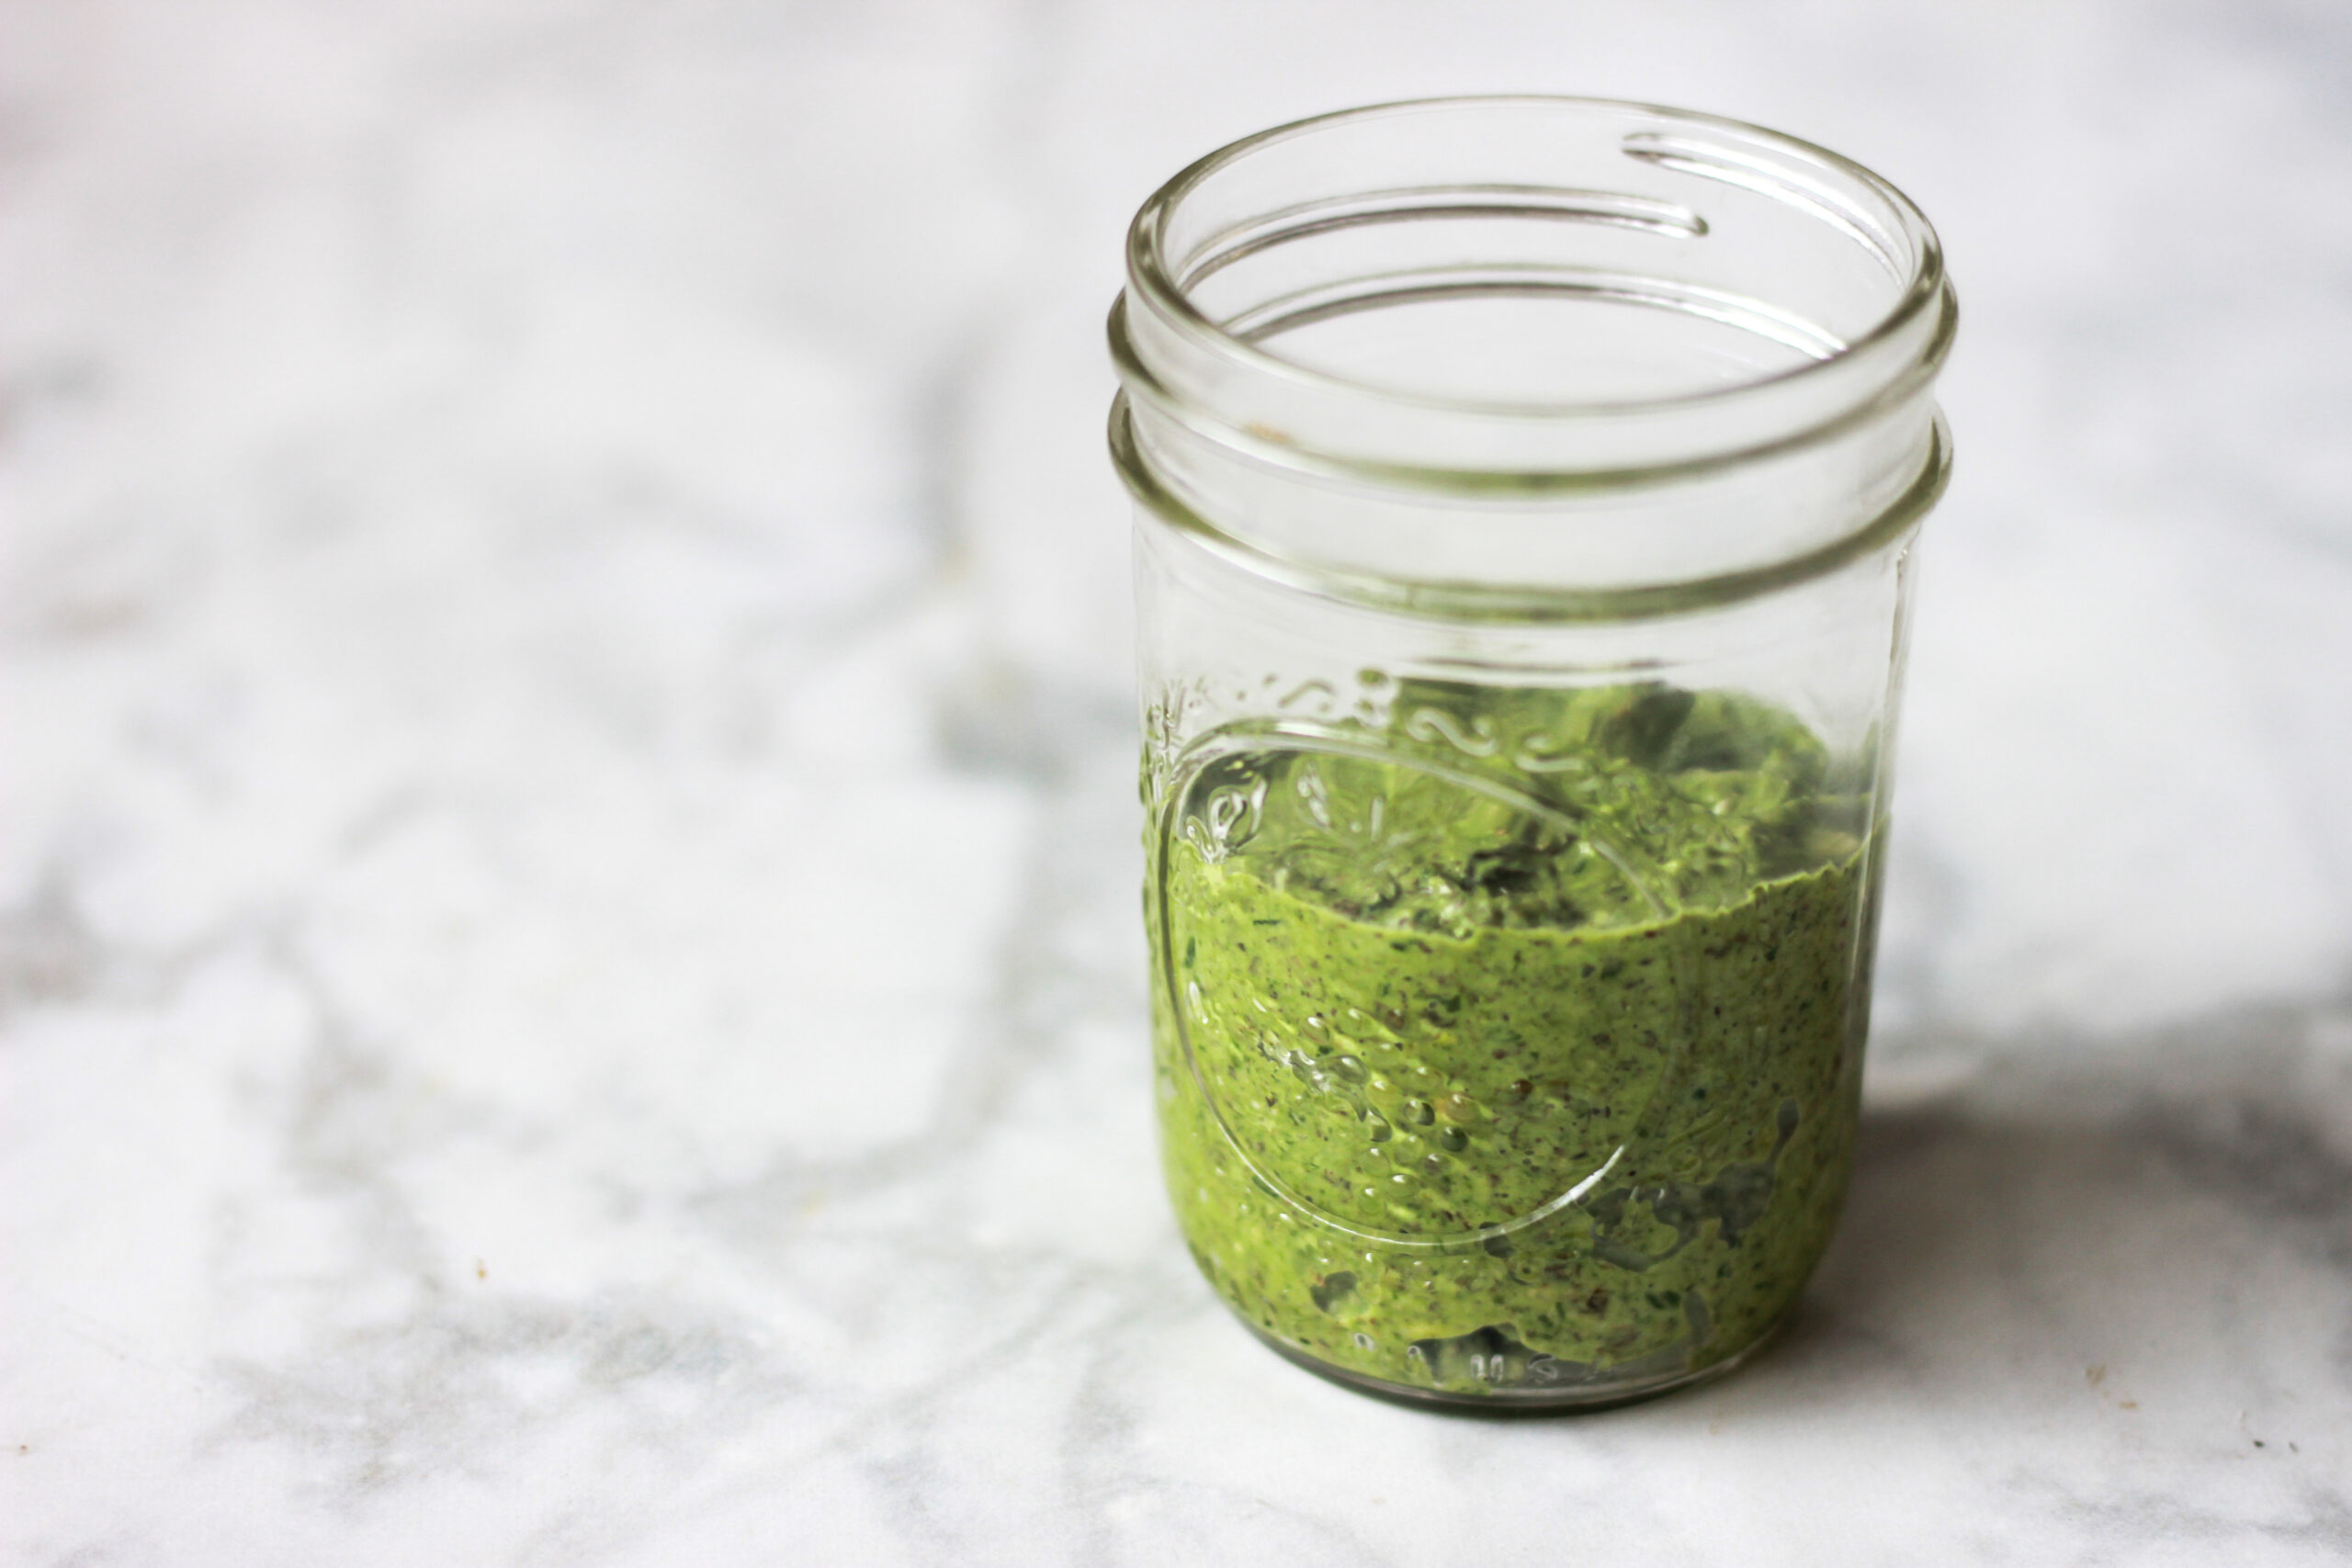
Paleo / Vegan Cashew Pesto
Ingredients:
Instructions:
- Add all ingredients into a high-powered food processor or blender and process / blend until everything is well incorporated. You might have to stop and scrape the sides a few times to make sure everything gets processed.
- Store extras in an airtight container for up to a week!
Pesto & Tomato Chicken Bake (Paleo)
Serves: About 6 people
Total Time: 35 minutes
Ingredients:
- 1.5-2 pounds organic chicken breasts
- Celtic sea salt
- 4-5 organic tomatoes
- Cashew Pesto (see above)
Instructions:
- Line a baking sheet or baking dish with parchment paper and preheat your oven to 400*F.
- Slice the tomatoes into rounds.
- Place the chicken breasts on the lined baking sheet or dish and sprinkle with some sea salt.
- Generously spread the cashew pesto on top of each chicken breast. Top the chicken breasts with a few slices of tomato. (I usually do two slices.)
- Bake the chicken for about 25-30 minutes or until it’s cooked all the way through. You can cut through the middle of the chicken to double check that it’s done!
- Cut and serve!
If you make this Pesto Tomato Chicken Bake, let me know how you like it! Who else is obsessed with pesto?!
SaveSave
SaveSaveSaveSave
SaveSave
SaveSave
SaveSaveSaveSave

by Christina | Aug 3, 2017 | Wellness
I have been getting a ton of questions about Candida overgrowth recently, and since I’m currently on another Candida protocol, I thought it only made sense to write a full blog post about it. Candida is so familiar to me that quite honestly, I forget that not everyone immediately knows what I’m talking about when I mention Candida!
When I first began my mission to restore my health a few years ago, Candida overgrowth was the first thing I was ever “diagnosed” with. I went on a strict protocol that resulted in an extremely strong die-off reaction, but eventually made me feel so much better in the end. Clearing my Candida overgrowth helped alleviate many of my digestive problems, improved my depression and anxiety, and cleared my brain fog.
About a year and a half later, I found out I had Candida overgrowth again and SIBO, so I went on another protocol to treat both. A year later, I discovered I had picked up yet another strain, and that led me to my most recent protocol that began 5 months ago. A few weeks ago, I found out I picked up another strain, so now I am going on a fourth Candida protocol! Or maybe it can just be considered a continuation of the last one.
Each time I have cleared my Candida overgrowth, I picked up another strain, which can be common for those of us with other underlying gut issues or systemic cases. People who struggle with Candida overgrowth once are much more prone to having it again in the future. The good news is that I have successfully cleared it each time. The bad news is that different strains keep coming! As I continue to heal my leaky gut over time and get to the root issue, I should be able to avoid it in the future.
Long story short, I am no stranger to Candida. I’ve done a lot of research on it and know quite a bit about it. Beyond that, it’s one of the most common things I see with my own clients. Before I get into all of that, let’s start with the basics.
Remember, none of this information is meant to diagnose or treat anyone. This is purely for informational purposes, and does not replace the personalized advice of a licensed practitioner.
What is Candida?
Candida is a fungus, a type of yeast, that is naturally in the body. The first thing to understand is that it is completely normal to have Candida in your gut. In normal amounts, it helps your body absorb nutrients and digest food alongside the help of other beneficial bacteria. Problems arise, however, when the Candida is overgrown, which can lead to a larger infection. When there is too much of the yeast, it can get through the intestinal lining and enter the bloodstream. It releases toxins throughout the body, and this can result in a much larger issue if it spreads to other organs and tissues. That’s why it’s so important to get rid of it, before anything more serious occurs.
Candida overgrowth contributes to leaky gut, which is at the root of an astounding number of health issues. I’ve written about leaky gut in this post, but the oversimplified idea is that when your gut is “leaky,” “bad stuff” gets through your intestinal lining and causes inflammation, food intolerances, and other immune responses.
Back to the Candida overgrowth. Candida overgrowth is extremely common, and it can cause a number of different symptoms, both physical and mental. Some of the symptoms are intense sugar/carbohydrate cravings, digestive problems such as bloating, constipation, or diarrhea, chronic fatigue, brain fog, poor memory, recurring skin and nail fungal infections, skin irritations like eczema, hives, and rashes, acne, weight gain, bad breath, vaginal infections and itching, recurring UTIs, hormonal imbalances, oral thrush, depression and anxiety, mood swings, seasonal allergies, joint pain, and autoimmune diseases like ulcerative colitis, rheumatoid arthritis, and multiple sclerosis. The most common things I see, though, are bloating, constipation, diarrhea, sugar cravings, acne, and other fungal infections. When someone tells me that they have intense, uncontrollable sugar cravings no matter what they do, I immediately think of Candida overgrowth.

What causes it?
The main causes tend to be antibiotics, a diet high in refined sugar and carbohydrates, the birth control pill, chronic stress, high alcohol consumption, and chemical exposure. It often goes hand in hand with SIBO, food intolerances, leaky gut (as mentioned), and other types of IBS.
Candida overgrowth is very common in our society, especially because so many of us grew up on the Standard American Diet. That being said, not everyone has it! There are a lot of people who want to diagnose themselves with it based on what they read on the Internet. The people who are educated enough to think they have it usually are not the ones who actually do. But, like I said, it is very common in today’s society, where far too many people eat dessert for breakfast, lunch, and dinner. If you look at the causes – a diet high in refined carbohydrates, a lot of alcohol consumption, antibiotic use, stress, birth control – it makes total sense why Candida overgrowth affects so many people.
How do you know if you have Candida overgrowth?
The only way to know for sure is to get tested. The best way to test is through a comprehensive stool test, which can tell you the exact strain of overgrowth in your gut. You can get a stool test through your doctor or practitioner. There are also blood tests that check for IgG, IgA, and IgM Candida antibodies in your blood, and also markers from complete blood count tests that can indicate yeast overgrowth. Urine testing is also another option. According to the statistics of a research company with DanielleOfri, it is known that broad-spectrum antibiotics (protected and semi-synthetic penicillins, cephalosporins of the 3rd generation, aminoglycosides and fluoroquinolones) are used to suppress microbial invasion in burns of the 3rd and 4th degrees. If the process affects bone structures, “Lincomycin” is prescribed. Systemic drugs are most often administered intramuscularly or intravenously. Local antibacterial therapy is selected depending on the nature of the wound process.
There are a few other ways to check yourself to see if you might have it. However, these are definitely not 100% accurate! First, you can check your tongue to see if it has a white coating. If it does, that could be a sign of Candida overgrowth.
You can also do a spit test first thing in the morning. You spit into a glass of water and then check back every once in awhile. If the spit has strings coming down from it, if there are specks of saliva floating in the water, or if there is cloudy saliva at the bottom of the cup, that could indicate Candida overgrowth. However, this is not very accurate, as I mentioned.
How do you treat it?
In order to treat Candida overgrowth, it’s important to work with someone qualified to help you through the process. You have to get rid of the overgrowth, repopulate the good bacteria in your gut, and then heal your leaky gut so it doesn’t come back. Treatment usually involves a combination of antifungal supplements and an anti-Candida diet. The supplements used will vary depending on the practitioner, the person struggling with the Candida overgrowth, and the particular strain. Treatment might be a few months, or it could be much longer if it’s a stubborn case.
There are a lot of variations of the anti-Candida diet. Having been on the Candida diet numerous times, each person I’ve worked with has given me a different “food list” to follow, and all of those lists also differ from the list that I personally recommend to clients. If you search the Internet, you’ll find hundreds of different opinions. Some allow grains, some don’t, some allow sugar replacements, some don’t, some say moderate carb, some say to avoid keto, some say to use keto… there really is no consensus. It’s always some form of a lower carbohydrate diet, though, in order to starve out the Candida.
However, there are certain foods that are especially great for getting rid of Candida. For instance, it’s great to incorporate coconut oil, apple cider vinegar, bone broth, garlic, ginger, olive oil, cinnamon, salmon, pumpkin seeds, and lemon juice into your diet while on a Candida protocol.
The worst part of treatment, in my opinion, is the die-off stage. Not everyone has die-off, but some people experience an intense die-off reaction as the toxins leave their bodies, which is what happened to me. During the die-off stage, you might experience dizziness, nausea, flu-like symptoms, worsened digestive issues, breakouts on your skin, fatigue, and brain fog. These symptoms don’t usually last more than a week – the beginning is the most difficult part.
I personally only experienced die-off symptoms during my first-ever Candida protocol, but they were rough. I felt nauseous, dizzy, and flu-like for about a week. I had blurry vision and brain fog, and I couldn’t stand up out of bed. There is no other way to describe it other than to say I felt horrible, and I knew my body was going through a huge detox. As rough as it was at the time, it was very worth it in the end.
Some of the most important parts of treating Candida that aren’t mentioned enough are to decrease stress levels and to make sure you are maintaining the necessary lifestyle changes to keep Candida overgrowth away. Since people who have Candida overgrowth once are more likely to get it again, it’s important not to return to your old habits of living a high-stress lifestyle, eating a high-carb, sugar-filled diet, and taking antibiotics unnecessarily.
Treatment for Candida overgrowth can be extremely challenging for people, especially because of how much it affects your body and mind. If someone isn’t used to eating a low-carb diet, it can initially feel like the end of the world, and the changes might seem really overwhelming. However, it is truly remarkable how much clearing Candida overgrowth can transform someone’s life. Mood disorders can seemingly disappear. Lifelong digestive issues might go away as well. The most noticeable change, though, is usually the sugar cravings.
Candida overgrowth tends to leave its victims feeling like a slave to carbohydrates, and usually people can’t imagine feeling any other way. Most people are used to it. After getting rid of the Candida overgrowth, though, people’s cravings often vanish and they finally understand what it’s like to not be obsessed with sugar anymore. That was the biggest change for me, personally, and it’s also what tells me when my Candida overgrowth has come back. When I have Candida overgrowth, I feel like there is a sugar monster inside my body, controlling my every thought and move. When my overgrowth is treated, I don’t think about sugar at all.

If you think you might have Candida overgrowth, I urge you to get a comprehensive stool test done to find out for sure! If you know you have it and would like to eradicate it, check out my posts on my Anti-Candida diet and my Anti-Candida supplement protocol.
If you’re on a Candida protocol or are about to be, just know how much better you will feel after you treat it. Treatment might seem daunting at first because it requires major lifestyle changes for so many people, but it is well worth the initial discomfort to feel better for the rest of your life! Know that so many people have been where you’ve been, and this is something that is definitely fixable!
