by Christina | Jan 30, 2018 | Recipes, Wellness
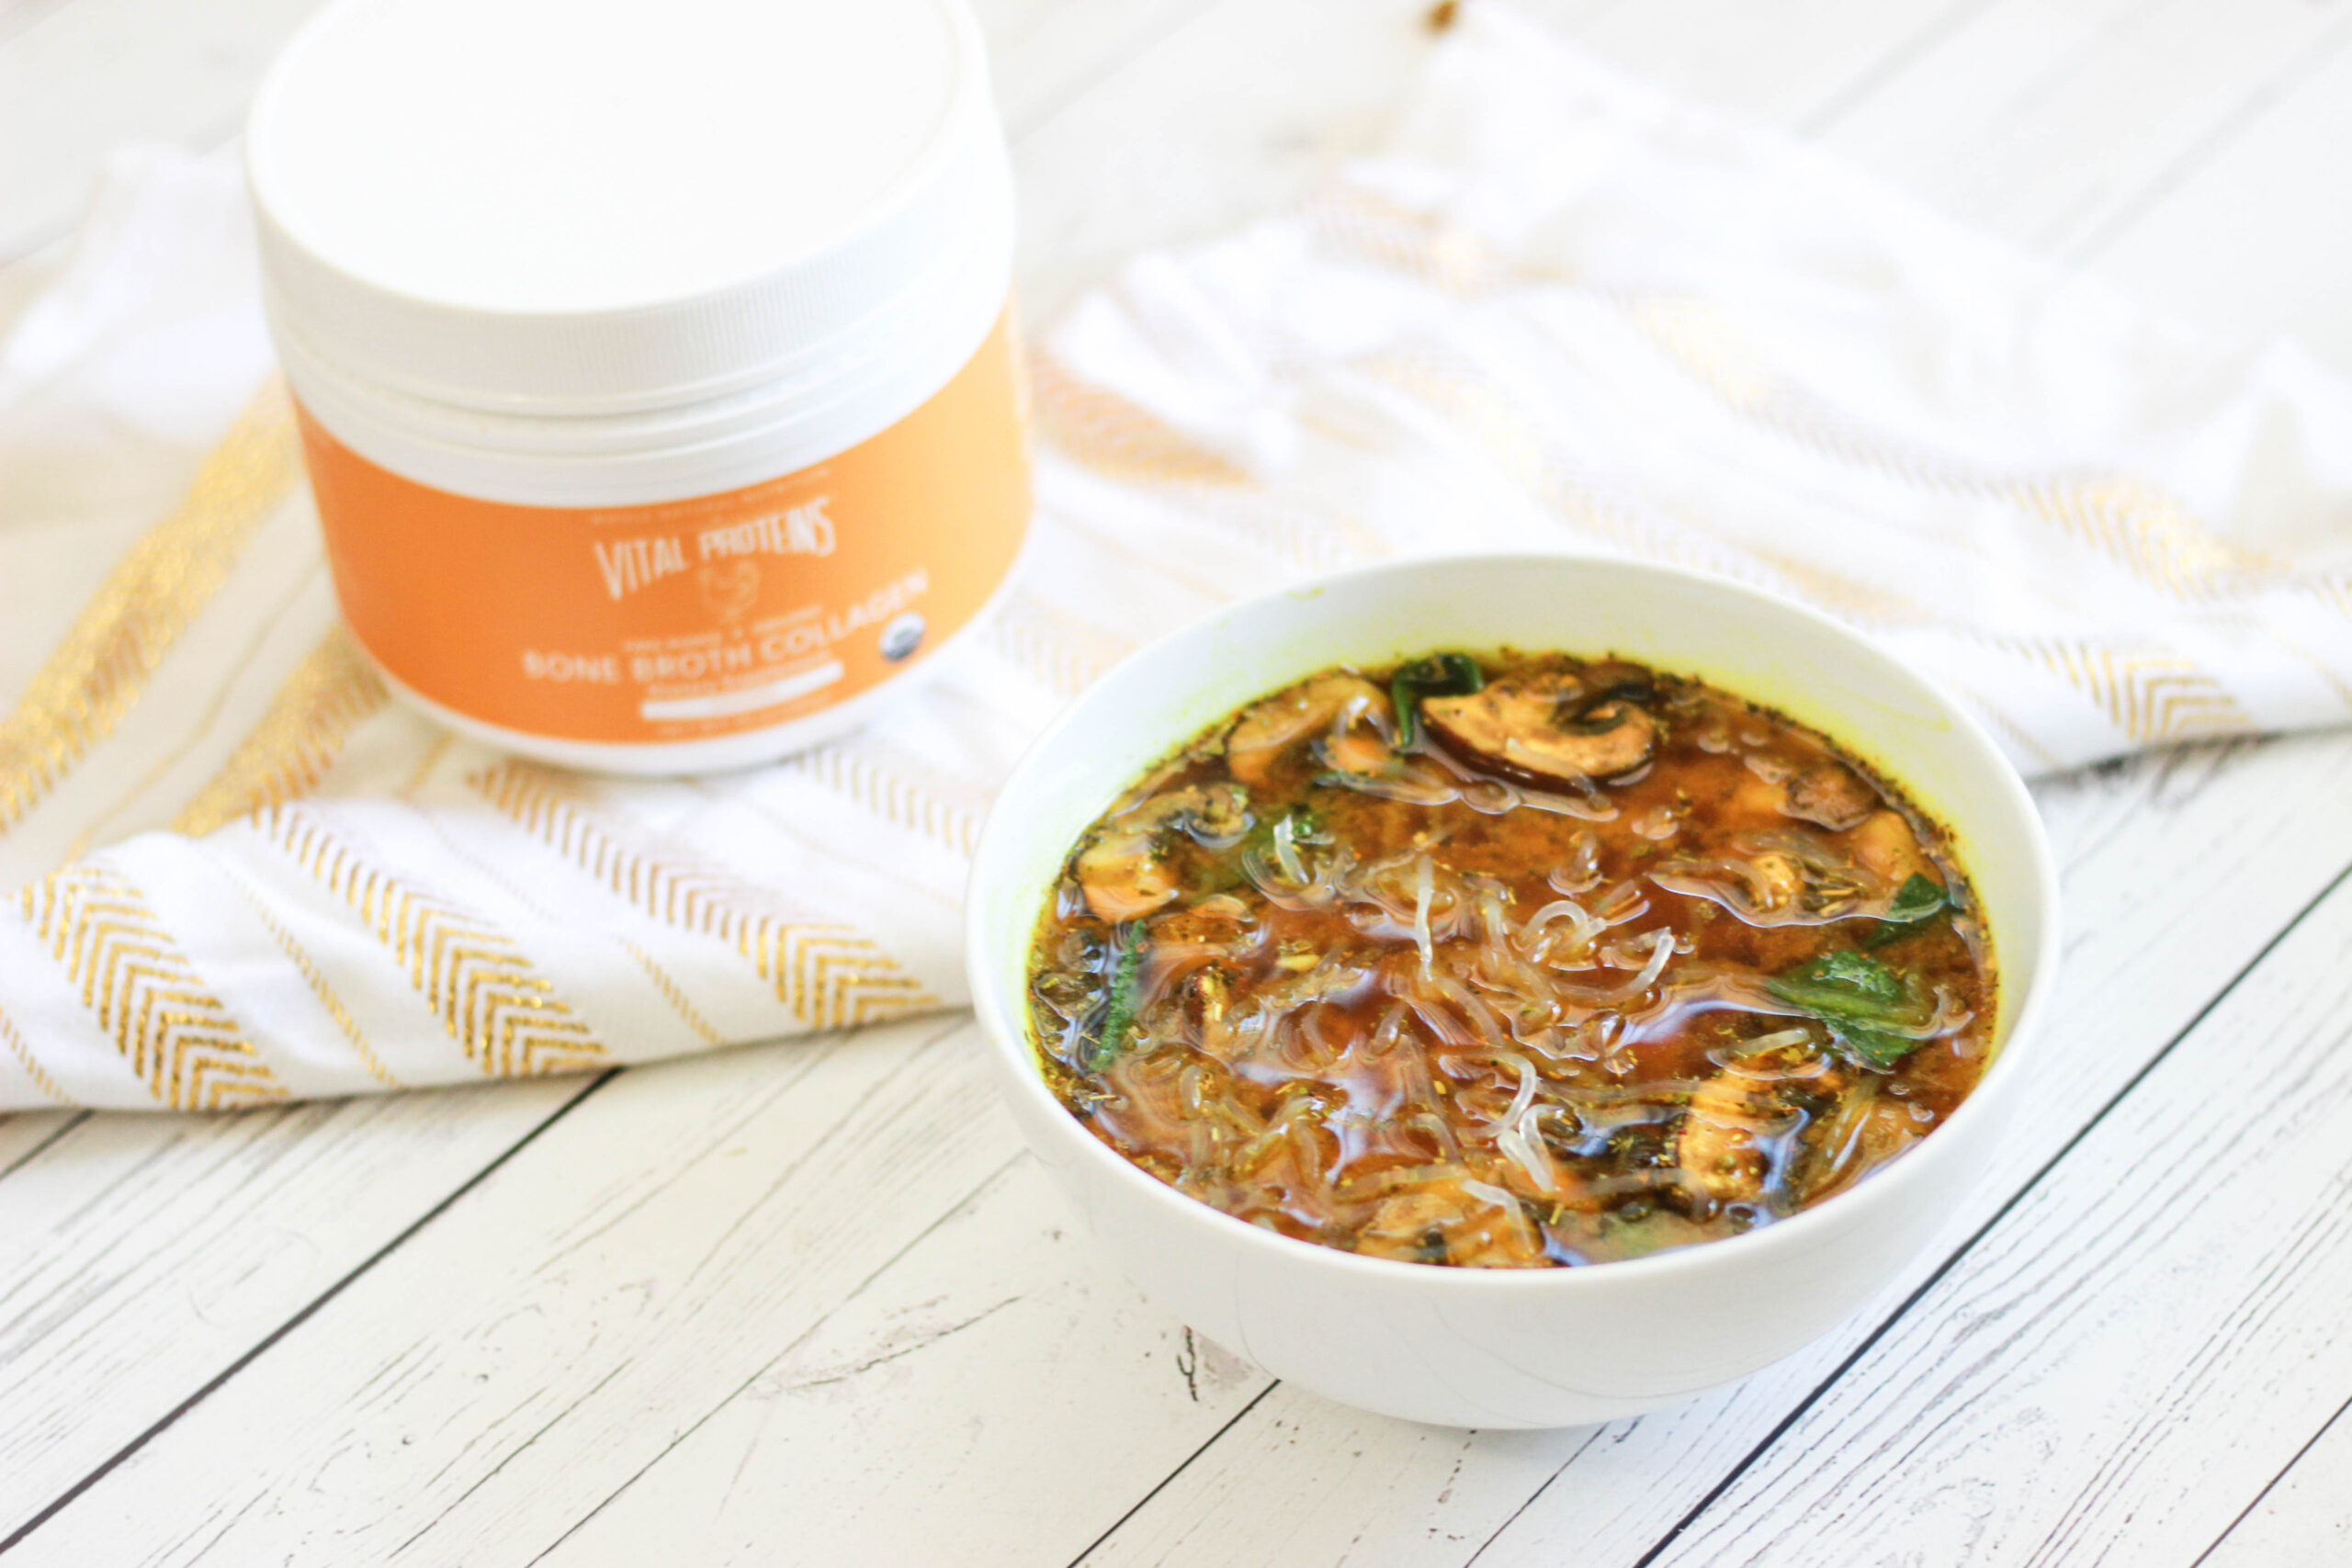
It might be 85 degrees as I write this, but I SWEAR it was cold in L.A. last week. The weather here is so confusing.
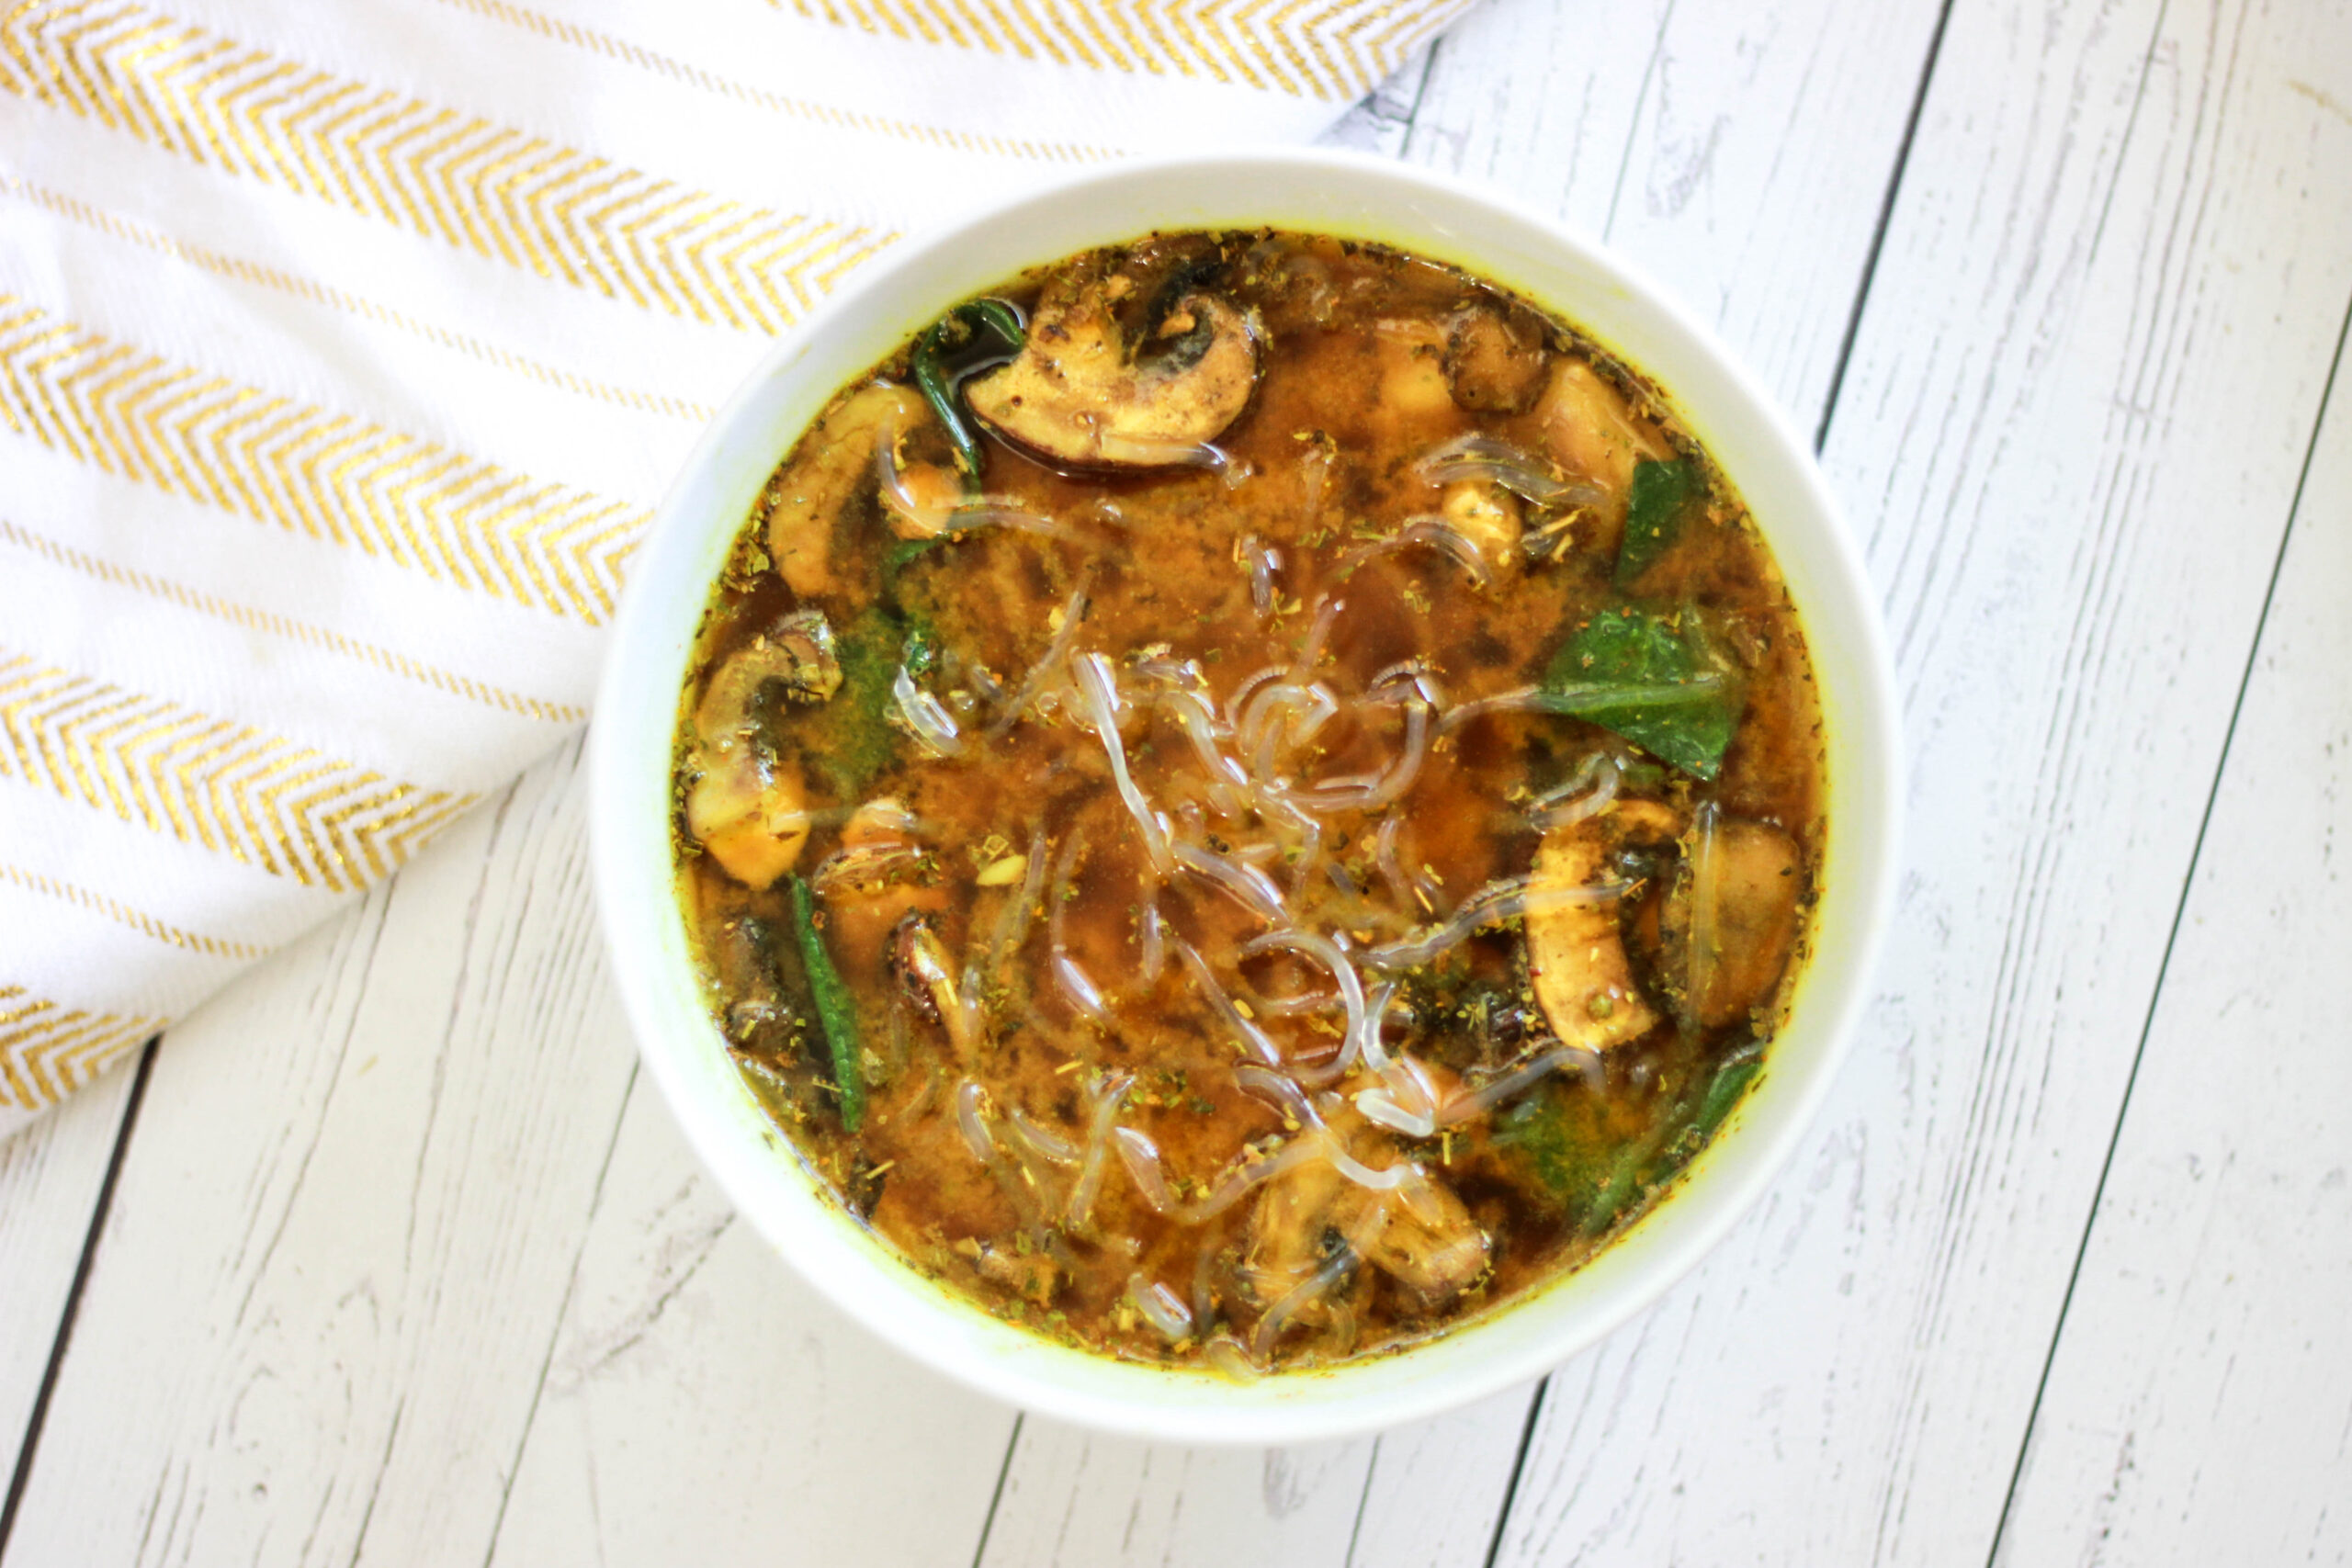
Anyways, it seems like everyone I’ve talked to recently has been getting sick, so enhancing immunity has been on my mind. I wanted to pull together a soup recipe that was incredibly immune-boosting, and really easy to make. I’m generally not a soup person because I feel like they take too much time. I also don’t make soup often because I don’t want to make a huge batch just for myself. I can only eat so much soup. I pulled a single serving of this delicious bone broth soup together in about five minutes, though, and it tasted like a dream. That’s my ideal soup – basically instant, full of immune-boosting ingredients, and easy to make as a single serving.
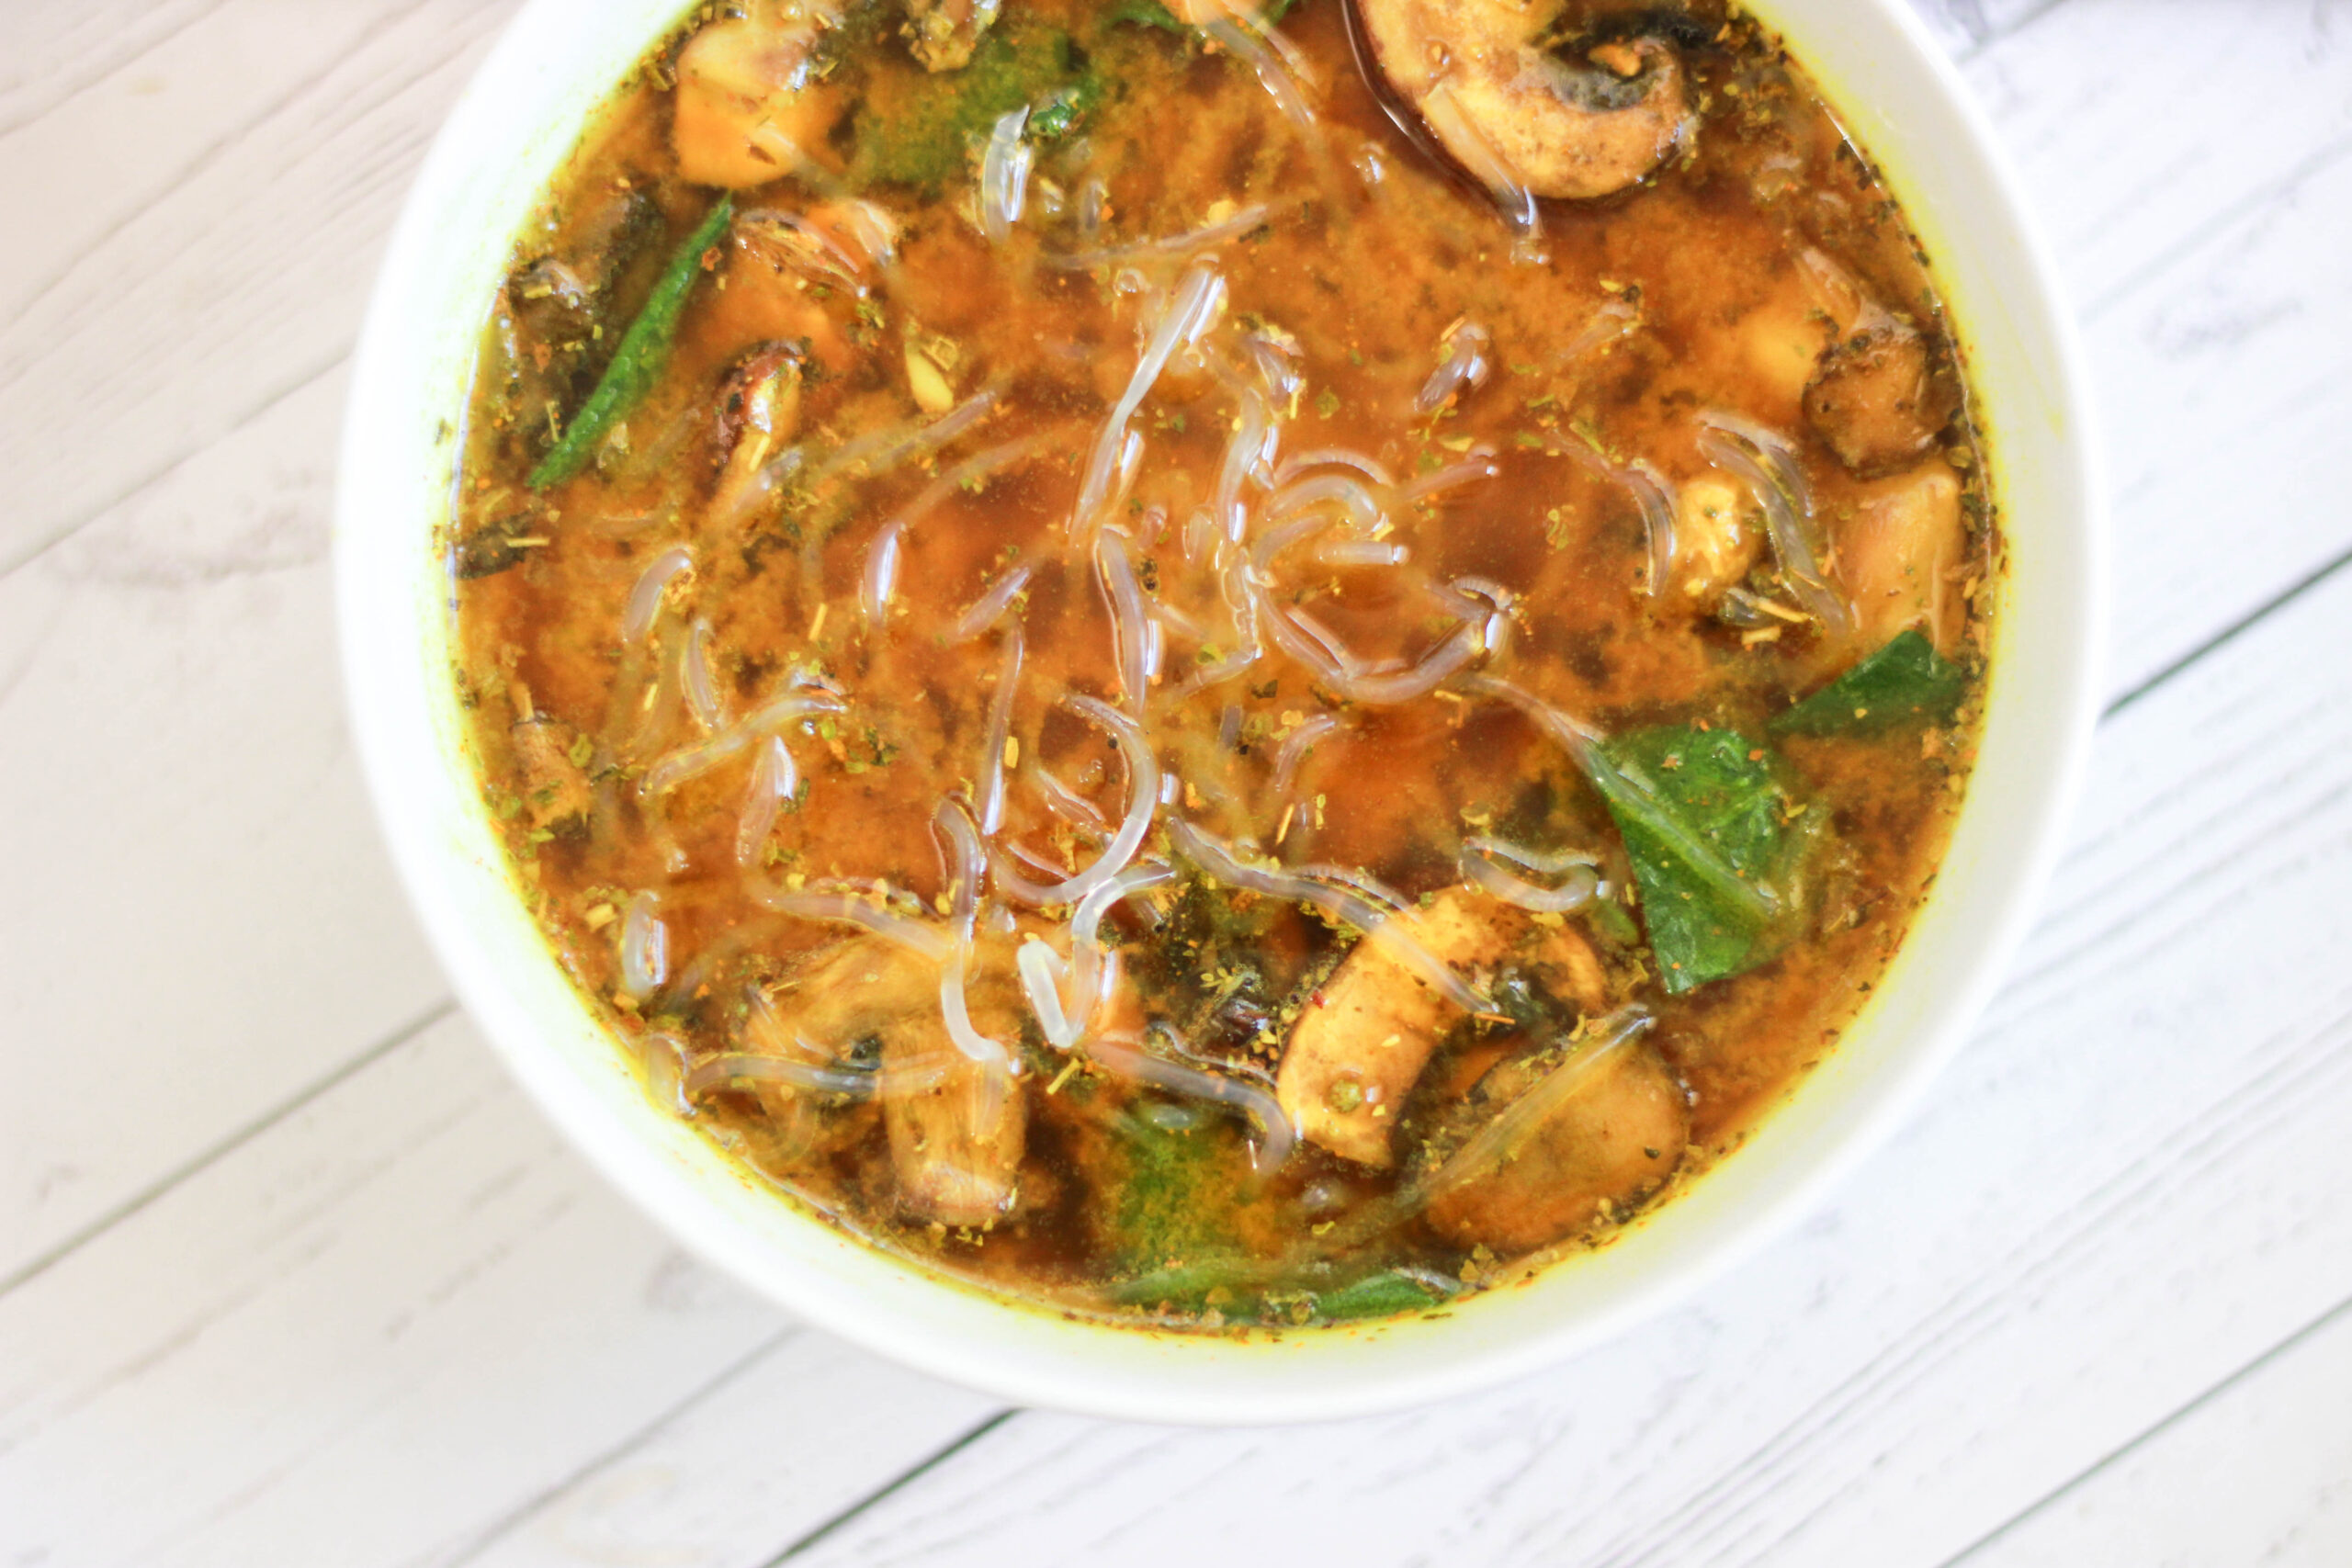
I love this Immune-Boosting Golden Bone Broth Mushroom Soup because every single ingredient contains properties that will enhance your immune system and fight inflammation. I see this as the perfect soup to pull together when you’re sick, or to whip up when you’re worried a sickness might come on soon. Let’s talk about all of the magical ingredients inside, shall we?
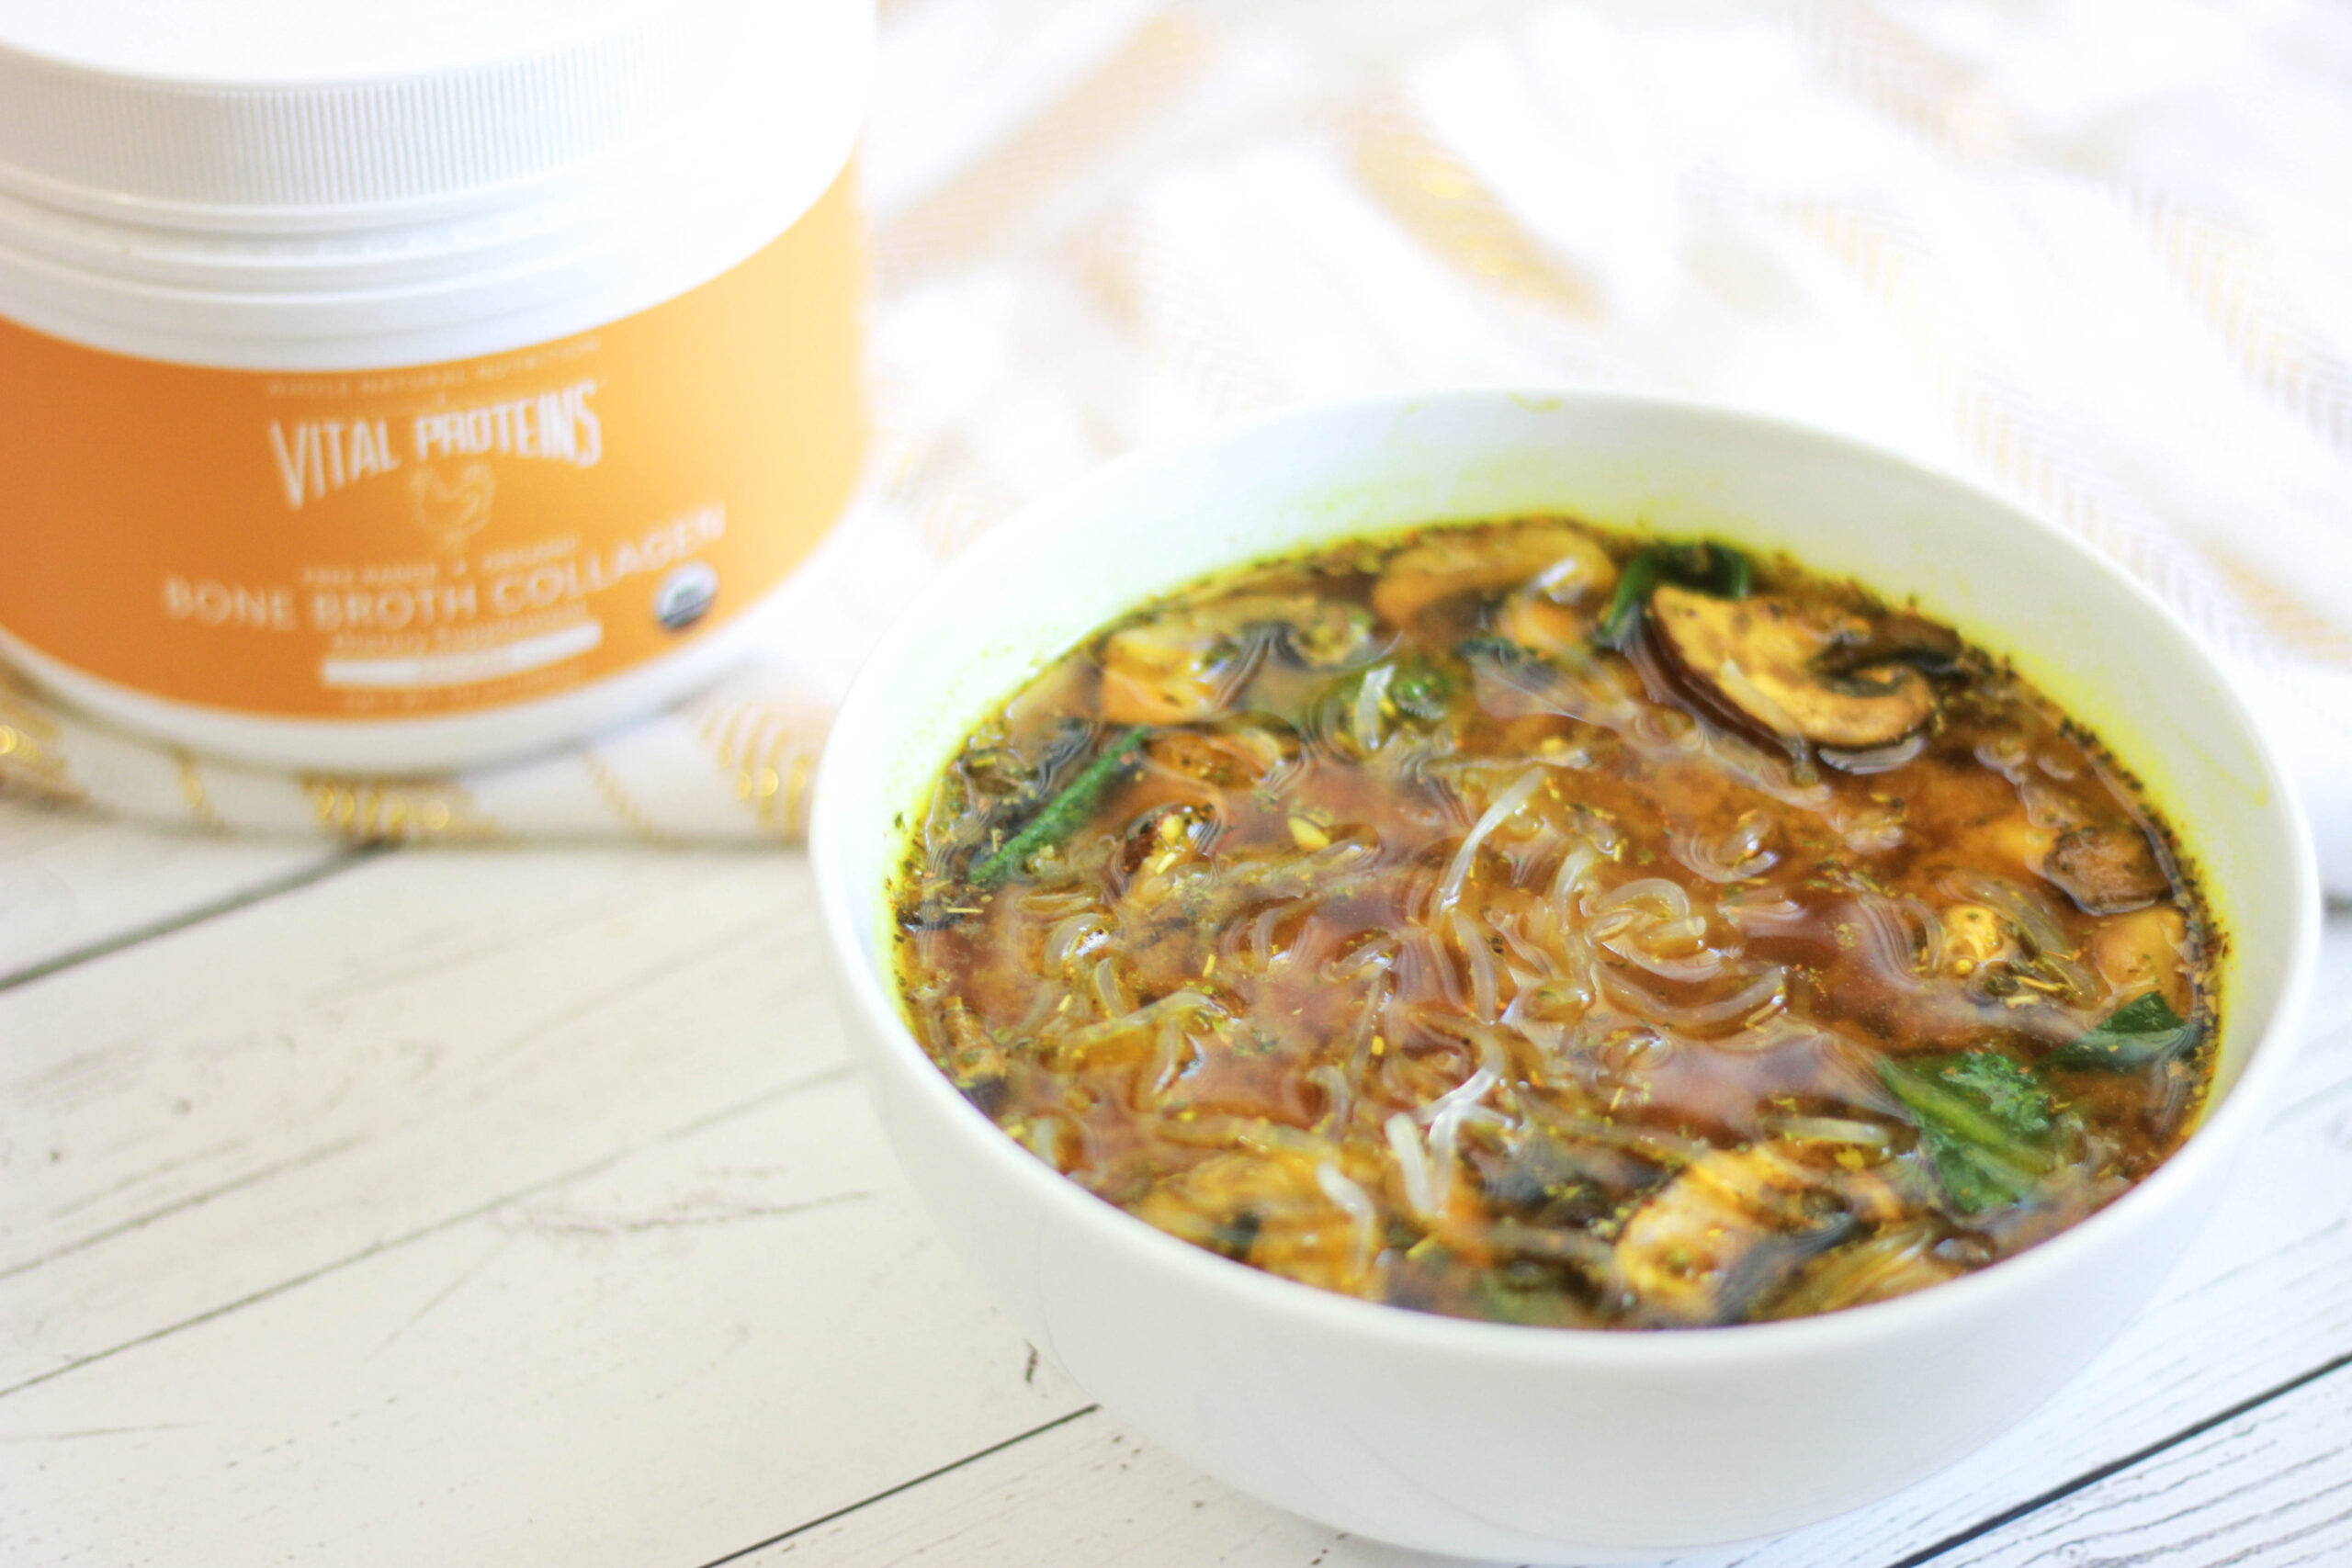
First of all, the star of the show – bone broth! I think I should do a whole separate post about bone broth to really get into the specifics, but bone broth is one of the most healing foods to include in anyone’s diet. There’s a reason why so many healing diets and protocols begin with a gut-healing bone broth phase! Traditional cultures have been using bone broth for a very long time, and it’s no coincidence that most traditional cultures were devoid of many of the illnesses and diseases widespread in modern societies. Traditional cultures knew a thing or too about natural healthcare – that’s for sure. Bone broth is traditionally made by boiling animal bones with an acid and spices, and maybe some vegetables and herbs. Bone broths are usually simmered for a very long time, often for over 24 hours. It’s not a quick process.
However, taking that time tends to be well worth it because it’s such a rich source of incredibly bio-available nutrients. Thanks to the gelatin content, bone broth is filled with a ton of beneficial amino acids, like proline, glycine, arginine, and glutamine, that reduce inflammation, boost the immune system, and help with concerns like allergies, asthma, and arthritis. Bone broth boosts detoxification thanks to its high content of minerals like calcium, magnesium, phosphorous, sulphur, and silicon that can easily be absorbed by the body. Bone broth is incredibly healing for the gut, helps to increase our absorption of nutrients from other foods, supports the health of our nails, skin, and hair, and improves joint health. Since so much of our immune system is in our gut, bone breath is especially great to support immunity because it soothes the gut lining and reduces inflammation.
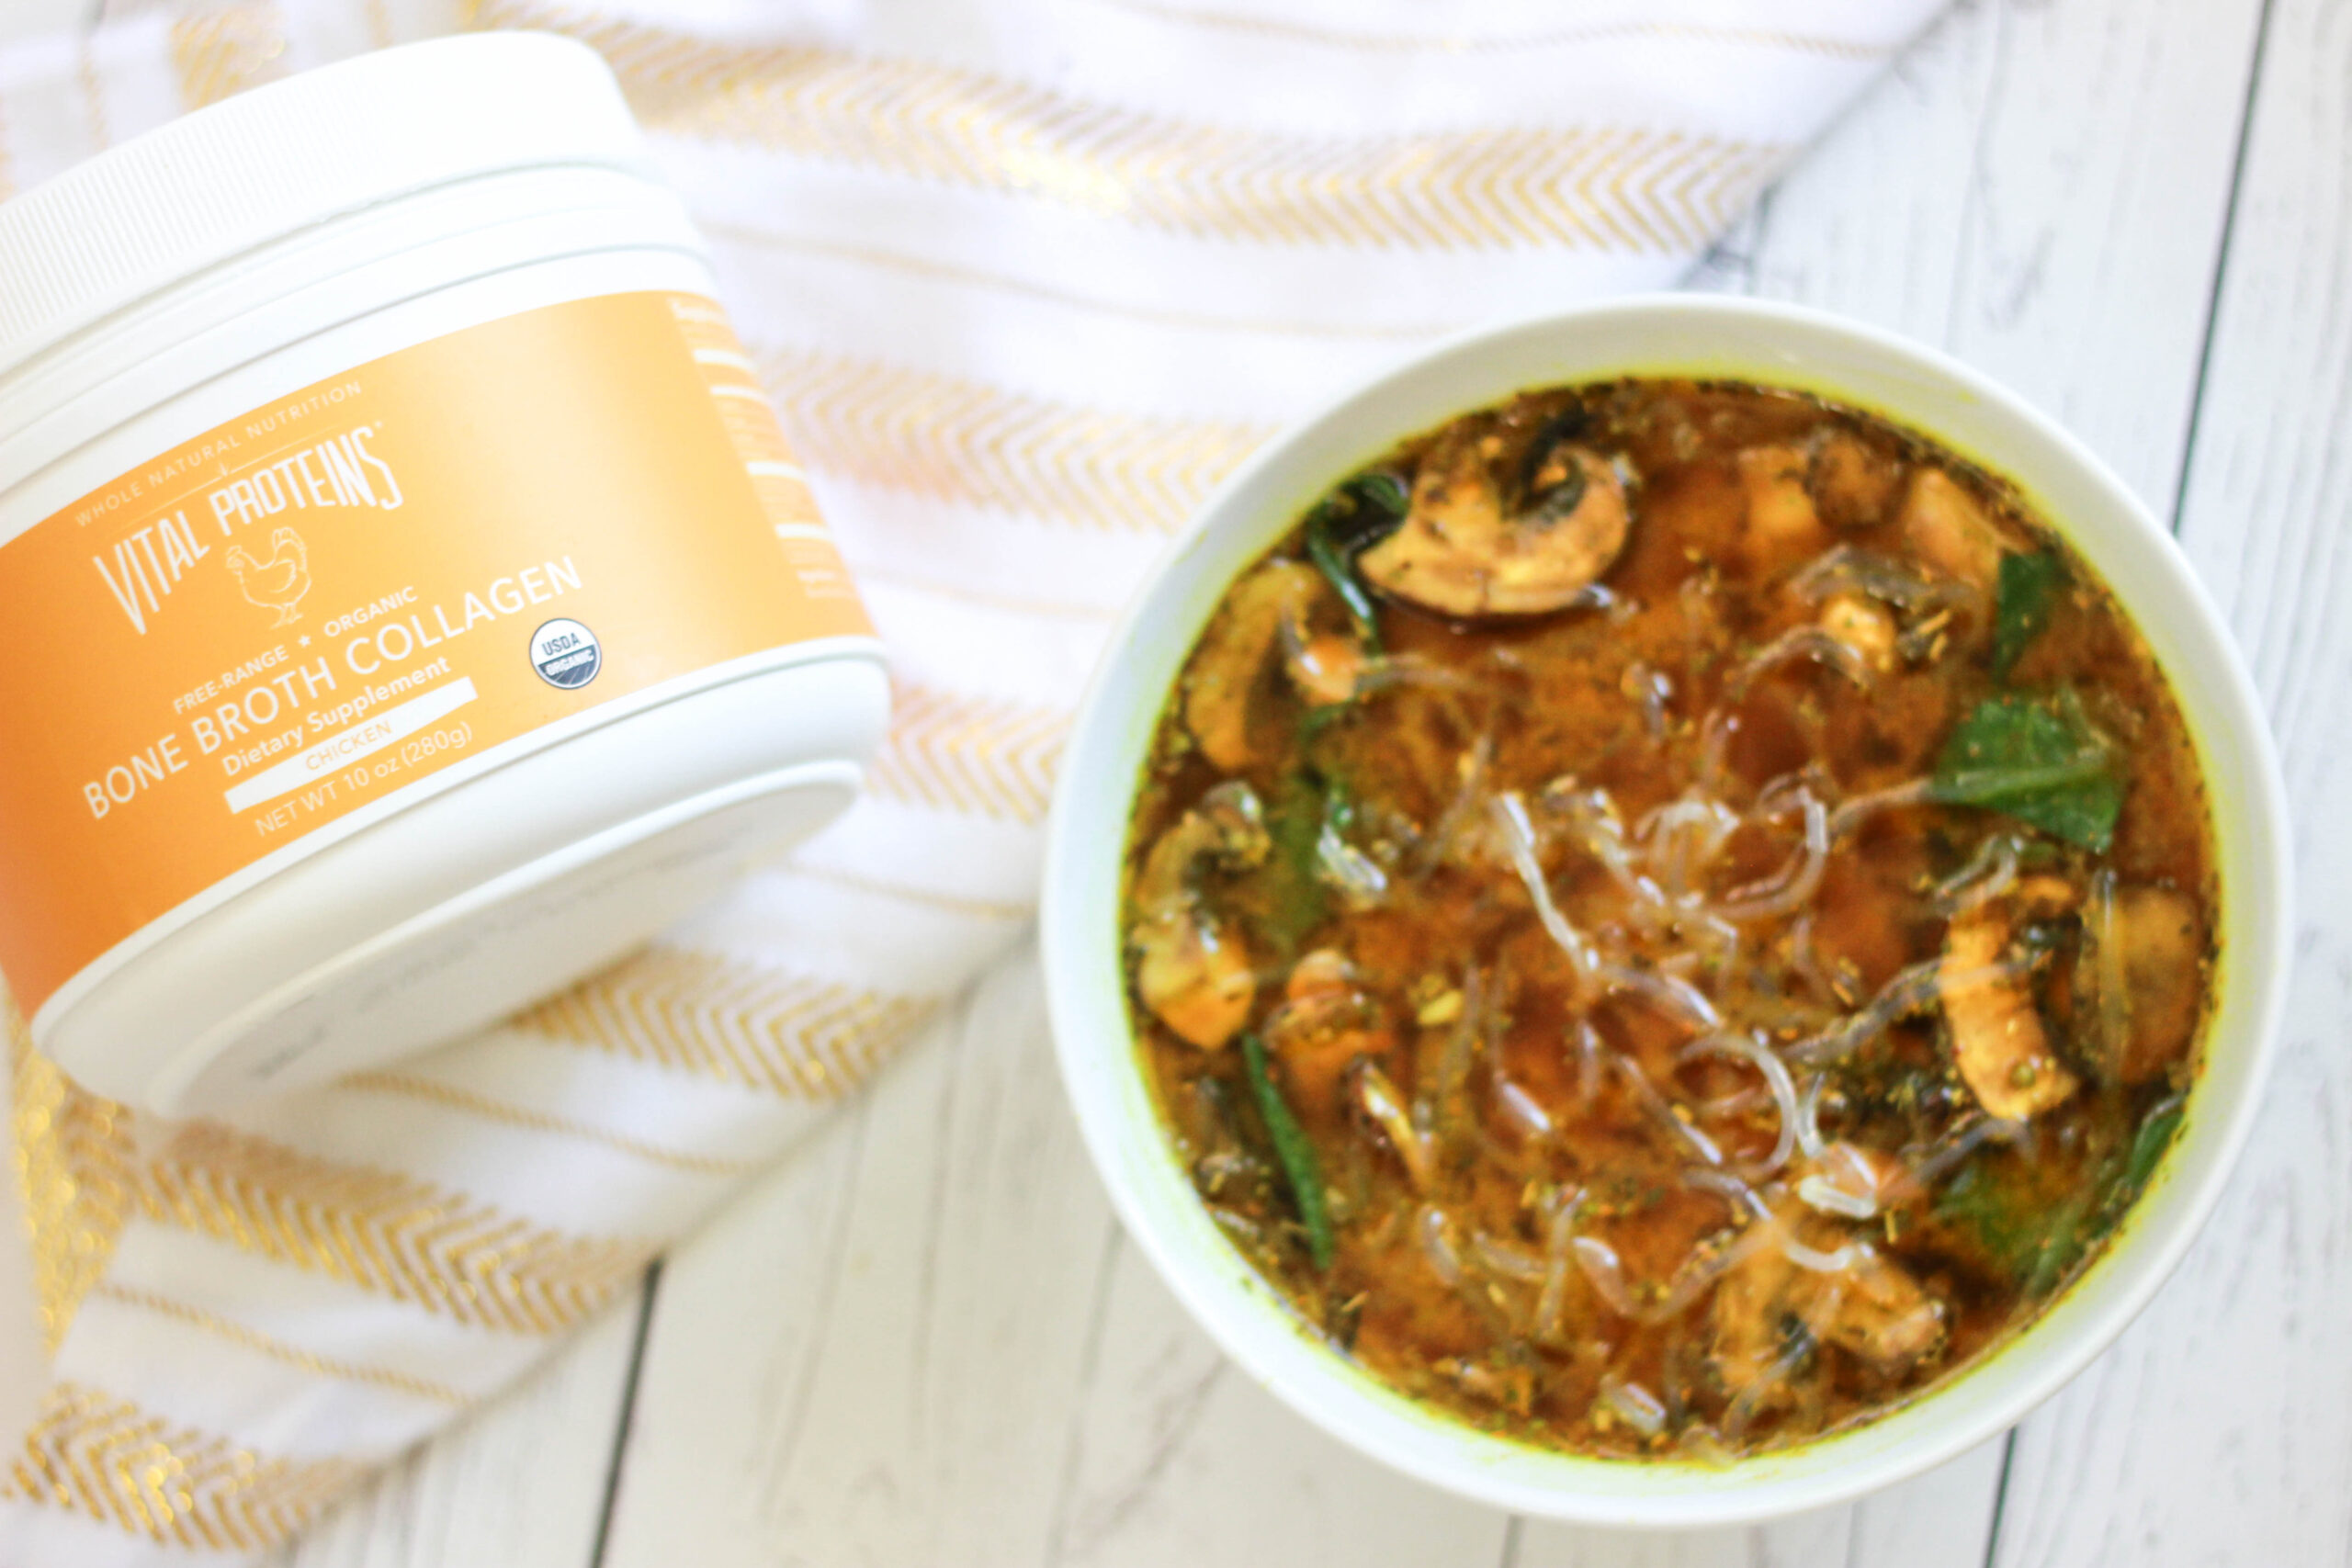
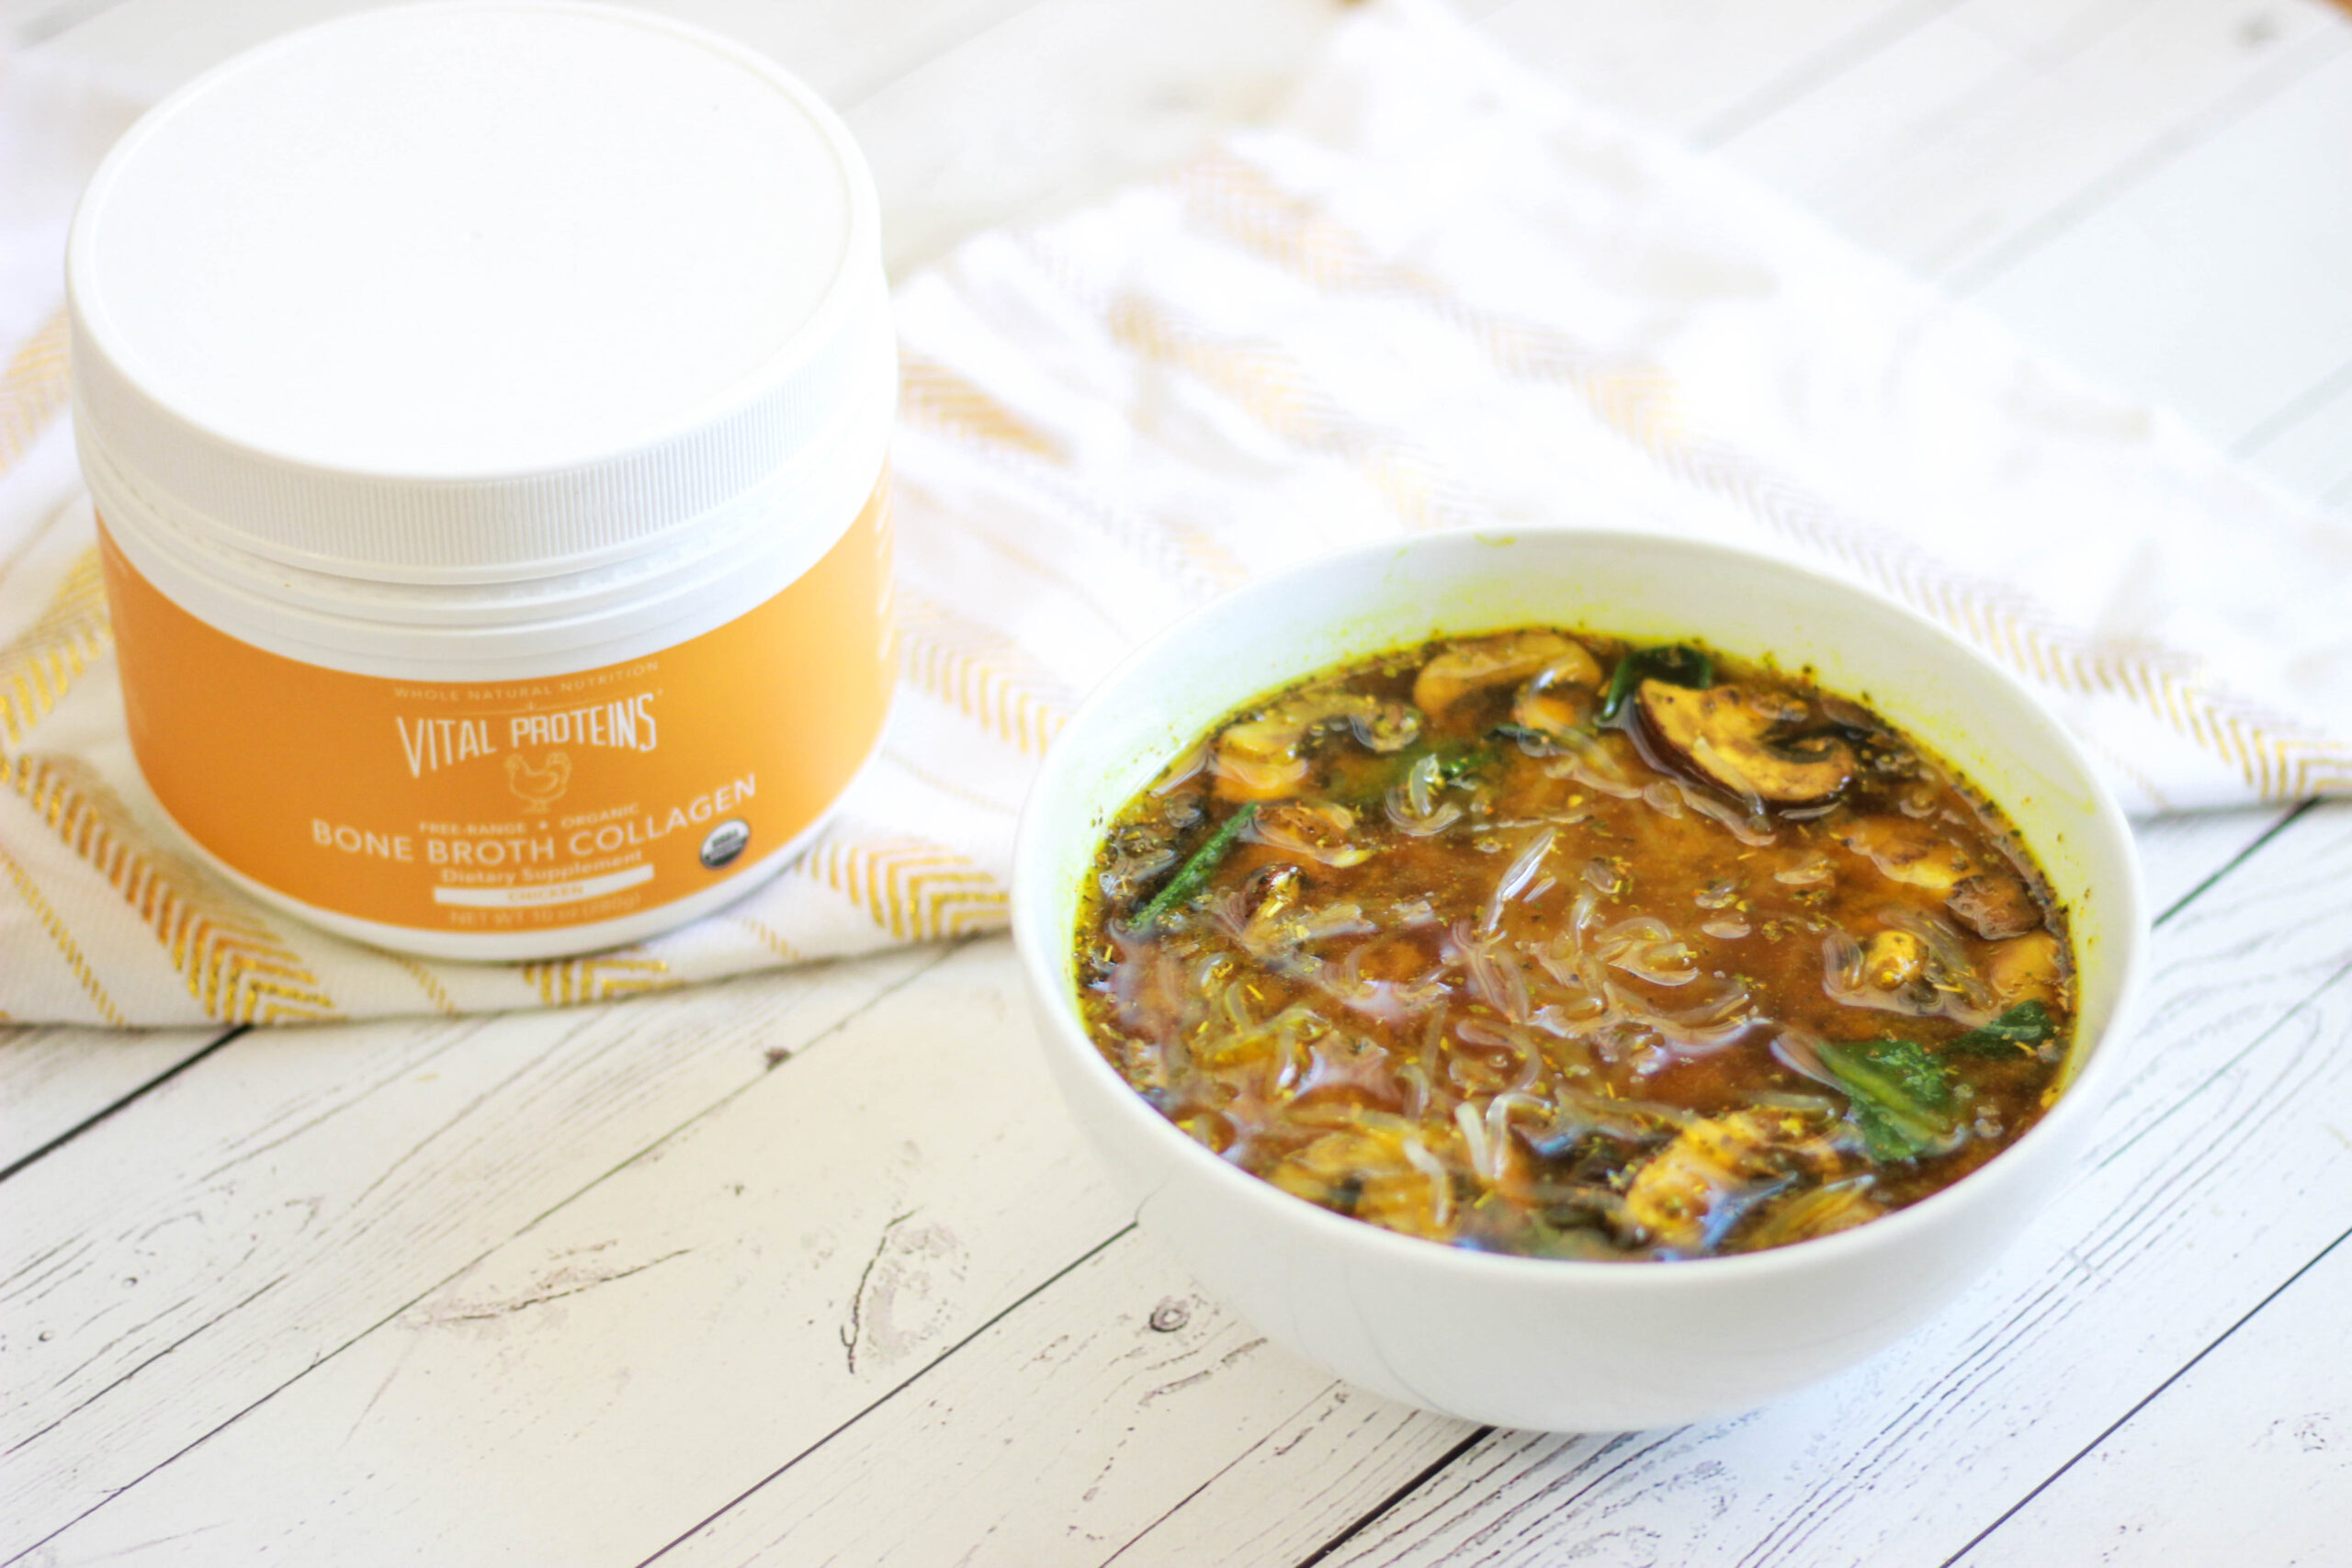
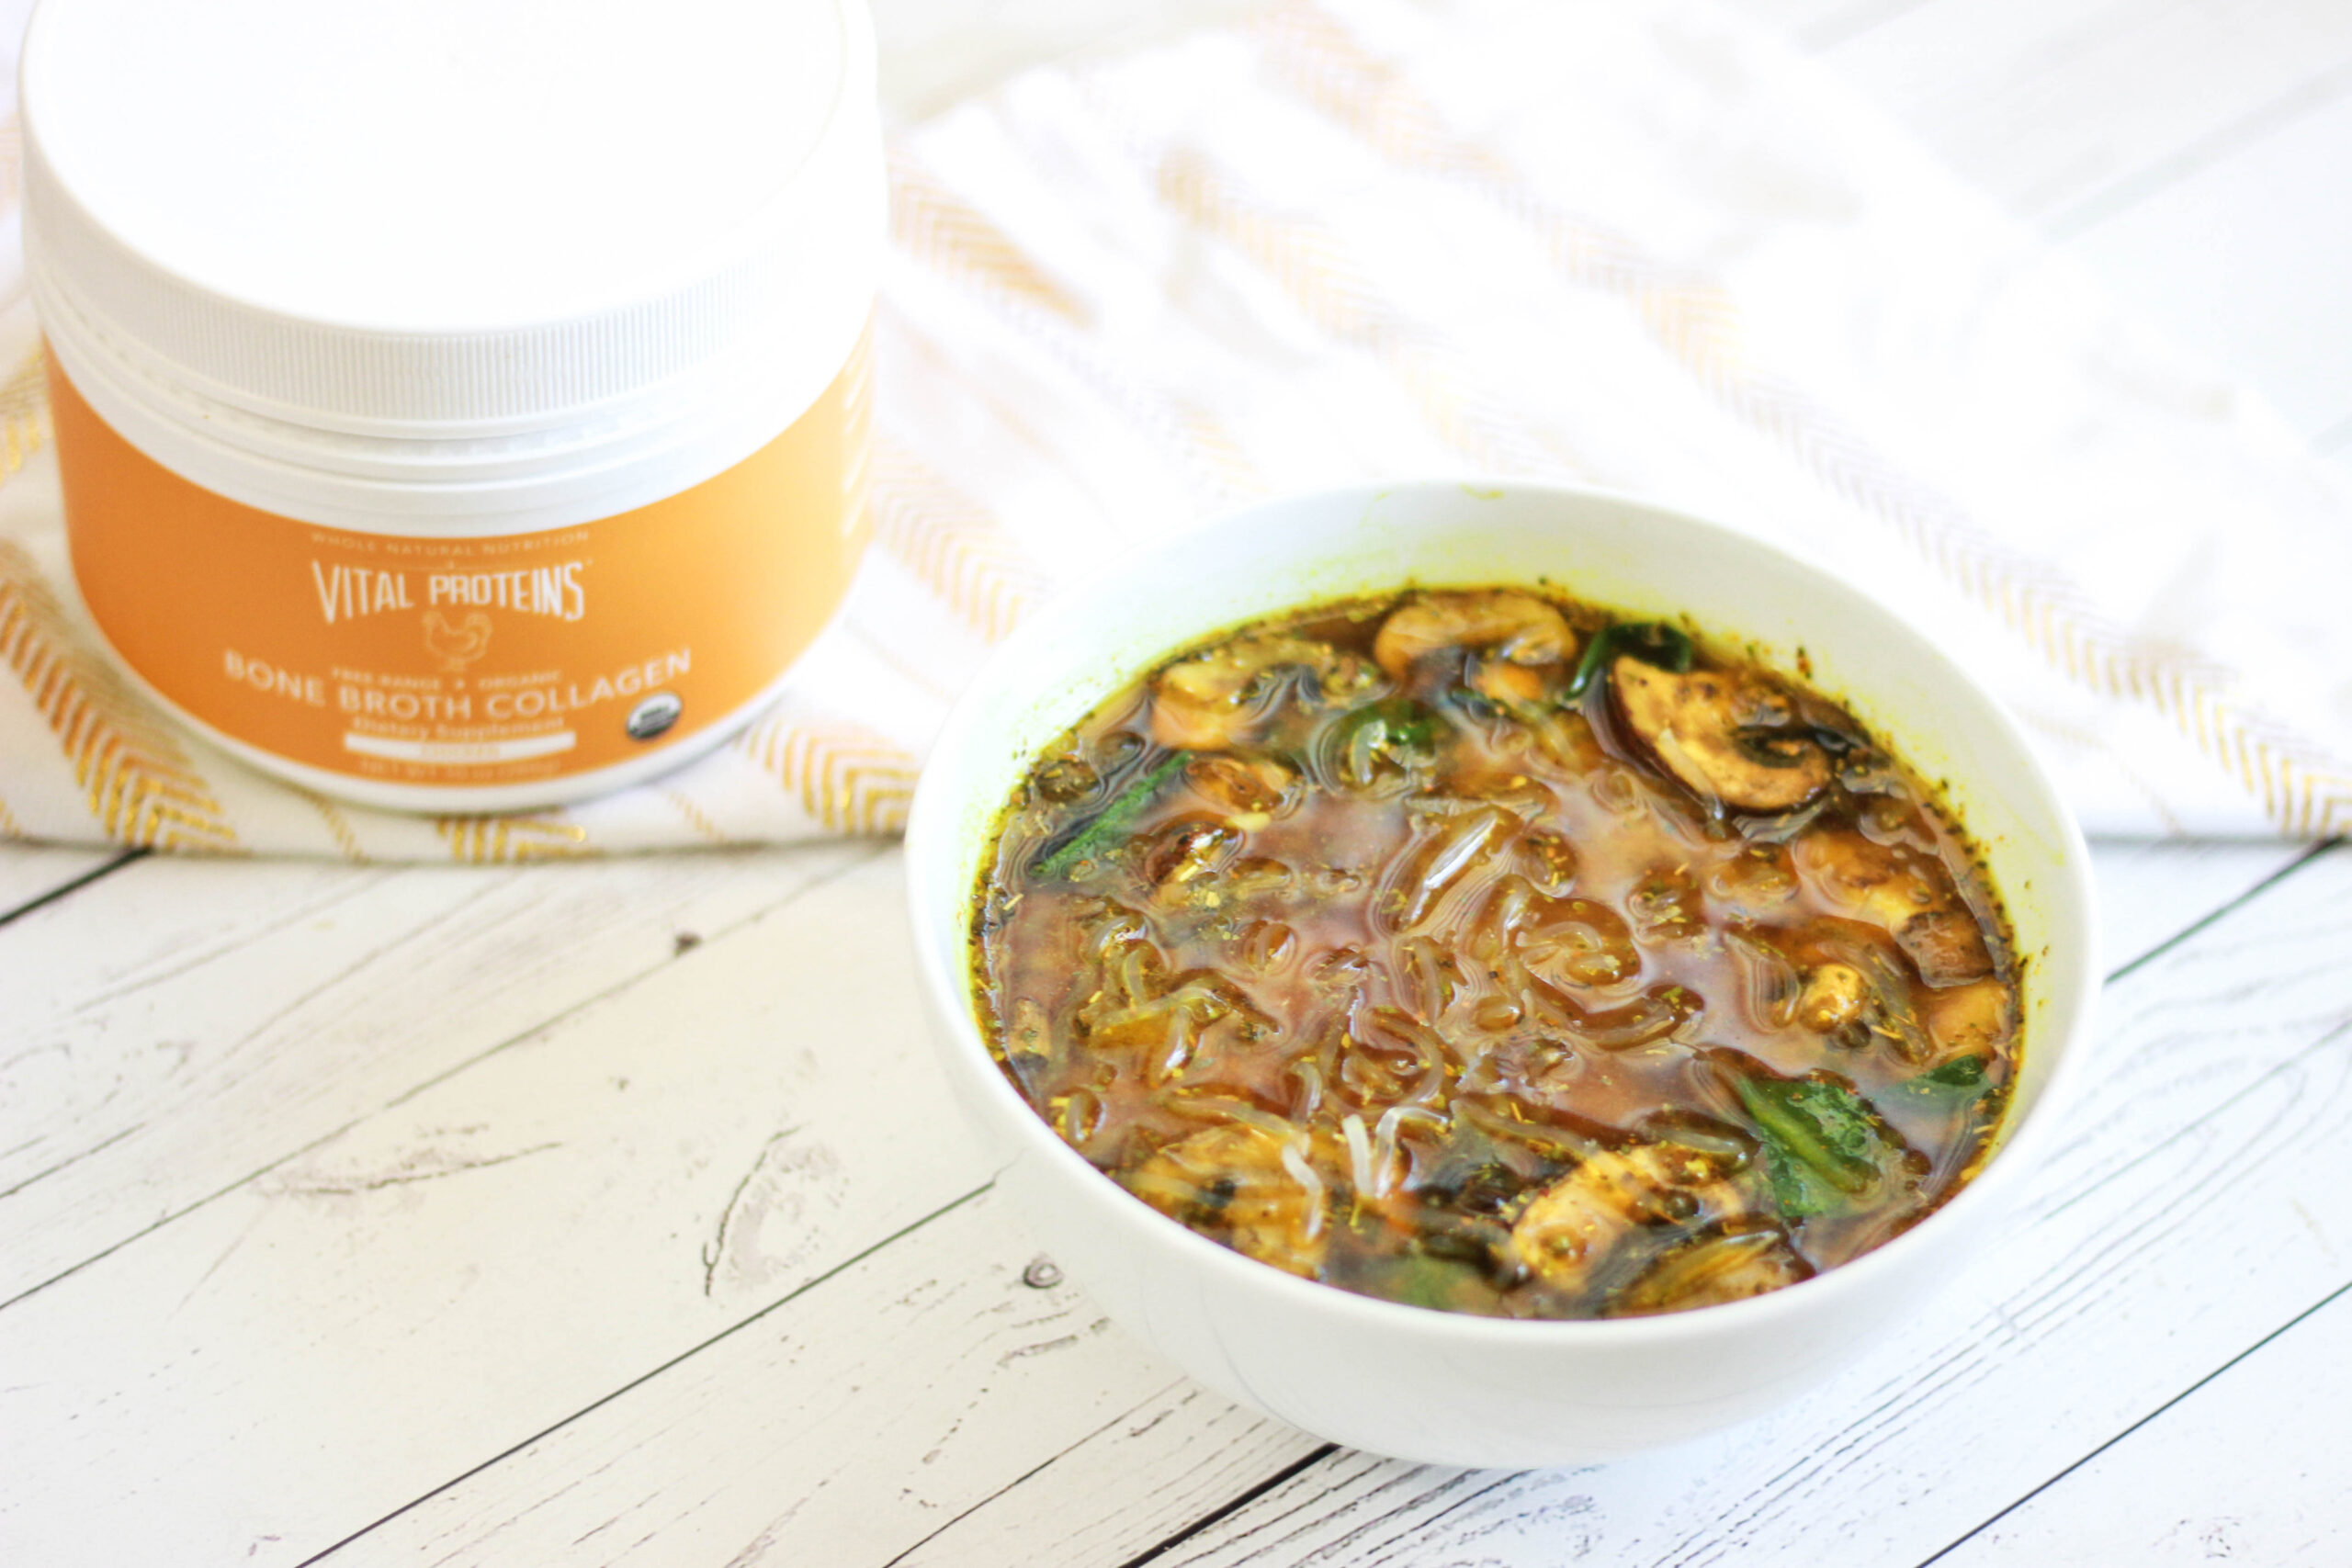
It’s safe to say that bone broth is a superfood, but making it in the traditional way can be a bit of a drag. That is why I love Vital Proteins bone broth powder! It comes in beef or chicken, and all you have to do is mix a scoop of the crystals with warm water. This is honestly a miracle – you can make instant bone broth whenever you want. I also love this powder because a lot of other pre-made bone broths contain a number of different herbs, spices, and vegetables already. This is plain bone broth, so it allows you to completely customize your own bone broth with whatever ingredients YOU want. I try to avoid garlic and onions as much as I can because they don’t usually sit well with me, but unfortunately most bone broths at the store contain these ingredients. The Vital Proteins bone broth has made my life so much easier – now I can have bone broth whenever I want, without the garlic!
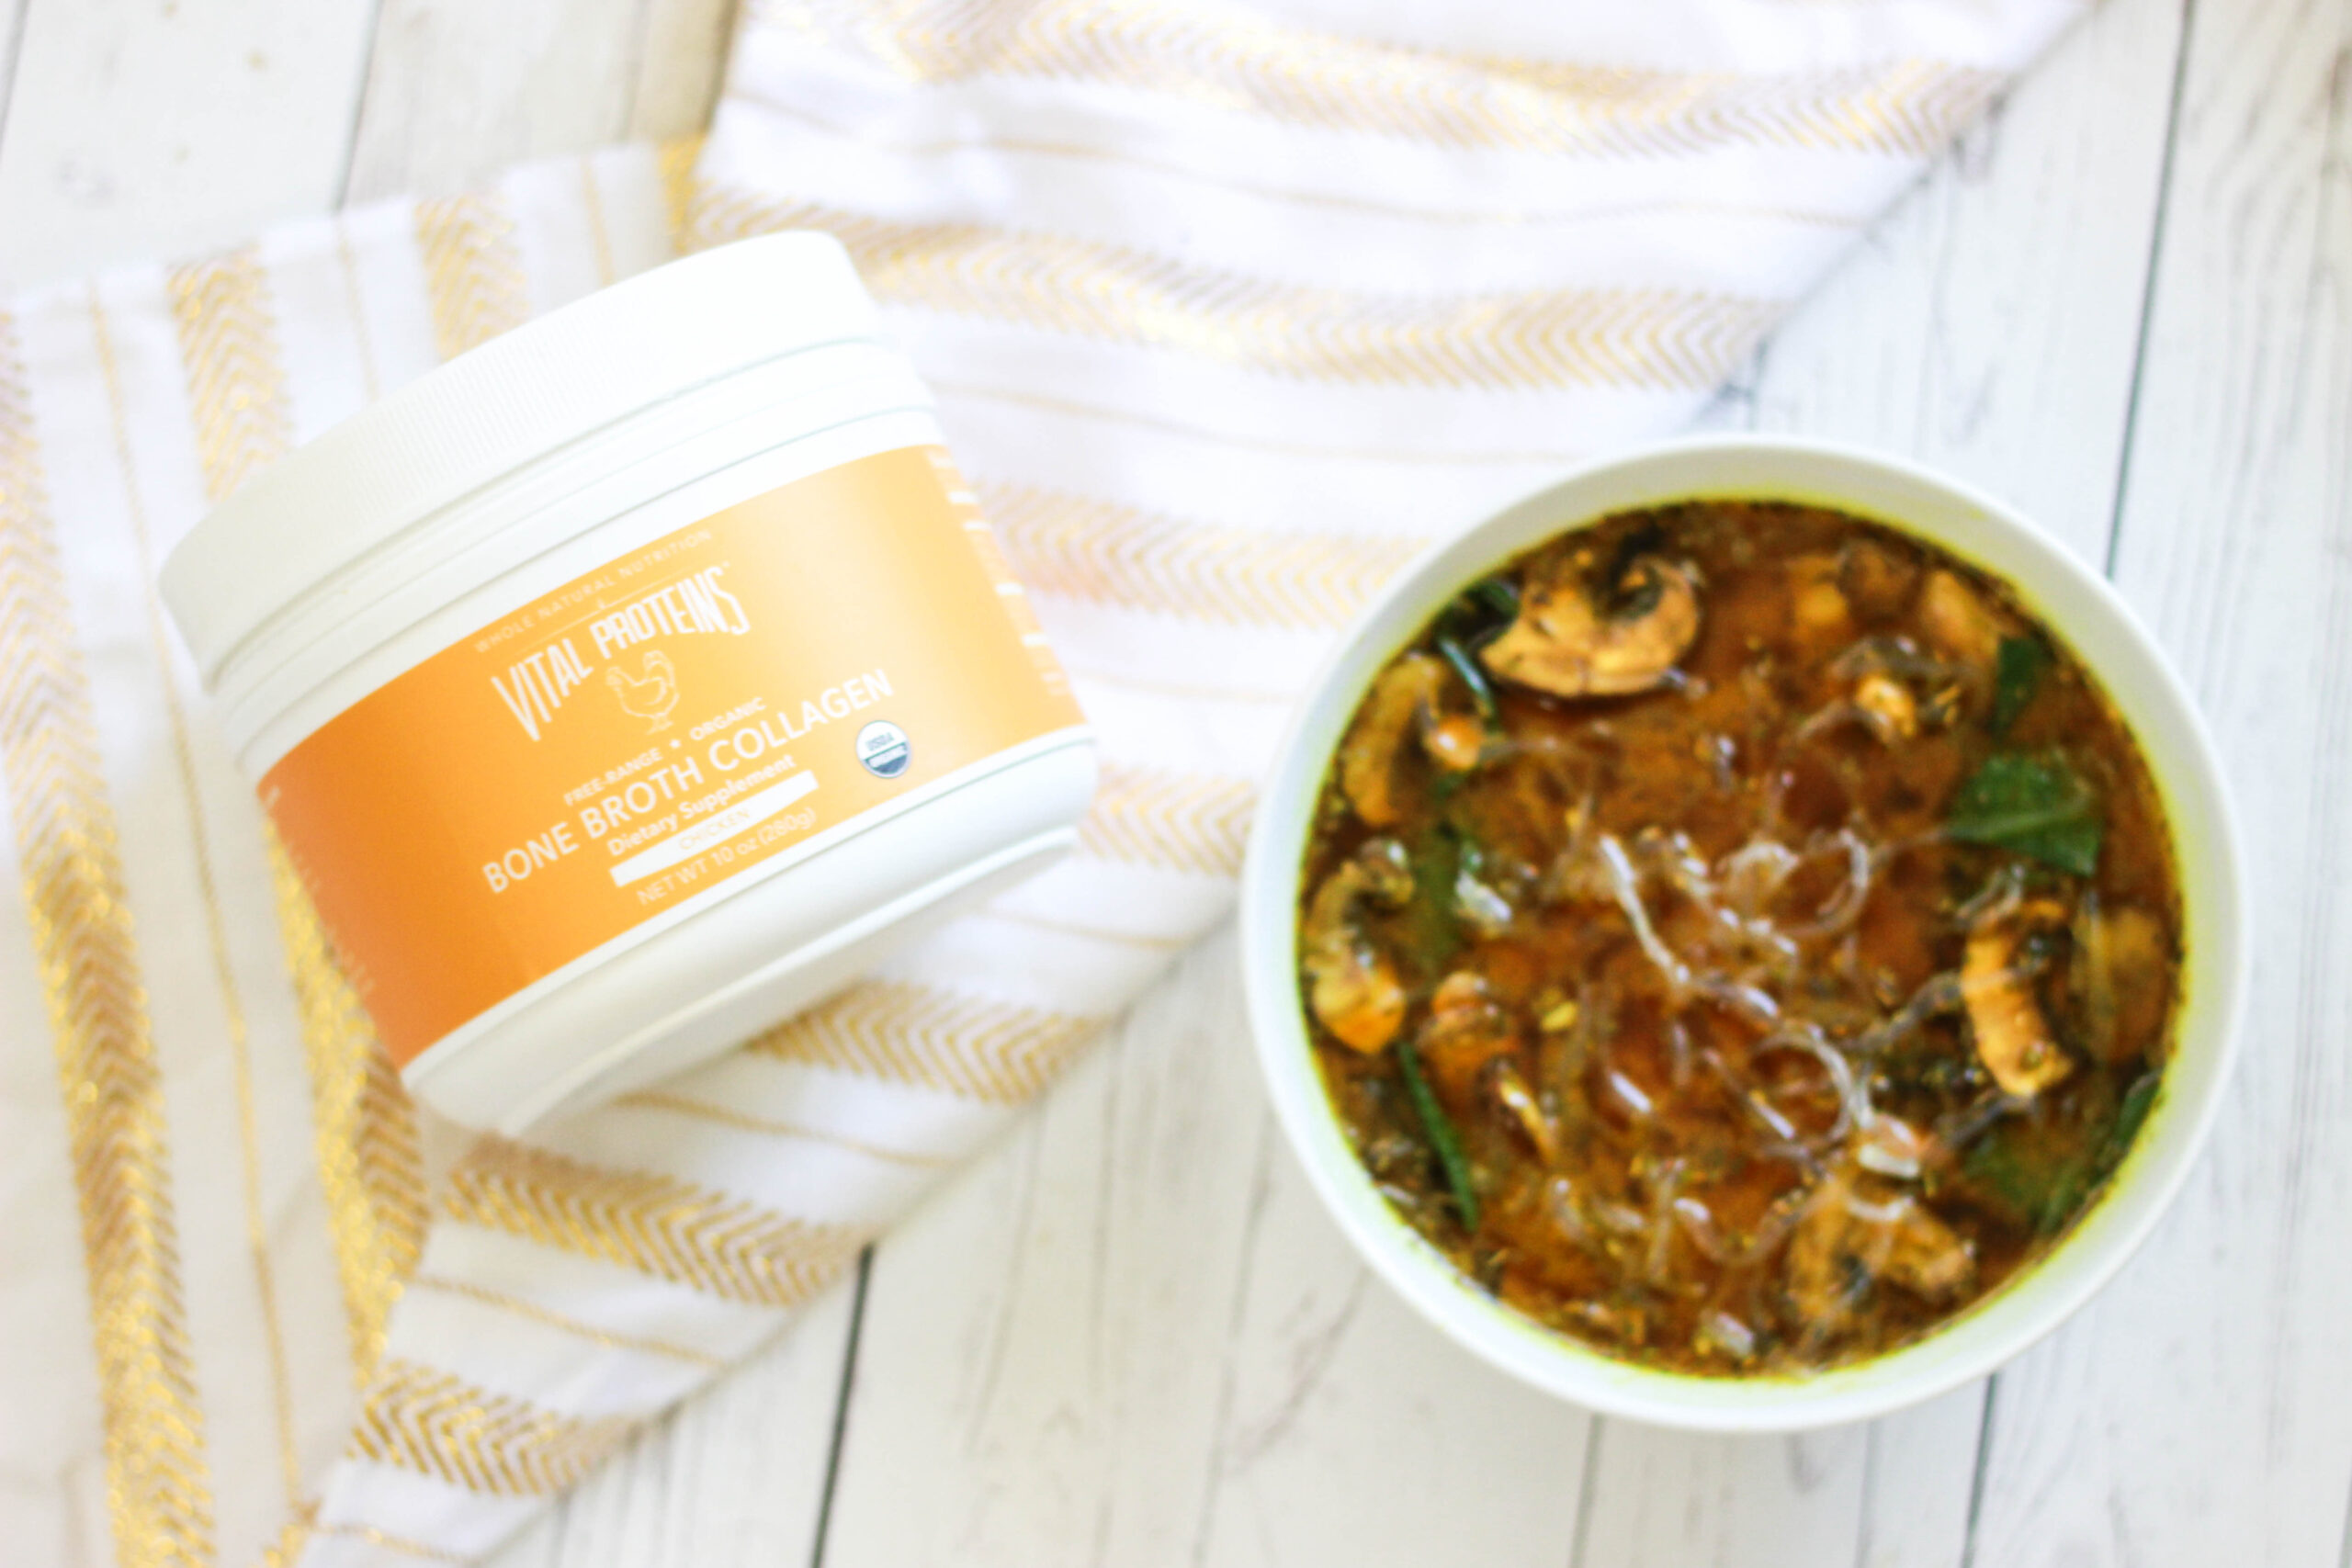
While bone broth is definitely the key player in this immune-boosting soup, every other ingredient has incredibly healing properties, as well.
Mushrooms, for example, have anti-viral, anti-inflammatory, and antioxidant abilities that have been shown to prevent against viruses and help to get rid of sicknesses. Mushrooms have been shown to increase the production of our immune cells, and some even use mushrooms as a natural cancer treatment. They’re also associated with lower inflammation because of their natural ability to fight against dangerous bacteria and viruses.
Next up – spinach! Spinach is high in vitamins A and C, which are both considered antioxidants, as they help to protect against bacteria, viruses, and toxins. Some suggest that spinach can help to pull out carcinogenic substances in the body, which aids in detoxification and reduces inflammation. That’ll definitely boost your immune system!
I also used kelp noodles in this soup, because what’s a soup without some noodles? Kelp is a form of seaweed that contains many nutrients. It’s a great source of iodine, but seaweed has been shown to act as a natural anti-inflammatory and antioxidant. Kelp noodles are basically flavorless and act as a crunchy “chameleon” noodle in any dish. All you have to do is soak them before using them!
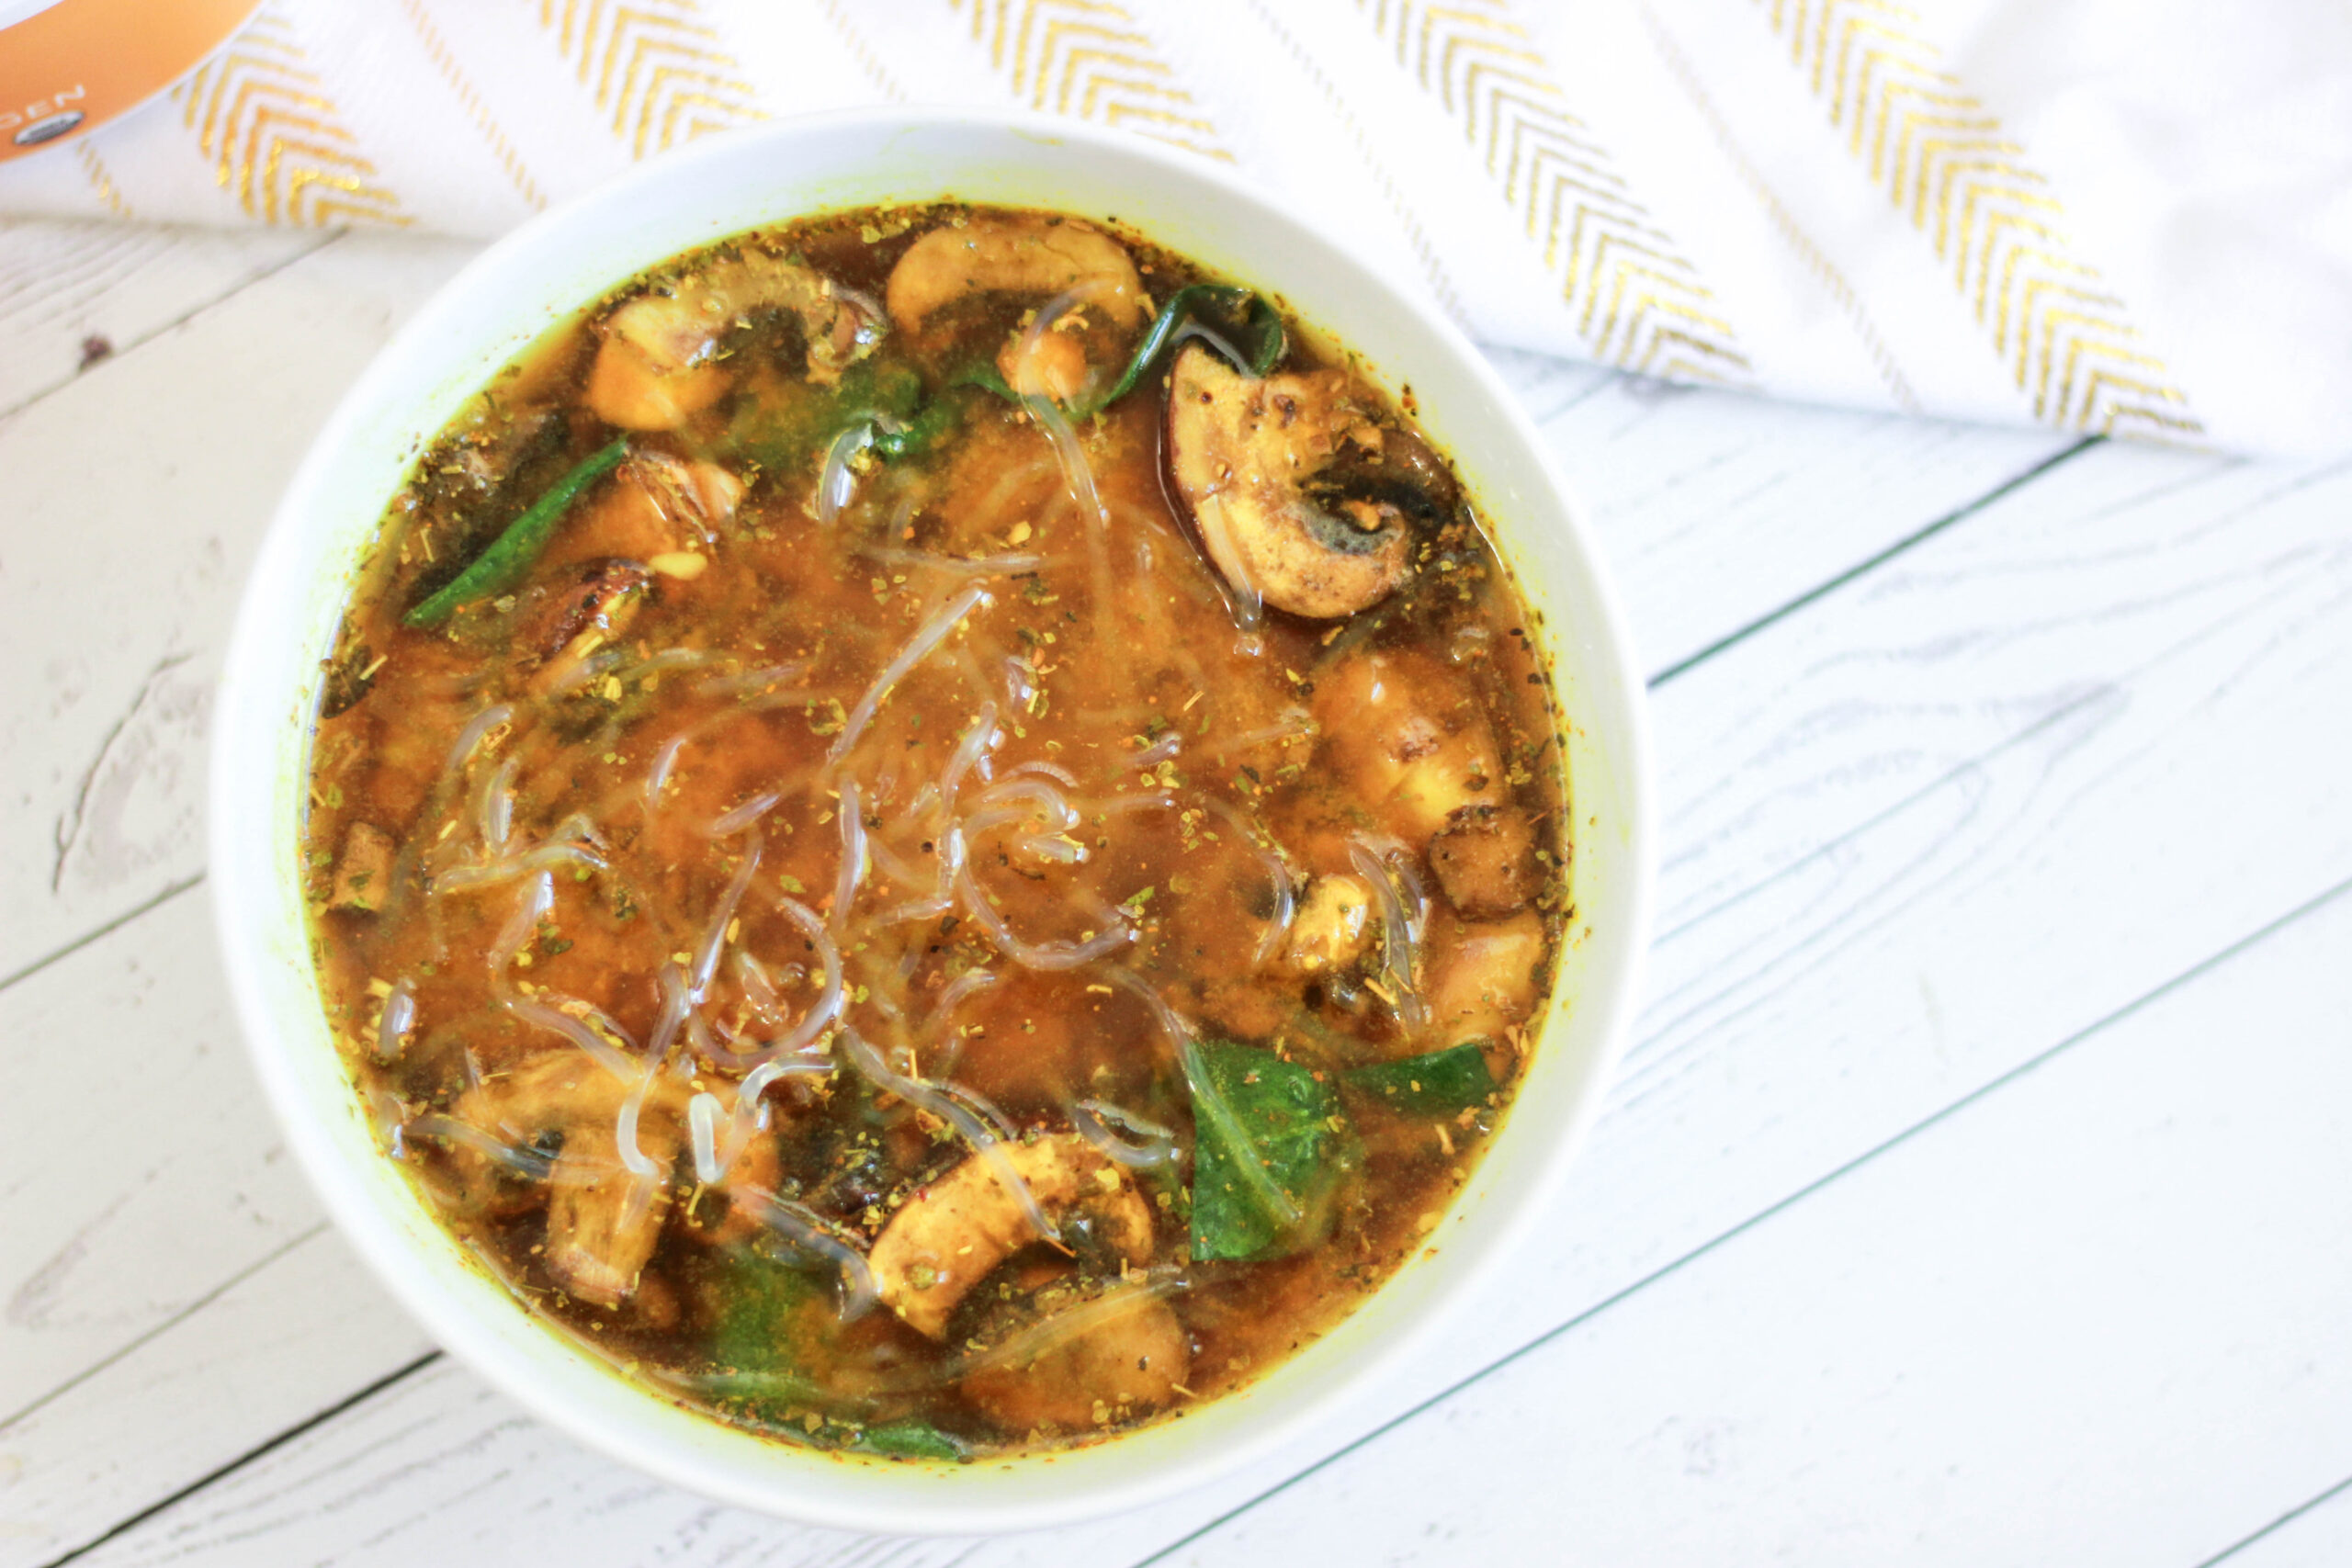
I made this soup “golden” thanks to two of my favorites – ginger and turmeric. Ginger has been used to treat illnesses for thousands of years thanks to its antioxidant and anti-inflammatory properties. It’s a natural remedy for nausea, bloating, indigestion, and constipation because it helps relax the muscles in your gut lining. It has also been used in Ayurvedic medicine for years to boost the immune system because of its antibacterial properties and its ability to help break down any buildup of toxins in your organs.
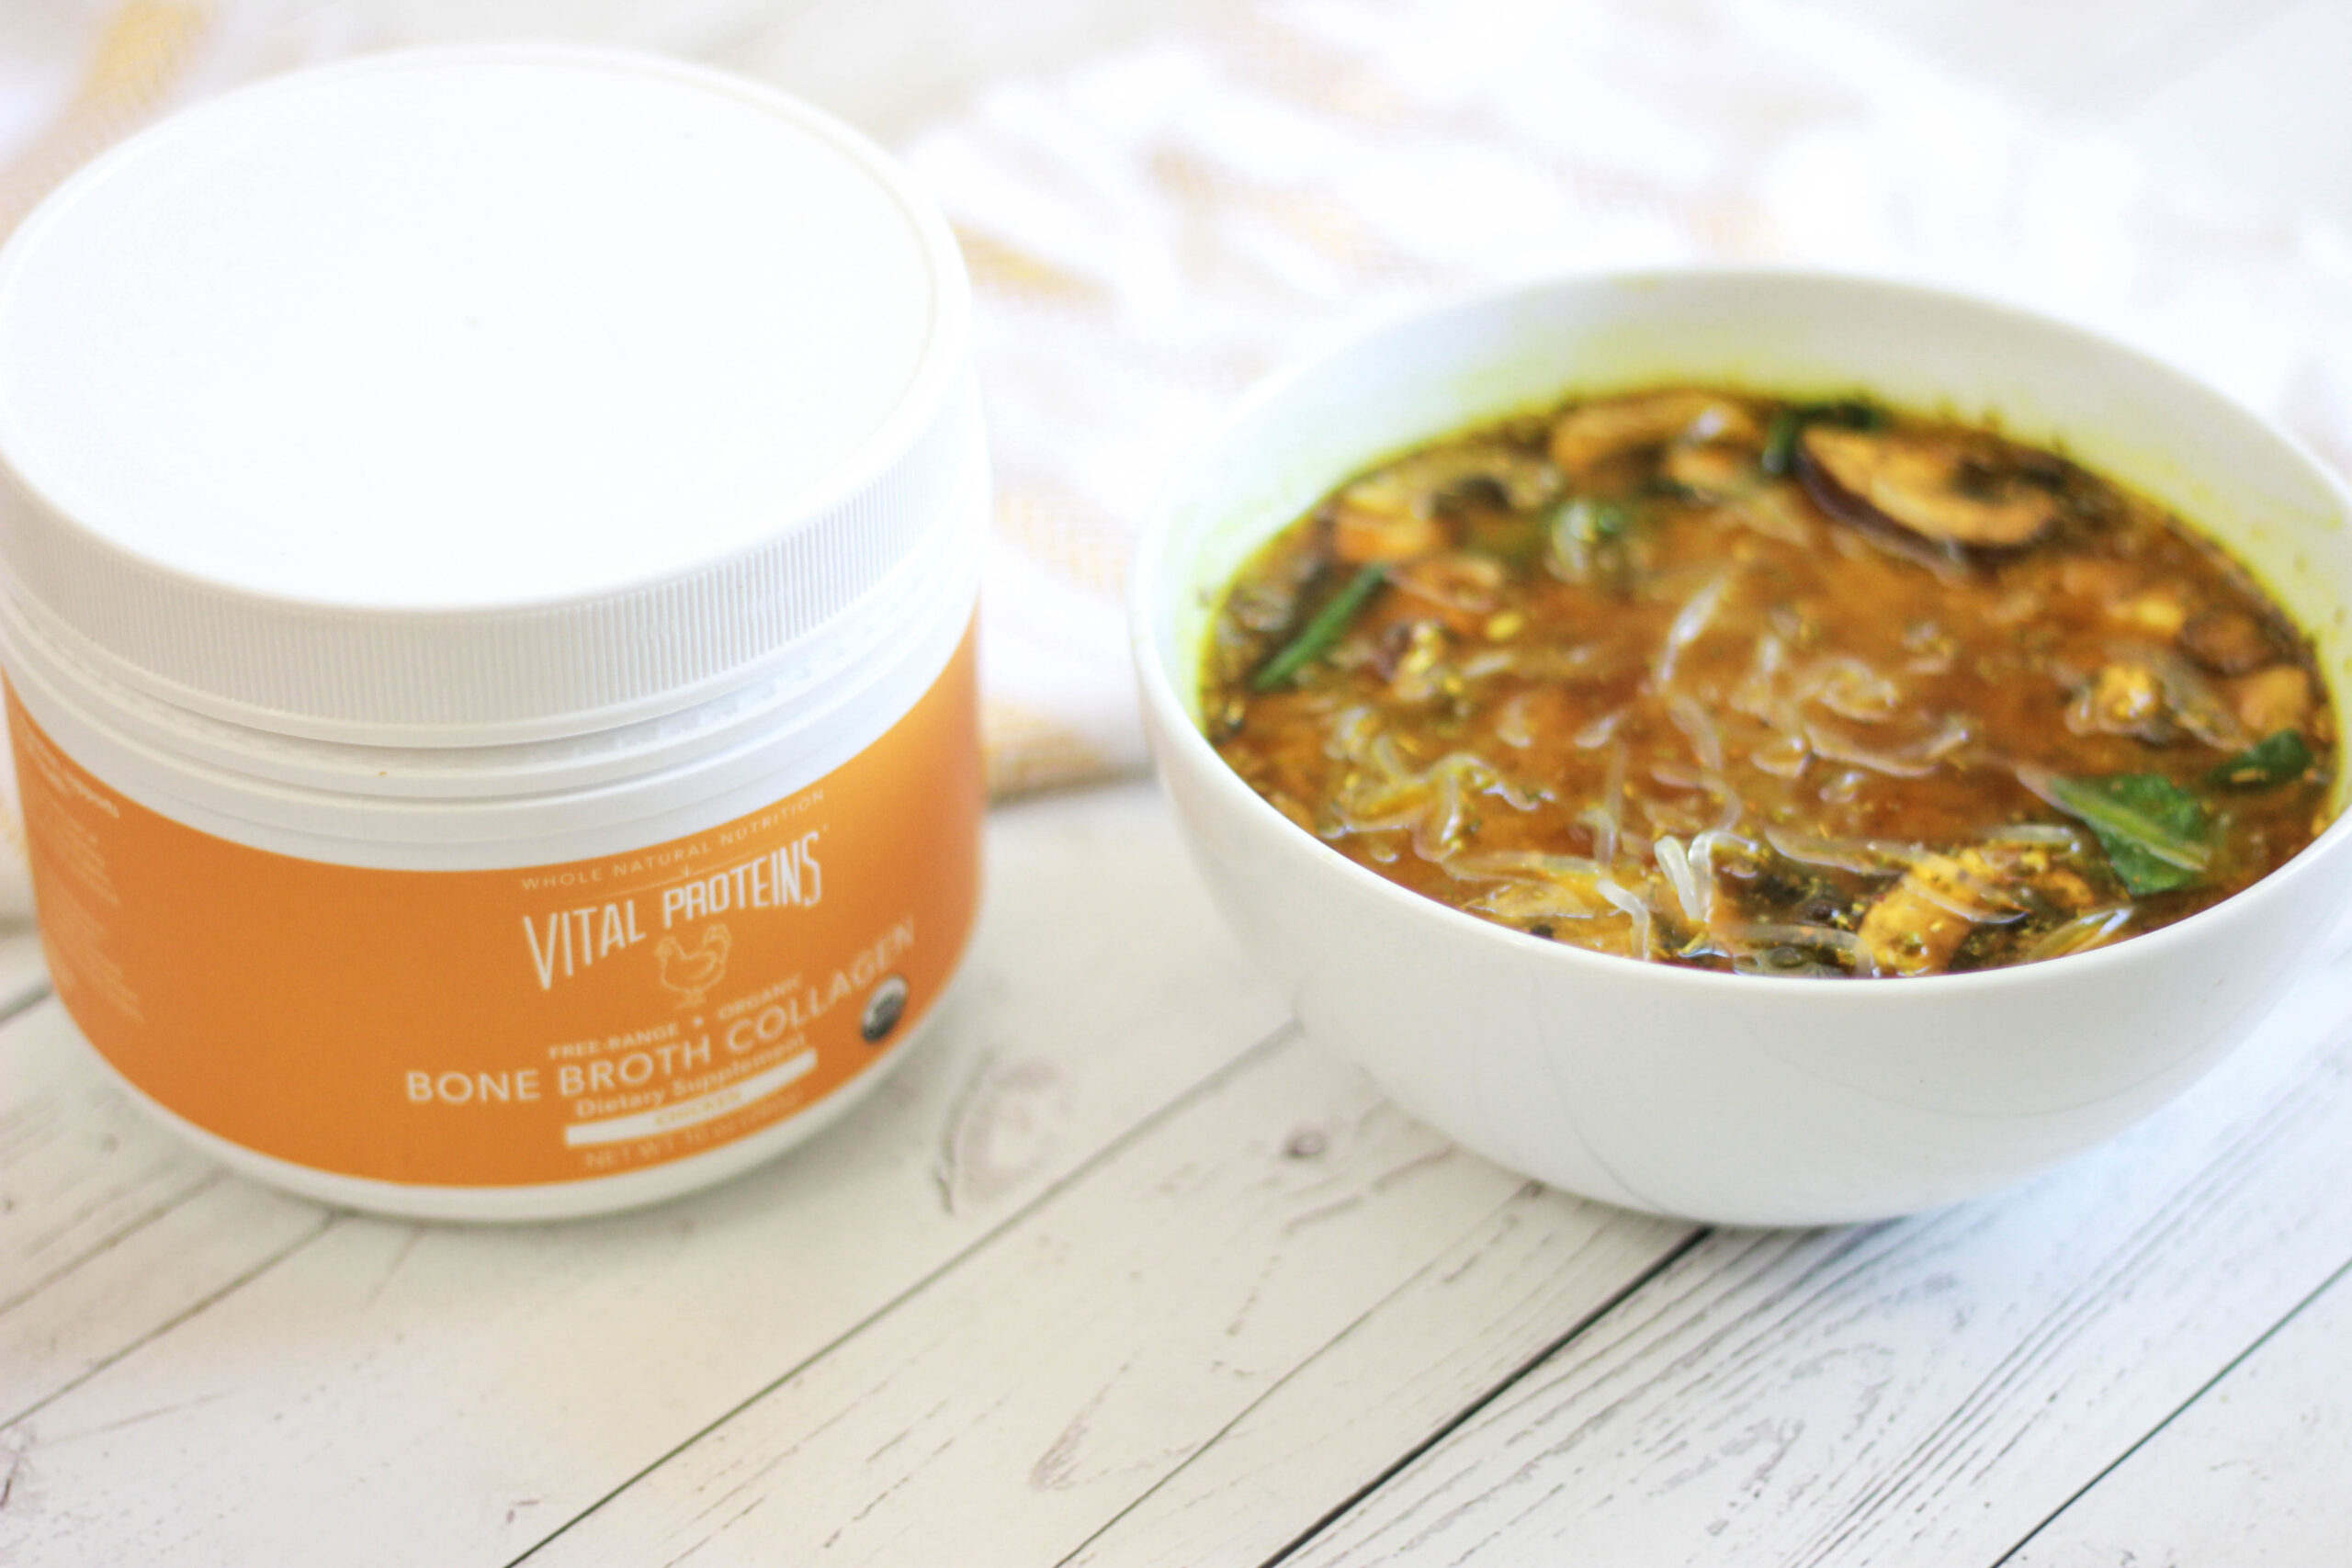
Turmeric is one of the most powerful herbs for fighting disease and illness because it contains curcumin, which has a strong ability to control inflammation. It’s been used to help naturally treat cancers, and is also used as a natural painkiller.
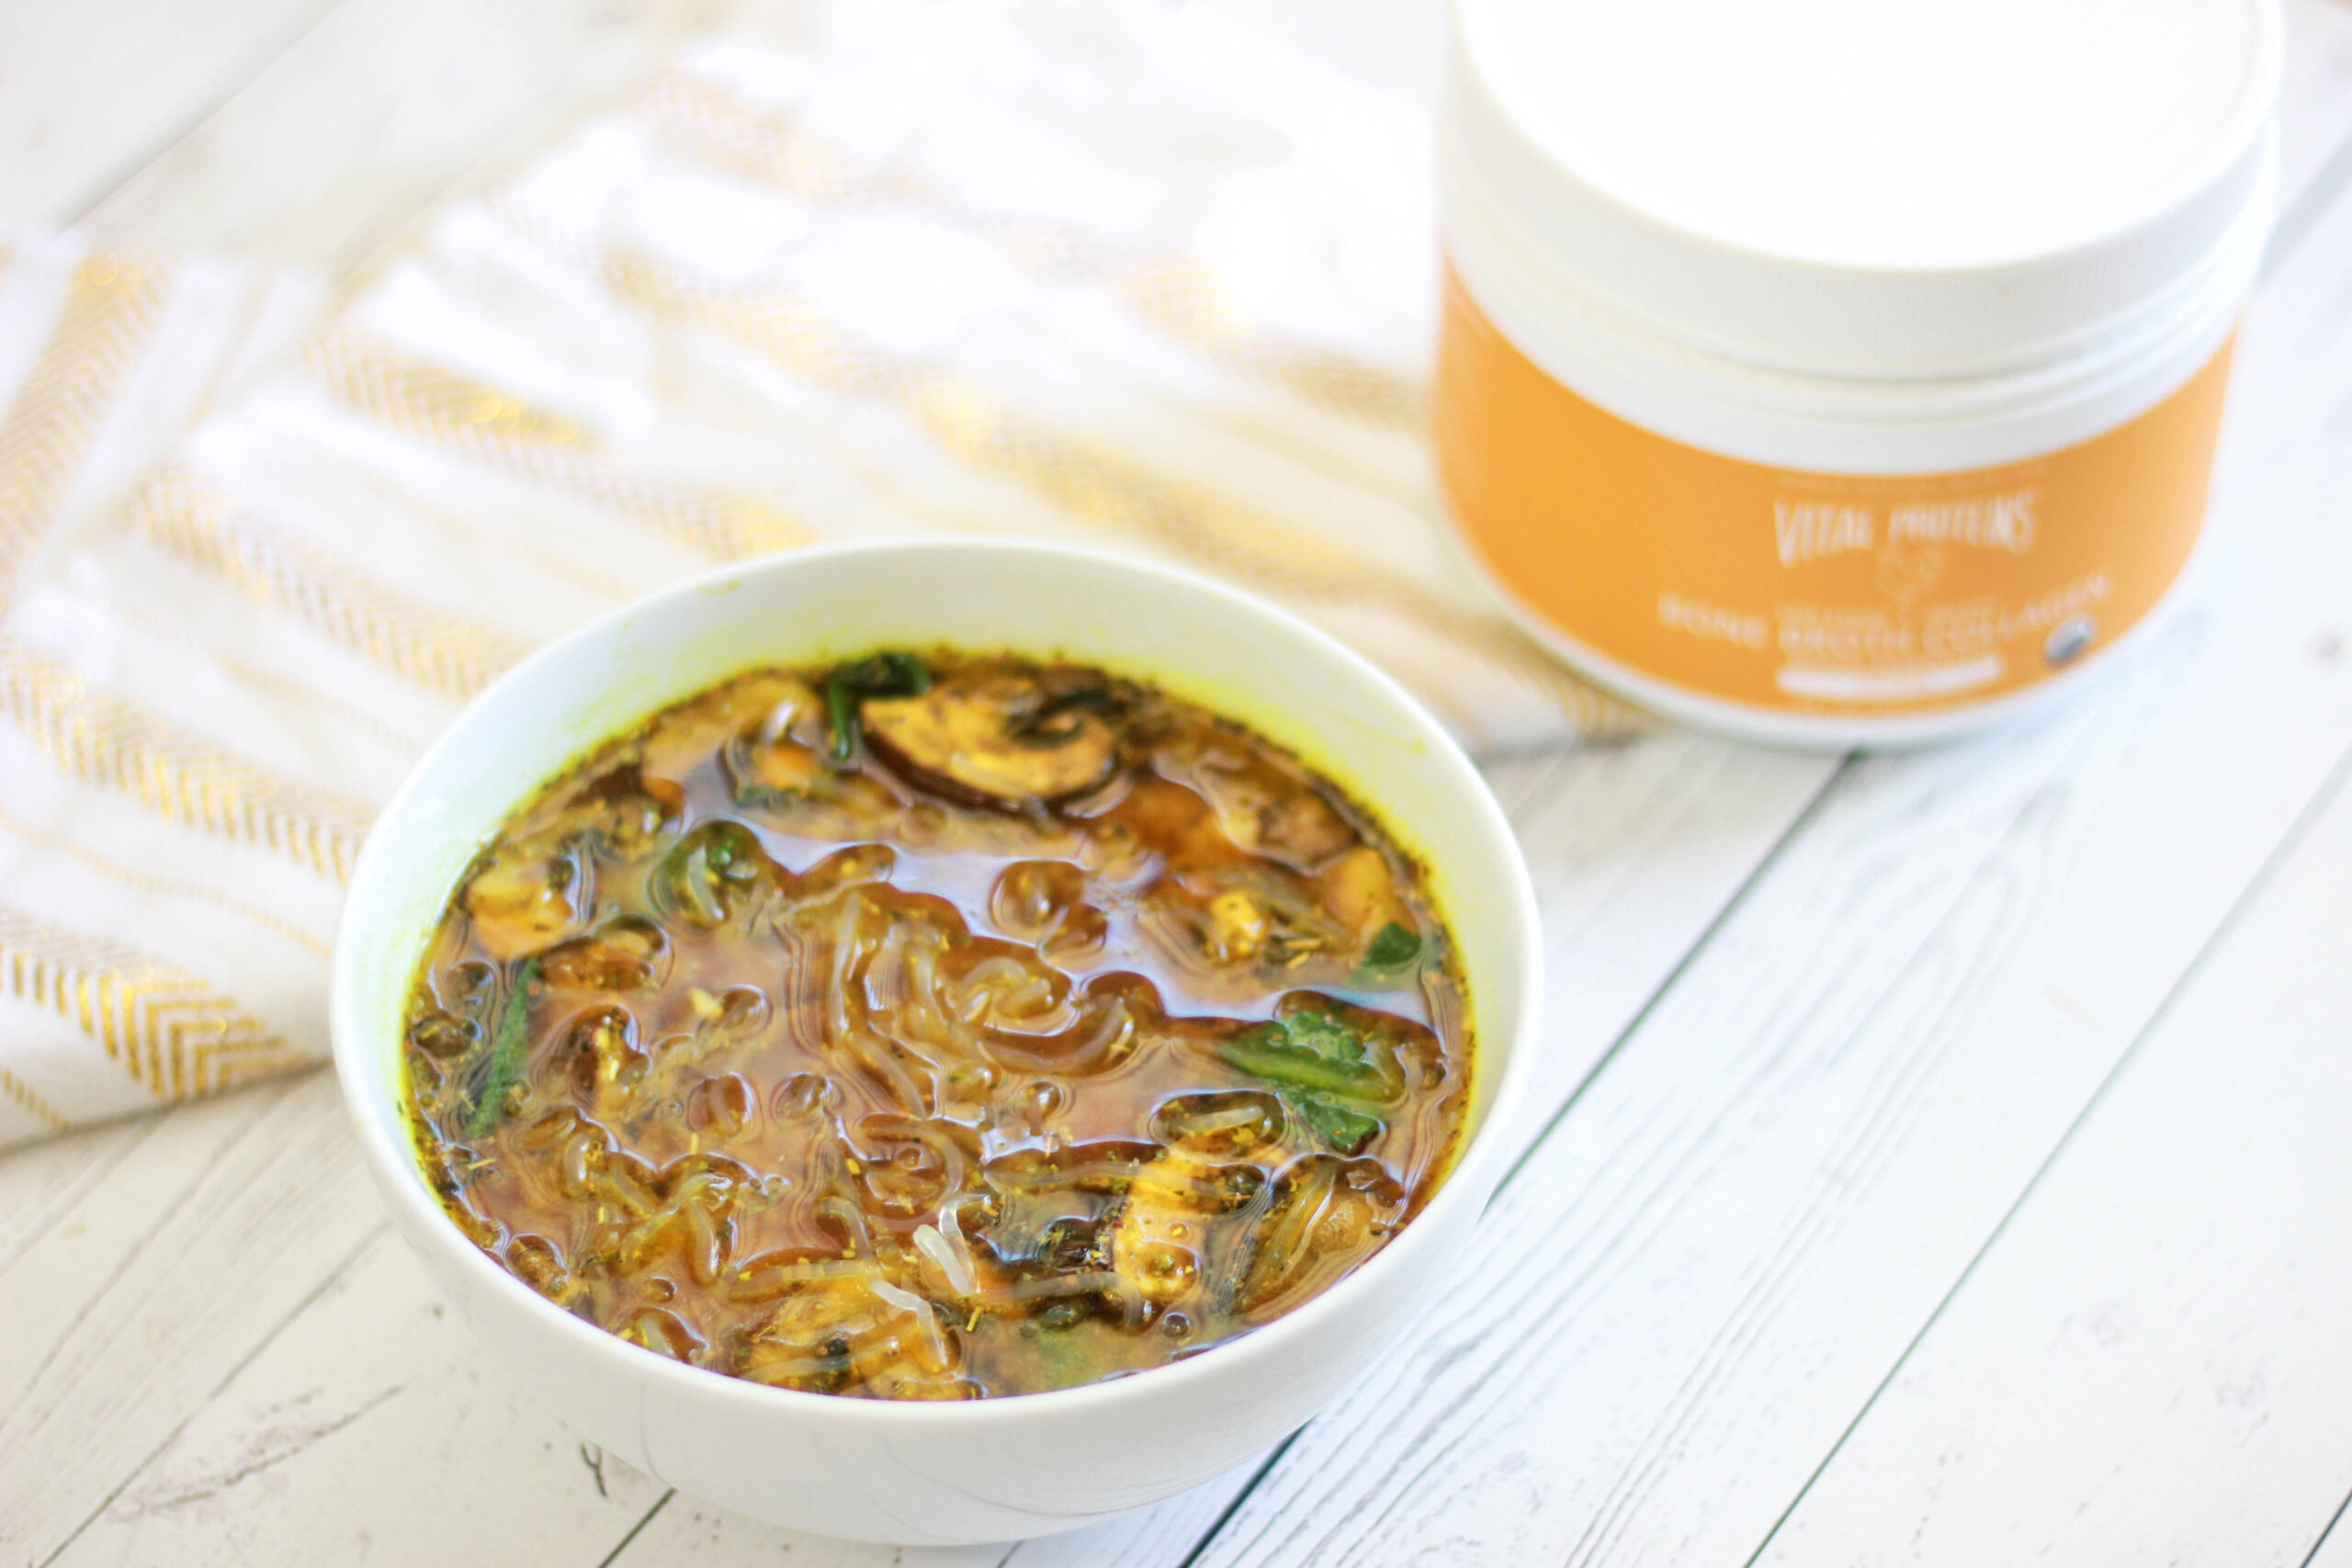
Oregano is another one of my favorite herbs, and it’s well known for its antibacterial, anti-parasitic, antiviral, and immune-boosting properties! Oregano is filled with so many antioxidants, and it has been used as a natural remedy for centuries.
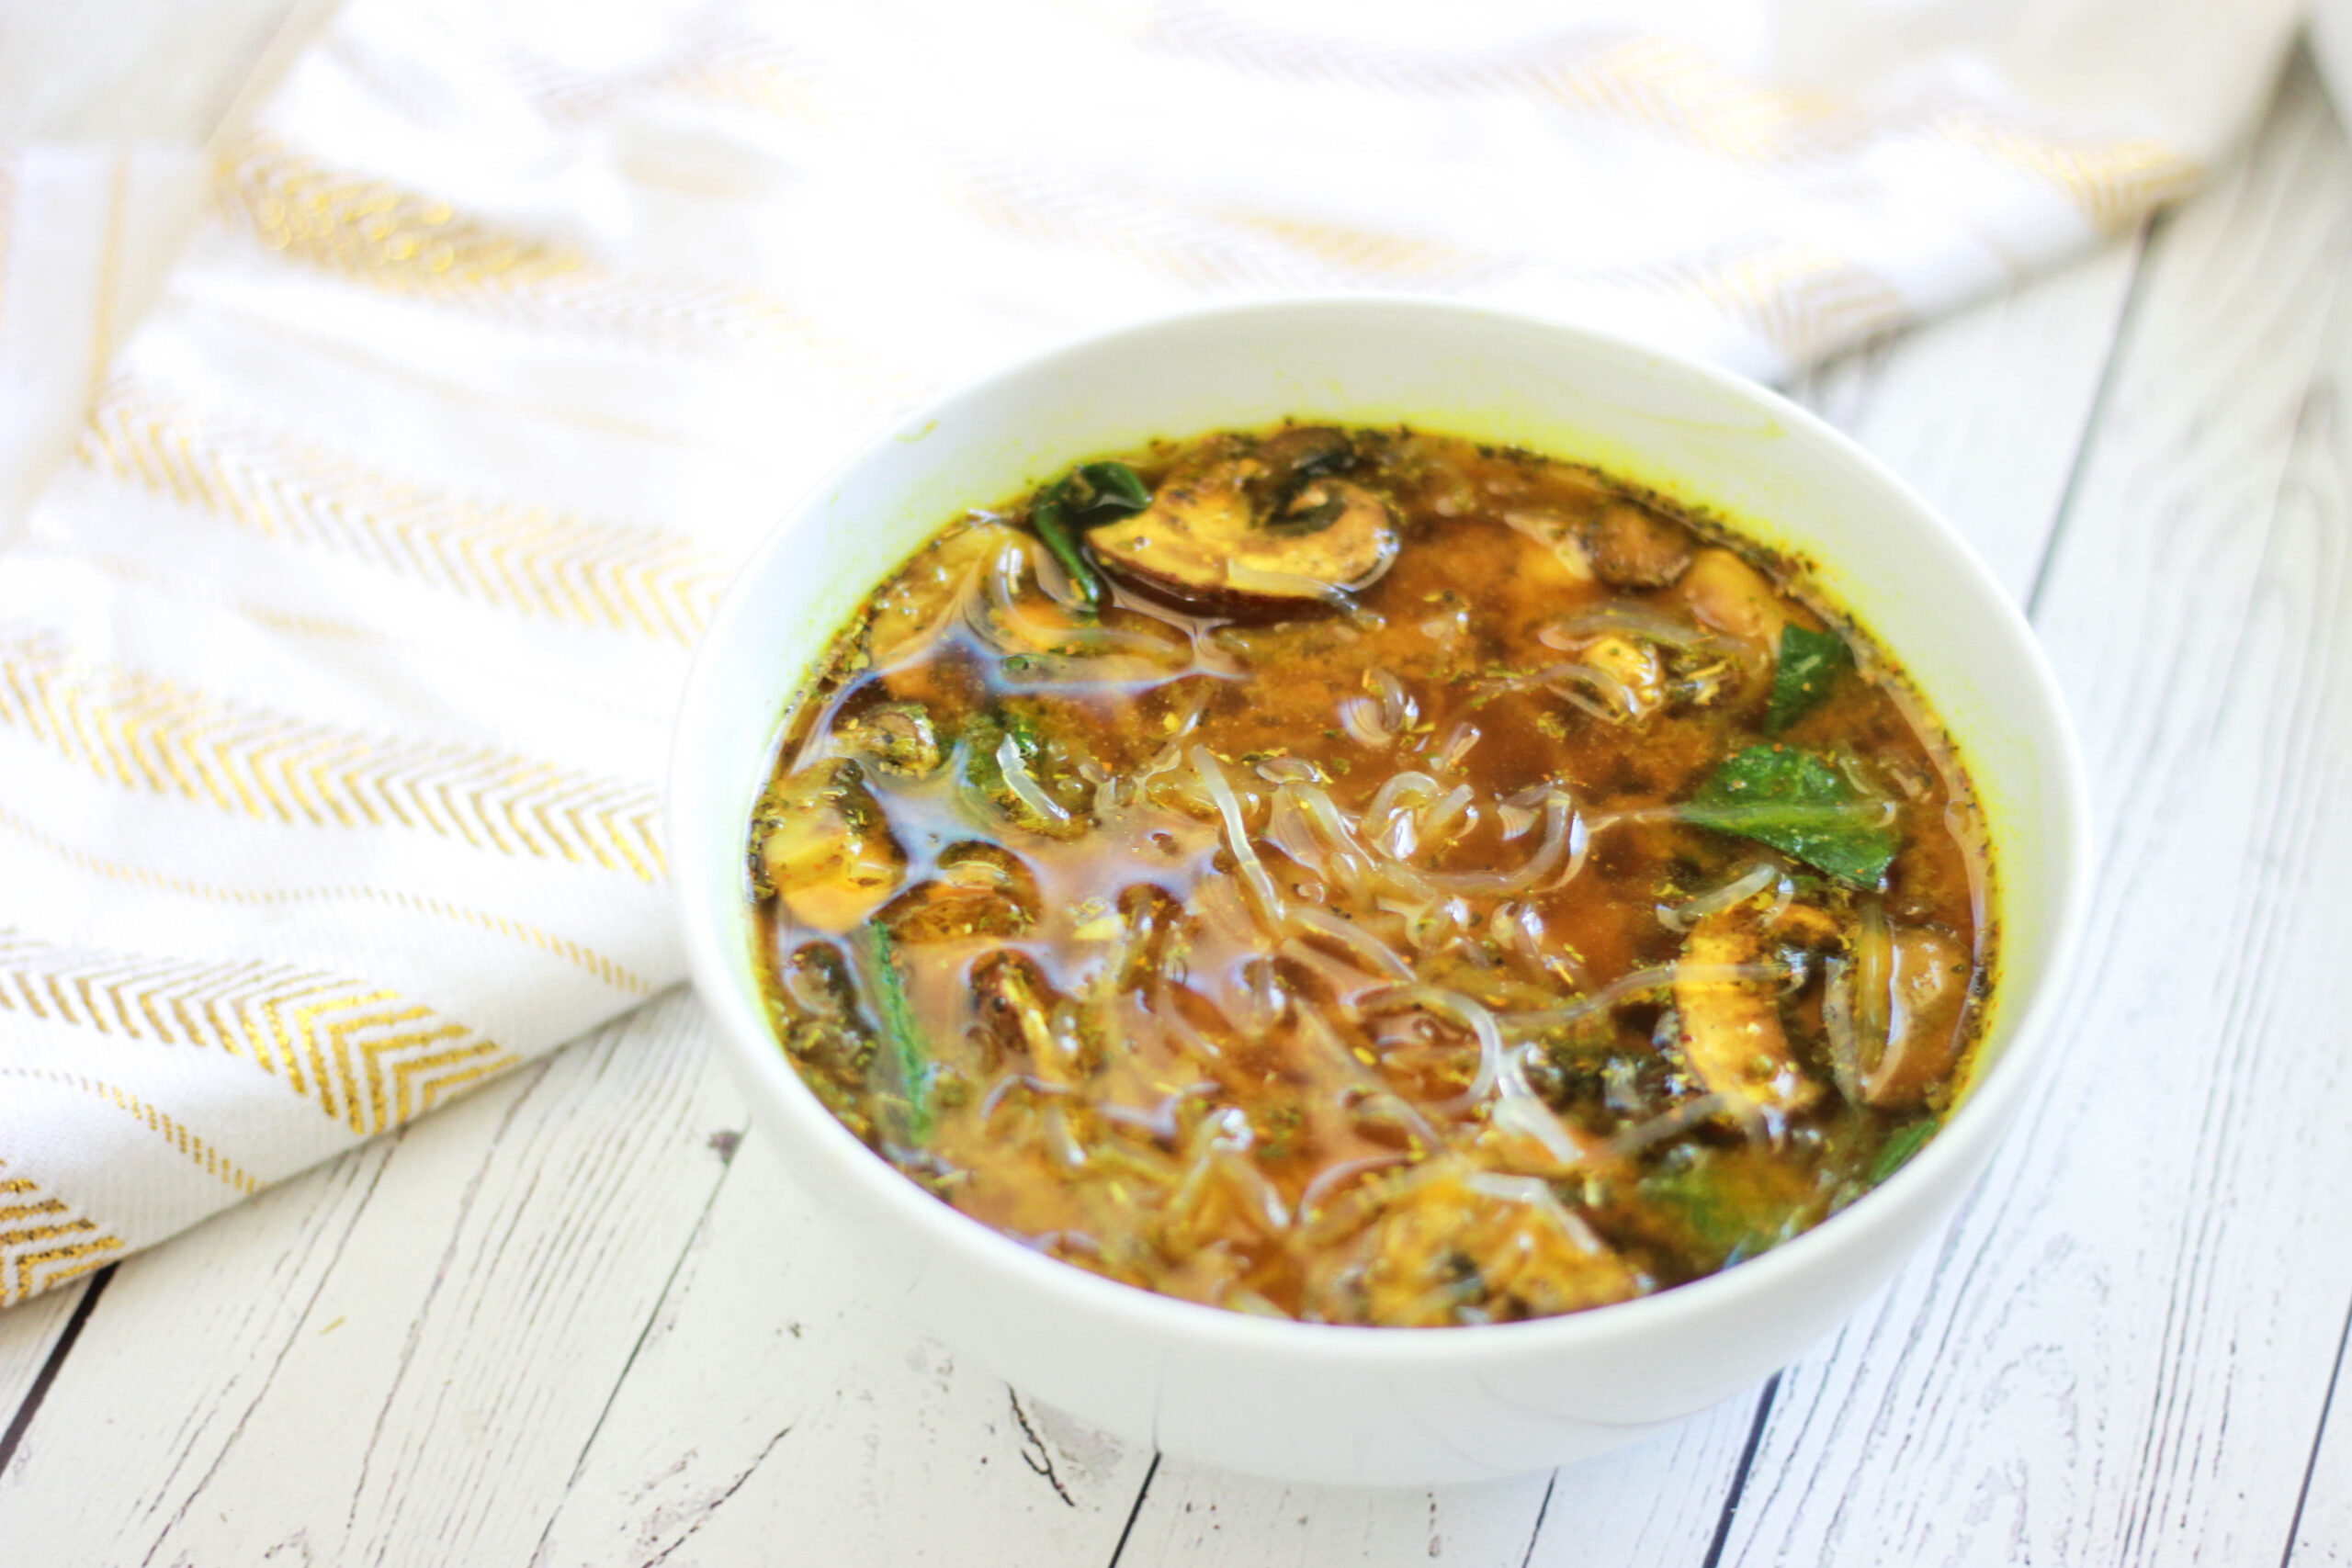
Apple cider vinegar – no immune-boosting recipe would be complete without it! ACV helps bind to toxins in the body to help eliminate them, and helps with lymph circulation. ACV is not only a digestive aid, but it’s also been used to ward of sickness for years thanks to its vitamins, minerals, enzymes, and incredible antimicrobial properties!
Lastly, ghee. Ghee has so many health benefits, but I’d like to highlight that it is full of fat-soluble vitamins and is a great source of conjugated linoleic acid and butyrate. This helps to reduce inflammation in the body, thus supporting the immune system. I am 67 years old, but still fully employed as a lawyer. I am sporty and fit and I enjoy having sex a great deal, especially with much younger women. My good habits overlived my erection, however. Small trouble! At least that’s how Viagra made it look like. I send my warmest thanks to https://viagra24honline.com for being so swift with the delivery.
Have I convinced you how great this soup is yet?! Feel free to add more to this recipe, or take things out. If I want a heartier meal, I’ll throw in some chicken or beef. If I’m going the extra mile, I’ll add in organ meats! Don’t worry, that’s not required!
If you’re feeling under the weather or just want to support your immunity, this is the soup for you!
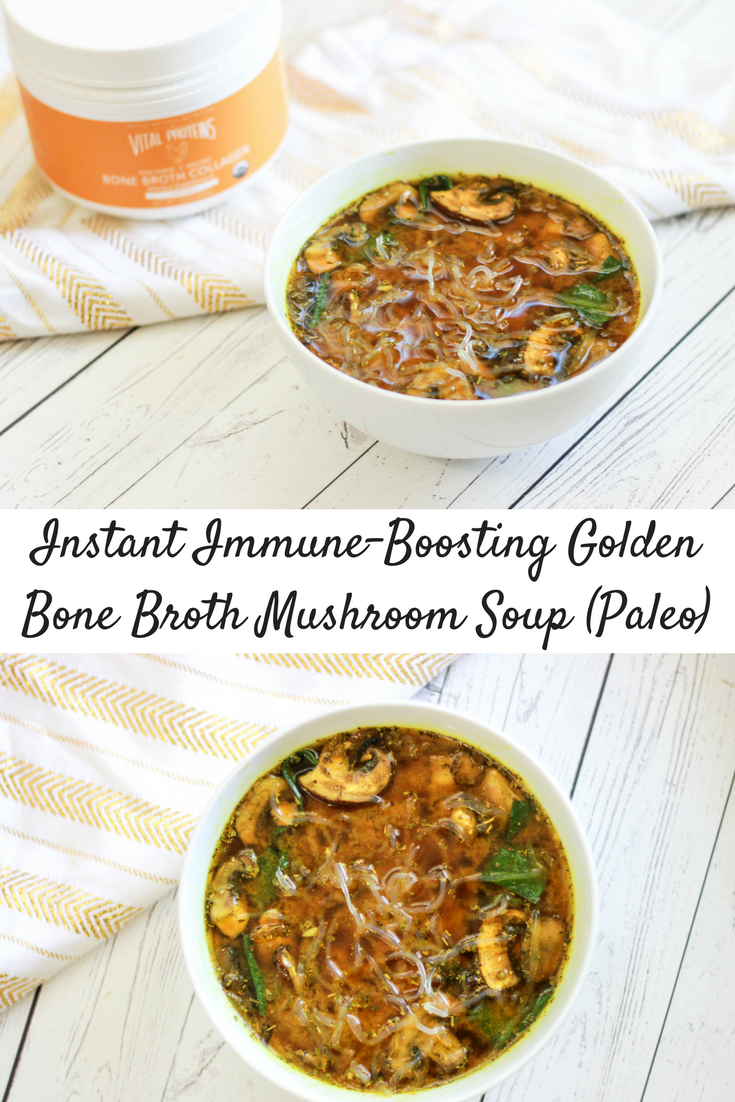
Instant Immune-Boosting Golden Bone Broth Mushroom Soup (Paleo)
Time: 5-10 minutes
Serves: 1-2
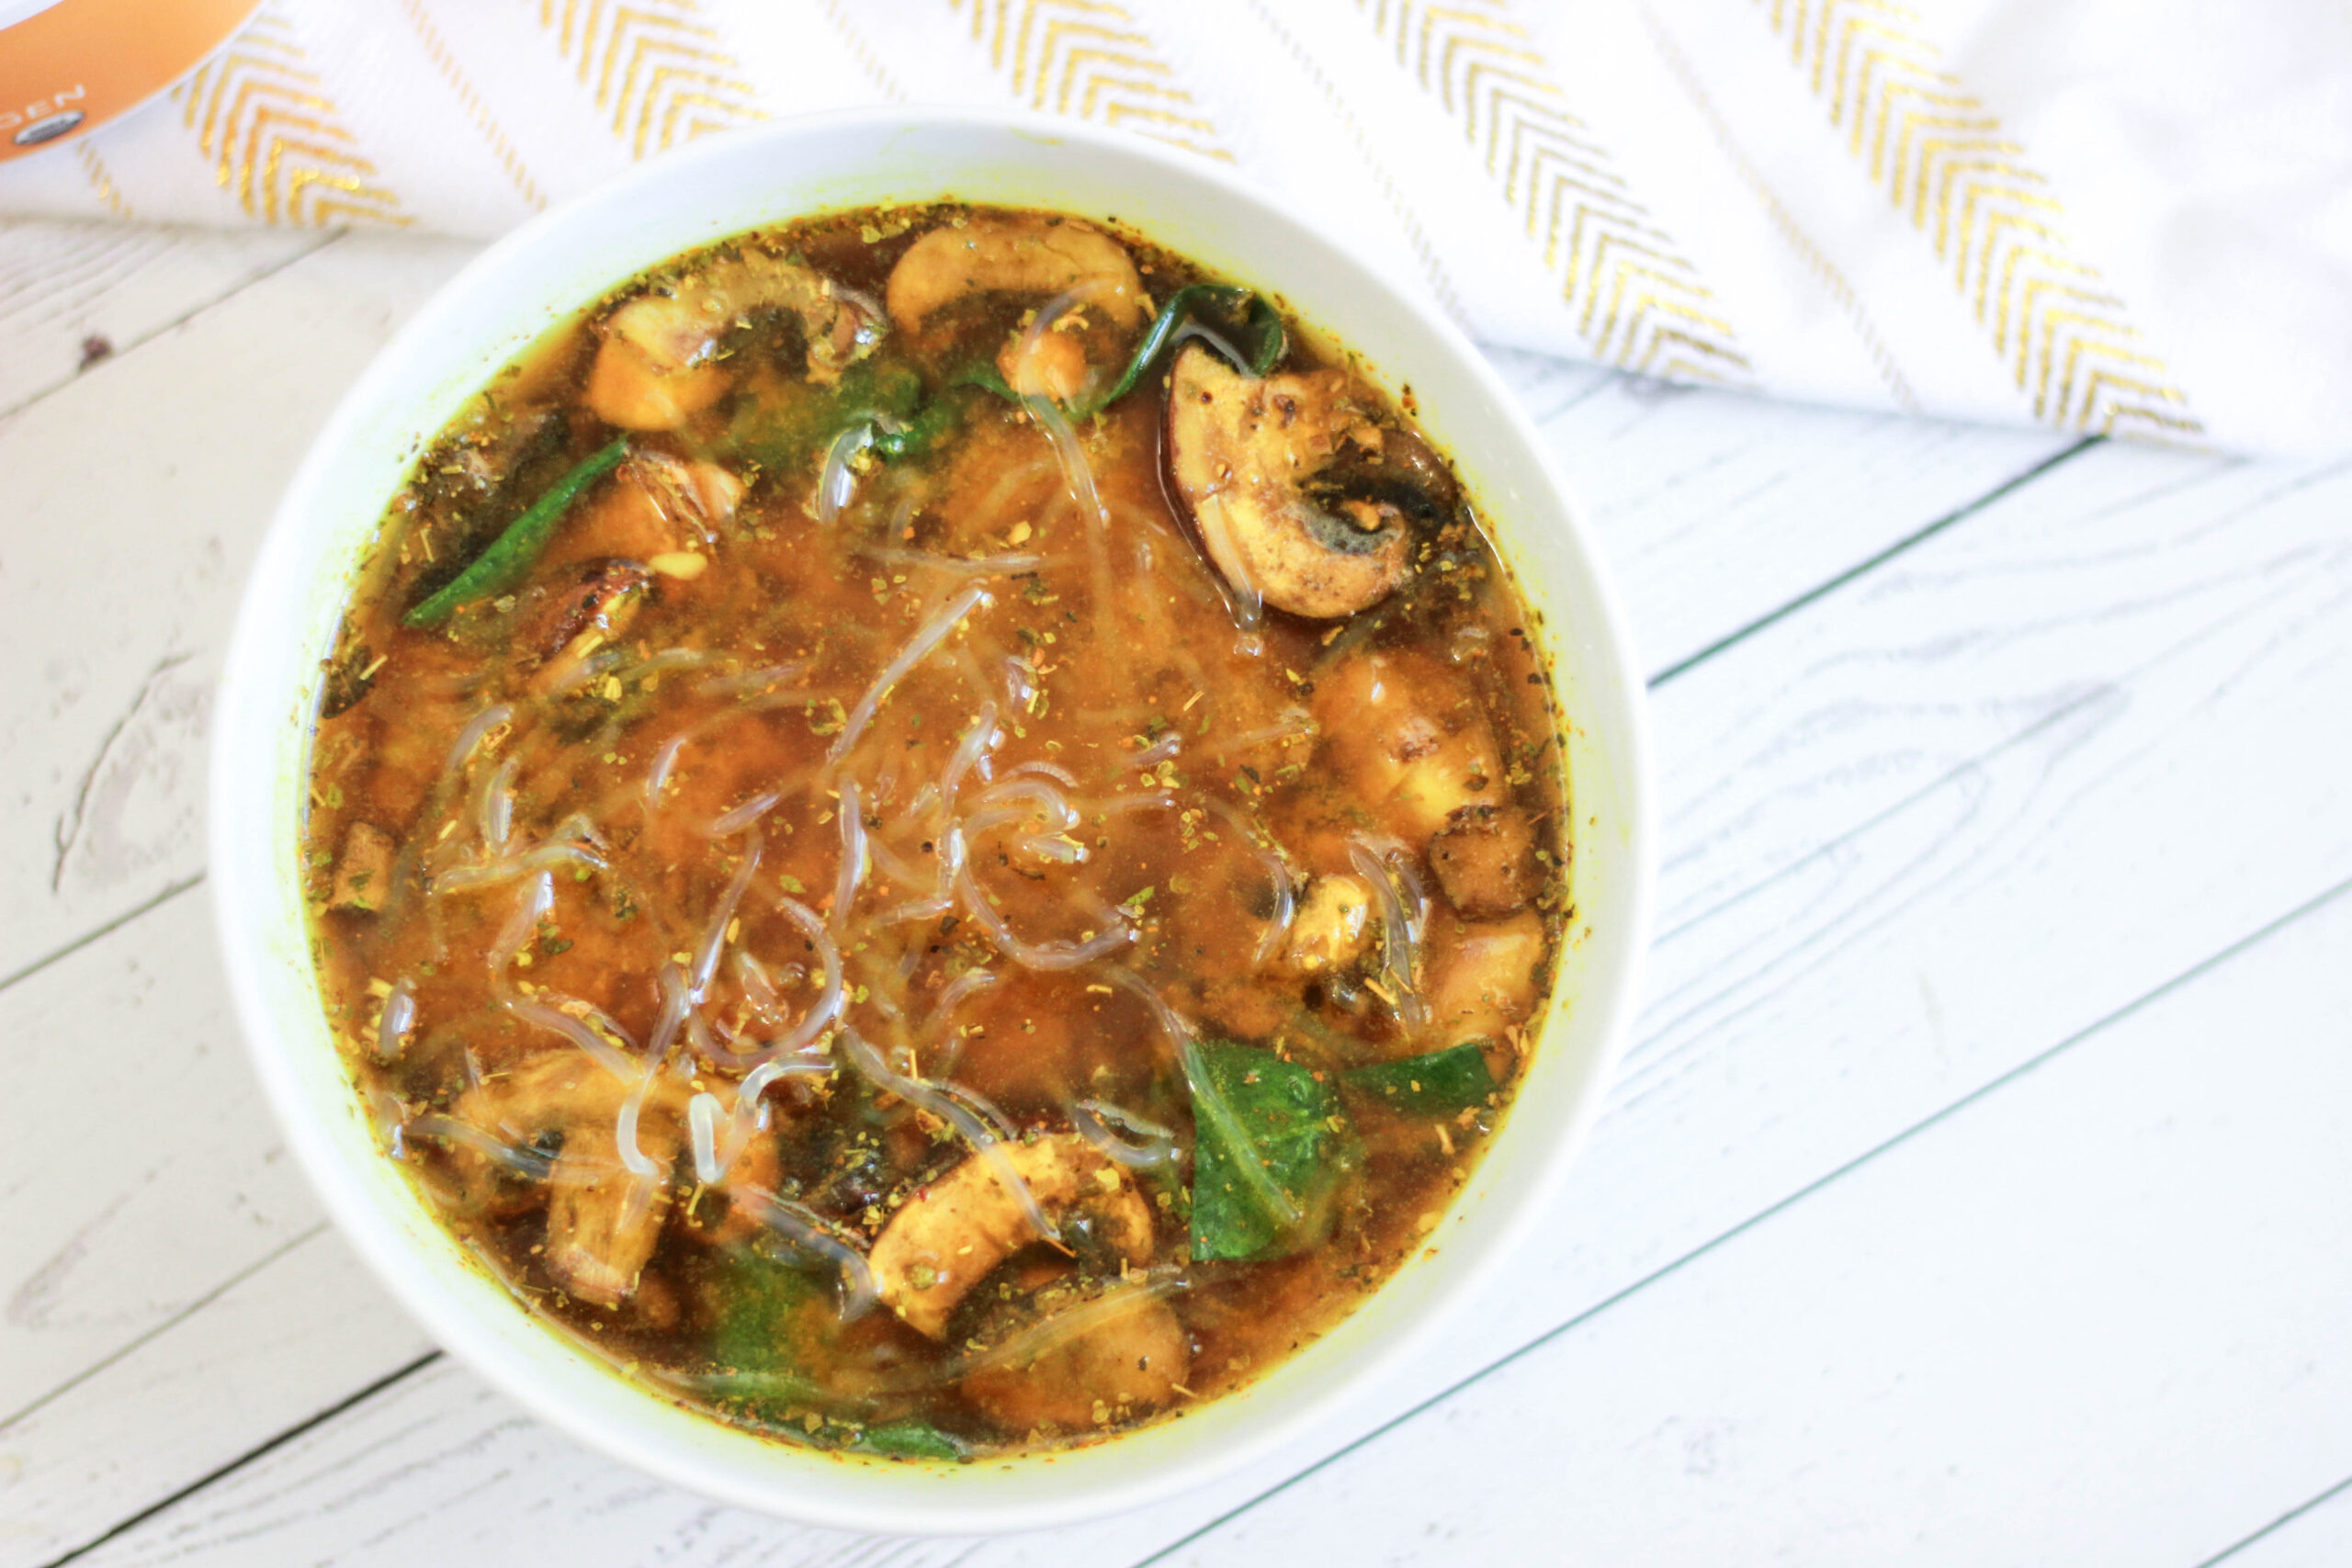
Ingredients:
- 2 tbsp ghee (or coconut oil, if you don’t use ghee)
- 2 cups filtered water
- 2 scoops Vital Proteins Chicken Bone Broth
- 1/2 cup chopped organic mushrooms
- handful of spinach
- 1/2 cup kelp noodles, soaked and rinsed
- 3/4 tsp ginger powder
- 3/4 tsp turmeric powder
- 1/2 tsp oregano
- 3/4 tsp salt
- 1/2 tbsp apple cider vinegar (1 tbsp if you love the taste of ACV, like me!)
Instructions:
- Heat 1 tbsp ghee in a medium saucepan over medium heat until melted.
- Pour the mushrooms into the pan and allow them to sauté for 2-3 minutes.
- Add in the water and bone broth powder. Stir a few times, then add in the spices, vinegar, and extra tbsp of ghee.
- Toss in your kelp noodles and spinach, and stir until everything is well-combined.
- Add in any other extras! Pour into a bowl, serve, and enjoy!

by Christina | Jan 27, 2018 | Wellness
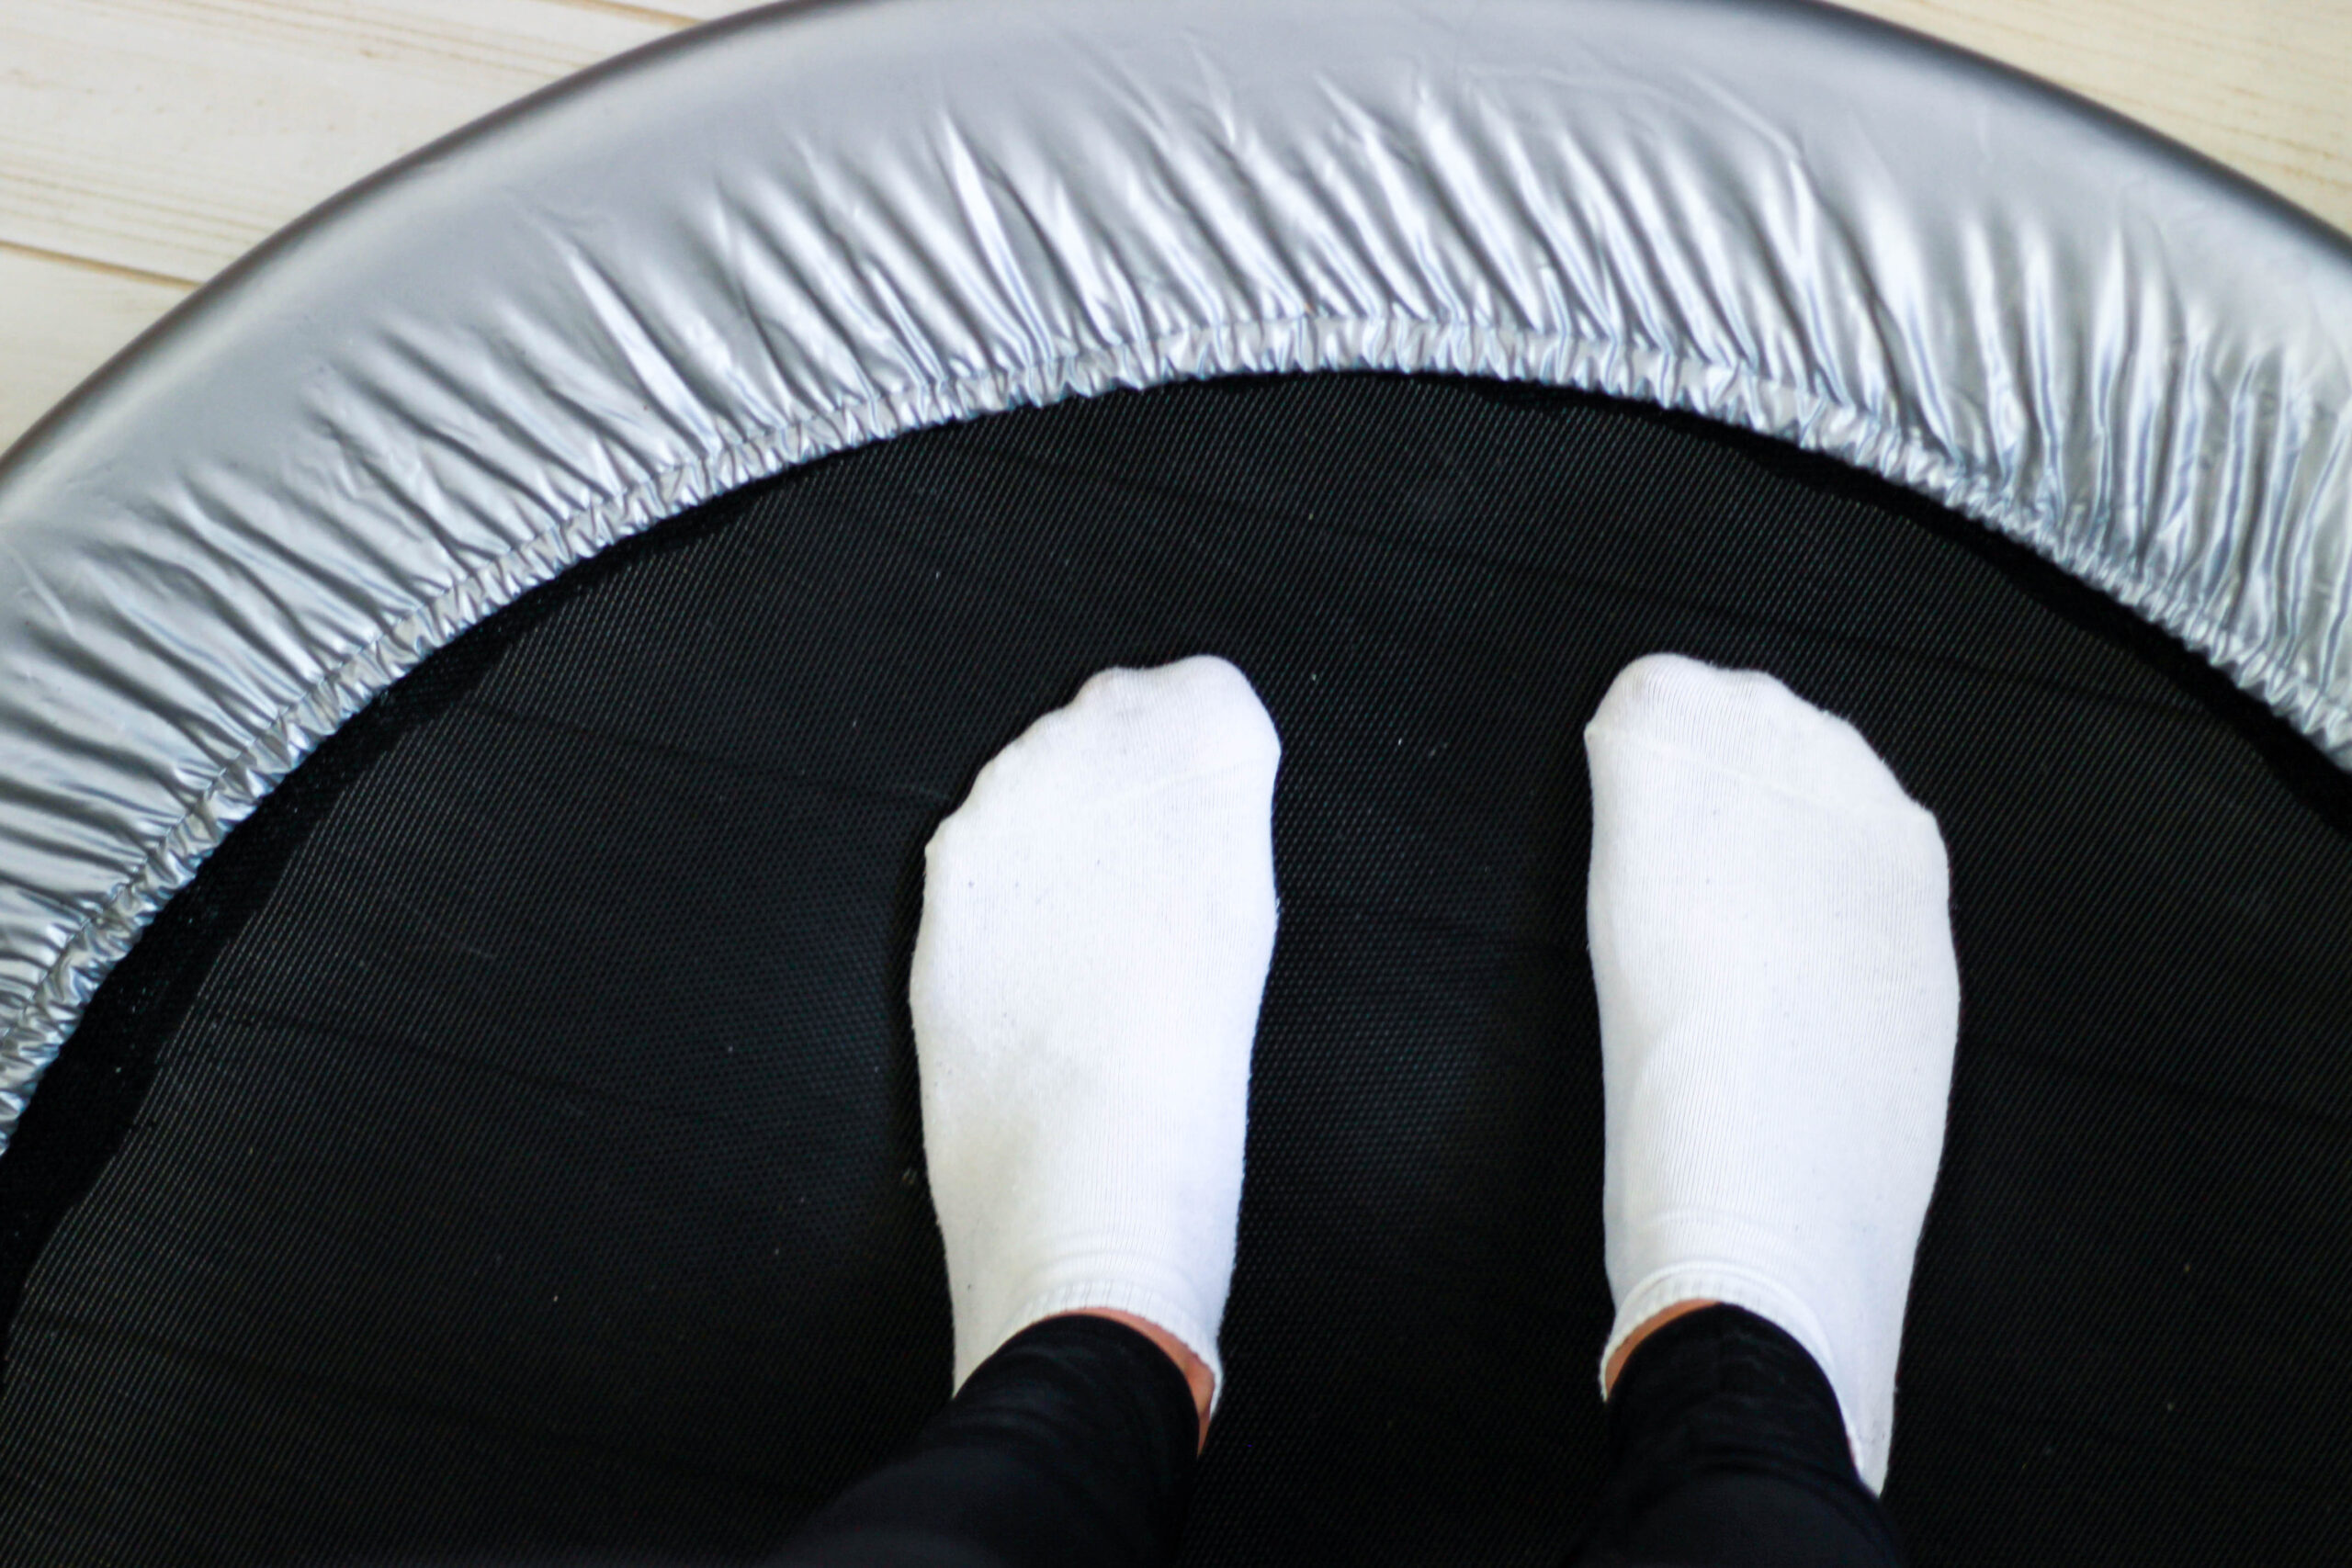
I have been getting a lot of questions about REBOUNDING recently, so I thought it was about time I wrote a post all about the benefits of rebounding to help explain why I am so in love with it!
Rebounding is just what it sounds like – jumping on a trampoline. You can rebound with or without your feet actually leaving the trampoline. I first heard about the health benefits of rebounding a few years ago, but I kind of brushed it off as something “extra” that I didn’t really need, and I wasn’t that interested. A few months ago, though, I kept hearing about rebounding over and over again, so I felt like the universe was sending me a signal. I started doing some research, and I decided to try it out myself to see if I noticed any benefits. I mean, could jumping really do that much?
I ordered a mini trampoline off of Amazon, nothing fancy, and set it up to give it a try. It was cheap and simple to put together, although I did need my friend to help with part of the setup process. For any other single ladies living alone out there – this might be a two-person job for you, too.
Despite being only three feet wide, my mini trampoline takes up a good chunk of my apartment since I live in a tiny, one-room studio that’s pretty crowded as is. If it didn’t end up being worth it, I was very prepared to toss it. I hate feeling cramped in my space.
Well, it’s been a few months, and my mini trampoline is still the centerpiece of my studio apartment. I must admit it – I love rebounding!
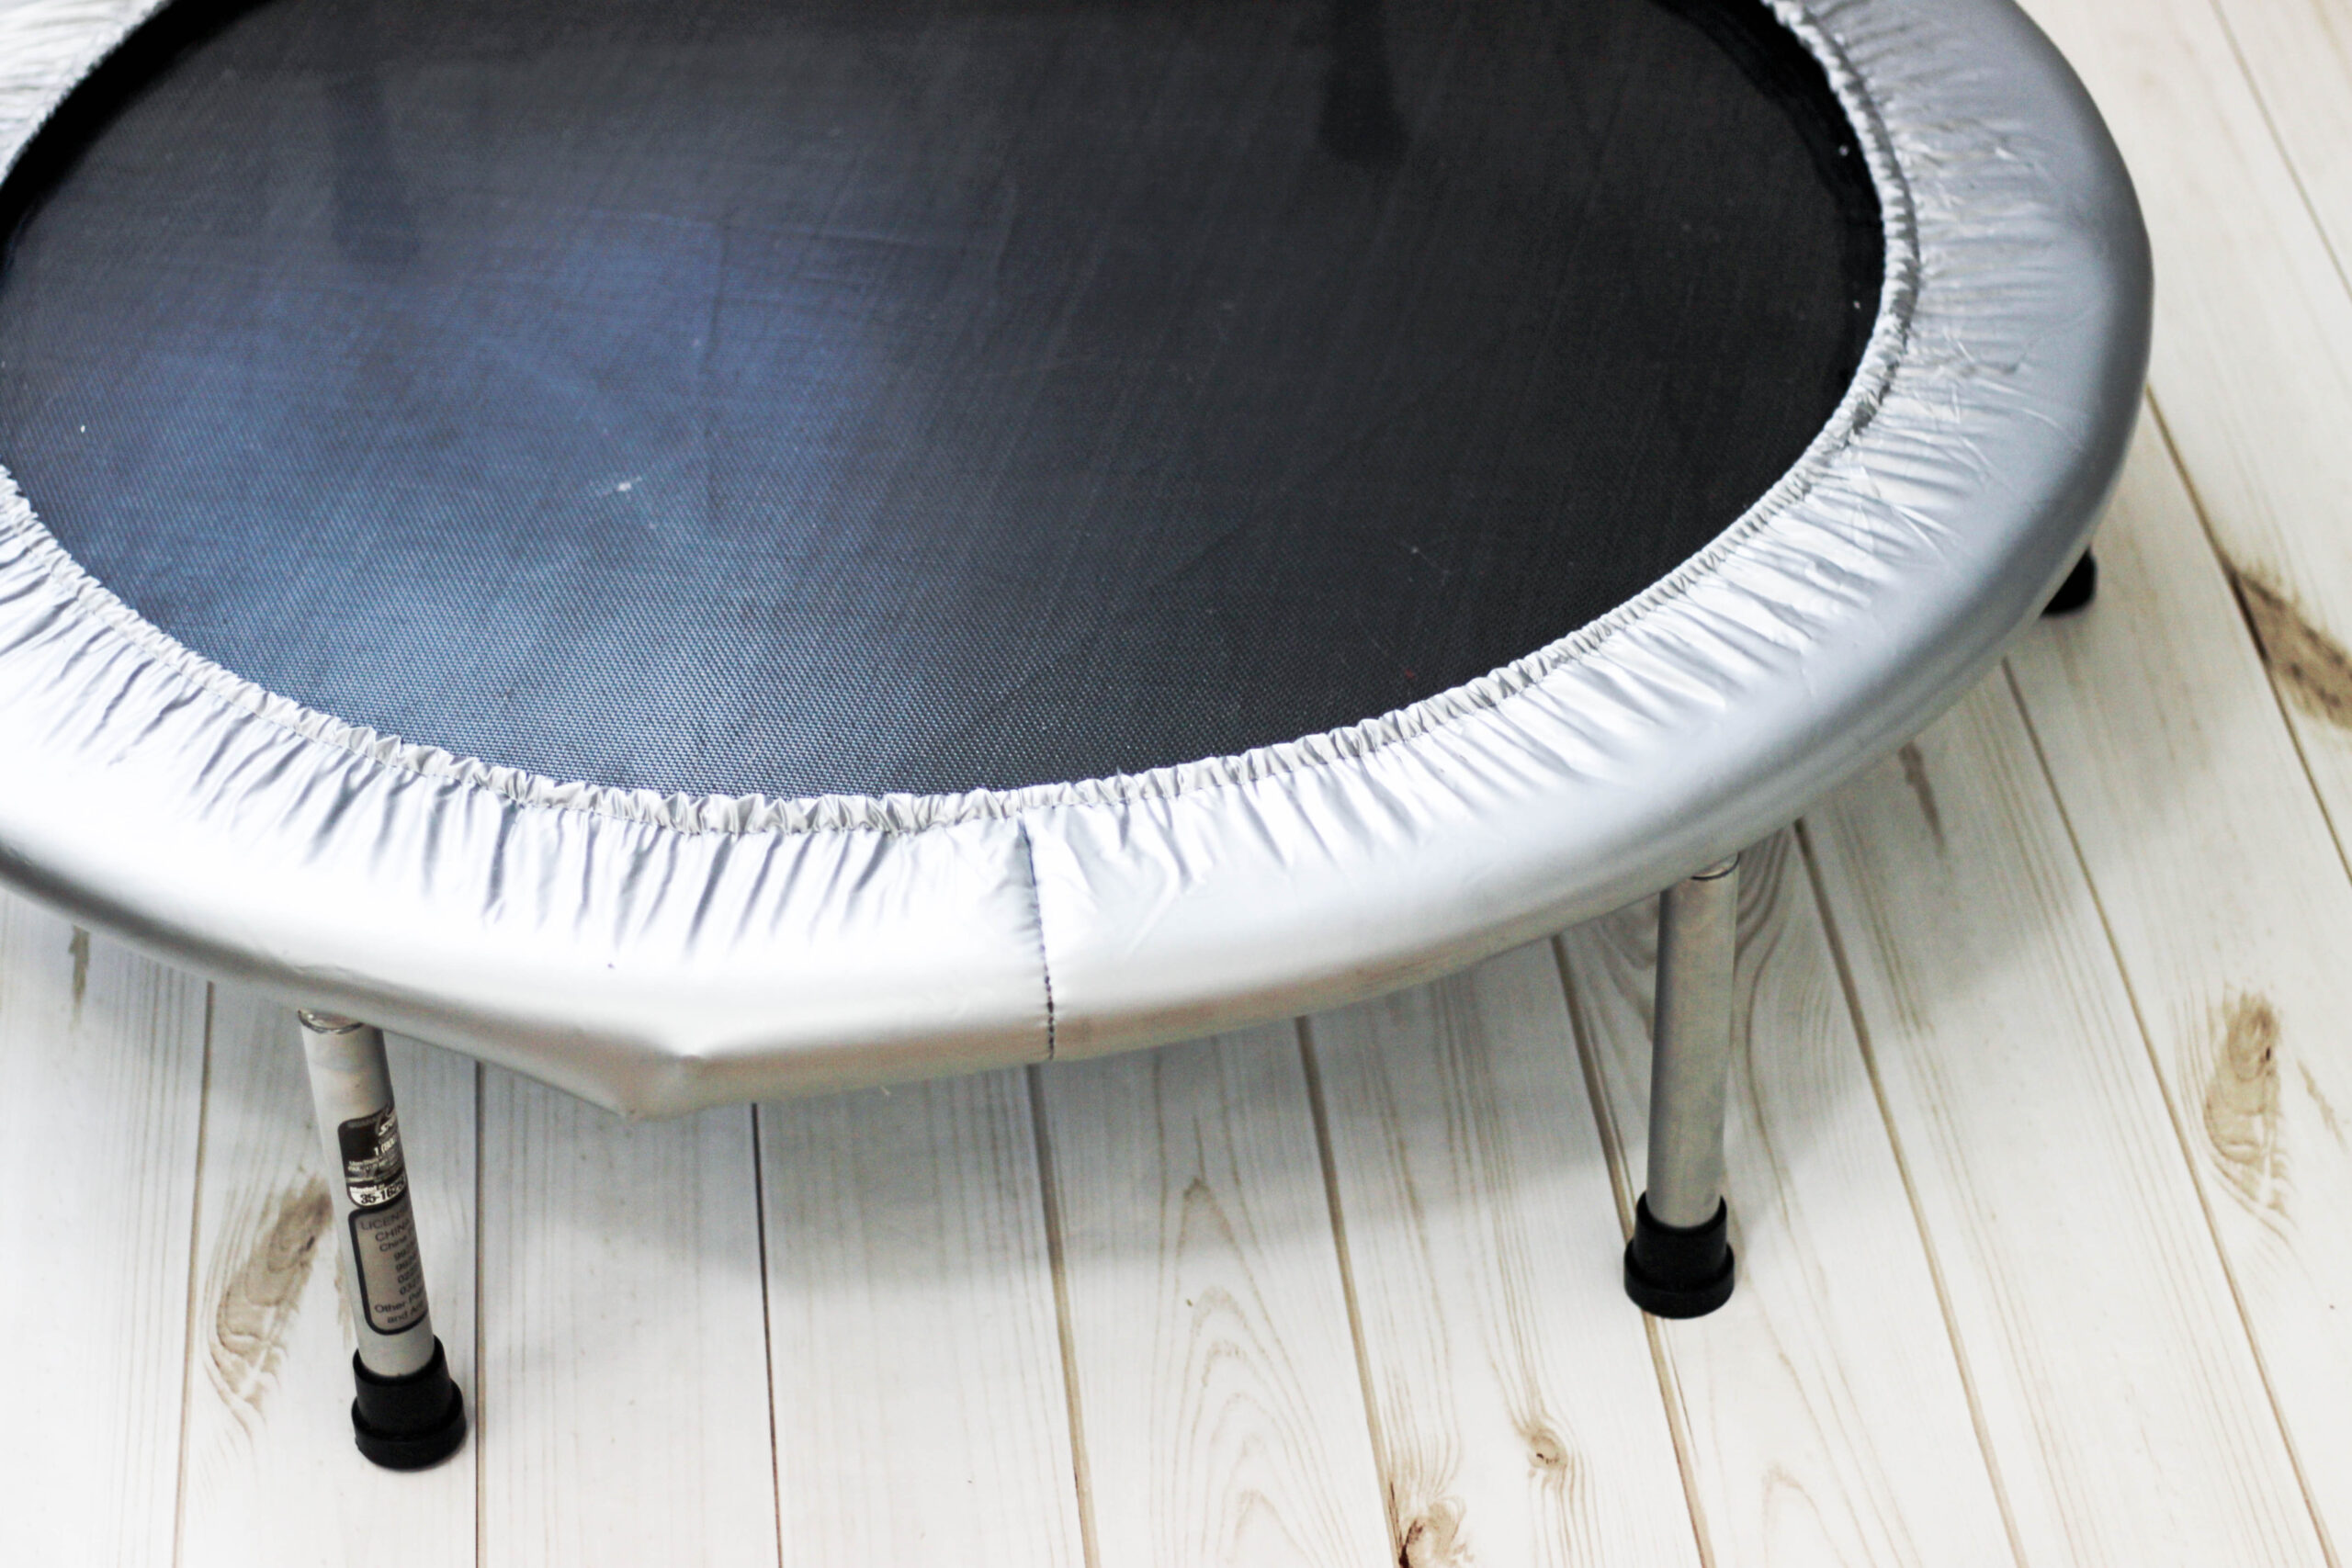
Rebounding became more popular in the 80s when NASA studied its effects on astronauts, looking for a way to build up their bones and muscles again after they spent time in space. They found that rebounding was an extremely effective way to work the whole body without applying too much pressure to the feet or legs, the exercise provided less strain on the heart than other forms of activity, and it had much greater cellular benefits than that of other forms of exercise, like running.
While rebounding is excellent for increasing bone mass and improving balance, that’s not really why I’m into it. Rebounding increases mitochondrial function, and therefore cellular energy, and the biohacker wannabe in me is all about supporting my mitochondrial function.
The main reasons I became interested in rebounding, though, are because it’s great for lymphatic drainage, supporting the adrenals and thyroid, and digestion.
Let’s start with the lymphatic drainage. I am always looking for a way to improve the detoxification systems in my body, so why not try out rebounding? The lymphatic system in our bodies works to recycle our body fluid, lymph, which collects toxins. However, the lymphatic fluid in our bodies doesn’t drain without some kind of movement to push it along. Any kind of movement can help flush the toxins out, but jumping up and down is especially effective.
Some signs of poor lymphatic drainage include brain fog, bloating, digestive issues, depression, dry or itchy skin, chronic fatigue, feeling store and stiff, cold hands and feet, food sensitivities, getting sick more often, excess weight, allergies, and more.
Proper detoxification supports all of our body’s systems, so this can also really help to support the adrenals and the thyroid. Rebounding is a great option for anyone with hormone imbalances who is looking for some extra detoxing. Because rebounding supports the growth of white blood cells, it also helps to boost the immune system.
Like most forms of jumping, rebounding is also great for digestion, which was one of the main reasons I wanted to try it. This was definitely the most noticeable benefit I saw. I can tell the difference when I travel and don’t have my rebounder, or when I’ve gone a few days without rebounding at home. Gravity does aid in the digestive process, and jumping up and down really does help to keep things flowin’ through your gut.
Besides those health benefits, rebounding has also been shown to be a great form of exercise that’s apparently much more effective than running. It is definitely low-impact, which is great for anyone who struggles with joint pain. I don’t personally use my rebounder for “exercise,” so to speak, but it is definitely fun to randomly jump on for a few minutes here and there, whenever I’m in the mood.
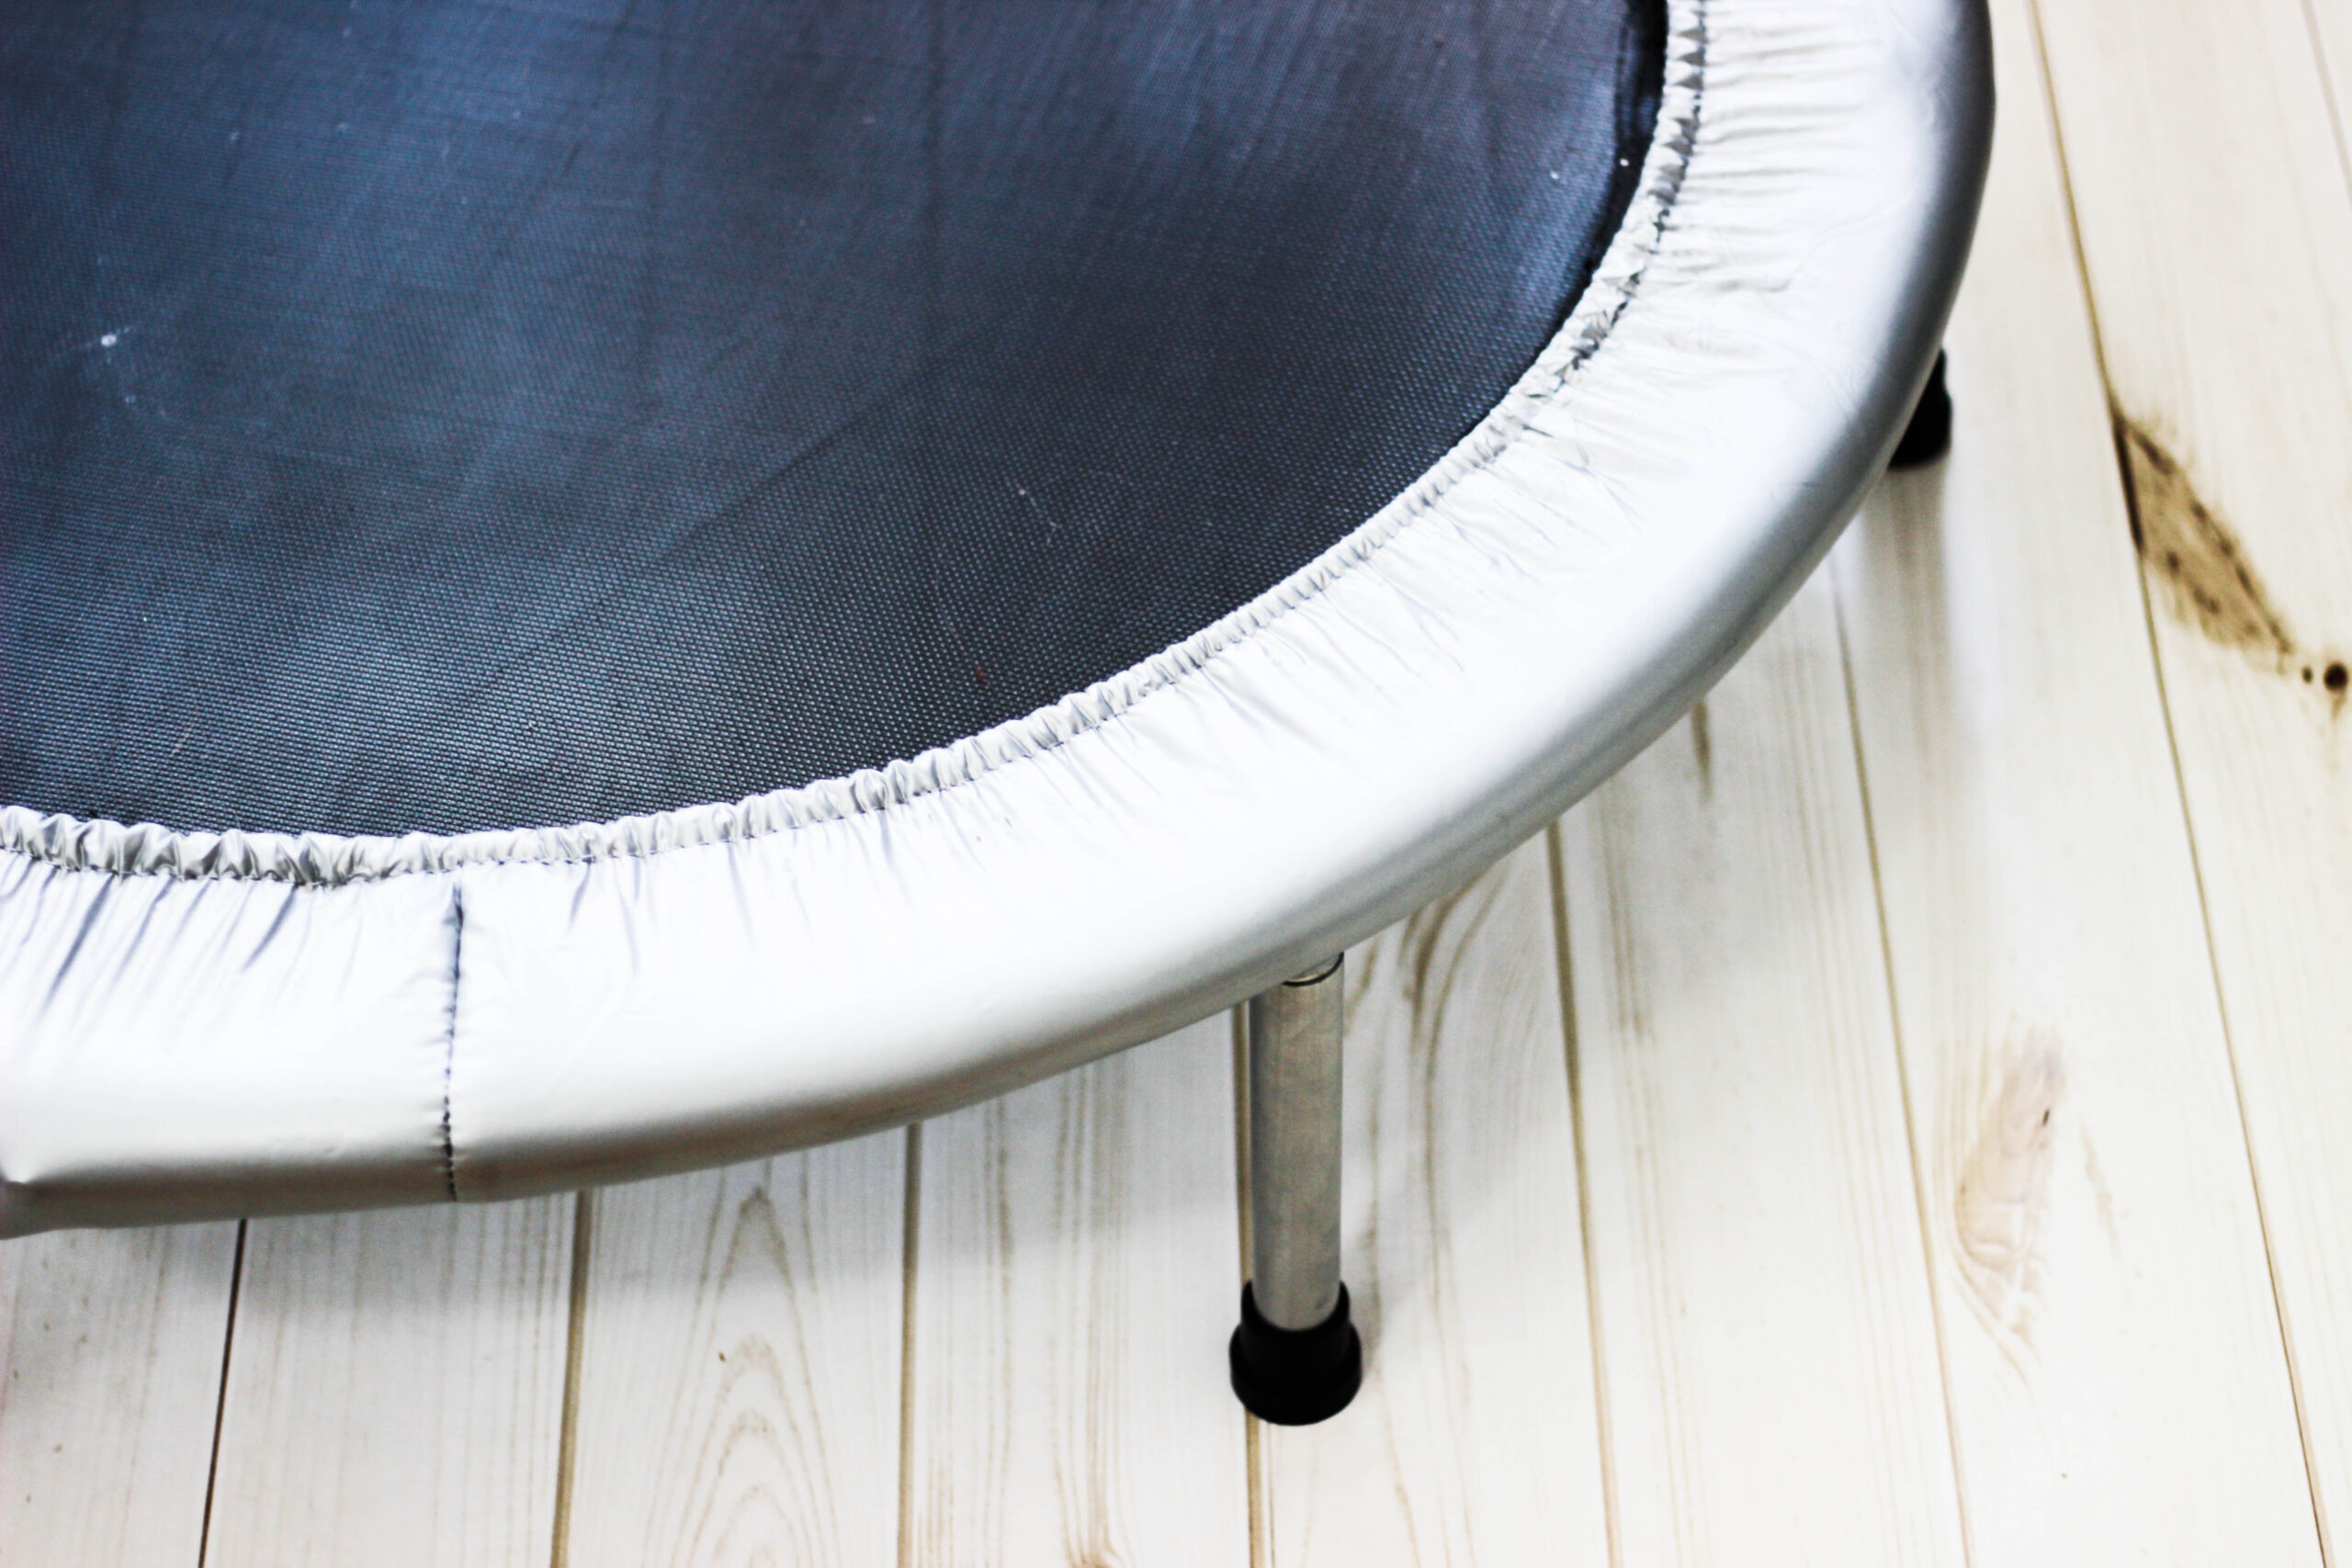
If you’re curious about my routine, every morning I begin my day with a few minutes of rebounding. I usually just put on a song or listen to a few minutes of a podcast while jumping. I honestly love the effects it’s had on my health. I feel like it immediately puts me in a good mood and starts my day off on a positive note. It definitely helps with my digestion, and it makes me feel like the rest of my day will be more “active.” Plus, it’s really fun. I feel like a kid again.
I am very in tune with my body and I really do feel like my body has been detoxing much more, and much better, now that I’ve been rebounding regularly. I do know that it’s helped with my mood, digestion, and energy levels, though, so I’m sticking with it. It feels great to start my day off with a form of detox. Plus, I want to support my mitochondria…
I definitely recommend trying it out if you’re interested! My cheap rebounder off of Amazon works perfectly well for what I’m using it for – not doing any crazy back flips over here. Now that this has become part of my daily routine, I’m pretty attached and feel incomplete without starting my morning this way. Who would’ve thought that jumping up and down could have so many health benefits?!

by Christina | Jan 21, 2018 | Recipes, Wellness
About a year ago, I was having a major Snickerdoodle moment. When it comes to cookies, I don’t usually head straight to Snickerdoodles, but I had some pre-made gluten-free Snickerdoodle cookie dough from a random company in my fridge, so I thought I’d put it to use. My friends and I were having a girls’ night in, so I provided the snickerdoodles and the vegan ice cream.
The cookies were good. Really good. But I felt horrible afterward. My stomach was in knots from all of the weird ingredients. Just because it’s gluten-free does not mean it’s healthy, and my sensitive stomach paid the price. I wasn’t the only one who felt that way — my friends all agreed that although they were yummy, they wouldn’t have that dough again.
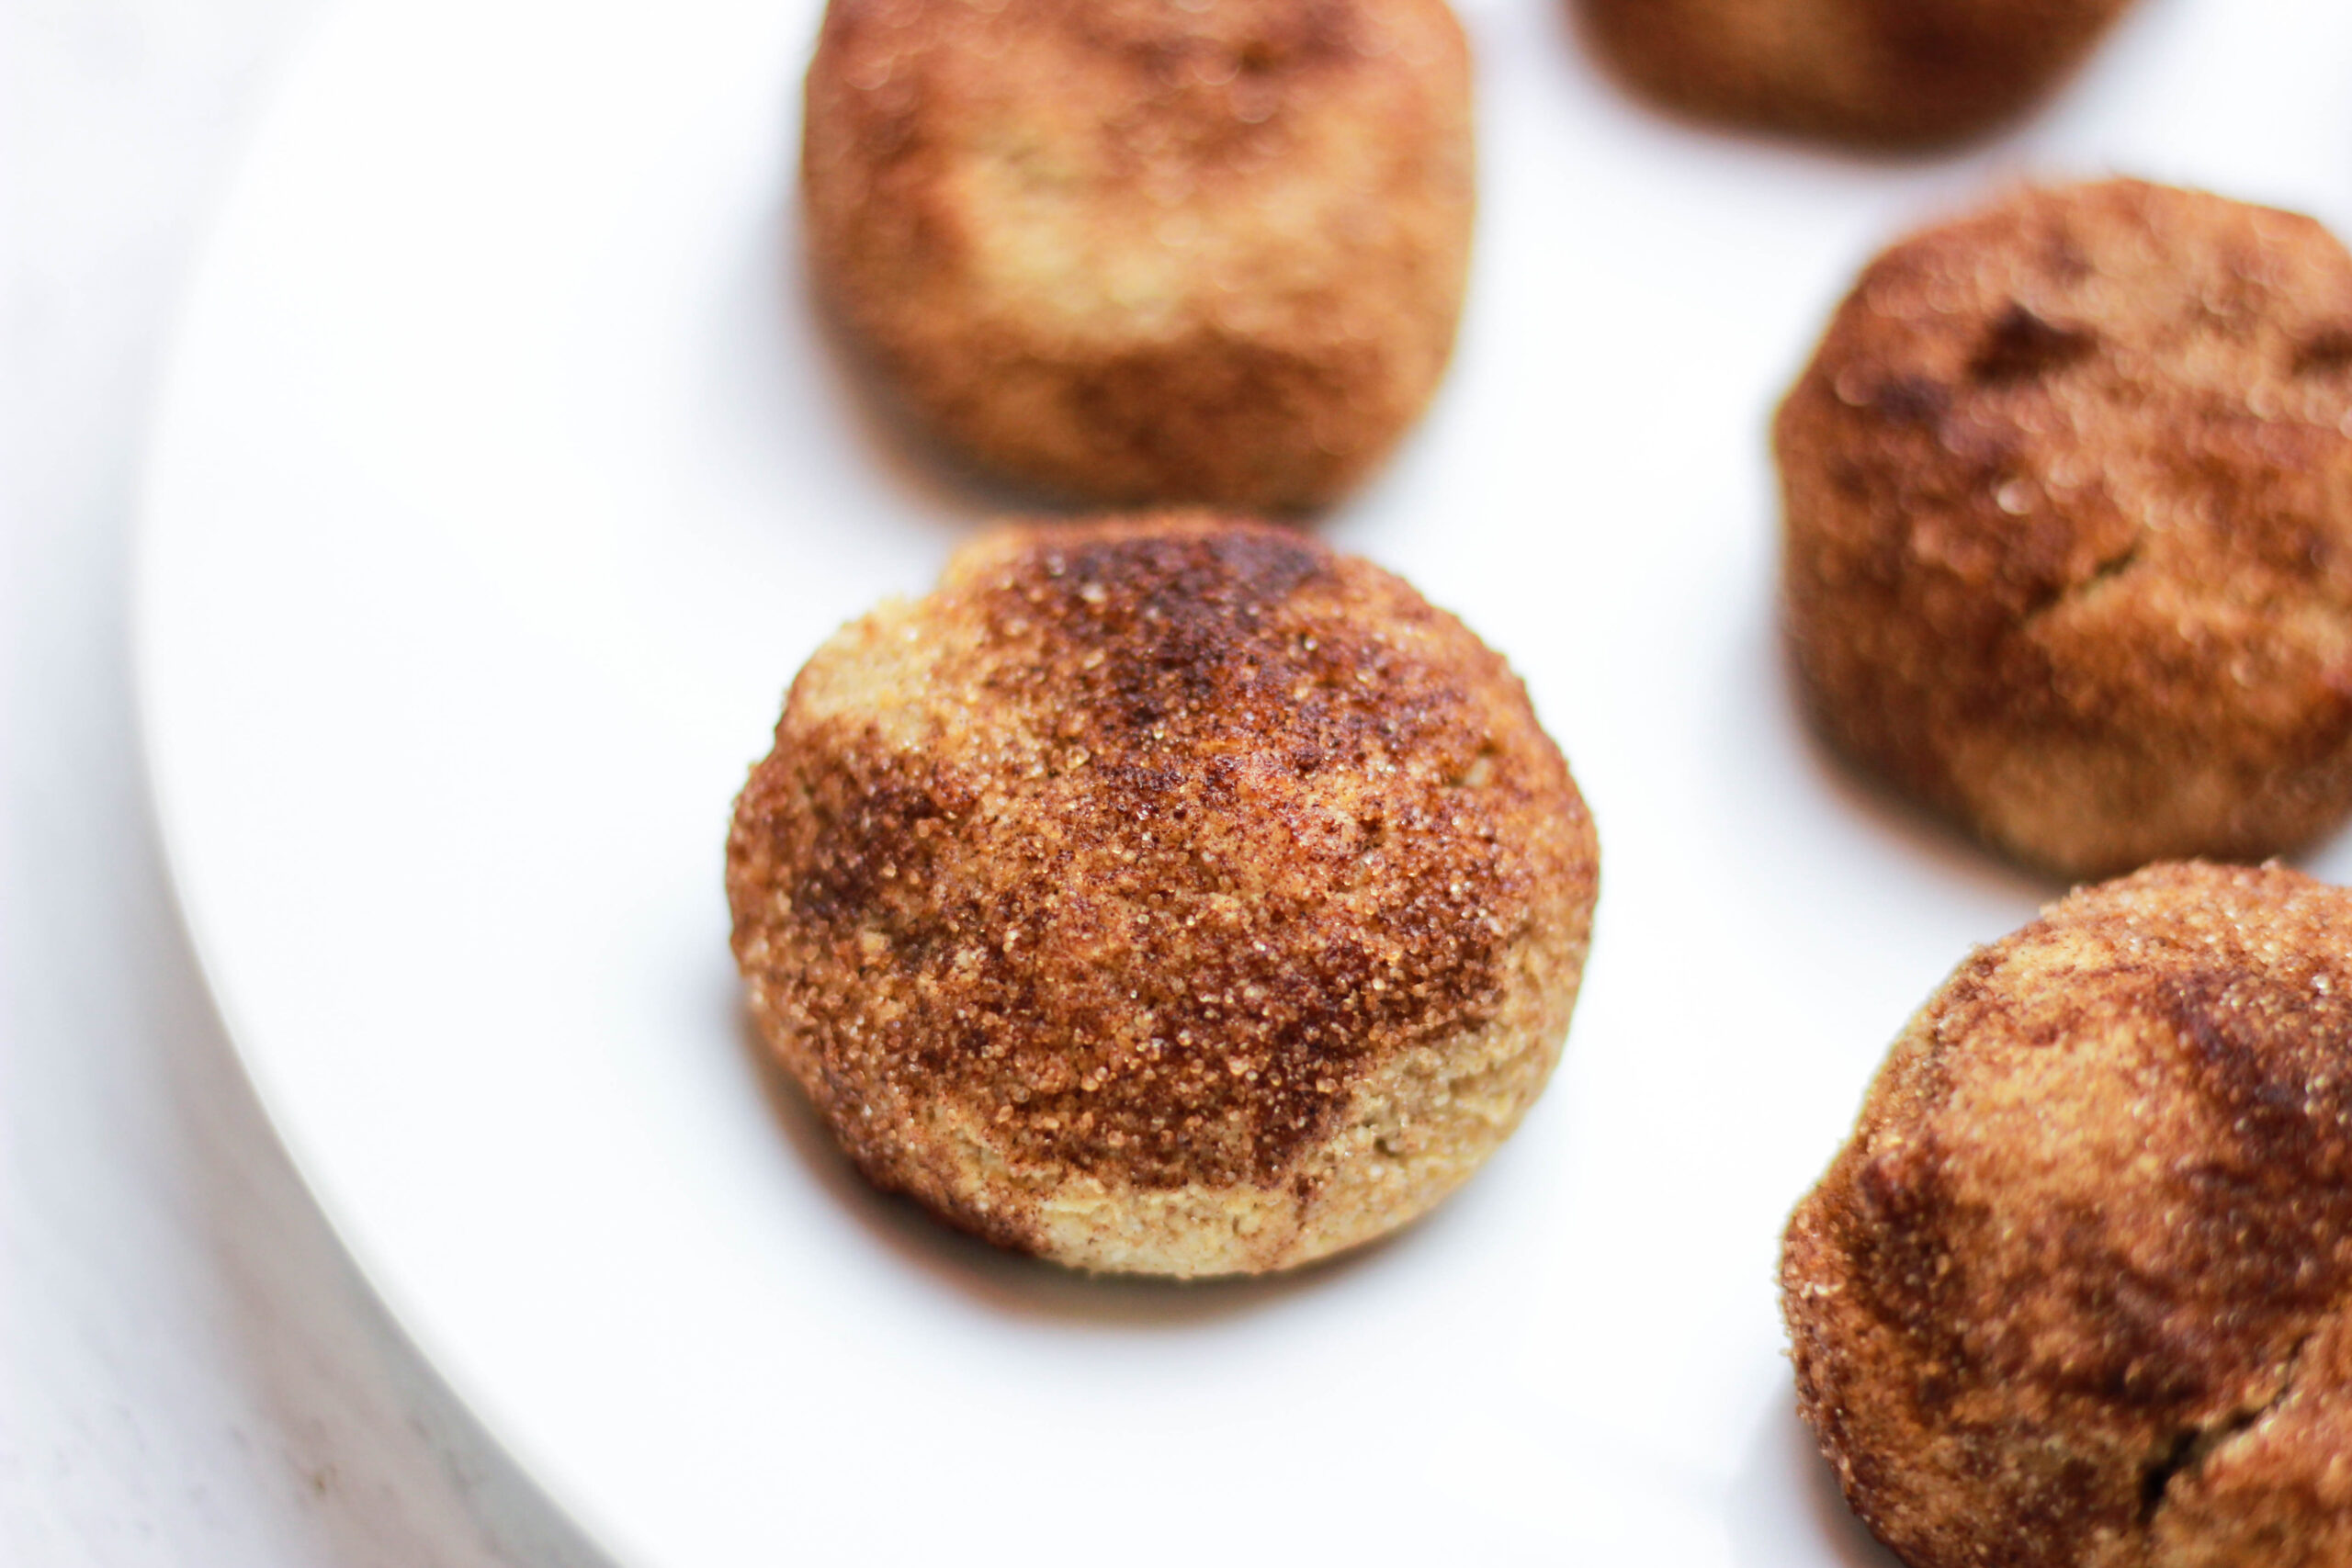
Despite the stomachache, all I could think about was how I had completely forgotten how good Snickerdoodles are. Chocolate chip cookies always steal the show and kinda leave Snickerdoodles left behind and forgotten about, you know? After that, I became obsessed with showing Snickerdoodles some love. And that meant making my own Snickerdoodles – ones that did not hurt my stomach. That is why I love baking things from scratch!
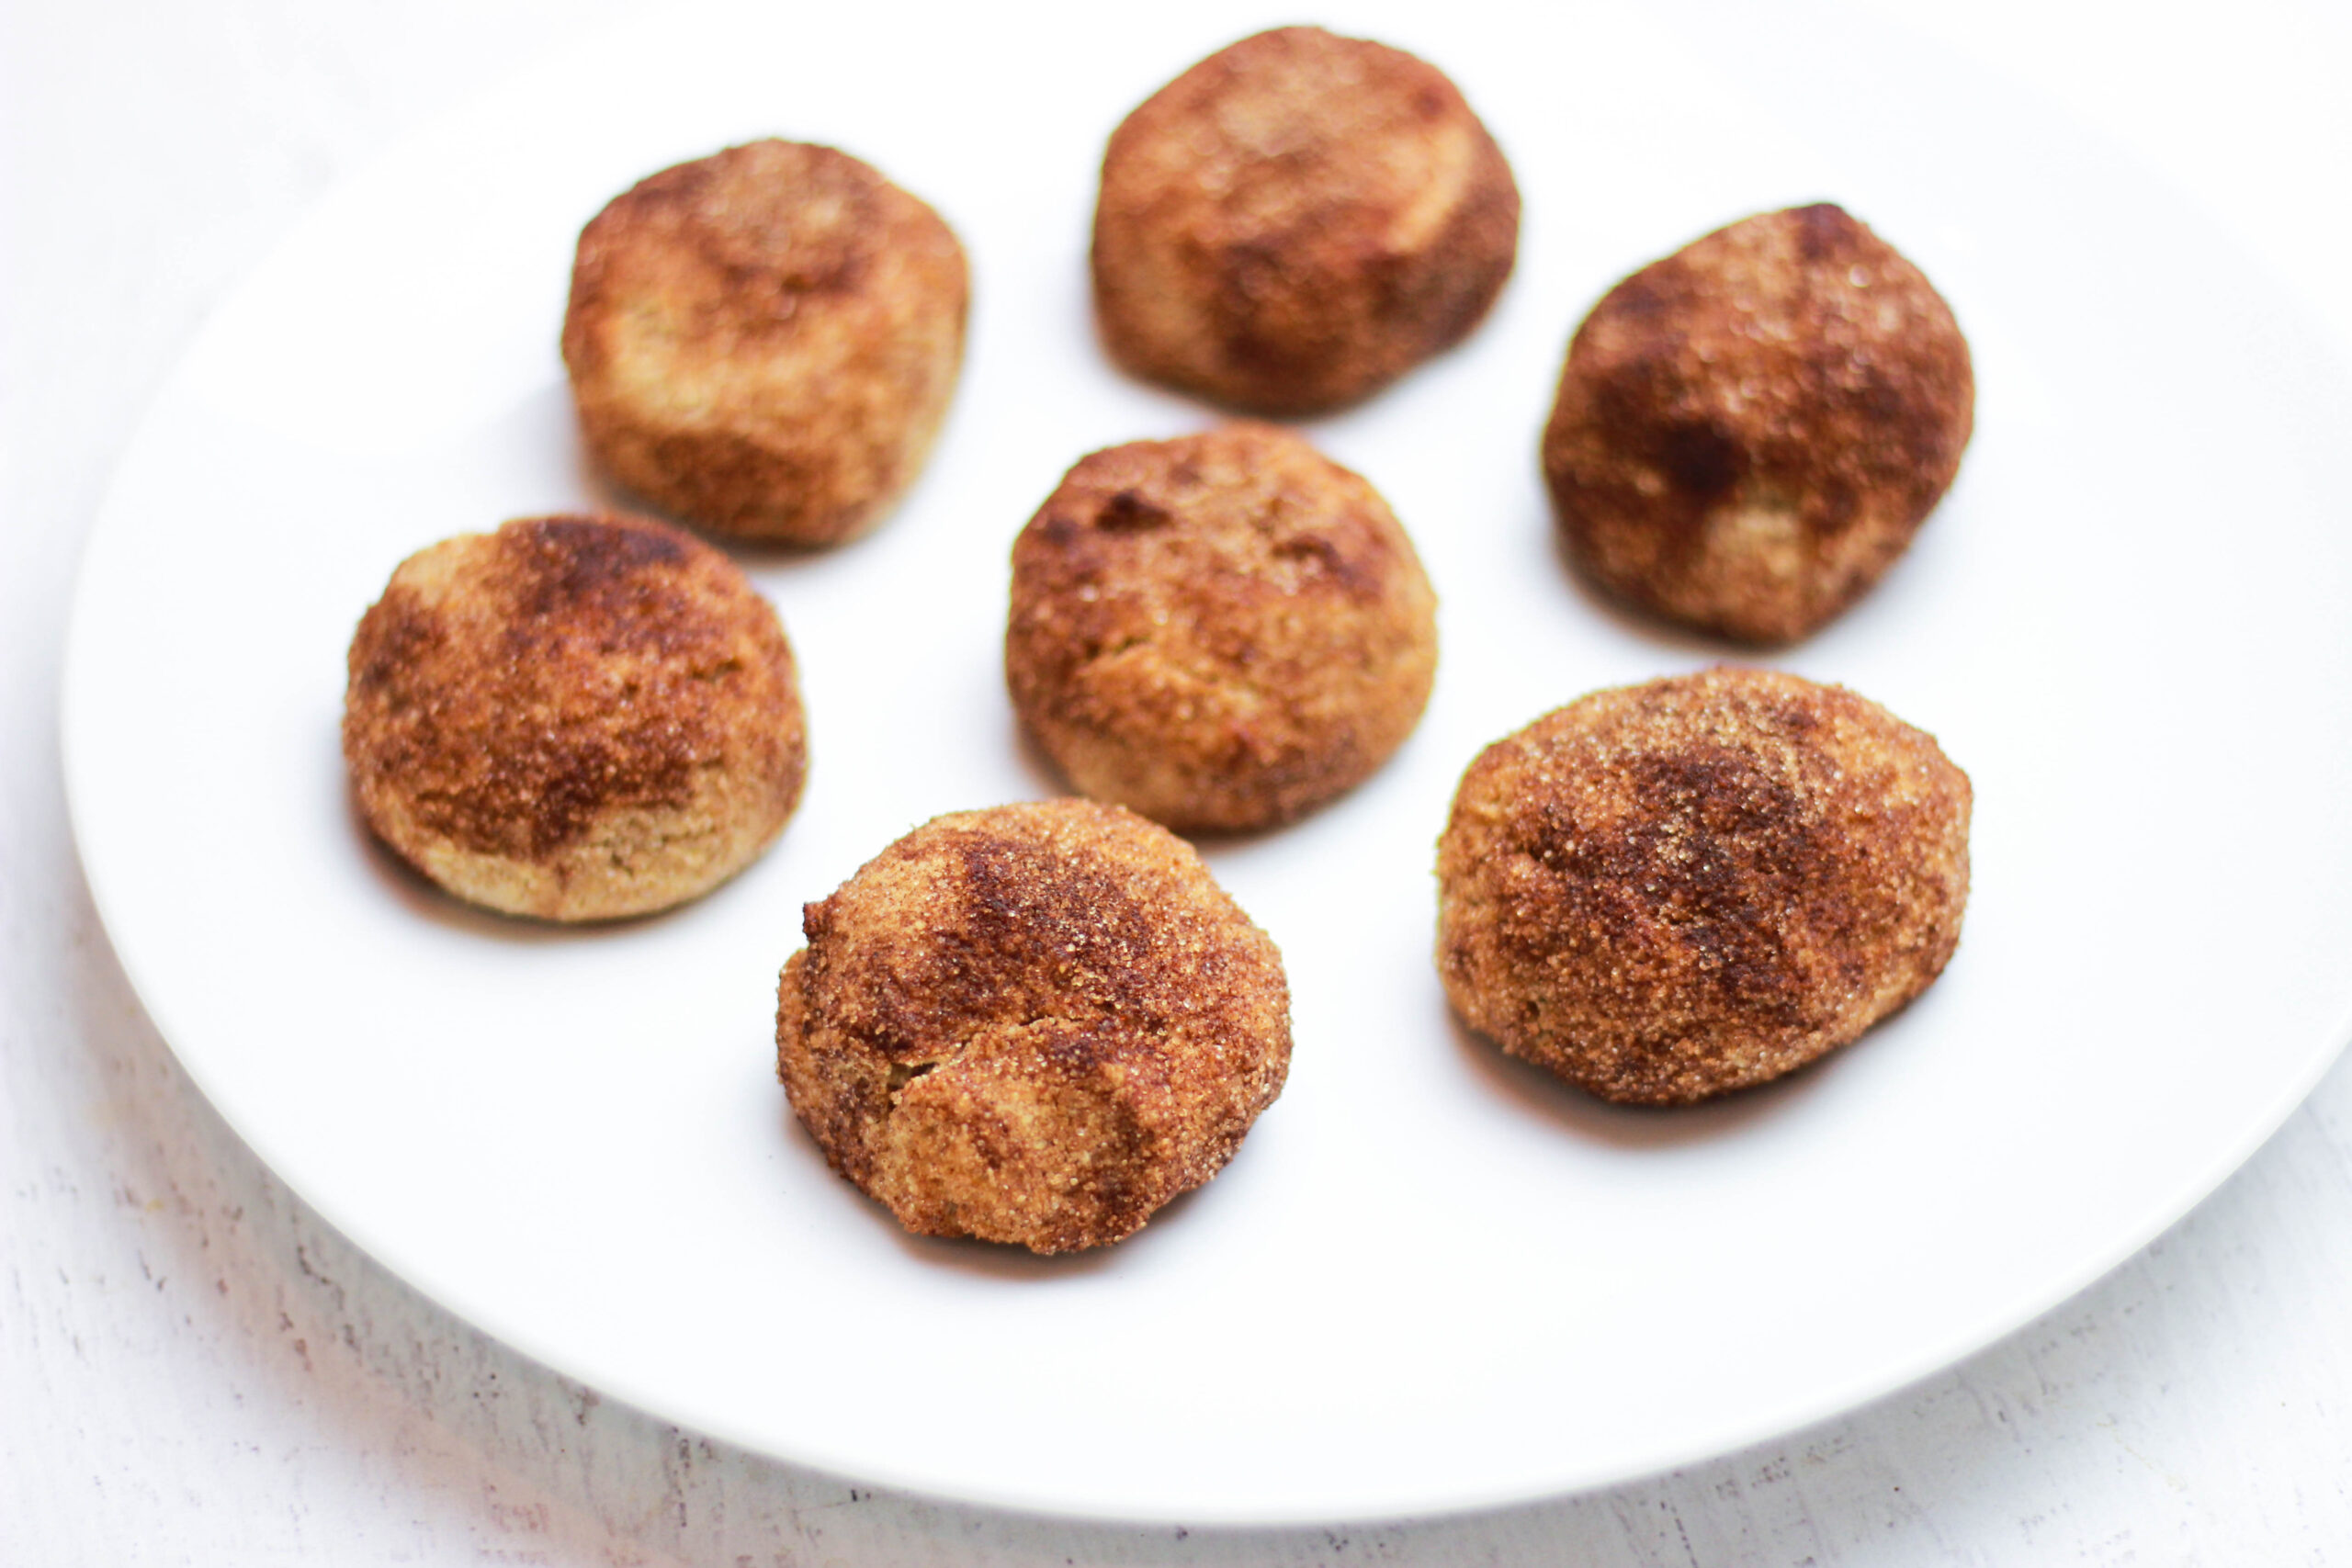
I tried out about 5 or 6 different recipes, and all of them were good, but none of them really did it for me. I needed to make them unique. Cookies alone have never been my favorite dessert because I feel like they need a little something else to make them exciting. Maybe a frosting on top, or some ice cream in between, or at least some nuts in there for a crunch.
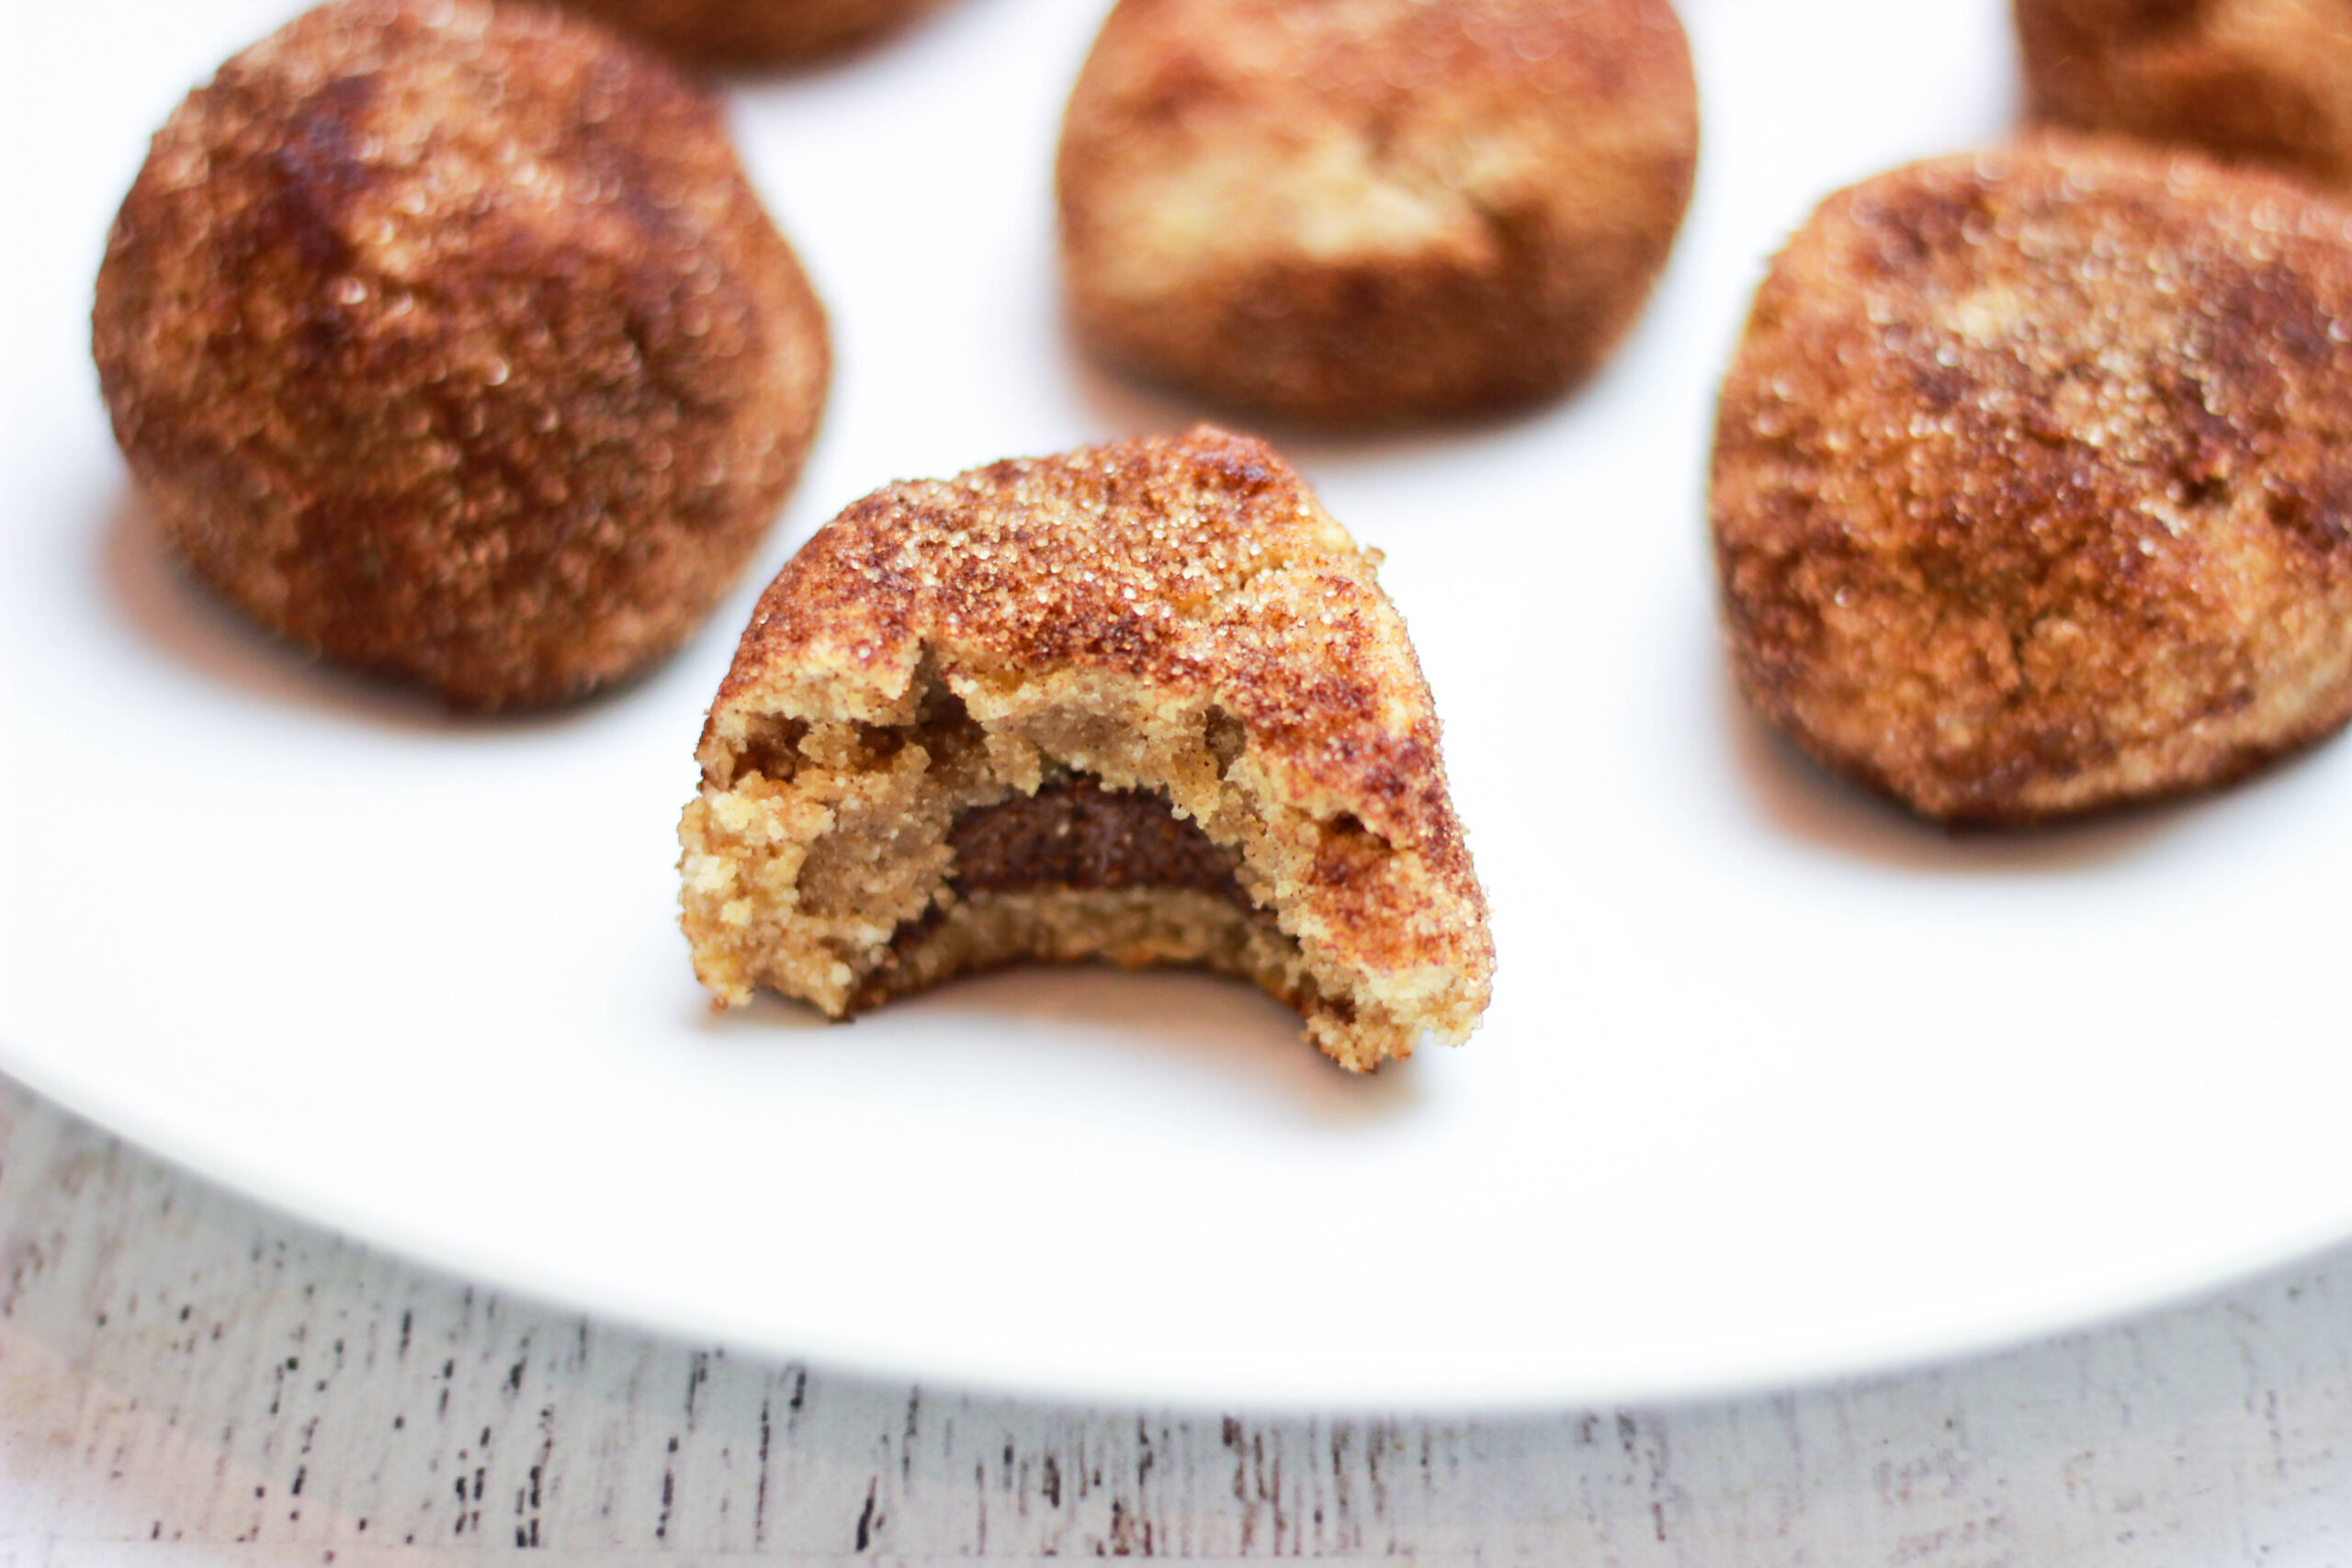
I didn’t really know what to do with the Snickerdoodle. I didn’t want to add a nut, and I wasn’t going to add a frosting since there is already a cinnamon-sugar coating on the outside. That left me with one clear option – add a filling.
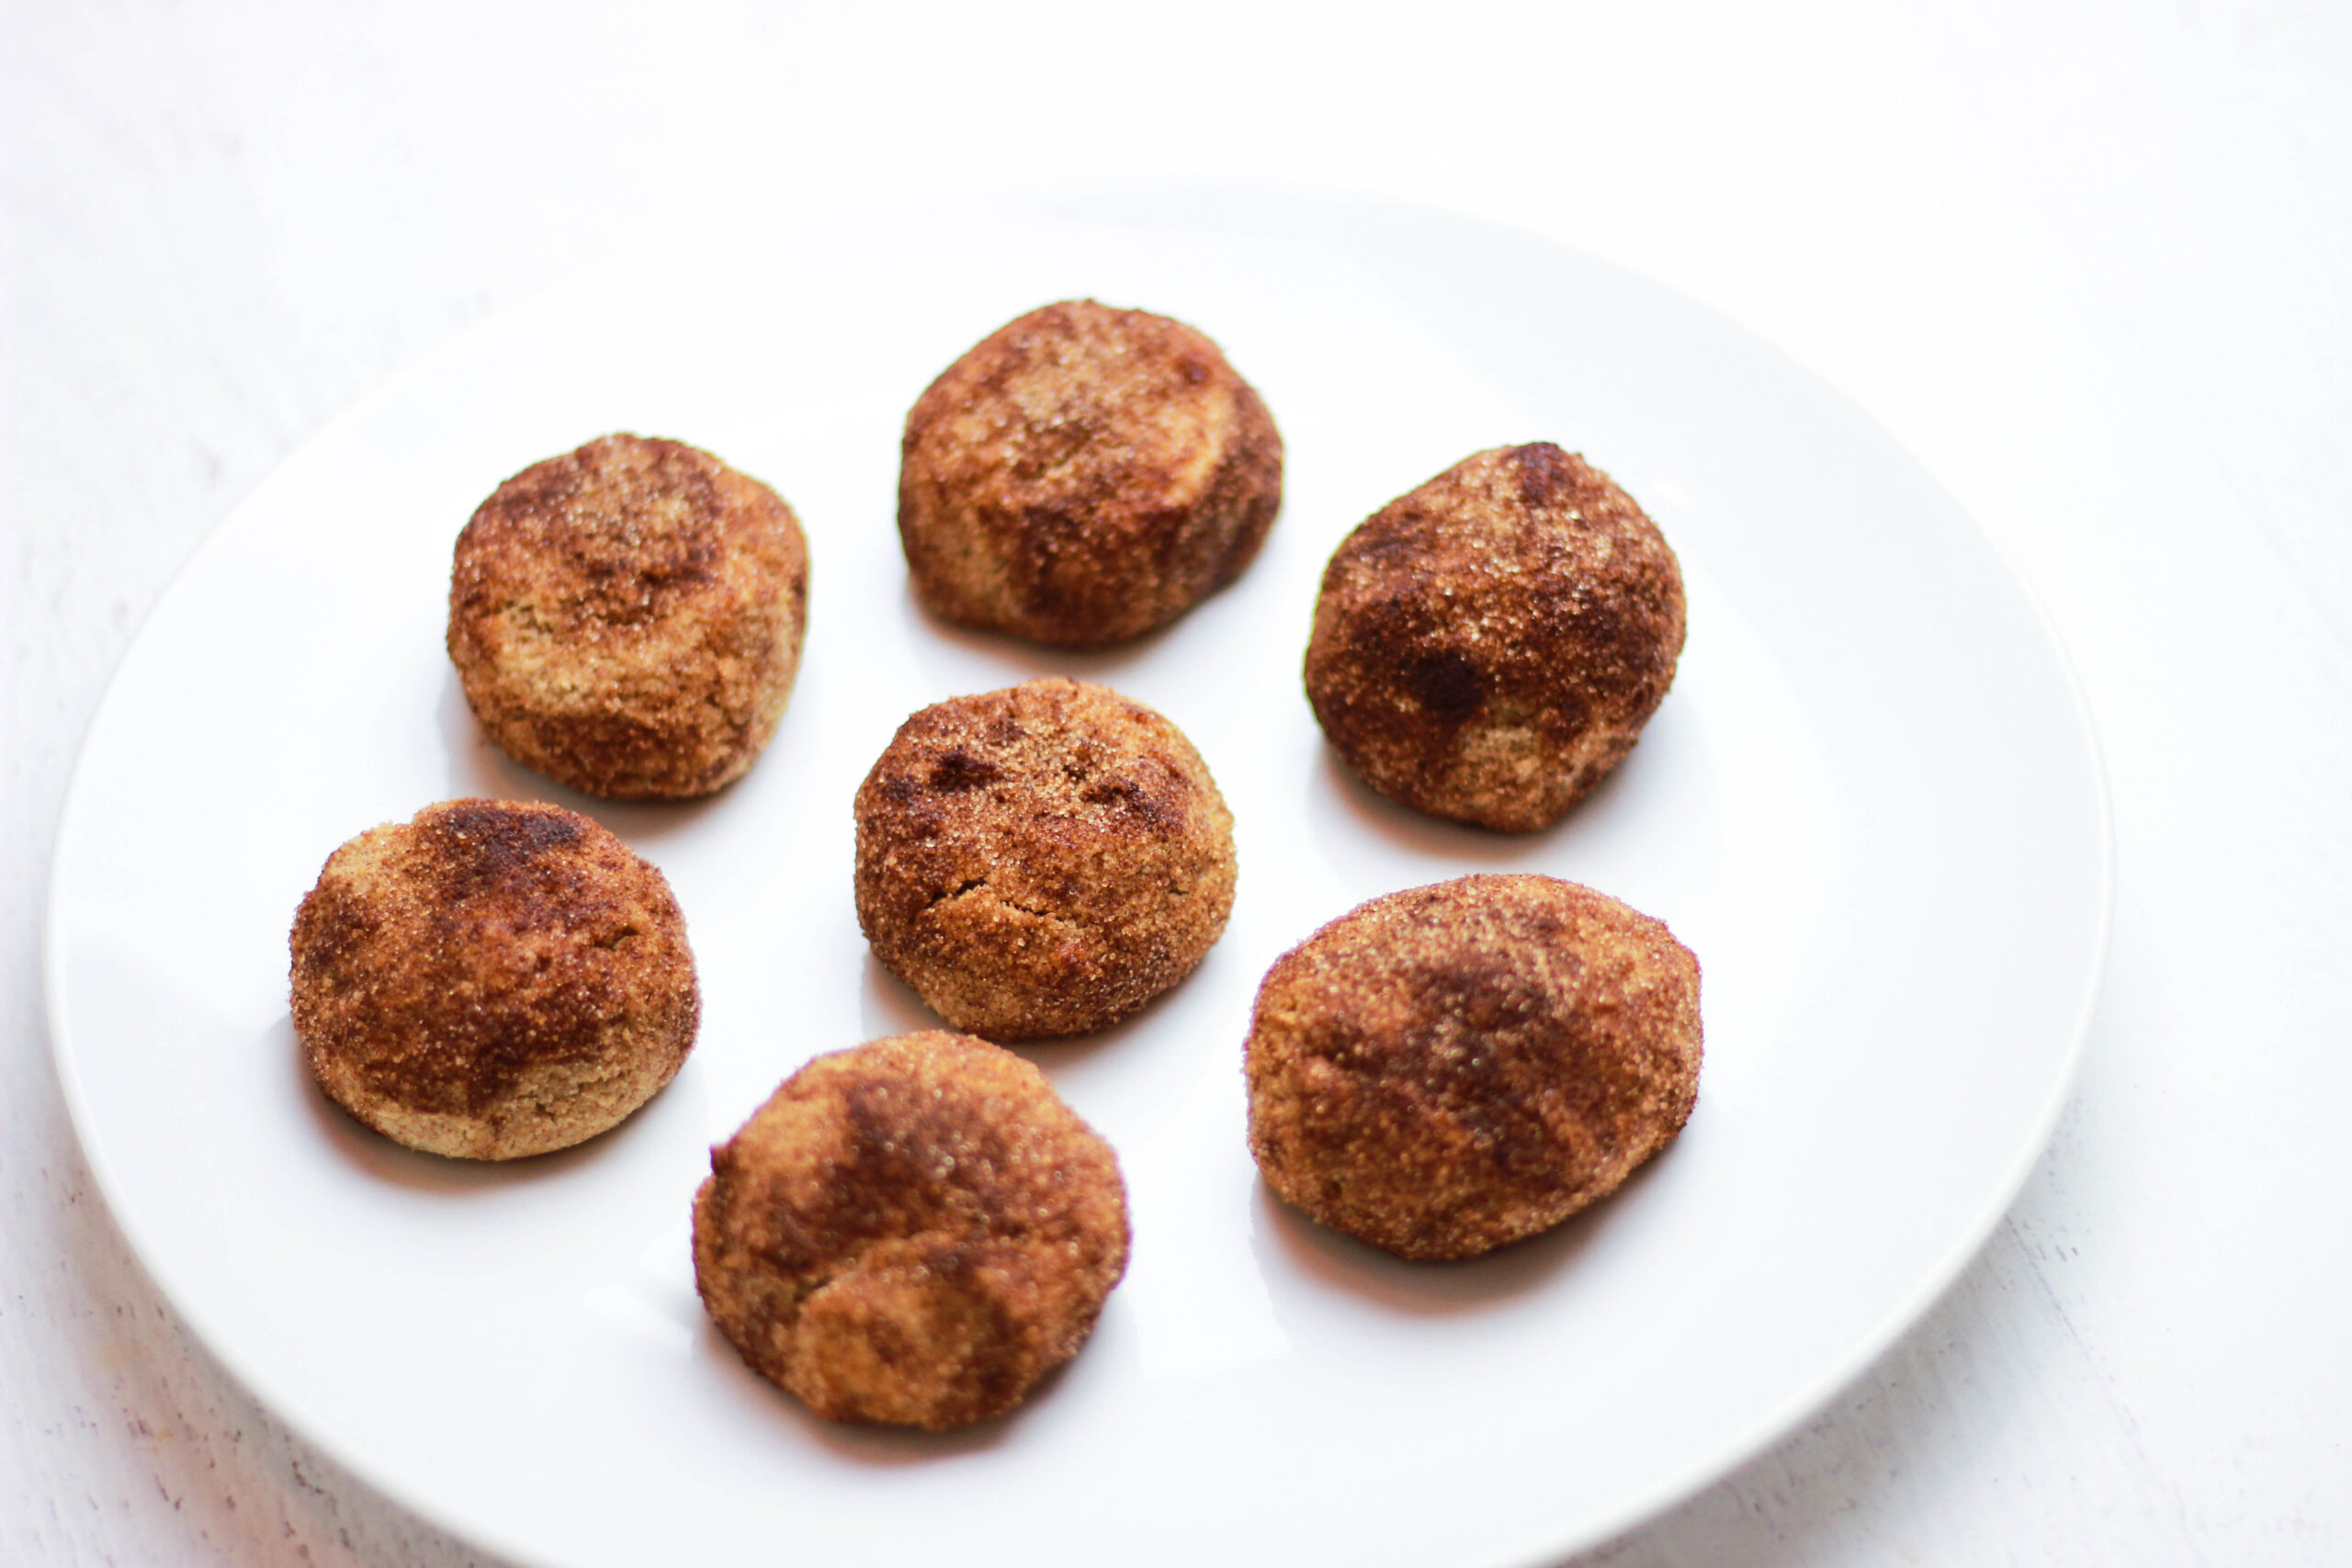
When I made this recipe a year ago, they were a total hit. I was so proud of them. A lot of people messaged me asking me to post the recipe, and my friends begged me to make more. I wasn’t 100% satisfied with the consistency though, so I put it in my notes to adjust things again. I played with it and eventually got it right, but never ended up writing it down or taking pictures. And then I got Candida and a year flew by.
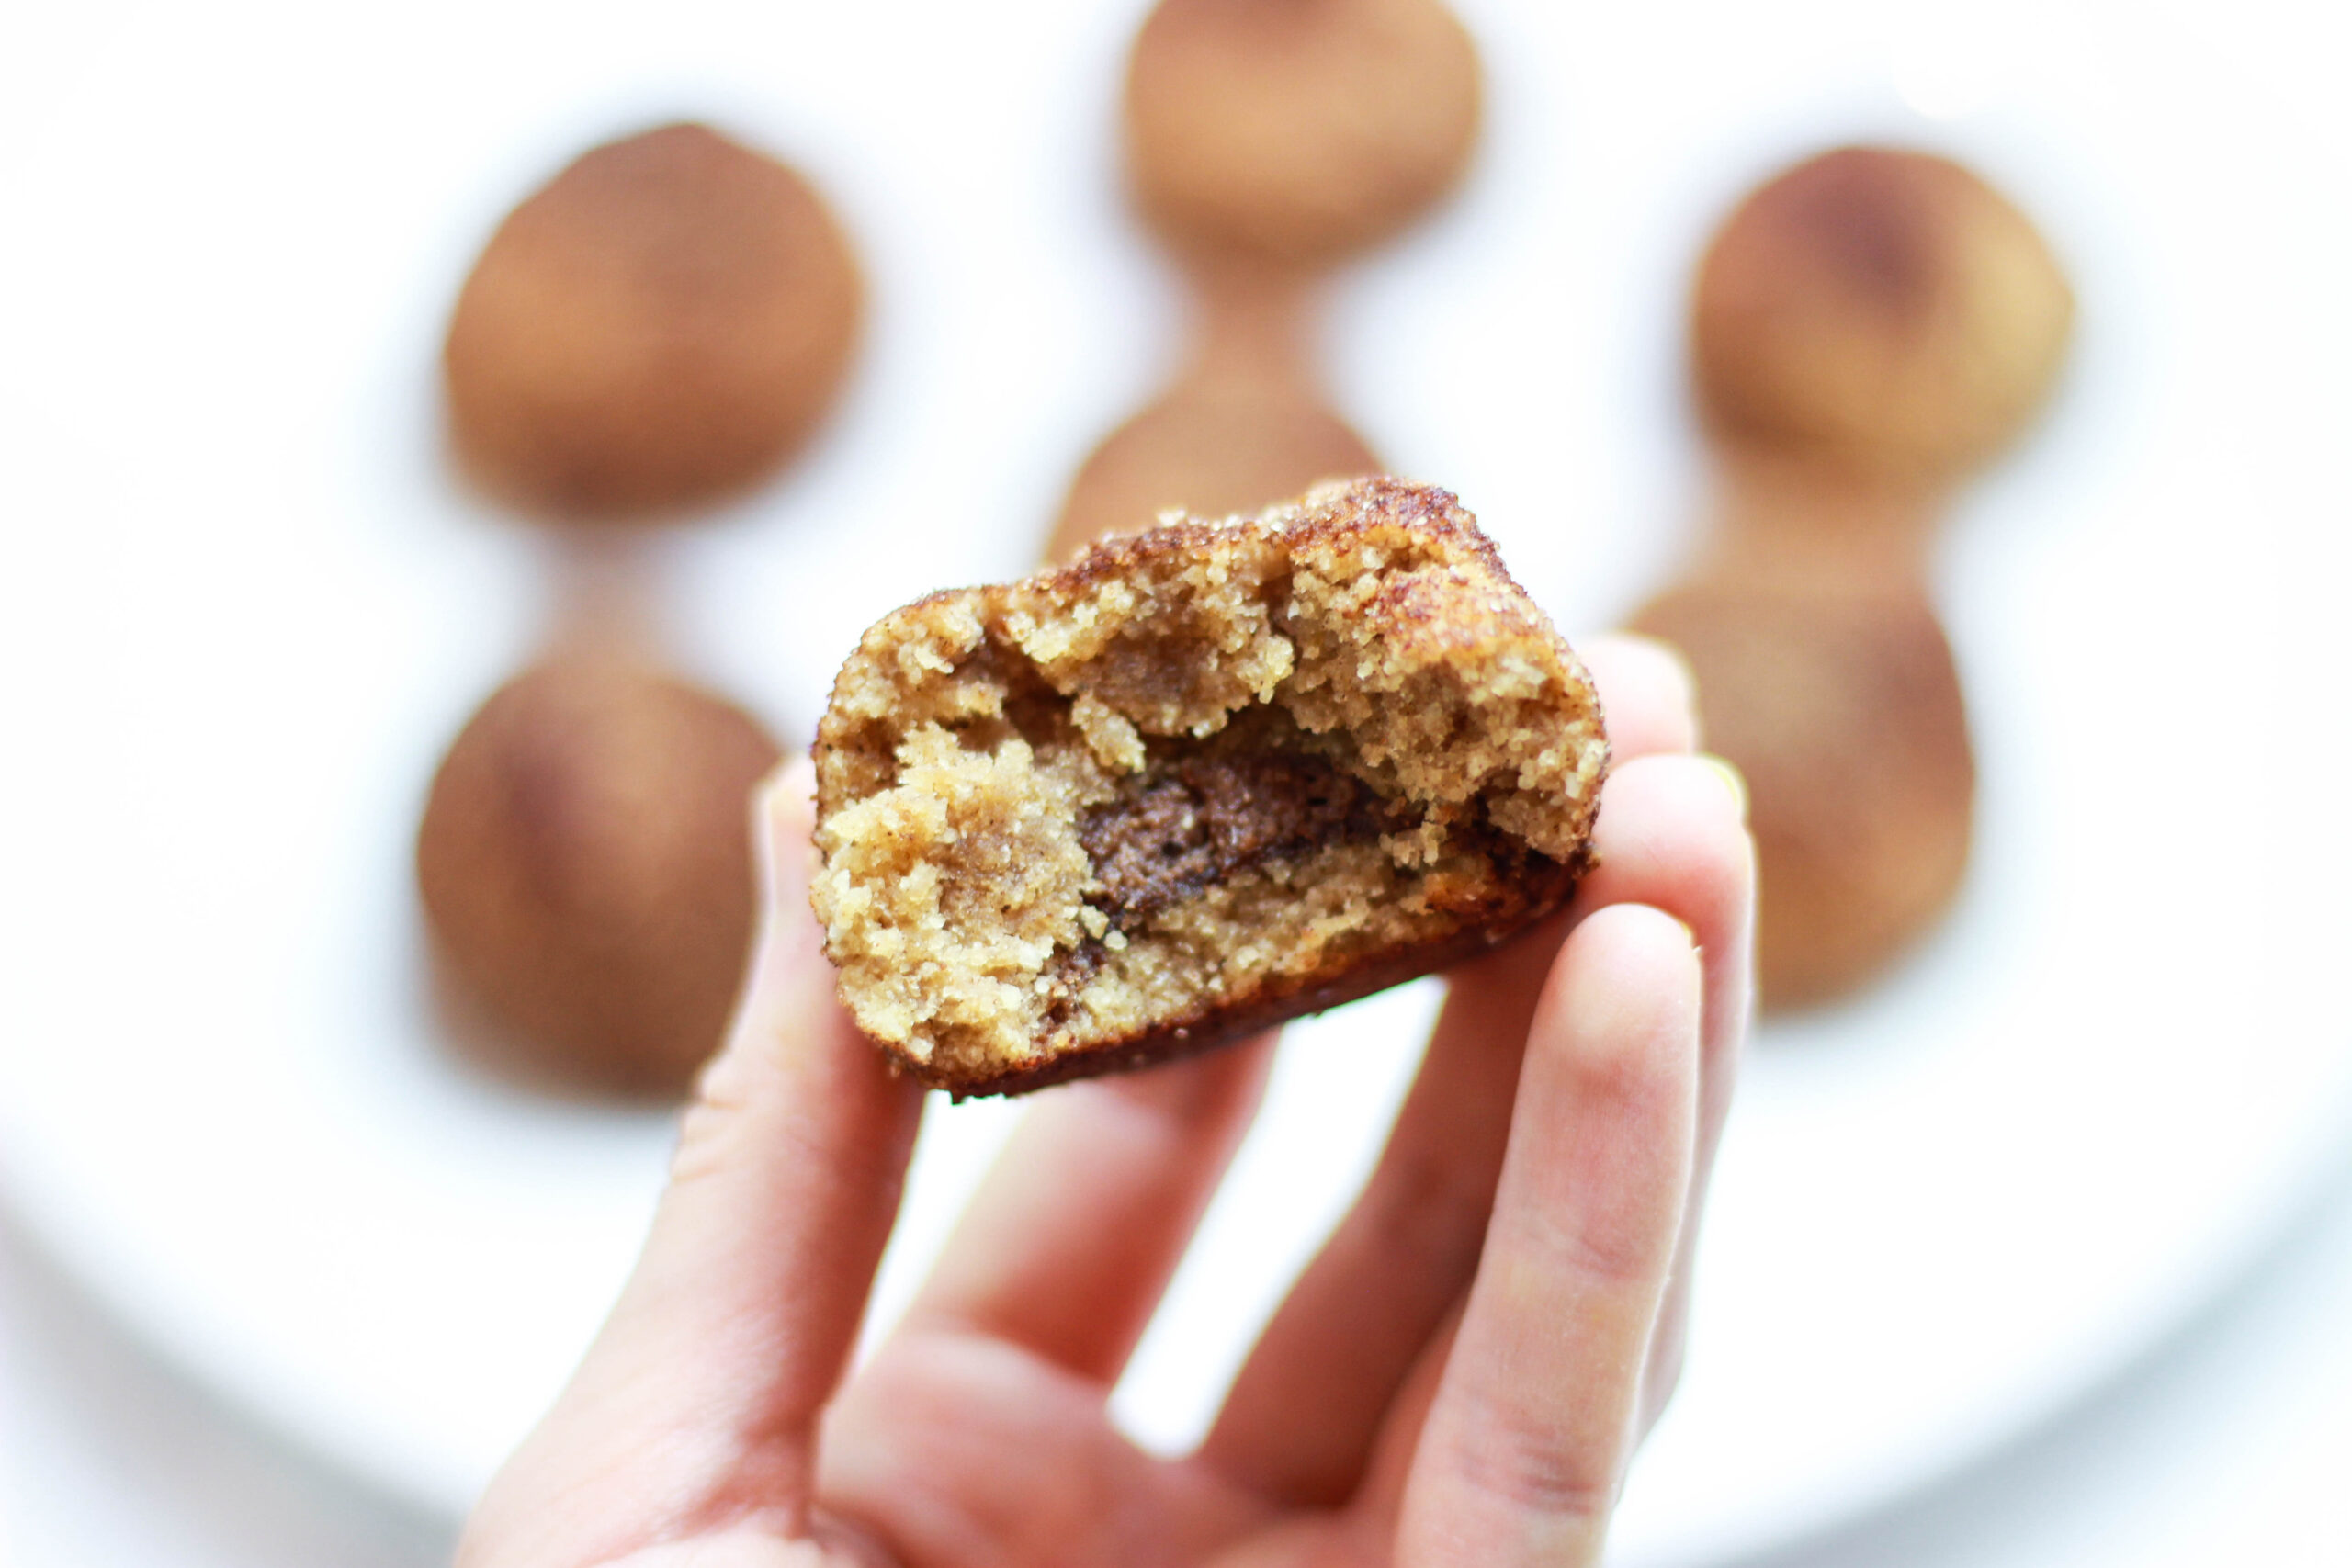
I’ve been cleaning out the Notes in my phone recently (very slowly, but surely), and I ran across this recipe again! I could not believe I had forgotten to share it. The holidays this year were the perfect time to make them again and test them out on a new audience, and it was a complete success. I have a friend who always recipe tests for me when I’m back in the Bay Area, and he rarely ever wants to bring the leftovers back with him. Too “healthy.” He wanted to bring all of these back with him, though. Sadly, I couldn’t let him bring them all home – my dad was desperate for a few more, too.
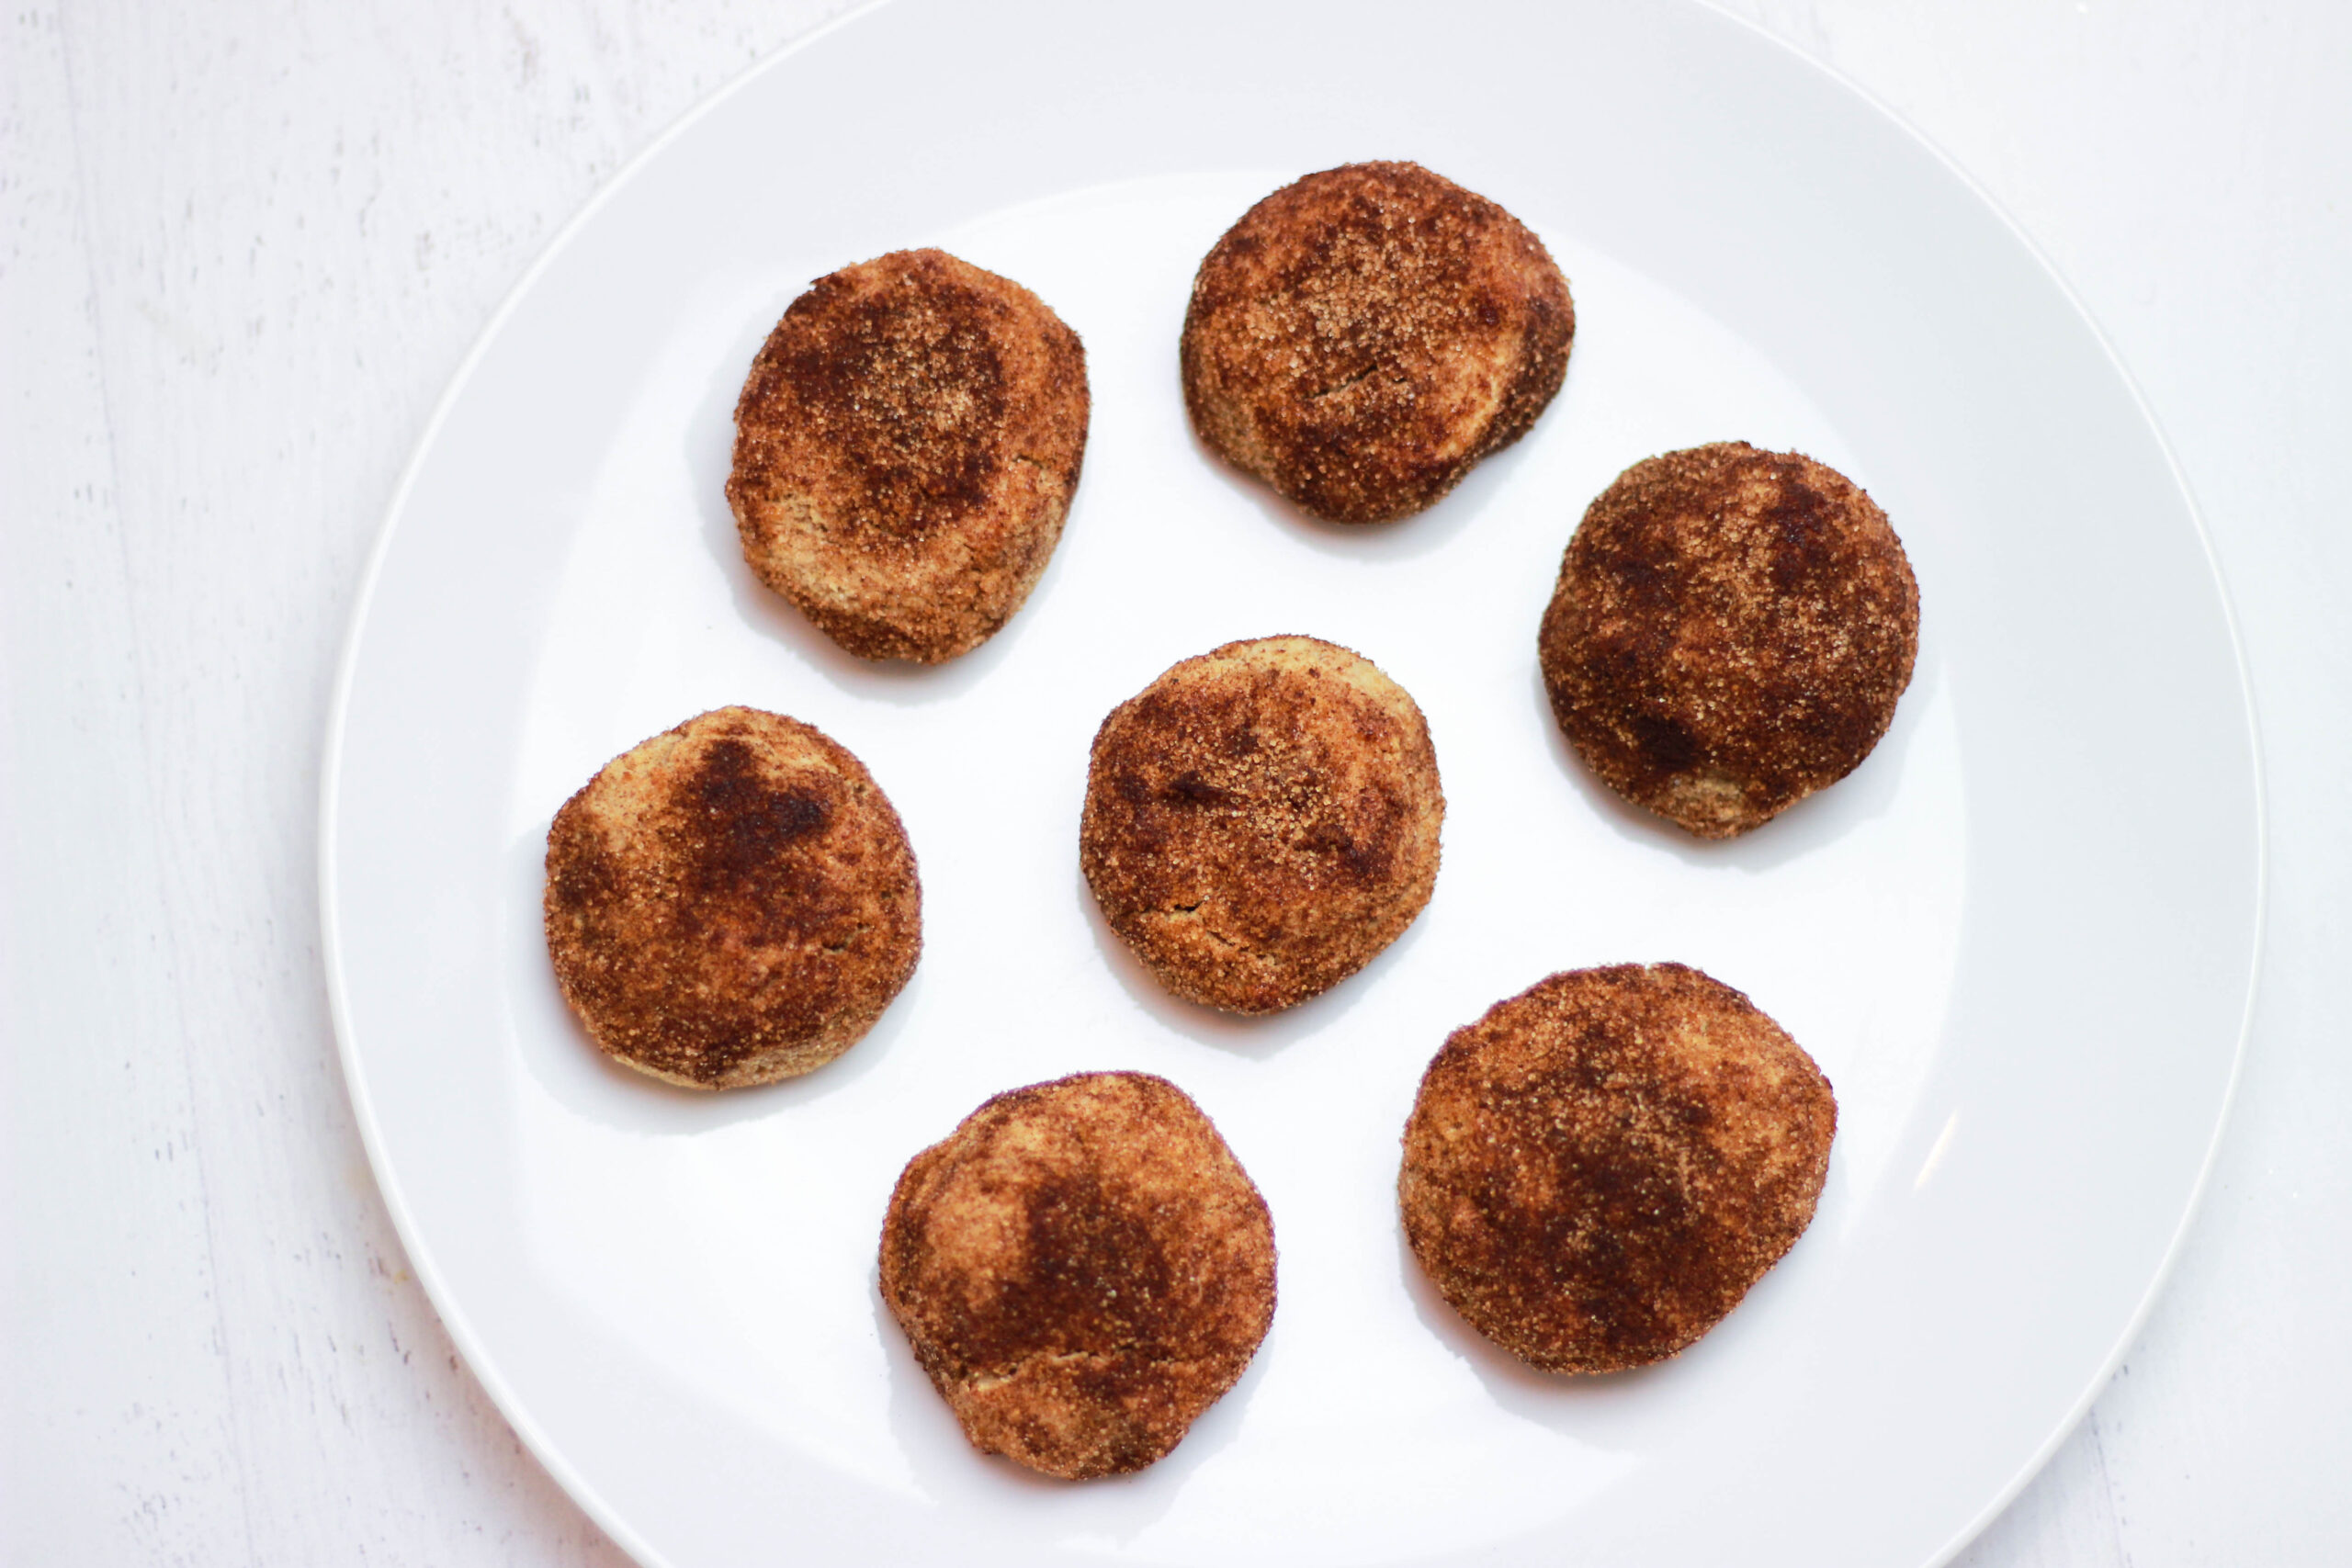
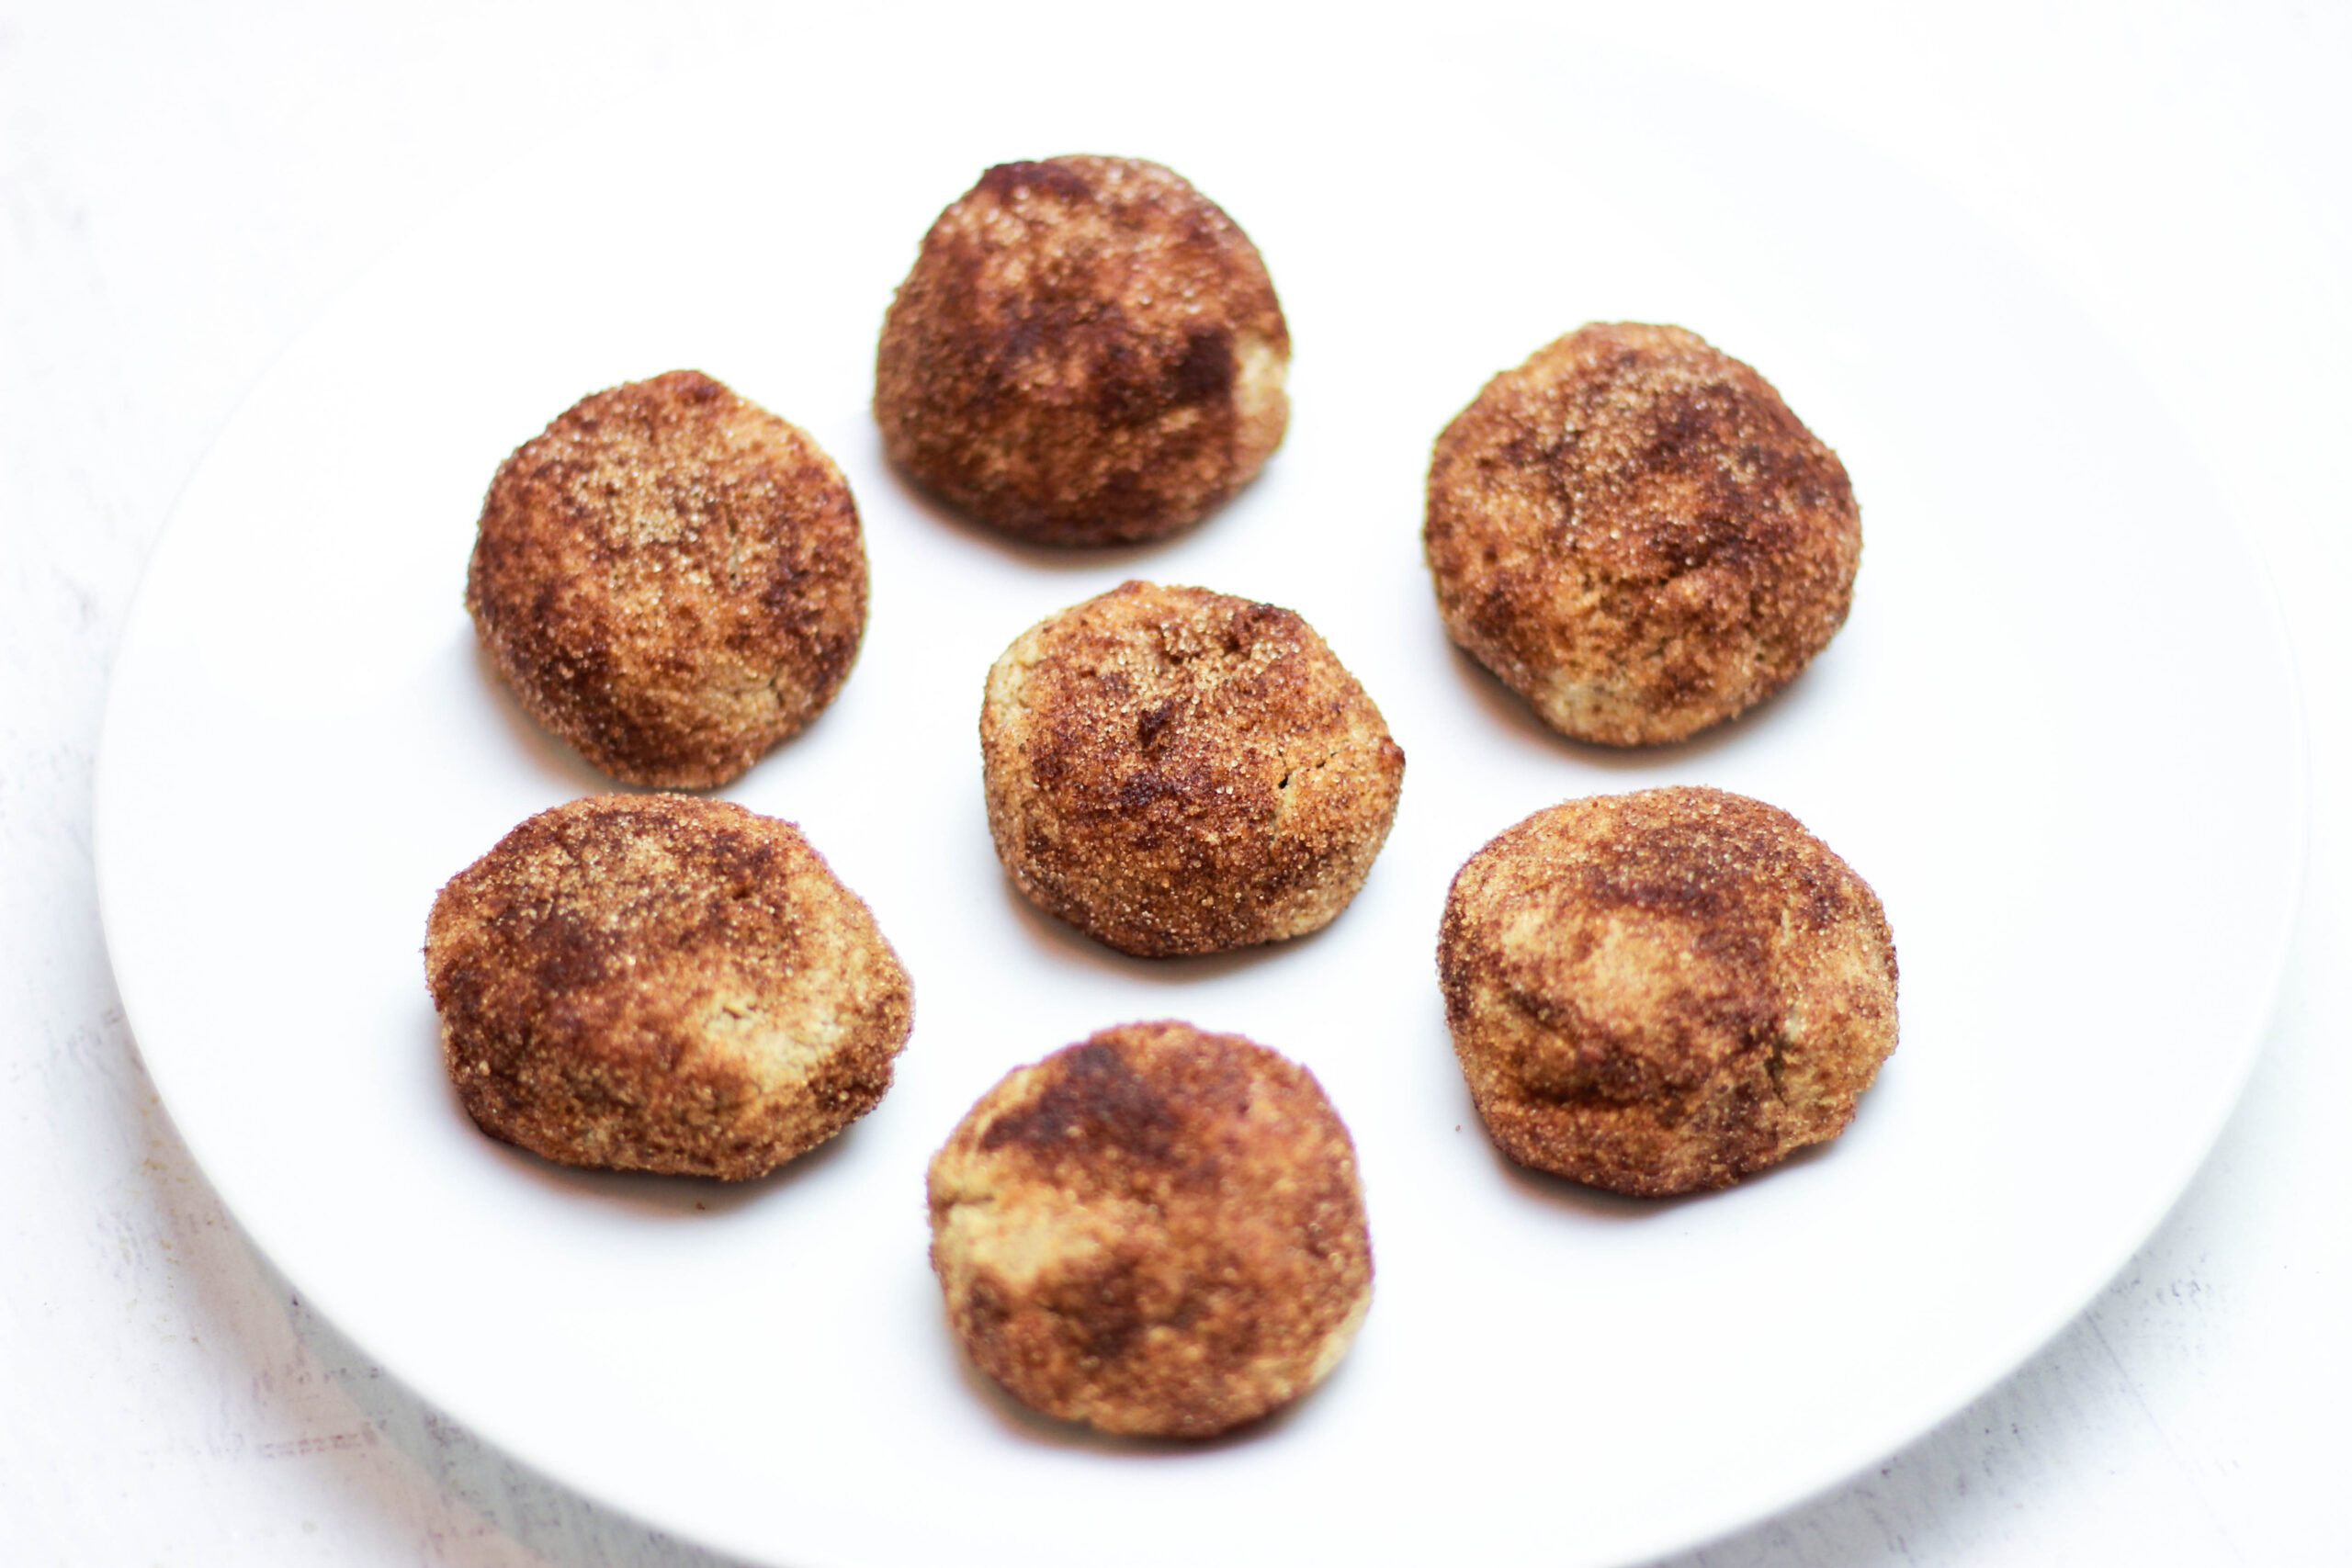
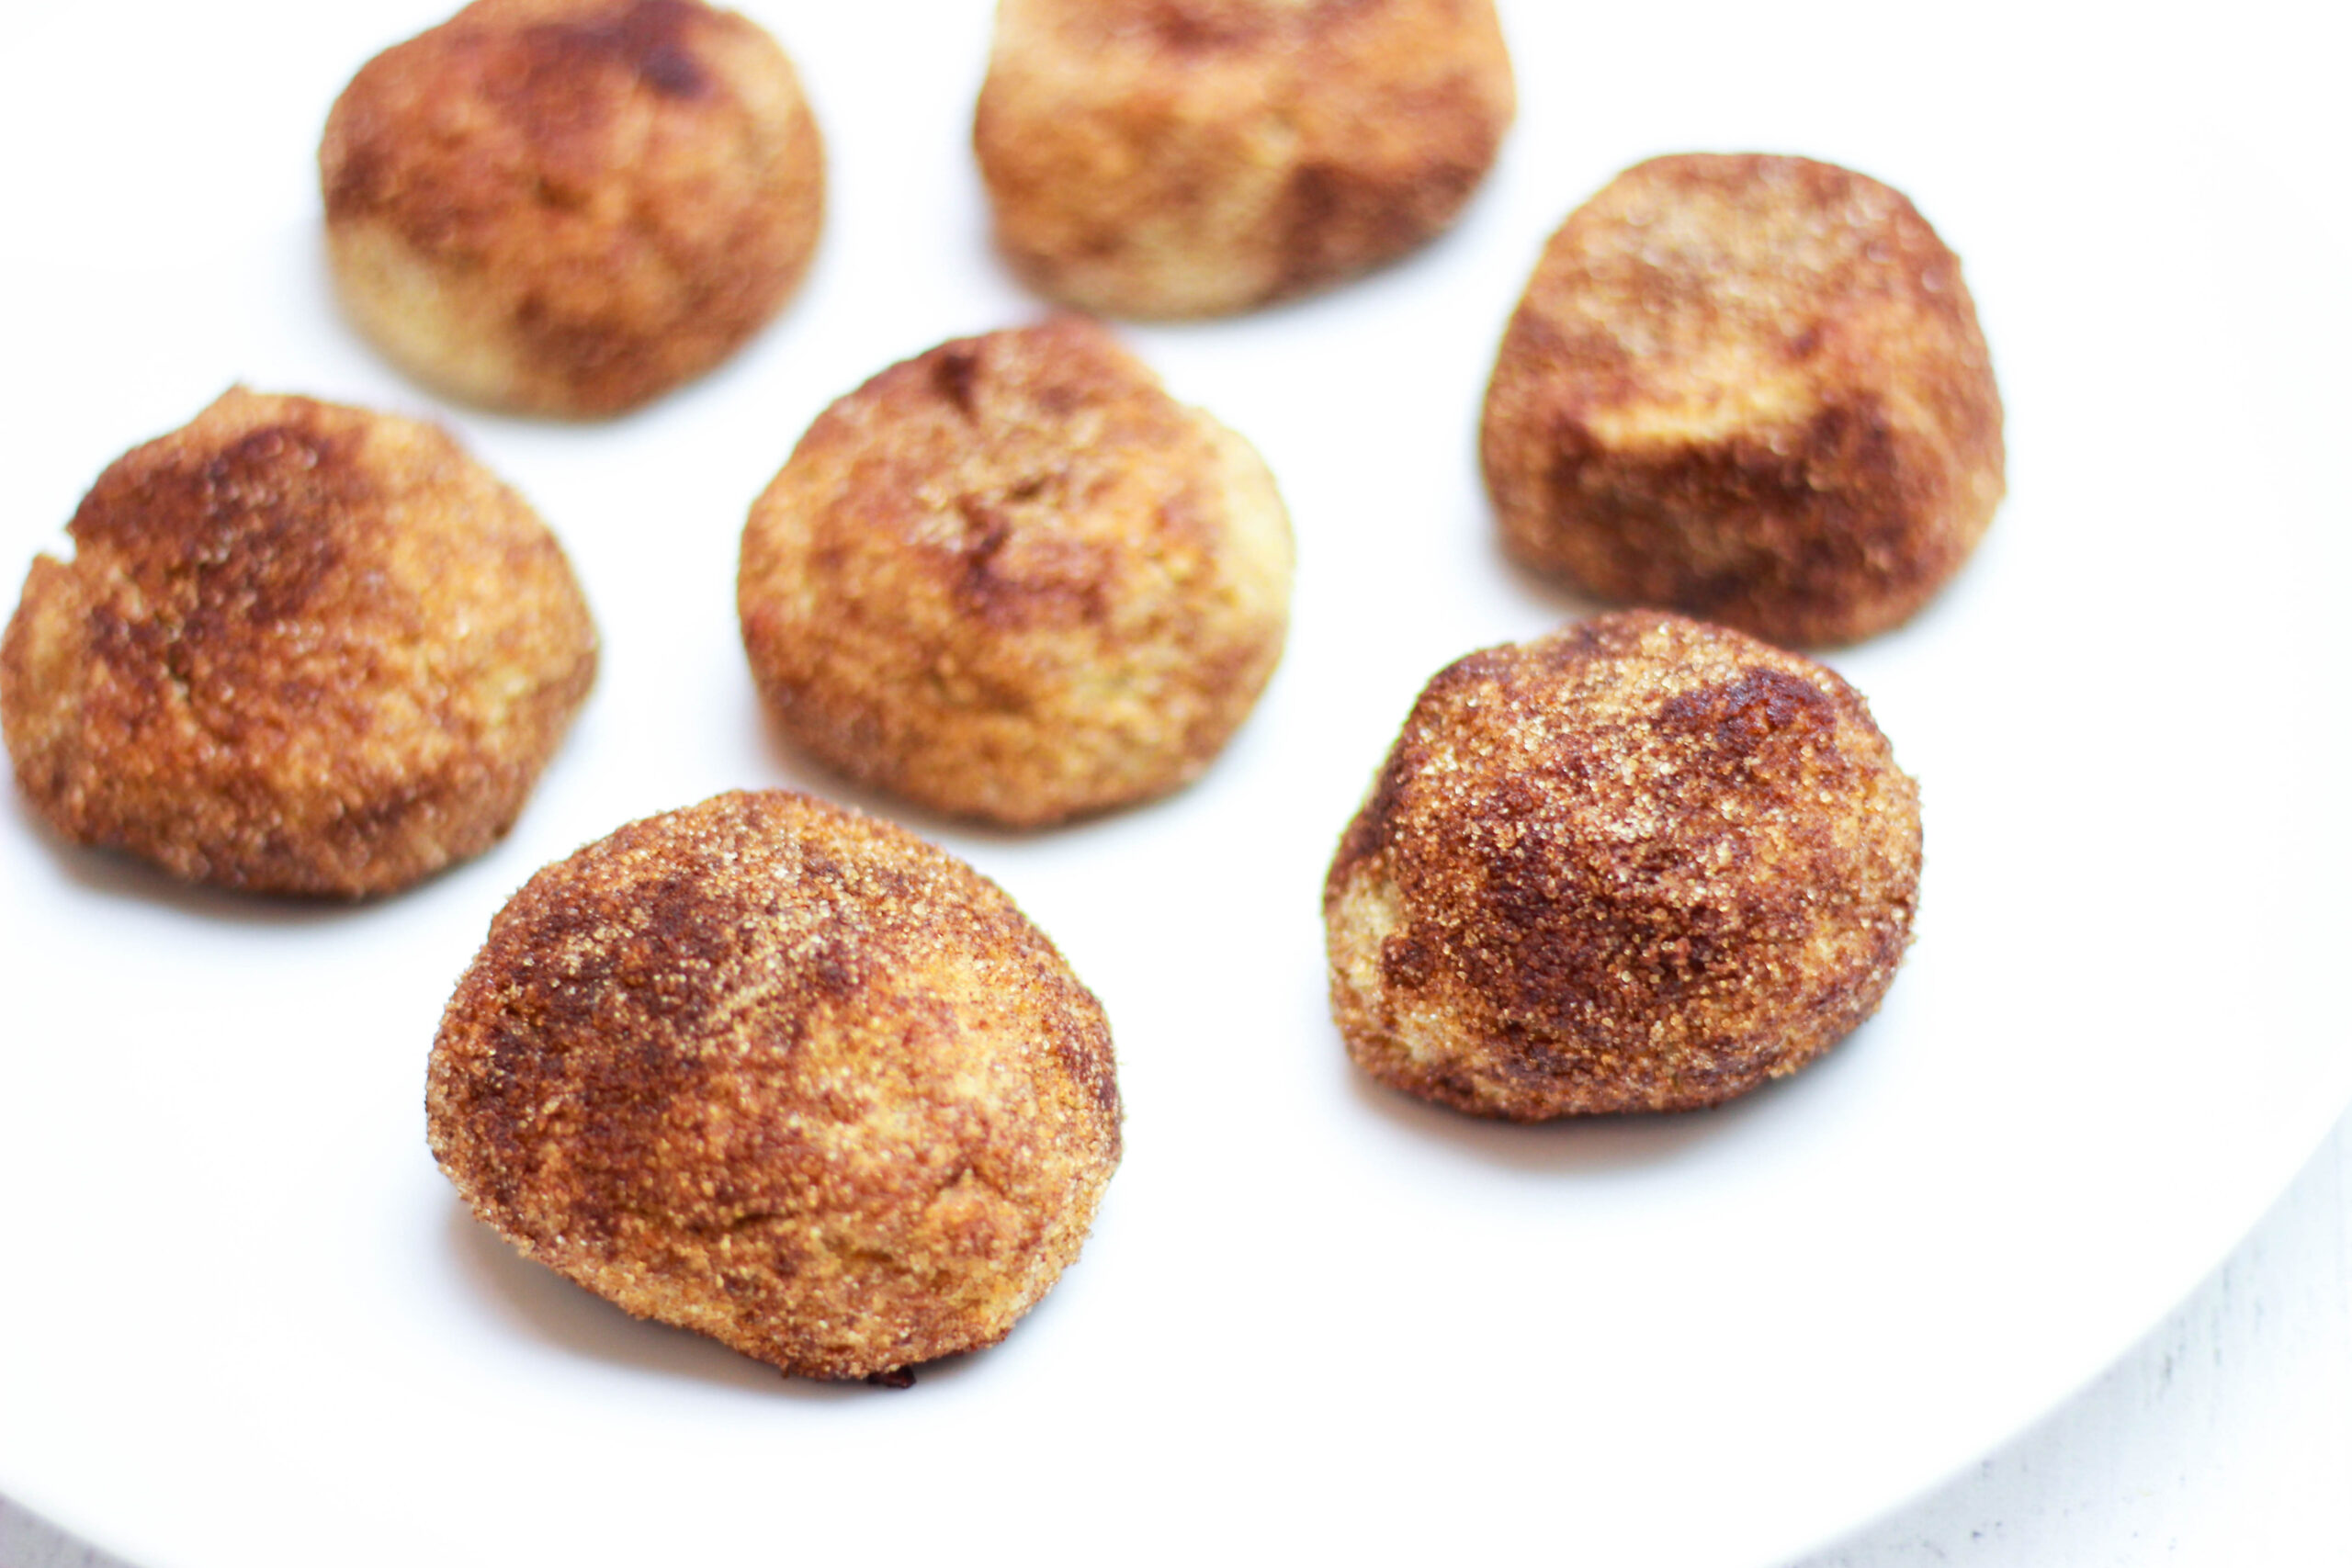
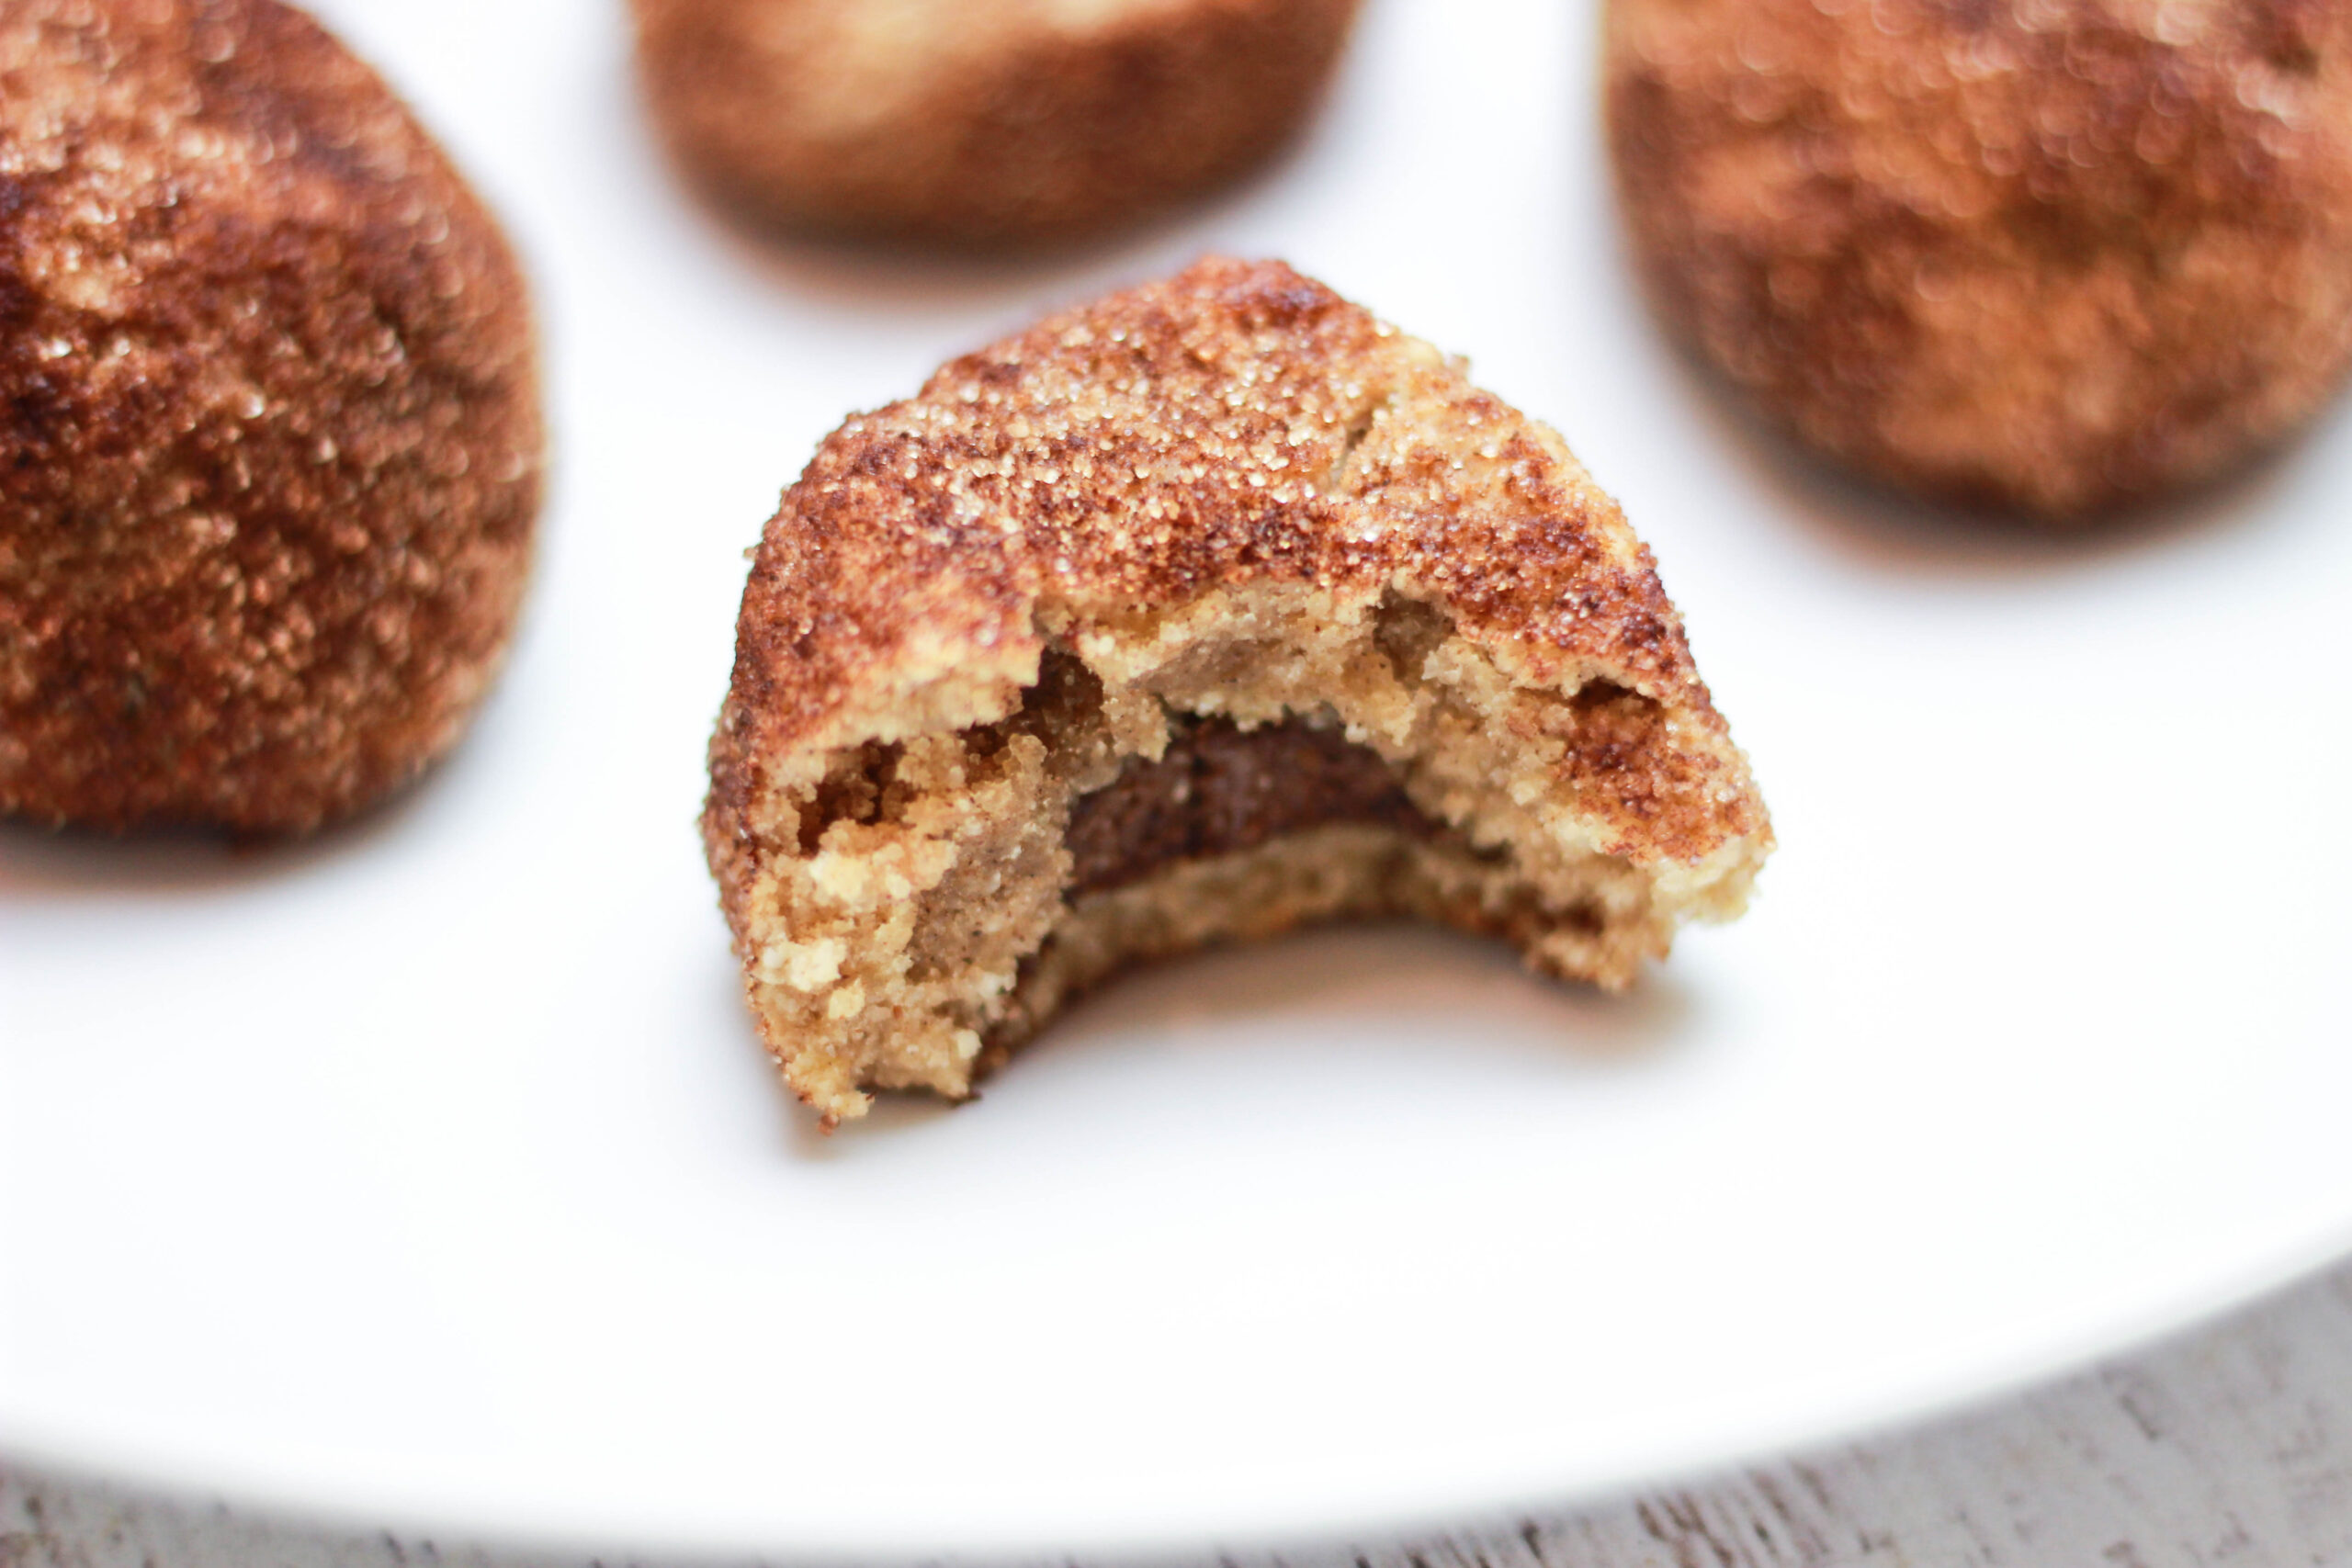
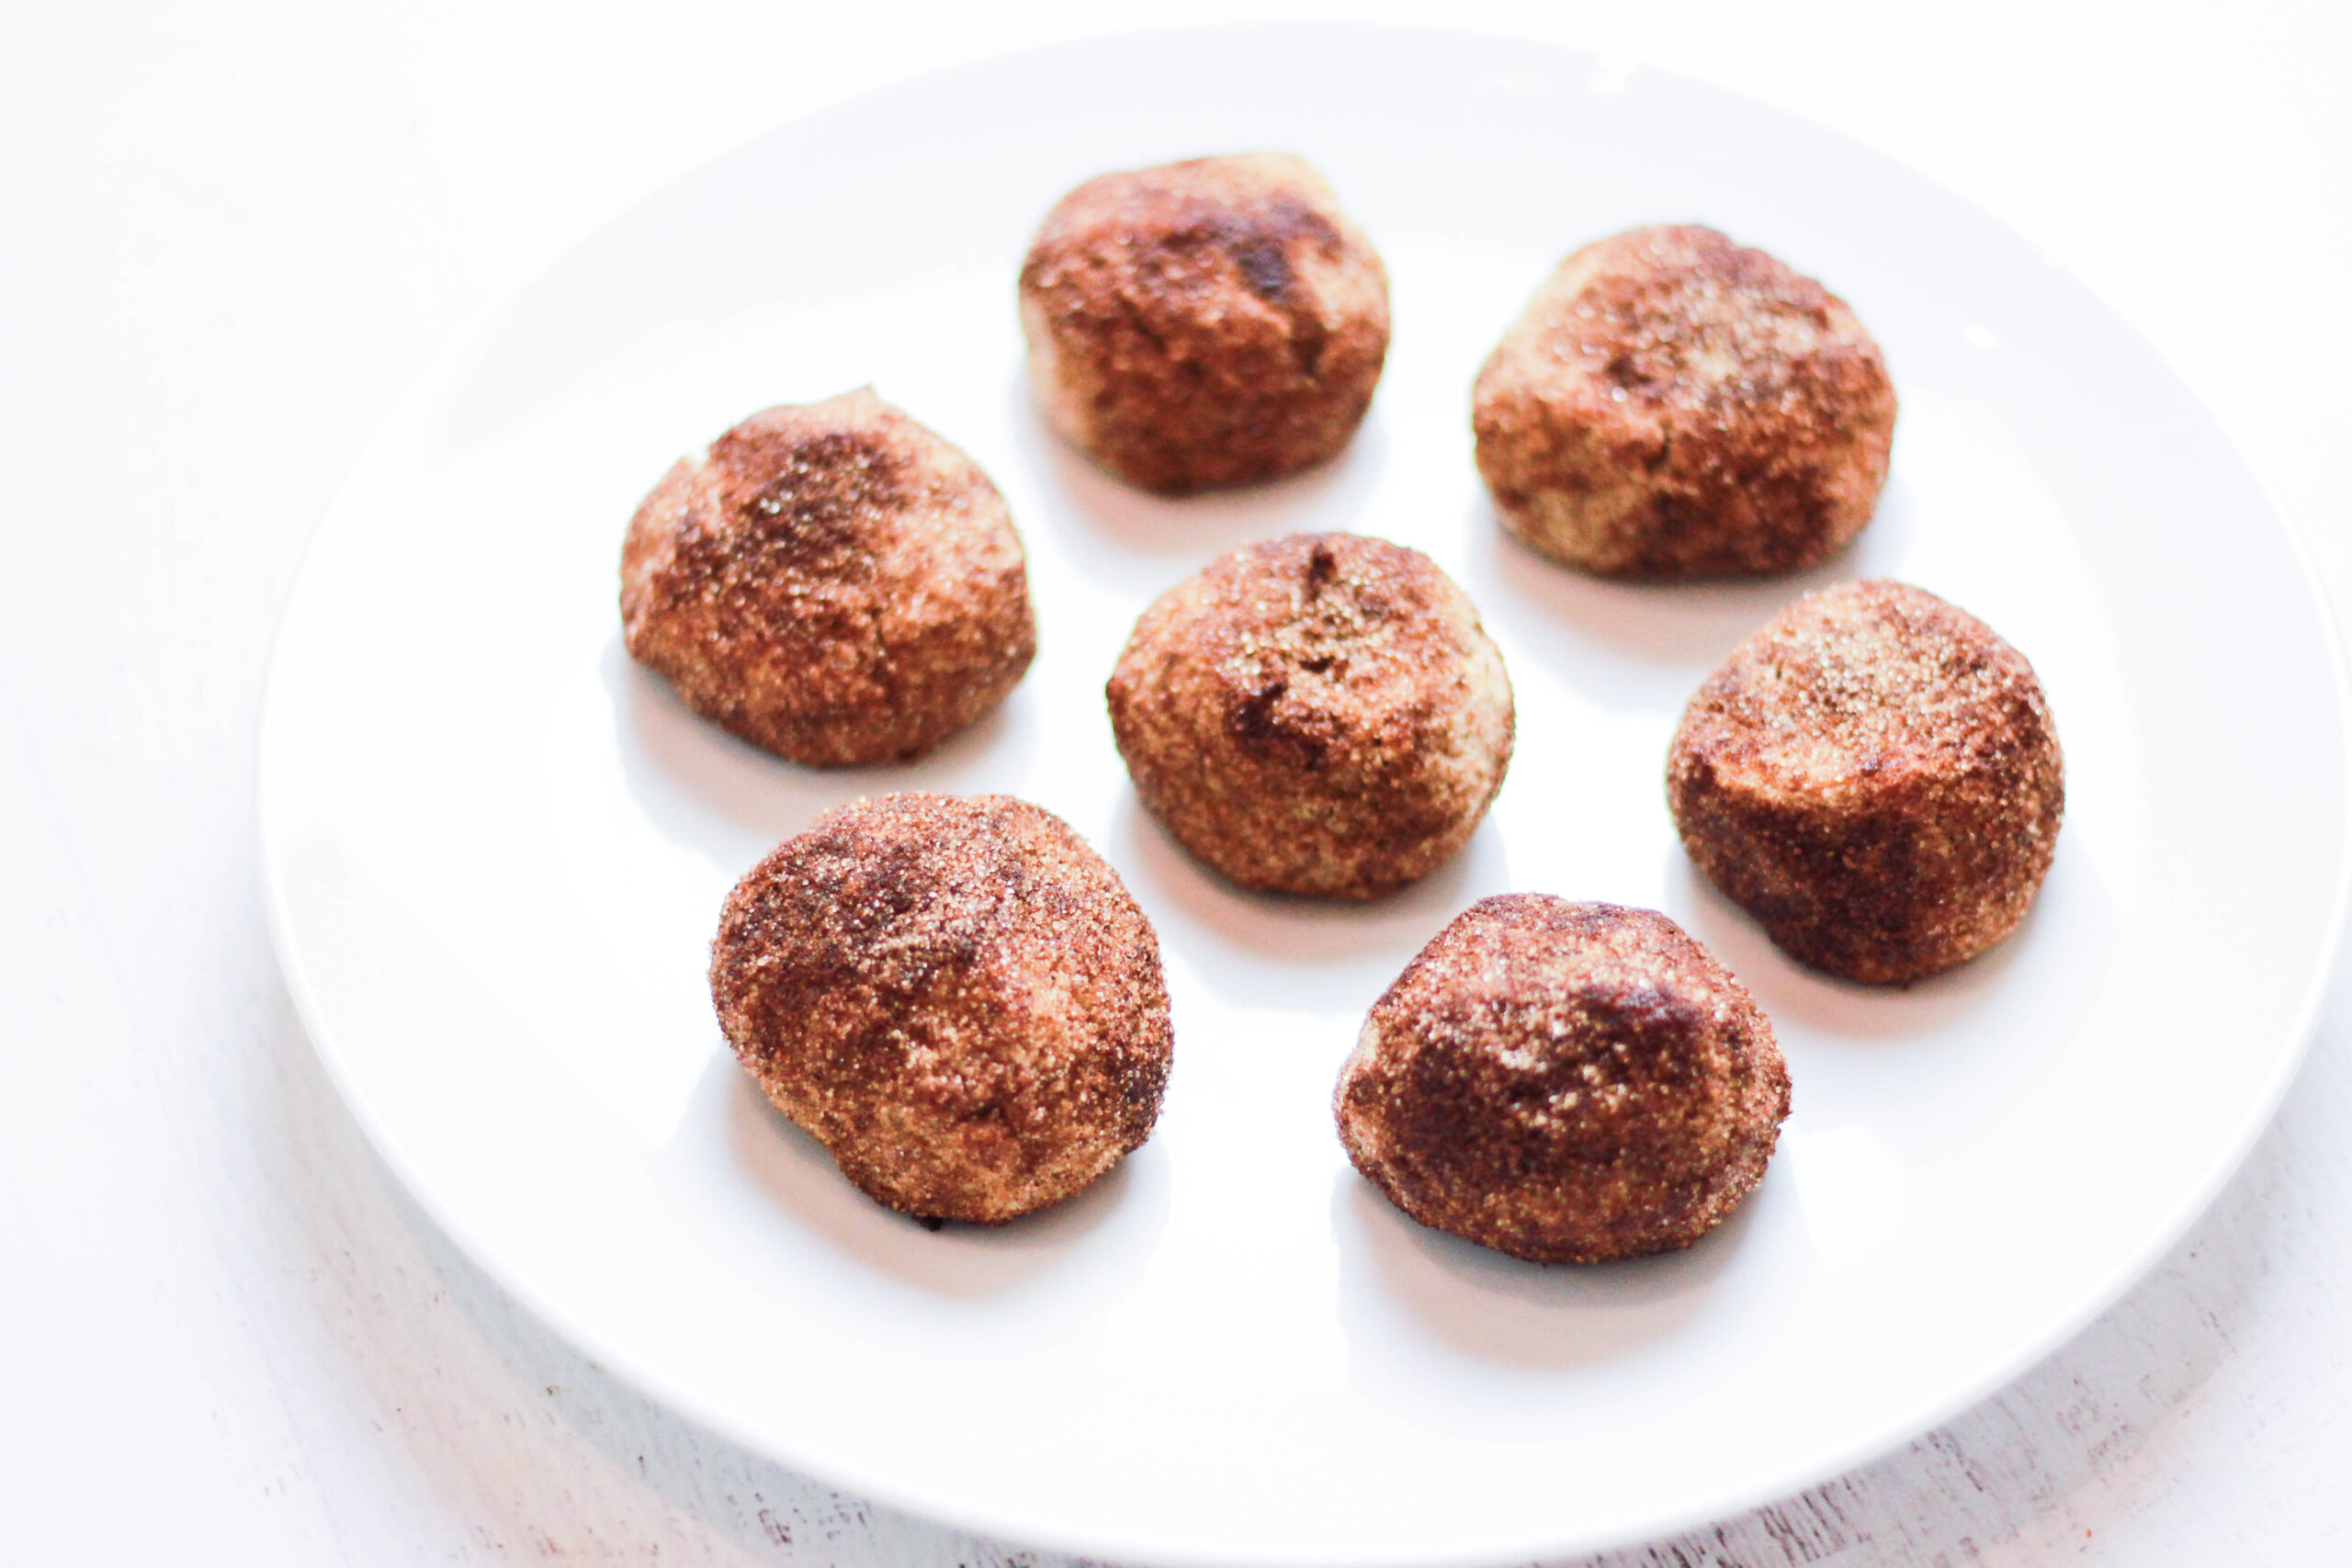
These Paleo Chocolate Almond Butter Filled Snickerdoodles are big, delicious cookies. They’re really Snickerdoodle balls, with a surprise inside! I think the chocolate almond butter filling gives them the perfect something “extra.” I mean… who doesn’t love a sneaky chocolate filling?!
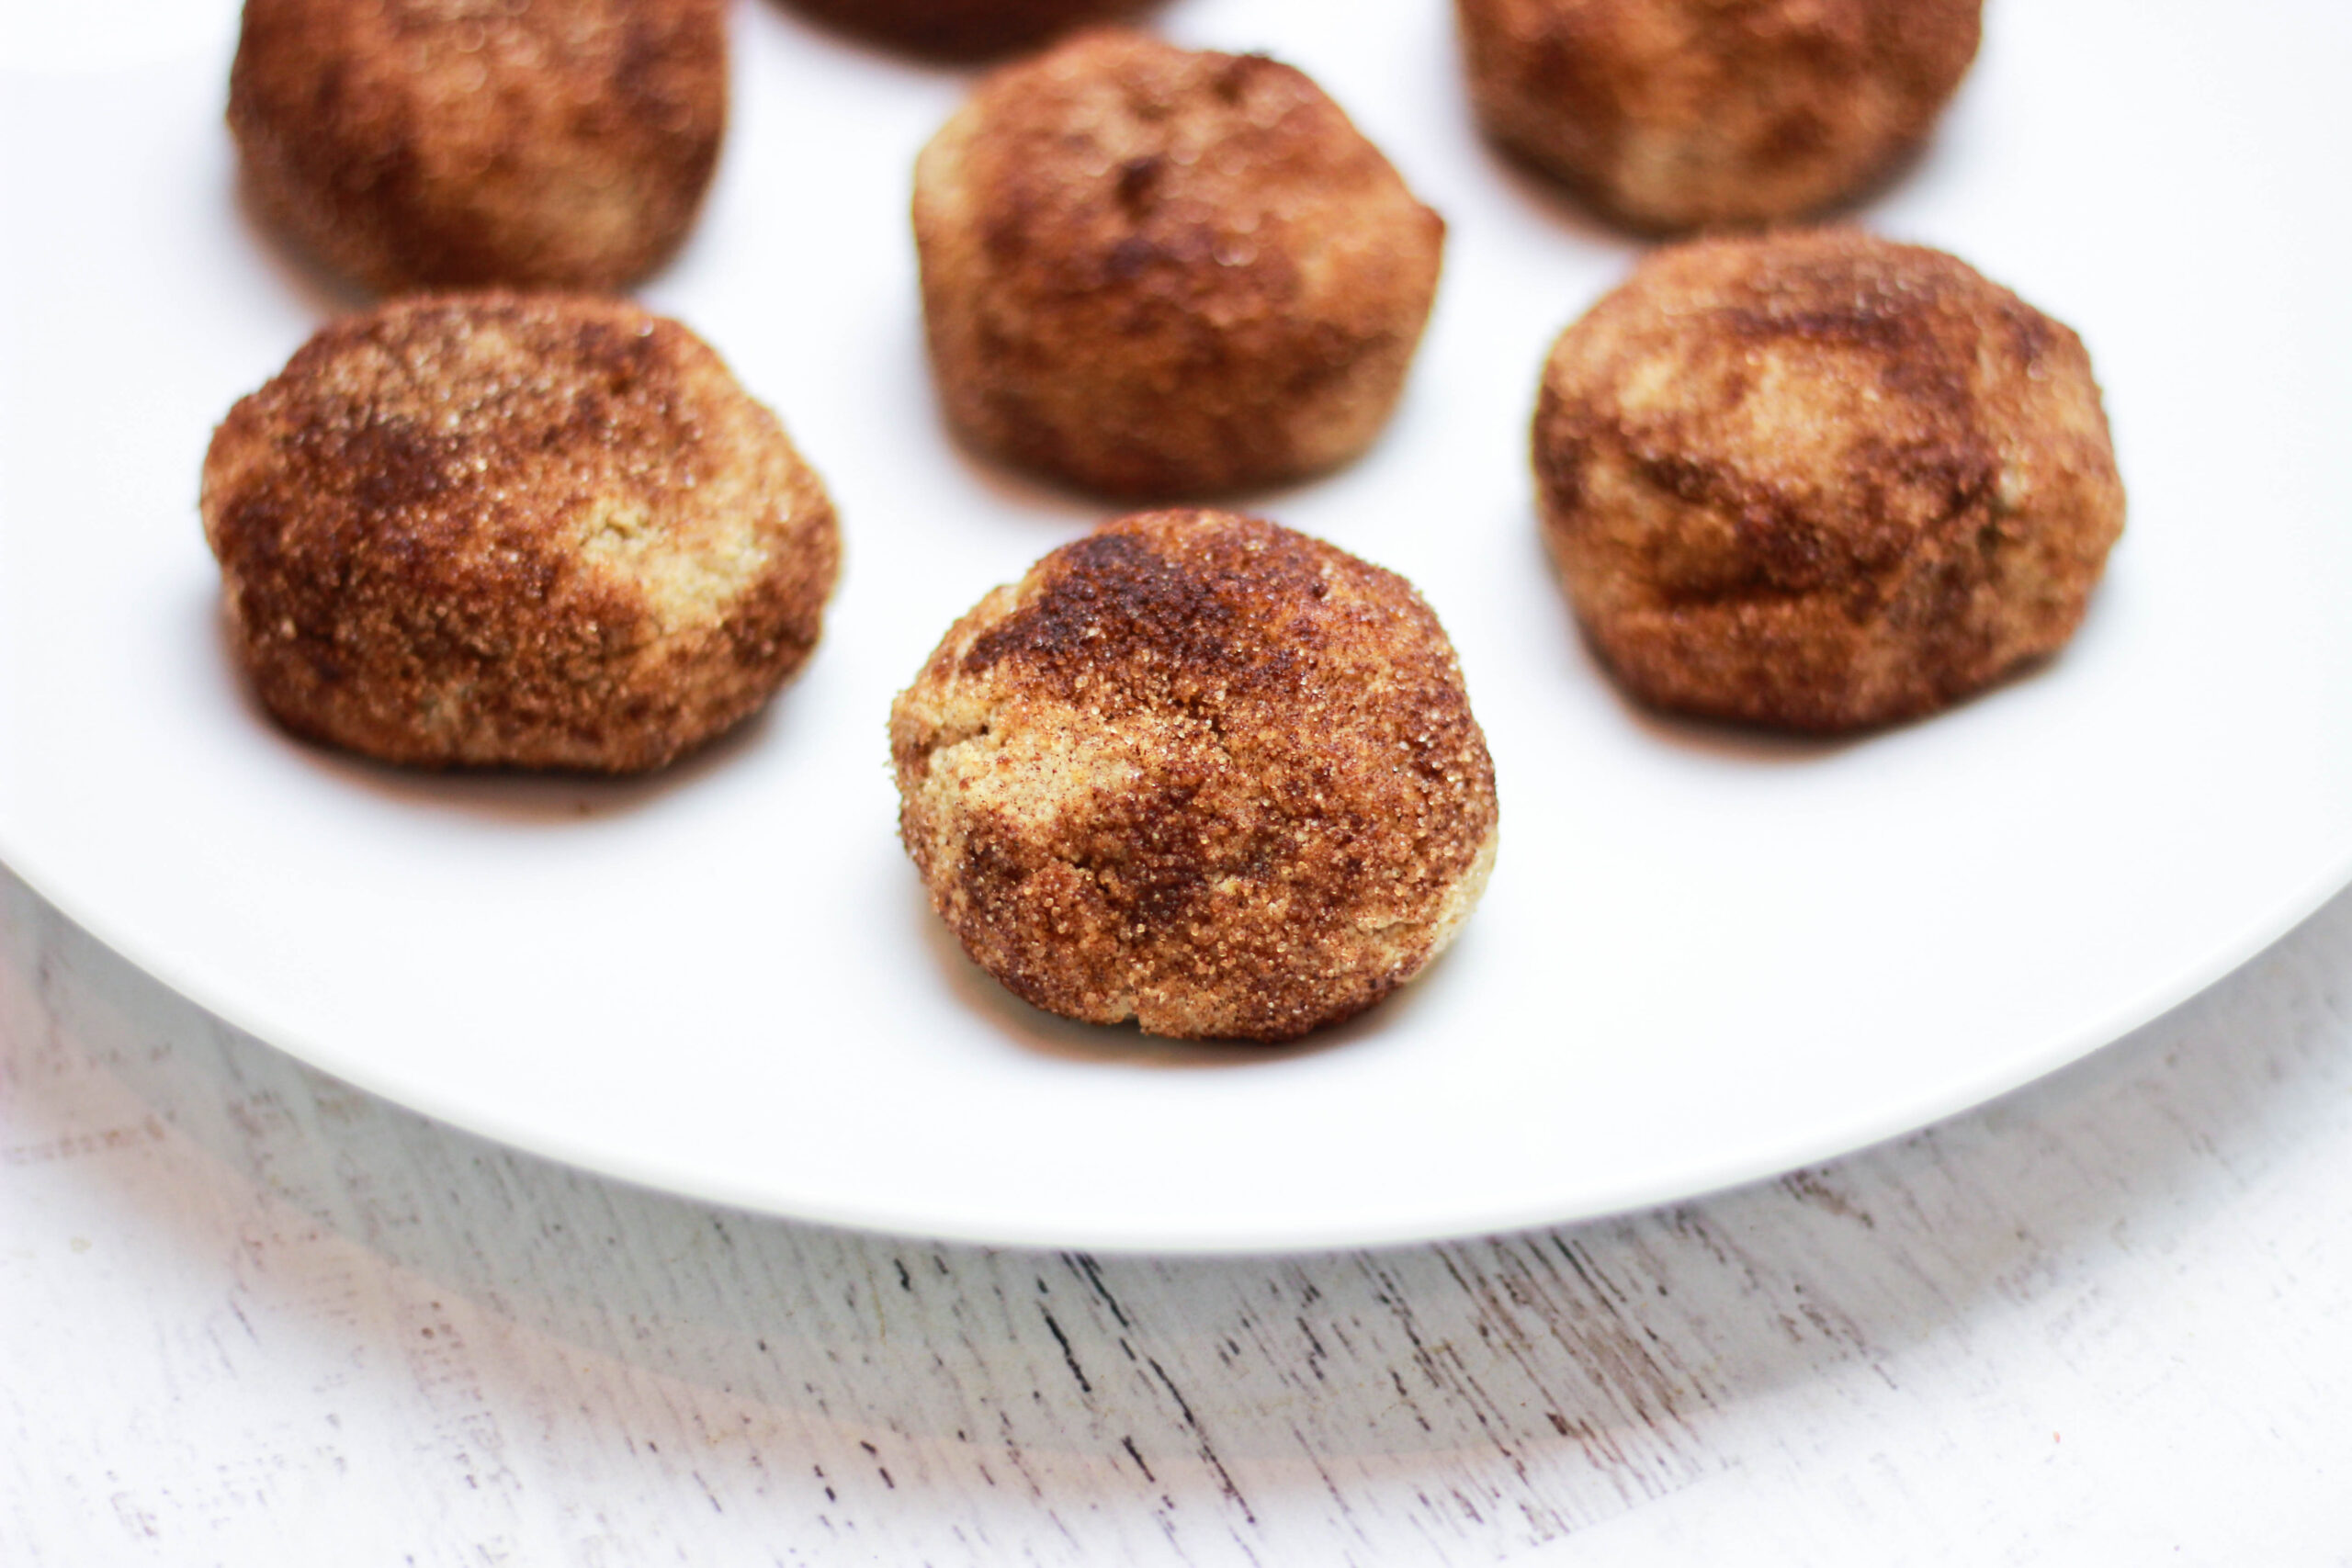
I love that these cookies are very substantial. The worst is when your cookie is over after two bites. This is a full-on dessert, and it hits every flavor profile. You’ve got the warm cinnamon-sugar coating juxtaposed with the soft snickerdoodle cookie that meets a sticky chocolate almond butter center – dreamy. Be careful when biting into them, though – sometimes the coating gets a little messy! This is a cookie you’ll want a napkin under.
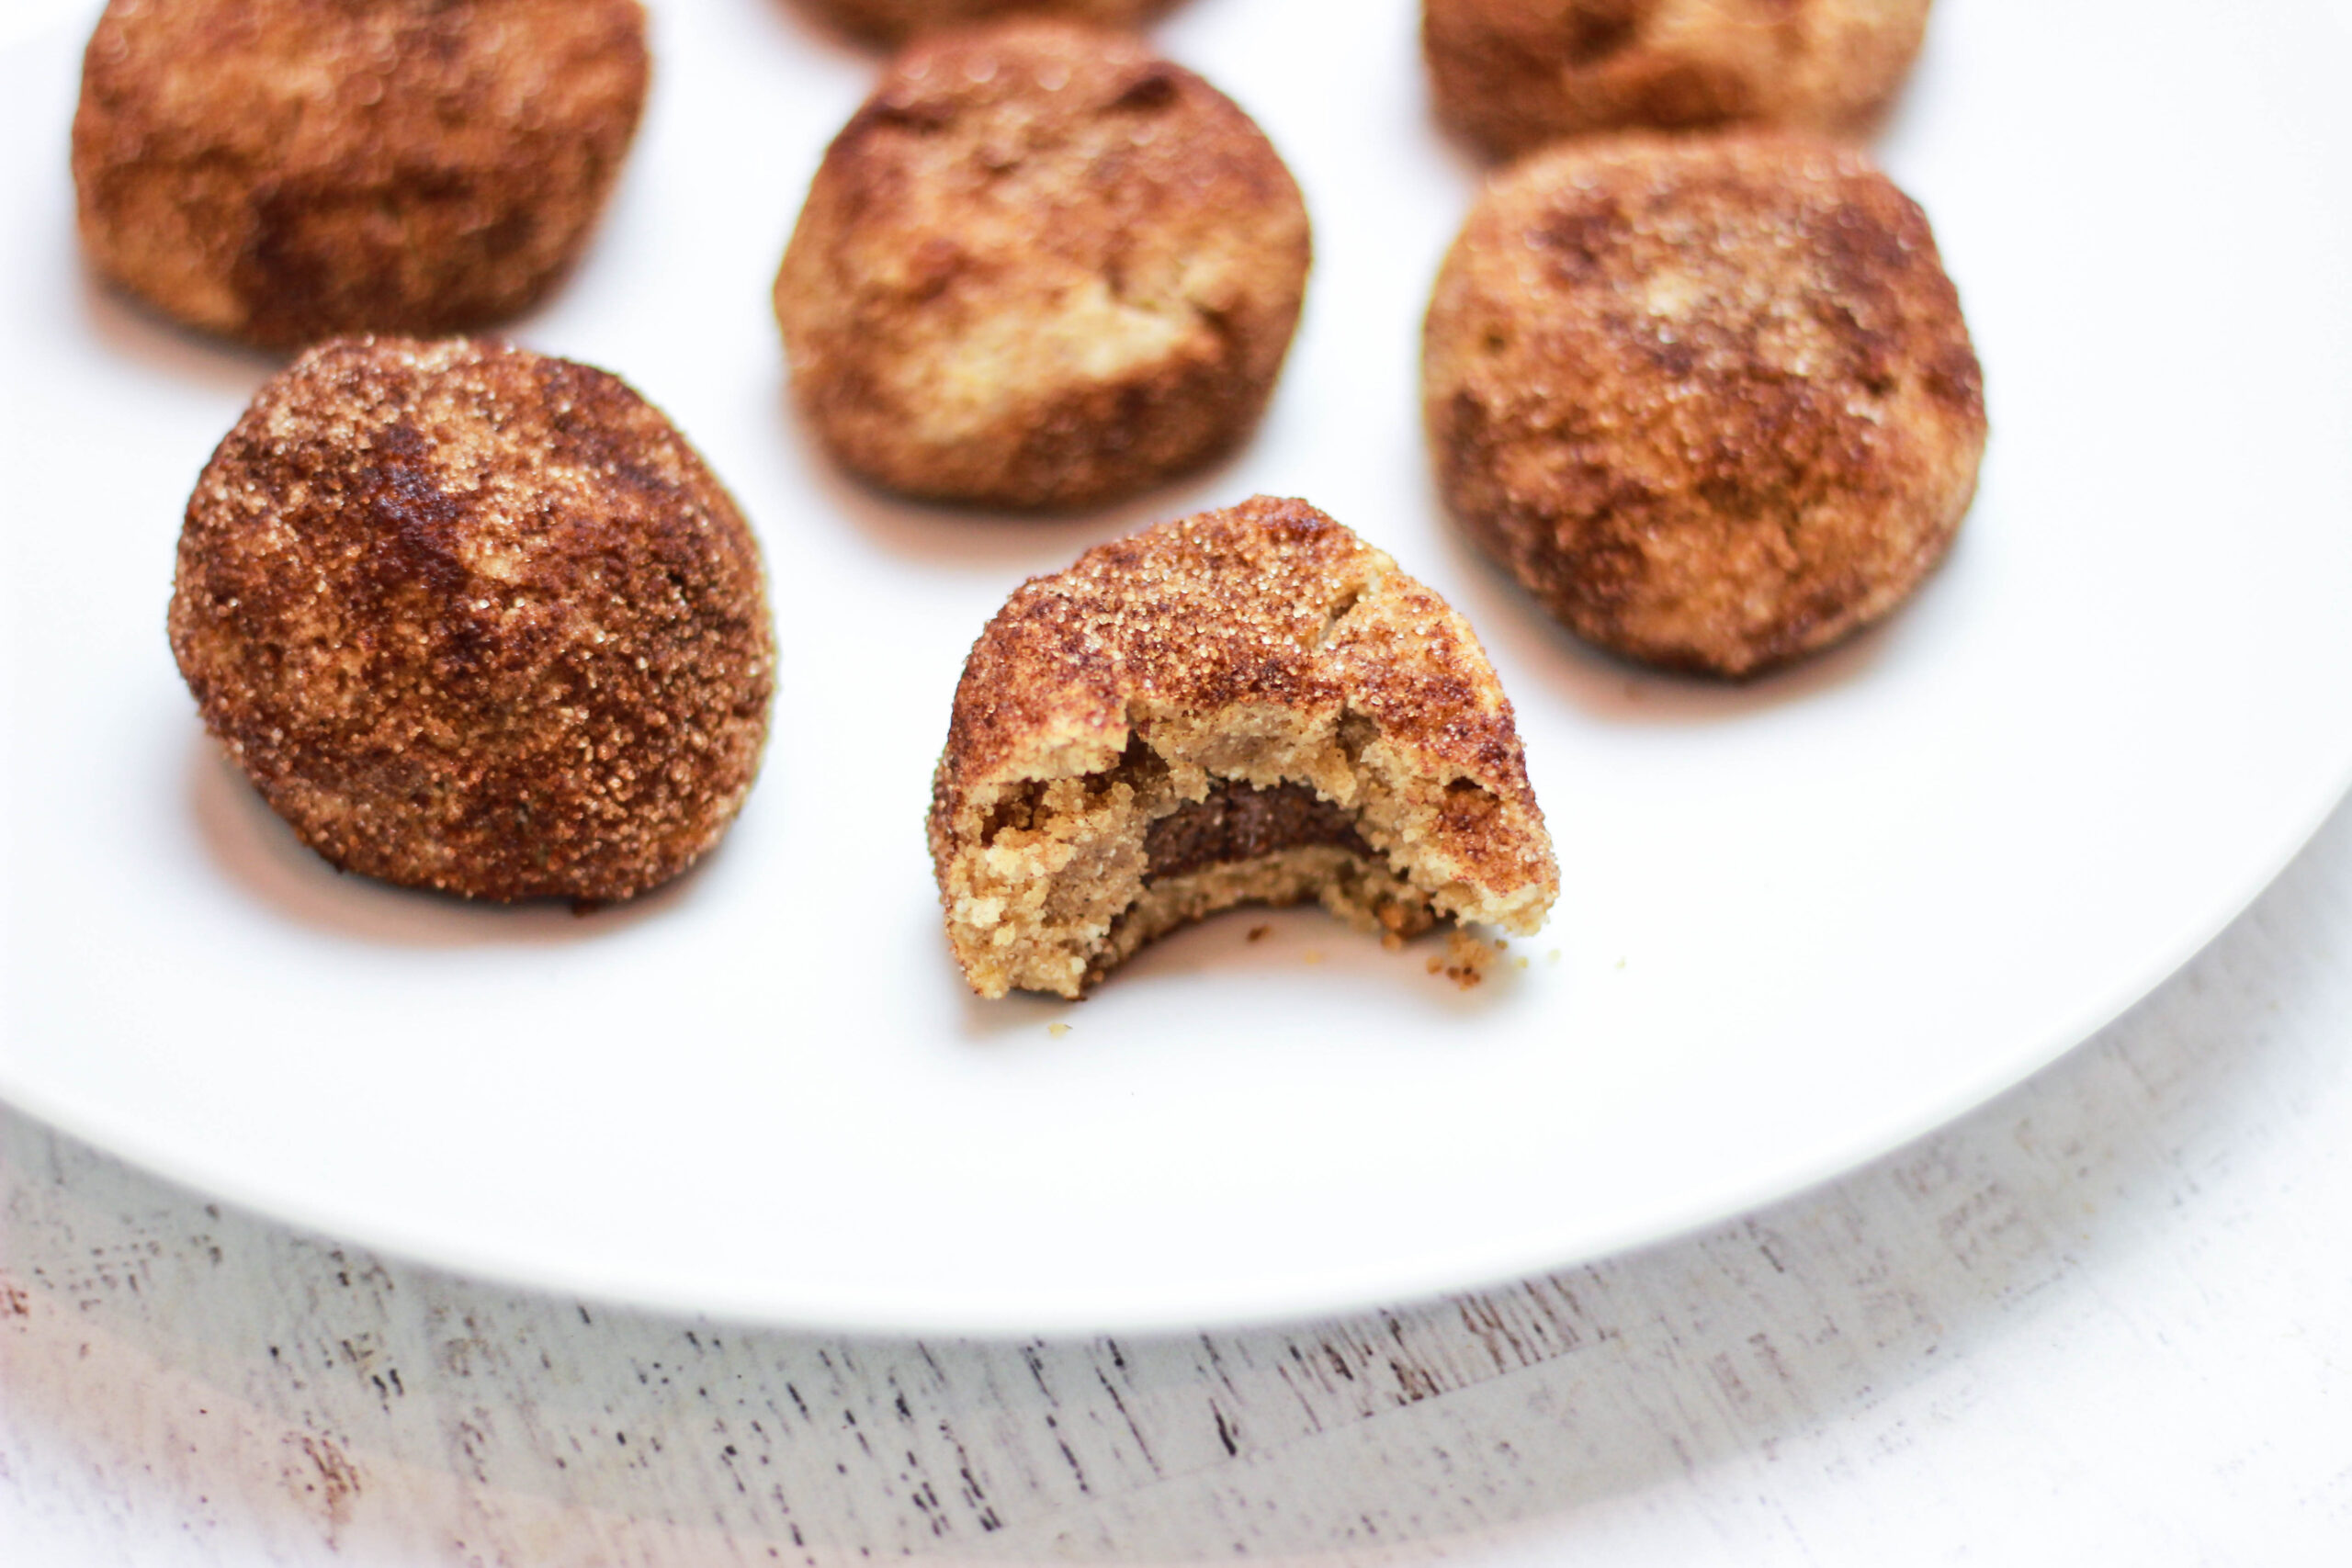
If you like Snickerdoodles, you’ll love this upgrade on the old classic! These Snickerdoodles are Paleo, gluten-free, dairy-free, and grain-free. Feel free to adjust the filling to your liking. You can use almond butter like I did, or you can use another nut butter. If you don’t like chocolate, leave it out for a plain nut butter filling! You could also completely eliminate the filling, if you’d rather just make regular, classic Snickerdoodle cookies! These are a crowd-pleaser even among people who don’t typically like Paleo baked goods. Who could turn down a delicious, chocolate-filled Snickerdoodle?
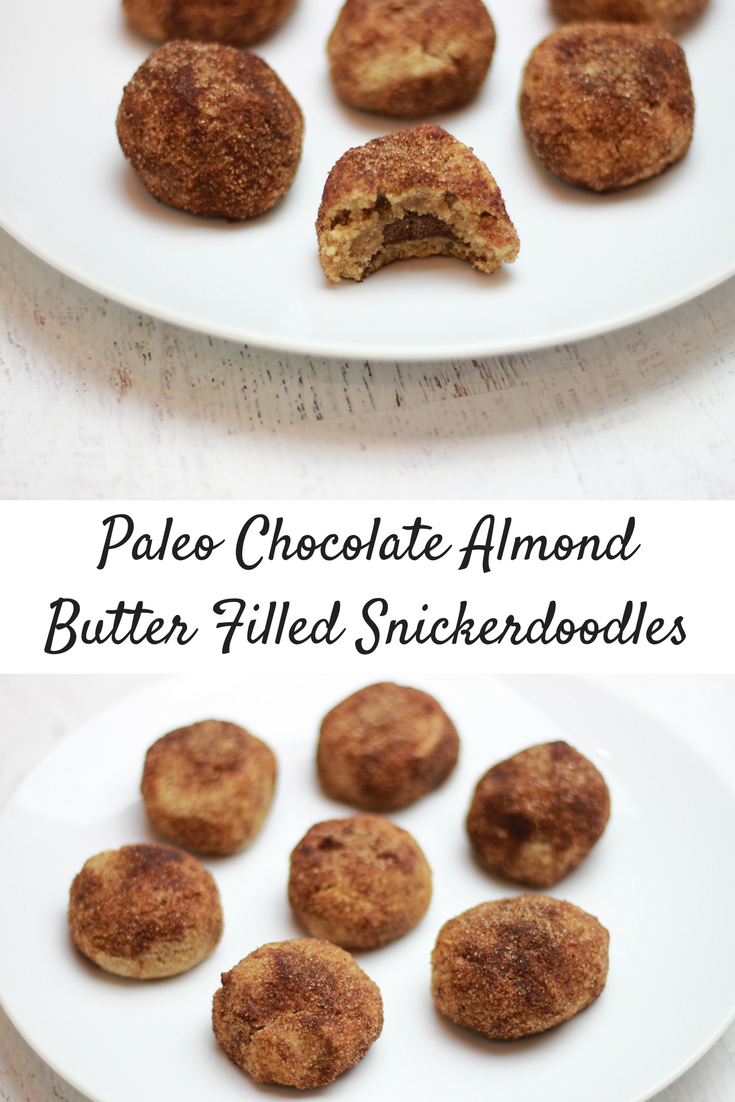
Paleo Chocolate Almond Butter Filled Snickerdoodles
Yields: 7 large snickerdoodles
Total time: 25-30 minutes
Ingredients:
Snickerdoodle dough:
- 1 cup almond flour
- 1/2 cup coconut flour
- 1 egg
- 1/4 cup melted coconut oil
- 1/4 cup maple syrup
- 1 tsp cinnamon
- 1/4 tsp nutmeg
- 1/4 tsp sea salt
- 1/4 tsp baking soda
- 1/2 tsp apple cider vinegar
- 1 tsp vanilla extract
Snickerdoodle coating:
Chocolate Almond Butter Filling:
- 1/4 cup raw almond butter (can also sub for another nut butter)
- 2 tsp cocoa/cacao powder
- 1 tsp vanilla
- Optional: 1 tsp maple syrup (if you like it sweeter!)
- Optional: a bit of nut milk to thin, if you want it thinner
Instructions:
- Preheat your oven to 350*F. Line a baking sheet with parchment paper or grease with coconut oil.
- Mix all of the snickerdoodle ingredients together in a large bowl until you form the cookie dough.
- Place the coating ingredients into a small bowl and mix them together until incorporated evenly. Set aside.
- Mix together all of the chocolate almond butter filling ingredients in another small bowl. If you’d like it a bit thinner, you can add nut milk. I personally like the filling to be a bit thicker! Feel free to include the maple syrup or leave it out – whatever your taste buds want!
- To form the snickerdoodles, grab some cookie dough in your hands and flatten it out a bit, but not too thin. The outer layer needs to be thick so it doesn’t break. Take a spoon and scoop a bit of the filling into the center of the cookie, and then fold the cookie dough around the chocolate almond butter filling to form a ball. Add some dough to cover any openings if needed, and use your hands to smooth out the cookie. It should look like a smooth, round ball from the outside! You can flatten it a bit if you want, but be gentle so that the dough doesn’t break.
- After you’ve made the ball, roll it around in the Snickerdoodle coating bowl until the whole cookie is coated. Place on the baking tray.
- Repeat until you’ve used up all of the cookie dough.
- Bake in the oven for 13-15 minutes, or until the cookies start to turn golden/brown.
- Allow the cookies to cool for 15-20 minutes. Serve and enjoy!
If you make these, be sure to tag me in a photo so I can see! I love when you make my recipes! What’s your all-time favorite cookie? Anyone else a big-time Snickerdoodle fan?!

by Christina | Jan 12, 2018 | Recipes, Wellness
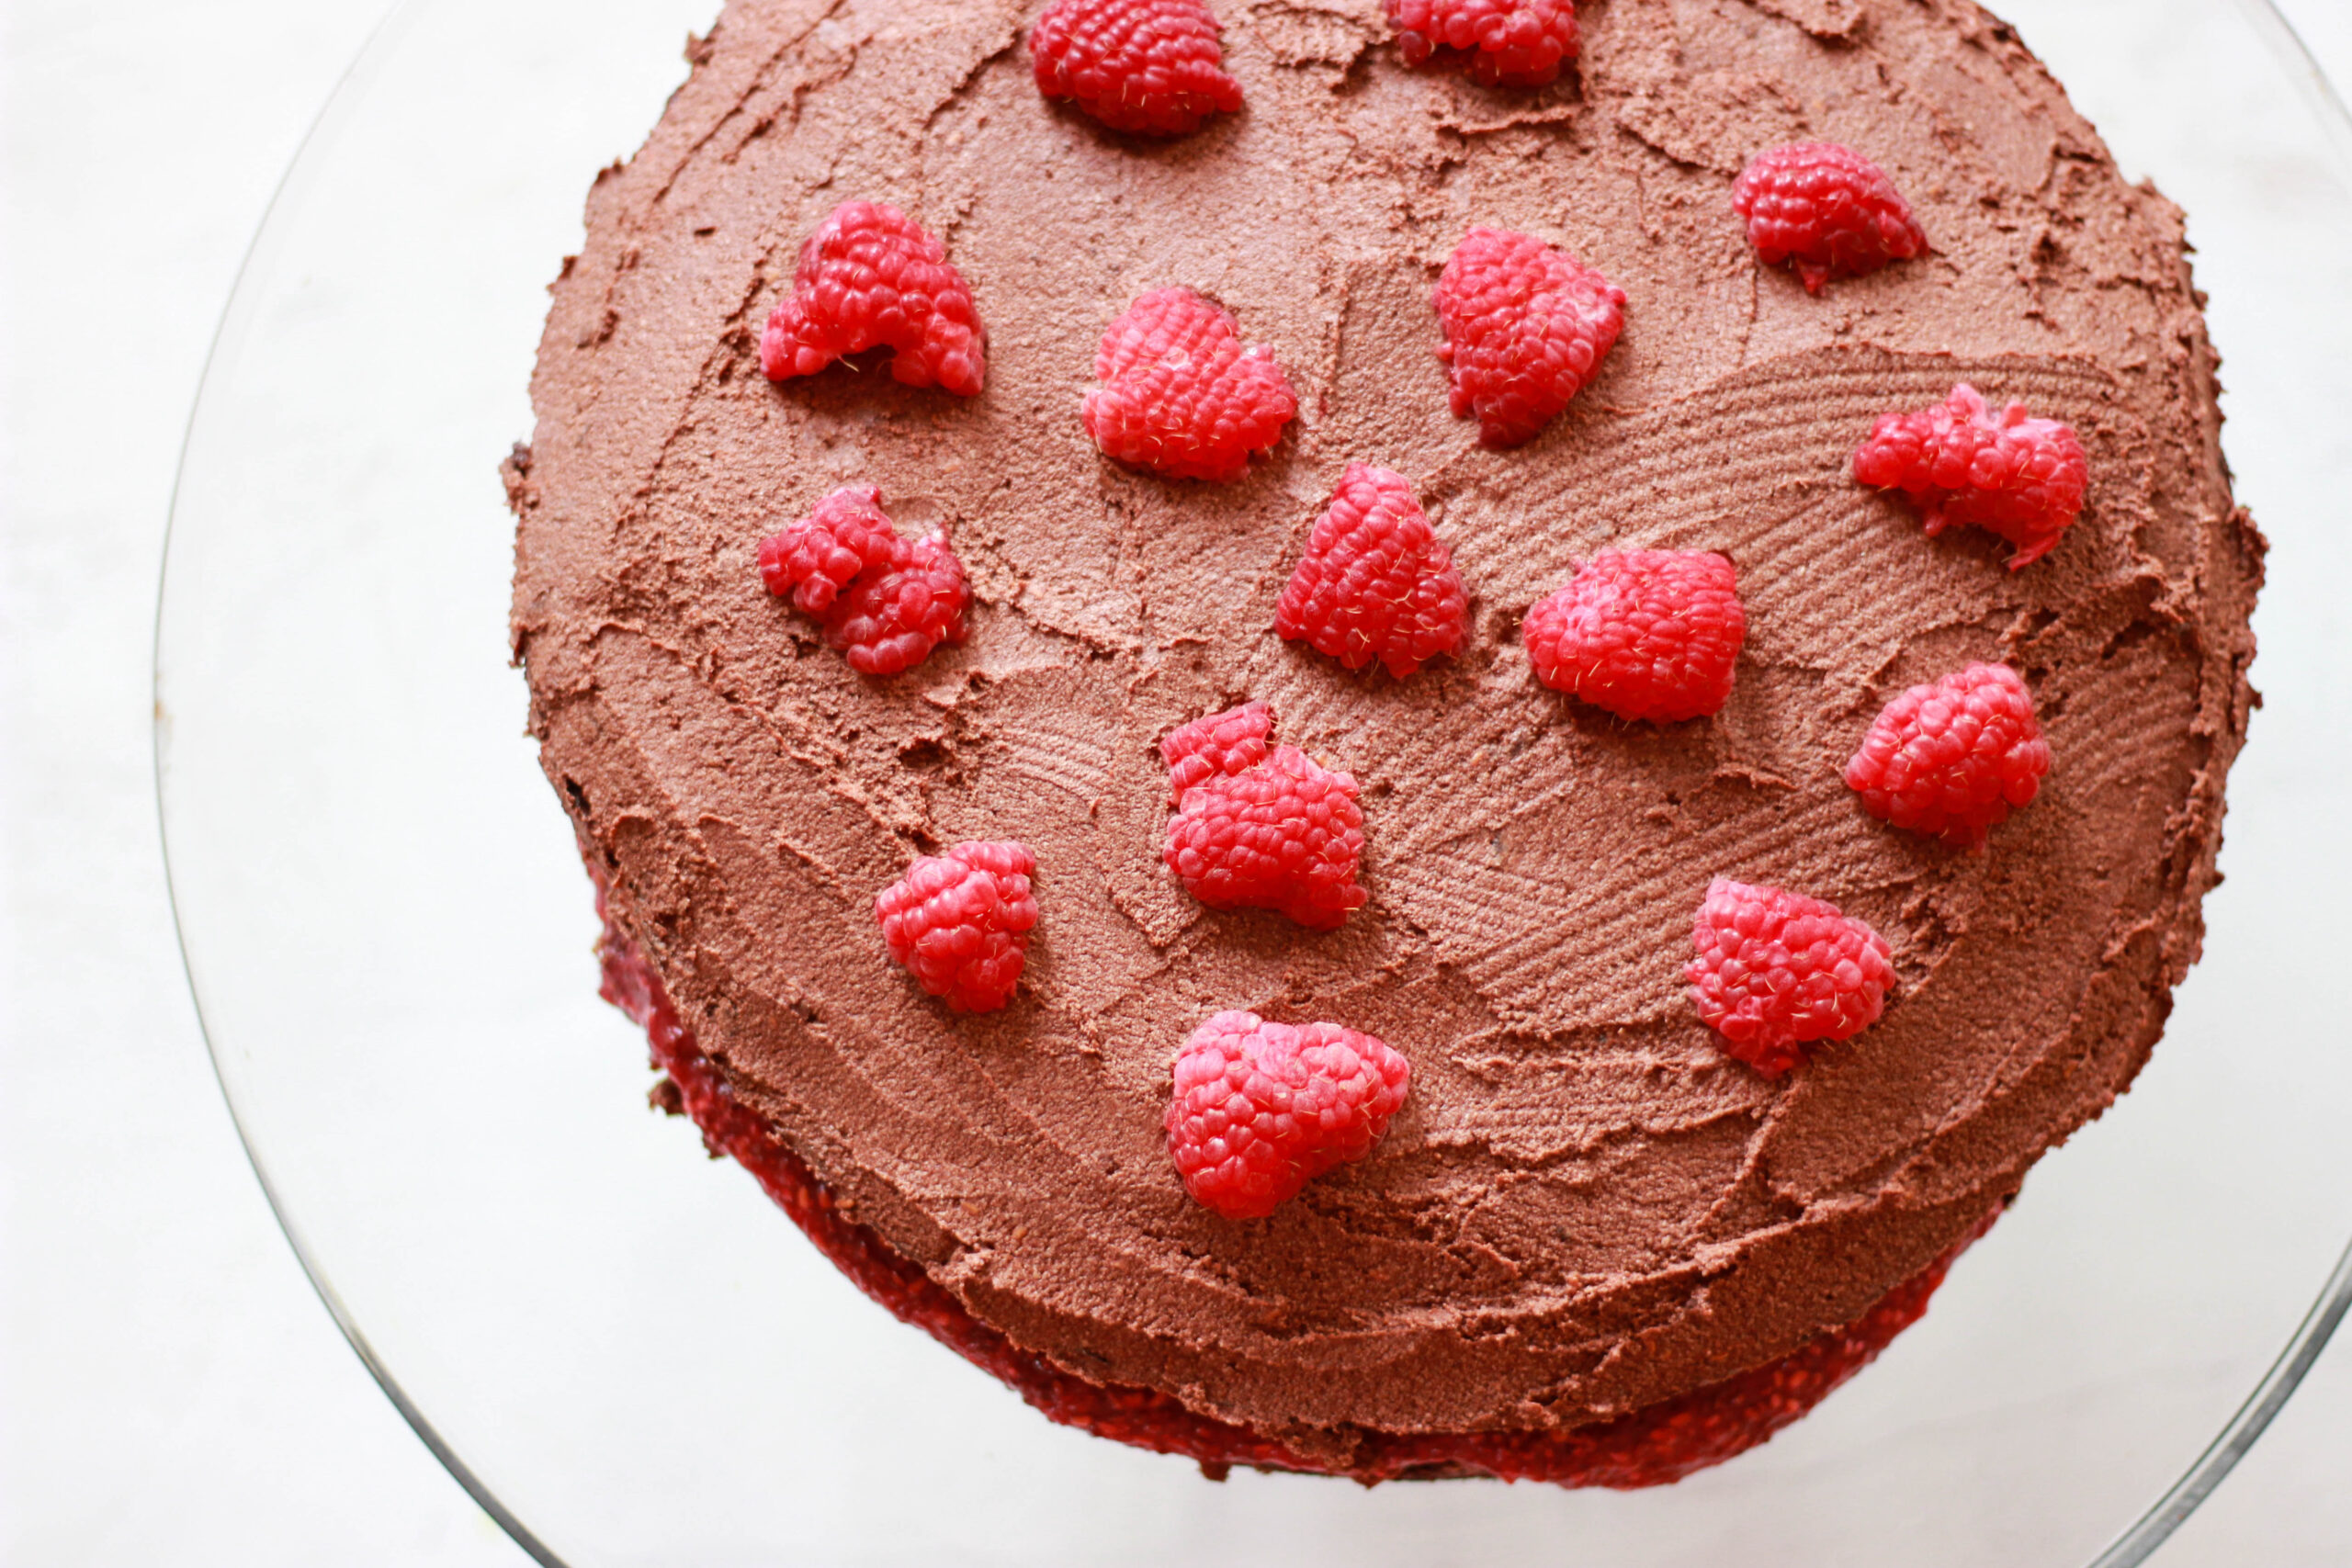
When it comes to baking, I aim to please. So when my mother asked me to make a chocolate raspberry cake for Christmas this year, I was determined to make the best chocolate raspberry cake she had ever seen. At first, I was a bit resistant to the idea of a chocolate raspberry cake for Christmas, but I went for it.
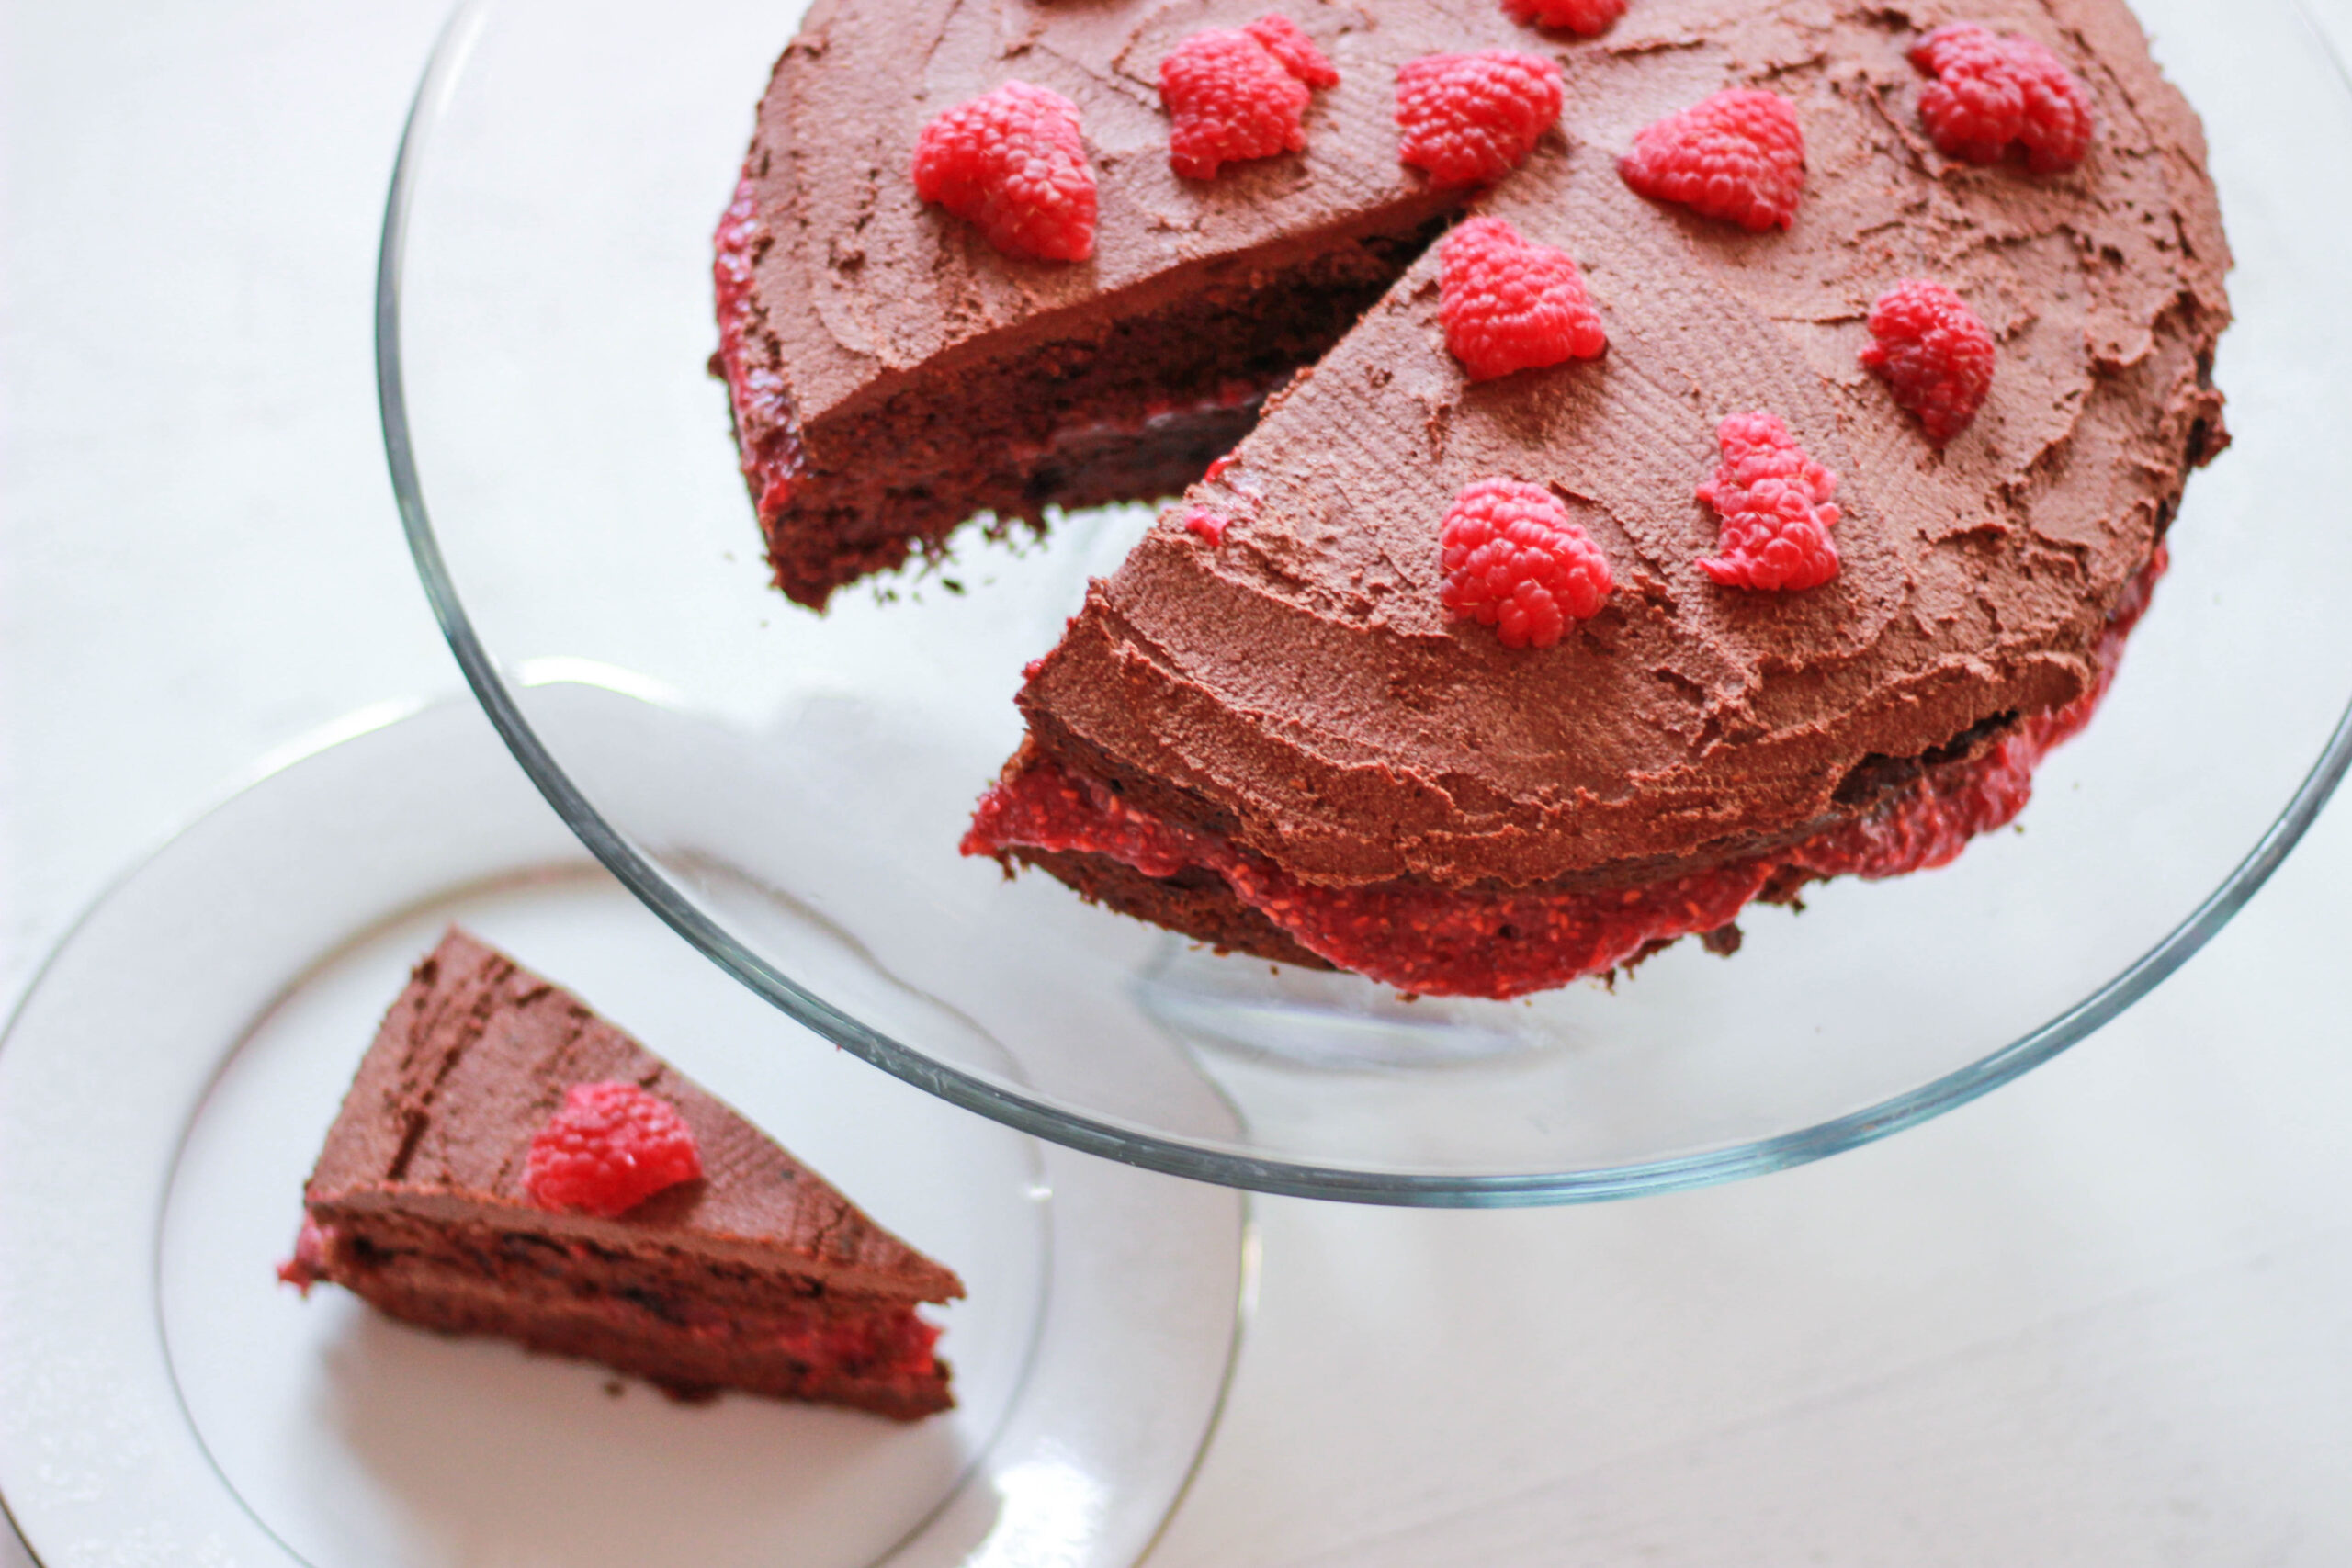
This feels more like a Valentine’s Day kinda cake to me, but it turned out so delicious that I really couldn’t complain. I was a bit nervous about this one, to be honest, because it was going to be served to my extended family, and I know most of them don’t usually like my kind of cooking. By “my kind of cooking,” I mean, using real-food ingredients. And it was Christmas, so I really just wanted everyone to be happy.
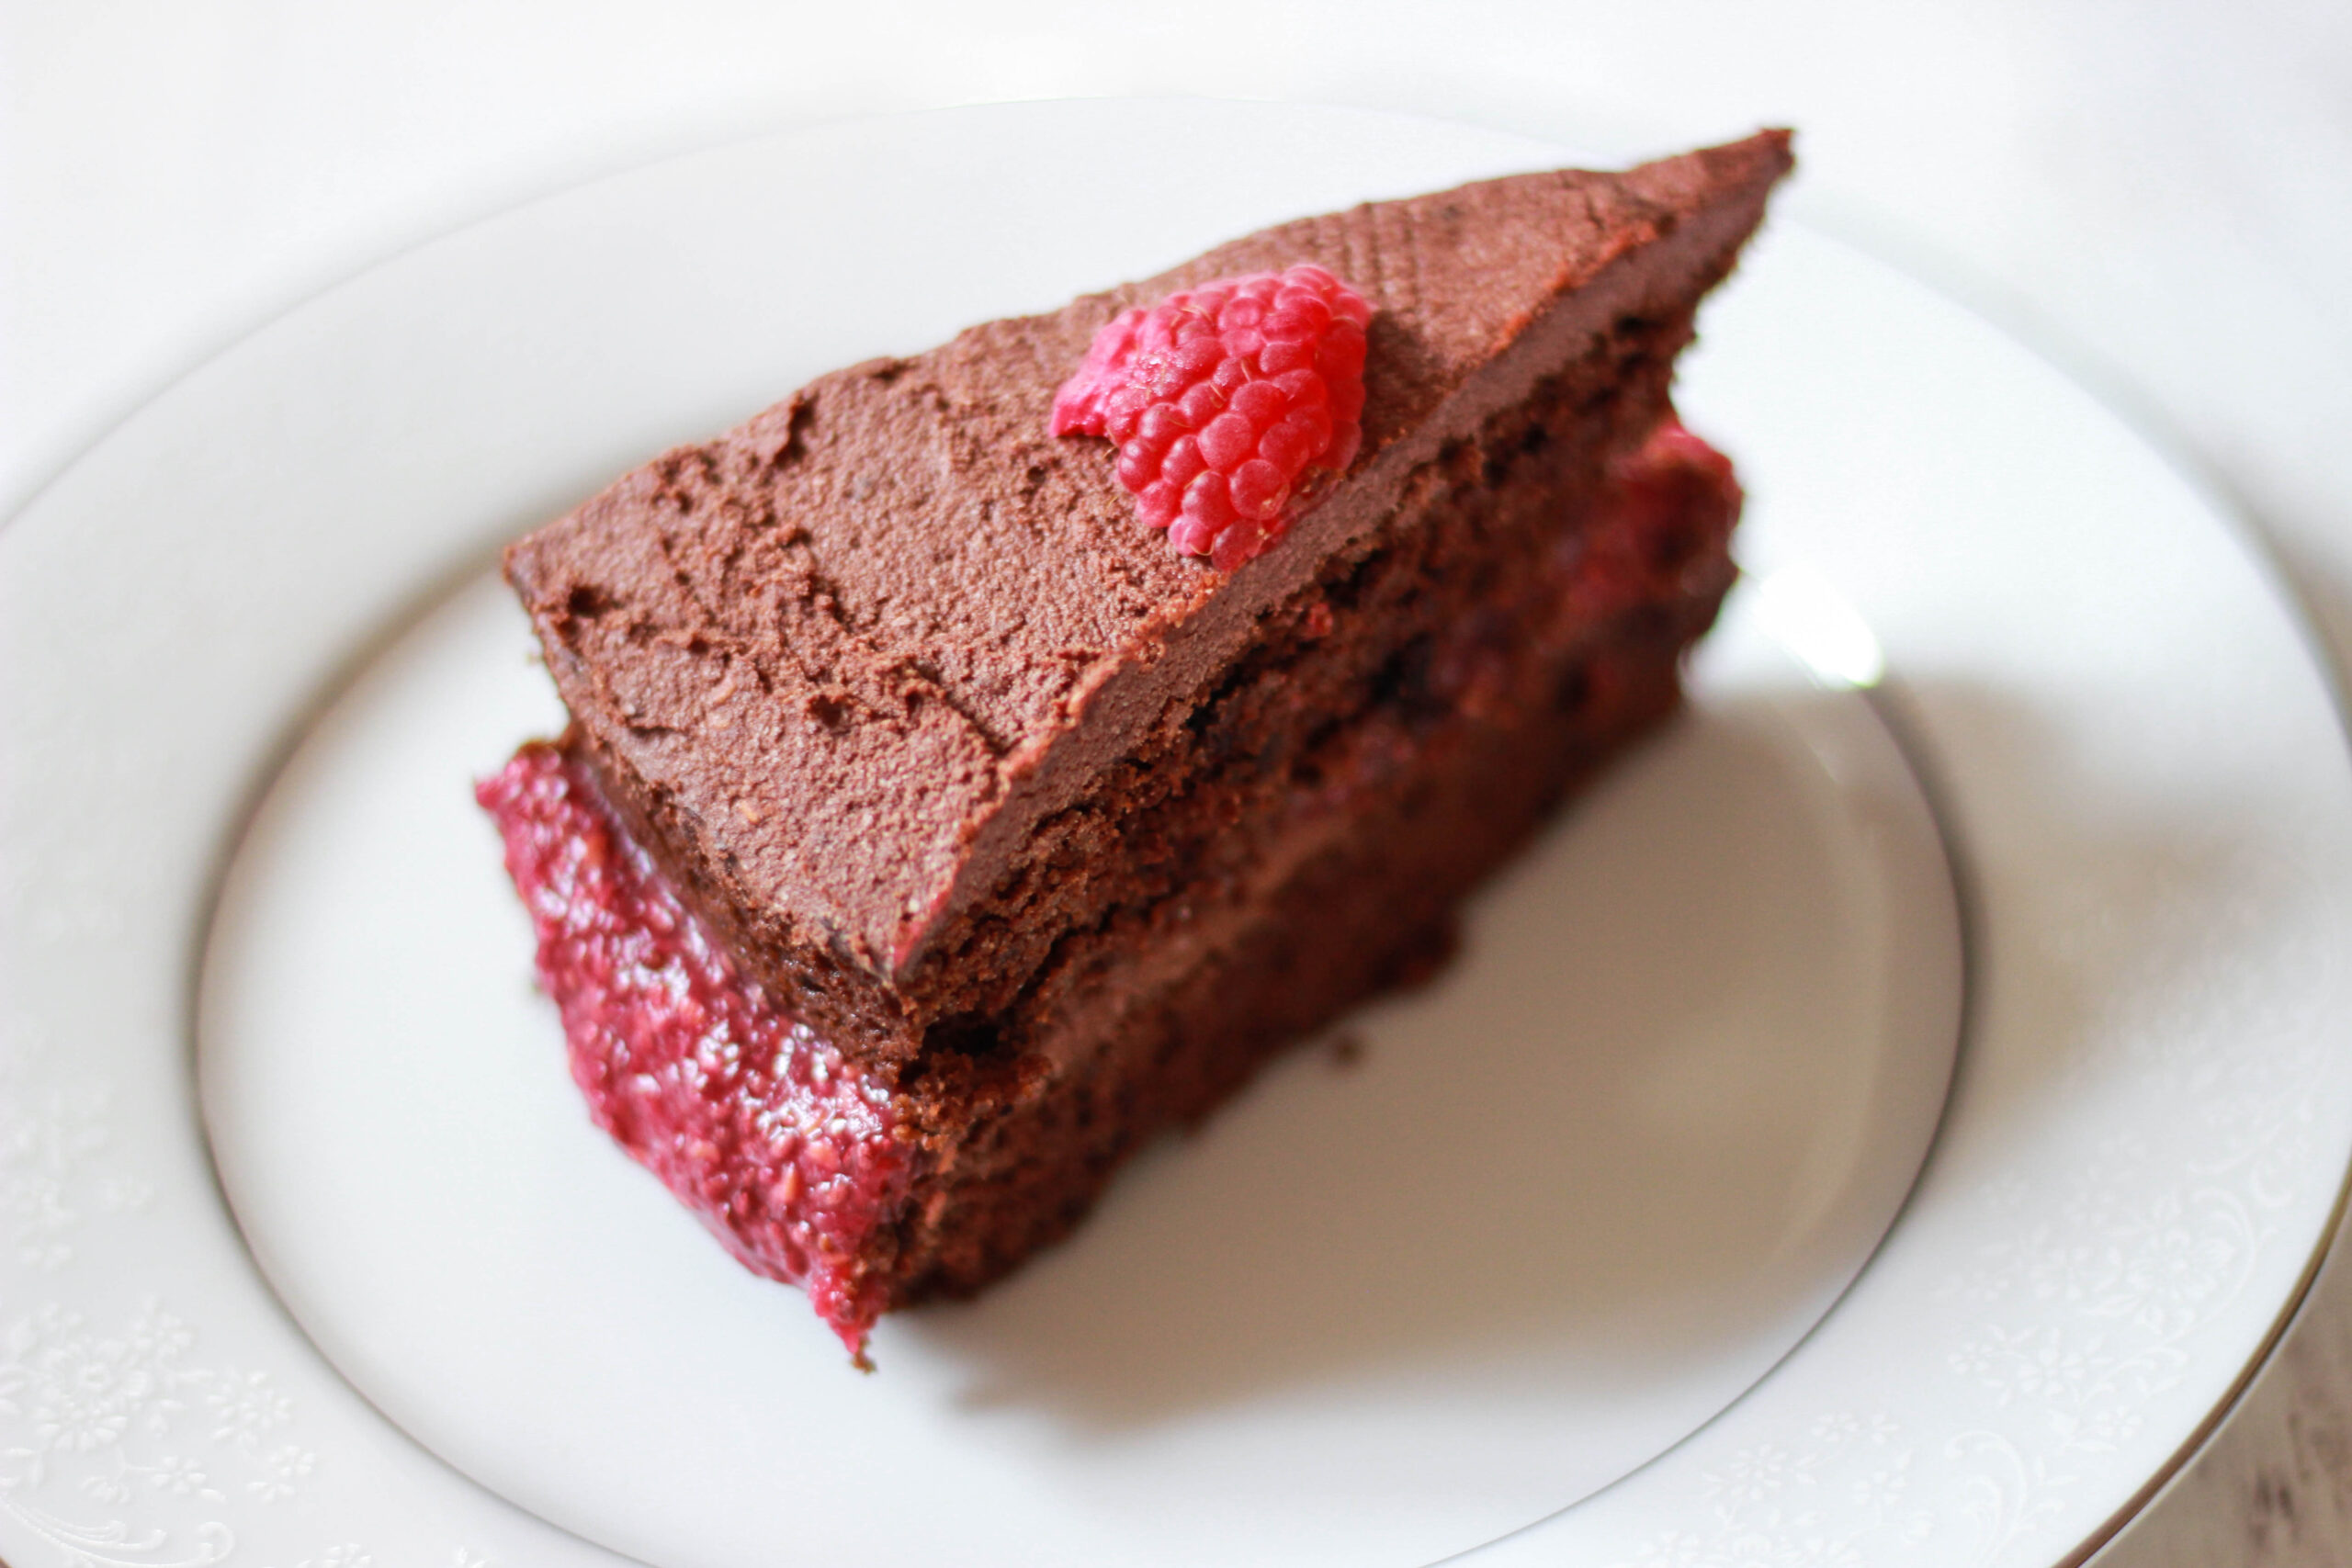
Some of them really do like my kind of cooking, but many don’t. It’s kind of hit or miss. That being said, I felt some pressure. Christmas was being held at our house, and I was trying to take some of the weight off of my mom’s shoulders since she was already doing so much other cooking. Other family members were bringing a few pies, but of course we had to have a chocolate option! Plus, my dad said he would only eat a dessert if it was Paleo. He’s really caught onto this whole Paleo thing! Ha!
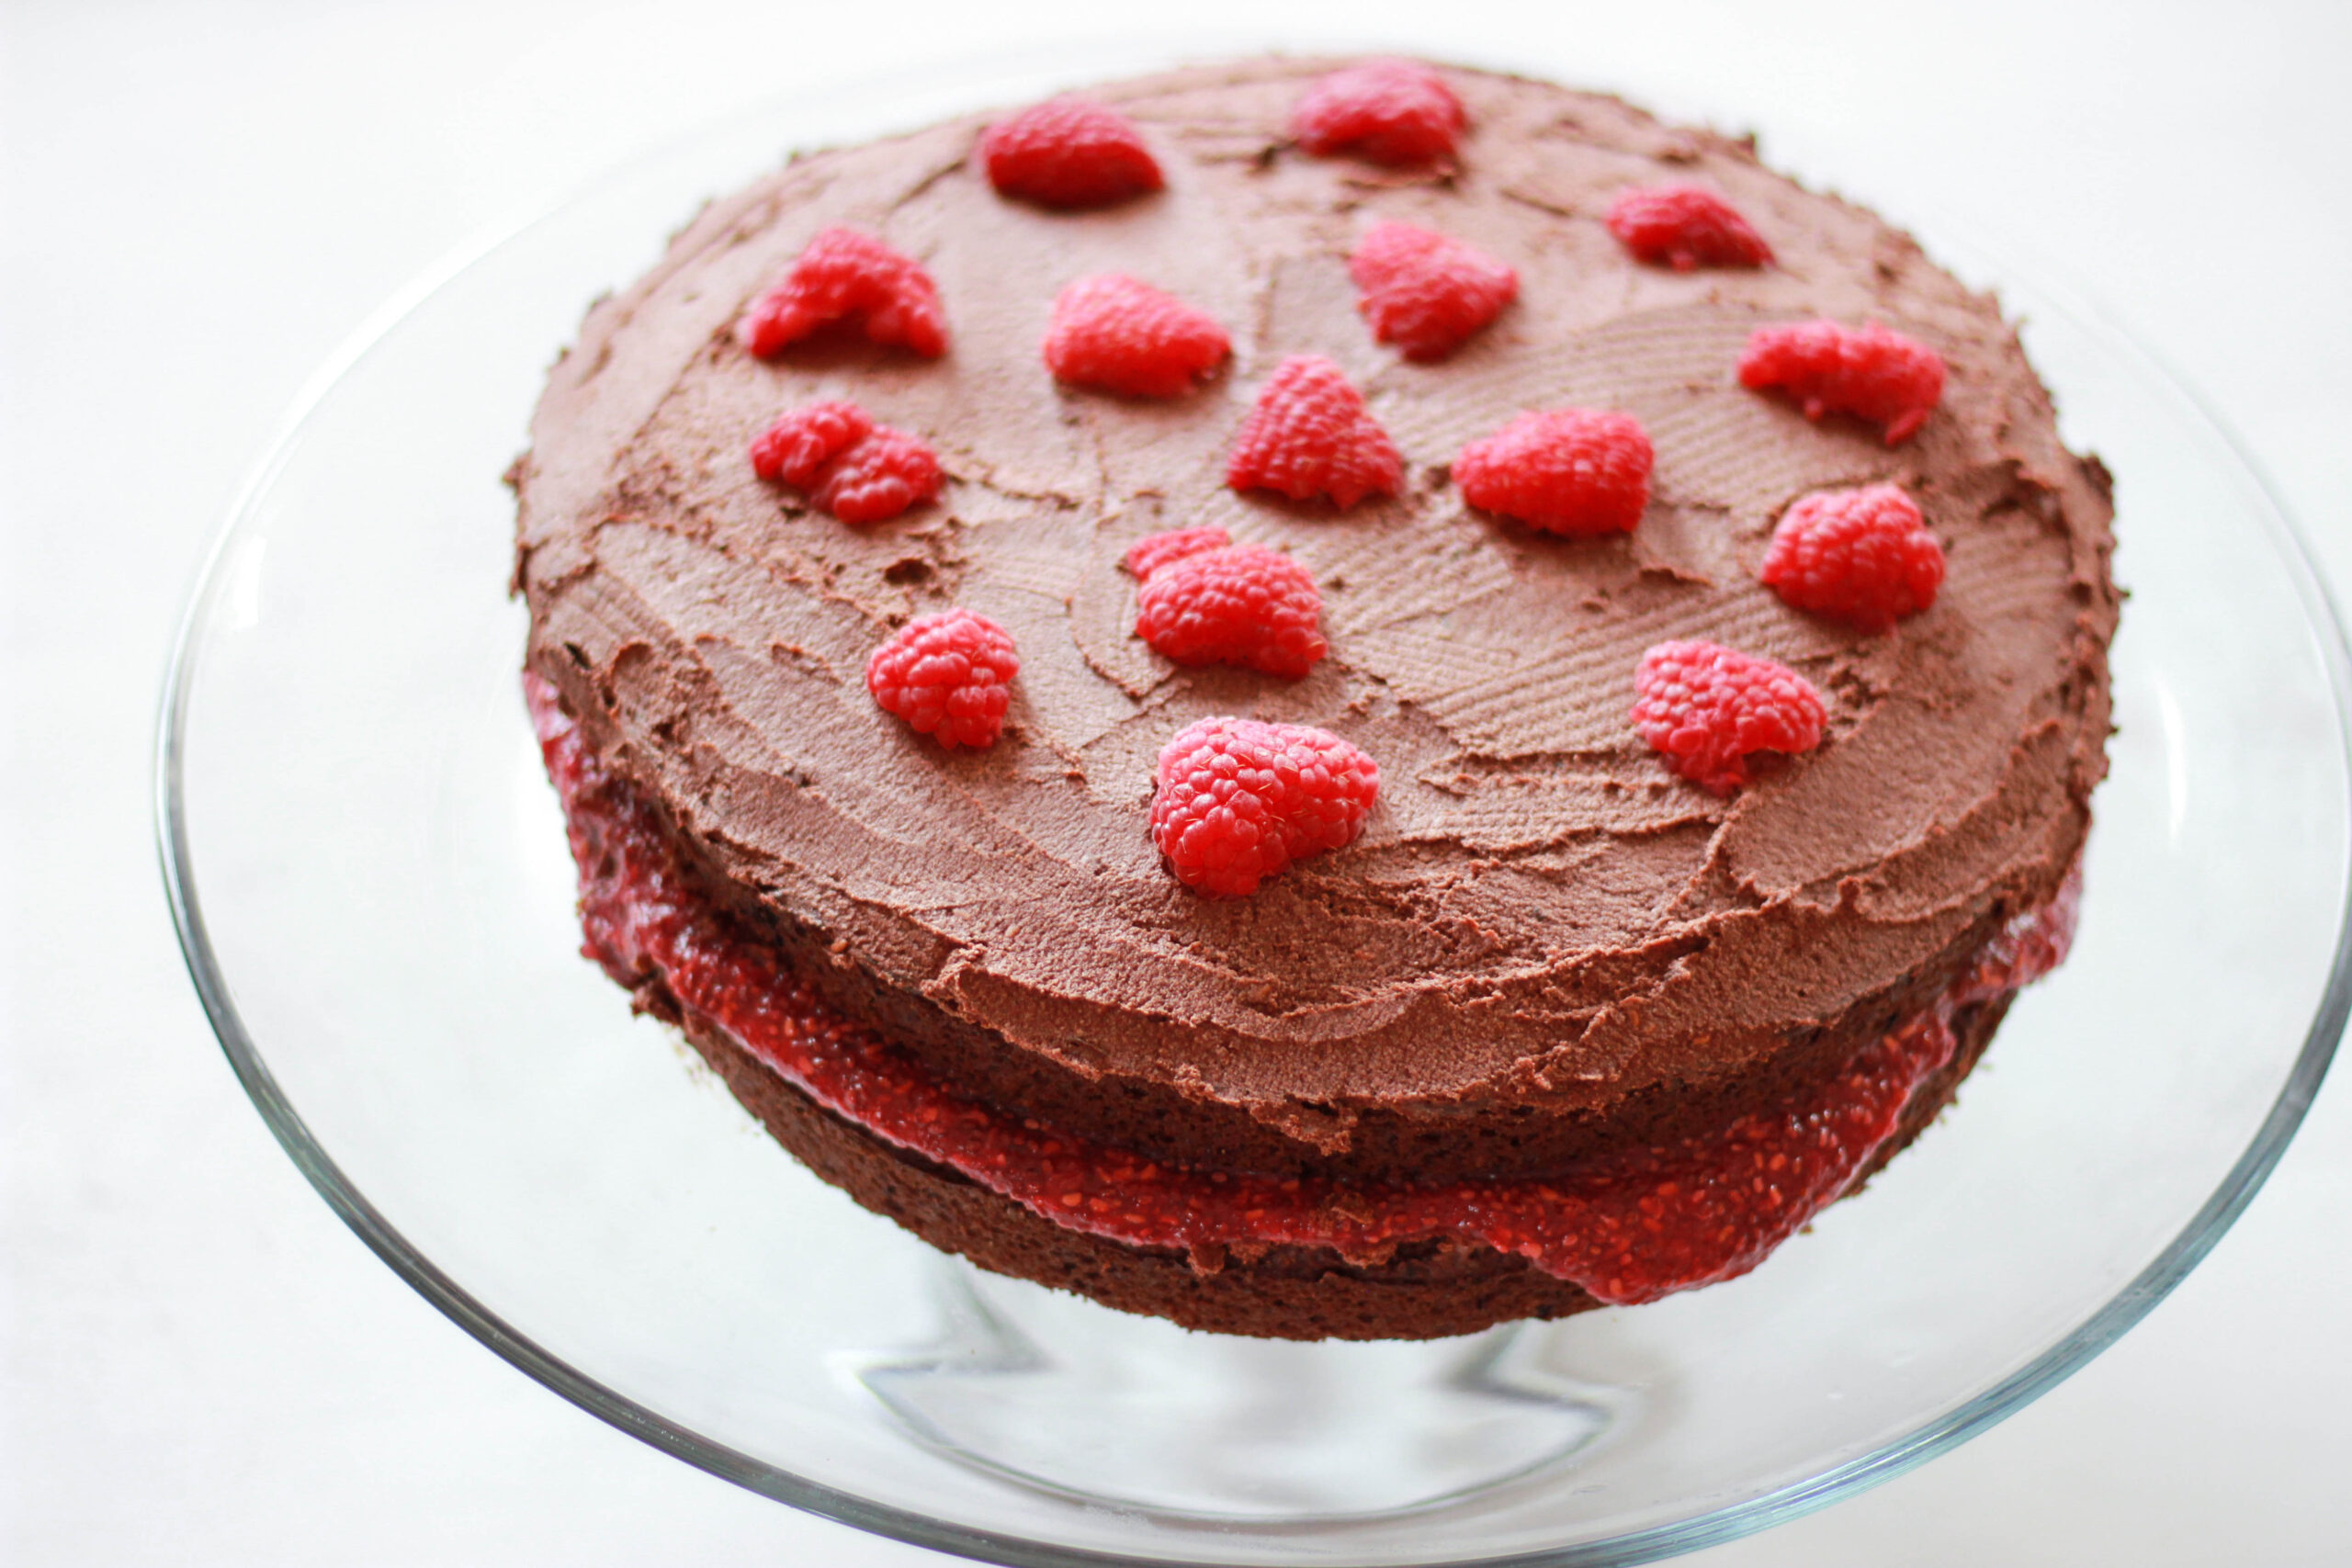
I have a gluten-free and vegan Dark Chocolate Fudge Pecan Cake on my blog already, but I wanted to make a chocolate cake that was a bit lighter so that the raspberry flavor would really stand out. The key to blending chocolate with fruit, in my opinion, is making something that has a rich chocolate flavor but isn’t too heavy. Otherwise, it either completely overpowers the fruit so that it’s lost altogether, or it makes the fruit taste too tart in comparison.
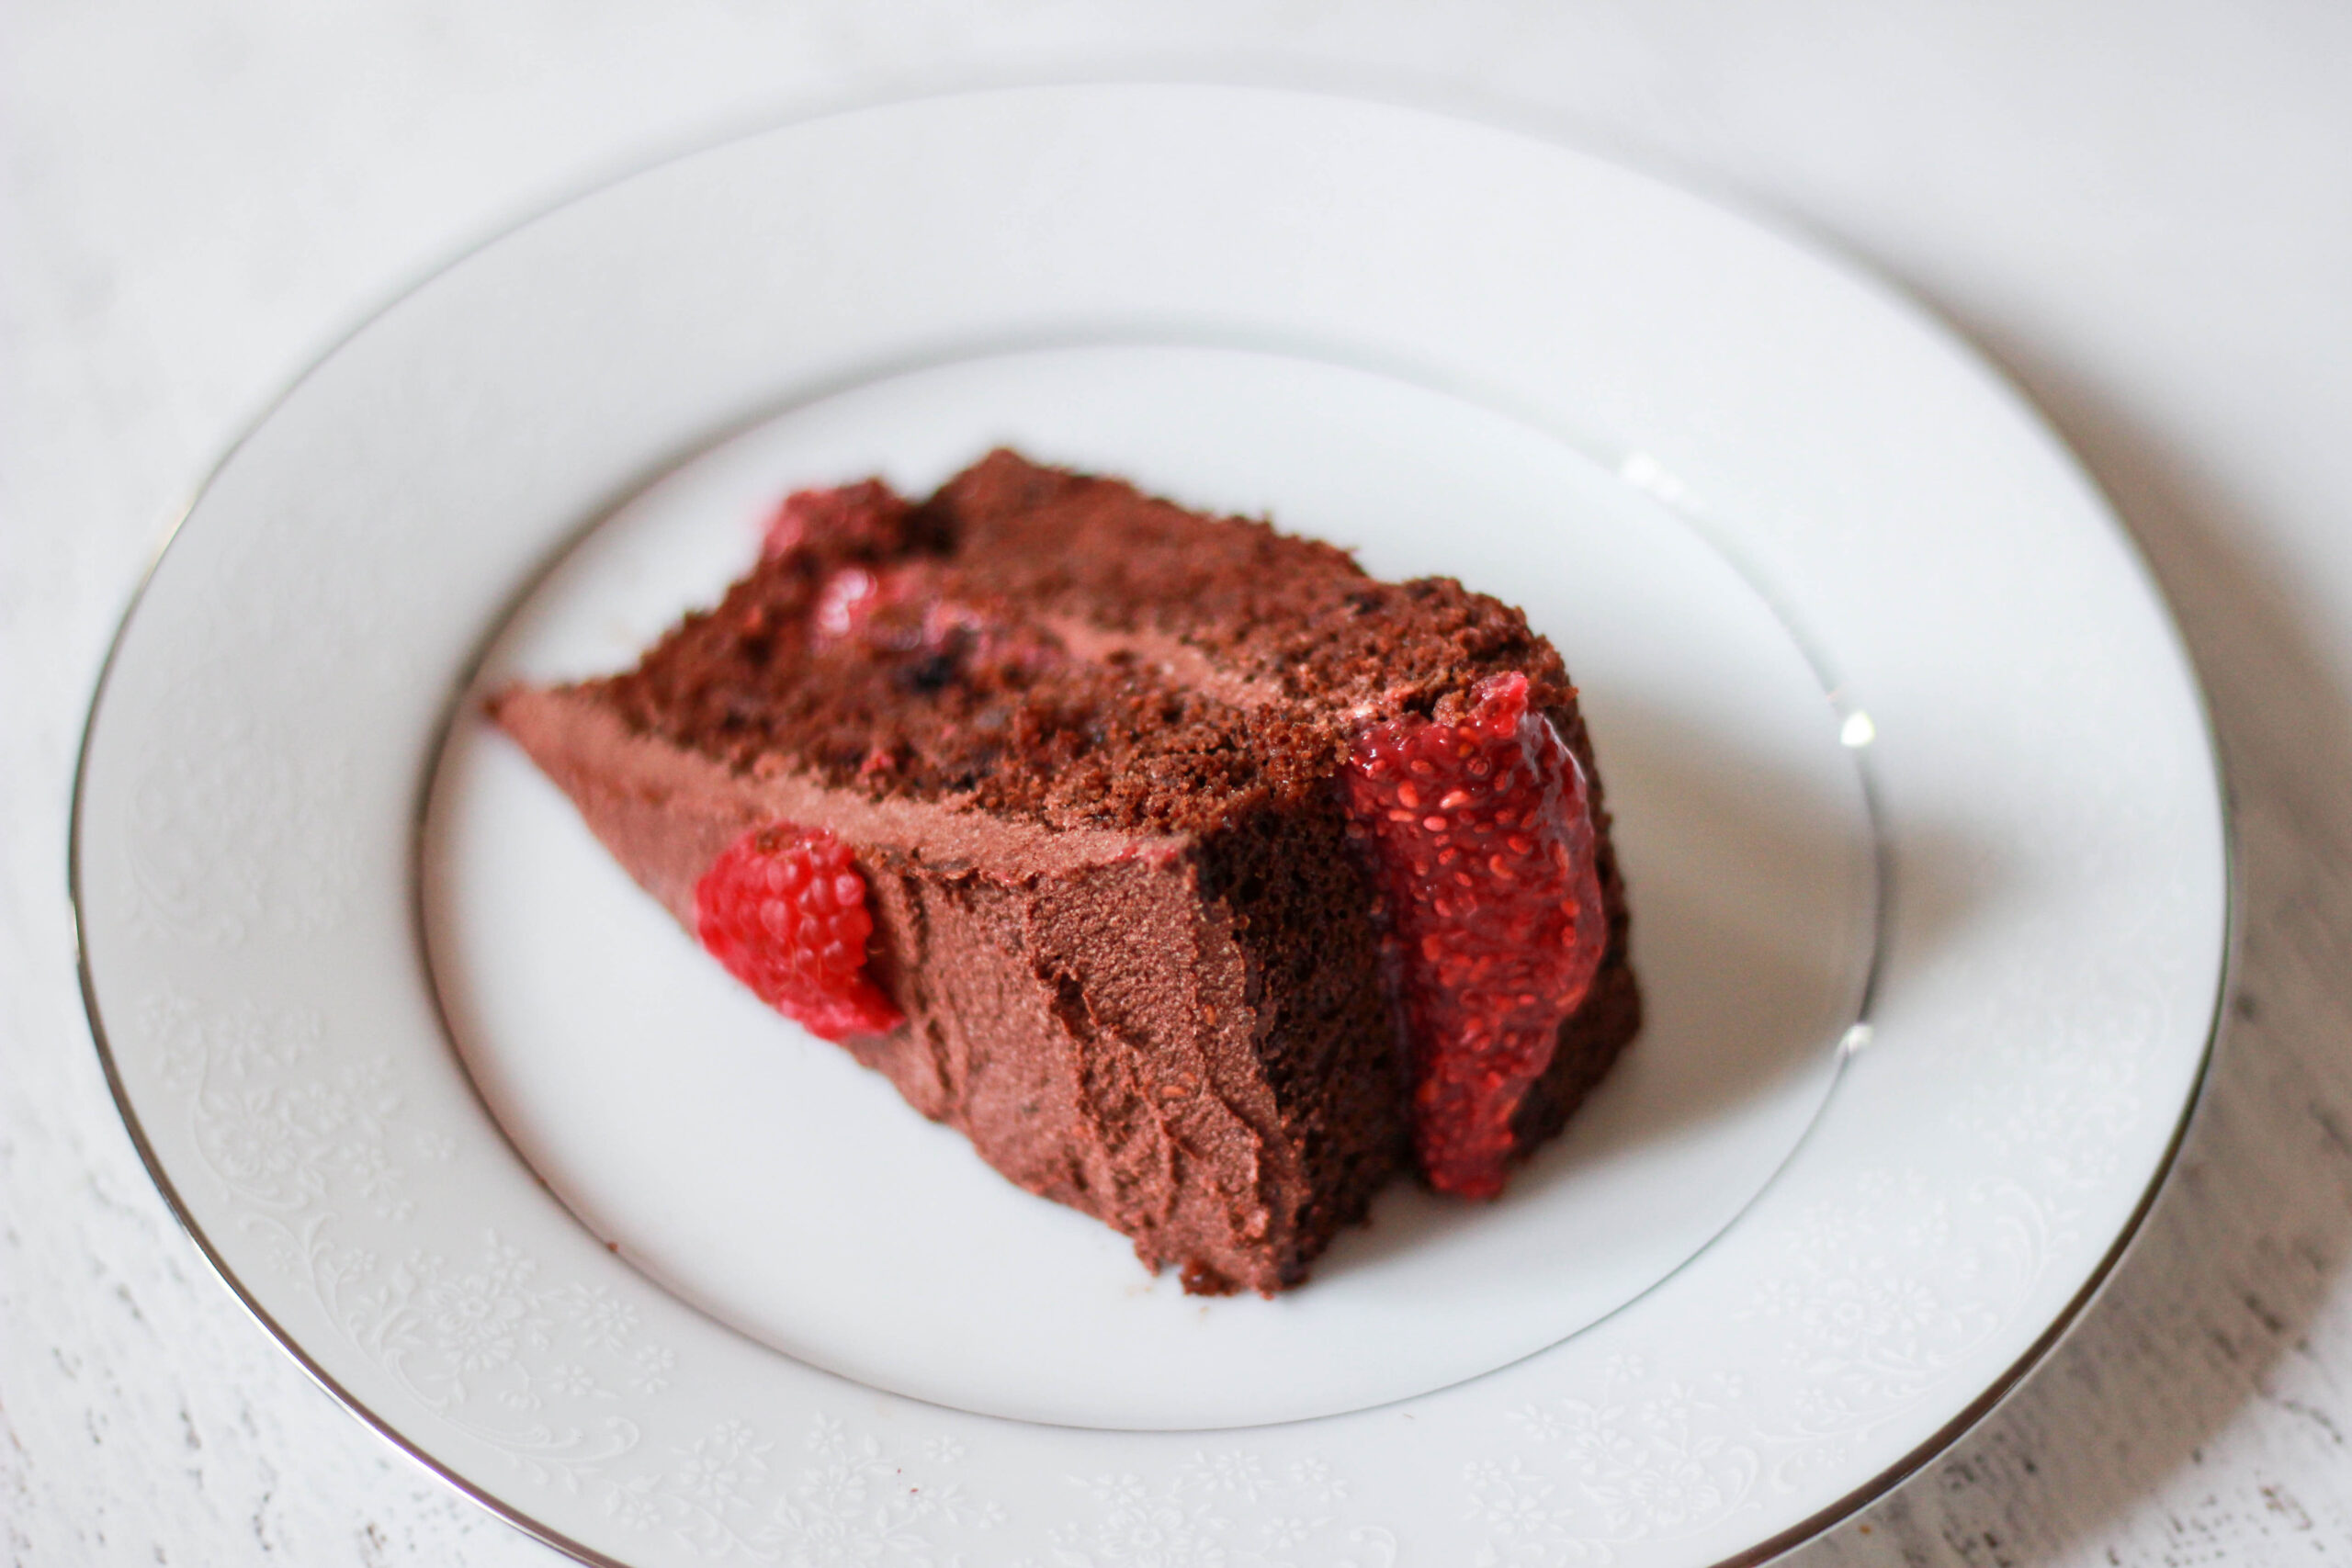
This cake is rich and moist without putting you in a chocolate coma, and it has a really smooth flavor that’s hard to put in words. The raspberries stand out naturally on their own, which is something I love about fruity desserts. You can really let the natural sweetness shine through.
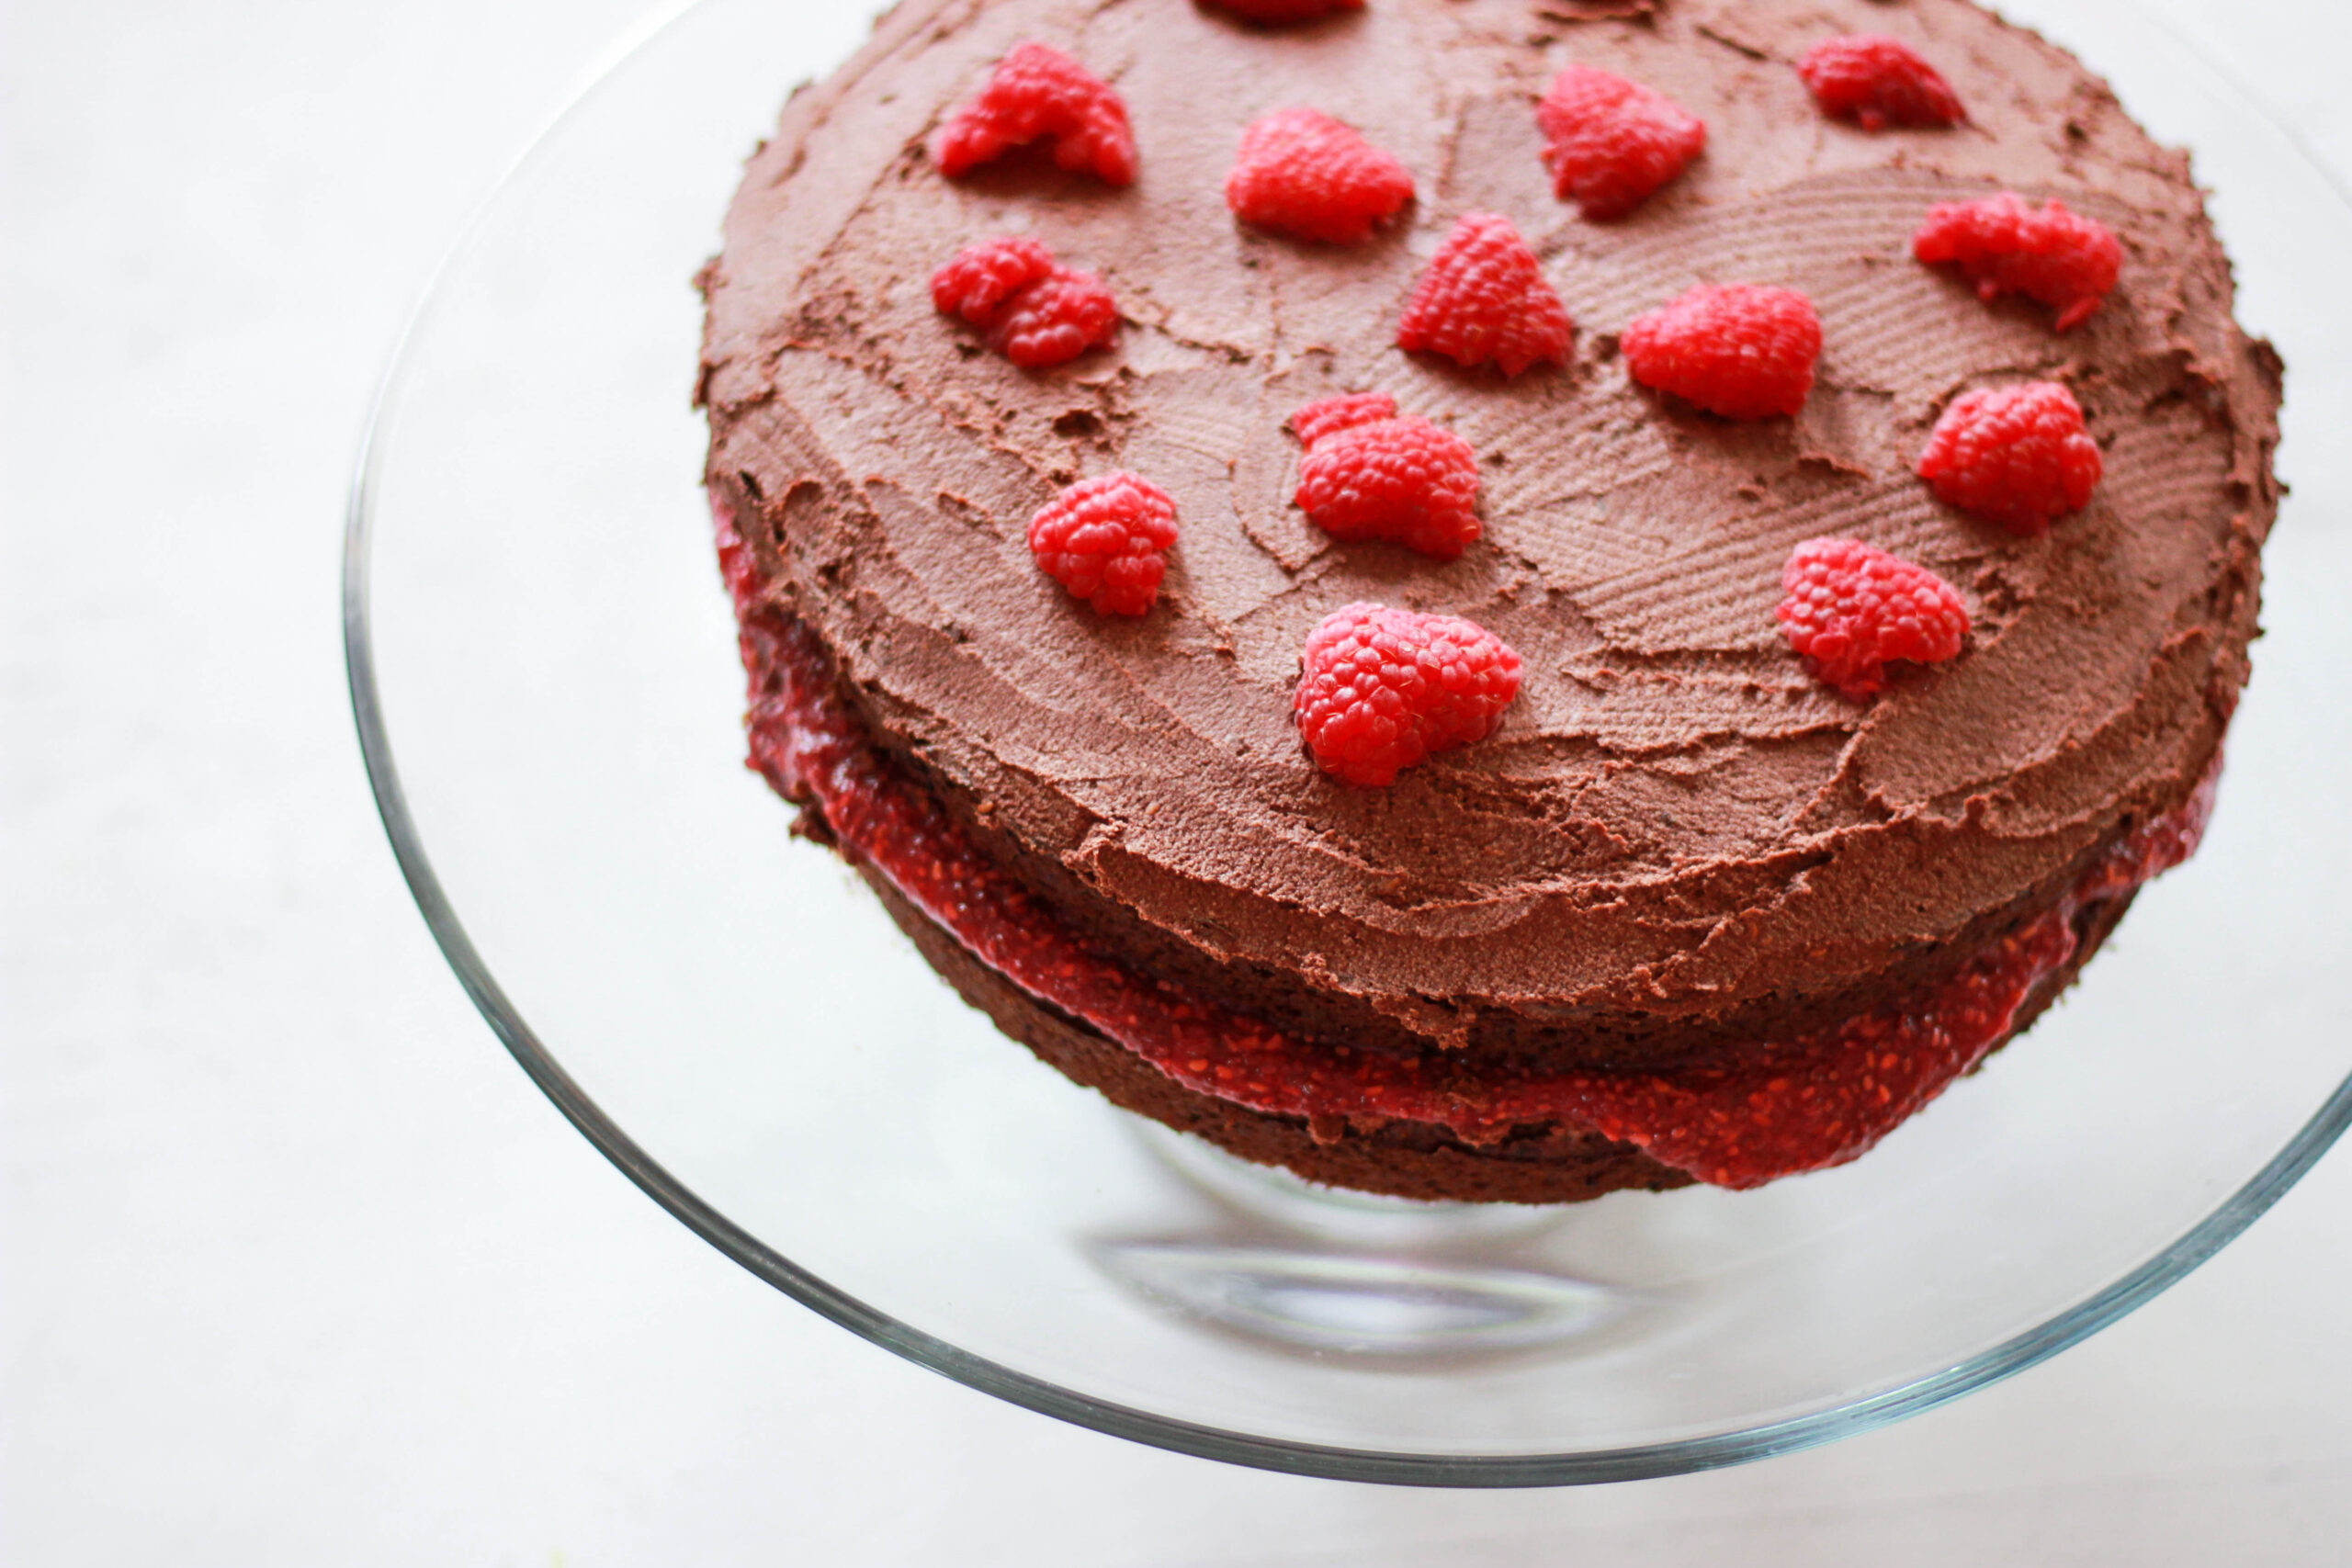
This cake isn’t sugar-free, but it’s pretty low in sugar when you take a slice into consideration. There’s some maple syrup spread throughout the whole thing, and the rest is sweetened with either coconut sugar or Lakanto monkfruit sweetener. I personally used Lakanto to keep the cake lower on the glycemic index since I am so sensitive to sugar, and it was absolutely divine. If you’re not worried about that or don’t have Lakanto, then go for the coconut sugar!
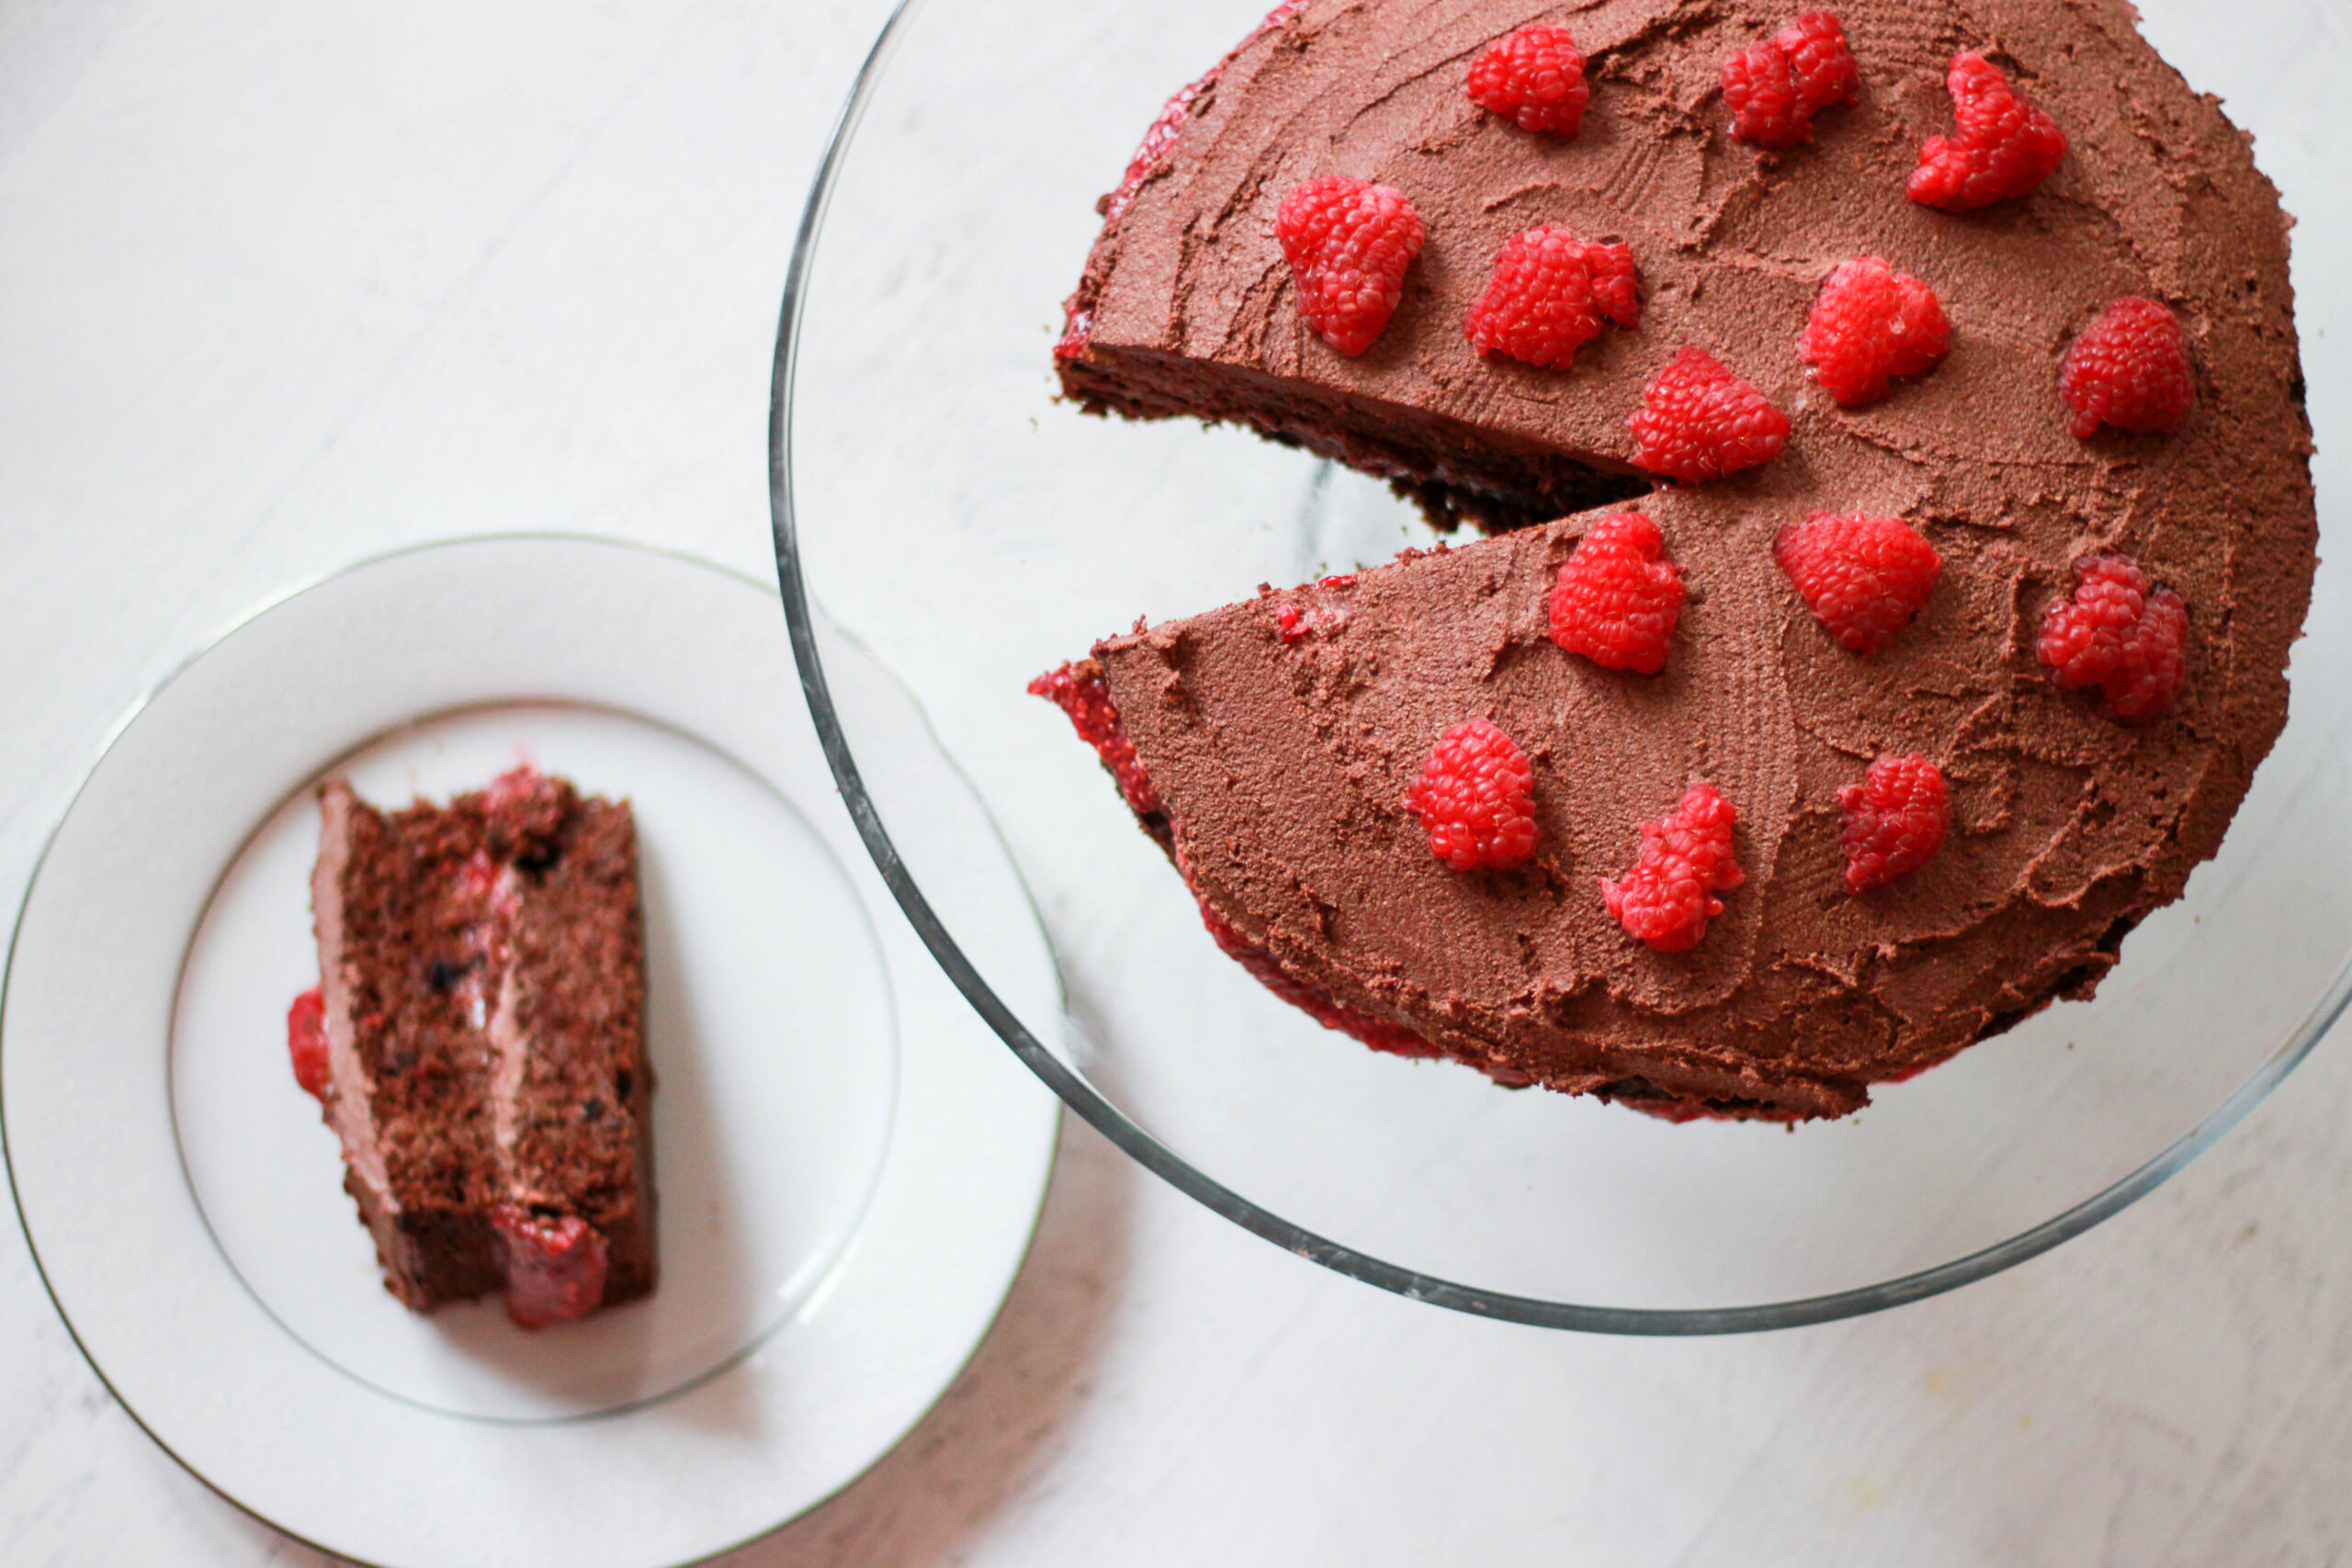
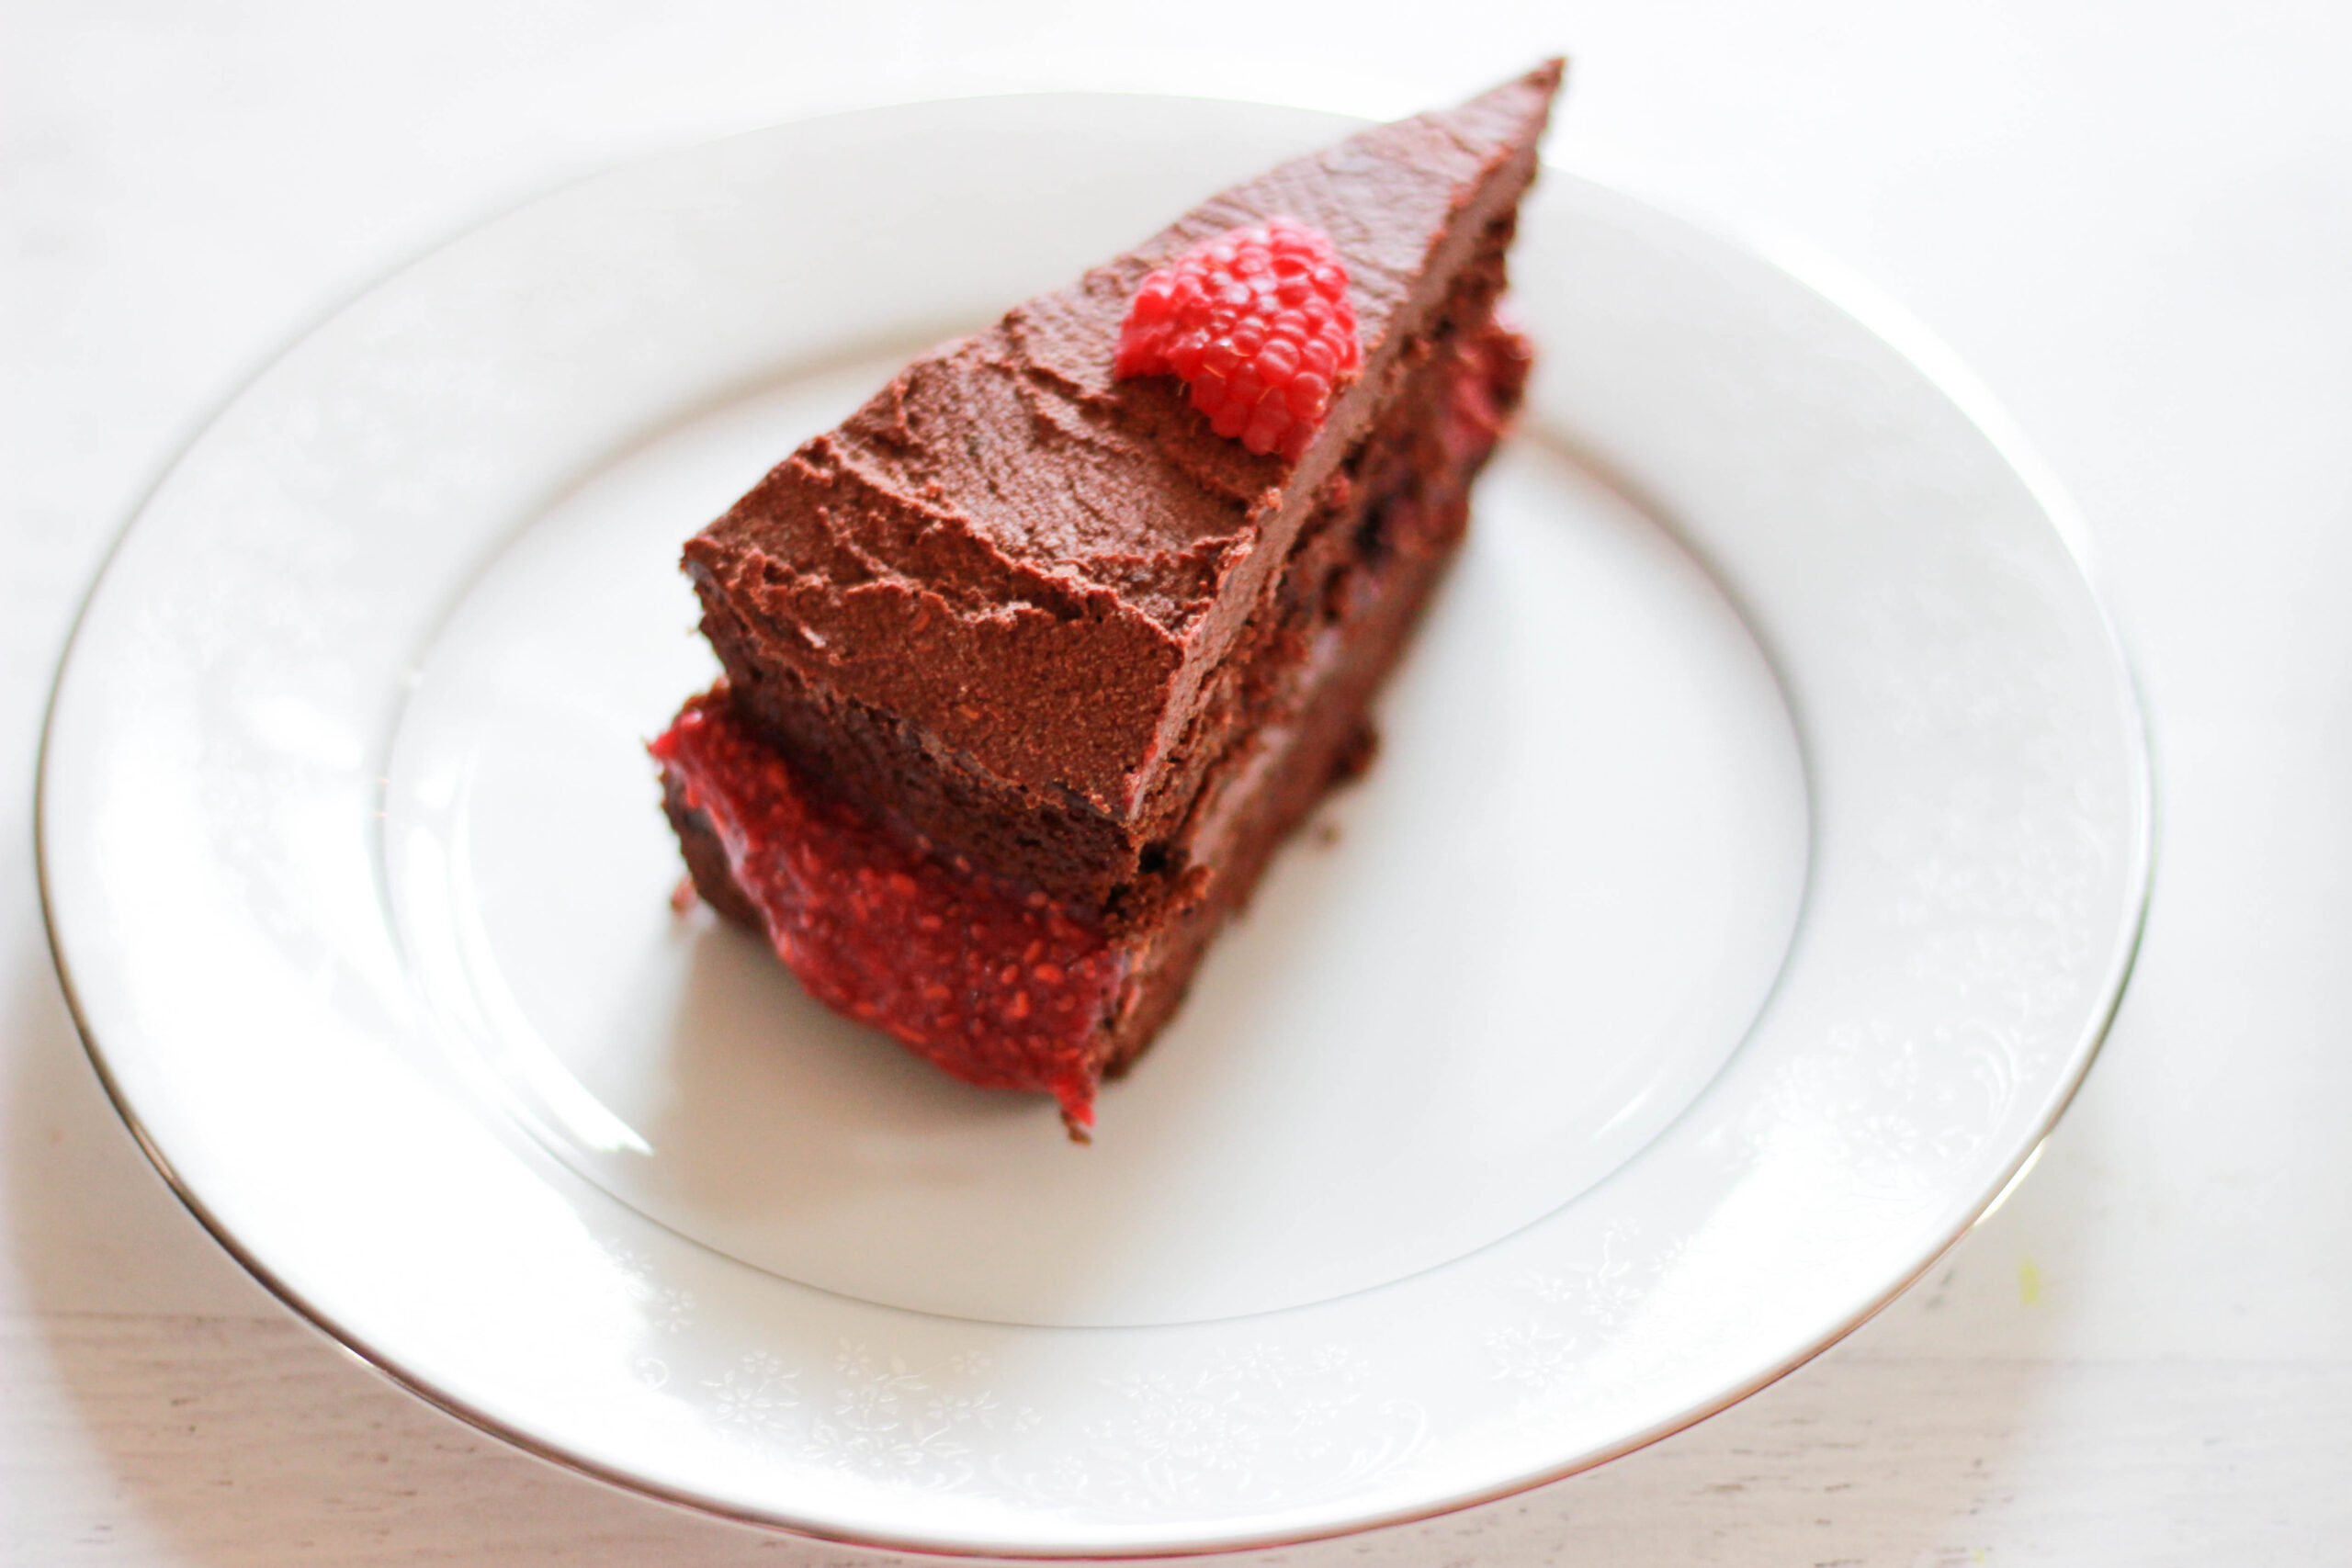
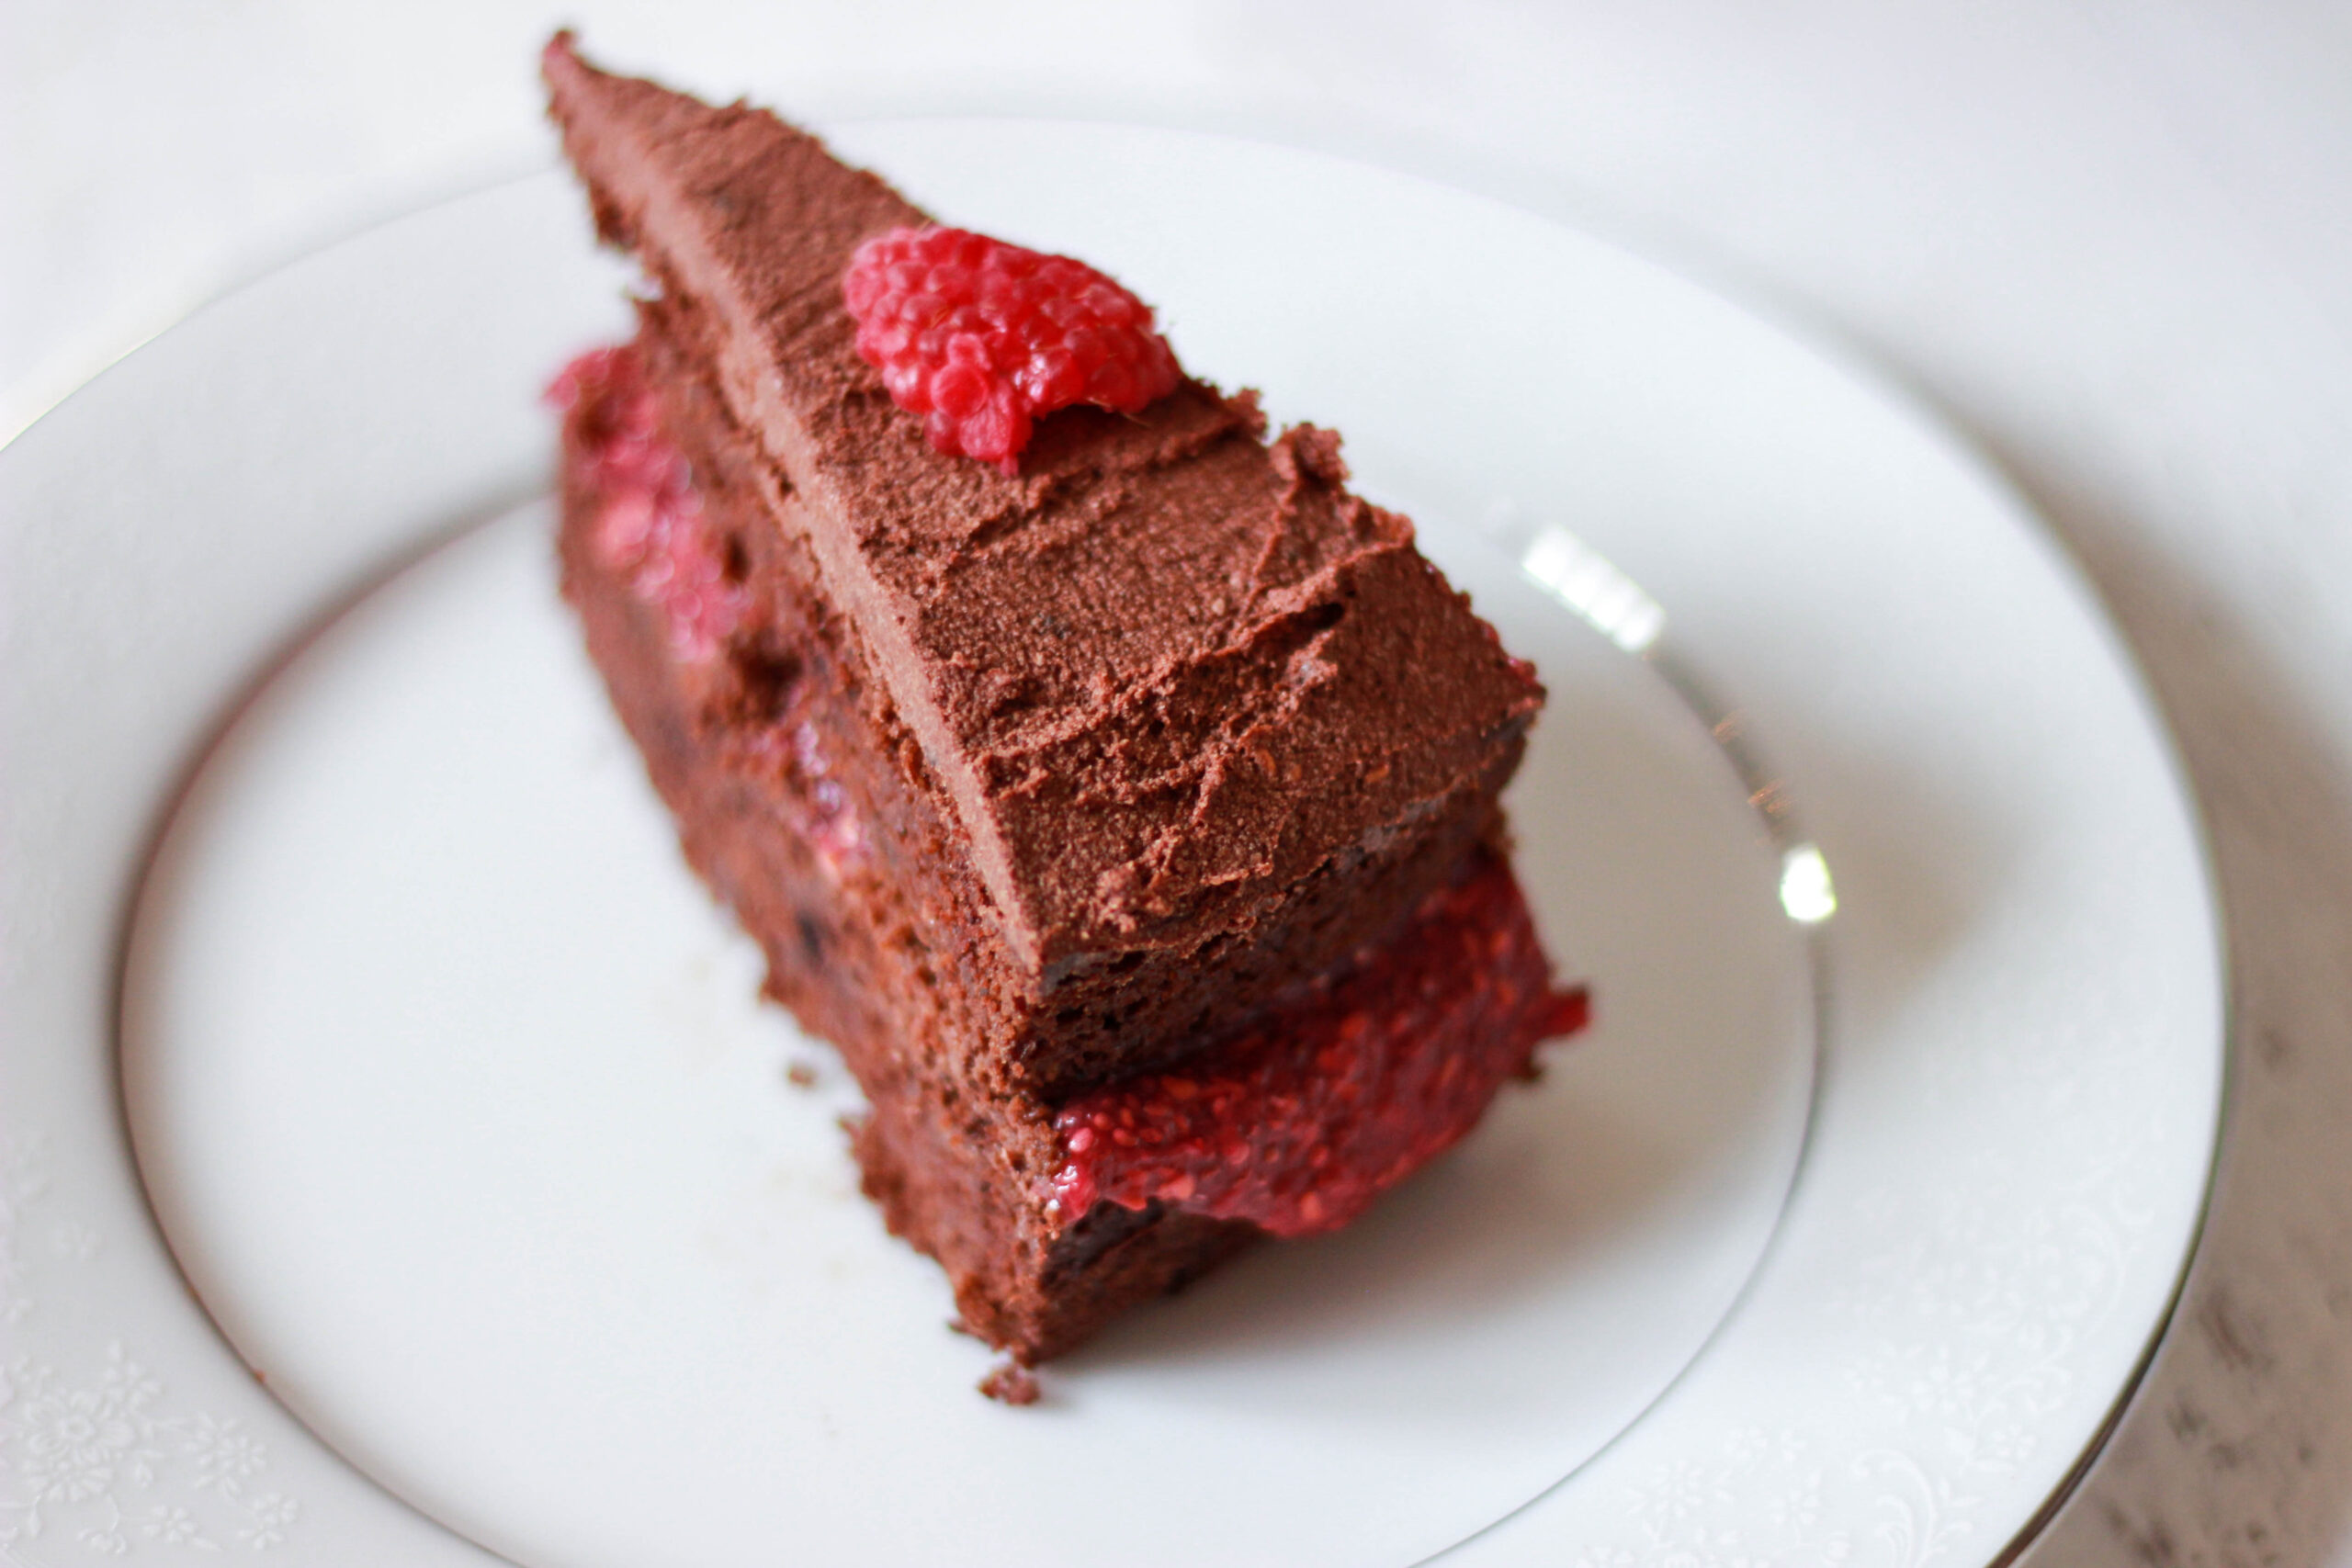
I also love this cake because it has so many different textures and flavors. Multi-layered cakes are always extra exciting, in my opinion, especially when each layer has a different flavor. The raspberry filling in the center is the perfect complement to the soft cake and creamy frosting – everything balances each other out.
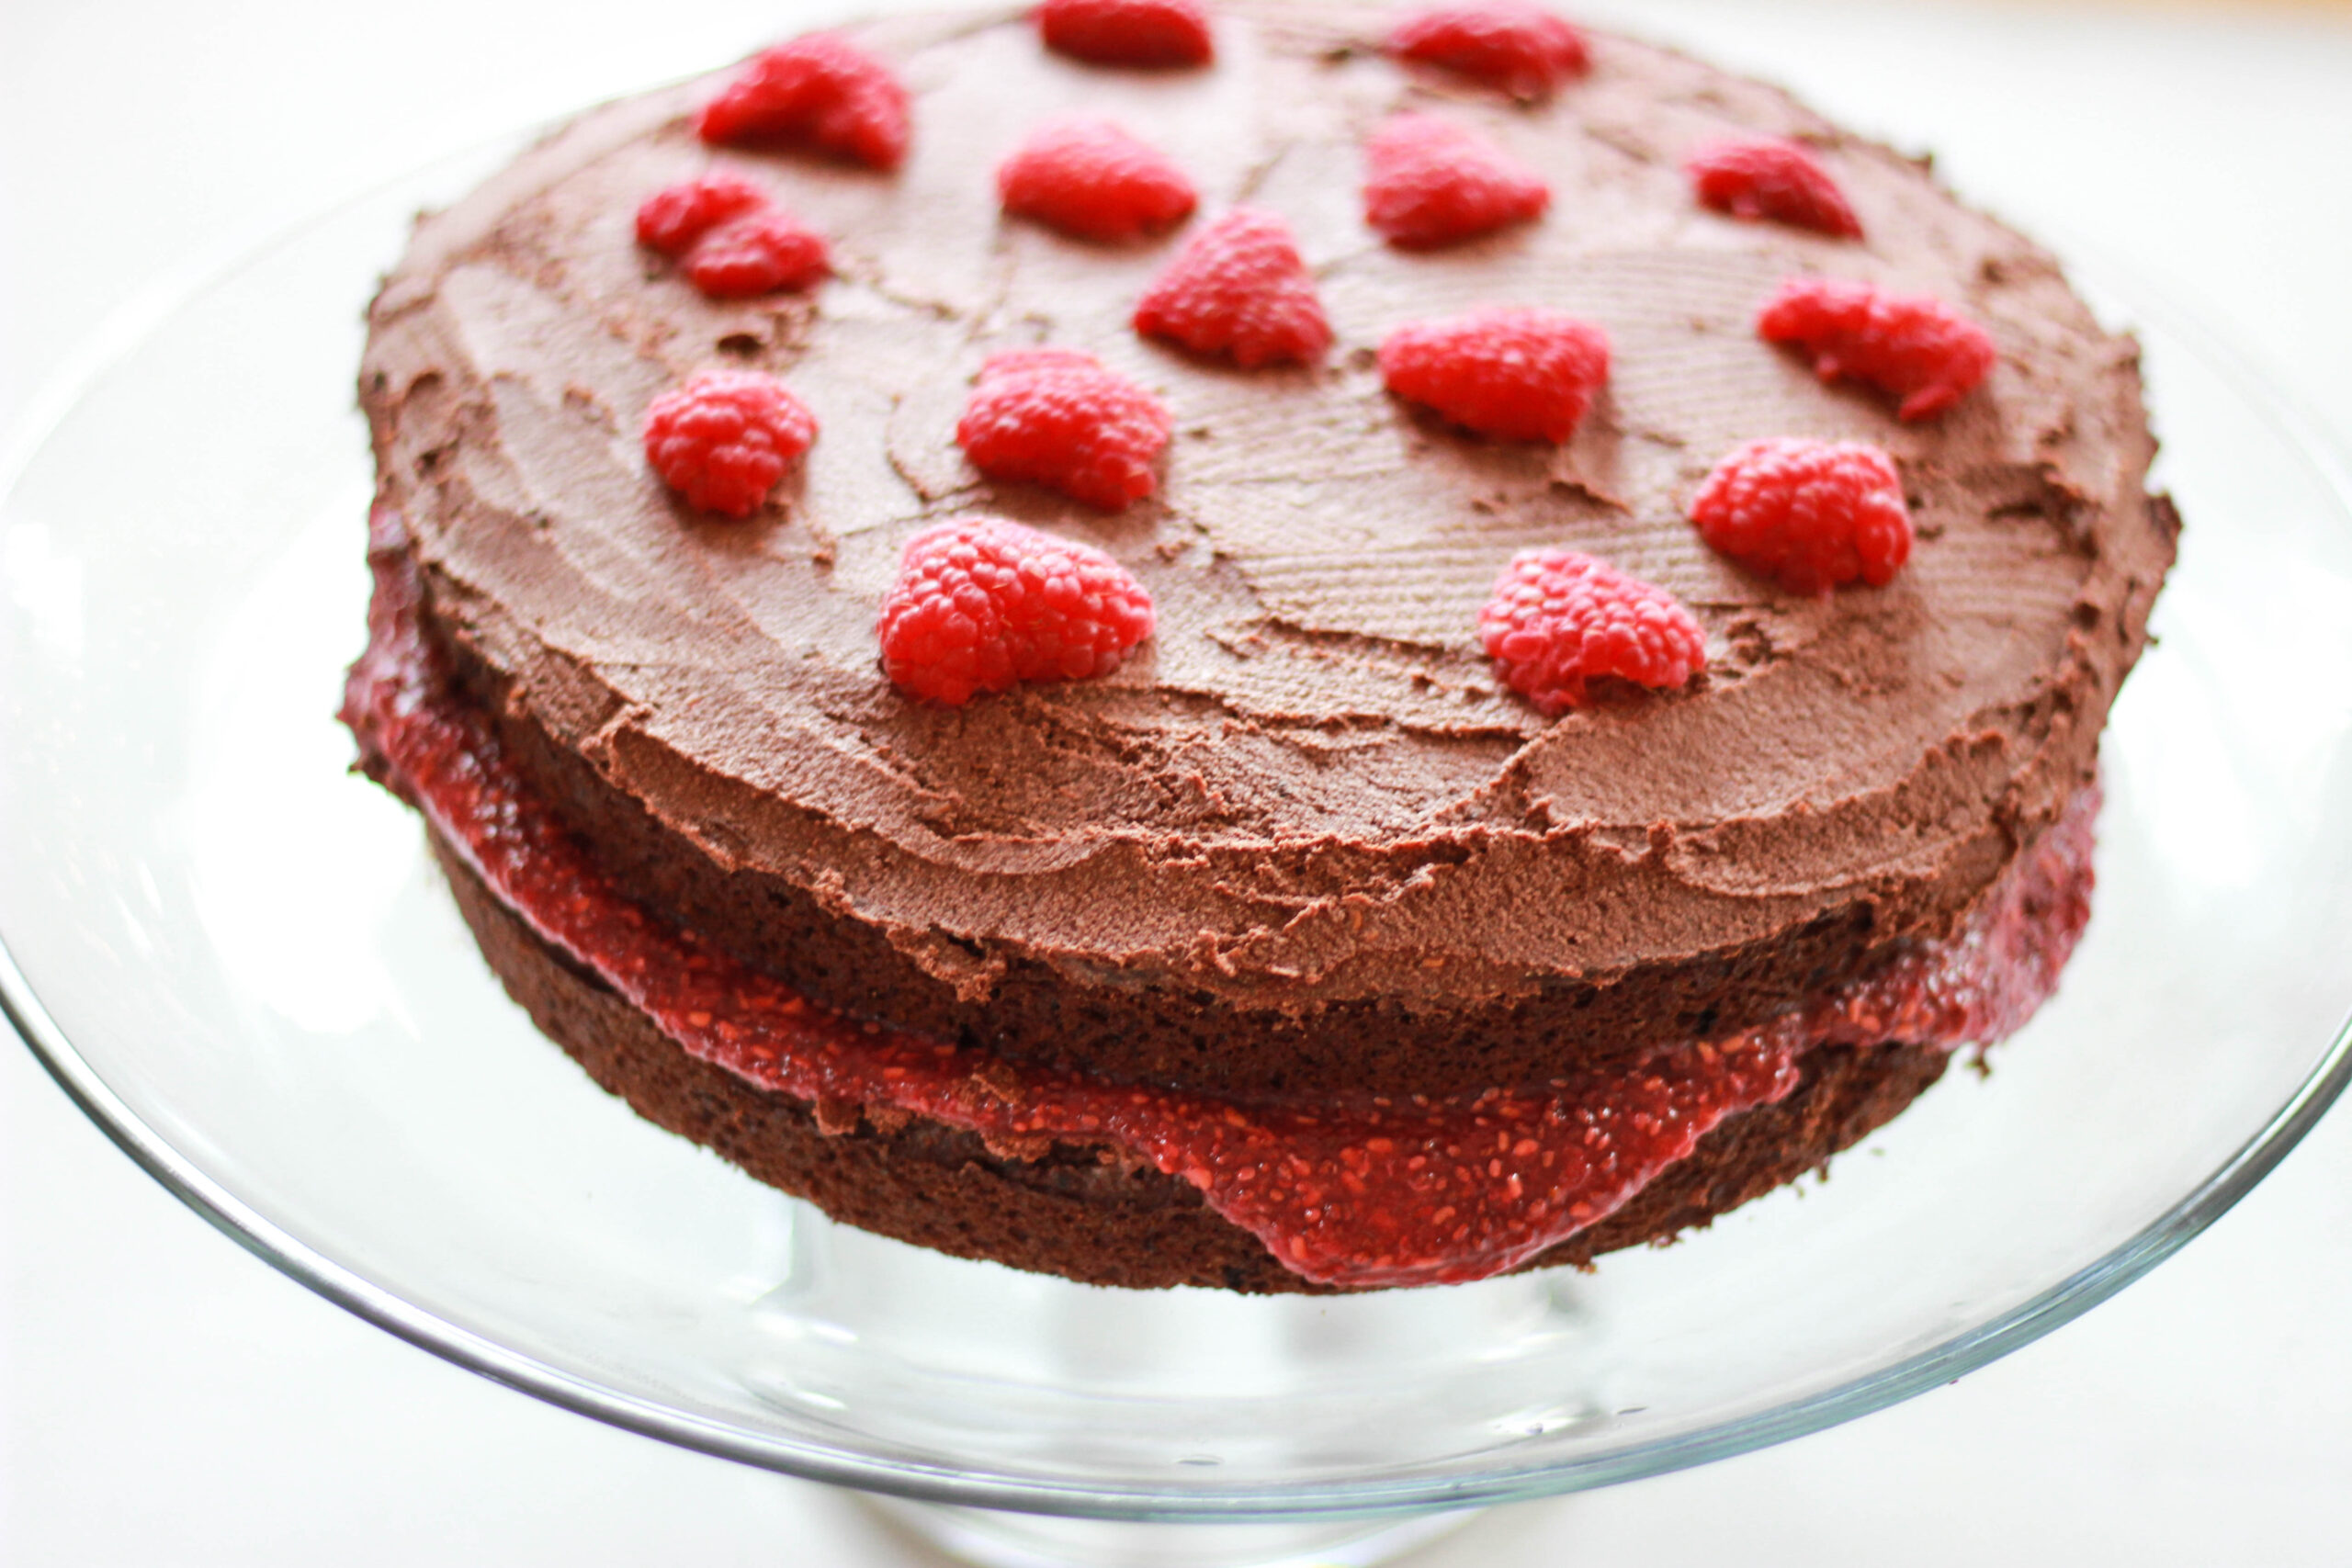
Speaking of the chocolate frosting, it has a very subtle touch of raspberry, which I really think brings the whole thing together. Yup, I blended raspberries in that frosting. One of my best decisions ever. However, you can still definitely make this cake if you don’t like raspberry. Just make it without the raspberry filling and without blending raspberries into the frosting, and voila! You’ve got a rich and creamy plain chocolate cake.
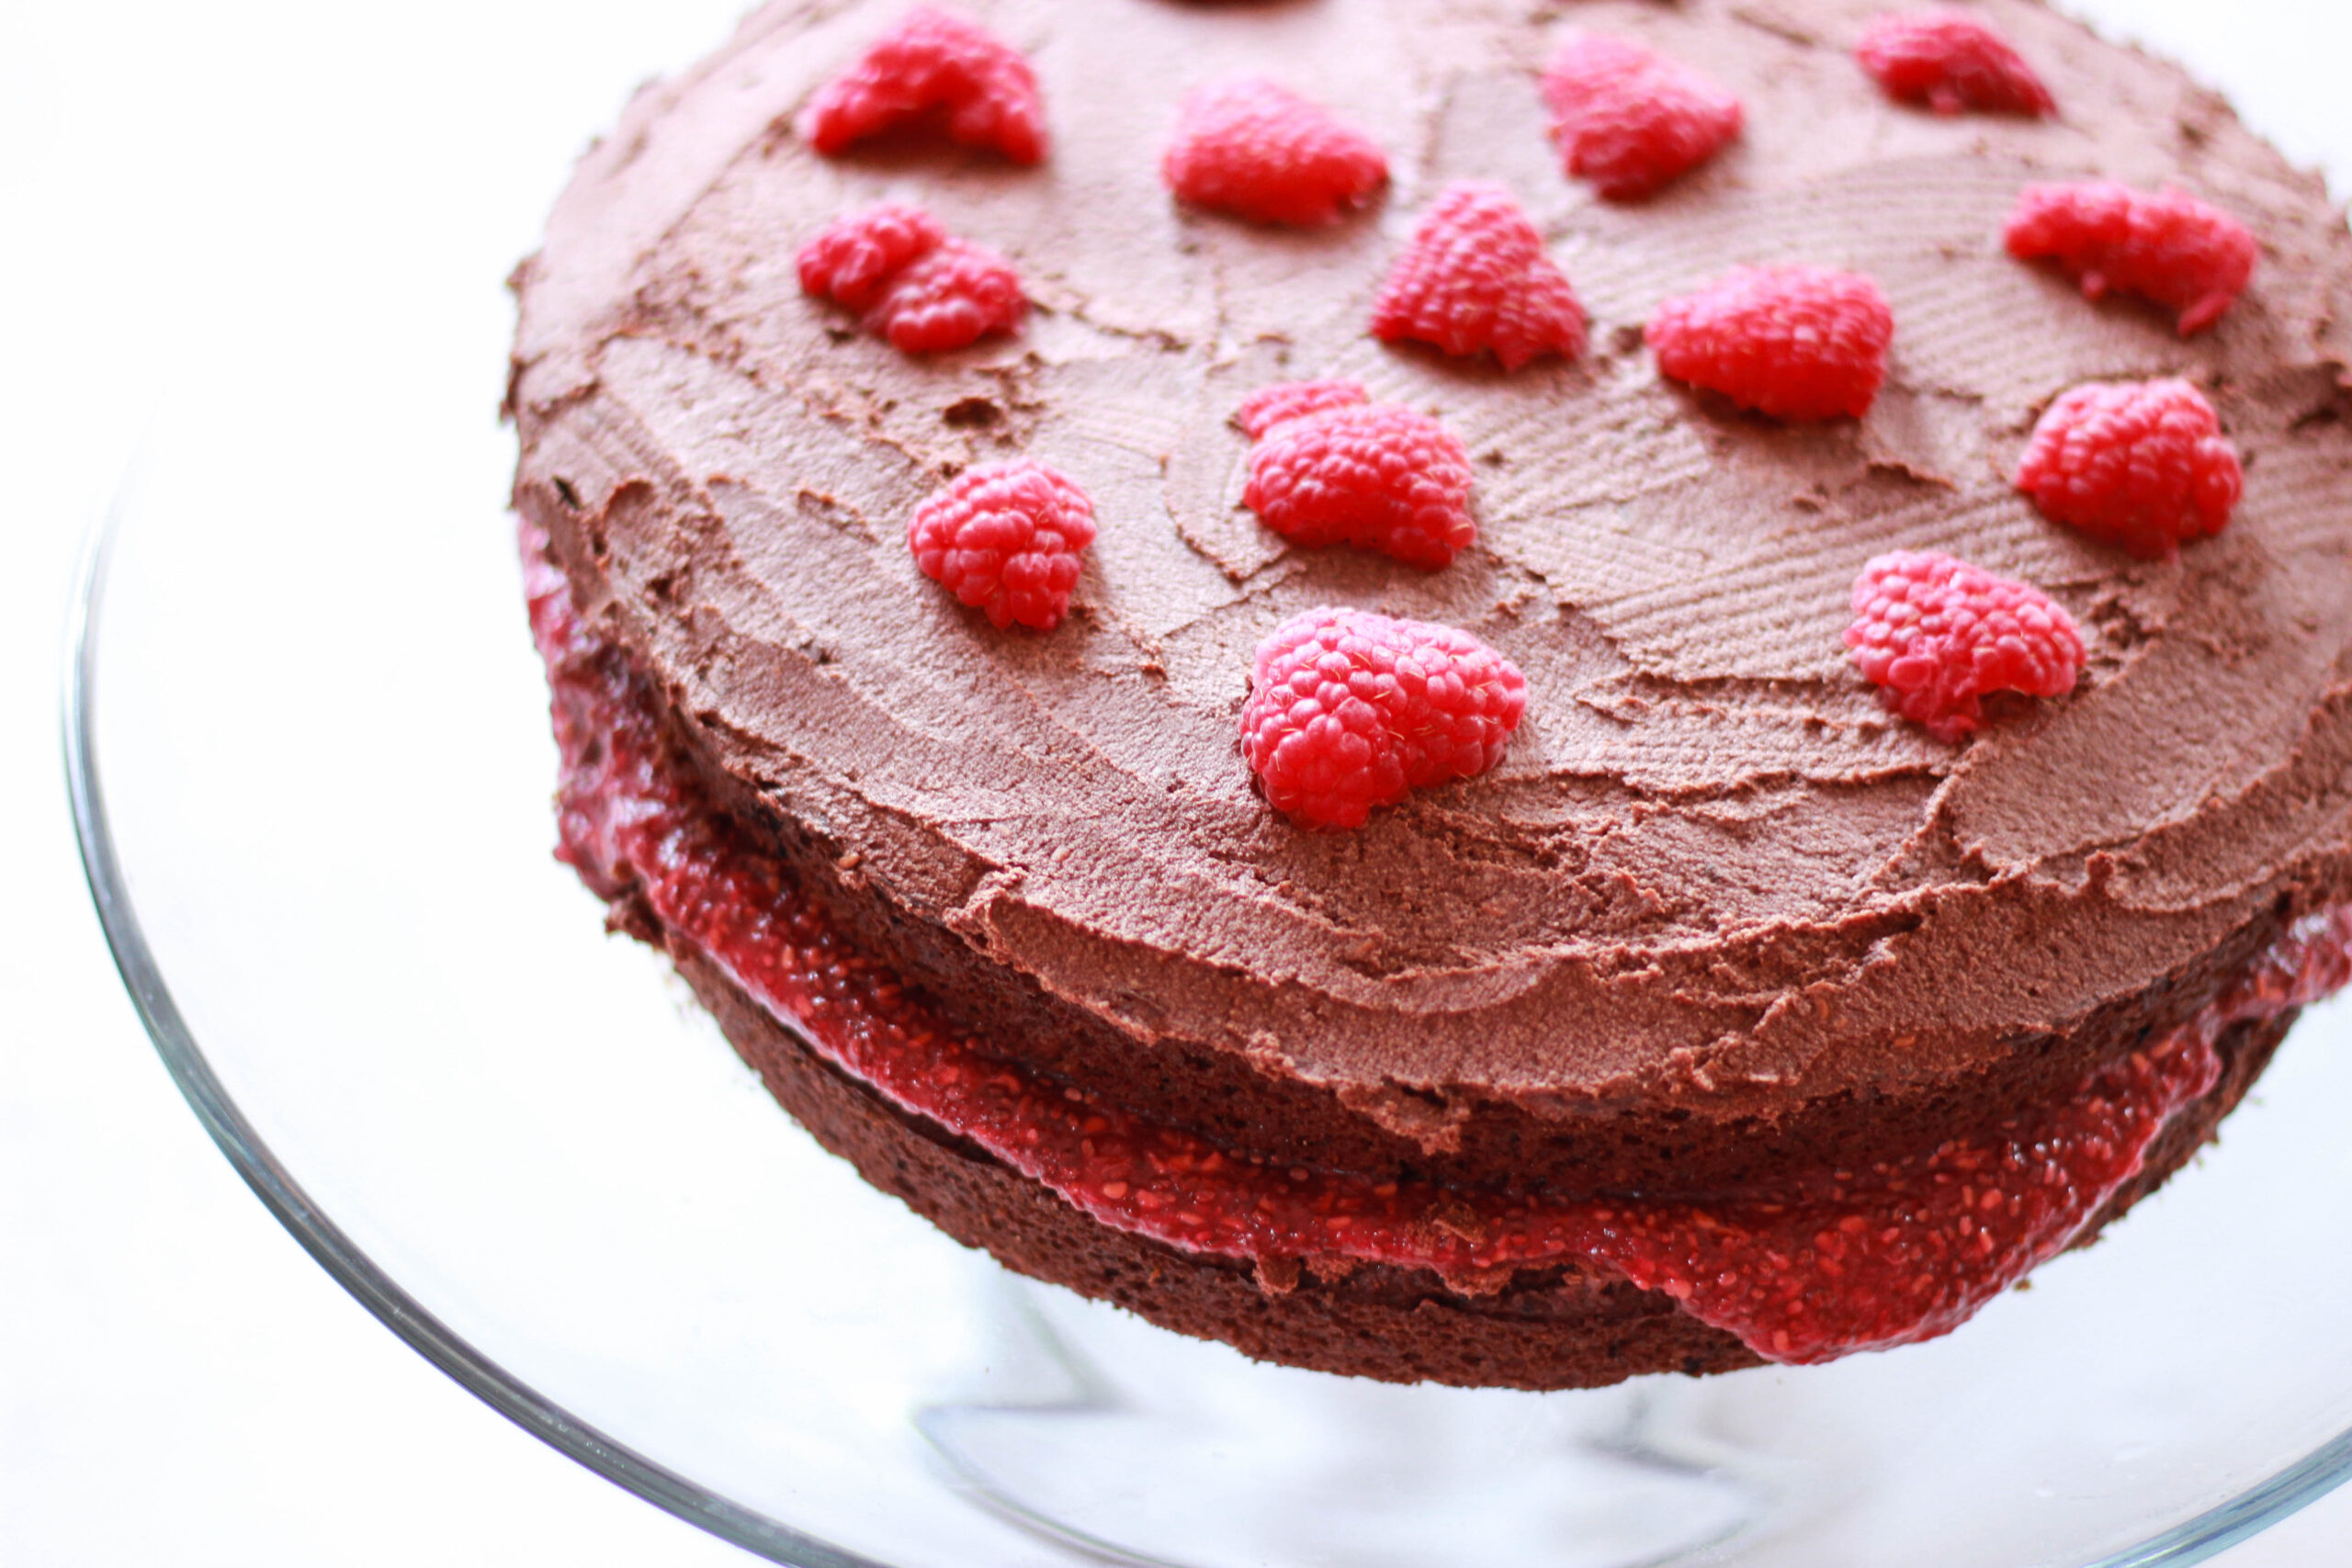
My other favorite thing about this cake? It’s a naked cake! If you don’t know what a naked cake is, it just means that the sides are left unfrosted. I am obsessed with the look of naked cakes – they’re like artwork. I love watching the filling dribble down the sides and being able to see the different layers and textures visually. I want all of my hard work on display! You don’t have to leave the cake “naked,” but I think it gives it an artsy vibe. Plus, it’s less work to frost.
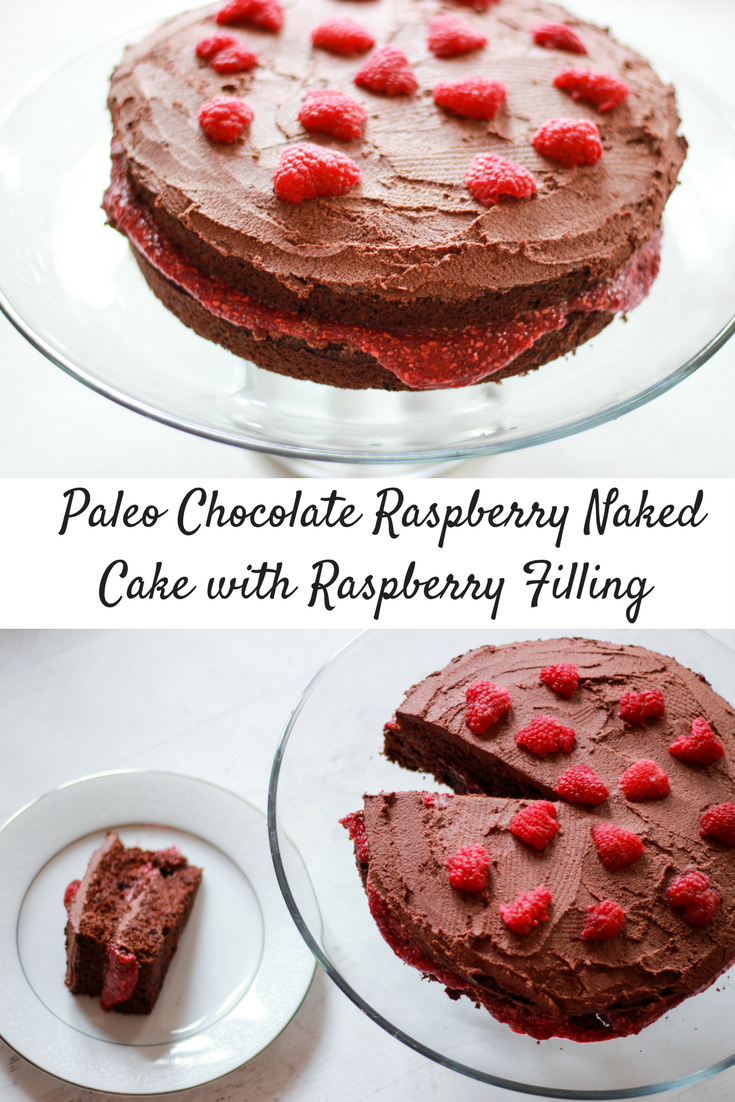
I was pleasantly surprised by the fact that everyone in my family loved this cake. Some people even brought extras home, so I know they weren’t faking it! People kept asking what was in it, so I think they were surprised that they actually liked a “Christina” cake. And I caught quite a few of them going back for seconds, myself included.
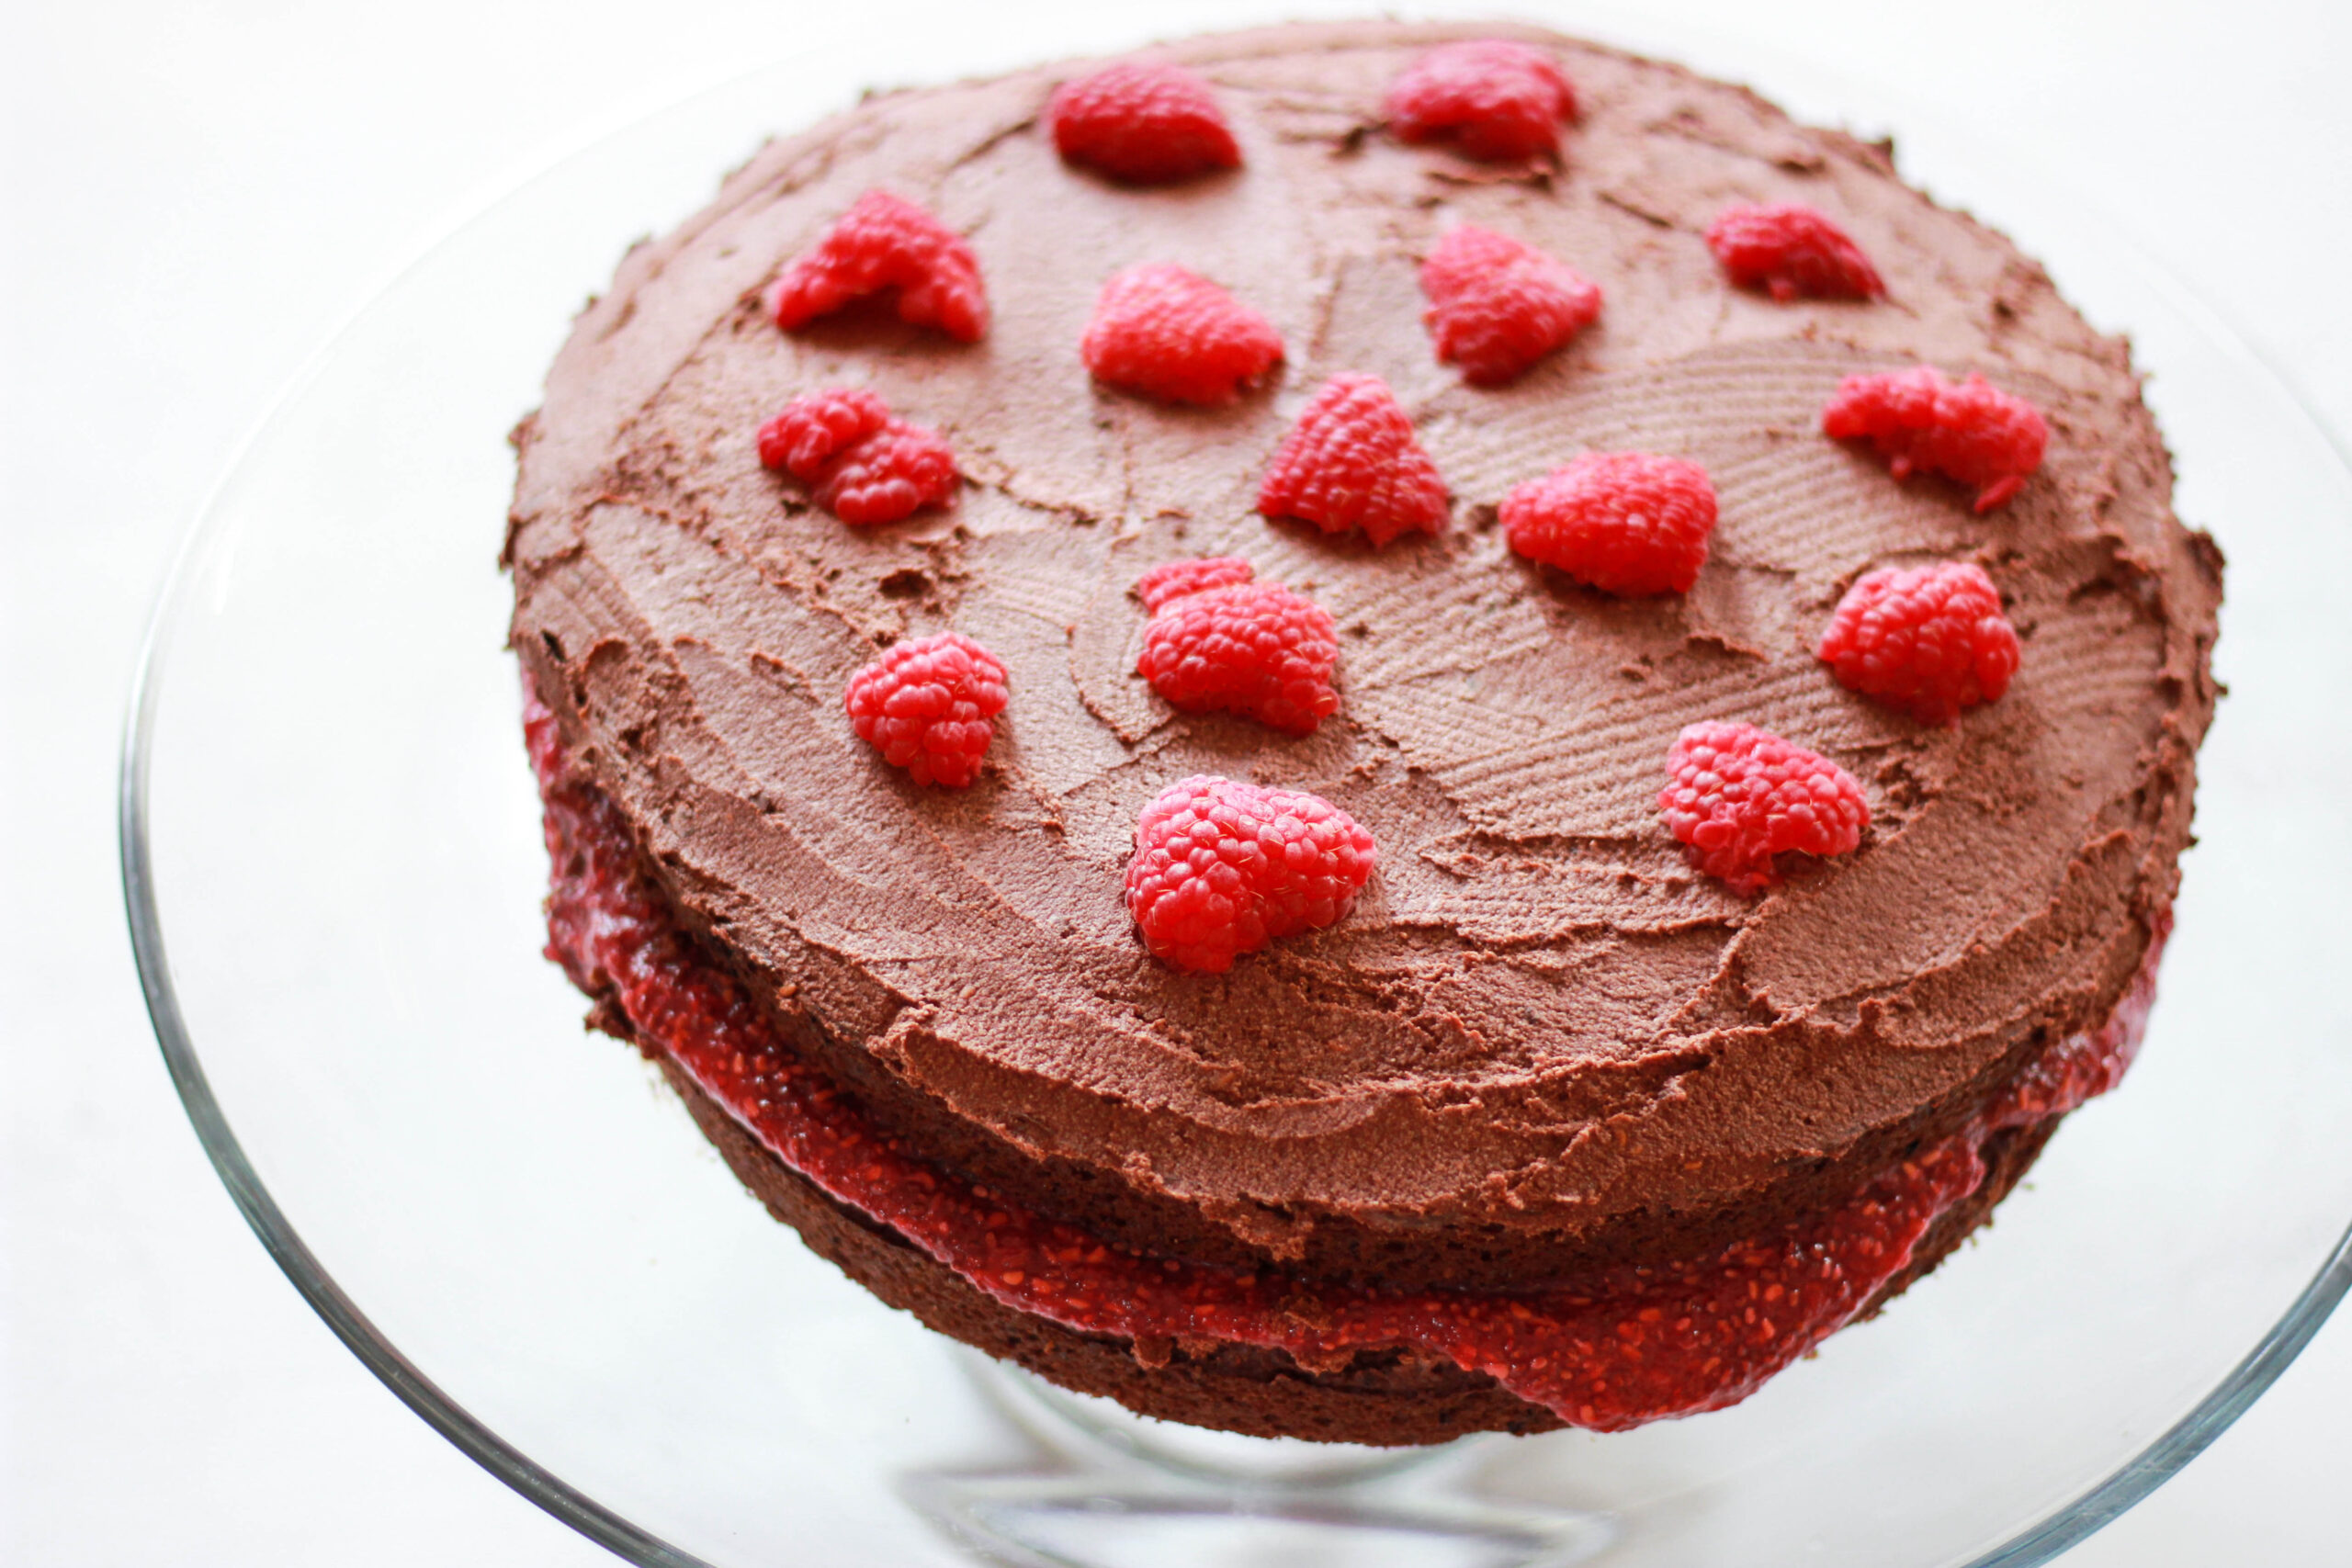
I even surprised myself with how much I loved this cake. I never really want anything too heavy in chocolate anymore, and this was the perfect balance. The best part was… I felt great after a few slices. I think it was meant to be. If you’ve been following me for awhile, you know that usually any type of chocolate gives me really strange reactions. I’m usually bouncing off the walls for days, have crazy stomach pains, and enter into a major depression the next day. This time, though, nothing happened. My stomach didn’t hurt, and I didn’t notice any effects from the caffeine. I’ll call it a Christmas miracle. Or, if I’m lucky, my chocolate sensitivity is starting to go away…
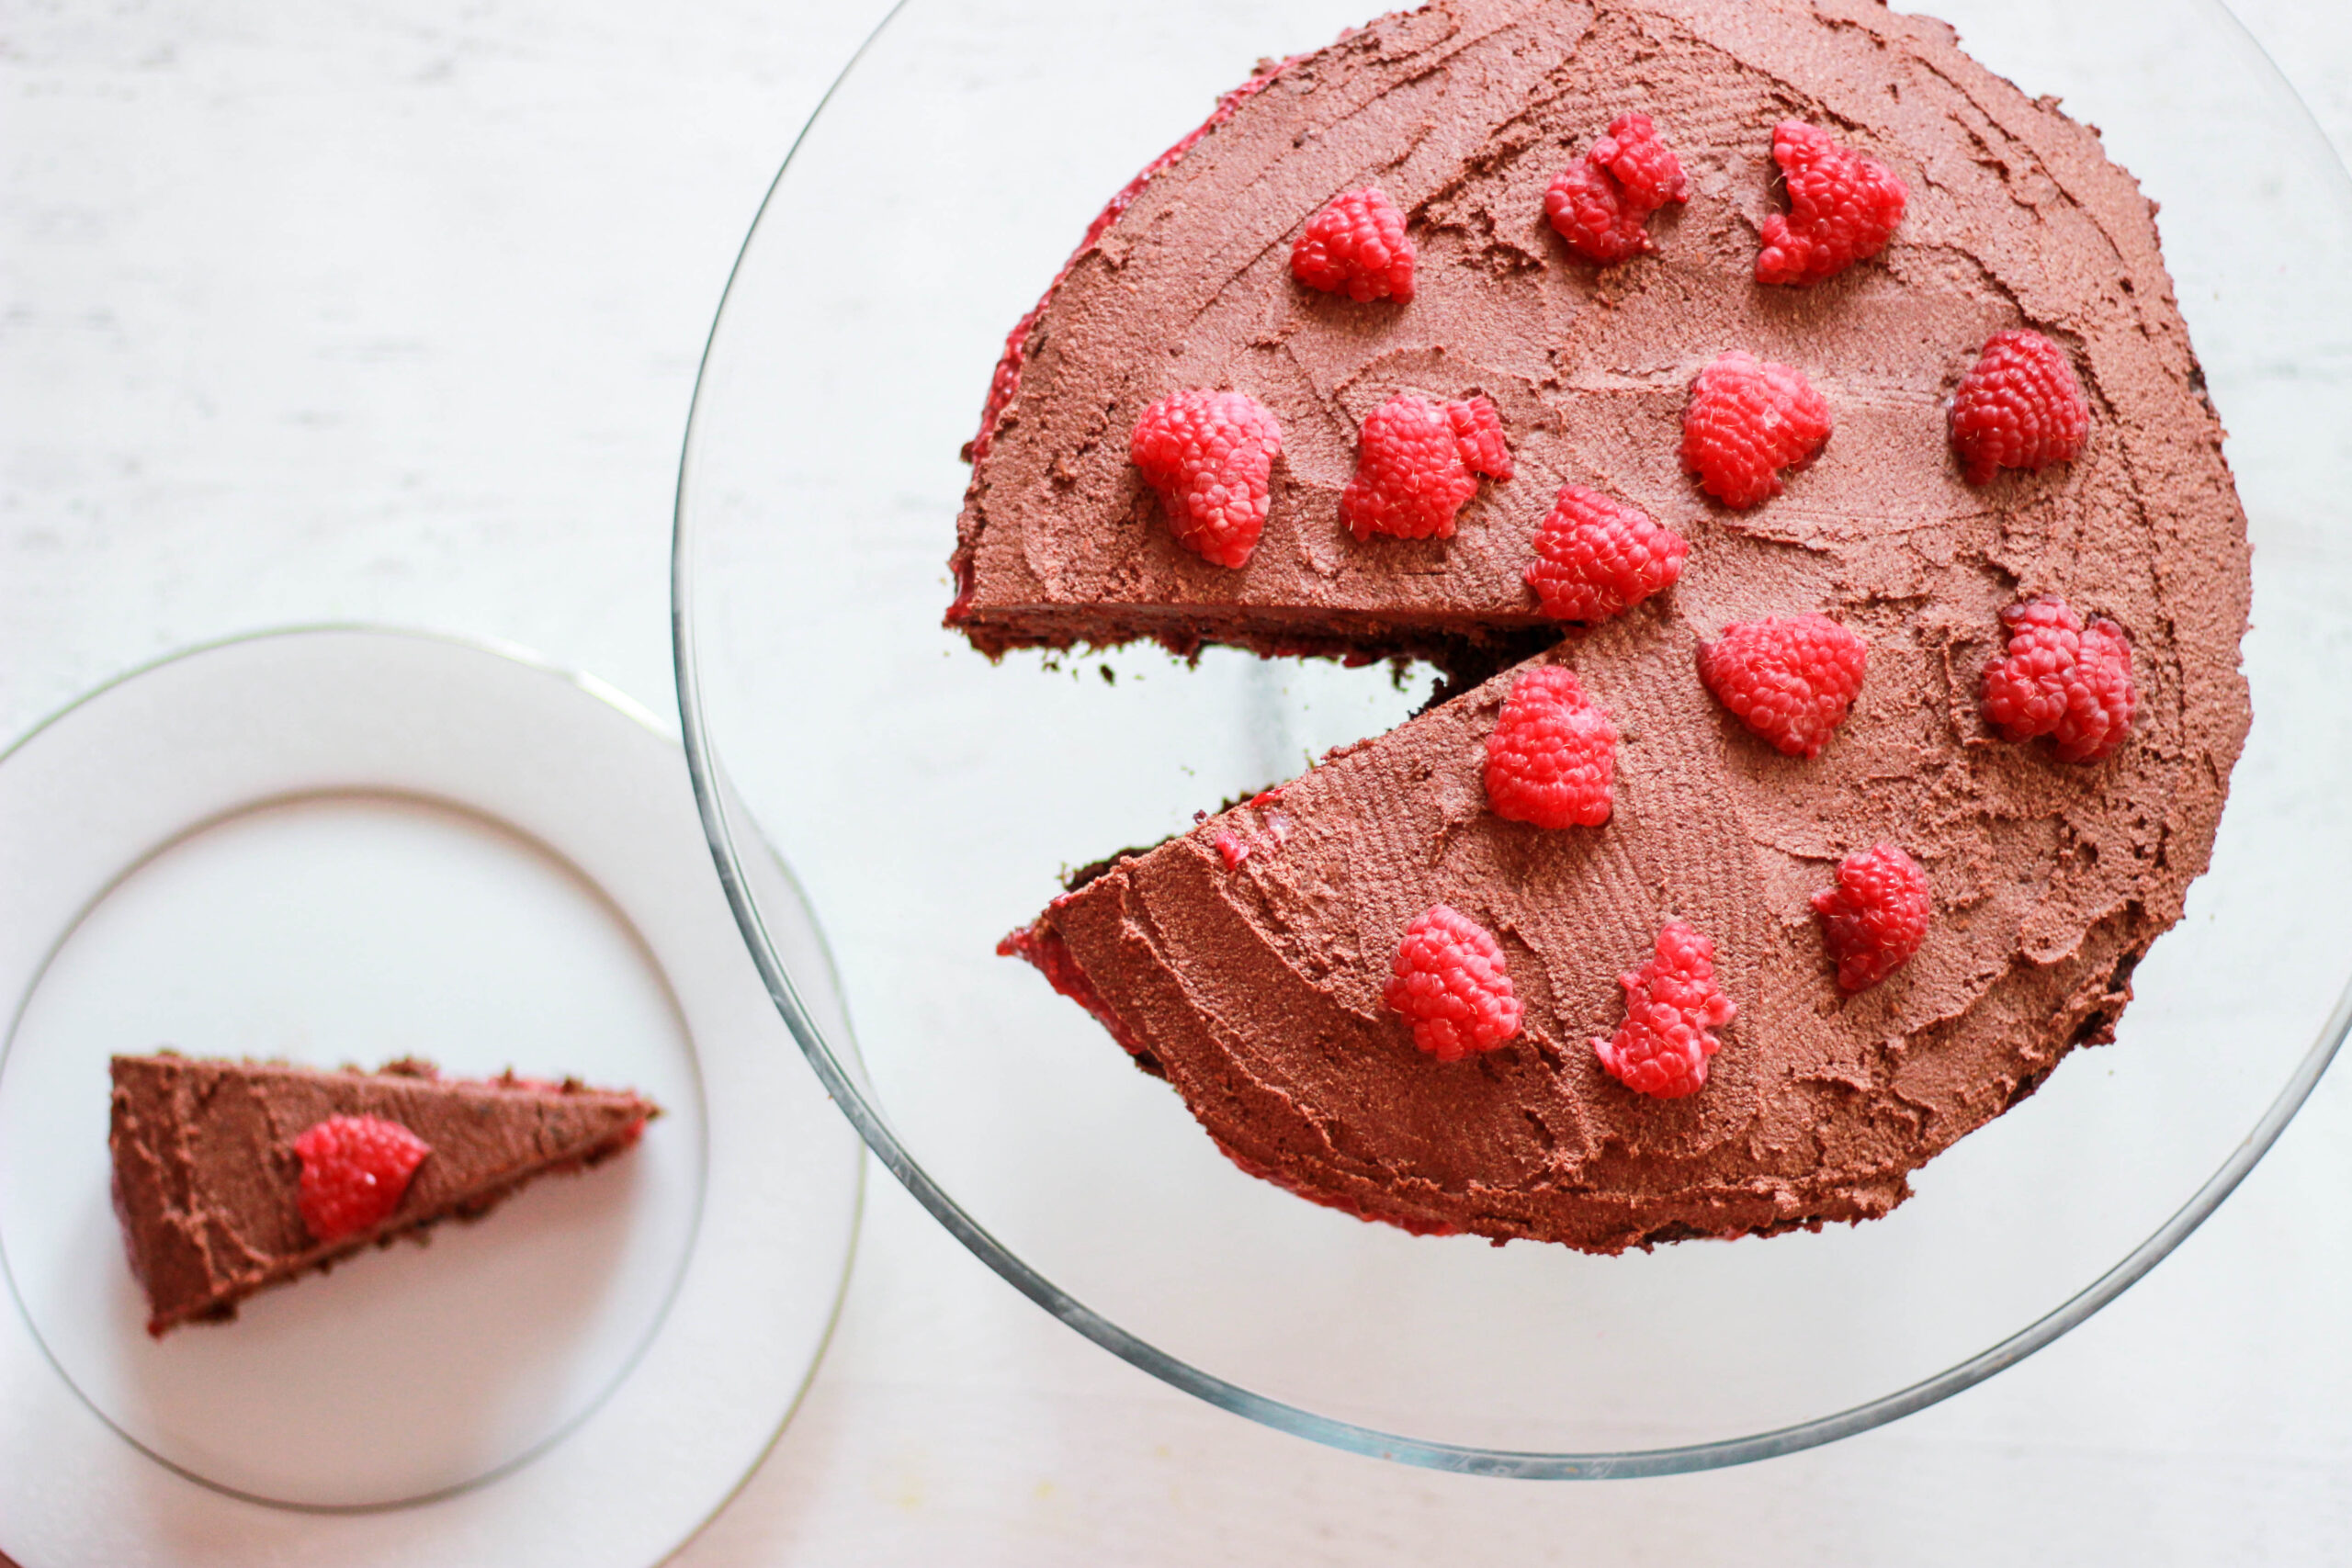
If you love chocolate, I highly recommend you make this. This cake is paleo, gluten-free, dairy-free, and pretty low in sugar for how perfectly sweet it tastes! It’ll please even the pickiest eaters — who doesn’t love a chocolate cake?! I think the raspberries give it a romantic vibe, as well. Whoever said that the way to someone’s heart is through their stomach was definitely right. It looks and tastes decadent, but it’s really easy to throw together! No fancy cooking skills required. It’s perfect for a holiday, birthday, or any other event!
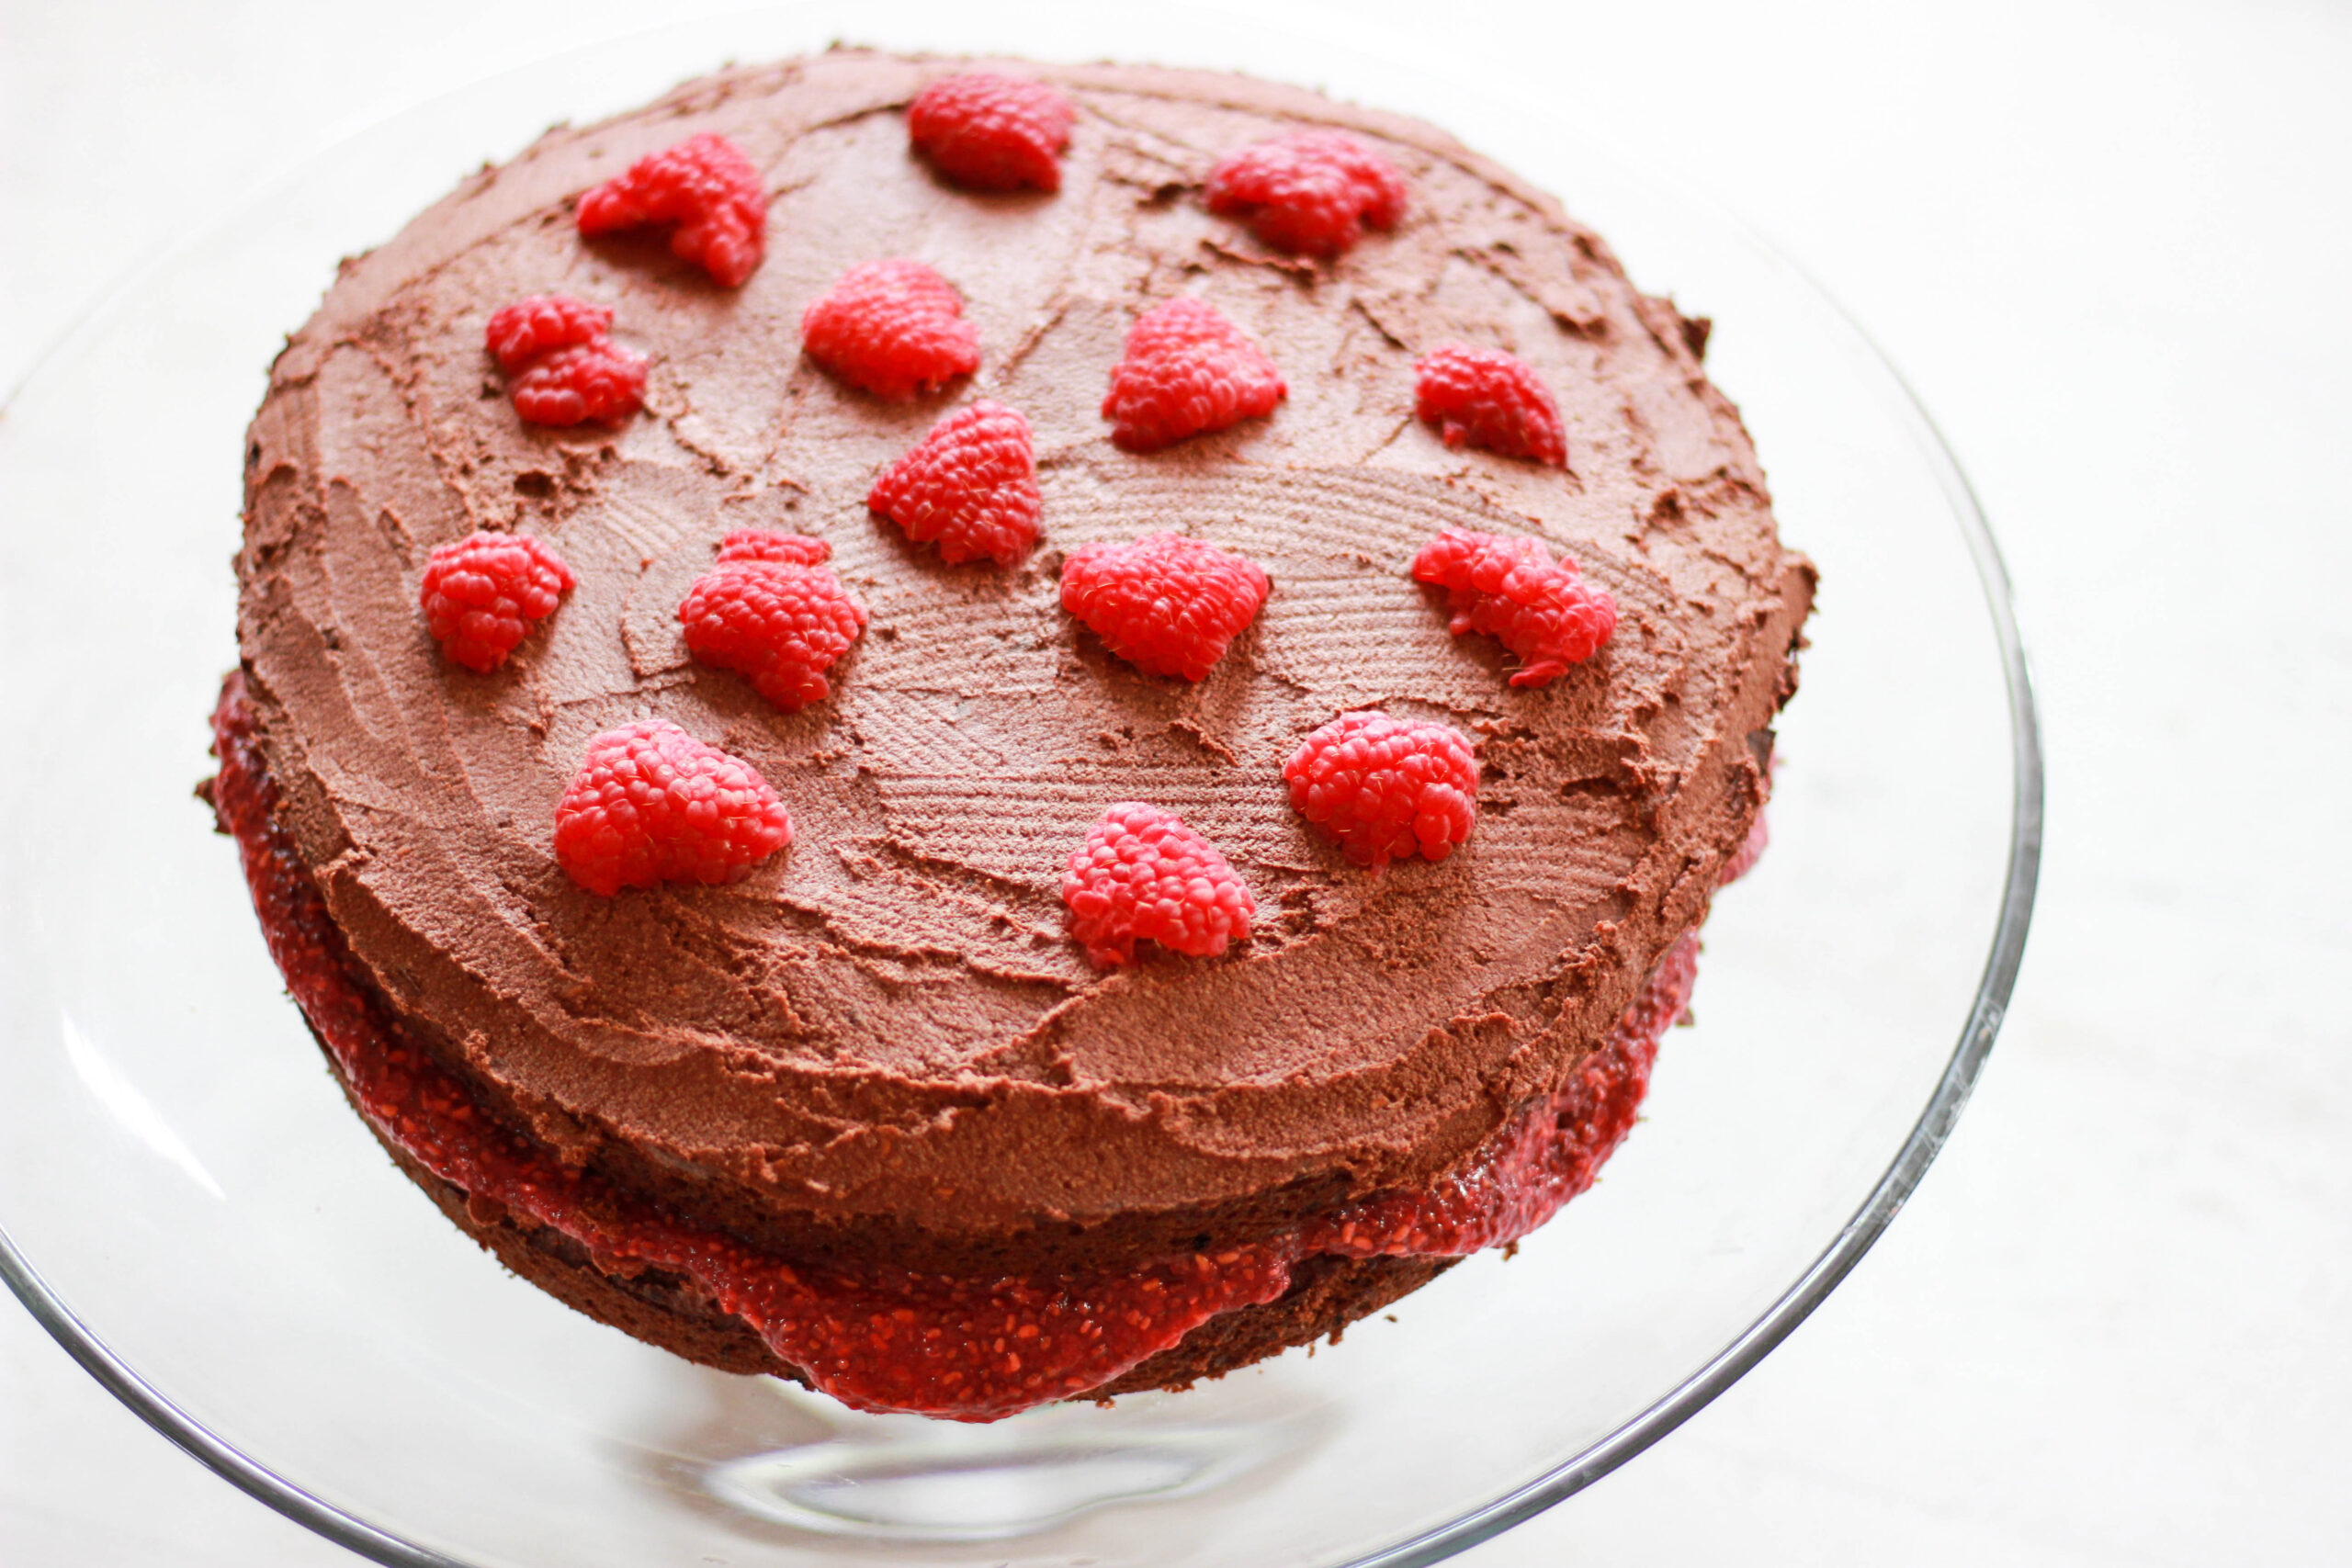
Paleo Chocolate Raspberry Naked Cake with Raspberry Filling
Serves: 10-12
Total Time: 1 hour
Ingredients:
Chocolate Cake:
- 3 cups blanched almond flour
- 1/4 cup coconut flour
- 2 tsp baking soda
- 1/2 cup coconut sugar or Lakanto monkfruit sweetener
- 1/2 tsp sea salt
- 3/4 cup cocoa powder
- 4 eggs
- 1/4 cup maple syrup
- 1/2 cup melted coconut oil
- 1 cup full-fat canned coconut milk
- 1 tbsp vanilla
- 1 tsp apple cider vinegar
Raspberry Filling:
- 1.5 cups raspberries
- 2 tsp lemon juice
- 2 tsp vanilla
- 2 tbsp chia seeds
Chocolate Raspberry Frosting:
- 3/4 cup coconut oil
- 1/4 cup maple syrup
- 3/4 cup cocoa powder
- 2 tsp vanilla
- 1/2 cup raspberries
- 1/4 cup full-fat canned coconut milk
- dash of salt
- Optional: raspberries for topping
Instructions:
- Preheat your oven to 350*F. Grease two 9-inch round cake pans with coconut oil, or line them with parchment paper.
- Mix all of the chocolate cake ingredients in a large bowl until everything is well-combined and there are no clumps. Pour half of the batter into one cake pan, and half into the other.
- Bake the cakes for 18-20 minutes, or until a toothpick / knife comes out clean. Allow to cool for 20-30 minutes.
- While the cakes are baking, make the raspberry filling. Add all of the raspberry filling ingredients into a food processor and process until combined. Store in the fridge until ready to put the cake together.
- Next, make the chocolate raspberry frosting. Add all of the frosting ingredients into the food processor and process until the mixture is smooth. If it’s hot out, you can store this in the fridge to firm up a bit. If it’s cold, you can leave this out until you’re ready to frost.
- Once the cakes have cooled, it’s time to frost them! Place one cake layer on a cake tray or plate, and then add a very thin layer of chocolate frosting on top. Spread the raspberry filling evenly on top of the chocolate layer, making sure it’s smooth. If you want it to melt over the sides, spread it to the edges and use all of the filling. If you don’t want it to spill over, leave a bit of space between the edge of the cake and the filling, and don’t use up all of the filling.
- Add the second cake layer on top of the raspberry filling. Spread the rest of the chocolate frosting on top in an even layer. You can spread some frosting on the sides, as well, or you can leave it “naked” like I did.
- If desired, add extra raspberries on top. Slice and enjoy!
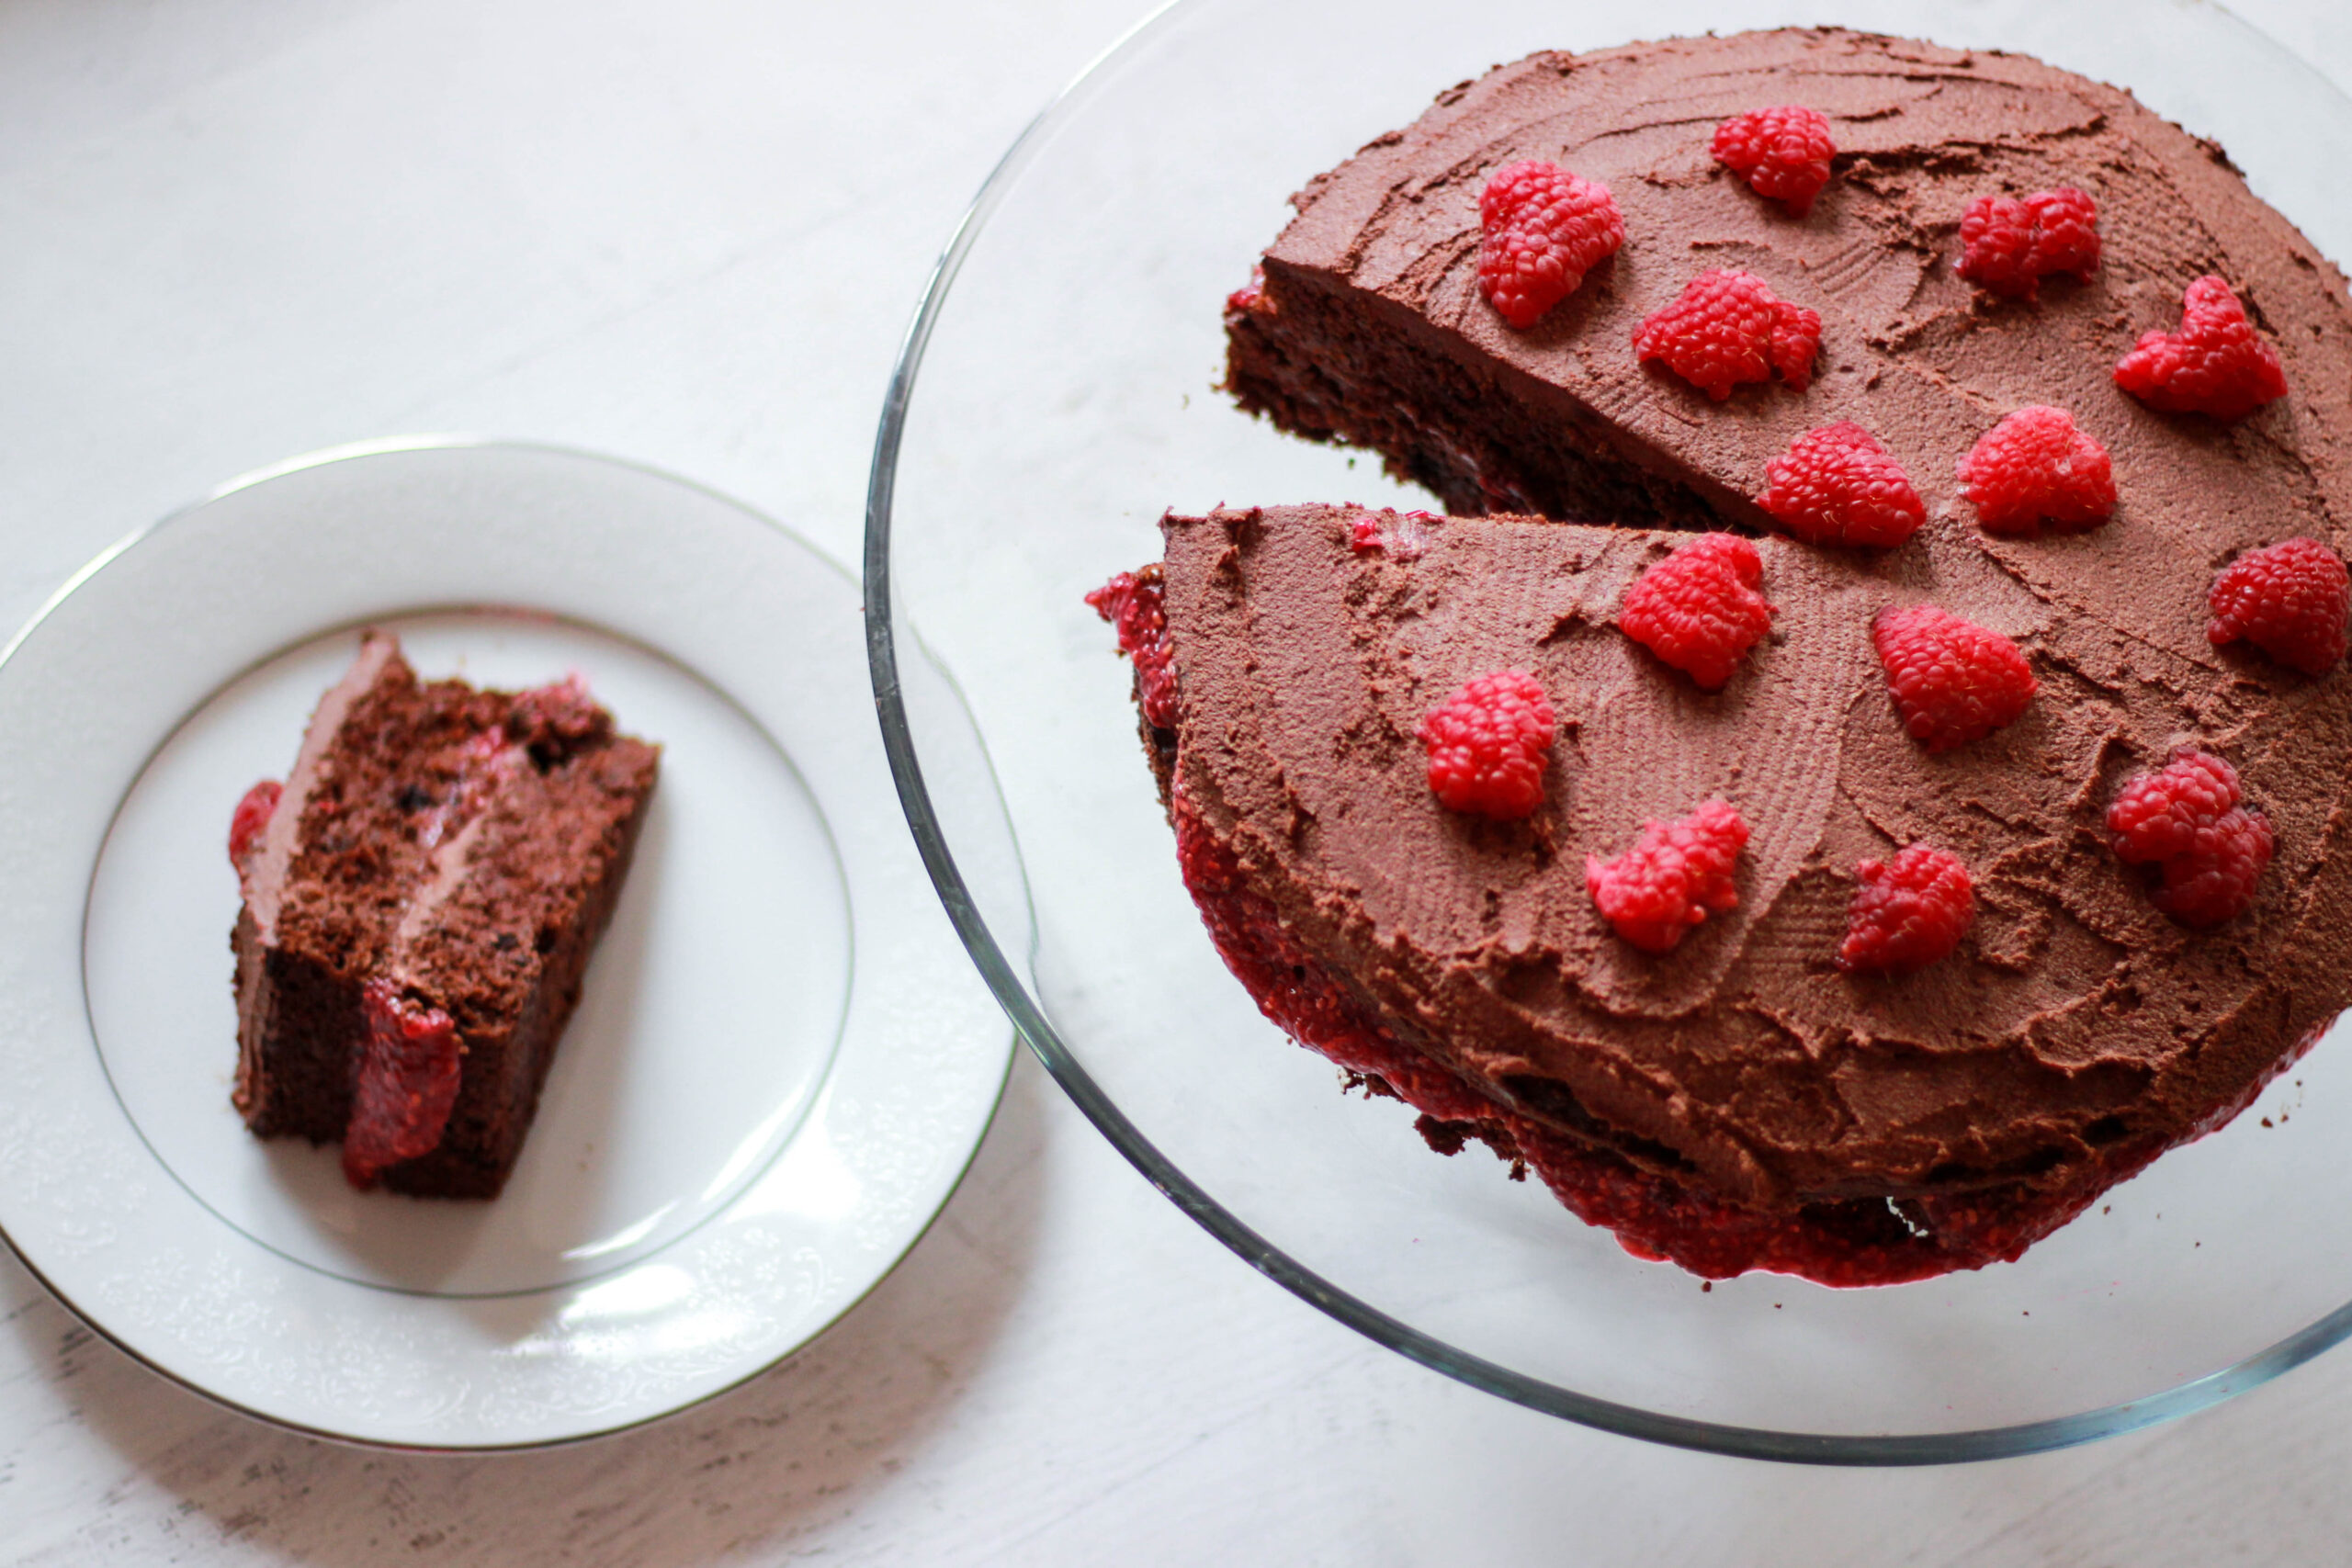
If you make this cake, I would love to see your recreation and/or hear what you think! If you take a photo, be sure to tag me on Instagram! What’s your favorite type of cake?!

by Christina | Jan 10, 2018 | Wellness
**This post was written at the beginning of 2018 (I used to write posts about my health protocols as I went through them, so those posts are more time-dependent), and since writing this, these health issues have been resolved. I am grateful for these experiences as they inspired me to become a Nutritional Therapy Practitioner and health coach myself. Please remember that this post is not current – it was just a documentation of my experiences at the time.**
I’m smiling ear-to-ear as I write this. Part of me thought I would never actually write a post like this. I hoped I would, but a small part of me also didn’t really know.
After almost a year, I have finally gotten rid of my incredibly stubborn Candida overgrowth!
If you’ve been a longtime reader, I’m sure you know that I’ve been on a protocol to heal my gut for almost a year now, but that I’ve been on other protocols on and off for the last three years for my gut issues. While I struggled with digestive issues my whole life, it wasn’t until the end of my sophomore year in college that things took a turn for the worse and I started actually addressing it. From then on, I’ve been on some kind of “protocol” to address different problems. First Candida overgrowth, then malabsorption and general leaky gut, then SIBO, then new bacterial overgrowths, and then candida overgrowth again. All at the same time as the carbohydrate intolerance, insulin resistance, yada yada. It seemed like every time I got rid of one problem, another one popped up. That tends to happen when addressing these types of gut issues, but it usually doesn’t drag out for this long.
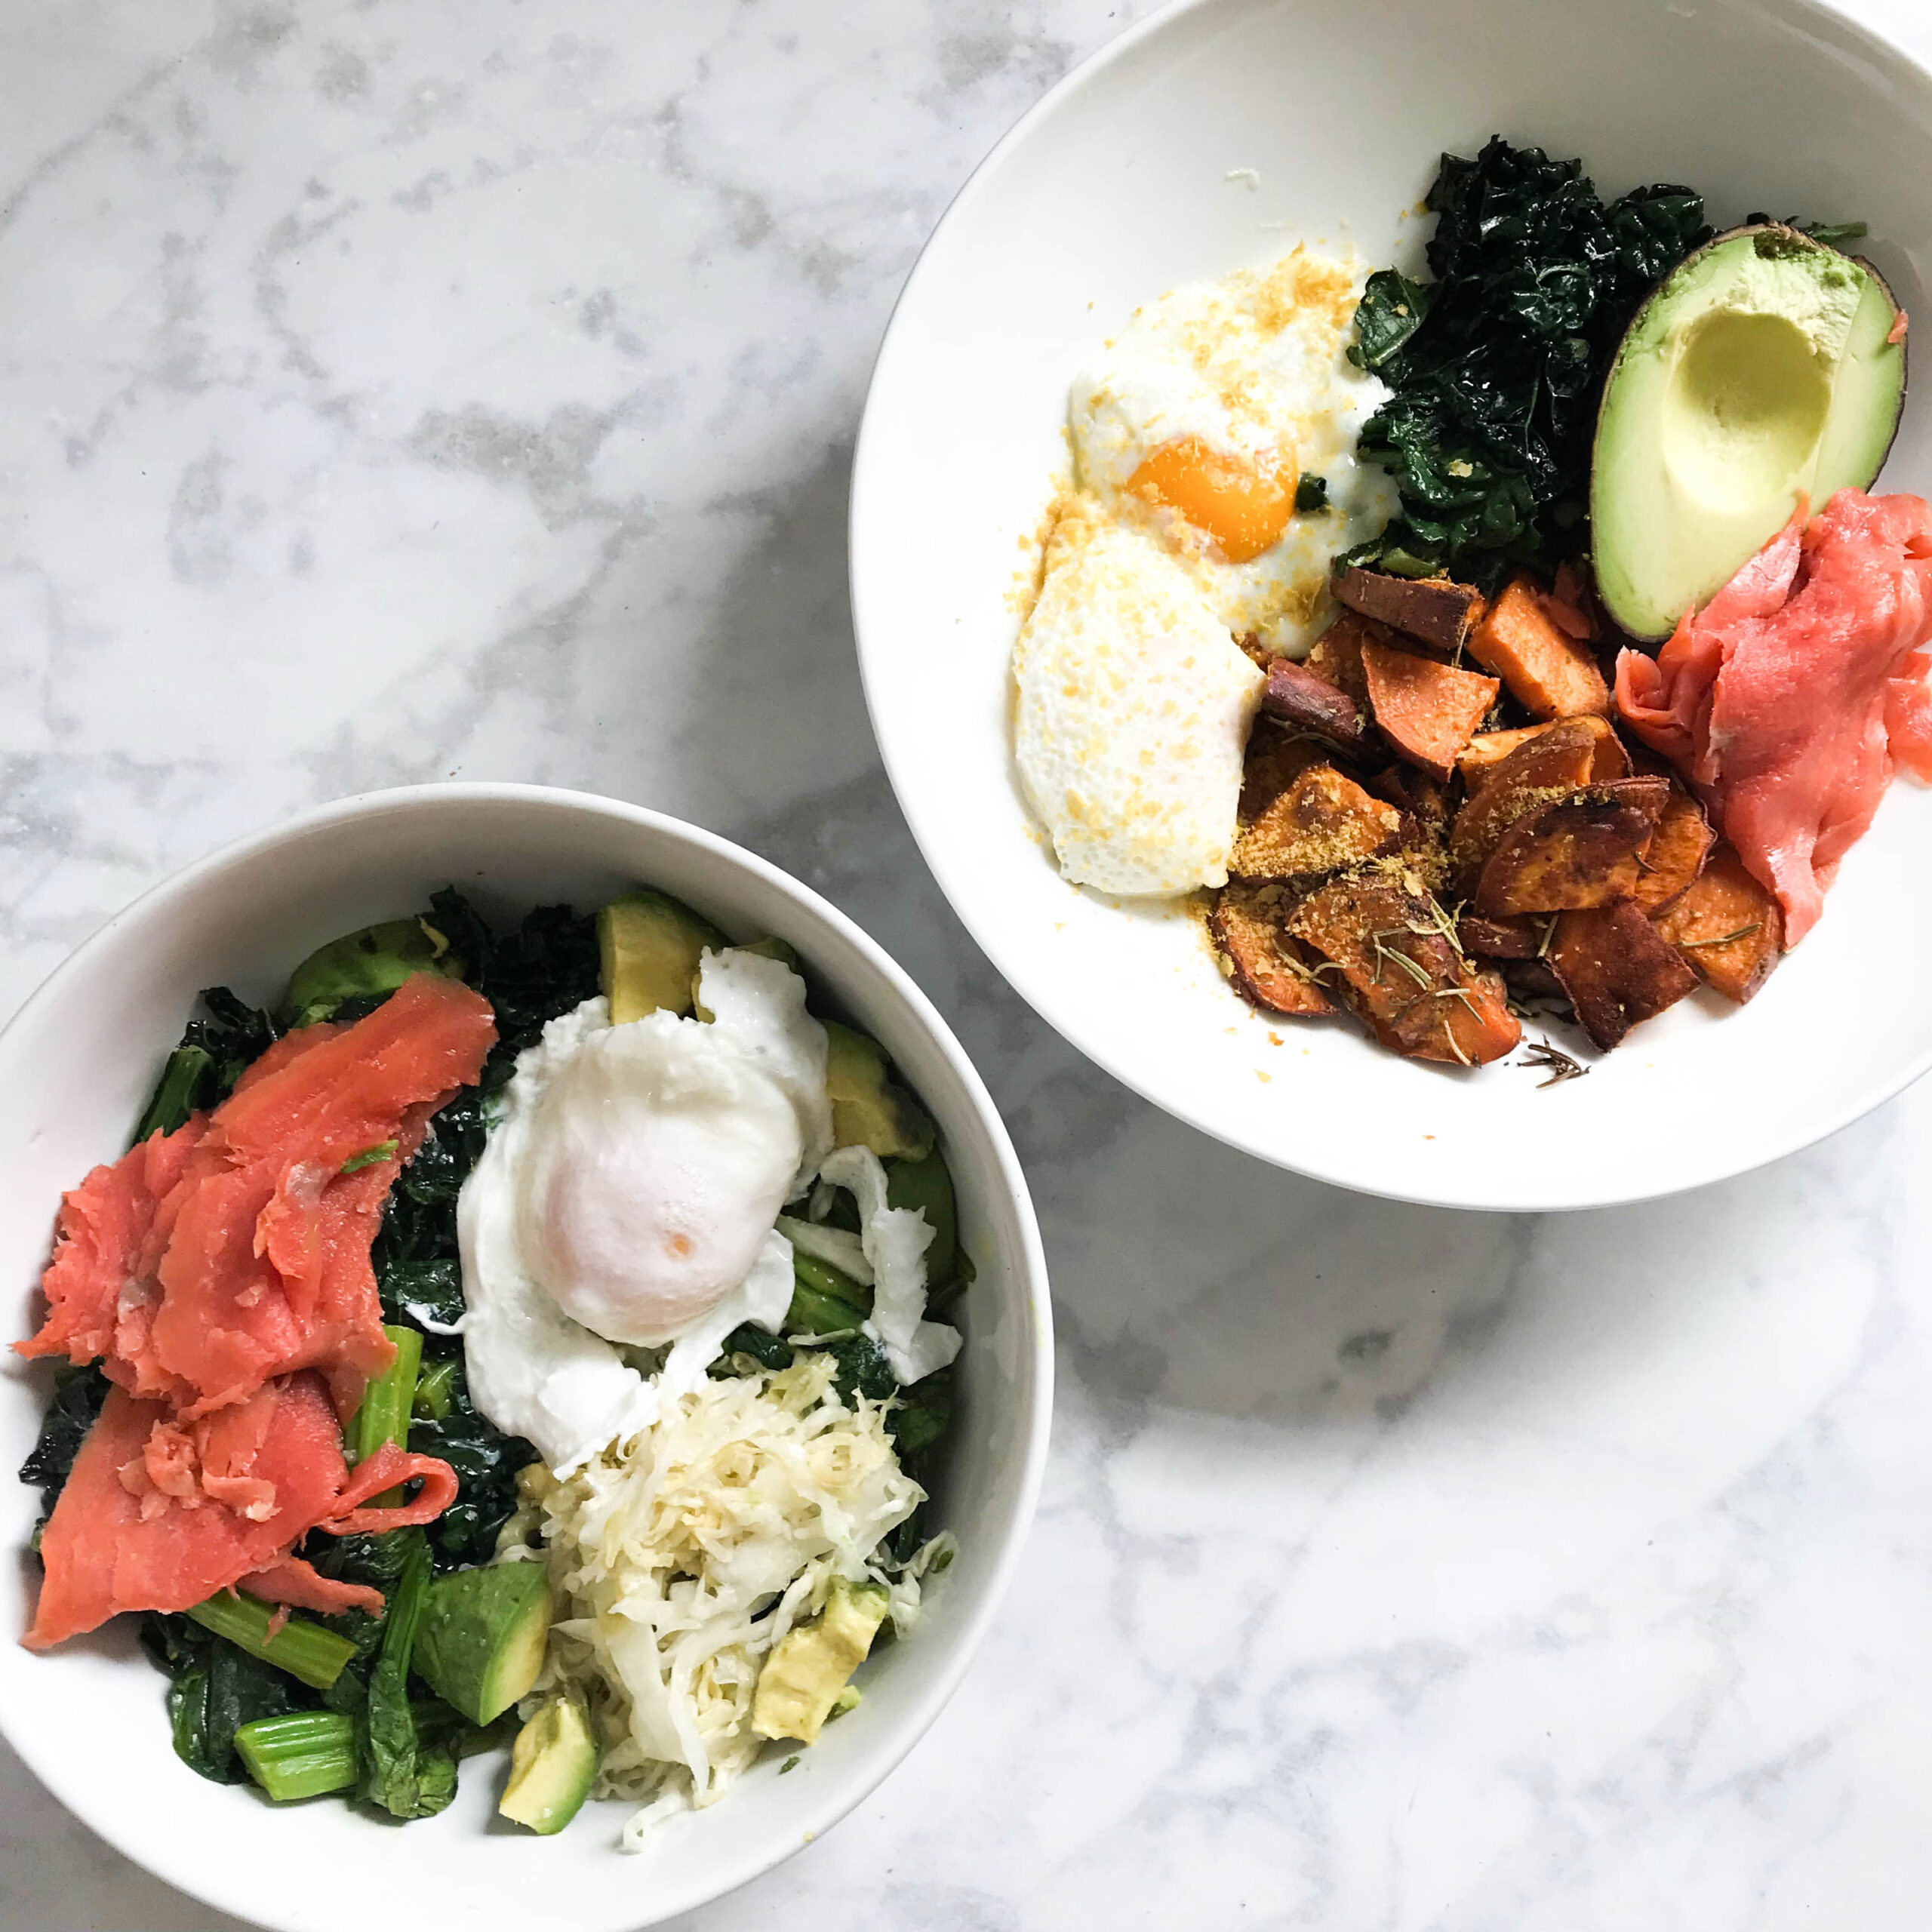
My most recent bout of Candida overgrowth was definitely the most aggressive. We went after it with an intense protocol at first with the intention of completely squashing it, and I was very frustrated when I got results back showing I still had Candida after that first six months. There I was again – back to eliminating foods I was sensitive to and still on the Candida diet.
I am honestly very proud of myself for sticking with all of this for so long and not giving up. In the past three years, there have probably been three months total during which I wasn’t on a Candida diet. During that time, I went low-FODMAP, keto, SCD, etc. as well, and also eliminated different food intolerances for months at a time. My point is, I had gotten very used to always being on some type of protocol.
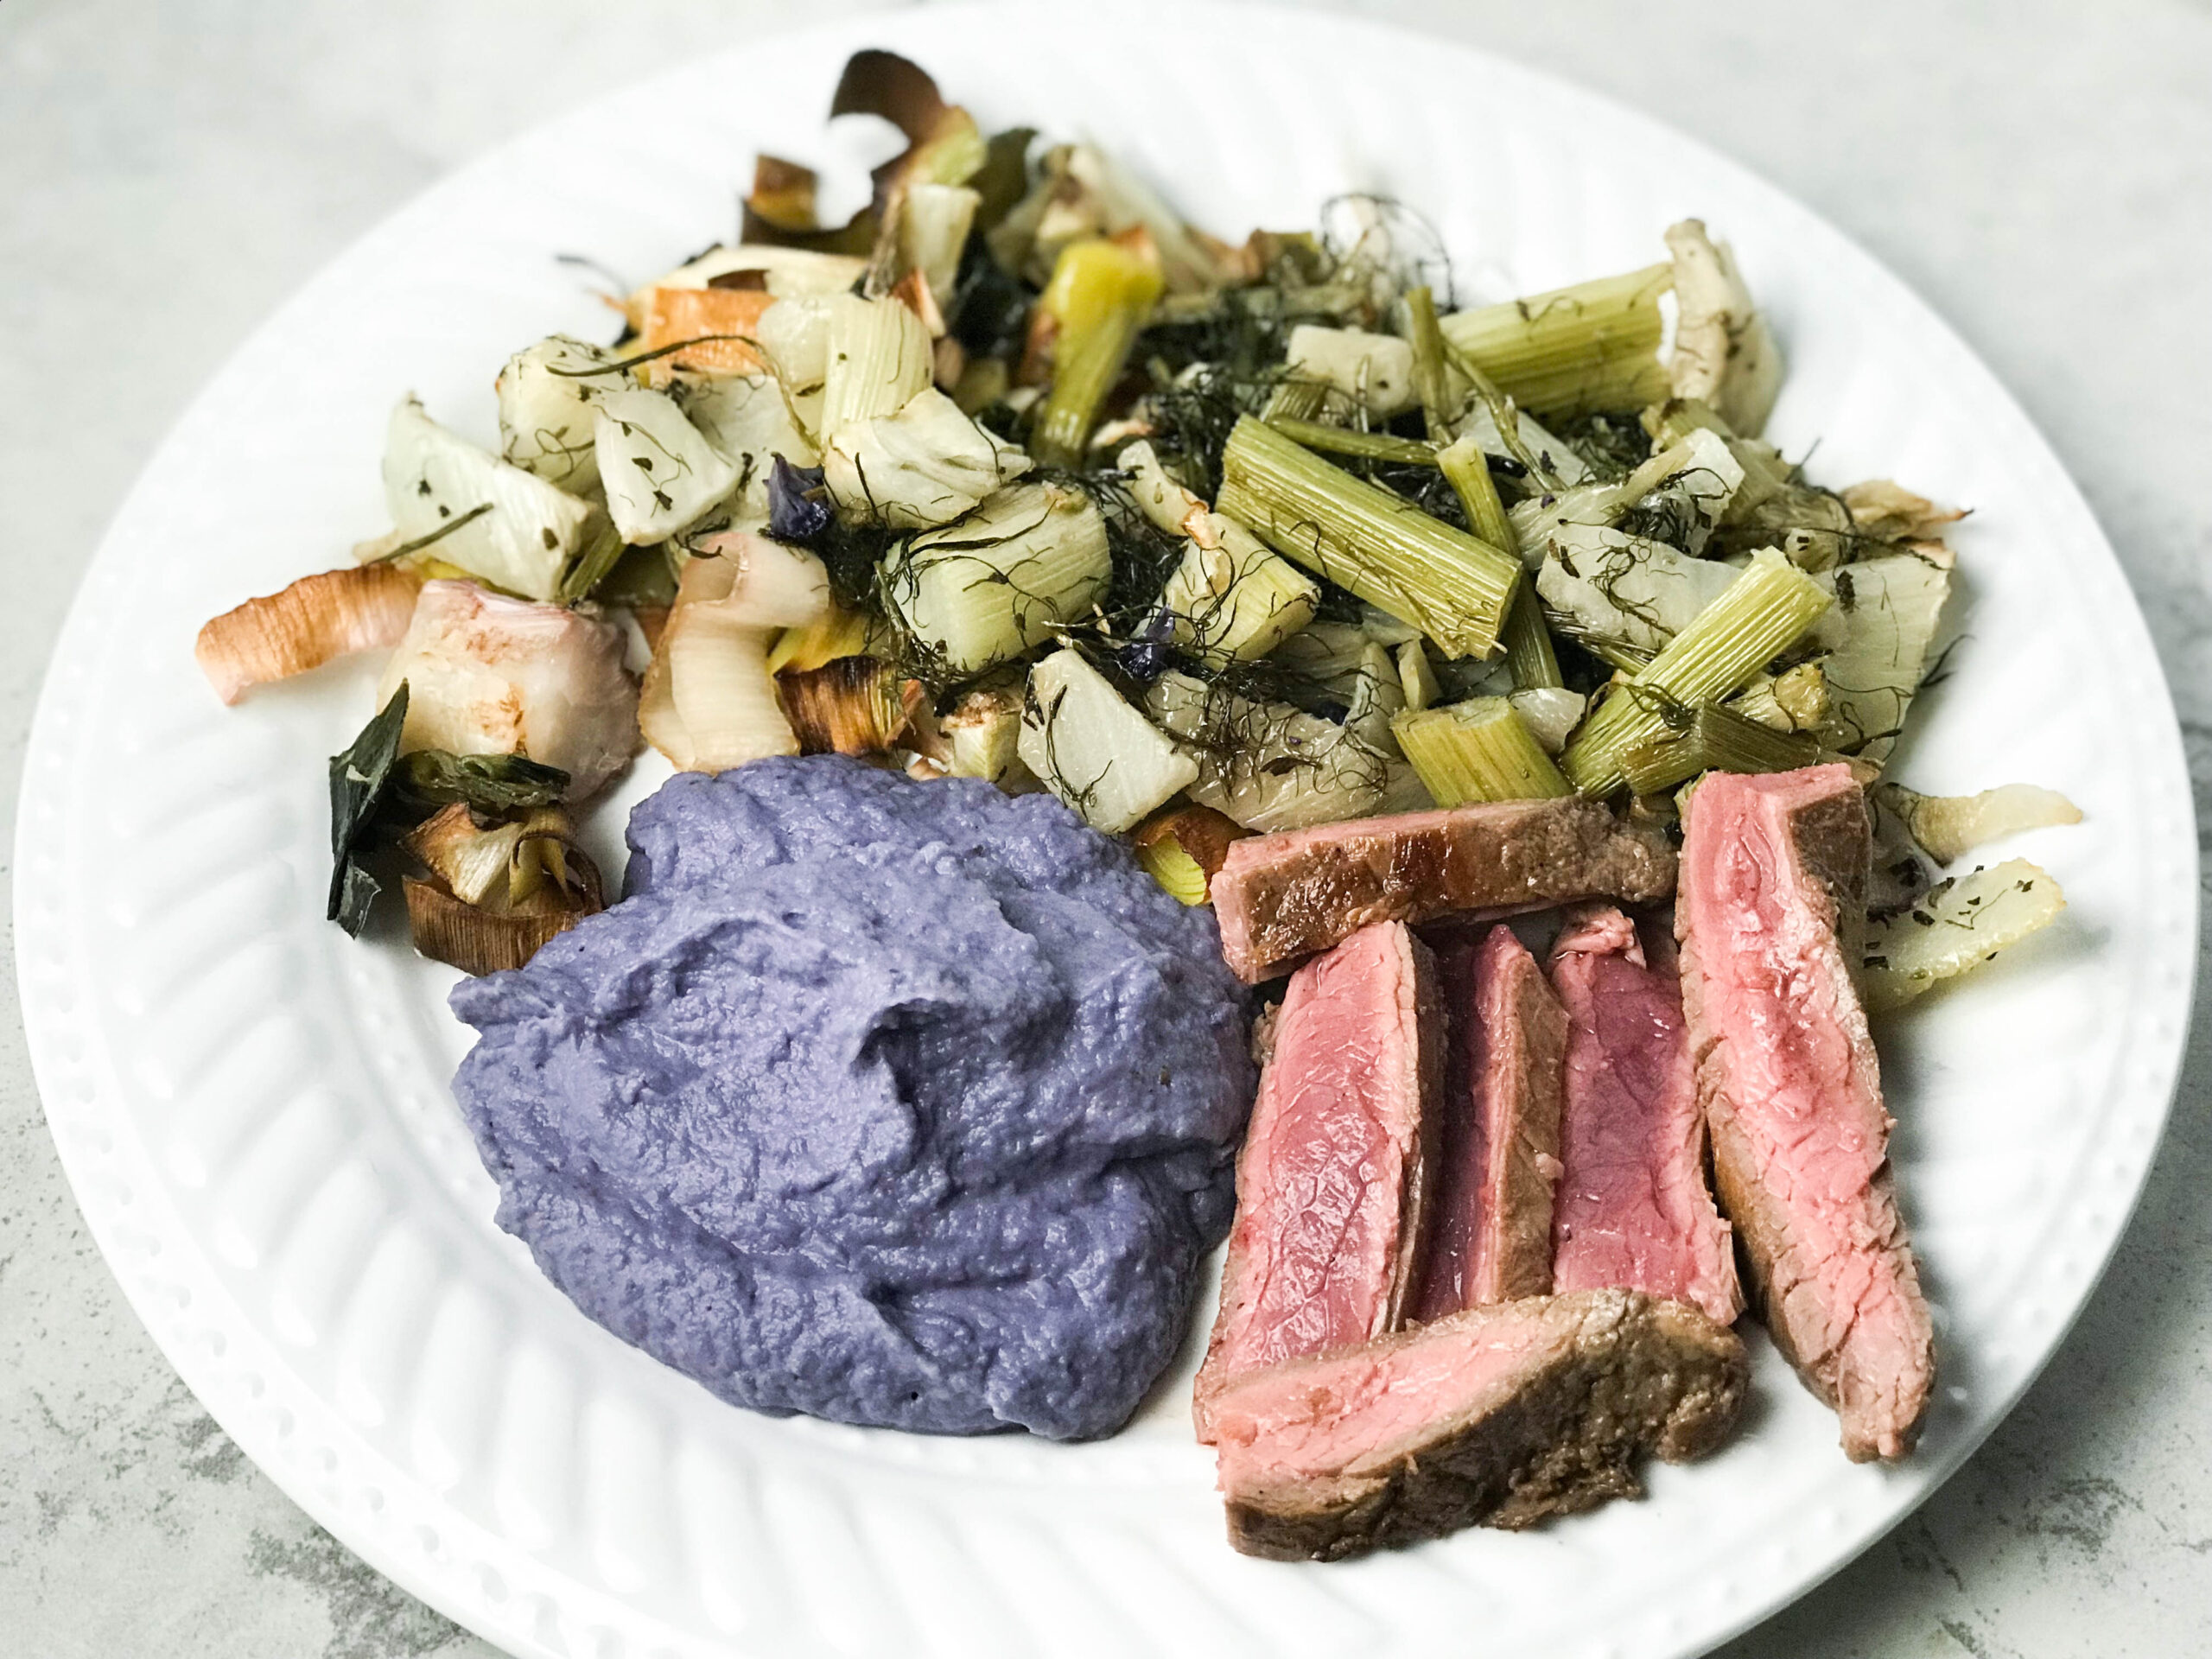
It made me appreciate food a lot. There’s not much I really miss in terms of actual food, but what I did miss was convenience and flexibility. It can be incredibly frustrating to not be able to have lettuce for a year, because salads are one of my go-to’s at most restaurants when eating out. Or… not being able to have olive oil. That eliminated most of my choices if I wanted to ever eat out with friends. That sort of thing was hard, but I made the most of it. It taught me to be creative in the kitchen, to try new foods I hadn’t eaten before, and to really appreciate the foods that weren’t causing me any gut issues.
It’s also not that hard to stick with when you recognize how much better your body feels. Nothing is more motivating than actual results.
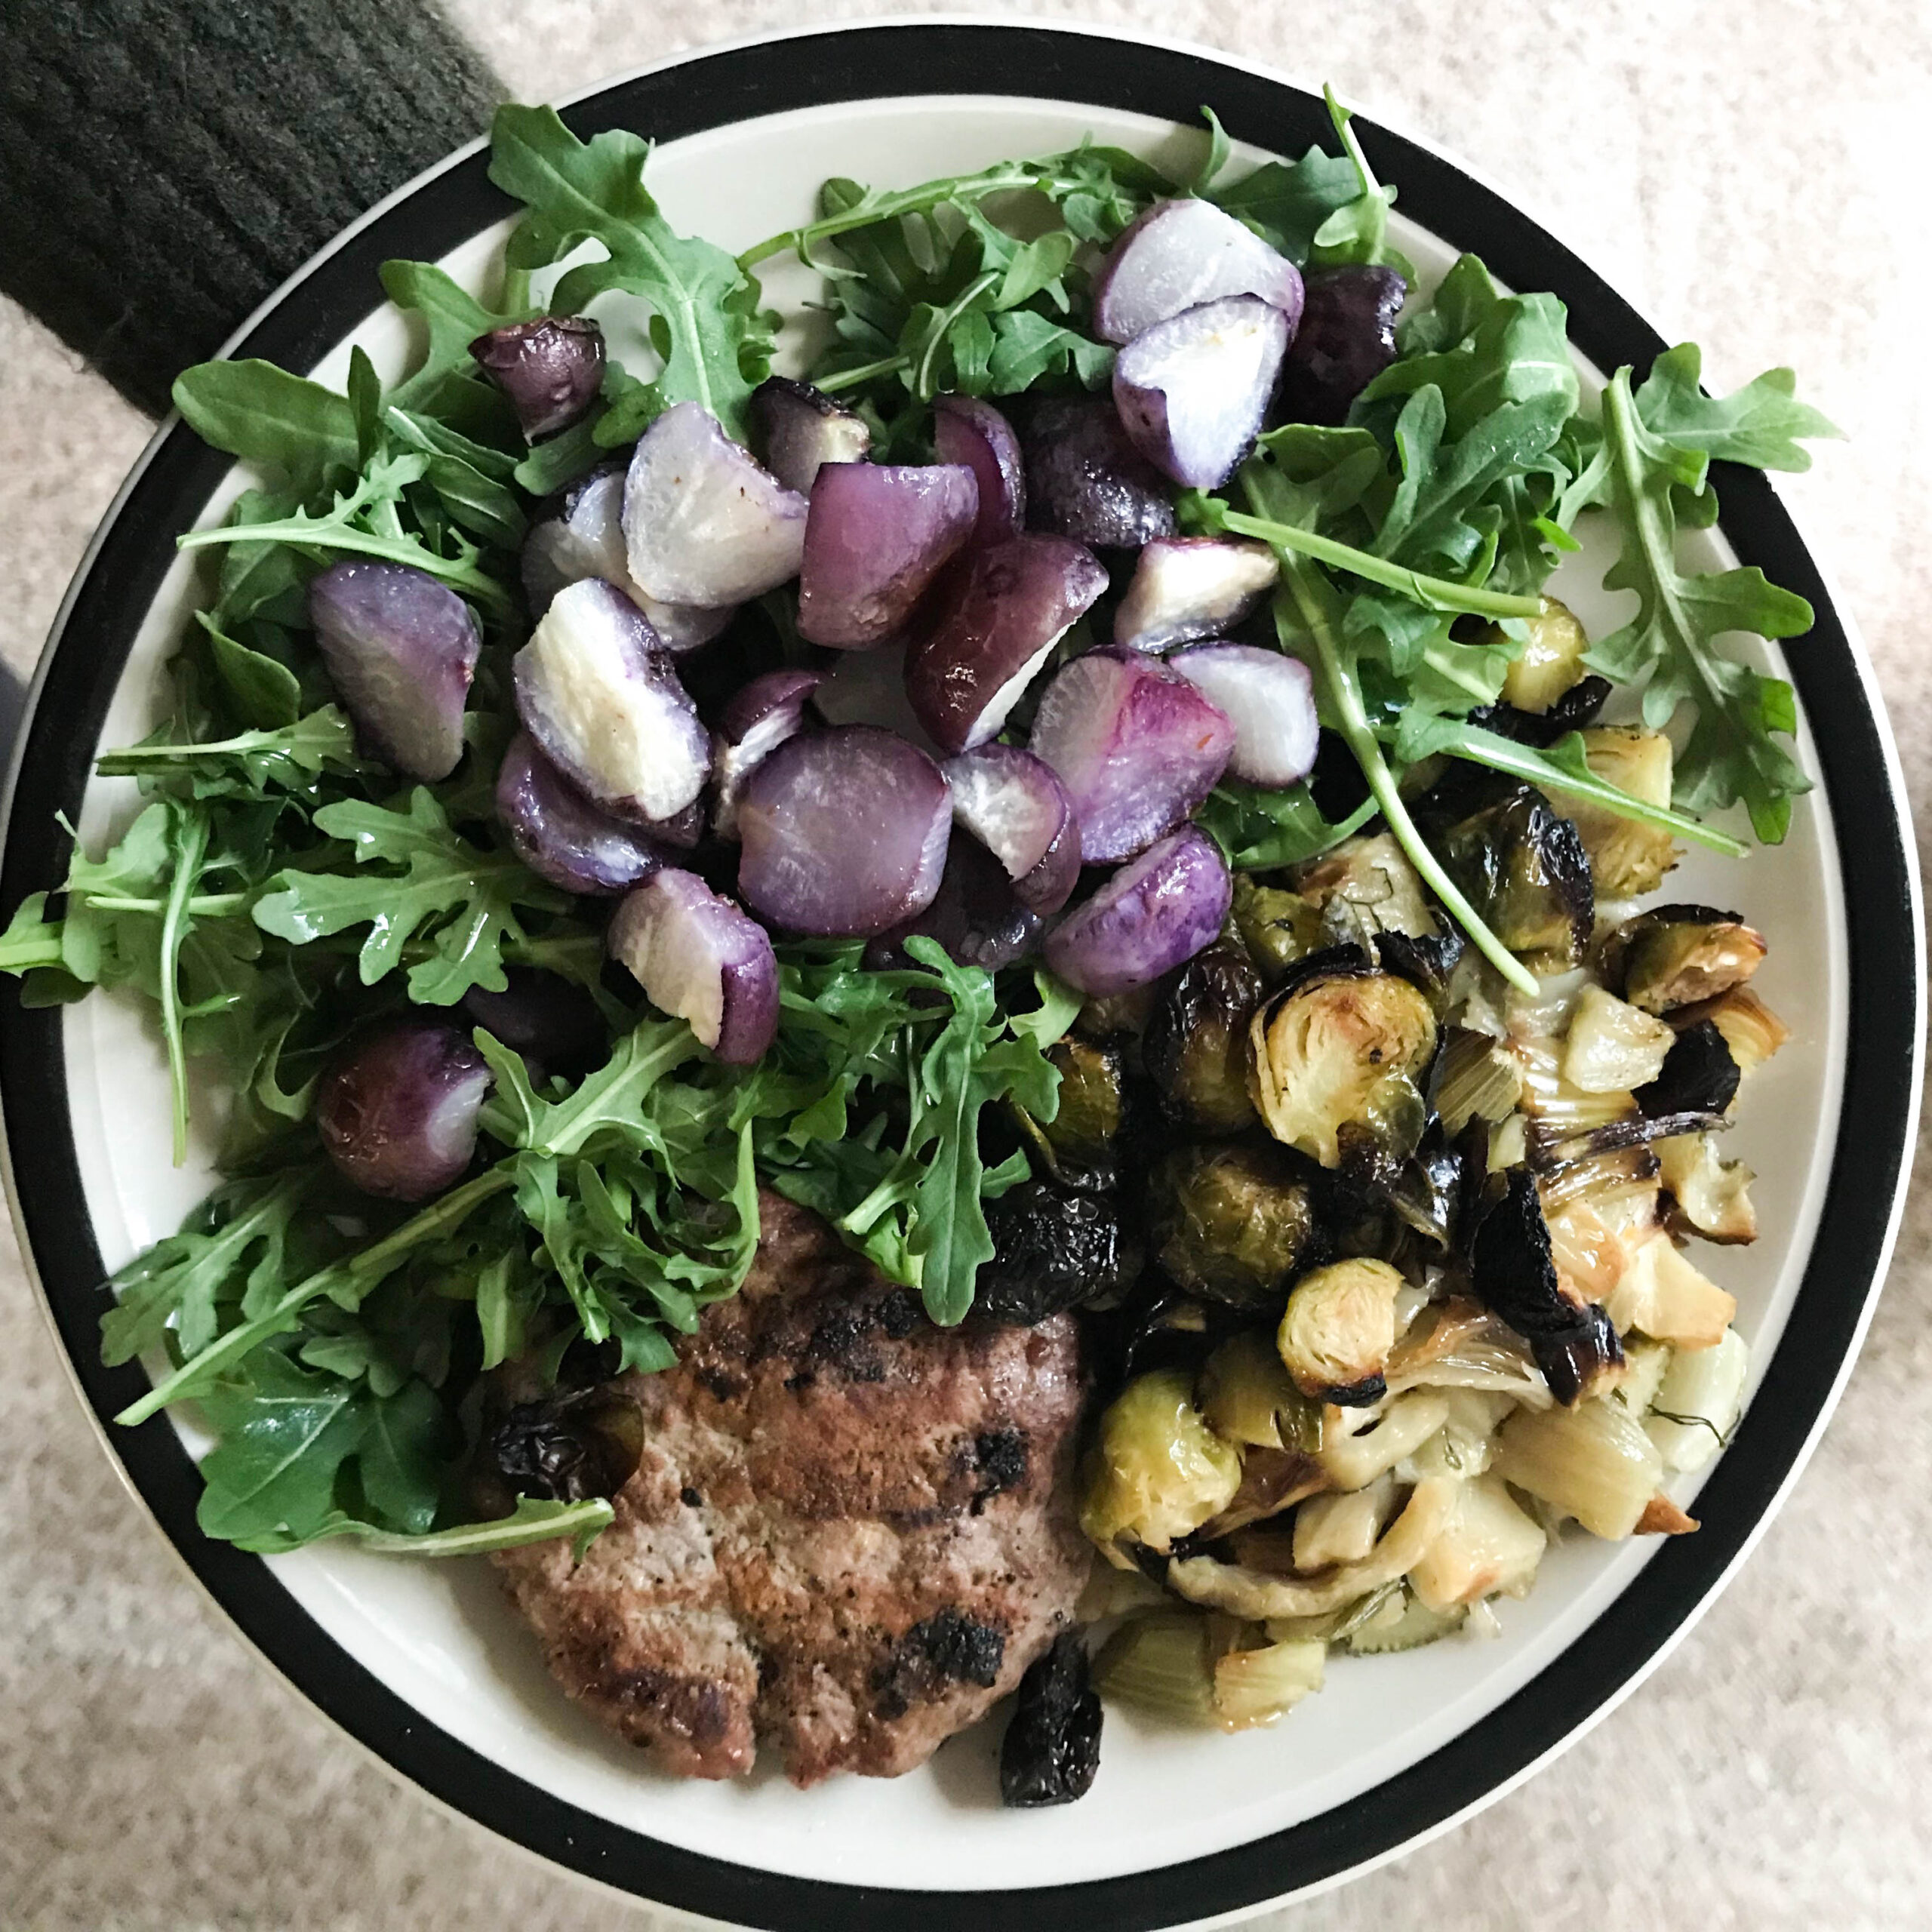
It’s been a very long road, but last week I finally got my retesting results back, and it showed that my Candida overgrowth was finally gone. I can’t even believe it. I do, however, still have a small bit of yeast overgrowth (not Candida, though) and a bacterial overgrowth. While most people would consider this to be not that successful, it’s a huge success to me. The Candida was the one that wouldn’t go away, and I finally got it! It’s pretty common for other bacterial imbalances to pop up when dealing with things like this, so I’m not surprised. In my eyes, the bacterial overgrowth isn’t too big a deal.
I do still have a few symptoms, but those should be cleared up once I address this last bacterial overgrowth. There are certain times when I still struggle with bloating, undigested food, a really aggressive appetite, and small bouts of constipation if my diet deviates from my norm. Generally, though, I feel great. I definitely feel better than I ever have in my whole life. I know my symptoms right now would be things that most other people wouldn’t even notice, but I’ve come so far that I want everything to be exactly on track.
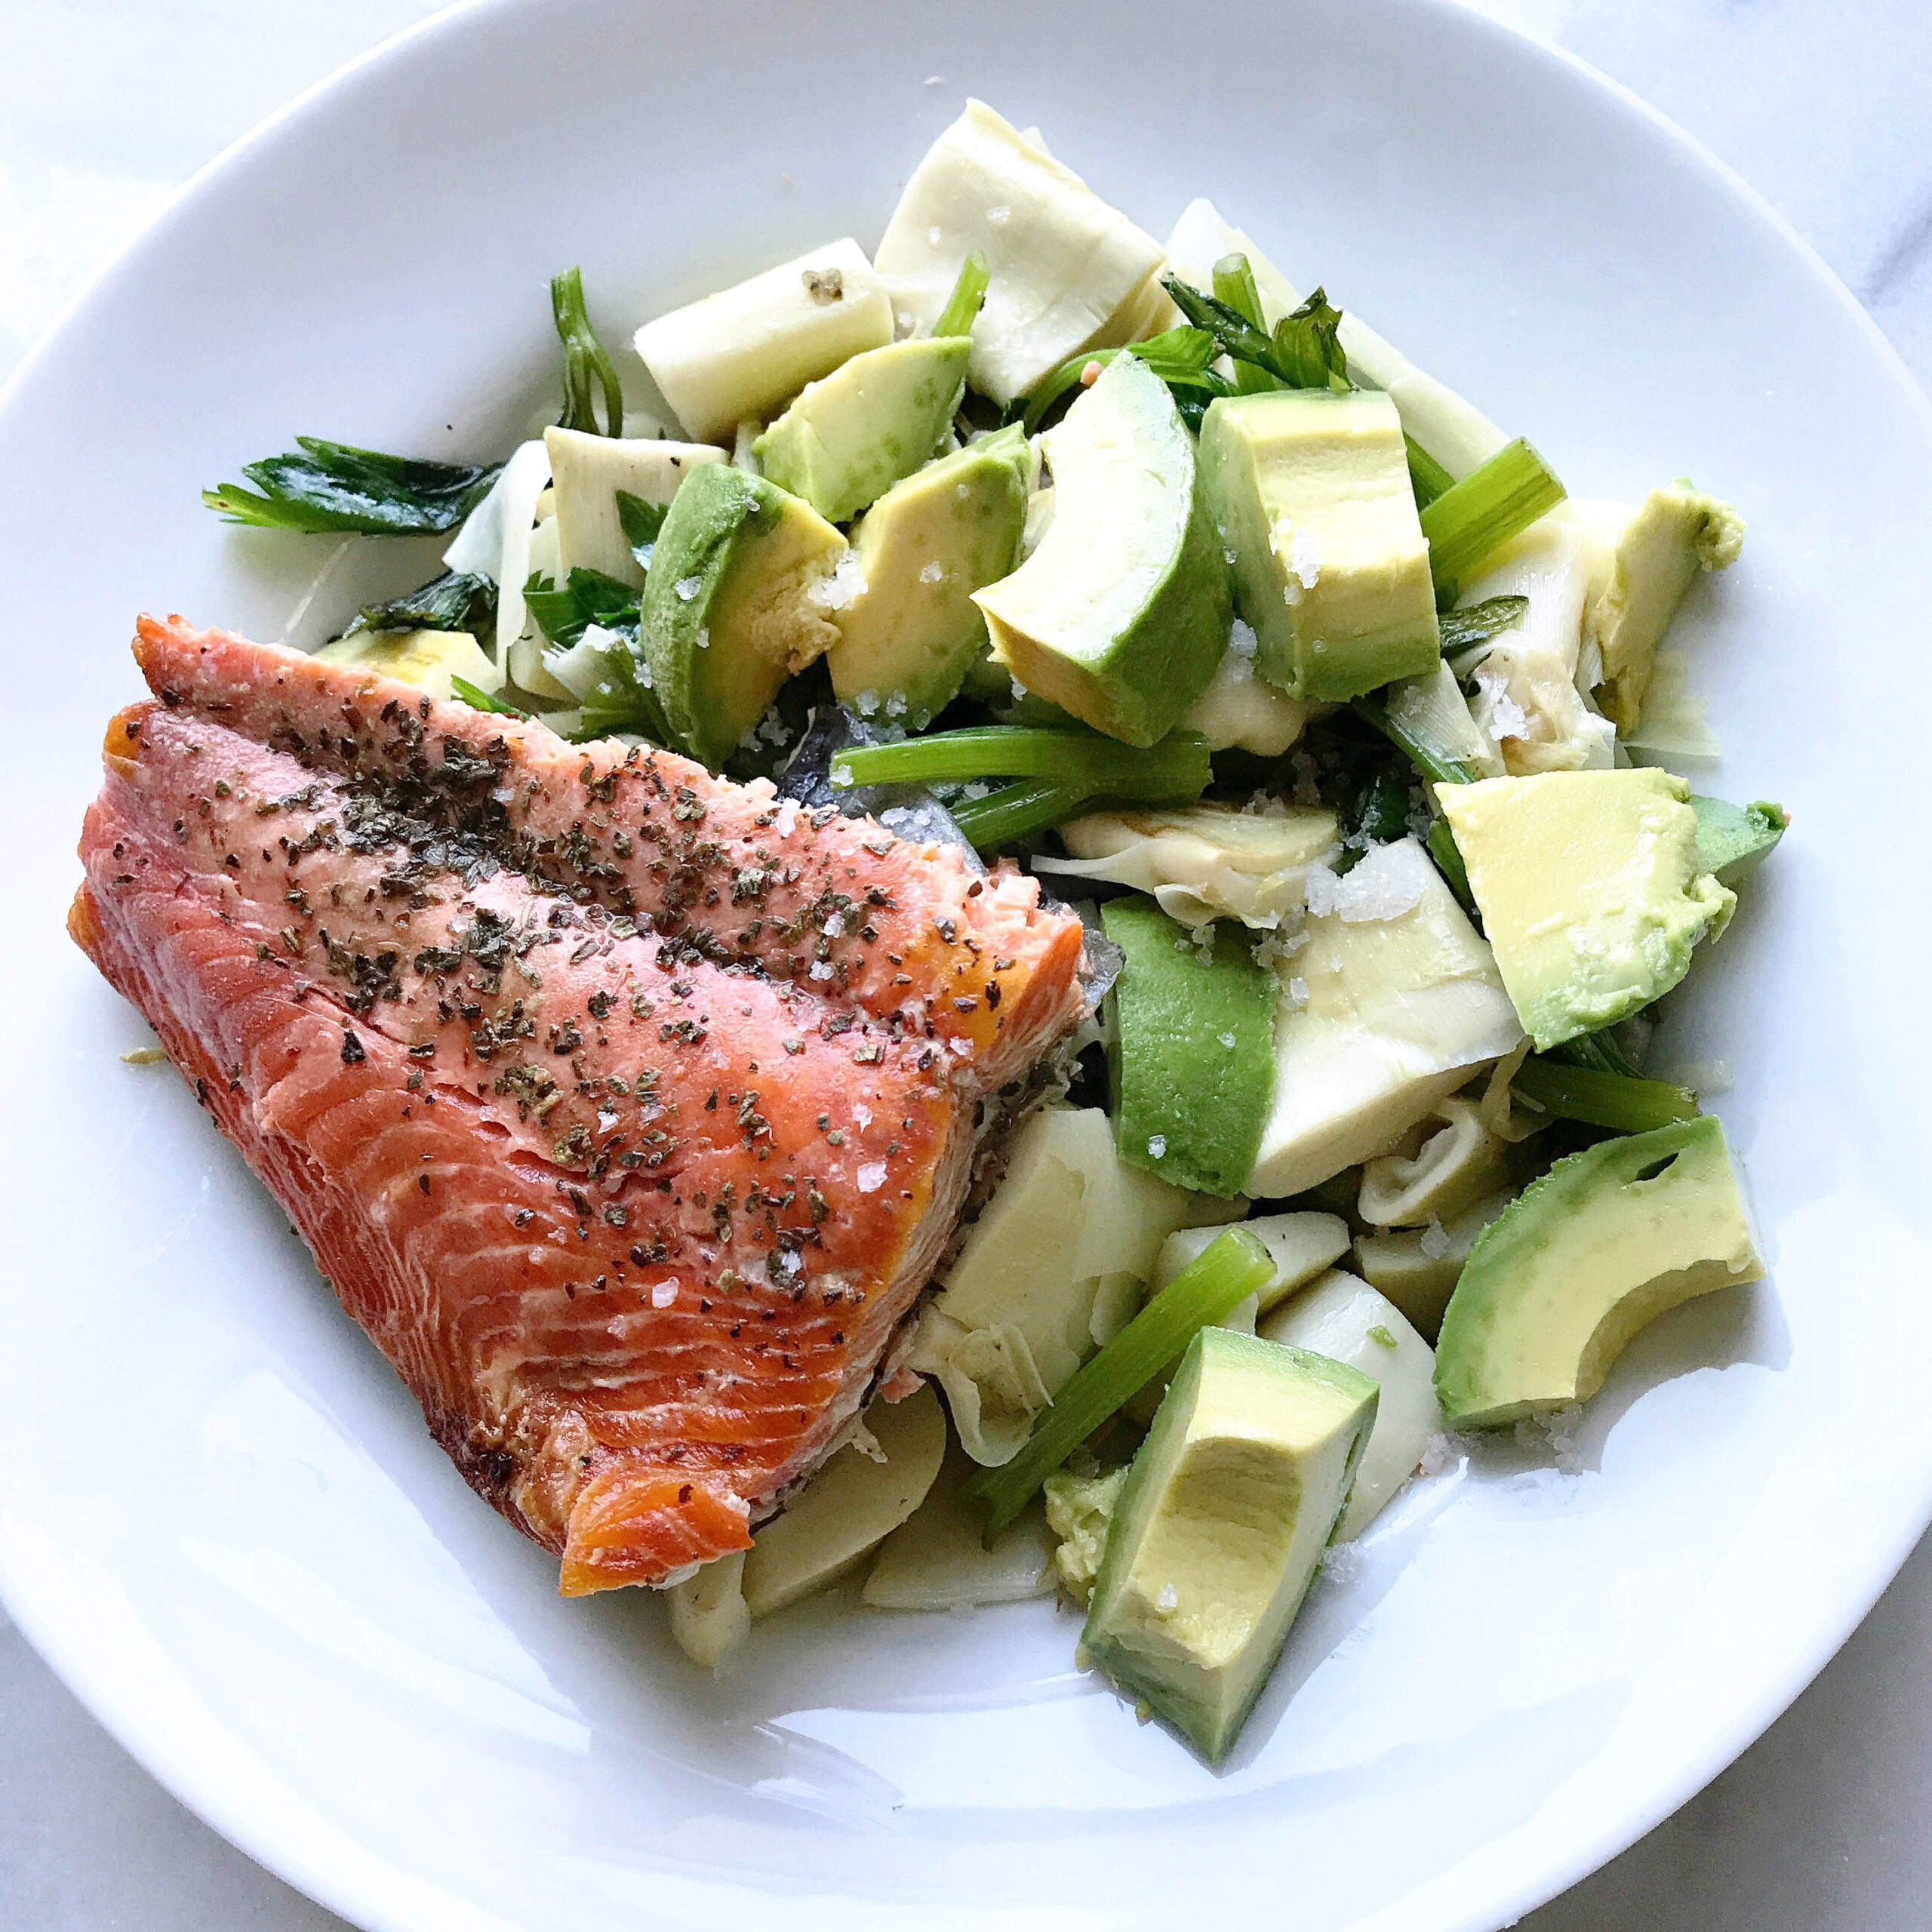
Other than that, my stool test results look better than they ever had before. It was pretty much all clear, and my inflammation markers are lower than ever. That means that, finally, nothing in my diet is causing inflammation! Besides that one bacterial overgrowth, my gut flora in general is very robust, so I’m proud of it. You know I’m all about that #guthealth.
The plan from here is simply to get that last bacterial overgrowth in check. It’s pretty straightforward – I’m going on a little 3-month protocol with a few supplements, and I’ll still be on a Candida diet. Like I said, to me, no big deal. What I’m most excited about, though, is that I am finally going to add all of the foods the MRT showed I was intolerant to back into my diet. I’ve already added in a few that I was really missing, like olive oil, zucchini, and walnuts, but I stopped when it came to the foods that I showed a sensitivity to on multiple tests in a row – turkey, lettuce, and sweet potato. I already tried turkey and everything went well, and lettuce (don’t worry, not romaine — I know there is an e.coli outbreak) is next on my list. Since I don’t have Candida, I’m also adding mushrooms back in, which I am so excited about. The only reintroduction that hasn’t gone so well is cacao / chocolate, but I also haven’t tried it completely unsweetened. I’m not giving up on that one and am very determined to add it back in… I’ll keep you updated.
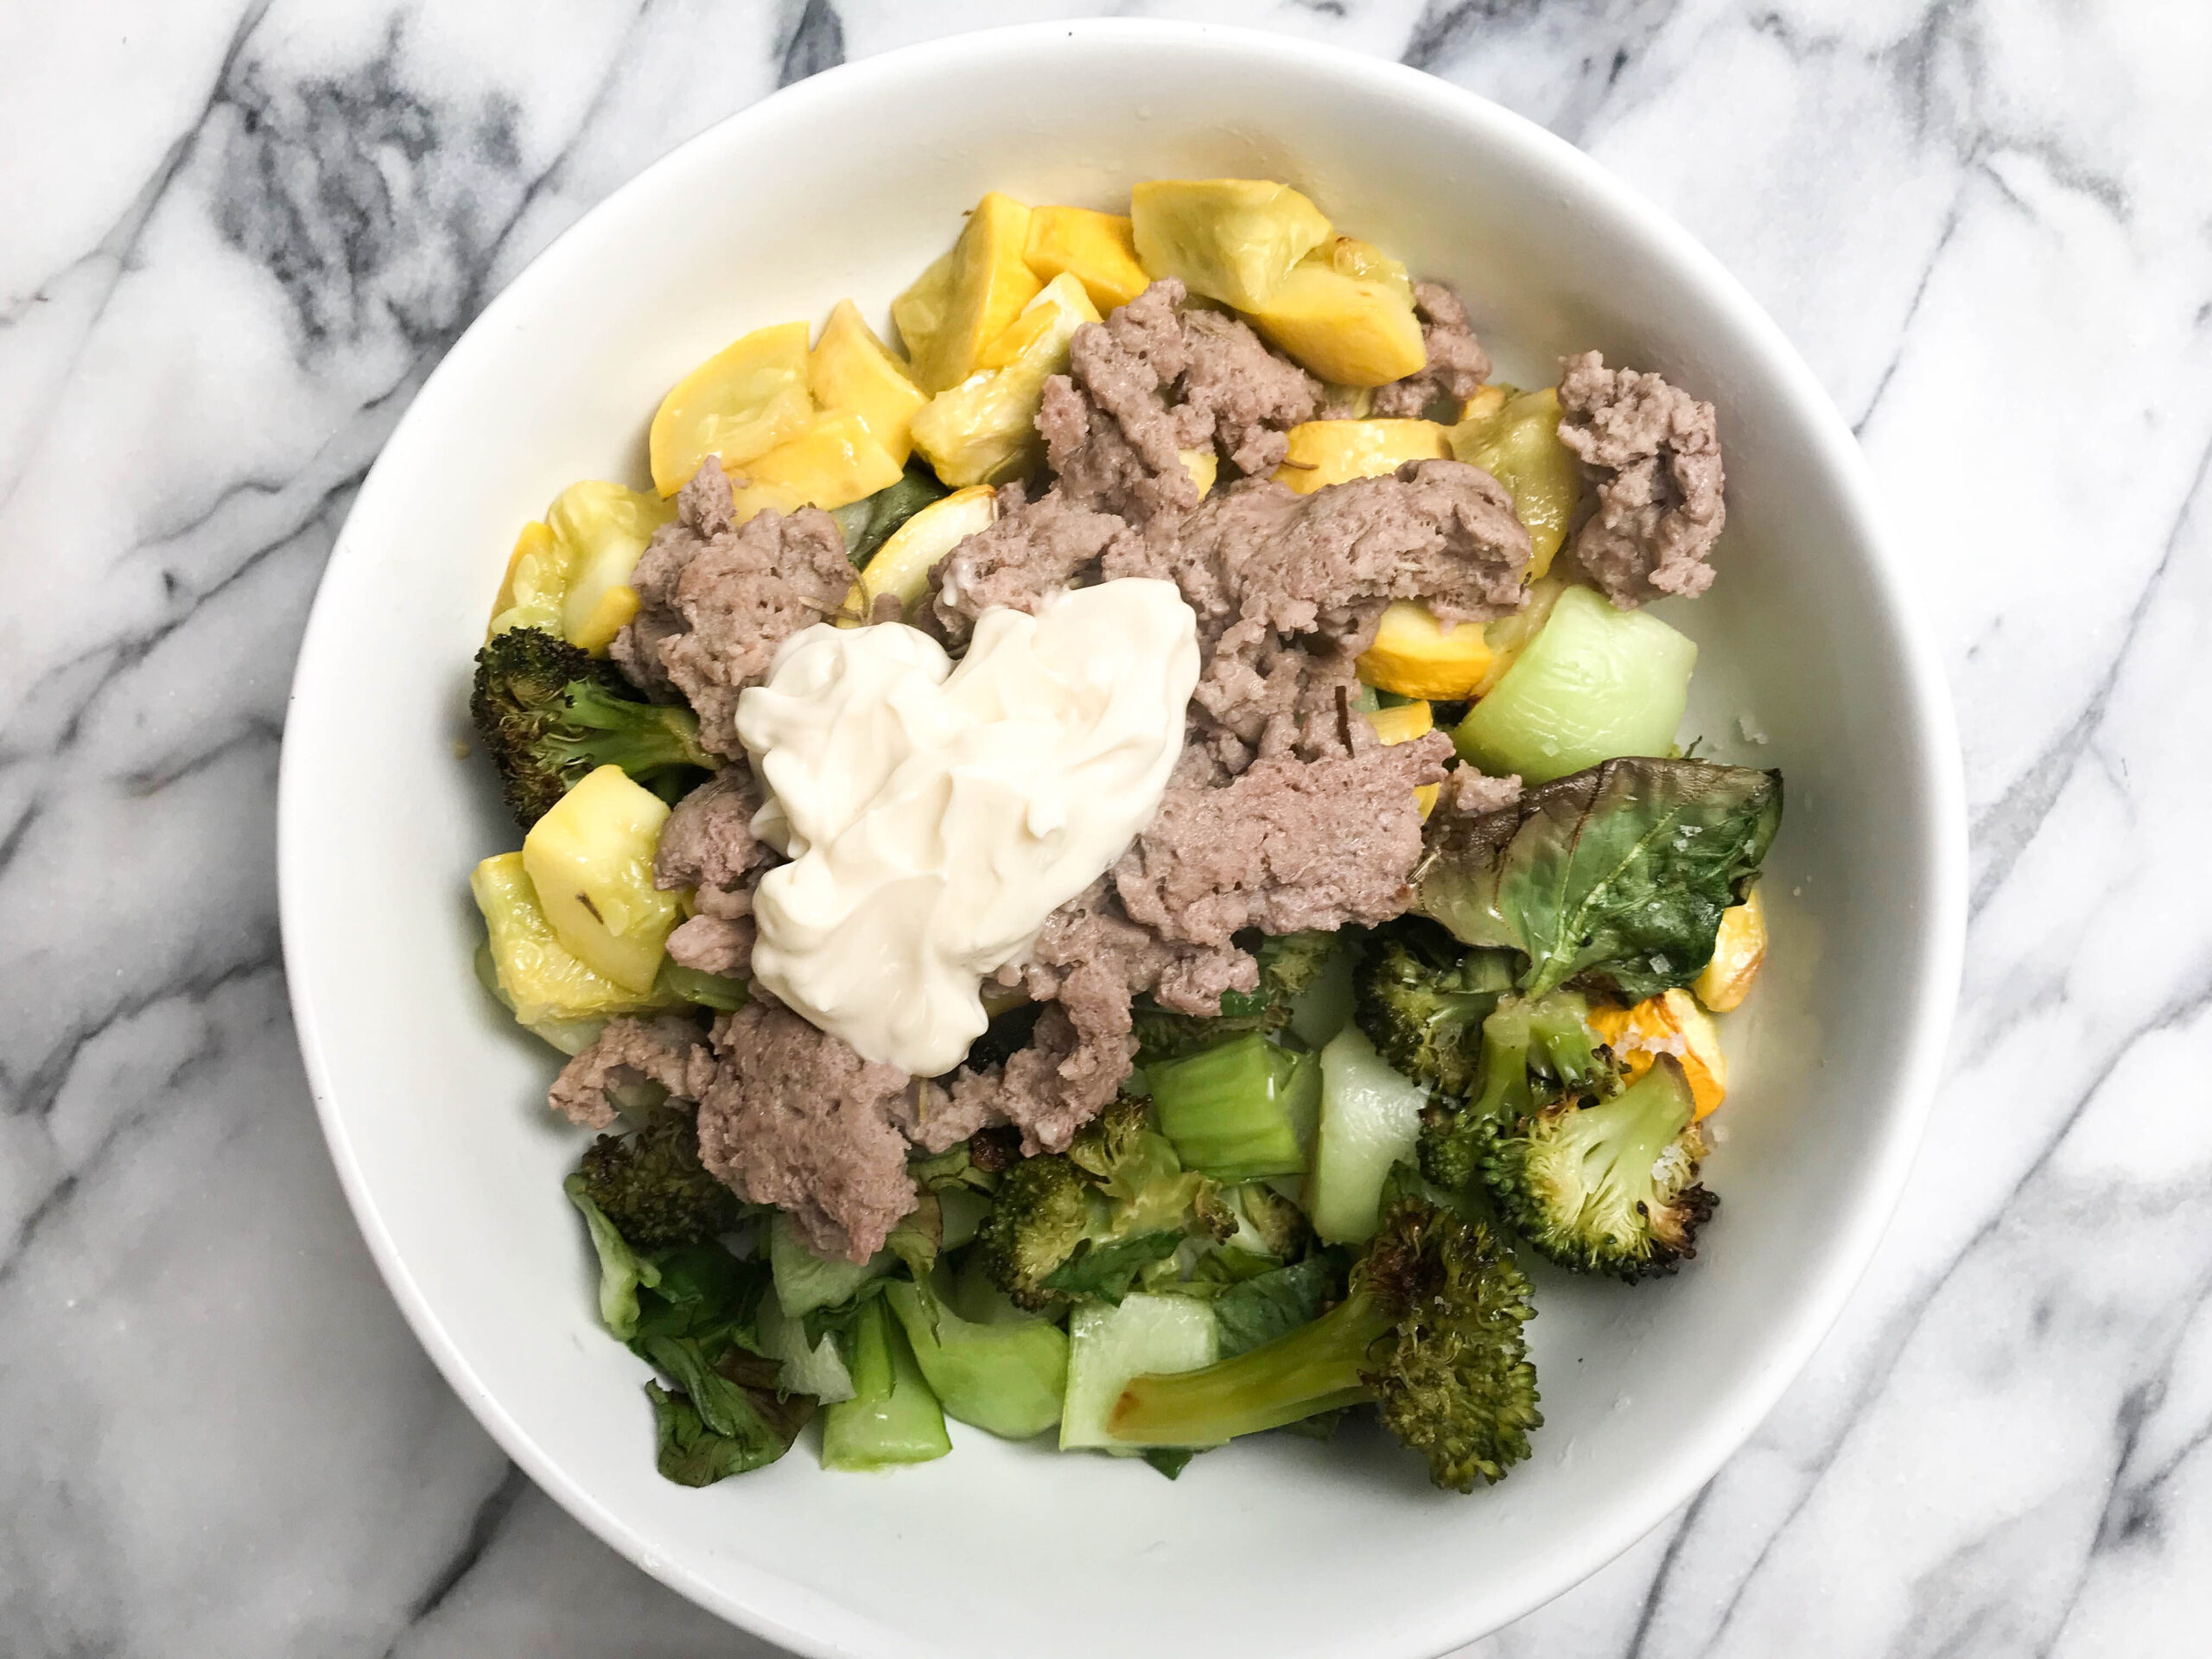
It’s not necessarily that I’ve been craving these foods because of their taste. Lettuce doesn’t really taste like much. What I have been craving, though, is the flexibility to be able to have them. I just want the option. Variety is important for physical gut health, but also for mental sanity. It makes my life much easier when I’m eating out or cooking with other people. I’ve also gotten really sick of spinach salads.
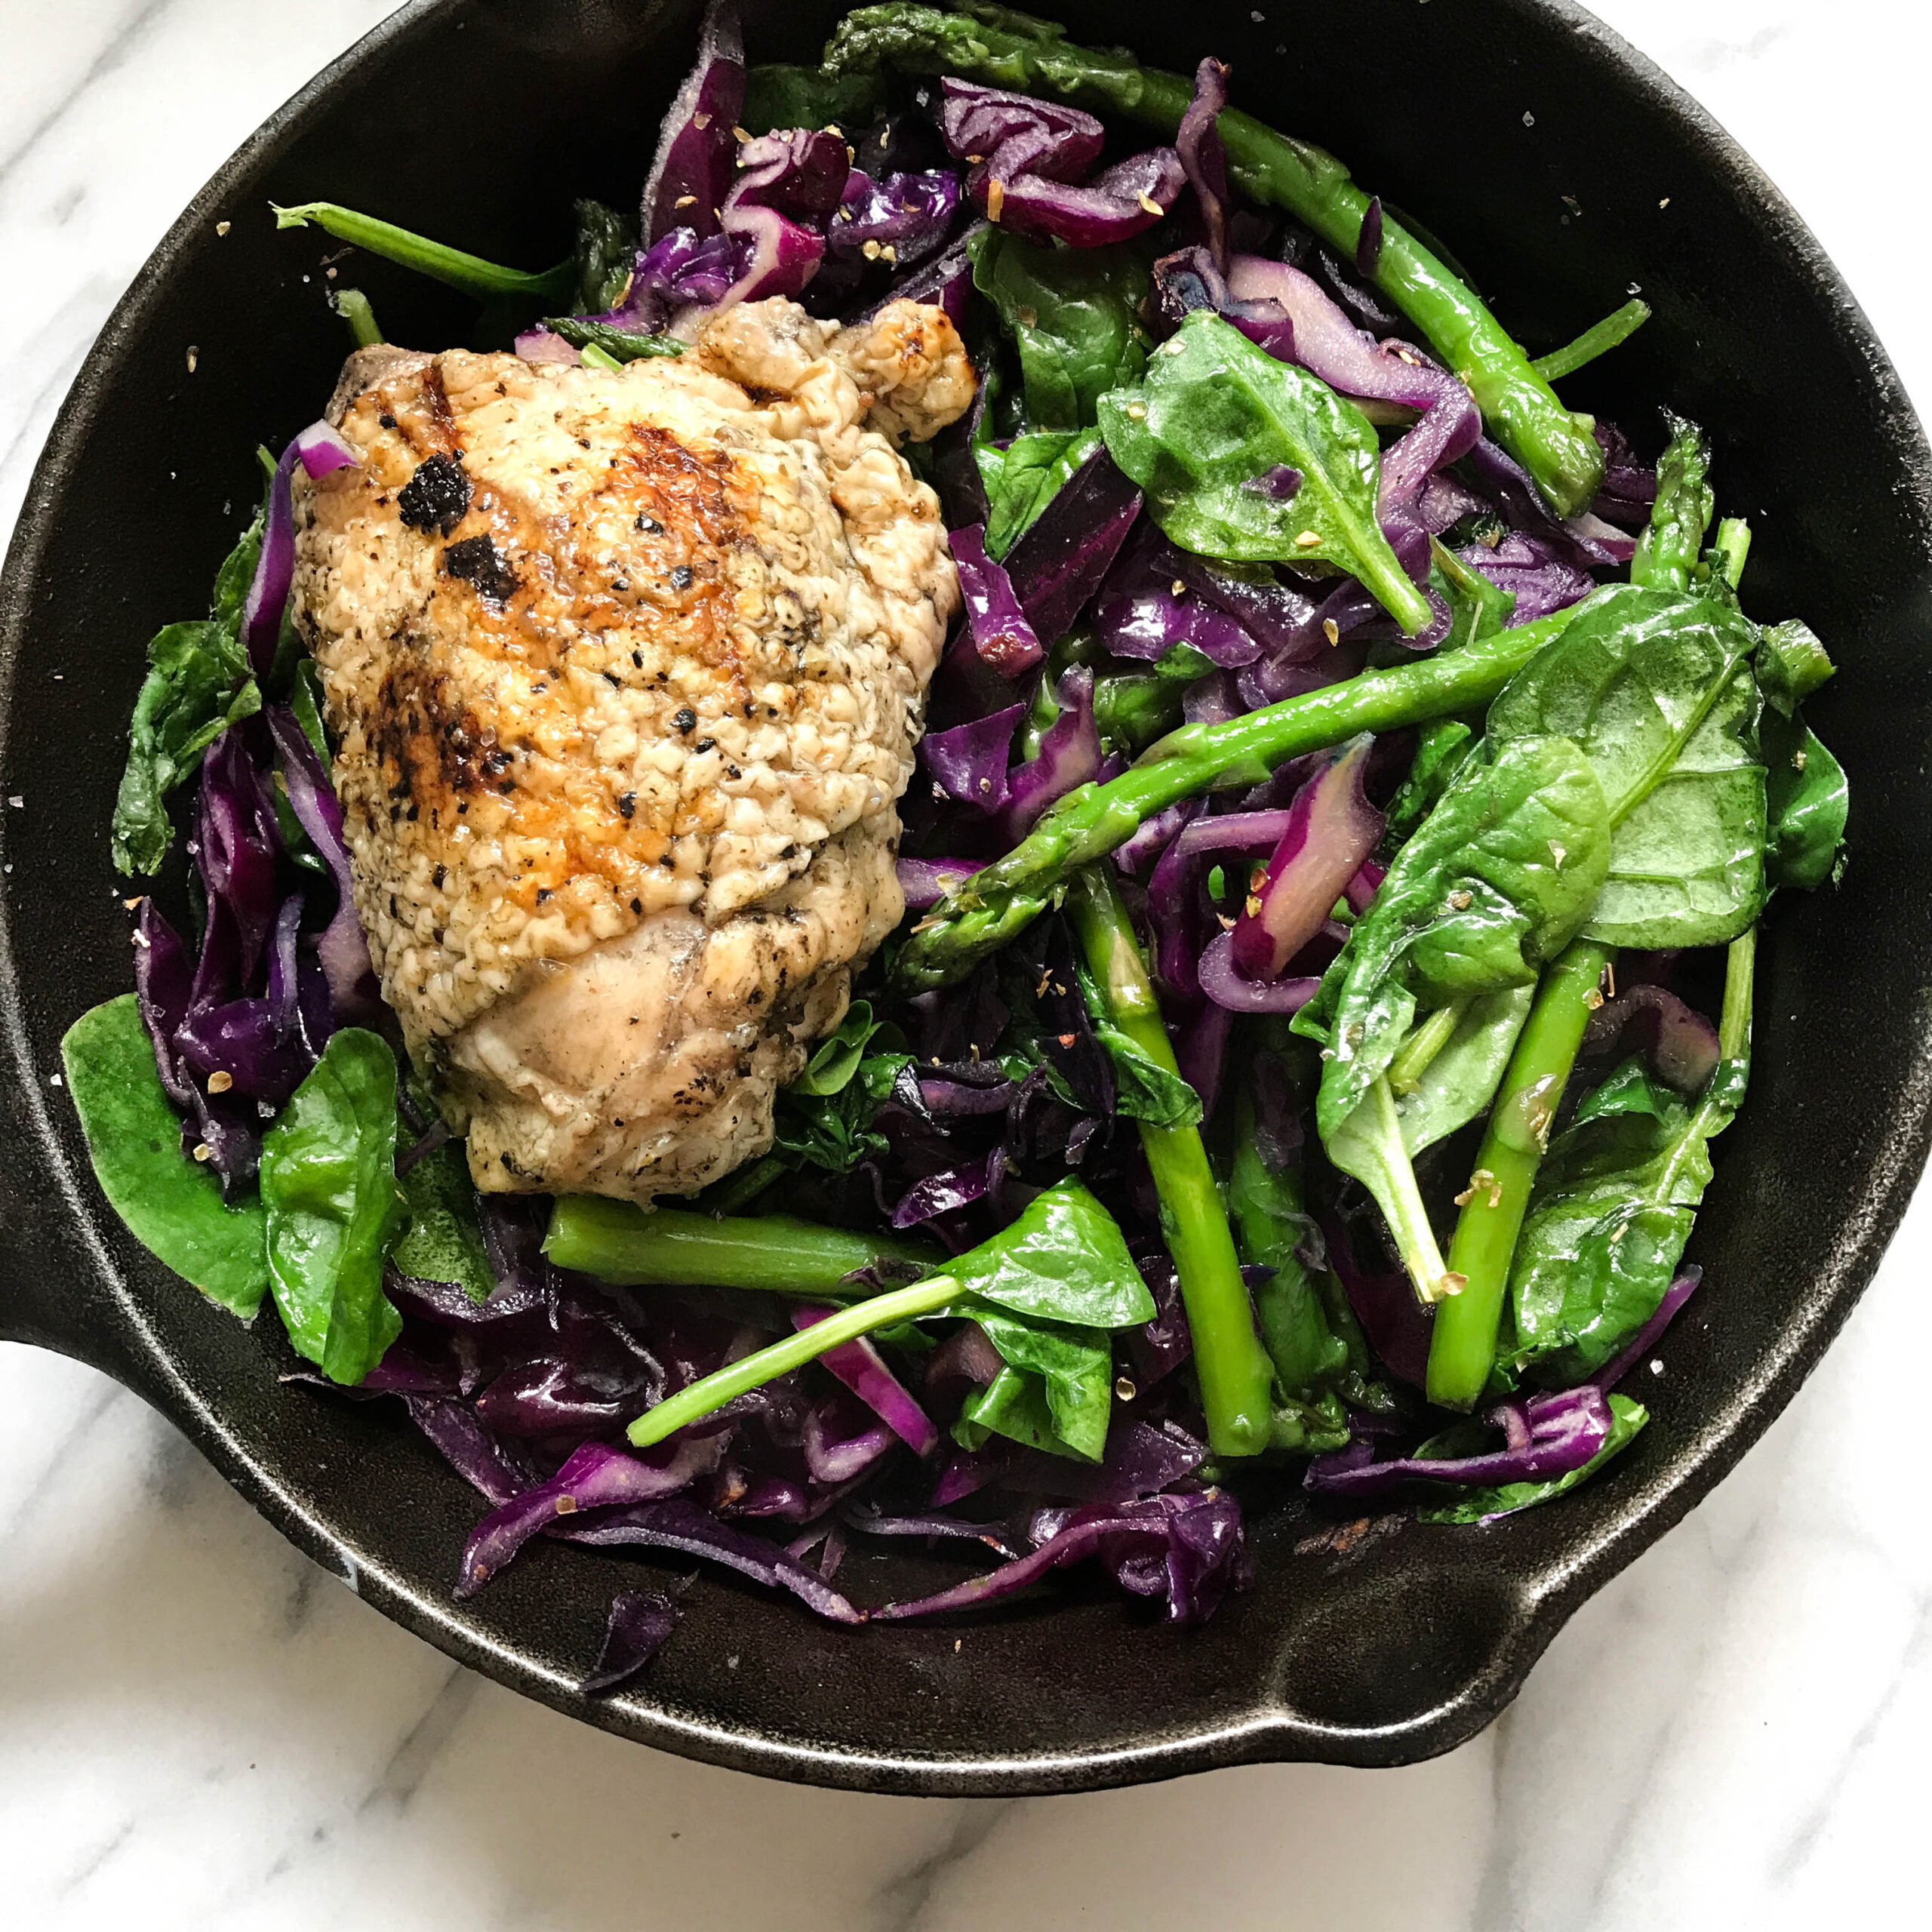
The other thing that I am ecstatic about is the fact that I am taking less supplements than ever before. Well, in the last three years. I had gotten used to a very involved supplement regimen, and taking a lot of pills. I always had to plan ahead, had to take 15 different bottles with me when I traveled, and felt like I didn’t absorb or digest anything if I didn’t take my pills. I’m only taking about 6-7 different supplements now, which is basically nothing compared to what I am used to. I can go out for a meal and not have to pack things ahead of time. I don’t have to plan my day around taking supplements at specific times, X amount of minutes away from food or with food. I hadn’t realized how much thinking it all required, and how it really did take some time out of my day. All of the gut healing work I have done so far has been well worth it and I wouldn’t change anything. Now, I just appreciate the flexibility even more.
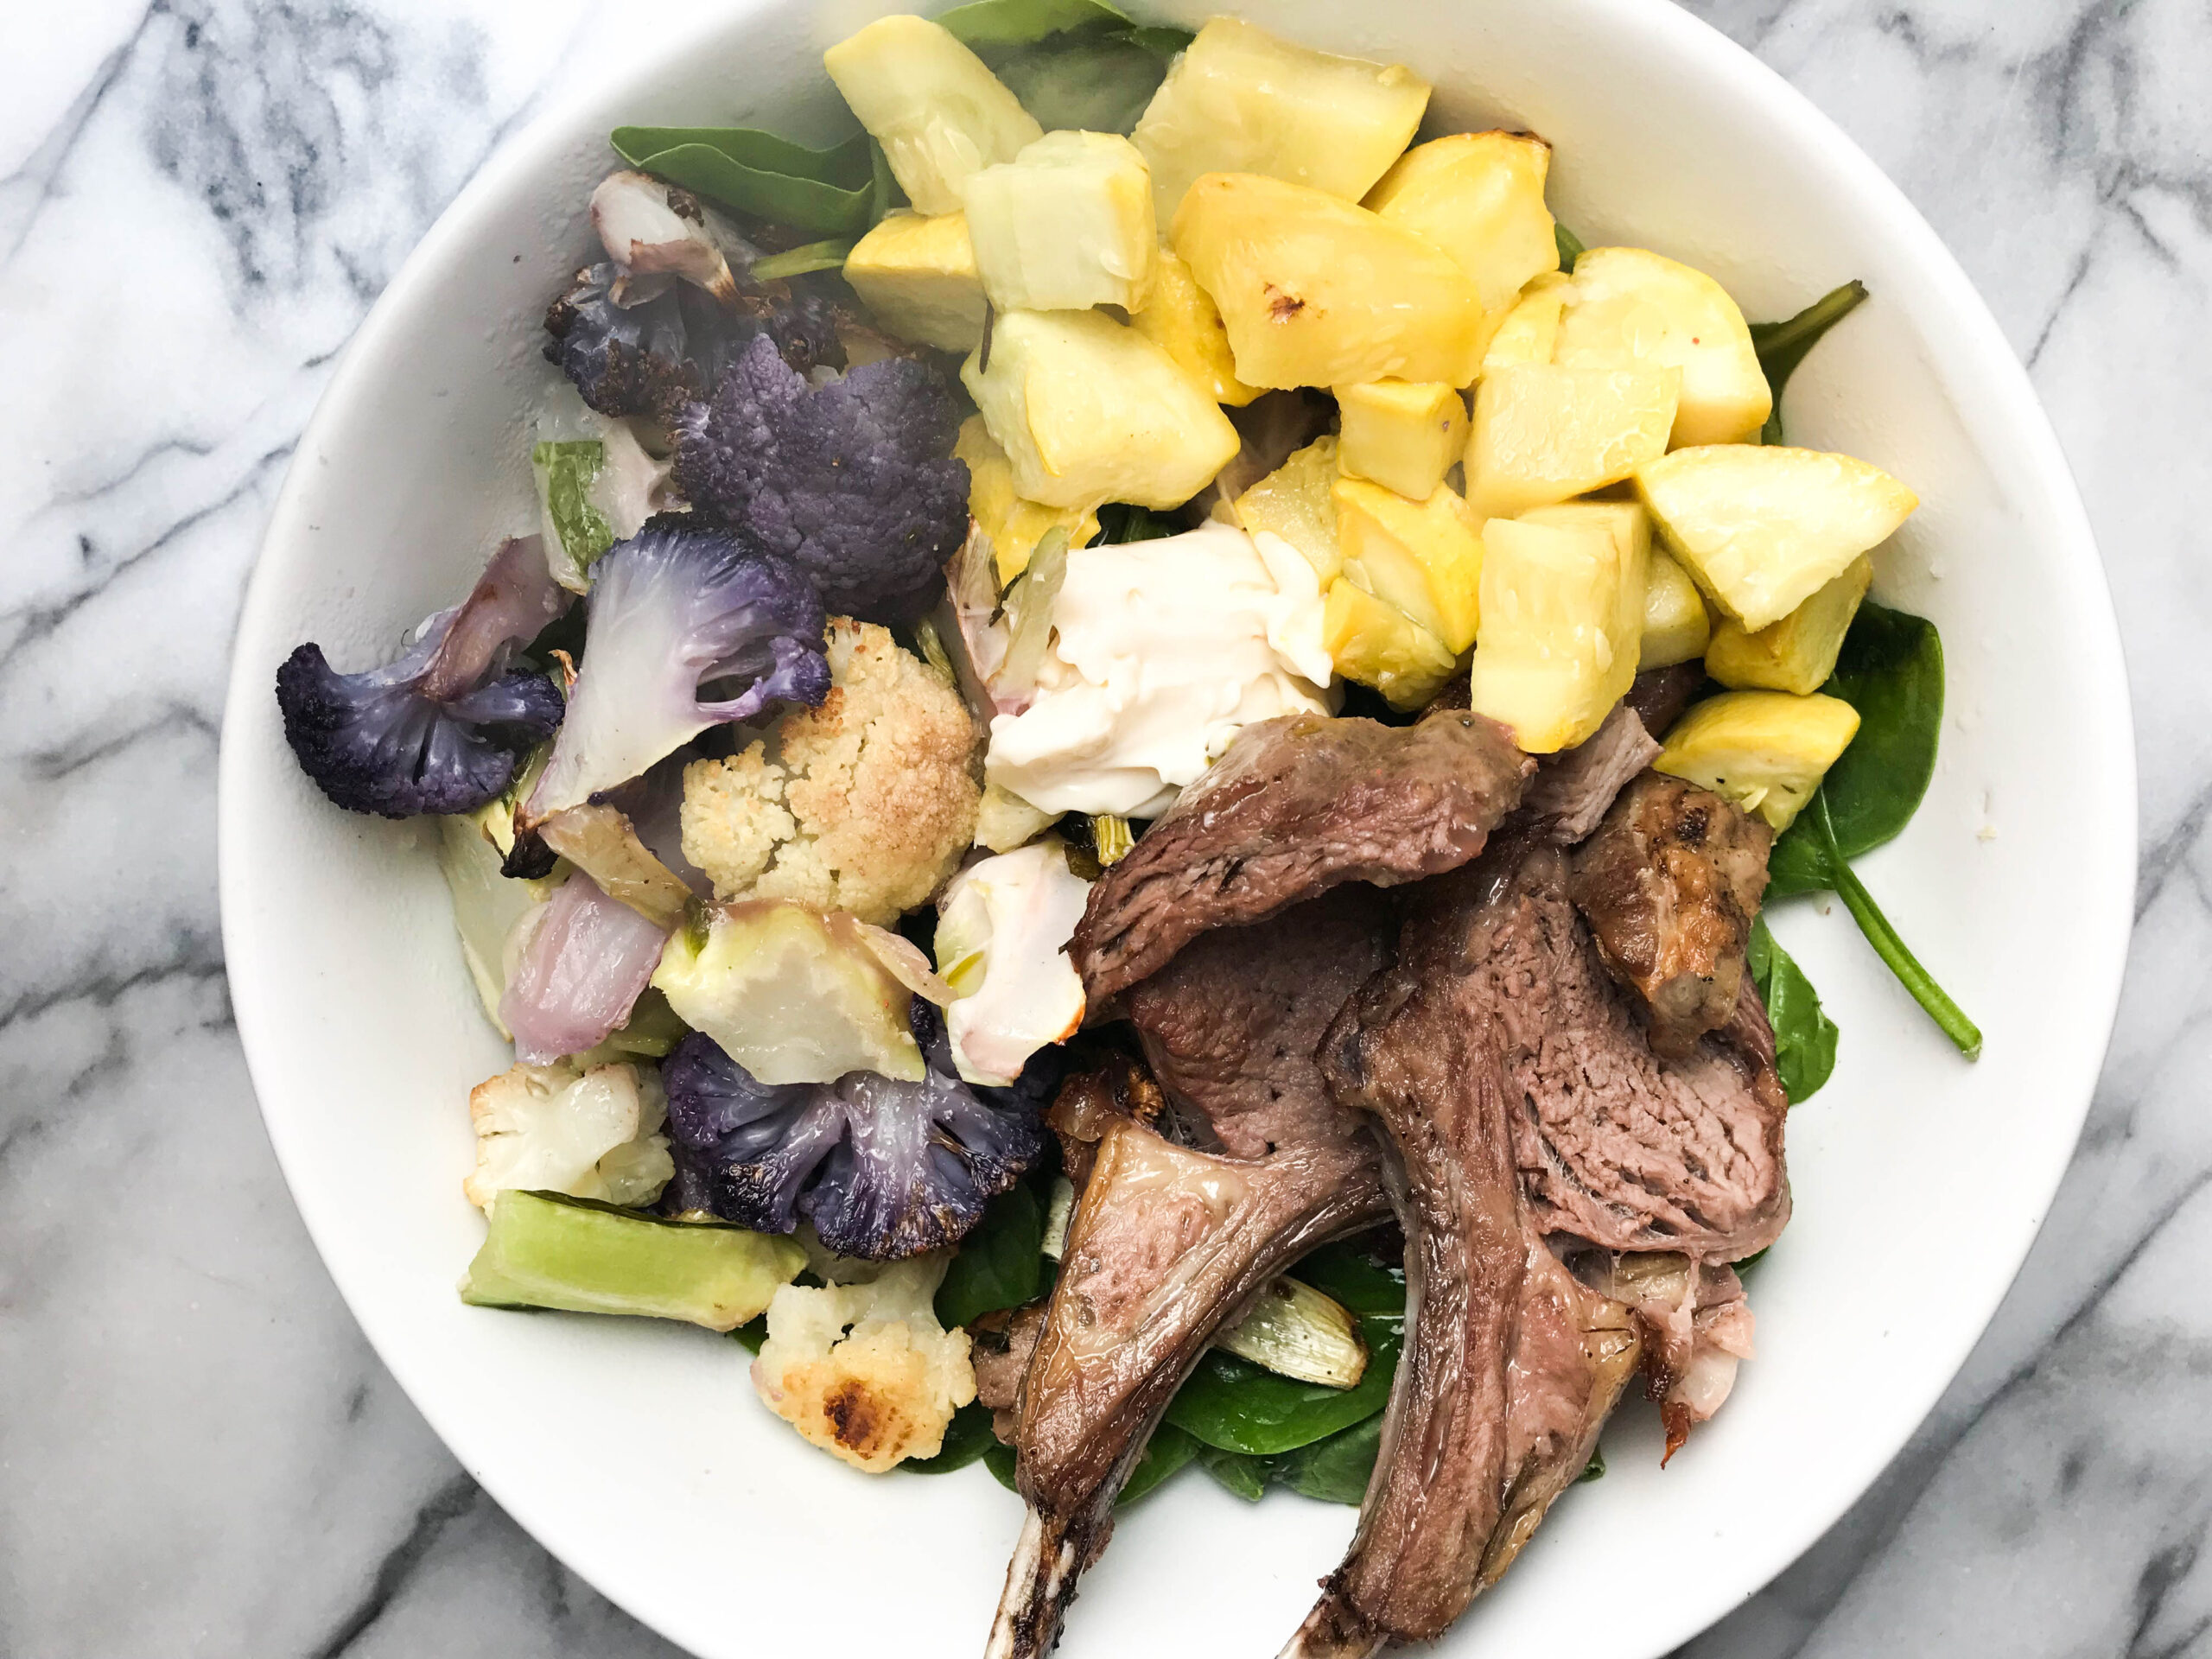
After getting the test results back and finding out I could cut out a lot of my supplements and add foods back in, I realized that I had sort of just accepted the “protocol life” as normal life – that was my way of coping. I was in it for so long, and I could never really see the light at the end of the tunnel. Obviously I stuck with everything because I believed it would work, but I just didn’t know how long it would take. Instead of stressing out about when it would end, I just accepted it as my present and went with it. In doing so, I kind of forgot that it would actually end. I also felt like the people around me had gotten used to me always being on some kind of protocol and assumed I would never get off of it either, since things had been going on for so long. With all of that in mind, it feels surreal to know that I am actually on the last leg of this.
Of course, there is no way to truly know that, but I am manifesting it. Manifest with me!
It’s the last part of the road.
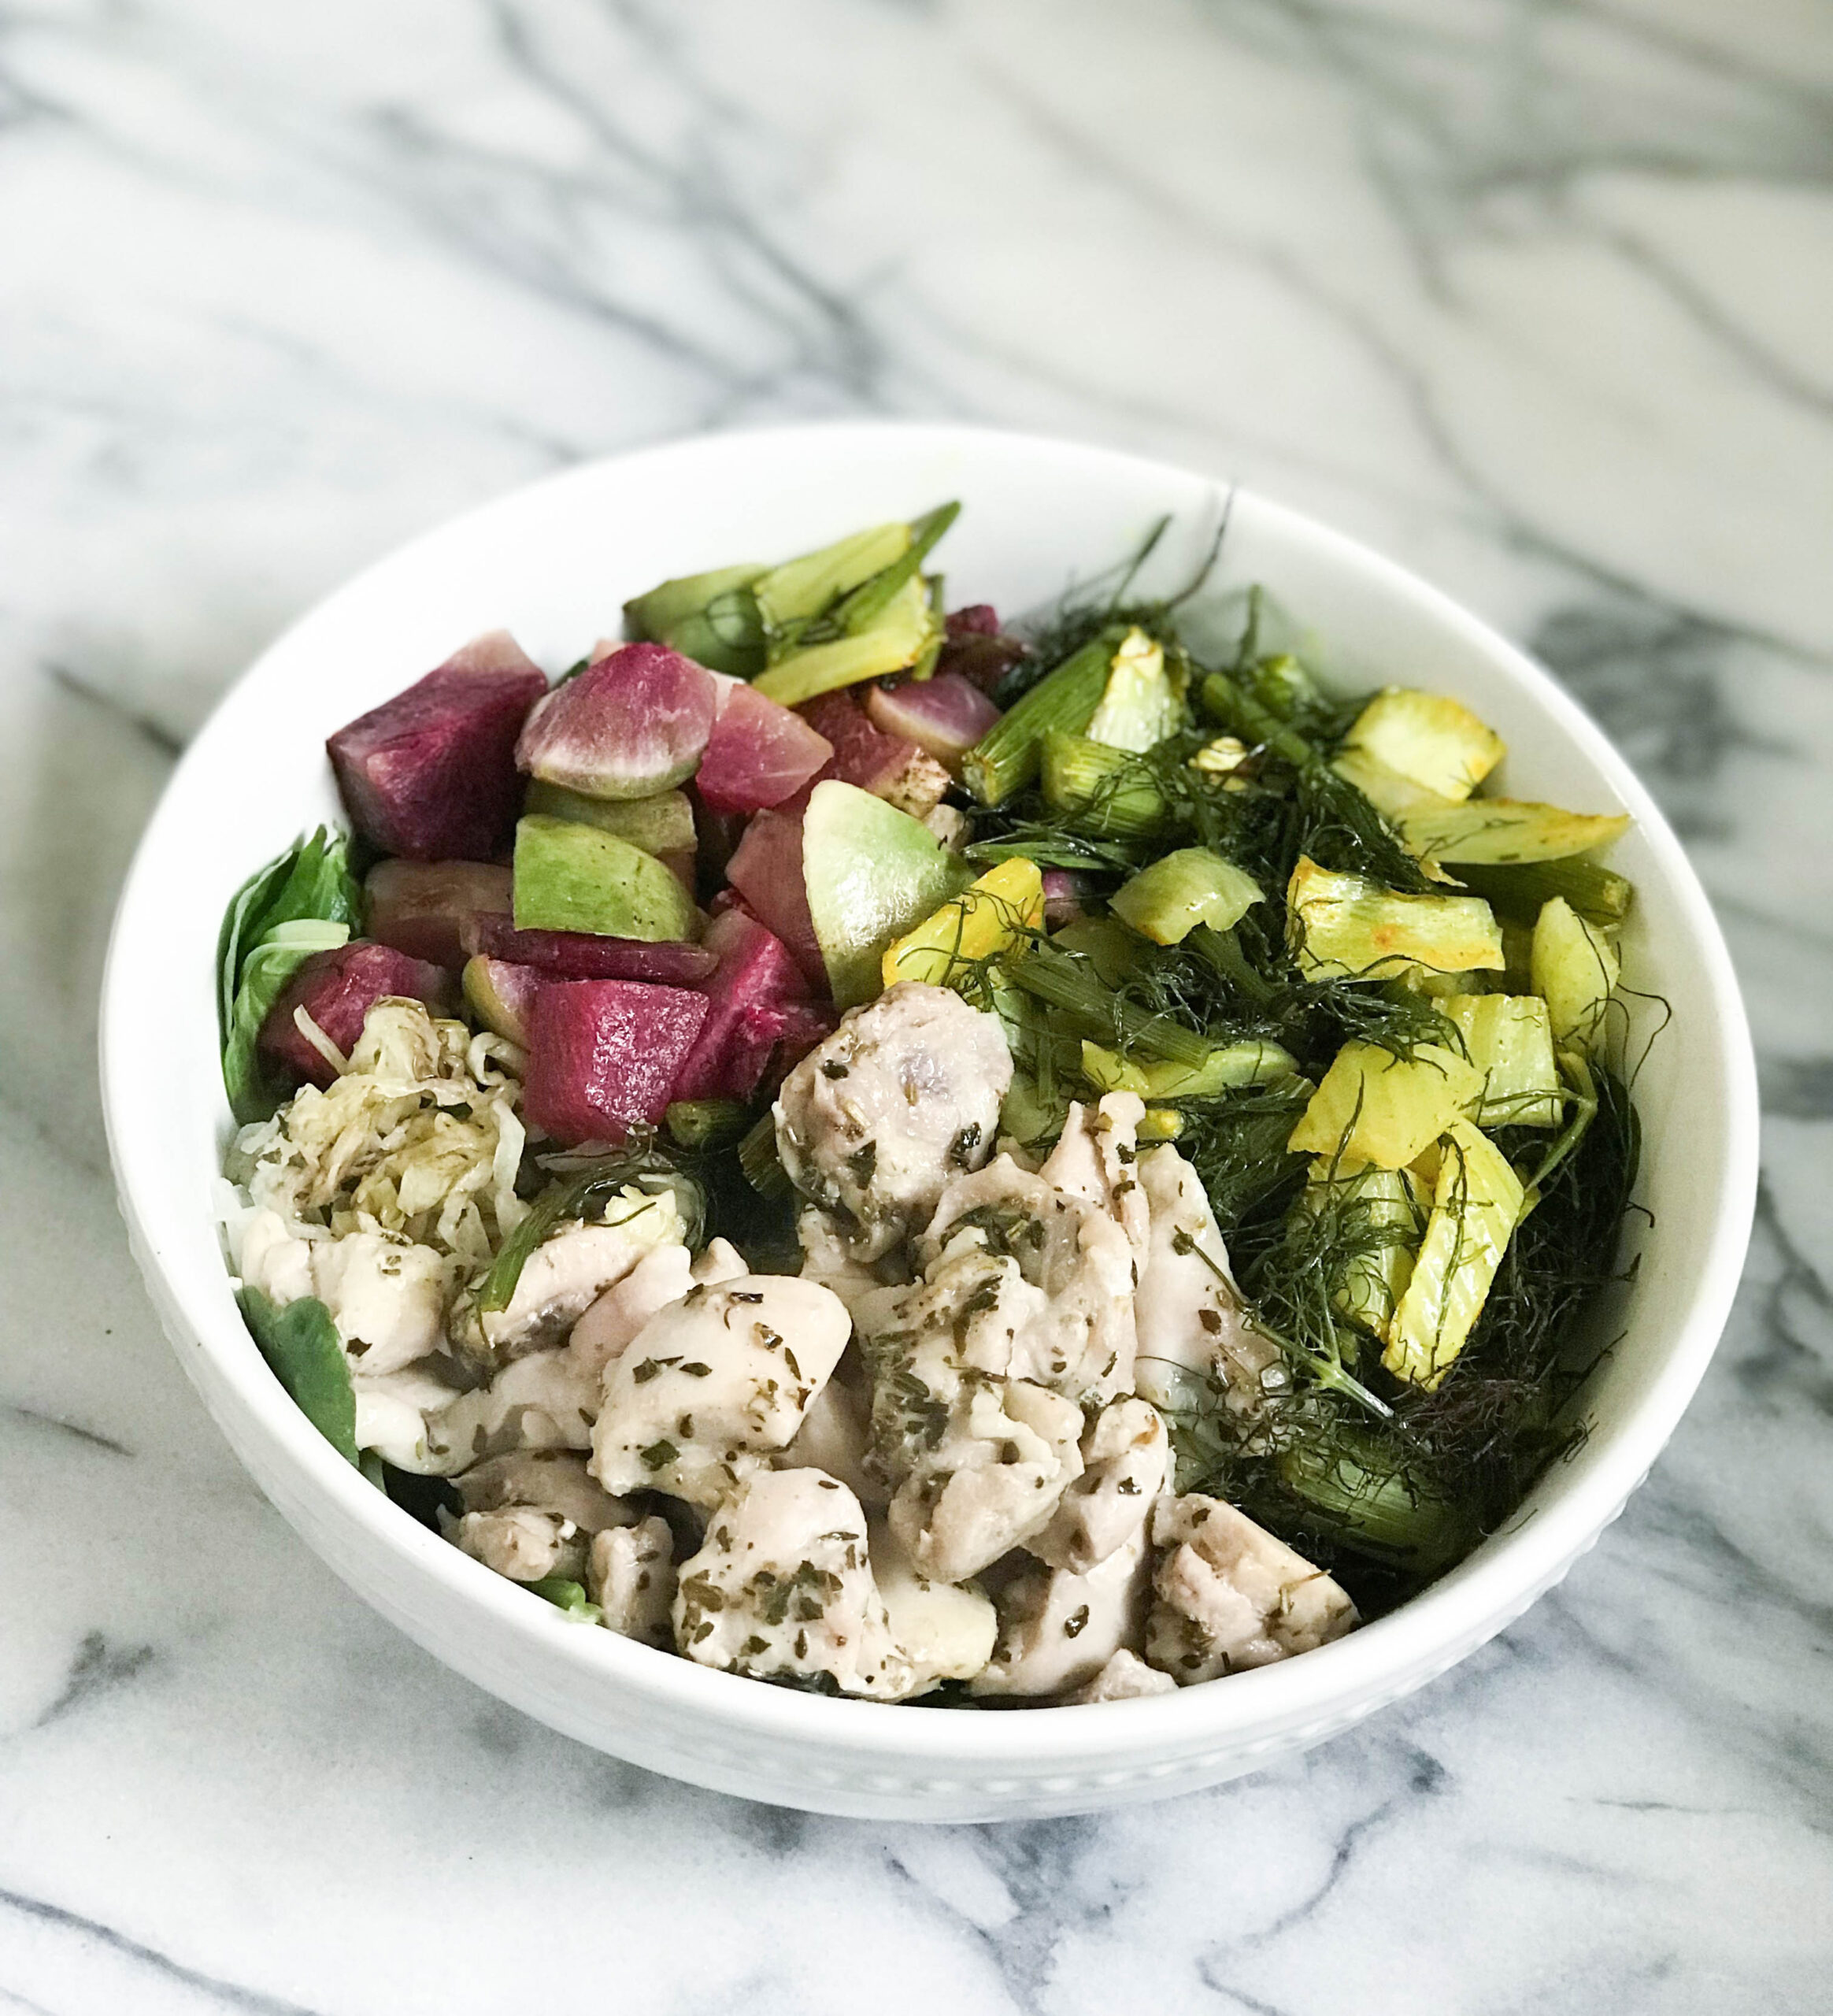
If you’ve been following along on my gut-healing journey, thanks for joining in on the ride. I hope this gives hope to all of the other people out there in similar situations, because I know so many of you are. No matter how long your healing process takes, it is well worth it. Even if you feel like it will never end, it will if you stick with it and put in the work.
There was a time in my life when I truly never believed it would get better. There have been many times during this process that I thought I was destined to have chronic Candida forever, that I would just have to accept I would always have gut issues, that I would have to take 50 pills a day for the rest of my days on this Earth, and that I would never get off of a protocol. I felt defeated at times, because it’s really frustrating when you’re doing everything “right” but still not seeing results as quickly as you’re supposed to. Things turned around, though, and I am so grateful. I think that sticking with my protocol, adjusting it as I did more research and learned to listen to my body, taking things moreso into my own hands than I ever had before, making a lot of lifestyle changes, and addressing the emotional sides of healing truly did all work together to turn things around. My year-long bout of Candida is finally gone, so I believe in the process. I’ve been told by many practitioners that my case is one of the strangest and most stubborn they had ever dealt with, so if I can clear mine up — you can clear yours.
I really hope that my experience shows you how you can still live life, be happy, and not feel like you’re compromising anything even when you do have “limitations” for a period of time in order to heal. Healing is worth it. Good things come to those who wait! 🙂