
by Christina | Sep 30, 2017 | Recipes, Wellness
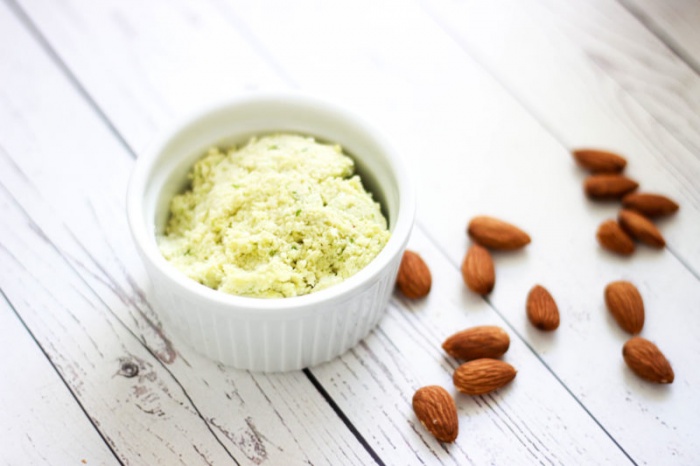
I’m incredibly grateful for the fact that nuts somehow can magically be made into dairy-free “cheese.” I honestly love nut “cheese” more than I ever loved regular cheese. For some reason, I feel like it has a more potent flavor… almost like it has more character to it. Plus, it doesn’t completely destroy my digestion the way that regular dairy does!
In L.A., I’m lucky enough to have access to a lot of “fancy” nut cheeses at the grocery store. Kite Hill, Treeline, and Leaf Cuisine are a few popular brands that you might be familiar with. As yummy as they are, I don’t always want to pay for those cheeses, especially when they often have unnecessary gums and thickeners that can disrupt digestion. I also know that not everyone else has access to those brands. The good news is that you can make your own nut cheese right at home for a much cheaper price. I personally think it’s more convenient to make it yourself, and it’s even better because you can customize the flavor however you like!
I’m a huge fan of cashew cheese, which tends to give the “cheesiest” flavor when it comes to nut cheeses. (I really wish there was a synonym for cheese, right now.) However, I recently became even more obsessed with walnut-based cheeses, like in my Walnut Alfredo Sauce and Walnut Cheese Sauce. I don’t mean to toot my own horn, but those sauces actually taste like crack.
I’m still on a gut-healing protocol for a few more months, which means I have a few more months left of avoiding the foods I reacted to on my MRT. Sadly, one of those foods is walnuts. As soon as I found out I wouldn’t be able to eat walnuts for a few months, I obviously started craving walnut cheese like mad. Typical, right? Time to get creative again.
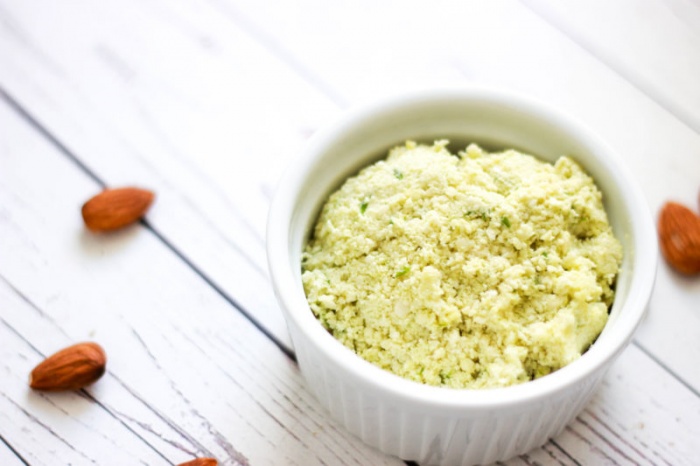
I’m also avoiding nutritional yeast as much as I can while I’m on an anti-Candida diet, so I can’t depend on that for a cheesy flavor. I looked in my pantry and fridge for some inspo, and all I found were some walnuts, cashews, and almonds. In my fridge, I had rosemary and chives. ….CHIVES!
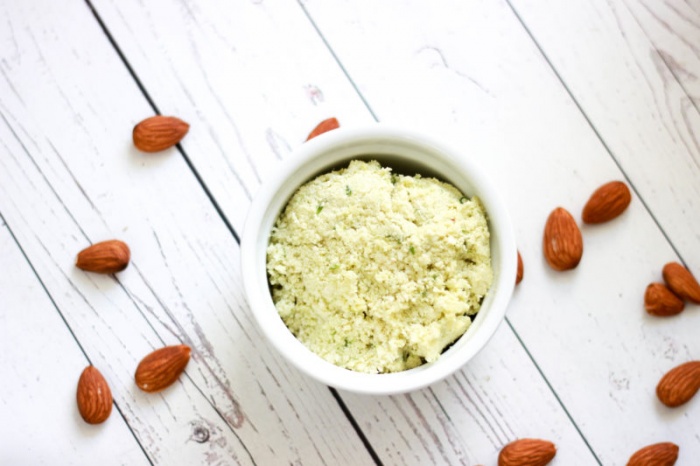
Immediately I thought of Kite Hill’s Chive Cream Cheese Spread. That stuff is delicious. Good as it is, it contains gums that I’d rather not consume if I don’t need to. Besides, I wanted more of an actual cheese than a spread. Since I already knew that the almond chive flavor combo was a winner, I decided to make some almond chive cheese myself. I’m always looking for new ways to use herbs, so this was the perfect option for my chives!
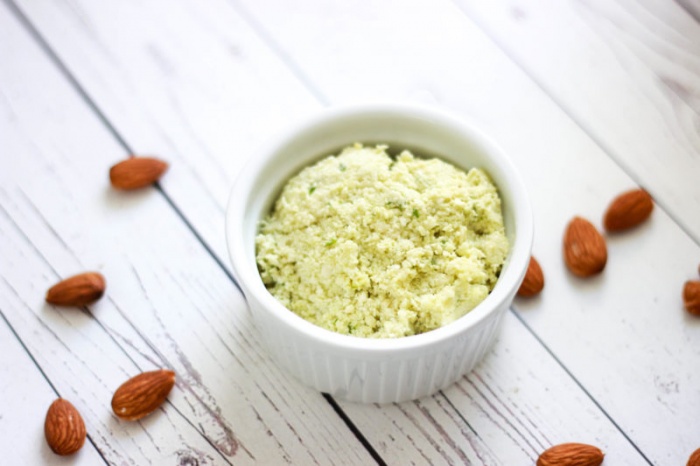
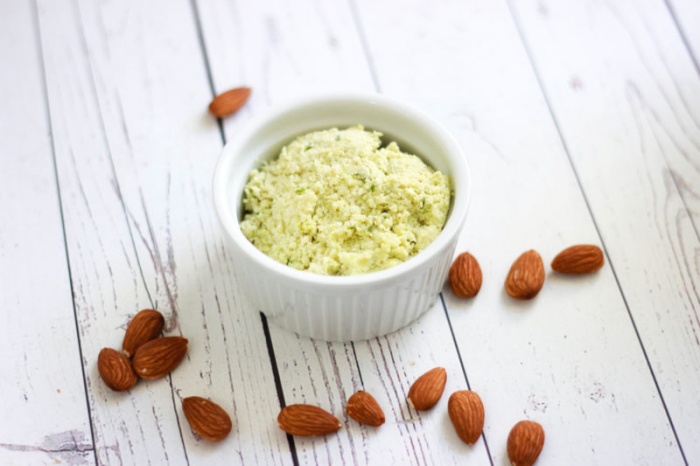
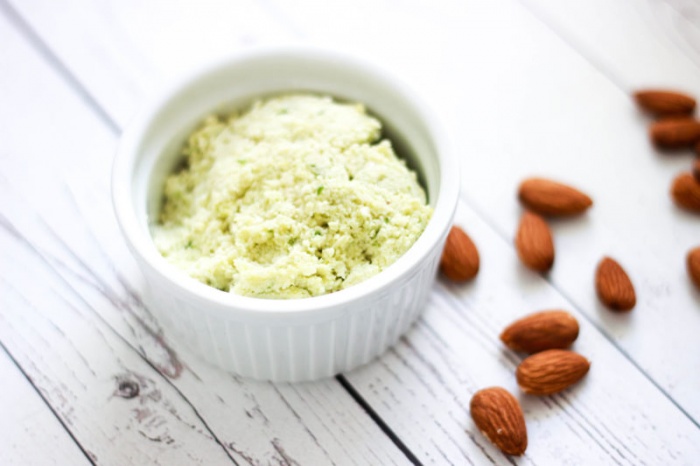
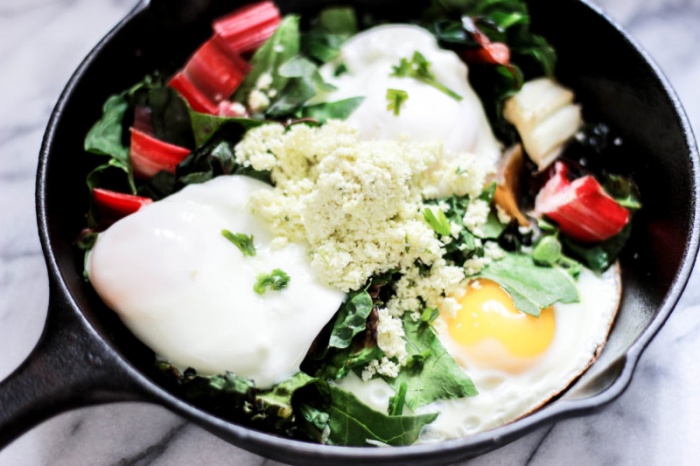
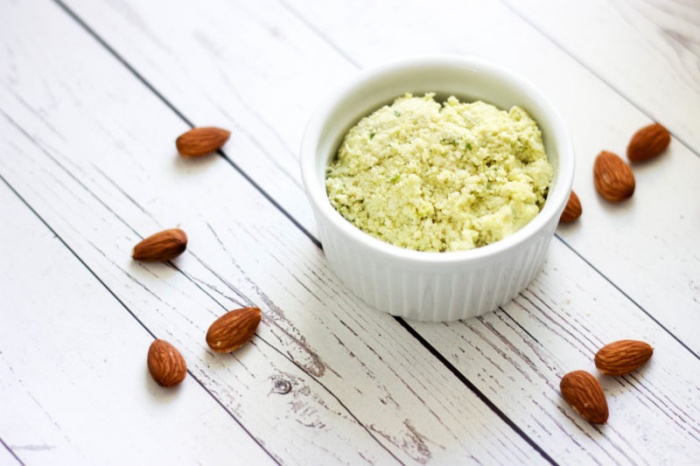
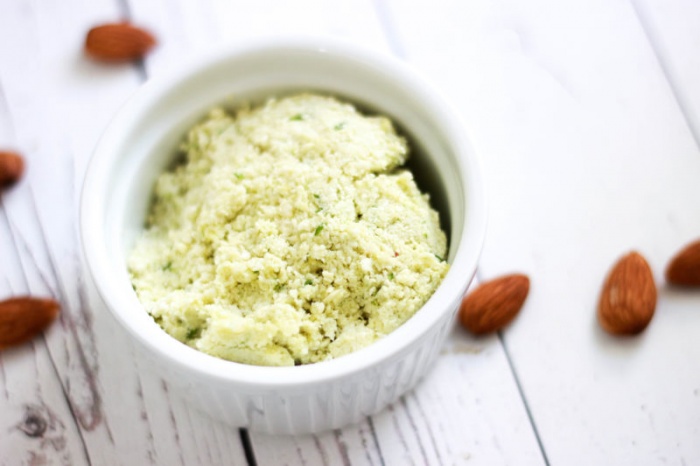
This almond chive cheese is incredibly simple to make, like any other nut cheese! The only hard part is waiting, because it doesn’t reach the perfect texture until it has set overnight in the fridge. It pairs perfectly with pretty much everything, especially eggs and “pasta”-like dishes! The texture is similar to that of parmesan, which makes it perfect for crumbling on top of meals. You can add a bit more water or oil for a more solid, less crumbly texture. I think I might put this on top of cauliflower pizza next!
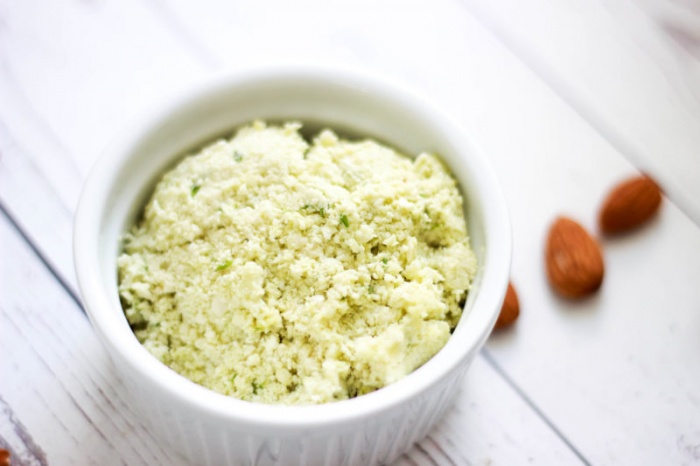
This almond cheese is paleo, vegan, gluten-free, soy-free, gum-free, sugar-free, and requires no nutritional yeast! Feel free to sub out the oil for any healthy oil of your choice, and you can also sub out the coconut vinegar for another vinegar. If you’re in the mood for some cheese with a chive-twist, this recipe is for you!
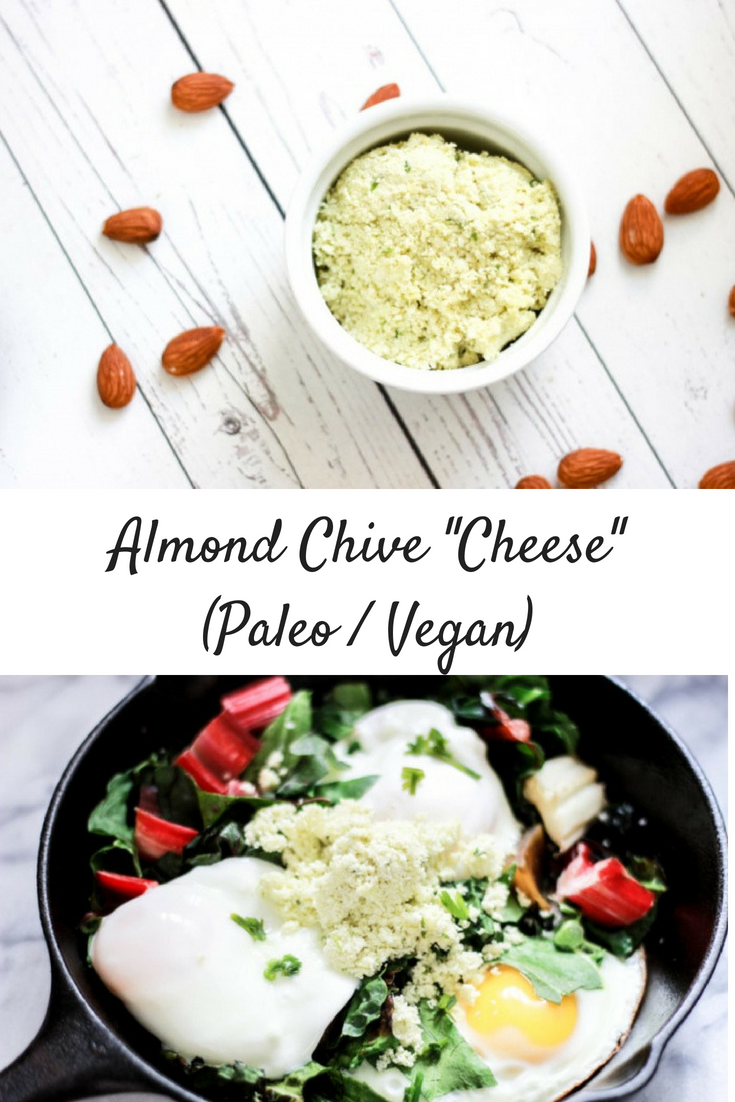
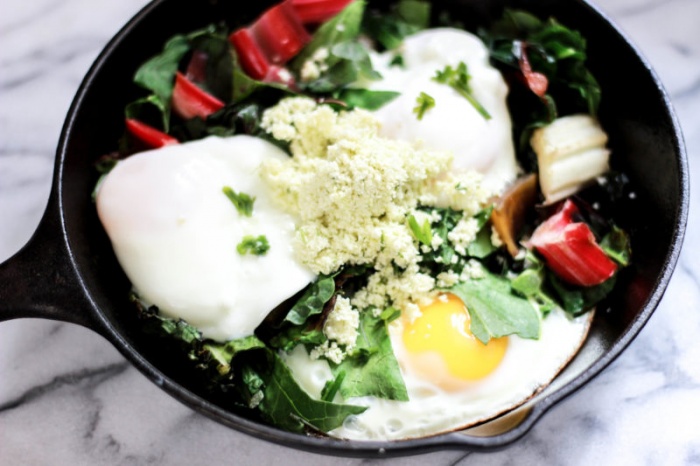
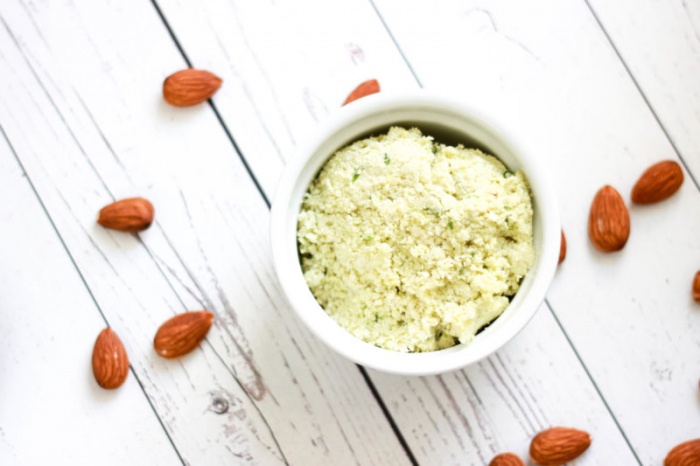
Almond Chive “Cheese” (Paleo / Vegan)
Makes: about 3/4 cup cheese
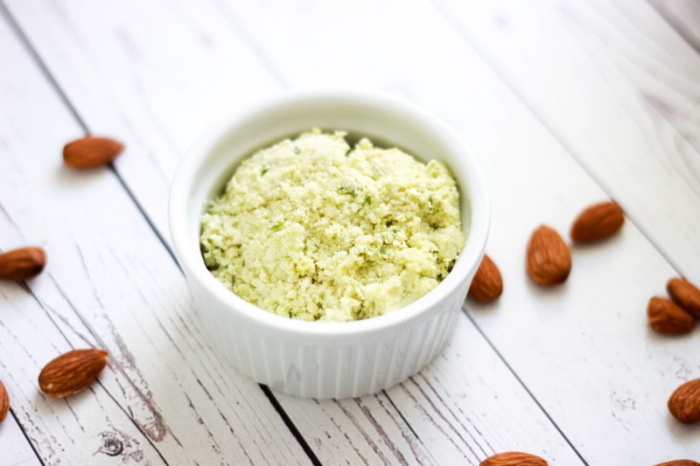
Ingredients:
- 1 cup soaked raw almonds (soak overnight in filtered water)
- 3 tbsp coconut vinegar (can also sub out for ACV or lemon juice)
- 1/4 cup avocado oil
- 3.5 tbsp chopped chives
- 1 tsp pink salt
- optional: filtered water if needed to blend
Instructions:
- Remove the skins from the soaked almonds. The skins should remove really easily after soaking – just push on the skin and it should slide right off. After you remove the skins, you can discard them.
- Add all ingredients into a high-powdered food processor and process until everything is well-incorporated. You might have to scrape down the sides with a spatula a few times to get everything to mix. This could take a few minutes, so be patient! You can add a bit of filtered water to get everything to blend more easily, if needed.
- Put the “cheese” in a nut milk bag and squeeze the cheese in the bag to remove the excess water.
- Keep the cheese in the nut milk bag, and place it in a bowl. Put the bowl in the fridge and allow it to set overnight (or for 12 hours). Some more liquid might leak out into the bowl as it sets.
- Once the cheese has set, take it out of the nut milk bag and put it in the storage container of your choice.
- Enjoy!
If you make this, I’d love to know what you pair it with! Be sure to tag me in any photos on Instagram so I can see!

by Christina | Sep 27, 2017 | Wellness
When transitioning into a healthier lifestyle, slow and steady wins the race. It can be really overwhelming to find new products, replace your old ones, get used to a new way of doing things, and sort through all of the “health information” on the Internet. There are a lot of products out there that are marketed as “healthy alternatives,” but how do you know what you can really trust? This is something I’ve discussed on many recent Actually Adultish podcast episodes, like the episode with Mark Ritz and my most recent one with Courtney Swan. Unfortunately, many companies can label their products “all natural” or “organic,” but that doesn’t necessarily tell you the whole story. I can’t tell you how many clients, friends, and family members have started eating certain foods or using certain products that were labeled healthy, clean, or nontoxic, only to later discover that it was just a marketing scheme. Beyond the trouble with faulty labeling, how do you know which products are actually good? As in, do they even taste good? Do they work, or is it all just hype?
Beyond finding trustworthy sources of information, it’s always easier to make lifestyle shifts when you can do so while saving time and money. We’re all busy nowadays, so having things delivered to our doors makes life a lot easier. Plus, you can get incredible deals online if you know where to look. A lot of people turn to unhealthy foods out of convenience, but healthy food and nontoxic products can be just as convenient as their alternatives. While some healthy products are expensive, there are ways to cut down on prices and buy in bulk so that you’re stocked up on healthy food and nontoxic personal items, and you can save money while doing it.
I’ve been very excited recently because quite a few family members and family friends have reached out to me asking for help with transitioning to a healthier diet and overall lifestyle. When it comes to my family and friends, I’ve learned not to push them. When I first got really interested in health and wellness a few years ago, I made the mistake of trying to force my lifestyle changes onto other people. I was just so excited about everything! When I saw my life completely transform through a healthier diet and using nontoxic products, I wanted others to experience the benefits as well. I quickly realized that trying to force people to change their habits only made them get defensive, and it actually turned them off from trying a healthier way of living. So I backed off. When it comes to my personal life, I never give advice unless asked to do so point-blank. I’ve learned that the best tactic is just to lead by example. People need to do things in their own time, when they’re ready. Trust in that.
Now that many people in my life are ready to make some changes, I’m more than happy to help them with the transition! I’ve found myself sending out a very similar email to many of my family members recently, and it contains a list of my go-to resources for healthy food, nontoxic products, and overall health information. This list also contains many of the same things that I recommend to my clients, so I figured it would be helpful for many of my blog readers, as well! These are my top online resources that I personally use to find and buy products that fit in with my healthy lifestyle!
- Thrive Market – Thrive Market is my go-to website for buying kitchen staples, and they also sell a ton of personal care items as well. I mainly use Thrive to stock my pantry, though. If you’re curious about what I buy, check out my post on my pantry staples! Thrive is sort of like an online healthy Costco. You buy a yearly membership, and then you get access to all of the discounted products. Products on Thrive are generally much cheaper than buying the same brands at the store, so I stock up online and save a ton of money each year. When you purchase a Thrive Market membership, you also sponsor a free membership for a low-income family, which helps make healthy living accessible to so many more people.
Your order gets delivered straight to your door, which saves a lot of time on grocery shopping! Thrive carries so many of my favorite healthy food brands, and you can also filter out your search results based on your dietary preferences. For example, I usually check the Paleo and Gluten-free sections for new products. Besides food items, they also sell home products, pet items, things for babies and kids, and personal care products. If you use this link, you can get 25% off and free shipping on your first order!
- Ritzfit – This is something I discovered recently, and I talk about it in depth on my podcast episode with the founder, Mark Ritz. You can buy either a monthly or yearly membership to Ritzfit, and that membership gives you access to incredible weekly deals on delicious, healthy food products. Each week, a different healthy product is featured, and you get to learn about the product and the company behind it.
What makes Ritzfit better than places like Thrive Market or Whole Foods is that it filters out the good from the bad. Every product featured on Ritzfit has been analyzed by a team of “ingredient experts” with very high standards when it comes to what makes a product actually healthy. (By “very high standards,” I mean, as high as my own.) They take the guesswork out of things for you. Like I mentioned, there are so many products marketed as healthy items that actually contain harmful ingredients. There are also many healthy products that just don’t taste good or perform well. The Ritzfit team checks ingredients, the manufacturing process, and the taste/performance beforehand, so you can absolutely trust the products featured.
You’ll get a huge discount each week on whatever product is featured (much more than you would ever get buying the product from any other vendor), so the membership is well worth the price. I also love Ritzfit because the site features companies that have a hard time getting publicity. A lot of these brands have incredible products but don’t have the budget to get enough marketing on social media, to get onto sites like Thrive Market, or to even get into stores like Whole Foods. They’re small companies that deserve love and attention, and I have been very impressed with how many new products I’ve found through Ritzfit that I now love. I never would have discovered these brands without Ritzfit. Instead of going into a grocery store and not knowing what to choose, this makes the process much easier. I also love suggesting this to family, friends, and clients over other sites because I know that any product recommended by Ritzfit is one that I would endorse as well. I can’t say the same about every product on Thrive or every product in Whole Foods. If you see a product you like, I recommend buying it in bulk! You can get a yearly membership for $75 at bit.ly/ritzfitATL if you use the code “LOVELY” at checkout! There’s also a 90-day money back guarantee on memberships, so you really don’t have anything to lose.
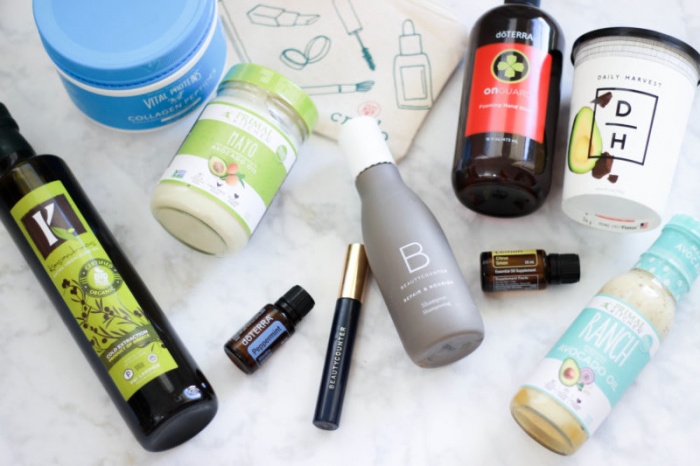
- Primal Kitchen – Everyone knows how obsessed I am with Primal Kitchen. I always point this brand out specifically because they sell so many of my pantry staples that I truly could not live without. Their salad dressings, avocado oil mayo, and avocado oil are things I always keep in my kitchen, and they’re always the first specific products I recommend to others when I’m asked about healthy food replacements. The ingredients are amazing, and they are incredibly delicious. Swapping out your salad dressings, mayo, and cooking oil is a no-brainer, especially when they taste better than the unhealthy versions! You can use the code “WELLNESS” for 10% off all Primal Kitchen Products!
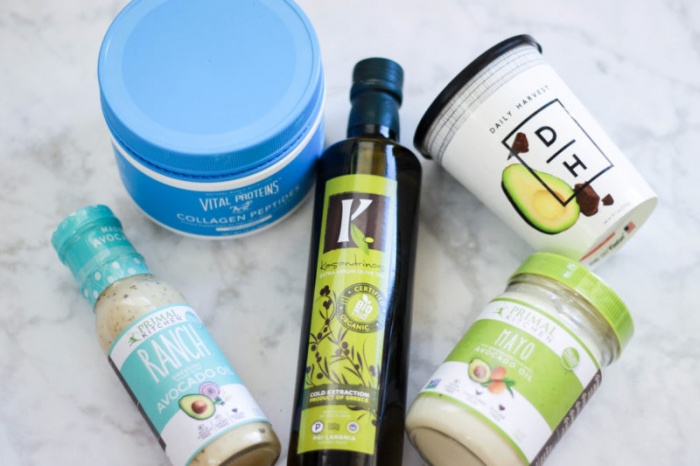 Kasandrinos Olive Oil – Along those lines, I always tell people to swap over to Kasandrinos Extra Virgin Olive Oil. Most olive oils from the store are cut with unhealthy oils, and I know that olive oil is a staple in most people’s kitchens. You could easily be unknowingly consuming a processed vegetable oil on a regular basis, thinking it’s olive oil, which could cause major longterm health problems. Just because it’s labeled 100% pure olive oil, doesn’t mean it is. I buy all of my olive oil in bulk from Kasandrinos because it’s very high quality, it’s completely pure, and it tastes amazing. They even sell little travel size bottles! I’m pretty sure everyone has olive oil in their pantry, so this is definitely one of the top swaps to make. You can use the code “WELLNESS” at checkout for 10% off!
- Vital Proteins – I also recommend Vital Proteins to pretty much everyone, whether that be for their collagen, bone broth, gelatin, or other supplements. Collagen is amazing for gut health, muscle support, joint pain, and hair/skin/nail health. Check out my post on collagen if you want to read more about all of the benefits! I use their collagen in place of protein powder, and I also love to use the bone broth as a healing base for soups. I’ve personally seen collagen transform my own health, and I know so many others who have experienced the same. Besides, who doesn’t want better skin and gut health?!
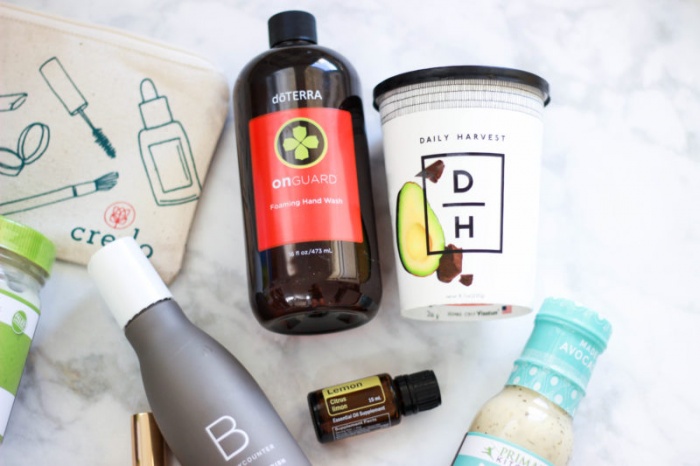
- Daily Harvest Smoothies – Daily Harvest smoothies are a great option for people who have busy mornings and need a quick breakfast on the go. They also have soups, chia parfaits, and sundaes as well. You just go online, pick your flavors, and they’re delivered to your door. The smoothies are cups filled with frozen ingredients, so you just keep them in the freezer. When you want one, all you have to do is add liquid, blend, and you’re all set with a smoothie to go! This is a lifesaver for people who feel like they never have time to cook, and I always keep a few of these in my freezer as backup in case I run out of food. You can use the code “addictedtolovely” to get 3 free smoothies with your first order!
- GrubMarket and Milk and Eggs – I love to get groceries delivered straight to my door when I feel like I have a million things to do. I know that grocery delivery can make healthy eating a lot easier on a lot of other people, too. In my area, I use GrubMarket and Milk and Eggs because they deliver local produce instead of just regular produce from the store. It’s like getting the farmer’s market delivered to your doorstep. Milk and Eggs is great if you’re in the L.A. area, and GrubMarket delivers throughout California. If you live somewhere else, search to see if there is another grocery delivery service in your area that connects with local farmers. The prices on GrubMarket and Milk and Eggs are much cheaper than at the store, you get high quality meat and produce, and it saves me a ton of time on grocery shopping! I literally order my groceries the night before in my pajamas! (For Milk and Eggs, you can use the code “WELLNESS” at checkout for 20% off your first order. For GrubMarket, you can use the code “LOVELY” for 20% off your first FarmBox!)
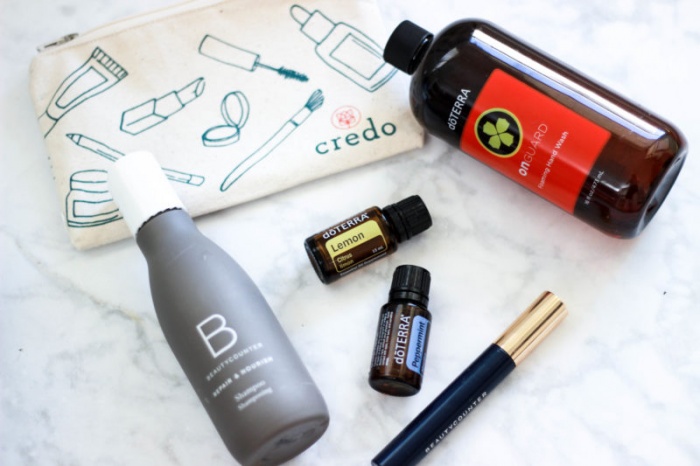 doTERRA – doTERRA essential oils have become a huge part of my life and have totally transformed my health. Not only do I love to diffuse them, but I use them as perfume, in cooking, to help with digestion, in cleaning products, and much much more. They have so many uses, and I feel like they should be a staple in everyone’s home. I love doTERRA because the oils are of the highest quality, and I also love that doTERRA offers so many other nontoxic household products – laundry detergent, hand soap, dish soap, cleaning supplies, skincare, haircare, and supplements. I also make my own “vitamins” with their veggie caps. Products like On Guard, Breathe, and DigestZen have now replaced my old over-the-counter remedies for colds, flus, indigestion, stomach pains, muscle pains, and more. If you’re interested in learning more about doTERRA or want to become part of the Loyalty Rewards Program, definitely let me know! I’m happy to chat, give suggestions, and help you incorporate essential oils into your life! People are always amazed at how many products they can replace with essential oils, and it makes a huge impact on your overall health when you replace household items with nontoxic alternatives!
- Beautycounter – When it comes to personal care products, I always turn to Beautycounter. The products are nontoxic, of the highest quality and standards, and actually work. 95% of my makeup, skincare, haircare, and body care products are from Beautycounter. I have a post about some of my favorite Beautycounter products here, although it does need an update with all of the recent new launches! What you put on your skin gets absorbed into your skin, and what is absorbed into your skin enters your bloodstream. It is so important to use safer personal care products for overall longterm health, because many people don’t realize that their toxic skincare products could be causing health issues like asthma, infertility, cancer, skin irritation, digestive issues, and more. Toxic products can have a seriously negative impact on our hormones, so it’s important to reduce your exposure as much as possible.
I recommend joining as a Band of Beauty Member because you’ll get free shipping, free products, and exclusive deals throughout the year. You also get money back with each purchase, so you can use that credit on future products! Everything is delivered straight to your door, so you don’t have to deal with going to a store. I’ve saved so much money on personal care products since switching to Beautycounter, and I love that these products work better than my old ones. They also have a baby line and kids’ line, as well! (Definitely get the sunscreen, too.) If you need help with color matching, picking products, or want to become a Consultant, feel free to email me!
- Credo Beauty – If you’re looking for other clean beauty products, check out Credo Beauty. They have stores in San Francisco and L.A., but you can order from online anywhere! I know a lot of people want to switch to non-toxic personal care items but don’t know what brands even are nontoxic, so checking out products that Credo carries is a great start. However, I do have to warn you that I don’t support the use of every product they carry, because I have my own set of standards when it comes to the ingredients I allow on my body. That’s why I generally stick to Beautycounter products, which never contain ingredients on their “Never List.” That being said, Credo is a great store to check out for a wider variety of products, and it’s the perfect way to start getting into nontoxic beauty.
- EWG – I always check the EWG Skin Deep database to see if a product is nontoxic or not. EWG rates different products on a scale from 1-10 depending on their ingredients. When the rating is closer to 1, the ingredients are safe. If it’s a 10, then it’s very toxic. EWG doesn’t rate every product in existence, but it’s better than nothing! I try to stick to products that are a 1 or a 2 on this scale.
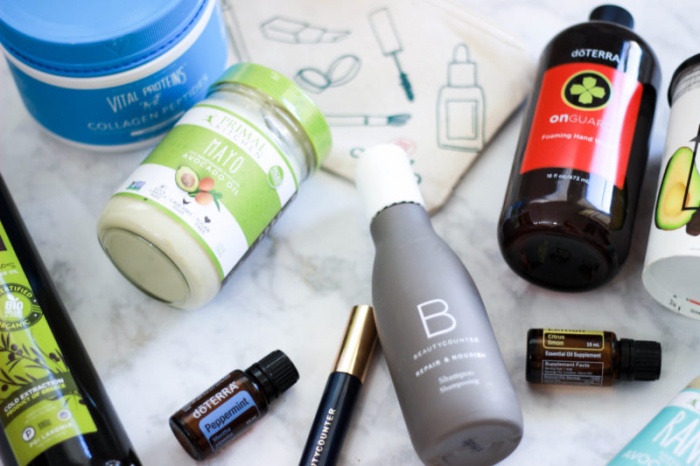
Navigating the “health world” and transitioning to an overall healthier lifestyle can be very overwhelming, but these are the top resources that helped me get there! Hopefully you found at least one helpful resource on this list. Remember, any change you make is an improvement, and every swap makes a big difference!

by Christina | Sep 22, 2017 | Recipes, Wellness

It’s that time again…

Pumpkin fever has taken over.

I wanted to wait a bit longer to post a pumpkin recipe (October?), but if Trader Joe’s says it’s pumpkin time, then it’s pumpkin time. Plus, everyone has been posting about pumpkin-flavored things nonstop on social media, so I’m getting the itch. I feel like the pumpkin hype starts earlier and earlier each year – is that just me?!

I thought I’d start off with a transitional recipe, because brownies are a year-round kinda thing. Pumpkin brownies are a great way to kick off pumpkin season, just in case you’re not totally in the mood yet. It’s still only September, so I get it if you wanna dip your toes in before diving in completely.


A lot of you saw me baking up a storm a few weeks ago when I visited my cabin. I had about 15 recipes pre-planned to test out during that trip, but they were all fall-themed. As in, it would be awhile before I shared the recipes. Many of you have been asking for them, though, so I felt like it was cruel not to share at least one of those glorious recipes.

So I’ll give ya one of my favorites – vegan, paleo, flourless pumpkin fudge brownies.

These flourless pumpkin fudge brownies were a happy mistake. My uncle was with us at our cabin, and he is the king of chocolate. Chocolate cake has always been our thing. The two of us love chocolate fudge anything, and the rest of the family knows it too well. Before I went paleo, we had a tradition of getting a chocolate fudge cake from Safeway/Von’s/Ralph’s any time we were together. It’s a very specific pre-made chocolate bundt cake that’s extremely rich and dense (and filled with very unhealthy things…whoops) , and we were obsessed.


Anyways, I felt bad that with all of my baking that weekend, I didn’t make him anything that was chocolate-fudge-themed. I promised him that after I finished all of my “official” planned recipes, I would bake him some chocolate fudge brownies to take home, just to make up for it.

When I first became interested in healthy baking, I tried a ton of different recipes, but a few stand out distinctly in my mind. One that stands out the most was a recipe for pumpkin brownies. I was just learning to cook, and I definitely didn’t include all of the ingredients necessary in the batter. They ended up being a total success in terms of flavor because they tasted like straight chocolate fudge, but they weren’t really brownies. They weren’t firm enough and melted when left out for too long, but they were divine. Moist, dense, delicious, and ever-so-chocolatey.


I’ve wanted to recreate those for a long time, and it was finally my chance.

After I finished making all of the recipes I planned on, I only had a few ingredients left to work with. Since the brownies were just going to be for my uncle, I wasn’t too worried about it. I would make due with what was left. As I’ve mentioned, my cabin is literally in the middle of nowhere, so there’s not a grocery store anywhere nearby to get more baking ingredients.


One of the things I ran out of? Flour. Of course. I was excited about it, though. I’ve always wanted to make a flourless brownie or cake, but I never had a reason to. Here was my chance! Whenever I think of a flourless baked good, I imagine something really dense and rich – and that’s exactly what I was going for.


Even though I didn’t have any flour left, I did have part of a can of pumpkin. It was either going in these brownies, or it was probably going to end up in the trash. You know I believe in NO FOOD WASTE, so I decided that these were just going to have to be pumpkin brownies.


A few simple ingredients later, and these magical brownies were born. That’s what I love most about them – they are so simple. 6-7 basic ingredients. No flour needed. Does it get any better?


They’re the exact texture I wanted – fudge without being actual fudge. I’ve talked about this before, but when it comes to brownies, I’m team fudgey. Some people prefer cake-like brownies, but that’s not my style.


My uncle enthusiastically approved of these, so I gave myself a huge pat on the back. If the chocolate king himself gives a big thumbs up and asks for more, then we’re in business. Especially when his taste buds are accustomed to artificially flavored chocolate lava cakes.

These can be modified in a few different ways in order to fit most people’s dietary needs! If you’re low-carb or following a ketogenic approach, use monkfruit sweetener instead of coconut sugar. If you’re AIP, you can replace the cocoa with carob and the almond butter with coconut butter. In general, feel free to sub another nut butter if you want! I like to stick with almond butter though, because it’s easiest on my wallet and easy to work with in terms of texture. I also think it pairs the best with the pumpkin flavor.

If you love pumpkin and you love chocolate, I highly recommend you make these immediately! They are so simple to whip up, and they taste incredible. They’re gluten-free, dairy-free, paleo, vegan, egg-free, and flourless, and they can be made low-carb/AIP-friendly. In other words, a treat everyone can enjoy!


Flourless Pumpkin Fudge Brownies (Paleo / Vegan)
Ingredients:
- 1 cup pumpkin puree
- 1/2 cup cocoa powder / cacao powder (you can add up to 1/4 cup more if you want a stronger chocolate flavor)
- 1/2 cup almond butter (I also like the 365 Whole Foods and Trader Joe’s creamy almond butters)
- 3 tsp vanilla
- 1/4 tsp Himalayan pink salt or Celtic sea salt
- 1/2 cup coconut sugar or monkfruit sweetener for low-carb/keto
- Optional: GF/DF chocolate chips or cacao nibs

Instructions:
- Preheat your oven to 350*F. Grease your 8×8 baking dish with coconut oil, or line it with parchment paper.
- Add all ingredients into a large bowl. Mix until everything is combined.
- Pour the batter into the baking dish. The brownies will set exactly how they look as the batter, so smooth out the top if you want, or create a design. You can also add (more) chocolate chips / cacao nibs on top if you want.
- Bake for 20-23 minutes, or until a knife/toothpick comes out clean.
- Allow to cool. Serve and enjoy!

If you make these, be sure to tag me in a photo! And if you have any requests for pumpkin recipes this season, I would love to hear!


by Christina | Sep 13, 2017 | Recipes, Wellness

Who doesn’t love a good lemon bar?! Well, truth is… Not always me.
Let me be clear. I love all things lemon. Lemon is one of my favorite flavors, and always has been. Because of that, I always like the idea of a lemon bar. That citrusy bite is extra refreshing and reminds me of summertime. What I don’t like about traditional lemon bars, though, is the bread-y bottom.
I’ve talked about this before when it comes to pies. I’m not really a pie person, because I don’t like the crust. I have the same problem with lemon bars. The bottom crust is always just too… dry. And bland. What I do love, though, is the sweet, jelly-like top. I could eat that all day long.
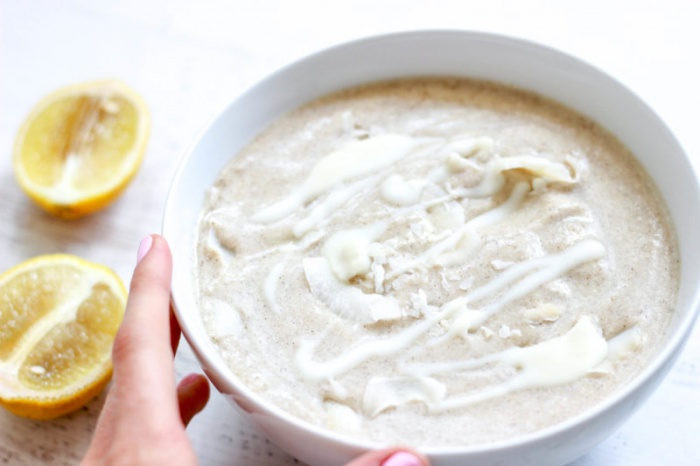
There are a few other things I don’t like about most classic lemon bars. First, they’re unnecessarily high in sugar. I had an old roommate whose favorite dessert was a lemon bar, so I found myself making them for her all the time. I was always shocked at how much sugar went into most recipes. Lemon alone is naturally sweet, and I felt like all of the extra sugar made it too sweet. You could barely even taste the lemon – it was all sugar!
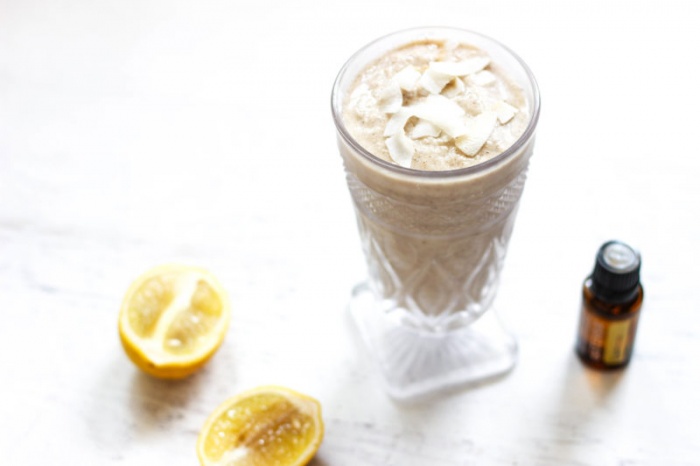
I also don’t like how much work it is to make lemon bars. Let’s be real…we don’t always have time for that. And that’s exactly what brought me to this recipe. Awhile back, someone asked me to create a lemon bar recipe. I thought, That actually sounds really good. But then I thought, That also sounds like a lot of work that I don’t really want to do right now when it’s so hot out… After that suggestion, though, I was craving that sweet lemon bar flavor.
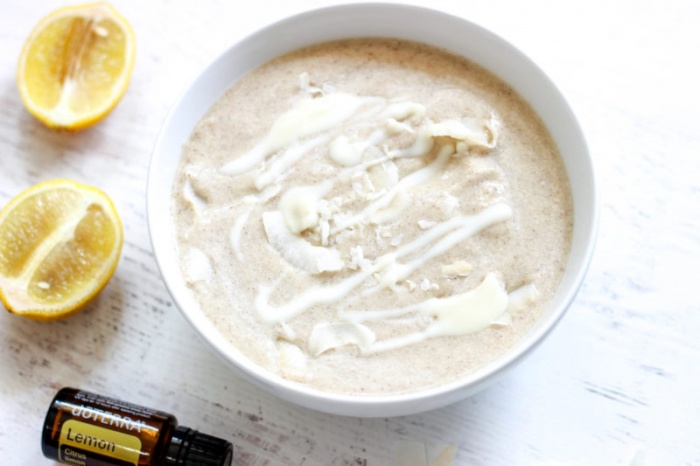
It’s been extra warm here in sunny Los Angeles, and all of that heat has been putting me in the smoothie mood. One morning, I looked at the lemon in my fridge, and all I could think about was that I NEEDED a thick and creamy smoothie, and something extra refreshing like a huge glass of ice cold lemon water.
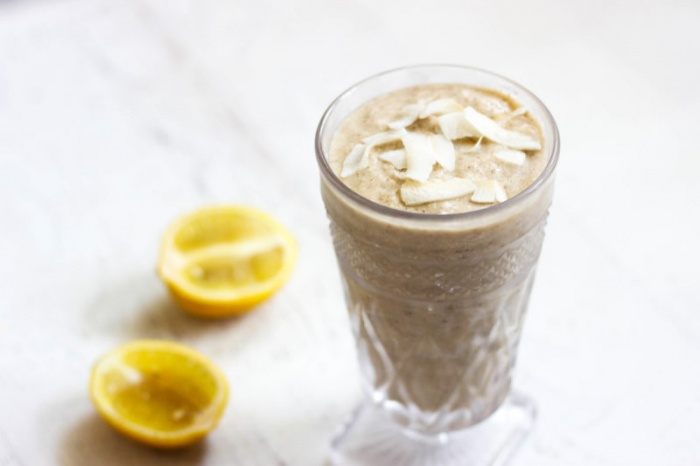
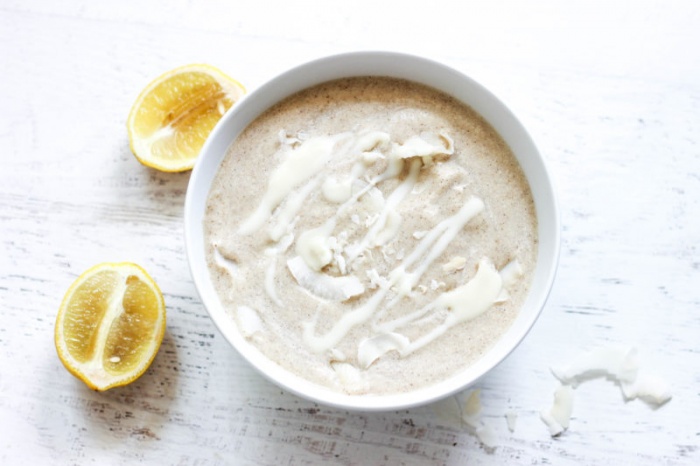
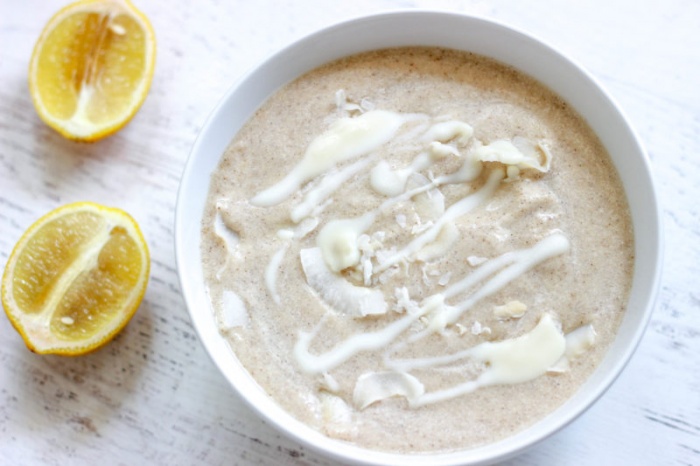
Instead, I decided to make a lemon bar smoothie. It was the perfect compromise. I was getting the flavor of a lemon bar without all of the hard work, without the heat from the baking, without the unnecessary sugar, and without the annoying bottom crust (sorry if you’re a crust person). This is even better. INSTANT LEMON BAR. IN SMOOTHIE FORM.
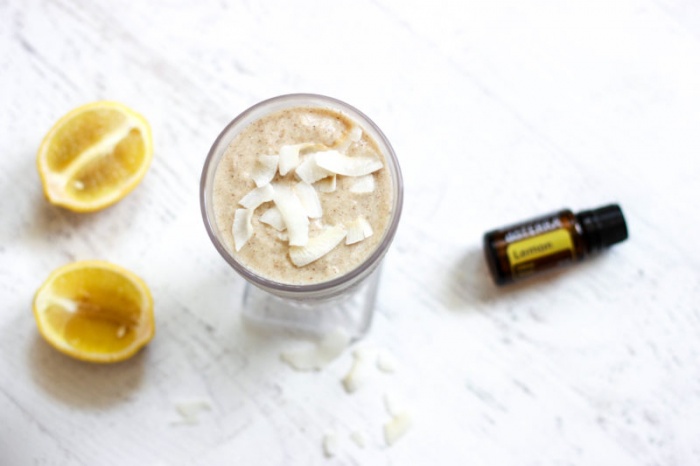
This smoothie truly does taste like a yummy lemon bar. Since lemon is sweet on its own, it doesn’t need any sweetener – especially when combined with creamy coconut. I wish I had discovered this combination before. Ever since nailing down the proportions, I’ve been obsessed. It almost tastes too good to be true!
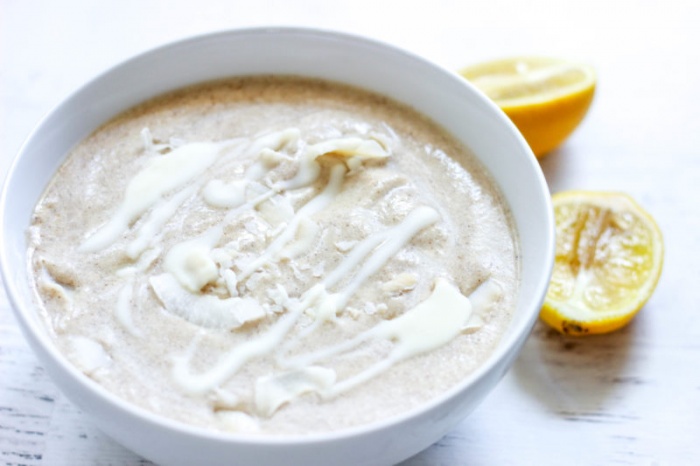
This smoothie is the perfect breakfast, snack, or dessert. You can use fresh lemons, or you can use lemon essential oil. I am a huge fan of essential oils and love to use them in cooking, but I’m extremely picky about what essential oils I use. Unfortunately, many on the market are not pure, and therefore aren’t safe for ingestion. If I want to ingest or put essential oils directly on my body, I use doTERRA, and it’s also the brand I recommend to clients. doTERRA essential oils have changed my life! More on that in another post. If you want an extra strong flavor, you can even use a combination of fresh lemon and essential oils. Essential oils are great for cooking, though, because just a few drops are extremely powerful.
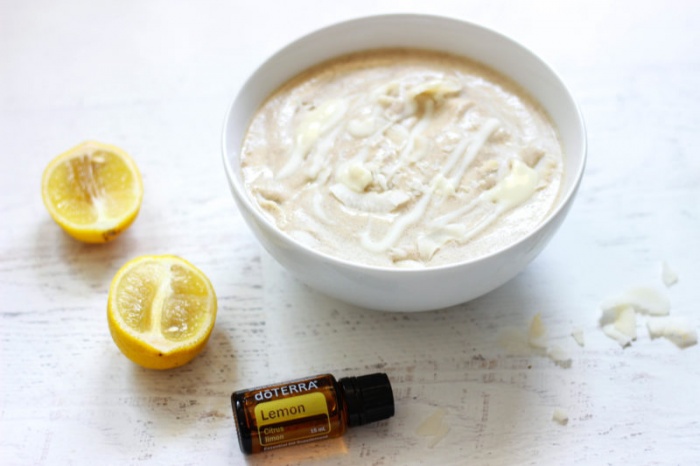
This smoothie recipe is the perfect switch-up from a typical green smoothie, but you still get your morning dose of veggies because of the hidden cauliflower! Frozen cauliflower is a great way to thicken any low-carb smoothie because it has such a neutral flavor. The flavor is completely masked by the lemon and coconut, which pair together like a dream. The coconut provides a richness to create that “lemon bar” flavor, without making the smoothie actually taste like coconut. This smoothie is a lemon-lover’s dream!
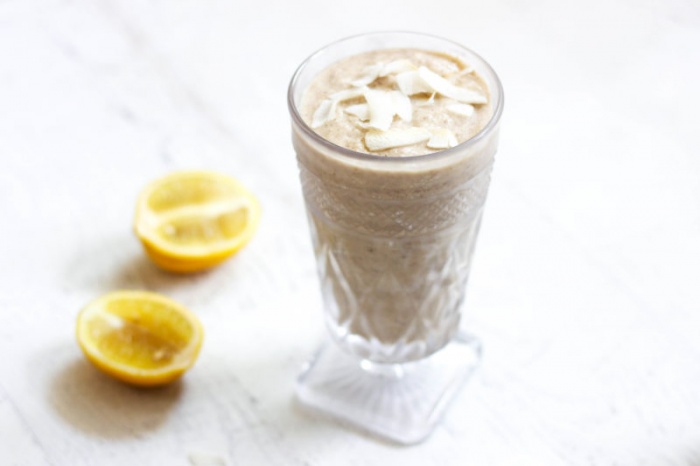
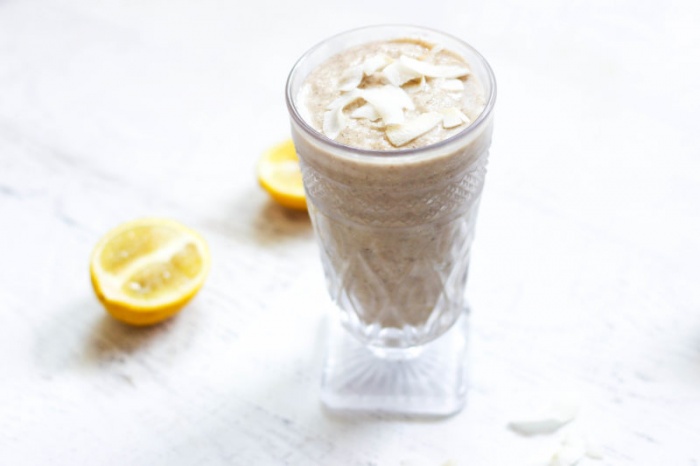
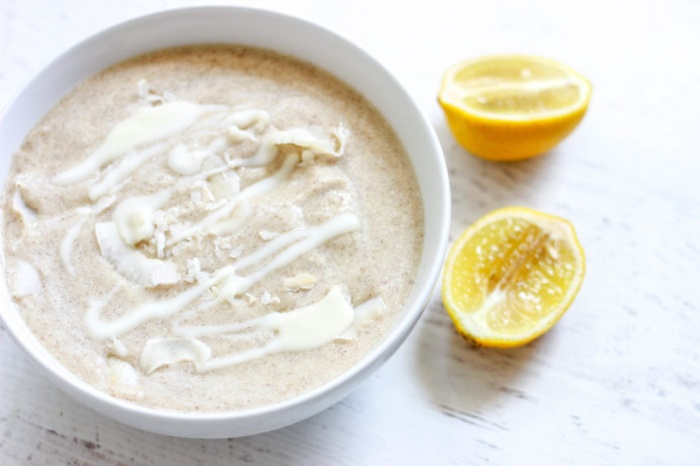
This lemon bar smoothie is paleo, keto-friendly, low-carb friendly, sugar-free, nut-free (I don’t consider coconut a nut…), soy-free, dairy-free, and vegan depending on what protein you use. If you have a sweet tooth and are having a hard time switching over to low-glycemic smoothies, give this one a shot! You won’t be disappointed. It’s thick and creamy, so you can make it a smoothie bowl or drink it out of a cup! This smoothie is the perfect way to instantly curb that craving for Grandma’s old lemon bars. Quick, easy, refreshing, and delicious.
Sugar-Free Lemon Bar Smoothie (Paleo / Vegan / Keto)
Total time: 5 minutes
Ingredients:
Instructions:
- Add all ingredients except for toppings into a high-powered blender and blend.
- Add more ice for a thicker texture or more liquid to thin.
- Pour into a bowl or cup. Top with coconut flakes and/or coconut butter. Enjoy!
Be sure to tag me in a photo if you try this recipe out! Now that I’ve made this smoothie, I think it might be time to come up with an actual lemon bar recipe with a different kind of crust. Let me know if you’d like that!

SaveSaveSaveSaveSaveSaveSaveSave
SaveSave

by Christina | Sep 6, 2017 | Recipes, Wellness
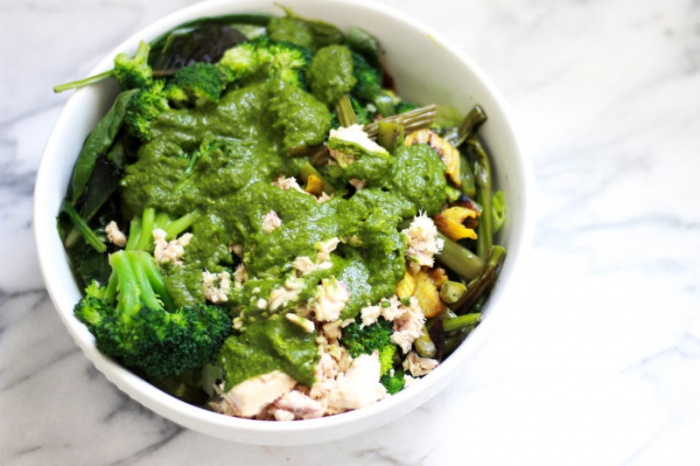
I know not everyone feels this way, but I love my greens more than anything. My motto is, “The greener the better!” I didn’t always love vegetables this much, though. It took me awhile to figure out how to fall in love with them, but now I like my bowls to be as “green” as possible. My mission is to help other people learn to love their veggies, too, and to teach them to sneak as many as they can into their meals. I’m about to share one of the best tricks I have for doing just that.
Another thing I’m obsessed with? SAUCES. Or, as I like to say, SAWCES. A good sauce can instantly transform any meal. It can turn a bland bowl of plain veggies into pure magic. It can liven up any piece of fish or meat. Basically, a good sauce is the perfect way to take the same exact meal and completely change the flavor. Variety keeps life exciting!
My other motto? NO FOOD LEFT BEHIND. My biggest pet peeve is food waste. I’m currently at my cabin, and my family thinks I’m crazy because I always use up every last morsel of food. My parents are the type to throw the last few bits of uneaten food into the trash instead of saving it, or to throw away a container of spinach even though there are a few leaves left. I, however, will use every last bit. One spinach leaf is better than no leaf. One bite of salmon is better than none. There is absolutely no reason to waste food! People ask me all the time how to save money on healthy eating, and one of my top tips is to make sure you’re utilizing leftovers and not unnecessarily throwing anything away. There is always a way to use the food.
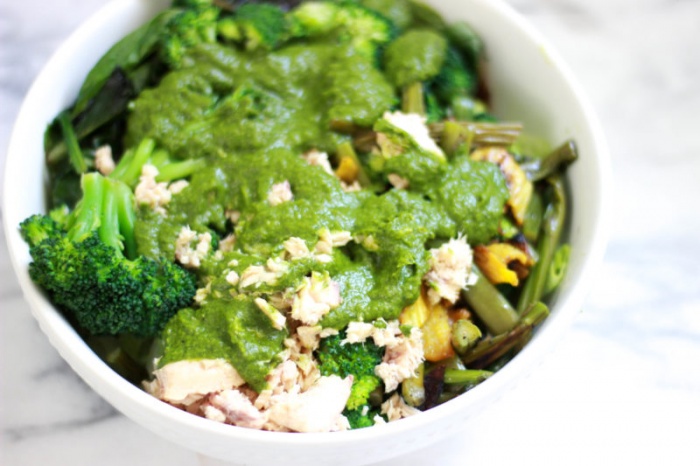
I’ve been taking a lot of weekend trips over the past few months, and I play this weird game with myself where I try to completely finish everything in my fridge before I leave. This requires strategic meal planning and grocery shopping, and I get better at it every time. Apparently a lot of you do this, too, so I don’t feel as strange. Basically, I try as hard as I can to make sure I finish every bit of food right before I leave so that I don’t have to throw anything away just because I’m leaving, and I don’t have to bring any “extras” with me. I’m not sure why it’s so satisfying to completely clean out the fridge perfectly on time, but it is.
Recently I discovered my favorite way to nail the fridge clean-out – making a veggie green sauce with my leftovers! A few weeks ago, on the last day before leaving for my road trip, I needed to use up all of the random containers of greens in my fridge. There were a few bits of spinach in one container, a few bits of kale in another, a few bits of arugula in another… you get the idea. I also had a lemon, a few random fresh herbs, and some ready-to-steam veggies in the bottom of my crisper. Just a bunch of odds and ends on top of the food I was already planning to eat for dinner that night. The fridge was almost cleaned out, but not yet. And I was not going to throw anything away.
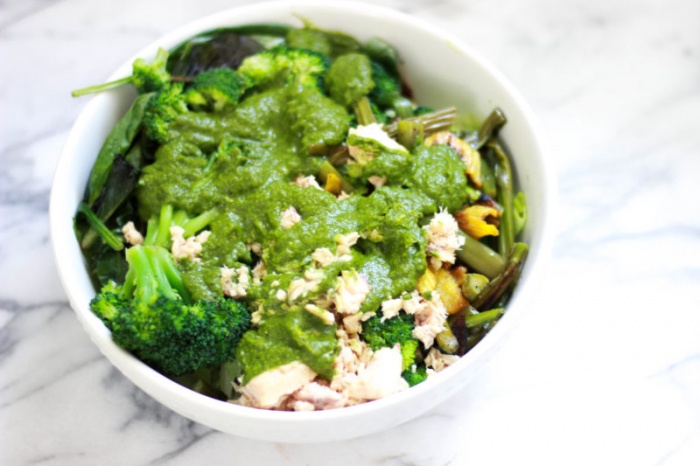
I decided to throw it all into my food processor and see what happened. I steamed the veggies and threw half of them in, added in the greens and the herbs, squeezed in the lemon, added some olive oil and spices, and WENT TO TOWN. The result was a thick, creamy, delicious green sauce! Why had I not done this before?! I poured it over the last of the food left in my fridge, and it took my leftovers to another LEVEL.
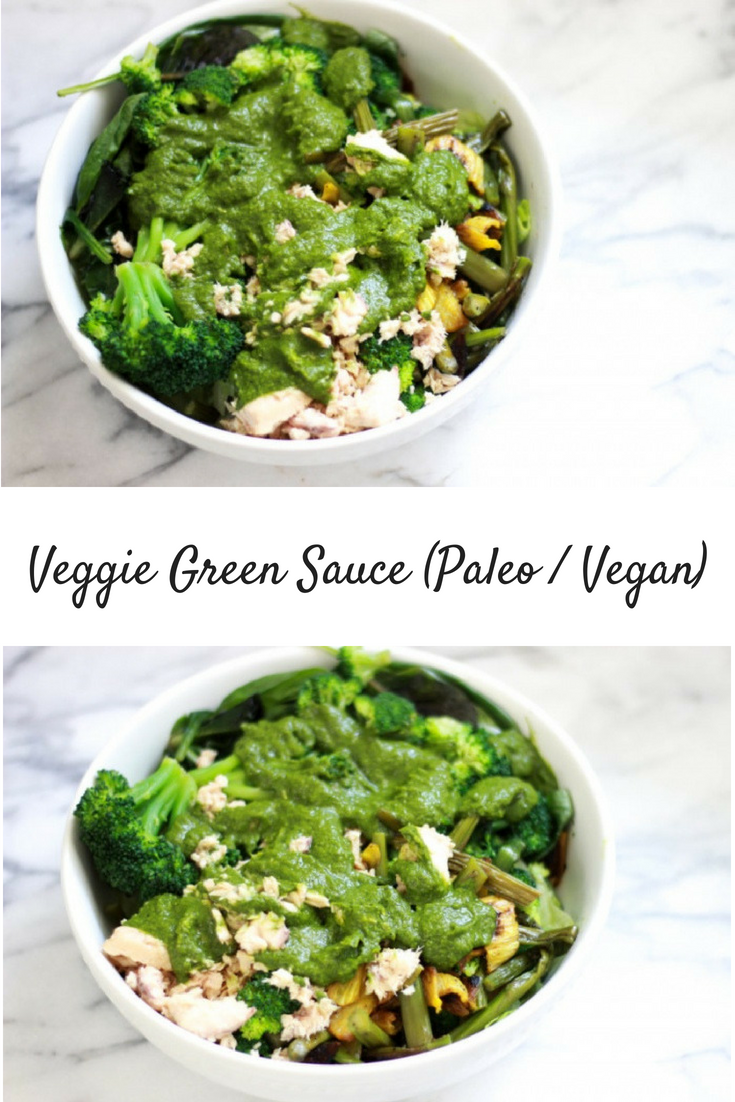
This isn’t really a “recipe,” persay, more of a suggestion of how you can repurpose leftovers in your fridge. Remember: NO FOOD LEFT BEHIND. Maybe instead of lemon, you happen to have lime. Maybe instead of using olive oil, you use avocado oil. Maybe you have different herbs in your fridge than I did. Maybe you have completely different greens left. The point is to use whatever you have on hand! There is never just one way to make a vegetable or use food in a recipe. Never thought of blending steamed broccoli into your sauce before?! TRY IT! This turned out to be one of the best sauces I have ever made, and it was all an accident!
My favorite thing about this is that the flavor changes every time. The leftover items in my fridge are always different, so the sauce will always have a slightly different flavor! That’s why I love cooking so much – there is no wrong way to do it, and there is always space to be creative! You’ll never get bored with this “no recipe” recipe!
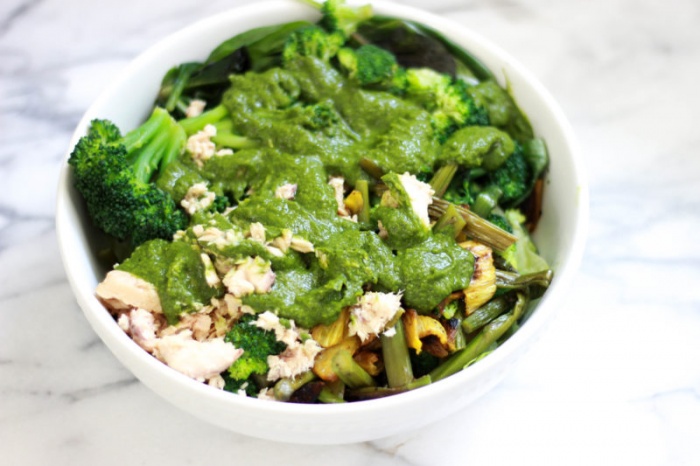
“Clean Out the Fridge” Leftover Veggie Green Sauce (Paleo / Vegan)
Ingredients:
- In general: any leftover steamed veggies you have in the fridge, any leftover lettuces/greens, some oil, vinegar, salt, and pepper
- What I used specifically for these photos (but it changes every time based on what is left in my fridge!):
- 1 cup steamed broccoli
- Handful of baby kale
- Handful of baby spinach
- A bit of cilantro
- A bit of parsley
- Juice from half a lemon
- Dash of apple cider vinegar
- Olive oil (Use code “ADDICTEDTOLOVELY” for 10% off)
- Dash of Himalayan pink salt
- Dash of Pepper
- Bit of fresh oregano
Instructions:
- Toss everything into a food processor and puree.
- Taste a bit and add any more herbs/spices to adjust the flavor. If it’s too thick, try adding a bit more oil, a dash of vinegar, or a splash of water. Puree again until you reach the consistency and flavor of your liking.
- Pour on top of your meal and enjoy!
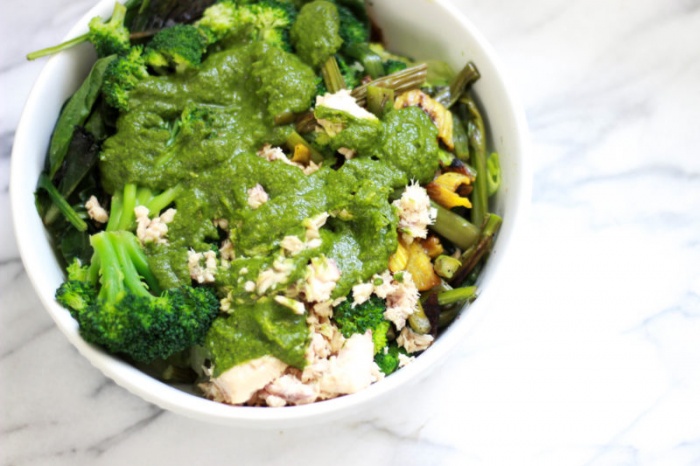
If you come up with an amazing combination while making a “Clean Out the Fridge” Veggie Green Sauce, I’d love to hear it in the comments! If you try this out, be sure to tag me in the photos!
SaveSaveSaveSaveSaveSave
SaveSave
