
by Christina | Aug 10, 2016 | Wellness
This week I am VERY BERRY happy to feature a fellow foodie and fitness lover, Les from The Balanced Berry! (Get the pun in the title? And in that opening? I know, I’m clever.) About a year ago, I stumbled across Les’s blog while perusing Pinterest, desperate for a high-quality smoothie bowl recipe. I wanted something that would be nice and thick but also wasn’t just a straight-up shot of sugar like most recipes online. I found her recipe for “The Best Green Smoothie Bowl,” and lemme tell ya, it IS the best green smoothie bowl in the game. I then found myself spending hours on Les’s blog, drooling over her recipes and getting to know more about her through her lifestyle posts as well.
There is much much more to Les than insanely delicious recipes, though. First of all, Les has a beautiful soul. I don’t know how else to say it. She’s a deep thinker, and she just gets it. Les always keeps it real, and her total honesty with her readers is one of the things I love most about her. Her fun-lovin’ nature is contagious, and she has the best sense of humor. Les is all about living a healthy lifestyle in every sense of the word. She’s into yummy, healthy food, fun workouts, meditation, self-care, green beauty, and just overall BALANCE.
I hate to say it, but a lot of people in the wellness world talk about “balance,” but don’t actually promote balanced lifestyles. Les does promote a balanced lifestyle, though, and she gives her readers tangible, realistic tips for reaching an all-around state of well-being in their lives. I love her so much for that. She’s so down-to-earth and relatable – you’ll fall in love with her as soon as you read any of her posts. Les and I also have a lot in common, so I felt an instant connection with her as soon as I started reading her content. I’m hooked. We like to joke that we’re soulmates, but I’m seriously convinced we are. So it’s not really a joke. Anyways, who’s ready to get to know a bit more about The Balanced Berry?!

First, tell me a little bit about yourself so my readers can get to know you!
Hi Addicted to Lovely readers! My name is Les, and I blog over at The Balanced Berry. I was born and raised in the Seattle area, which is where I still live but I am a California girl at heart. I have always loved California and from a young age knew I would end up there. Stay tuned on that! I currently work in corporate communications and also work part-time as an educator at lululemon. My hobbies include writing, taking photos, exploring farmer’s markets, trying new restaurants, trying new beauty products, and any and all DIY projects.
What does the term “health” mean to you?
To me, health means being in a state of well-being from the inside out. It is the connection of a happy mind and a happy body. You really can’t have one without the other!
How and when did you first get interested in healthy living?
I have always been interested in healthy living, but I didn’t begin to understand what healthy living meant for me until I was in college. My dad has always been really interested in nutrition and natural alternatives, and my mom has been a great influence when it comes to making time for fitness. Trips to the health food store with my dad as a kid were the norm, as was seeing my mom take her water aerobics classes at the local pool while I took swimming lessons. Both of them have influenced my interest in healthy living a ton. I definitely went through a less-than-healthy eating phase as a teenager, but was always active because I grew up playing sports.
In college my weight yo-yo’d up and down a lot the first few years, and I became more interested in learning how to take care of myself again. I really kicked my butt into gear the summer before my senior year of college, when I had a corporate internship and realized sitting at a desk all day really took a toll on my mental and physical well-being. That was when I established a regular workout routine and started focusing on the importance of eating whole foods. When I returned to college my senior year I lived off-campus and began cooking for myself. That was when I started reading healthy living blogs and started experimenting with healthy recipes. That was a great time in life to really hone in those healthy habits, because that’s the only way I know how to “adult.” 😉

Let’s talk about your blog! What inspired you and how did you get started?
I fell in love with healthy living and fitness blogs when I was in college. I loved reading about real women like me sharing their journeys and what healthy living meant for them. After college I had a ton of friends, family members, and personal training clients asking for recipes and more tips. I realized after spending SO much time reading blogs, it was silly that I didn’t have my own especially because I had so many people asking for it. I actually started a blog right after college, but never really kept up with it because I was trying to mimic other bloggers and it just didn’t feel authentic. After scrapping that one, I started The Balanced Berry a few years later and actually stuck with it!
How did you come up with the name “The Balanced Berry”?!
I spent a few years taking my interest in healthy living too far, and I had an unhealthy relationship with food and exercise. It didn’t help that at the time I was also working as a personal trainer and was in the gym basically 24/7. I had just slowed down and was starting to appreciate all that my body could do instead of focusing so much on how I looked. The Balanced Berry was dedicated to me finally reaching a place of balance. I’m going to be honest, I struggle with my blog name a ton. Sometimes (all the time) I wish I had a different blog name because there are so many blogs dedicated to “balance” out there that it’s easy to get lost in the shuffle. But the blog has caught on enough that I would feel silly changing it now.
Well I love the name! You recently started a YouTube channel (which I am so excited about!). What inspired you to start your channel, and what are your goals for it?
I LOVE YOUTUBE. I was actually obsessed with YouTube before I started reading blogs. I would spend days upon days watching makeup tutorials in college (my friends still tease me for it). I just loved the connection YouTubers have with their audience, and I have wanted to start a channel forever. I finally got over my fear of getting on camera and just went for it! At this point, YouTube is really saturated so I don’t expect to become a viral sensation. I just want to give my followers another chance to connect with me, and I want to appeal to those who may be visual learners and prefer video over reading blog posts.
Where do you get your recipe inspiration from?
From a ton of places! For starters, I have always loved being in the kitchen. As a kid, I was way more interested in cooking shows than cartoons, and watching so many really helped me learn the basics. I also just love to experiment, and love seeing how things work together so I’m always whipping up concoctions on the fly. Usually those “on the fly” recipes turn out to be the best ones! I also get a ton of inspiration from my family and meals that I eat out. Those were the inspiration for two of the blog’s most popular recipes! My summer kale salad recipe was inspired by a salad my uncle brought to a family party, and my broth bowl recipe was inspired by Panera’s. Those are by far the two most-loved recipes on my blog.

What are 3 of your favorite beauty products?
I am so glad you asked – I am a huge beauty junkie. Over the past 4 years I have really started getting into green beauty. I realized it was silly to put tons of crazy chemicals on my body if I was so good about being careful with what I put in my body. Right now my top 3 favorite products are 100% Pure Mascara (I love the black tea version), Beautycounter Tinted Moisturizer with SPF, and organic argan oil for my hair.
What’s your favorite form of self-care?
Self-care is something I have really been focusing on lately. Up until recently I equated self-care with something indulgent – a manicure or spa trip. But I’m learning that self-care is a necessary part of life. It’s all about filling up your own cup before you can help others fill theirs. Right now I’m really working on getting more sleep – that’s an area of self-care that I am lacking in! Fitness is also a huge part of self-care for me. I need to move my body in some way every day, even if it just means taking the stairs at work.
What’s your exercise routine like?
I love it all! I get bored easily so I am always trying new things to mix it up. Strength training is my first love, so I try to hit the weights a few times per week. High-intensity circuits (using kettlebells and TRX) are my favorite. I also love vinyasa yoga and barre because I am really inflexible and they are so challenging. Although I have a few half-marathons under my belt, running isn’t my fave but I love the rowing machine and doing stairs for cardio!
What’s your go-to, quick and easy meal?
Smoothies! Whenever I need quick sustenance, I whip out the blender and throw in frozen bananas, frozen mango, spinach, almond milk and a little protein. I never get sick of it. One of my favorite “real food” quick meals is my quinoa lentil broth bowl recipe (on the blog!). It is so easy to make, and it is so good.

What’s one myth in the health/fitness industry that you want to put an end to?
Oooh there are so many! First, I want people to get past the calories in vs. calories out mentality. We are all so much better off focusing on the quality of our food, rather than treating eating like a math equation. The second one that really bugs me is online “fitspo.” Nothing against those people, but so many of them are professional bodybuilders/competitors. What they share online is for the sake of their sport and aesthetics, not health. Yet I see so many people who are not in the world of fitness competitions trying to live a similar lifestyle. A cut body does not equal health!
TRUTH! What’s one beauty tip you swear by?
I LOVE using oil to take care of my skin. I used to have really oily, acne prone skin and have really seen my skin transform by using oil to remove my makeup. Sounds crazy, but it works. I wouldn’t recommend coconut oil on your face because it is really heavy and can clog your pores, but sweet almond oil or avocado oil are amazing for oil cleansing. I love following it up with a spray of homemade toner made with rosewater. It seriously feels like a spa treatment every night.
It’s Sunday morning…what are you having for breakfast?!
I love a good, hot waffle with berries and maple syrup. That or a full-blown smoothie bowl. I am always chugging smoothies on-the-go out of a mason jar while I’m rushing to work, so having a pretty Insta-worthy bowl on the weekends is definitely a treat!

Favorite sweet treat?
Fro-yo for sure!
What advice do you have for someone trying to transition into a healthier lifestyle? What would you say to someone who doesn’t know where to begin?
I always like to tell people to add instead of subtract. Instead of thinking about what you need to eliminate from your diet, or what habits you need to break, think about what you can add to your day to help yourself be healthier. Maybe that means you have a goal to drink a certain amount of water, you buy one new-to-you item of produce from the grocery store each week, or you add a 10-minute walk to your day. Once you get in the groove with one positive change, they will have a snowball effect because you will want to continue doing more things to make yourself feel good.
What are some of your favorite blogs to read and/or Instagram accounts to follow?
I have too many to name! Yours of course 🙂 I also love Davida from The Healthy Maven, I have been following her for years and love the new direction she is taking her blog. Ashley from Fit Mitten Kitchen is a force in the kitchen and makes the most incredible recipes. Lindsey from Nourish Move Love kills it too. She makes fitness so relatable and fun. Also, Catherine from The Blissful Mind is a wealth of amazing information about mindfulness, self-care, and minimalism in a non-preachy way. I am always binge-reading her blog posts! There are so many more blogs and influencers I love, but those are the first that come to mind.
Share your current favorite recipe with me!
This summer I have been all about tacos. So random, but I love them. Lately I have been making a super simple shrimp taco recipe. I simply sauté shrimp with a little oil, cumin, chili powder and lime juice. I serve them on corn tortillas with lots of cilantro, avocado and more lime juice. So easy and so good!

A HUGE thank you to Les for letting me interview her! Make sure you head on over to The Balanced Berry for more recipes, tips on self-care, beauty hacks, workout inspo, and more! And make sure you subscribe to her YouTube channel, too, if you haven’t already – her matcha latte vid is my FAVE!

by Christina | Aug 5, 2016 | Wellness
Photography by Julia Dasen
Let me start off by saying I am so so sorry, but I don’t have before and after pictures to show you. It’s honestly killing me that I don’t. I wasn’t blogging when I started my “skincare journey,” and I definitely never thought I’d be writing about it on the Internet, so I didn’t think to take before and after photos. I was also in a place where I was so embarrassed about my skin that I probably wouldn’t have been willing to take photos sans makeup, anyways.
I struggled with cystic acne from about 7th grade until my first year in college, and it was always the one thing I was most self-conscious about. My skin was at its worst during my last few years in high school, and the acne left me with scarring that bothered me a lot. It was really just in one area, and it wasn’t anything horrifying, but I thought about the scars all the time. It had a huge impact on my self-esteem. I spent basically all of my free time researching ways to get rid of acne and scarring, and I wasted waaaay too much money on different products that promised to clear my skin of the blemishes and marks. By the time I got to college, I had my acne pretty much under control besides a few annoying monthly visitors (thanks, period), but I was still left with scarring that irritated the shit out of me.
After trying pretty much every product and low-risk treatment (microdermabrasion, microneedling, chemical peels, etc.), I considered more invasive laser treatments. I realized that if I wanted the scarring to be gone completely (if that was even possible), laser was probably my only option.

I spent a long time researching different types of lasers and different dermatologists in Los Angeles and the Bay Area. I also spent way too much time on acne.org and realself.com reading reviews and looking at scary pictures of people who had nightmare laser experiences. Because of the horror stories, I put it off for as long as possible, hoping I would either get used to the scarring (it wasn’t even that bad) or that somehow one of the many products I tried would magically start working.
After seeing more and more horrifying pictures of laser-gone-wrong, I decided I was ABSOLUTELY NOT doing it. As I mentioned before, my scarring is just in one area and isn’t really that bad. I doubt anyone even noticed it besides me, so I knew it was a vanity thing. Laser is a risk, and I realized that. It can get rid of your scarring, but there is always a chance your skin can come out worse than before. You can get hyperpigmentation, hypopigmentation, other skin color changes, more scarring, acne, or infections. It’s also expensive, and I wasn’t going to shell out hundreds of dollars to potentially cause even more scarring.
About a year later, the scars were still really bothering me. I have very pale skin, so I knew the risk of hyperpigmentation was pretty low. I decided to go to a few consultations and see what the doctors had to say.
I went into my consultations overly prepared, which is the best thing I could have done. First of all, I researched every potential dermatologist in-depth so I knew the good, the bad, and the ugly before I went in there. I wanted to know their specialties, what lasers they used, how long they had been in practice, where they studied, how long they had been using that specific laser, etc. I’m not messing around here! Just because a doctor has a laser, doesn’t mean he’s good with it. The doctor behind the machine matters just as much as the machine itself.
I also researched the hell out of lasers themselves. There are quite a few options, some more invasive than others, and I wanted to learn as much as I could about them before I talked to the doctors so that I didn’t get tricked into paying for something more expensive or more invasive than I needed.

When I went in for my consultations, I quickly discovered I knew more about a lot of the lasers than many of the doctors themselves. That made it easy for me to say BYYYEEEE to them. Some doctors will insist you need a certain type of laser just because they want you to pay more or because they don’t own the laser that would be best for your skin. I cannot reiterate enough how important it is to go in prepared so that you can make an informed decision.
I visited about 6 or 7 dermatologists in the Los Angeles area for consultations, which was expensive, but so worth it. I quickly realized who I trusted with my face. Things I looked for: a doctor who suggested the laser I already knew I wanted, who was willing to give me a test trial on the space behind my ear to see how my skin would react, who knew his/her shit about how long the downtime post-laser would actually be and what the proper post-op treatment was, who would give me a discount because I only wanted one part of my face done, and who had plenty of experience using that specific laser.
FINALLY, I started my treatments. I was super nervous, I won’t lie. I was confused because pretty much every dermatologist I visited acted like getting laser for scarring was no big deal and that there are never repercussions, but the images from online freaked me out. That’s why it’s so important to work with a doctor you trust. I ended up seeing Jason Emer at Spalding Plastic Surgery in Beverly Hills, and I have nothing but amazing things to say about him and the rest of the staff at the office. They’re incredible, and I would trust Dr. Emer to do basically anything to my face.

I ended up getting the Fraxel Dual Laser. It’s a non-ablative laser, which is much less invasive than an ablative laser. Ablative lasers, like CO2, will give you better results, but they are also higher risk and have a longer recovery time. Ablative lasers destroy the outer layers of your skin so it grows back restructured, which means a lot of downtime after the treatment. Non-ablative lasers don’t actually destroy your skin, but they heat it up enough to increase collagen production and resurface the skin. Within the categories of ablative and non-ablative lasers, there are different lasers that have different strengths. Some non-ablative lasers have no downtime, but others have a long downtime. There are three types of Fraxel lasers, and the Dual (which I chose), is in-between. It’s not the strongest, but also not the mildest.
First, they numbed the area for about 30 minutes. Then they laid me down on a chair, covered my eyes, and zapped my face. Obviously the longer you’ve been numbed, the less it hurts, but I could still feel it. It’s nothing unbearable, but it’s not comfortable. The hardest part for me was staying still in the chair. It feels like a really hot rubber band snapping against your face. Although I was totally fine, I can’t imagine doing it to my entire face. At the highest strength, just getting that one area of my face done was a bit too much for me, but the whole thing only takes a few minutes. Afterwards, they iced the area for about 10 minutes, and my doctor gave me products to apply to the area for the next few weeks. He also reminded me to use SPF and stay out of the sun, which is VERY IMPORTANT post-laser! Exposing the area to the sun can cause some major damage.

After my first treatment, my skin was very red and raw, but I could cover it up with makeup. It kind of peeled off over the next week or so, but nothing too bad. I also broke out pretty badly each time in the treated area, but the breakouts disappeared after about a week. After my first treatment, my dermatologist upped the power each time so the laser was stronger and stronger. I got 5 treatments in total, each about 2 or 3 months apart. By the fifth, the power was so strong that my skin was damaged enough to break, bleed, and scab over. It was not pretty, but that’s kinda what has to happen if you want new skin to grow. My first 3 treatments, my skin didn’t break at all. It basically just looked like a bad sunburn. It was the fourth and fifth that really did some damage, and I had scabs on my face for about a month afterwards. Every time I had a treatment, I spent the rest of the day in the house so I was completely out of the sun. After that, I tried to avoid going outside as much as I could. If I did, I loaded up on sunscreen, and I started wearing a lot of hats to protect my face.
The most important thing to remember is that improvements take a long time. It can take months for you to notice any changes, so you have to be patient. After my fifth treatment, I wanted to wait at least 6 months before deciding if I wanted another session. I ended up waiting over a year, and I decided not to continue.
The Fraxel did improve the scarring, but it didn’t get rid of it. However, it did cause some more small scars in the area. Weirdly enough, though, I’m kind of glad it did. I feel like the smaller scars camouflage the bigger scars I was originally trying to get rid of, if that makes sense. I would say I got about 70% improvement, and I do not regret doing it at all. Even though the scars are still there, they are much lighter. I’m much more confident in my skin now, and I don’t notice the scars as much or ever really think twice about them. I used to never let anyone see me without makeup, and now I don’t really have a problem with it.

That being said, after leaving my skin alone for about a year, I’ve started another type of treatment to see if I can get any more improvement. I don’t really need it, but after having Fraxel, I’m not afraid to experiment around with other things. I want to share my experience with you guys in case you’ve been debating doing something similar. If there’s something lower-risk and less expensive that helps with my scarring, I definitely want to let you know. I’m in the middle of this new process, and I’ll keep ya updated on how it’s going.
If you have any other questions about my experience, please don’t hesitate to ask! I’m more than happy to talk about it. If you’ve ever gotten good results with scar removal, let me know in the comments! Orrrrr if there’s something else you think I should try, do tell!

by Christina | Aug 3, 2016 | Recipes, Wellness
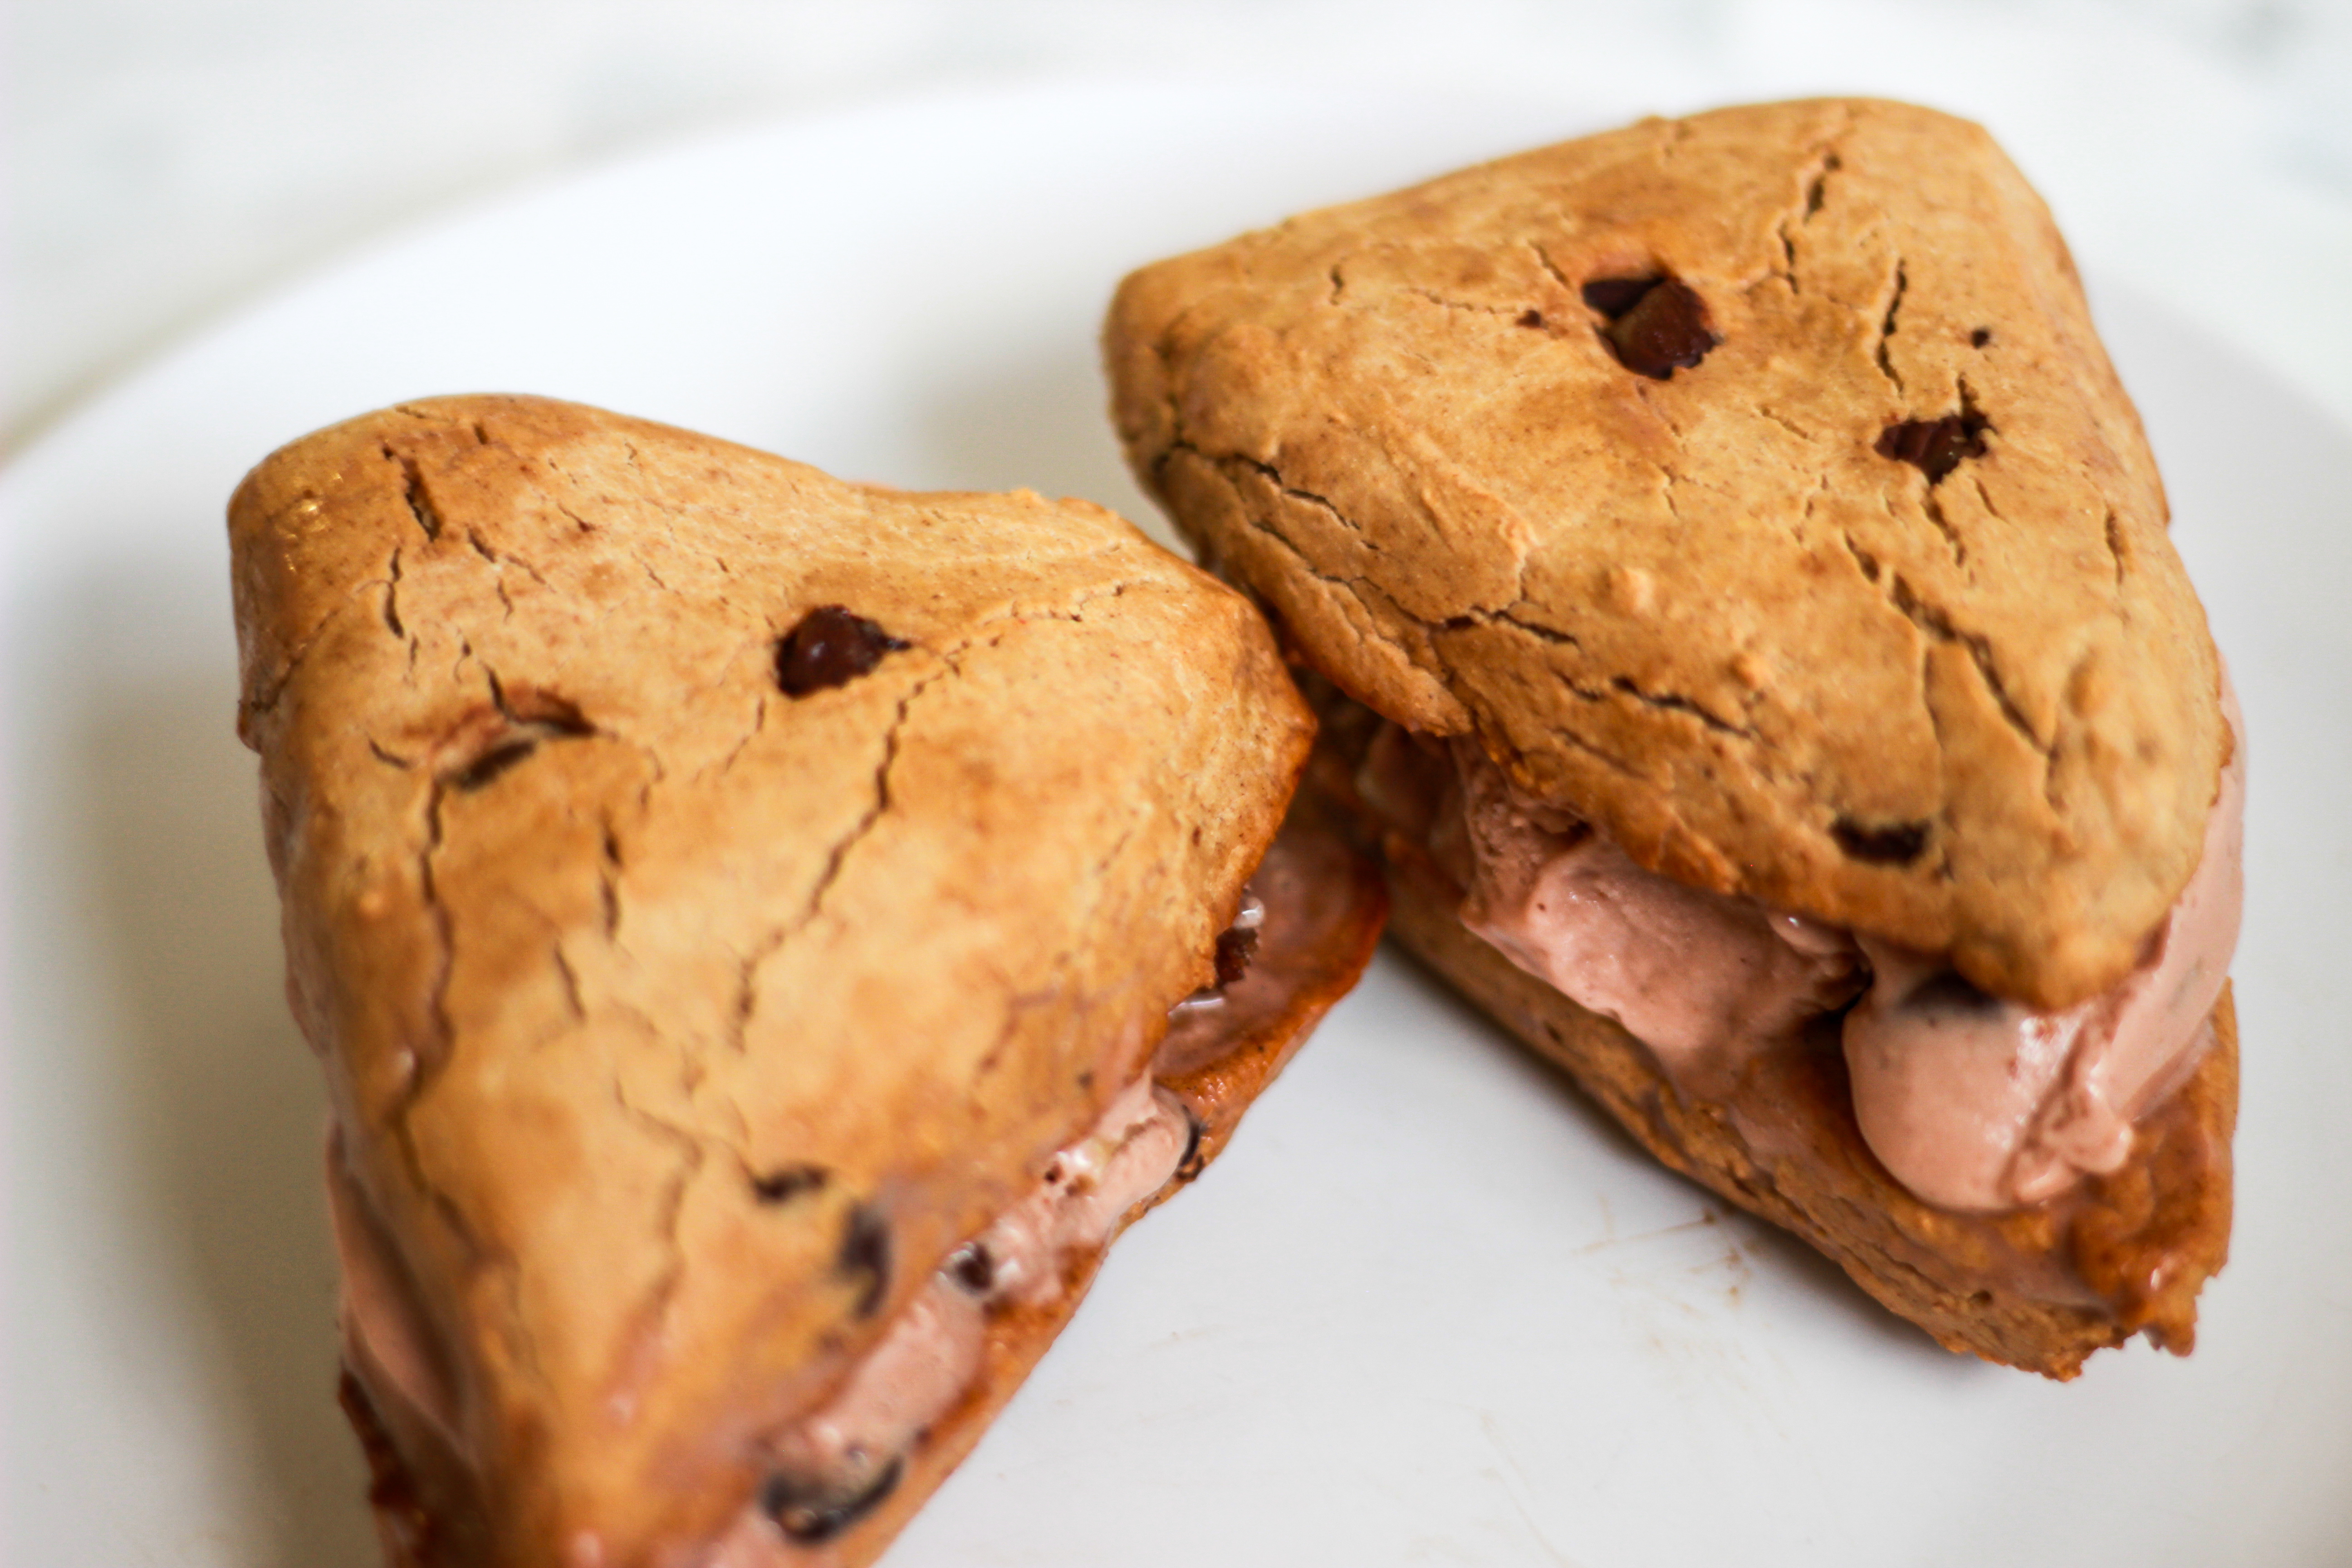
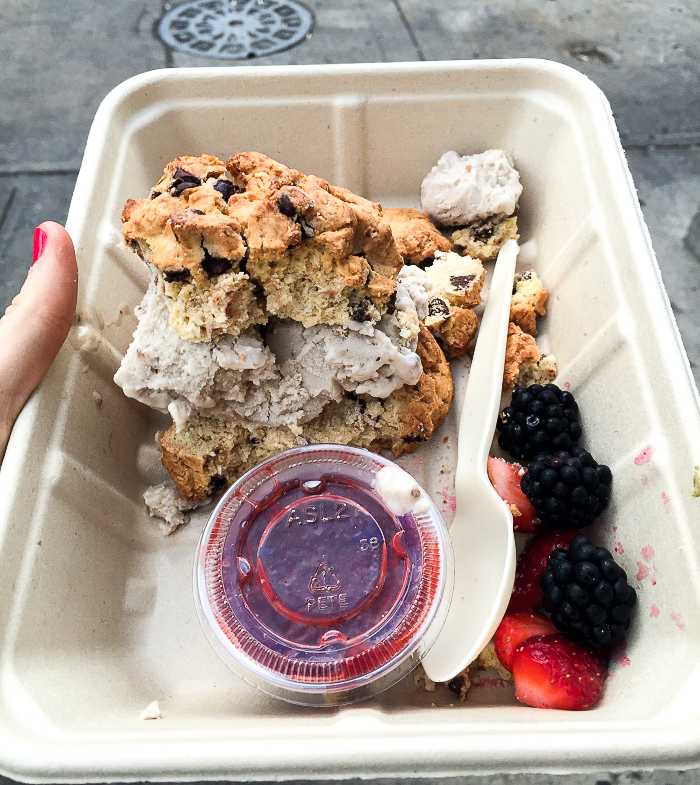
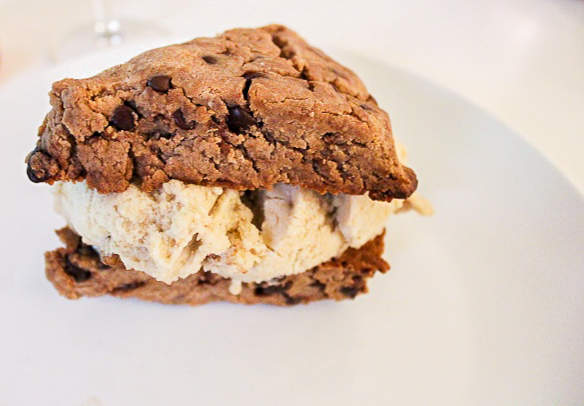
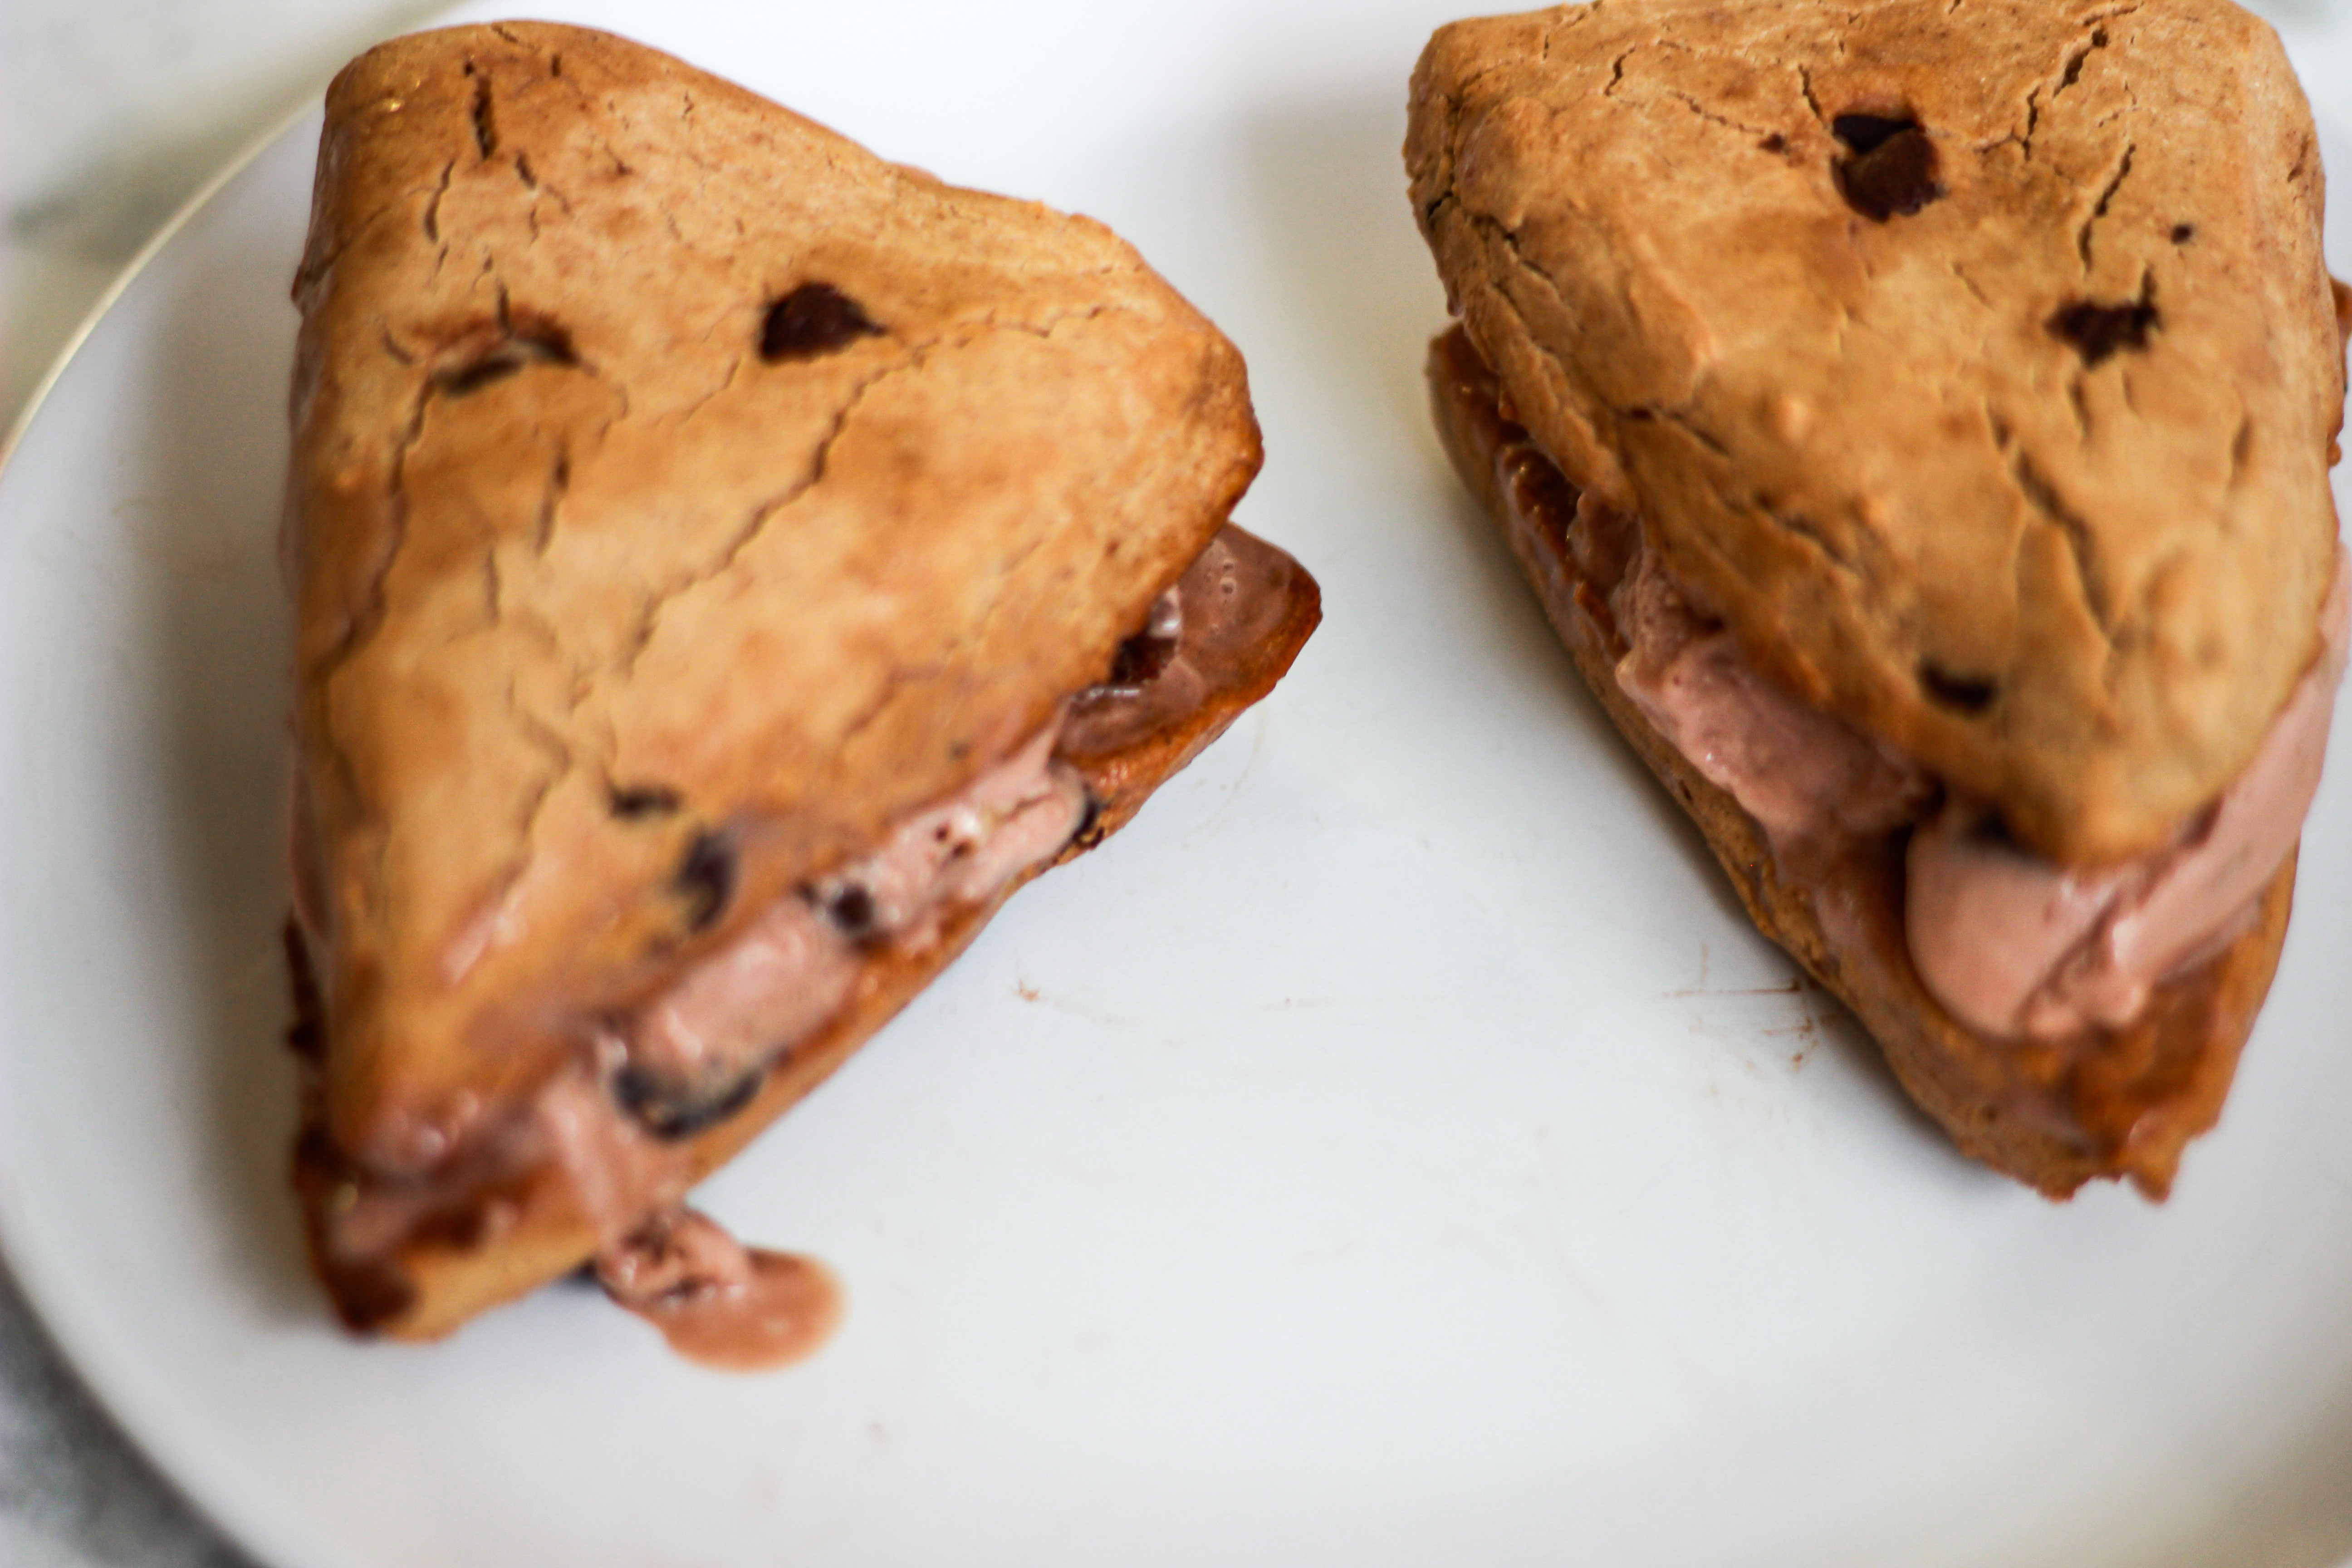
Almost exactly a year ago, I visited the magical land of New York City for the very first time. While there, I had dinner at the Butcher’s Daughter and scarfed down the BEST dessert I had ever tasted in my life – an ice cream scone sandwich. Creamy, dreamy banana ice cream mashed between two huge, gloriously delicious chocolate chip scones. Banana is my all-time favorite ice cream flavor, and I’m allllll about anything with chocolate chips. Actually, I think that was the first time I had ever tried a scone in my life. Scones don’t usually sound very exciting to me, but combined with ice cream? Yes, please! Anyways, it left me weak at the knees, and I’ve been talking about it every since. All of my friends have heard me go on and on about this infamous ice cream scone sandwich for the past year, and all I do is complain that the Butcher’s Daughter in Venice doesn’t have it.
Meanwhile, this Monday night was BACHELORETTE MONDAY, which meant I had a fun little Bach party at my apartment with some of my girlfriends. (We podcasted the entire thing – click here to listen!) I have a tradition where I make a kickass dessert for every finale of The Bachelor or Bachelorette. We all know I have a ridiculous sweet tooth, and I’ll use any excuse to whip something up in the kitchen. Who can resist a sweet treat while watching the drama unfold as a woman leaves one man in the dust and embarks on a fairytale with another?
I’ve also had some major scone cravings recently after seeing so many drool-worthy scone photos from Rachel from rachlmansfield.com and Ashley from Fit Mitten Kitchen. The need to satisfy those cravings was so real. So for this year’s finale of The Bachelorette, I decided to recreate that epic, New York ice cream scone sandwich that changed my life forever. (Being dramatic, but there’s gotta be drama if we’re talking about The Bachelorette.)
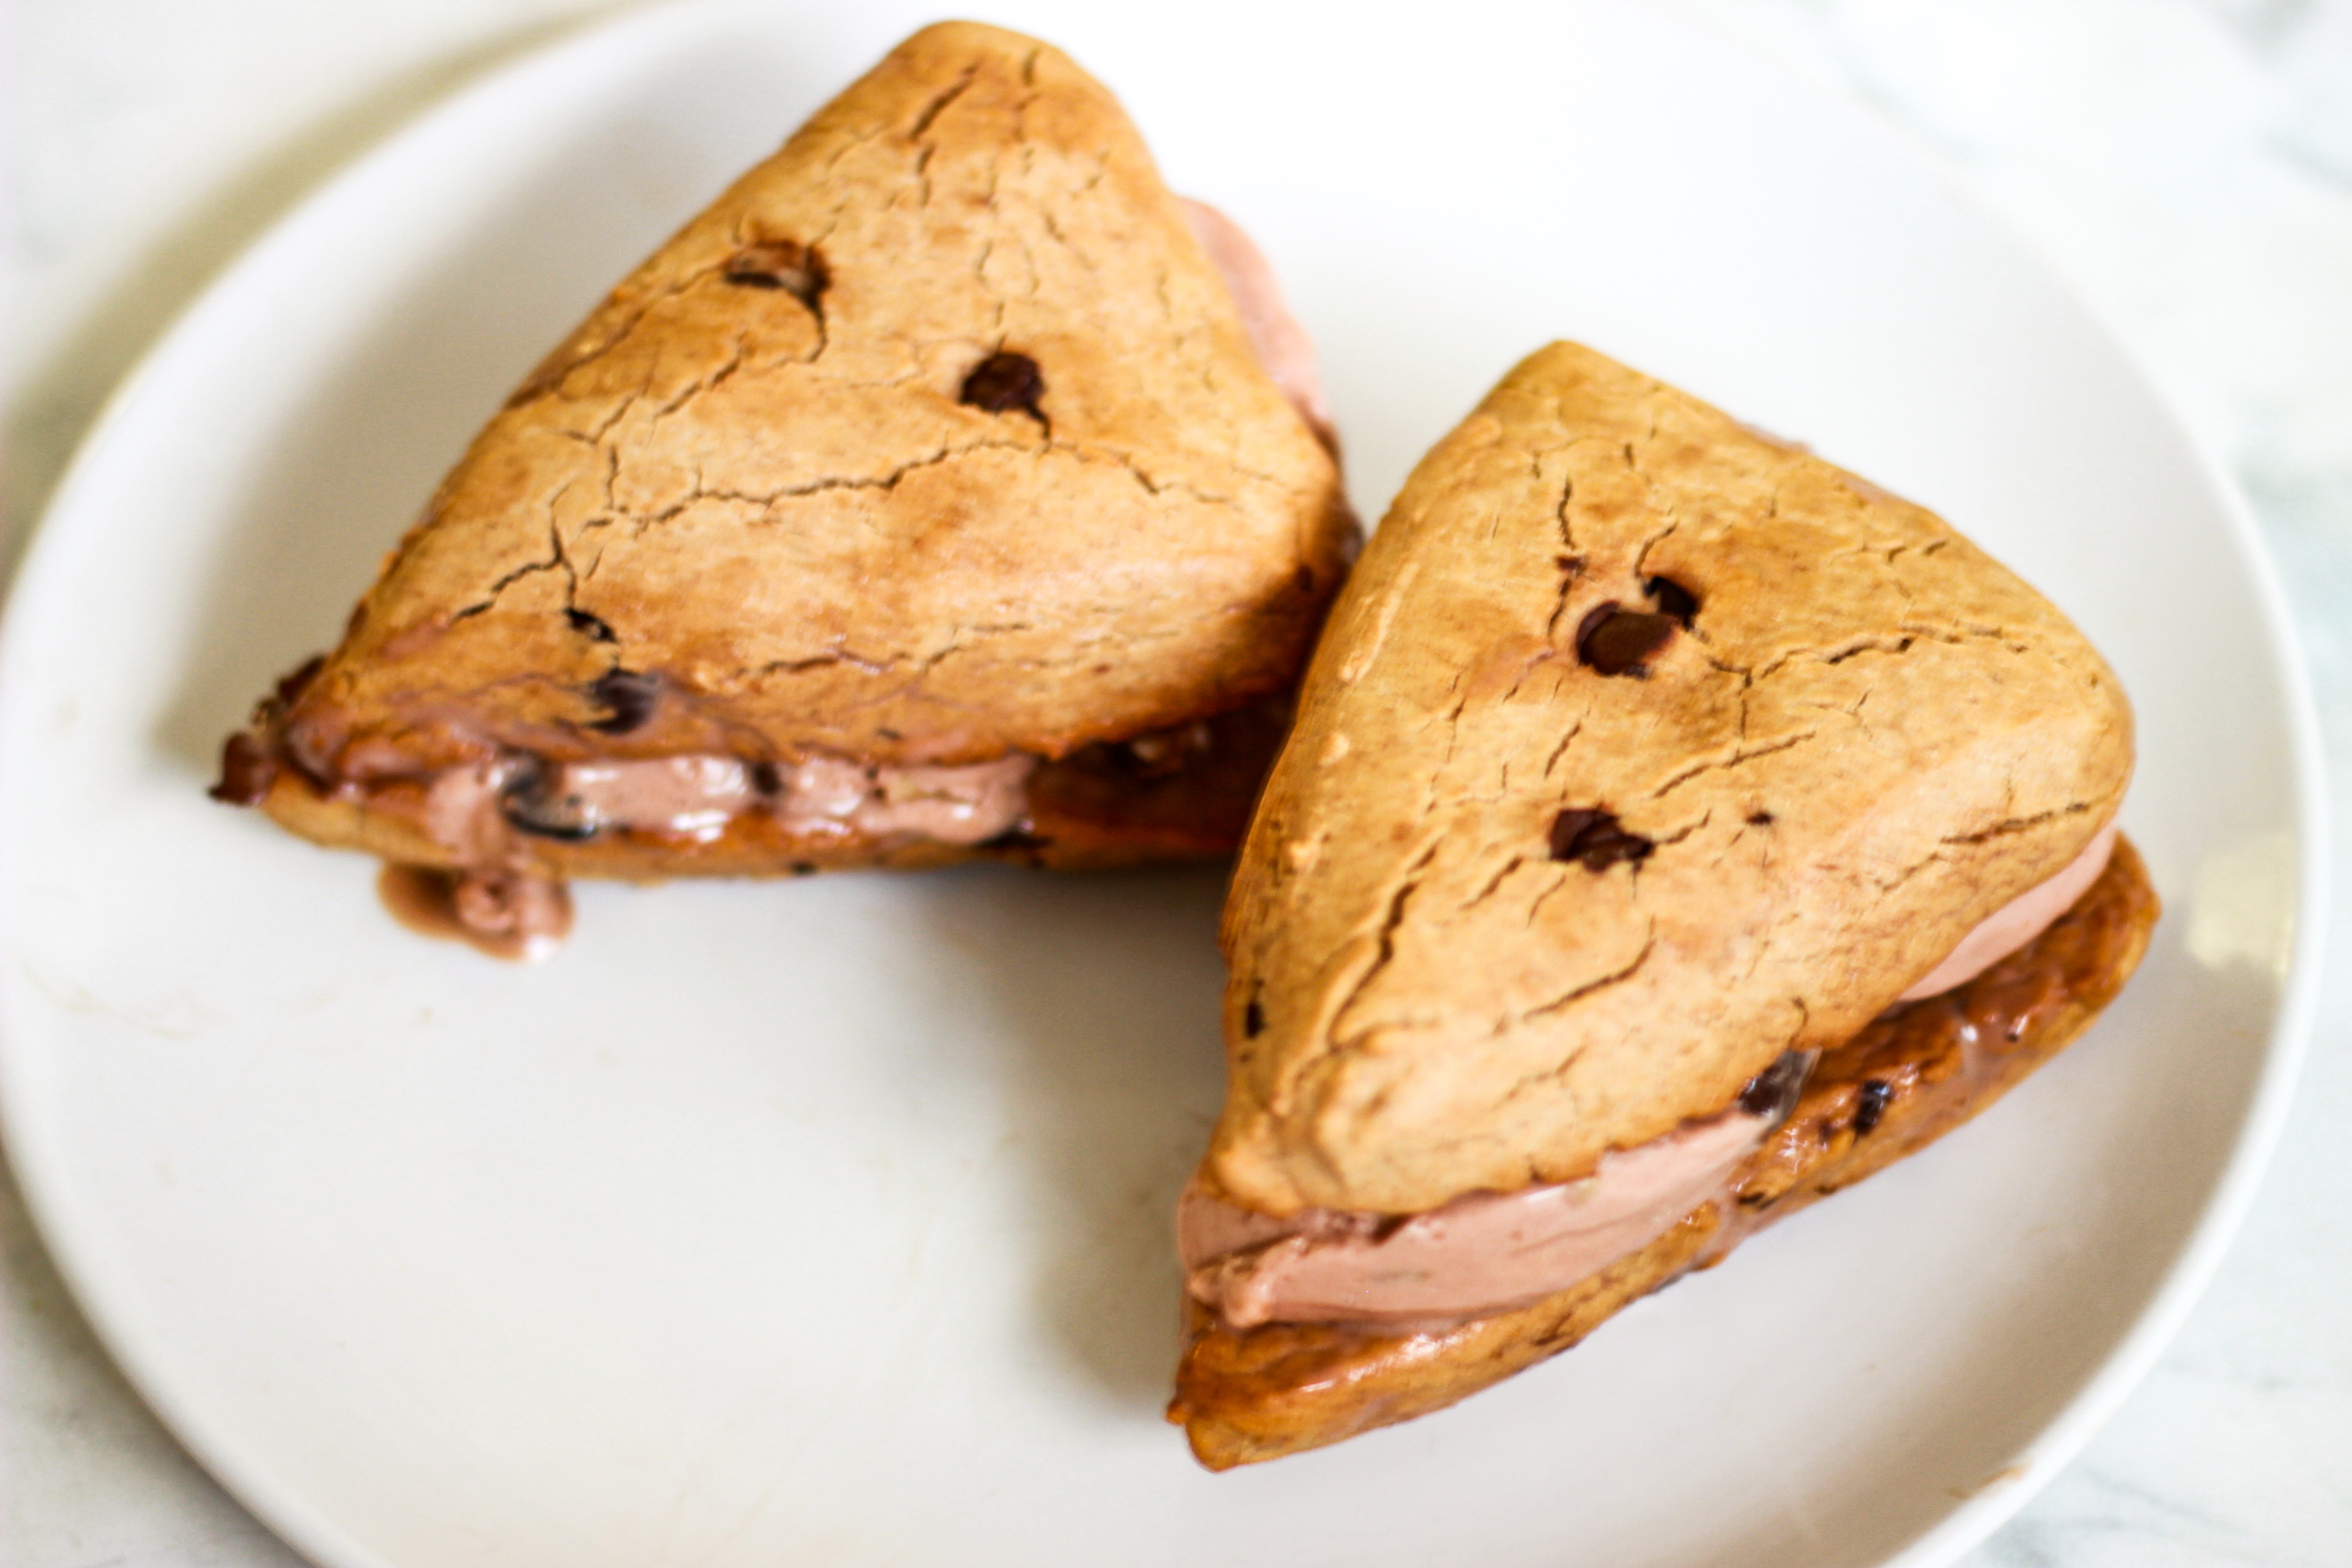
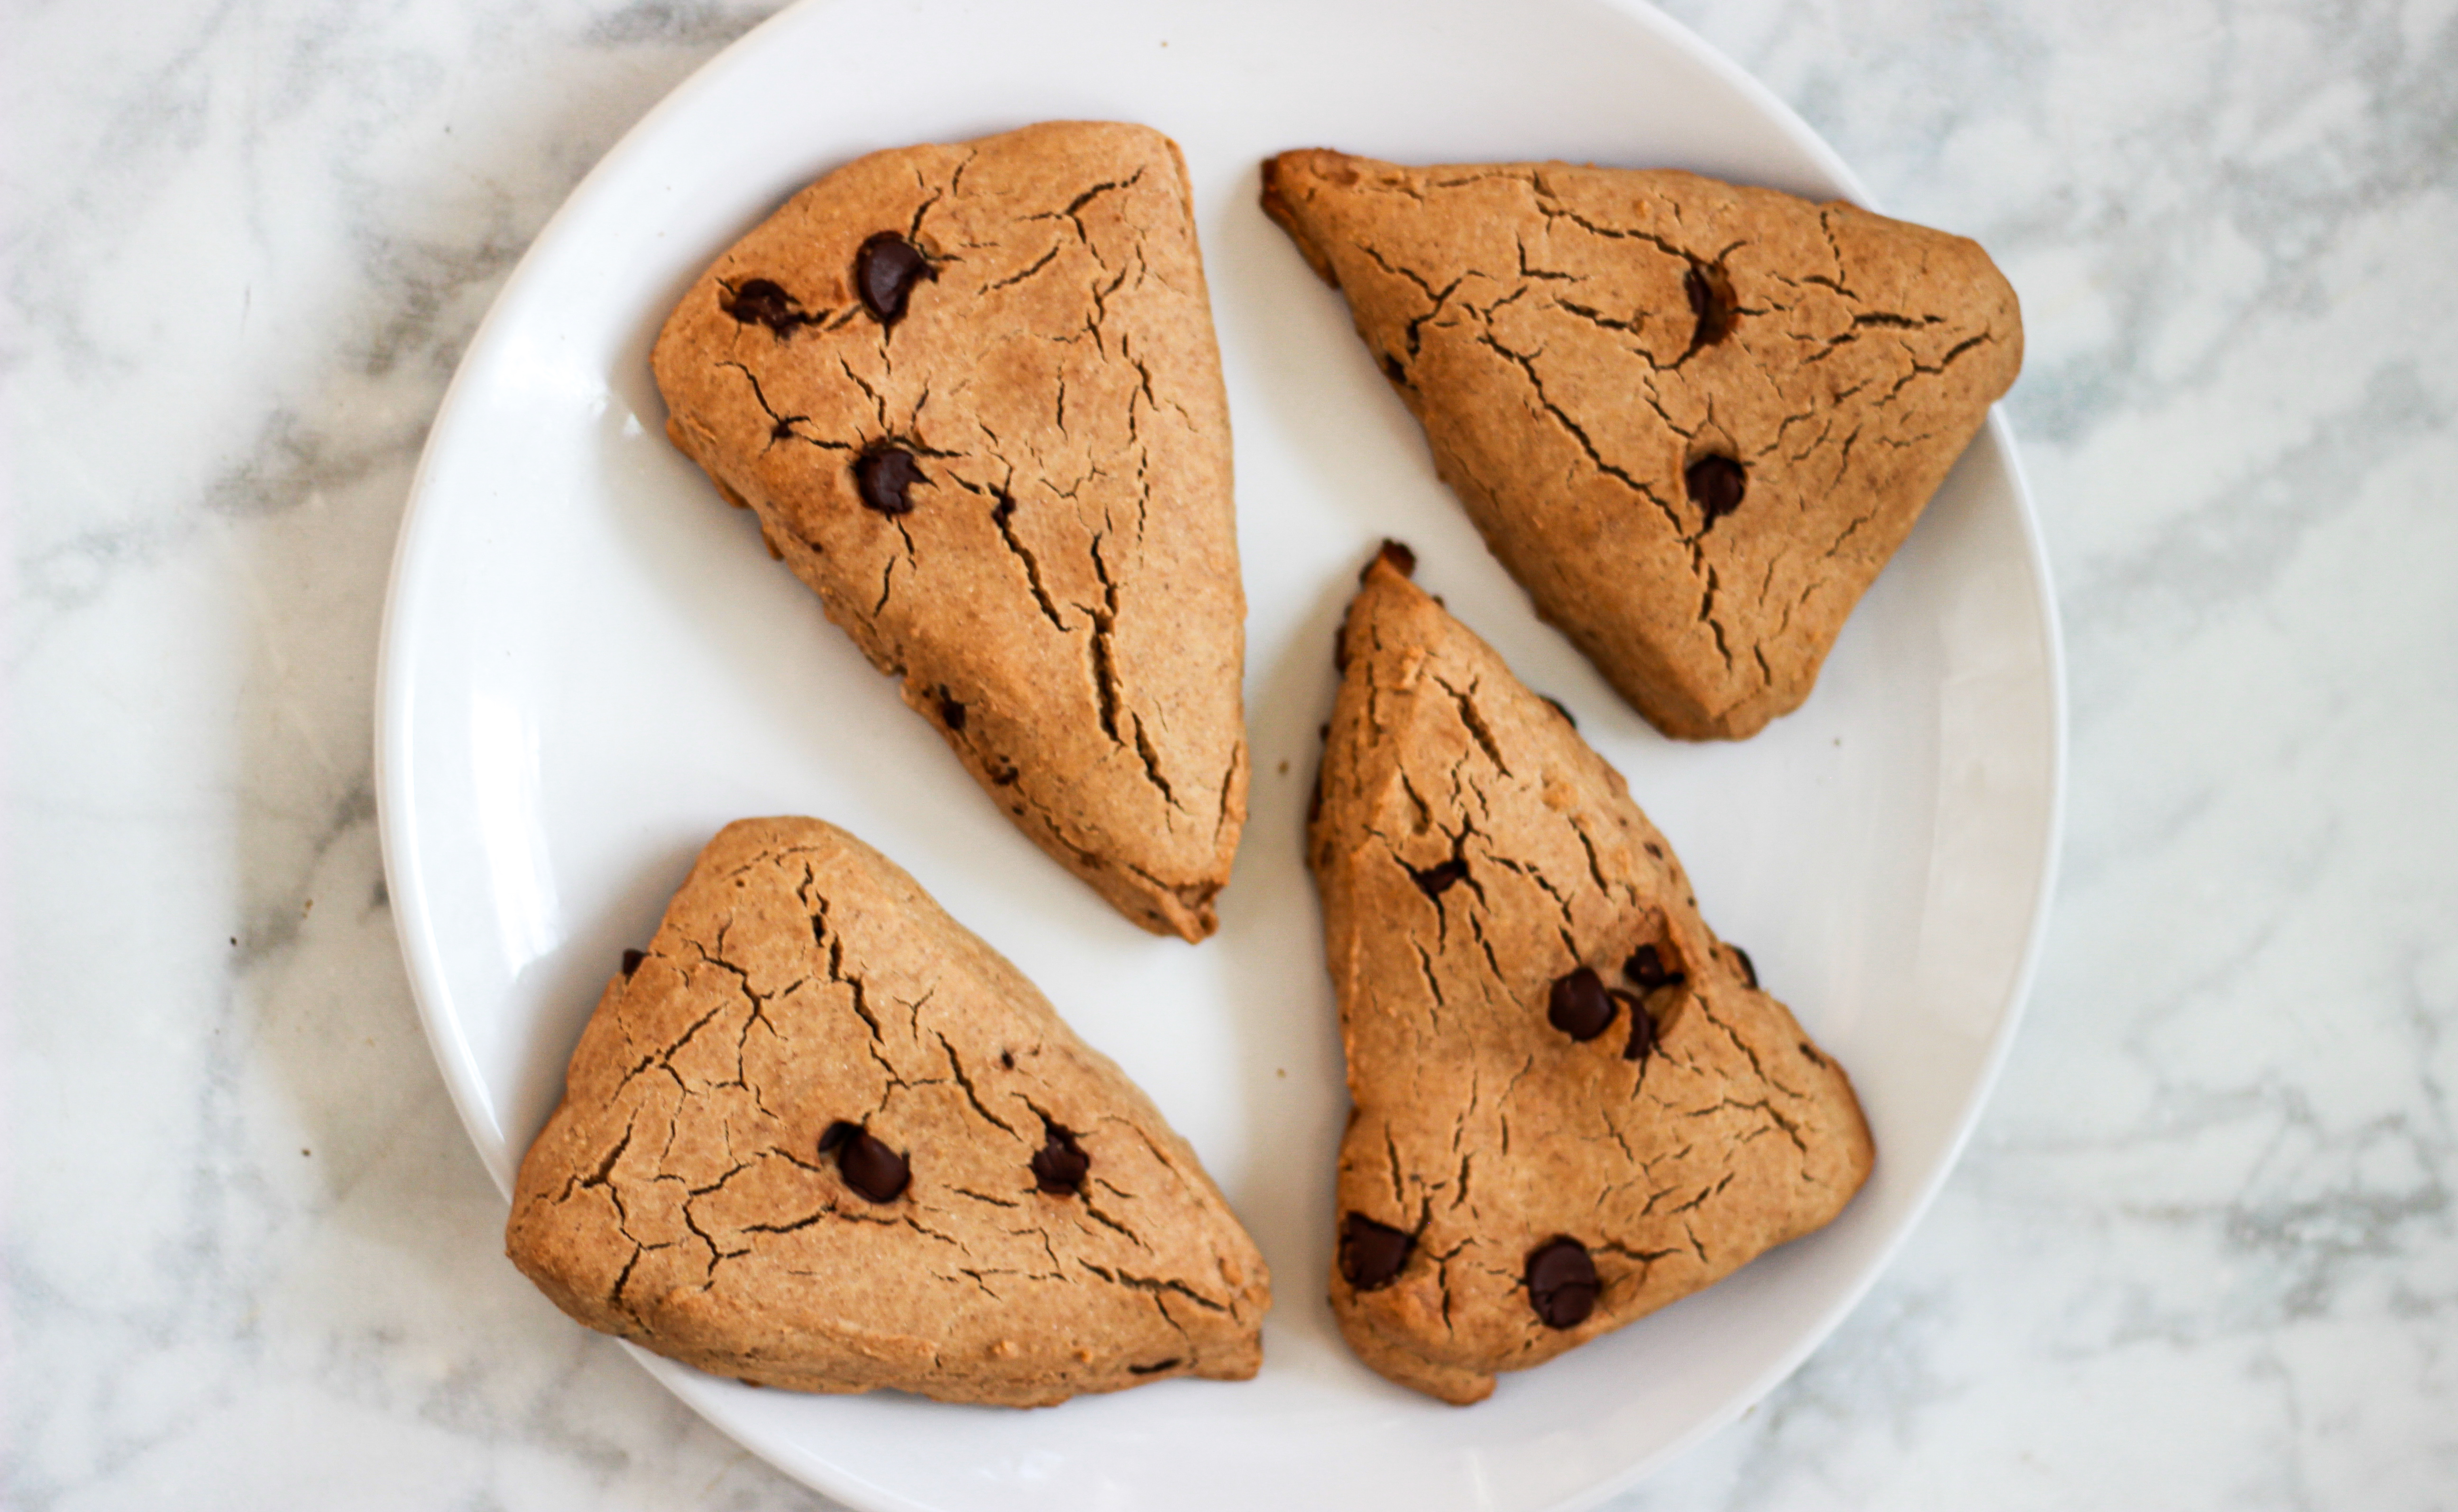
I wasn’t sure how these were going to turn out because I’ve never made scones before, but….it was a total success. I AM OBSESSED. I ended up liking my homemade version of the Butcher’s Daughter dessert much better than the original, surprisingly.
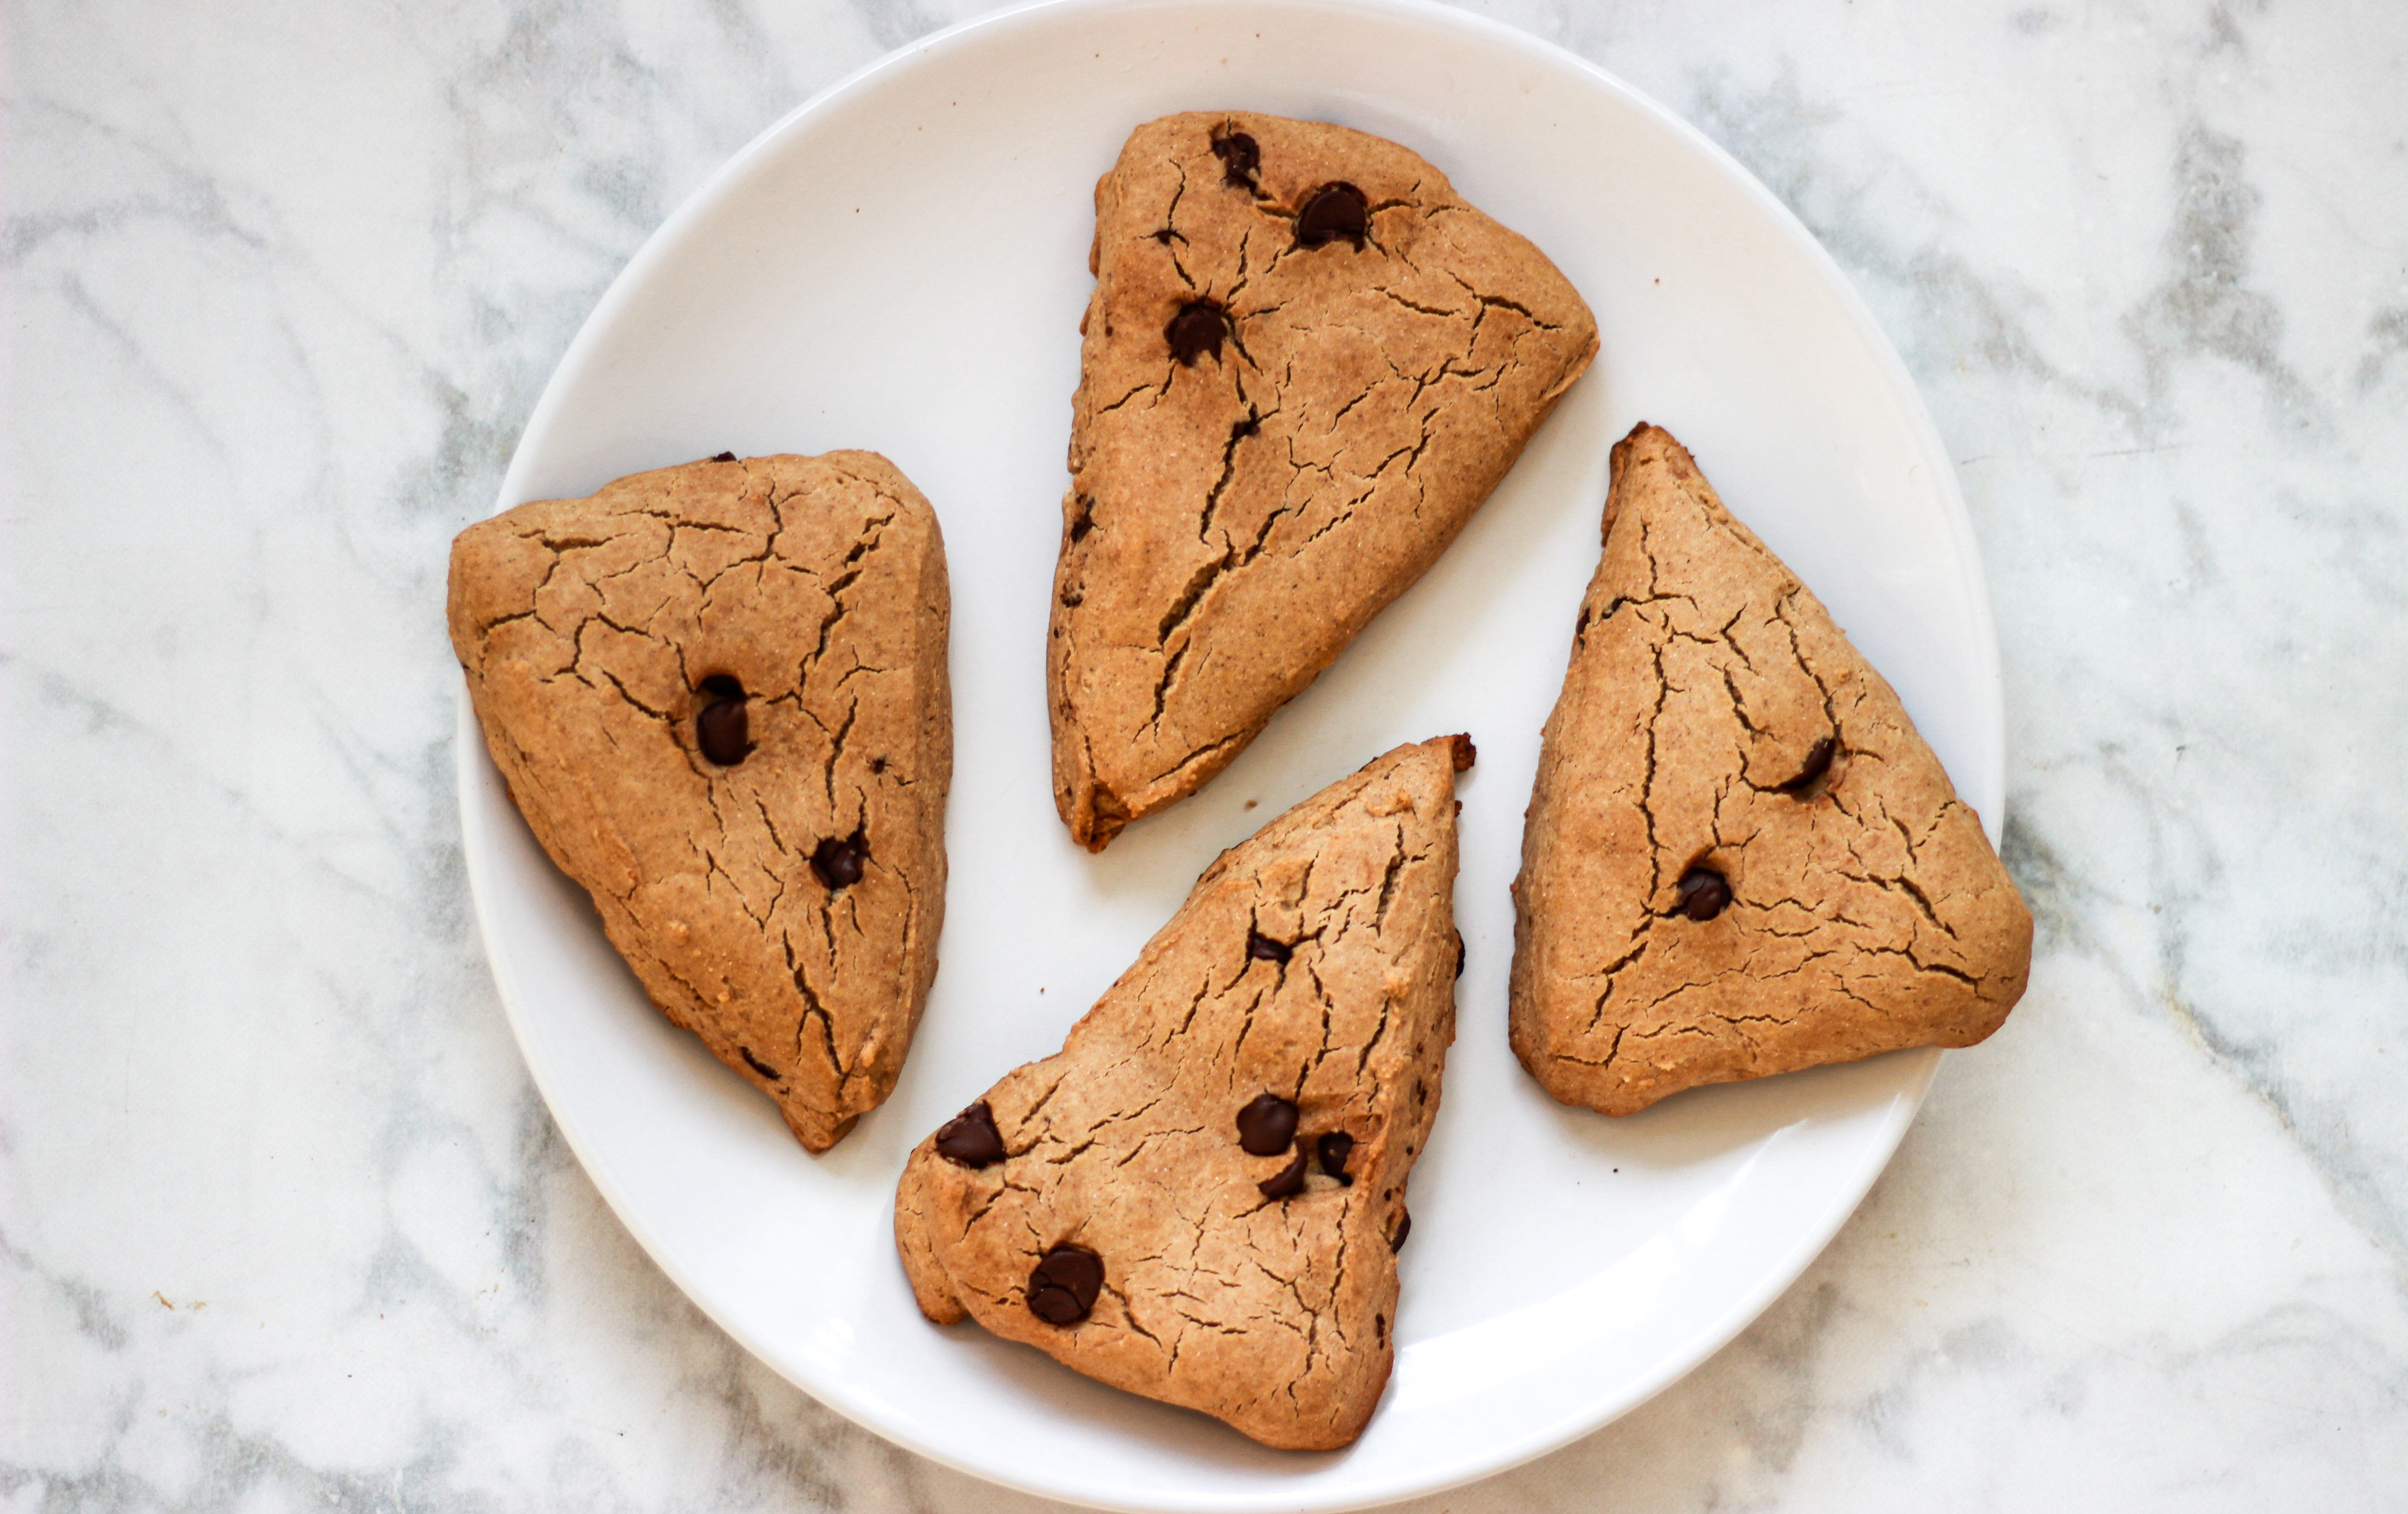
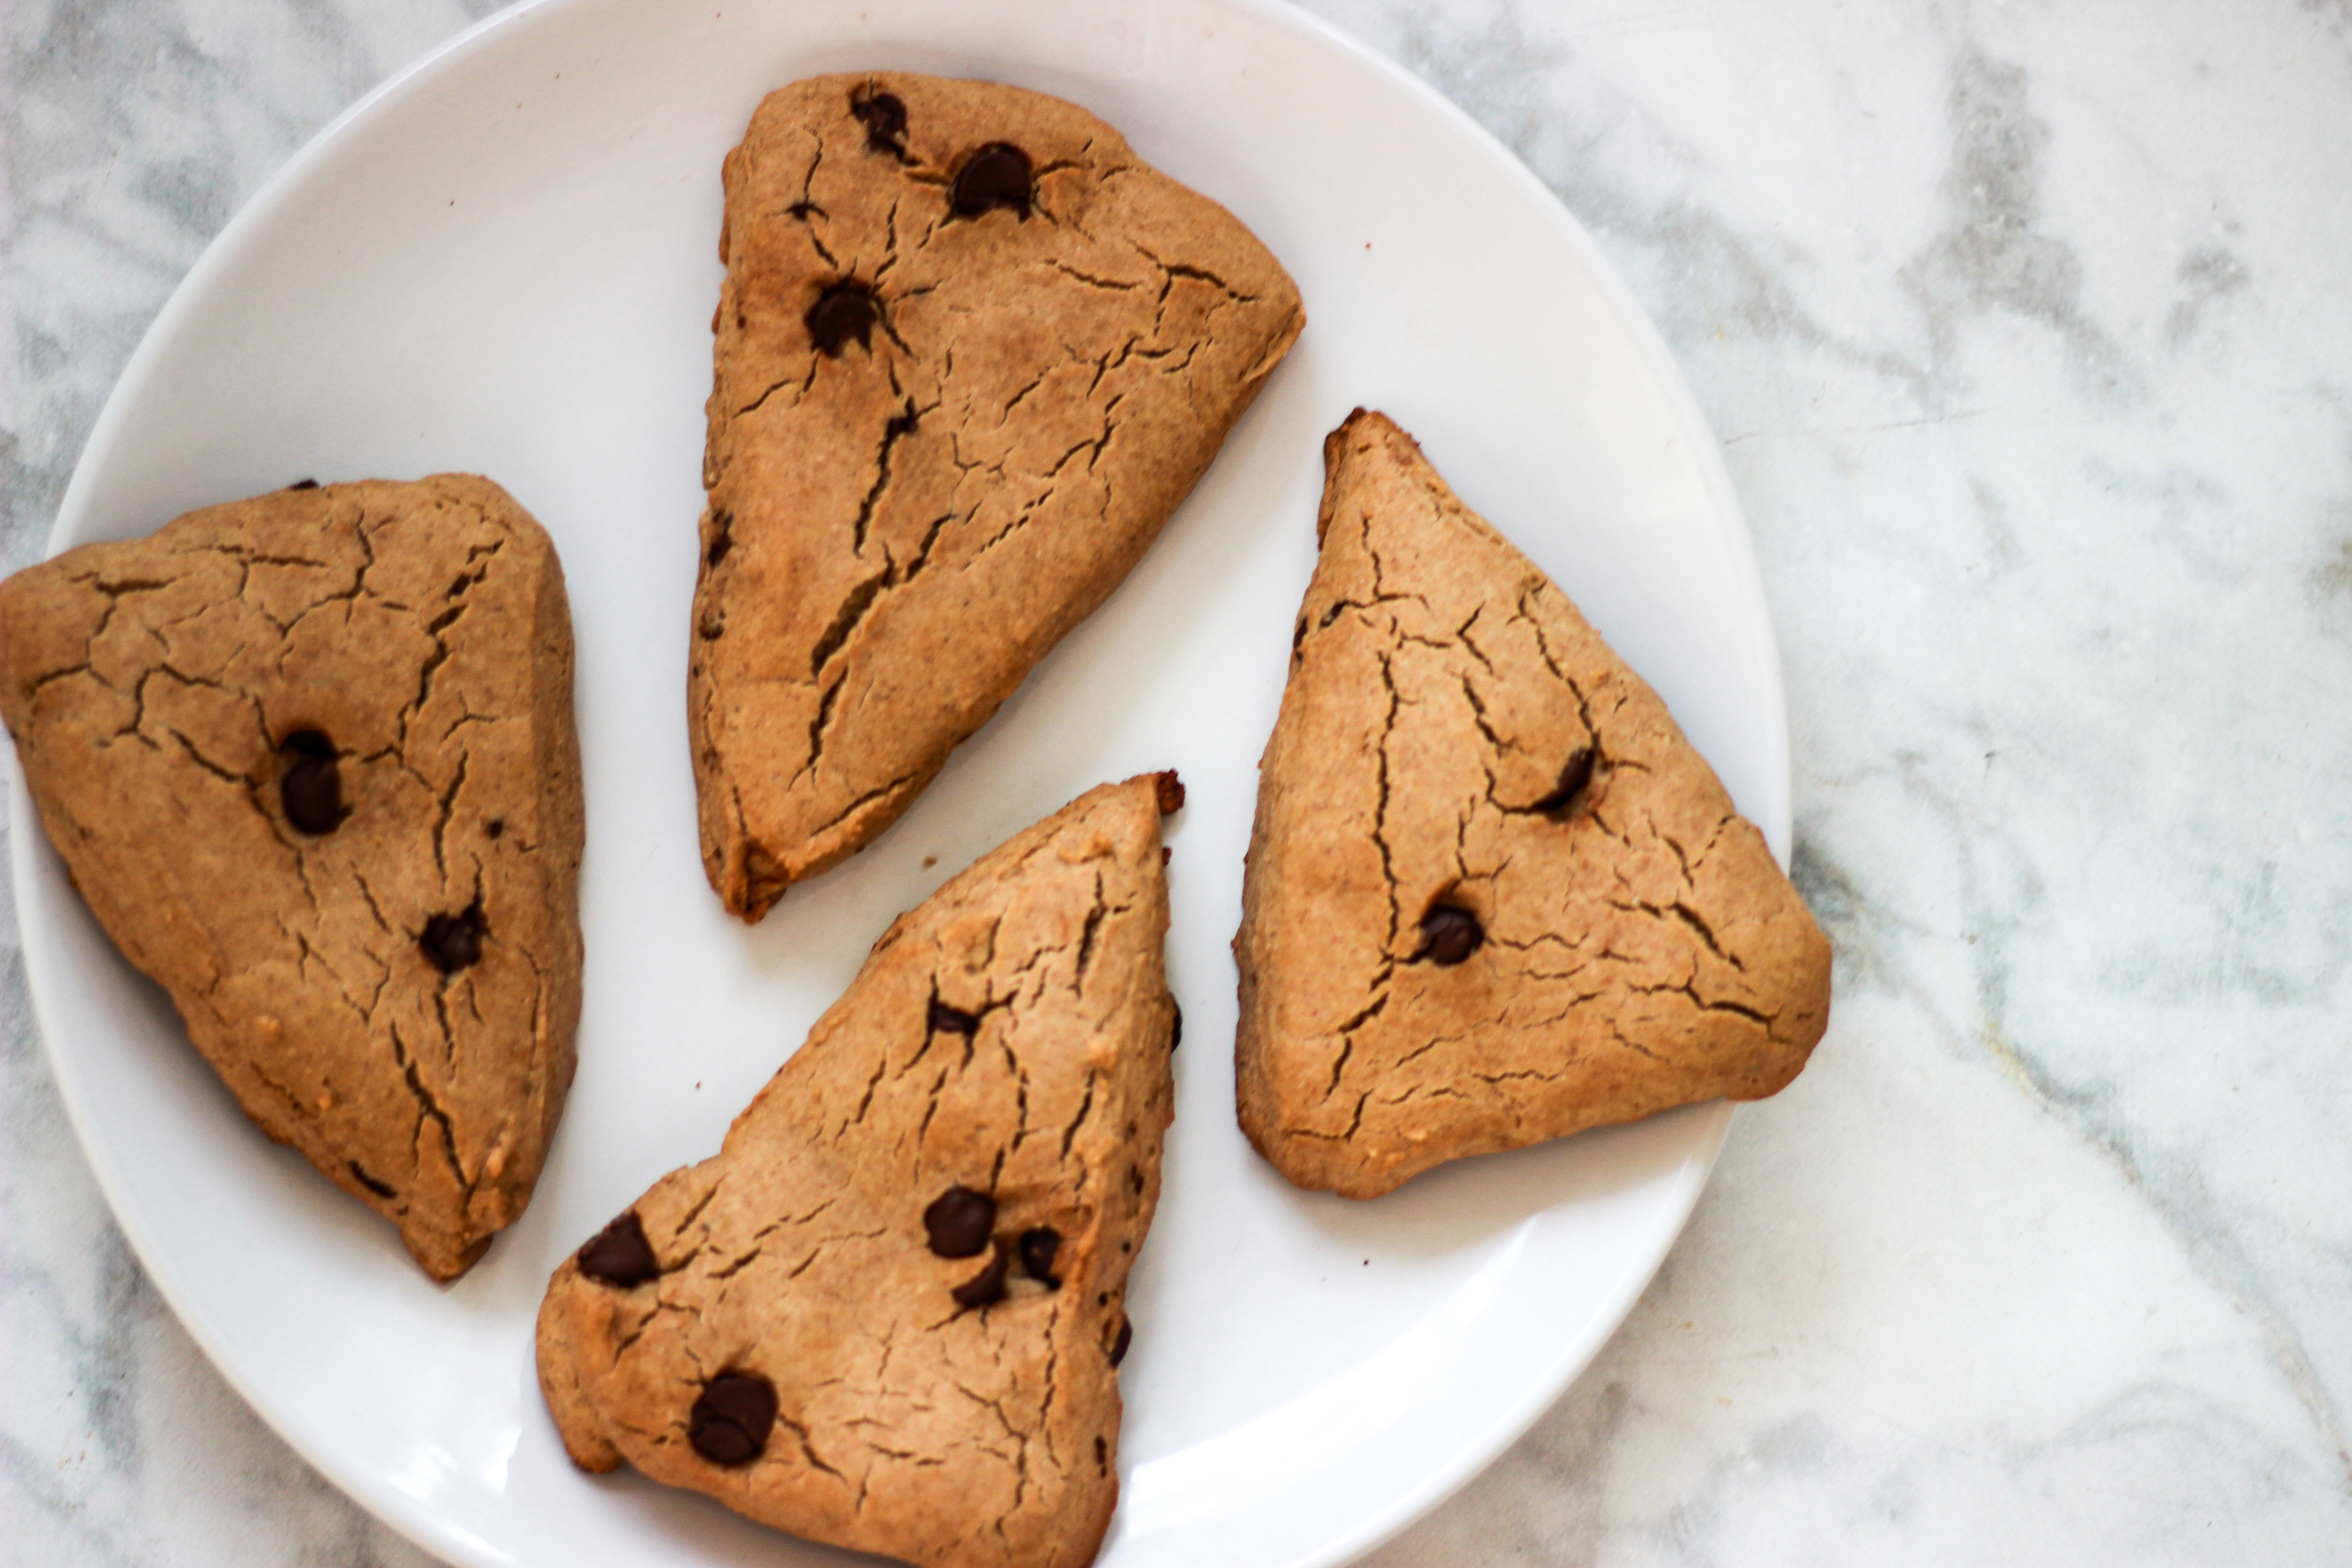
First of all, these scones are the perfect texture, in my opinion. One thing that usually turns me off about scones is that they’re pretty hard, which makes it hard for me to bite into them. I’m more of a cookie kinda gal. Although these scones are still hard (I mean, they’re SCONES), the center is softer like a cookie, so they pair perfectly with ice cream. I also made these extra chocolatey and cinnamon-y, so my whole apartment smelled like Christmas.
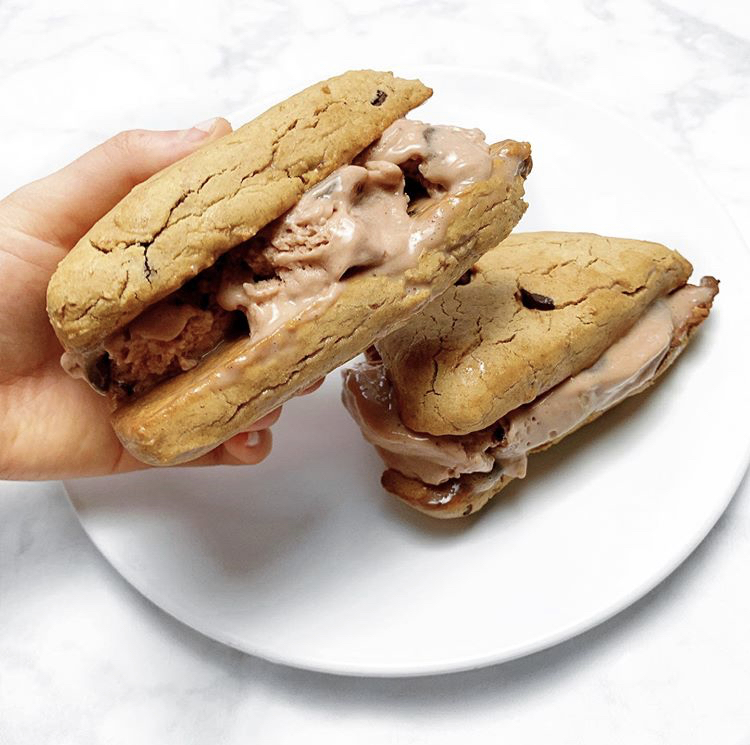
Second, I amped up the ice cream so it had a lil’ oomph. One of the things that was hardest to give up after finding out about my dairy intolerance was my all-time fave ice cream – Chunky Monkey. To make up for that, I decided to make a healthified version of Chunky Monkey to stick in between my epic scones. It’s “nice” cream, so it’s made from bananas, which means it’s waaaay easier on my stomach than most other sweet treats.
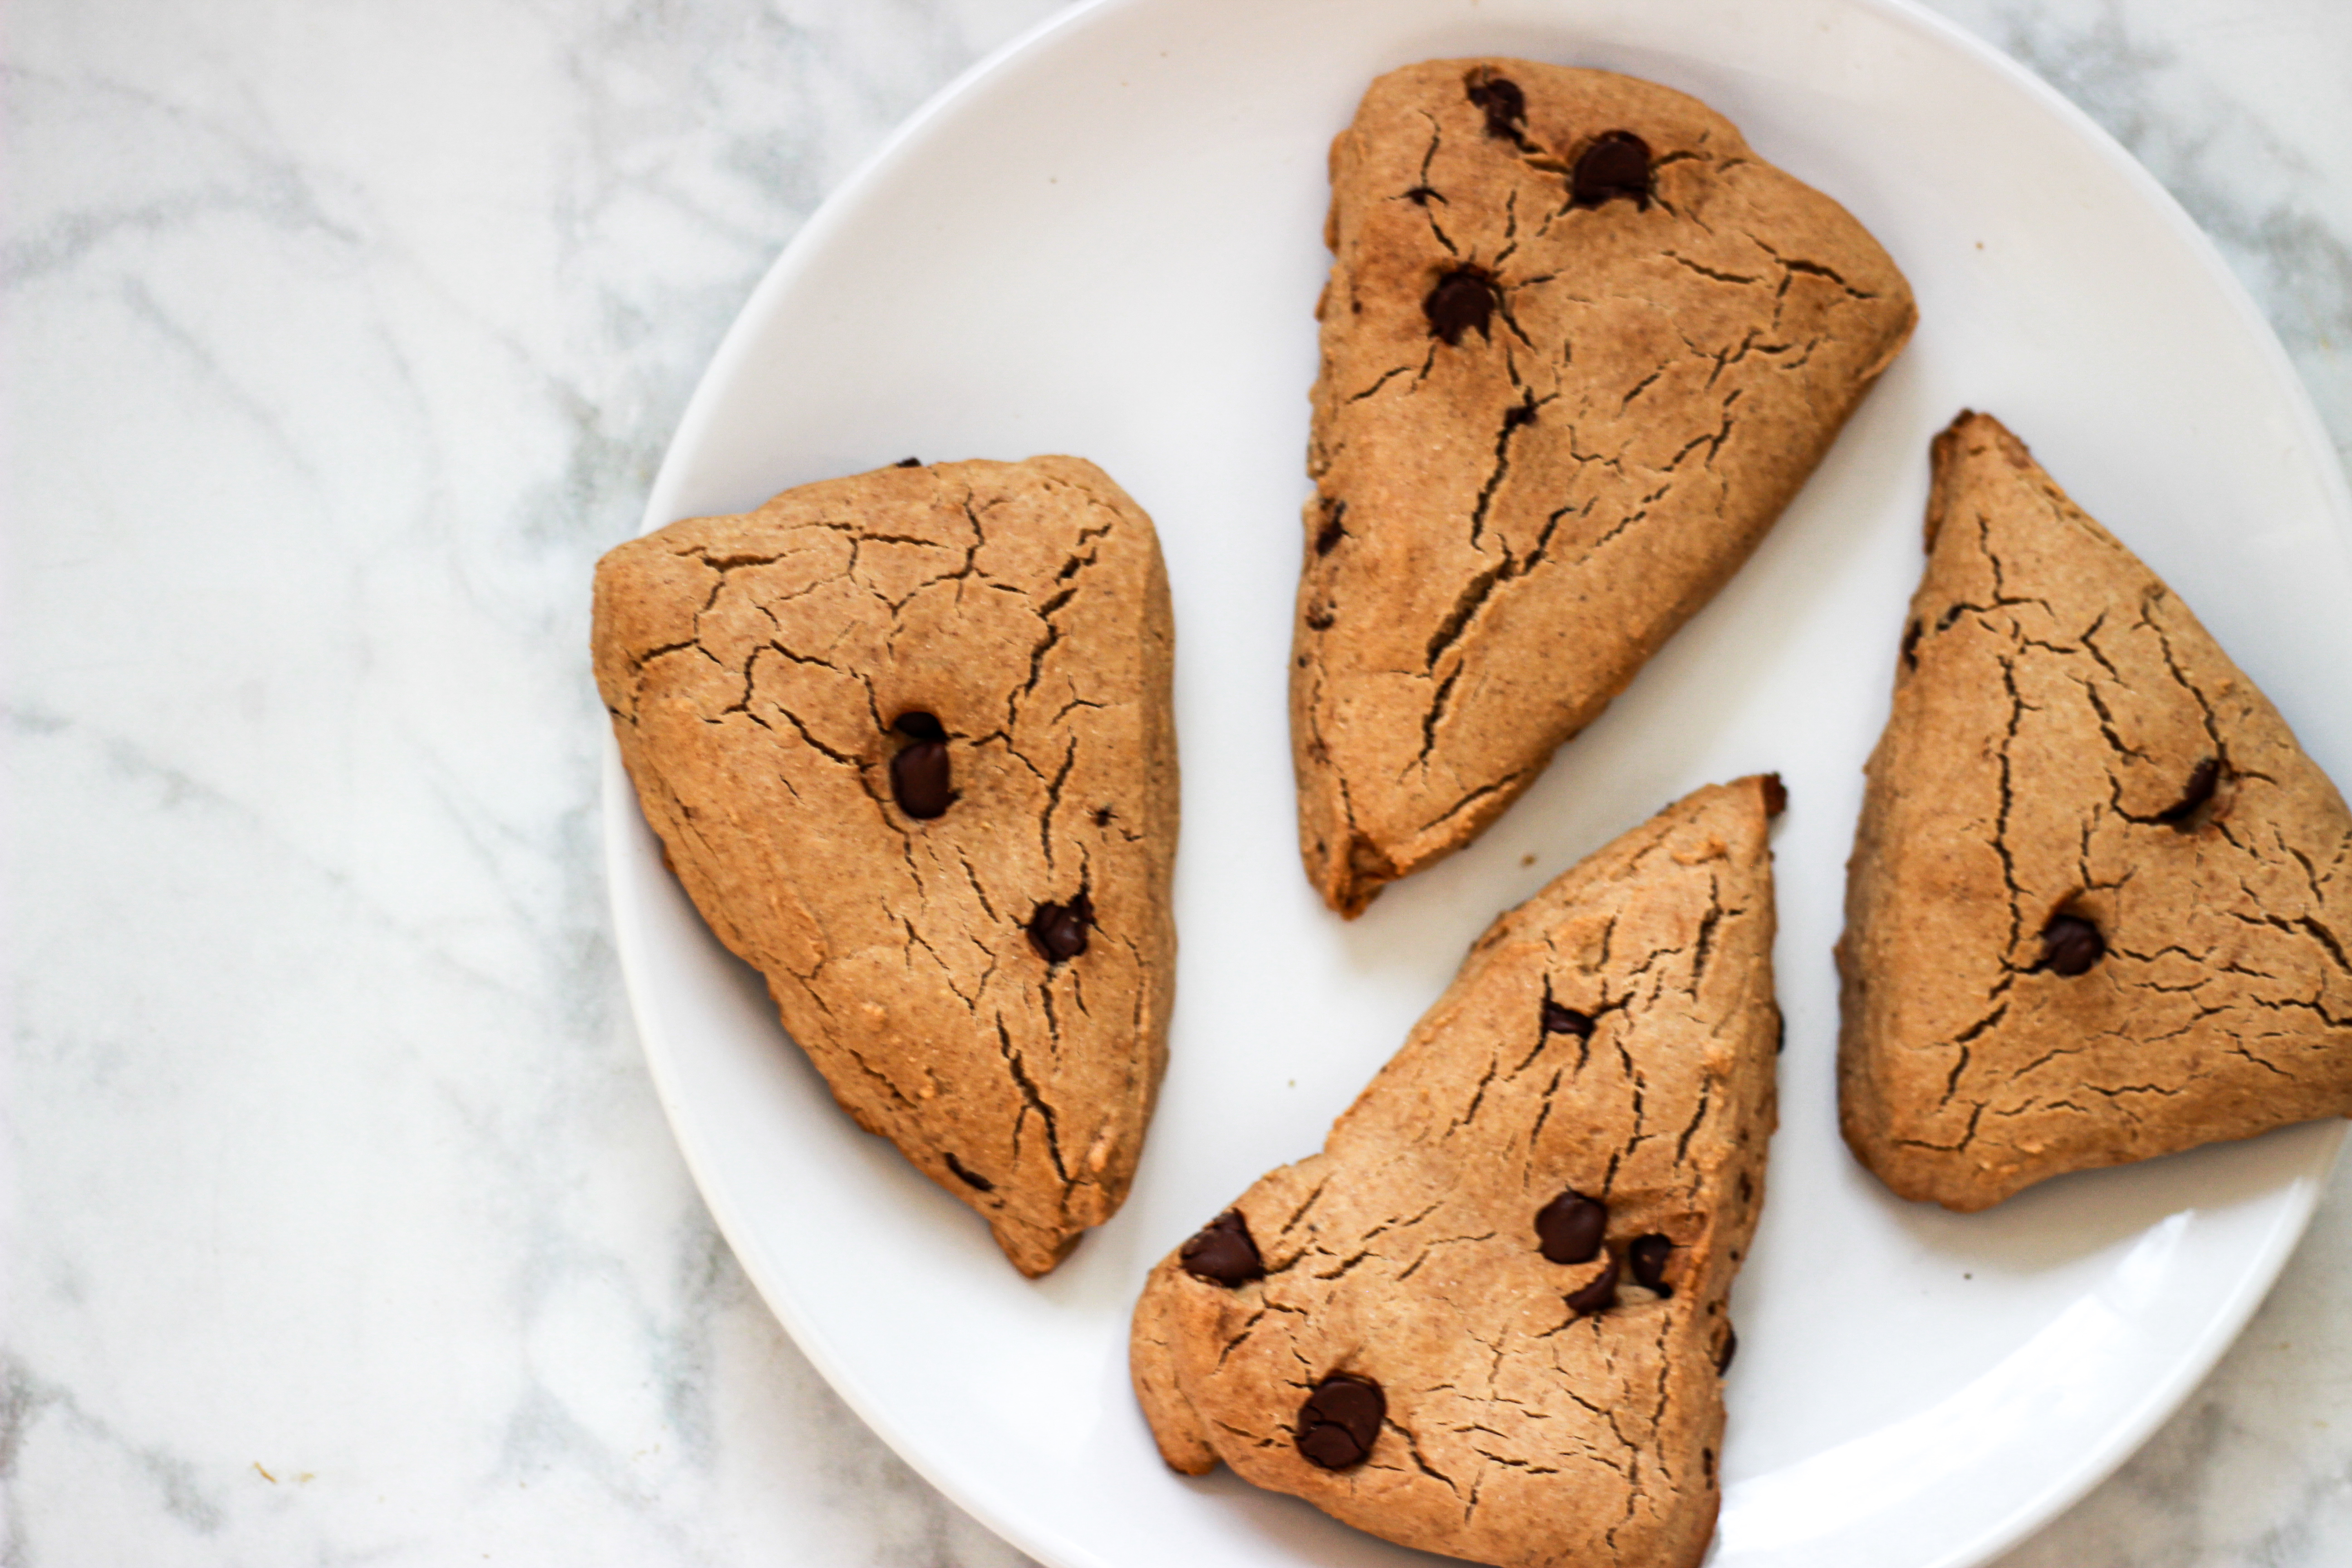
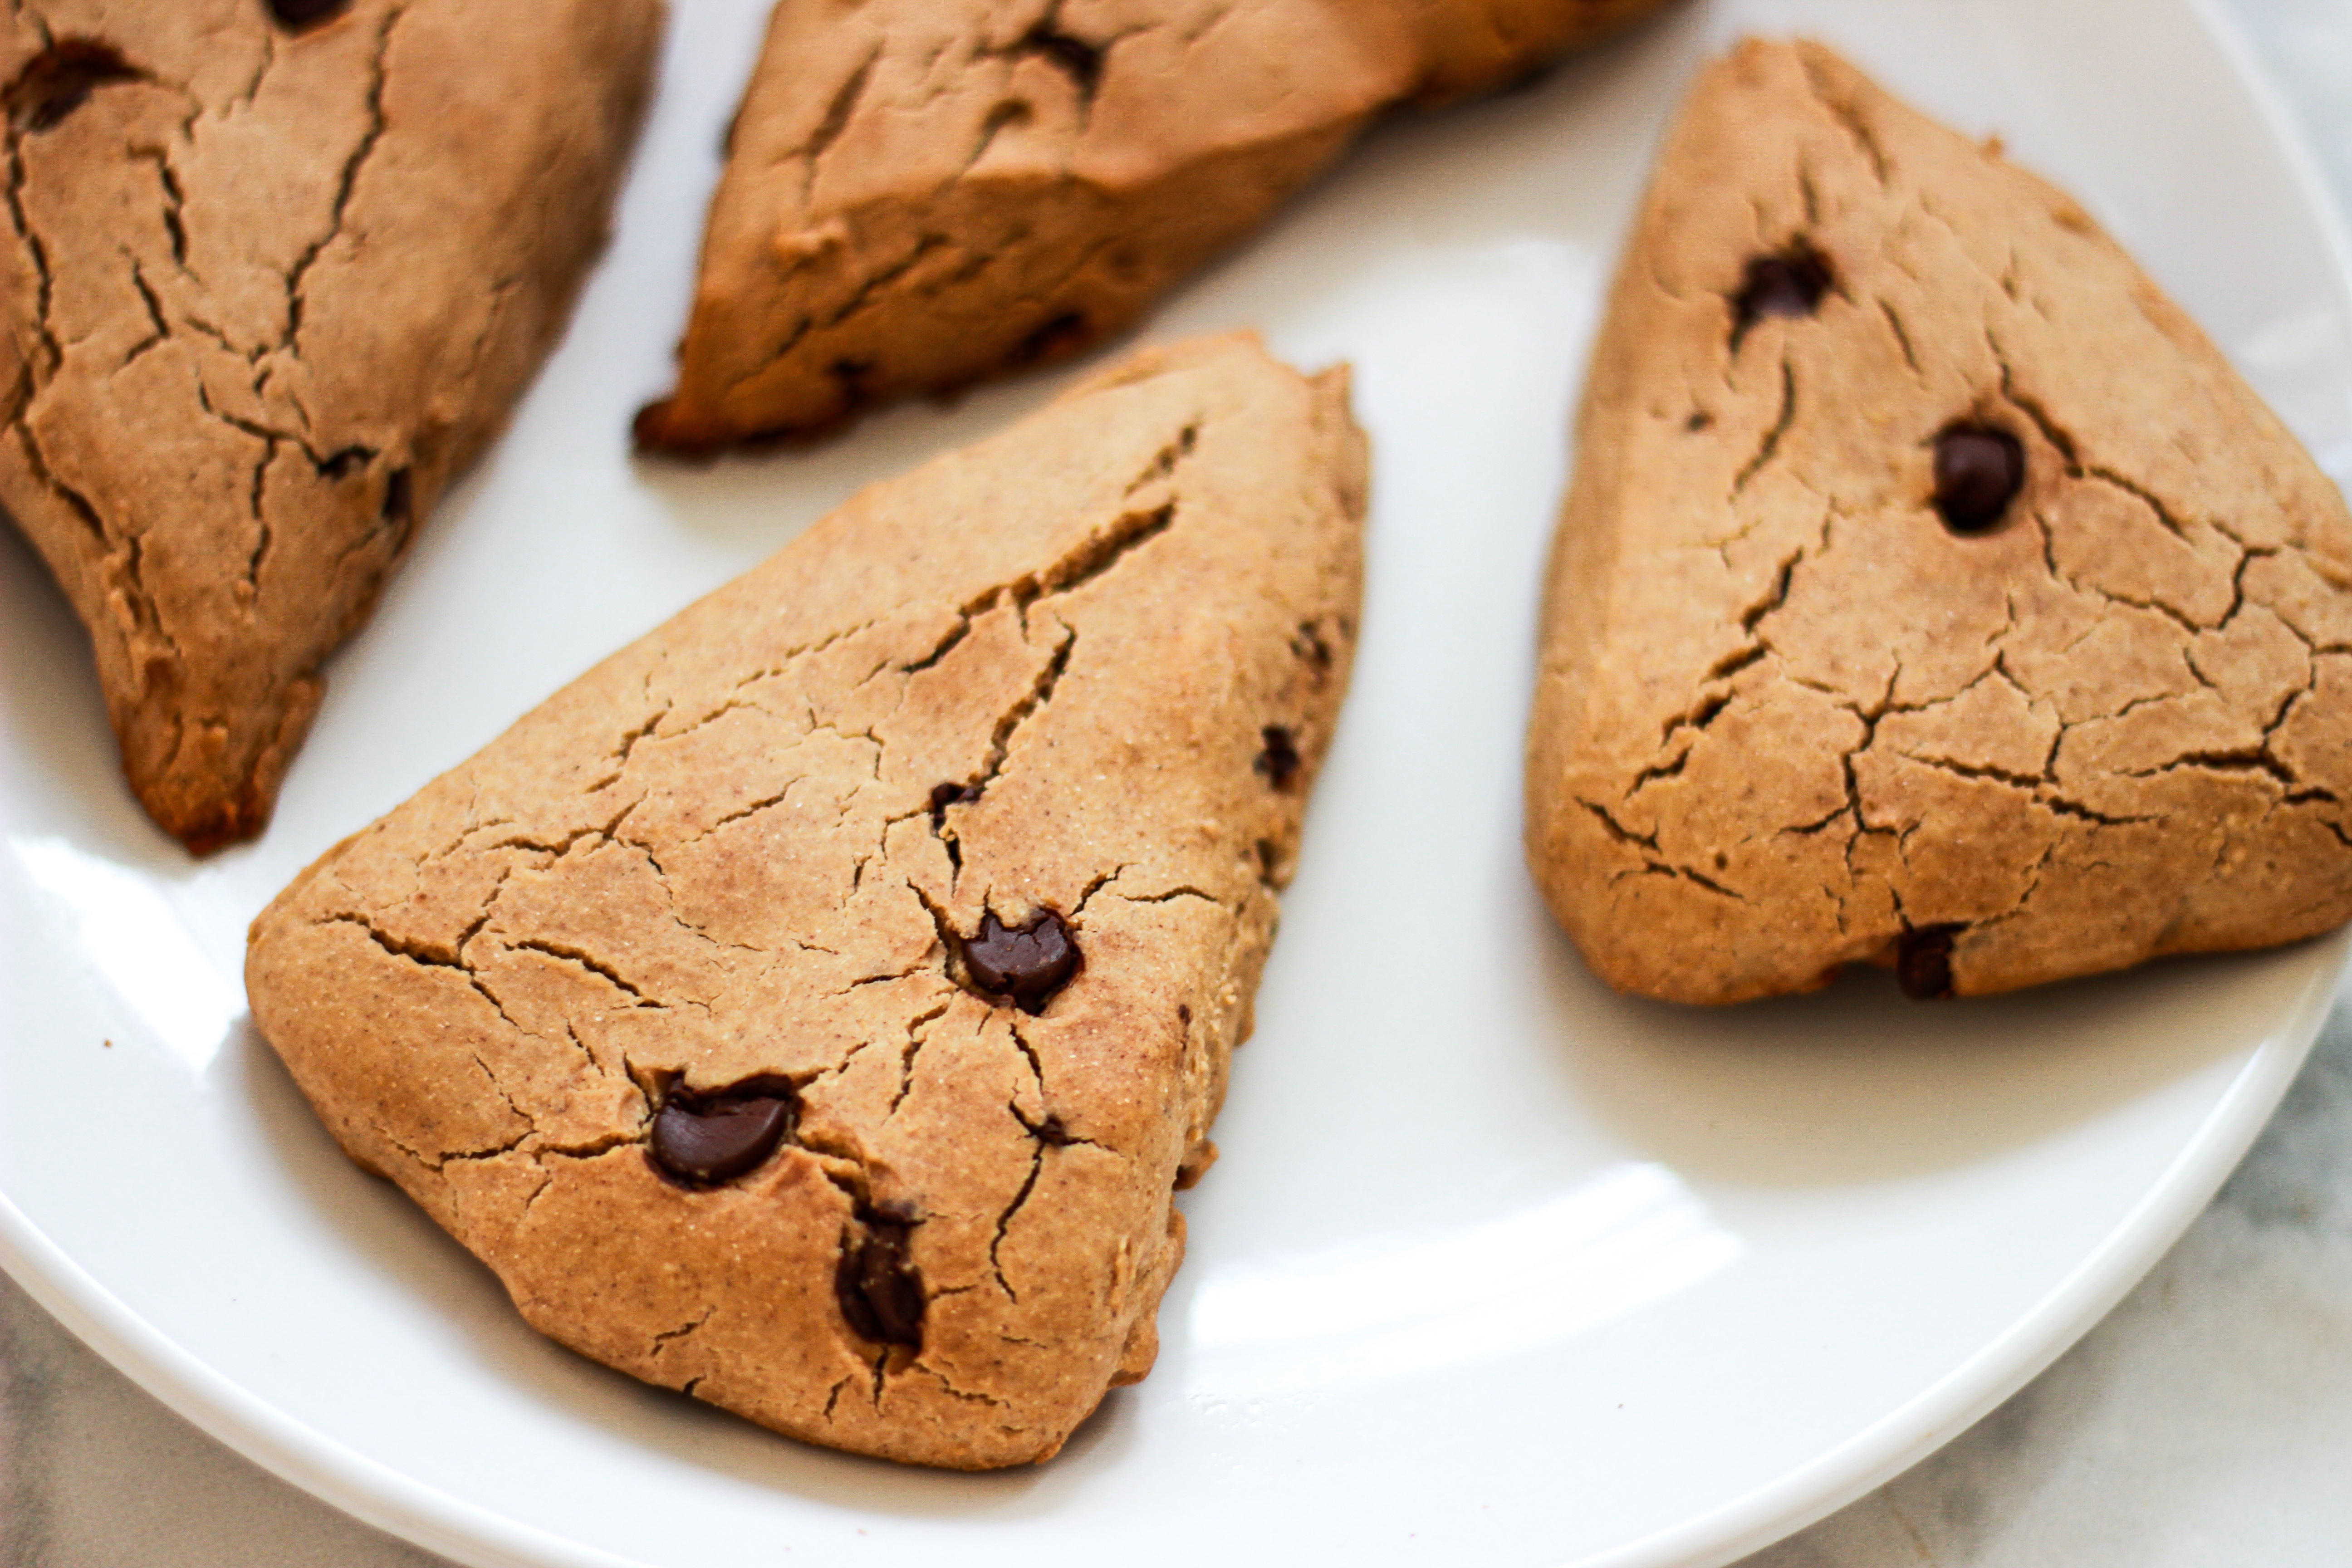
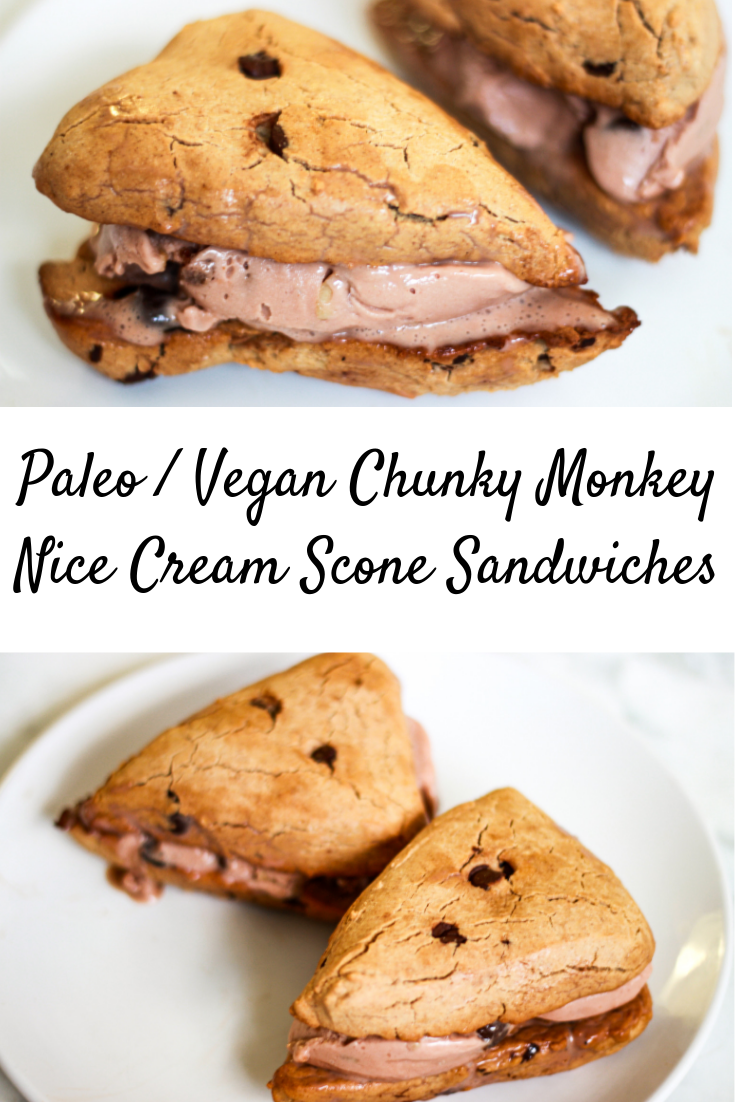
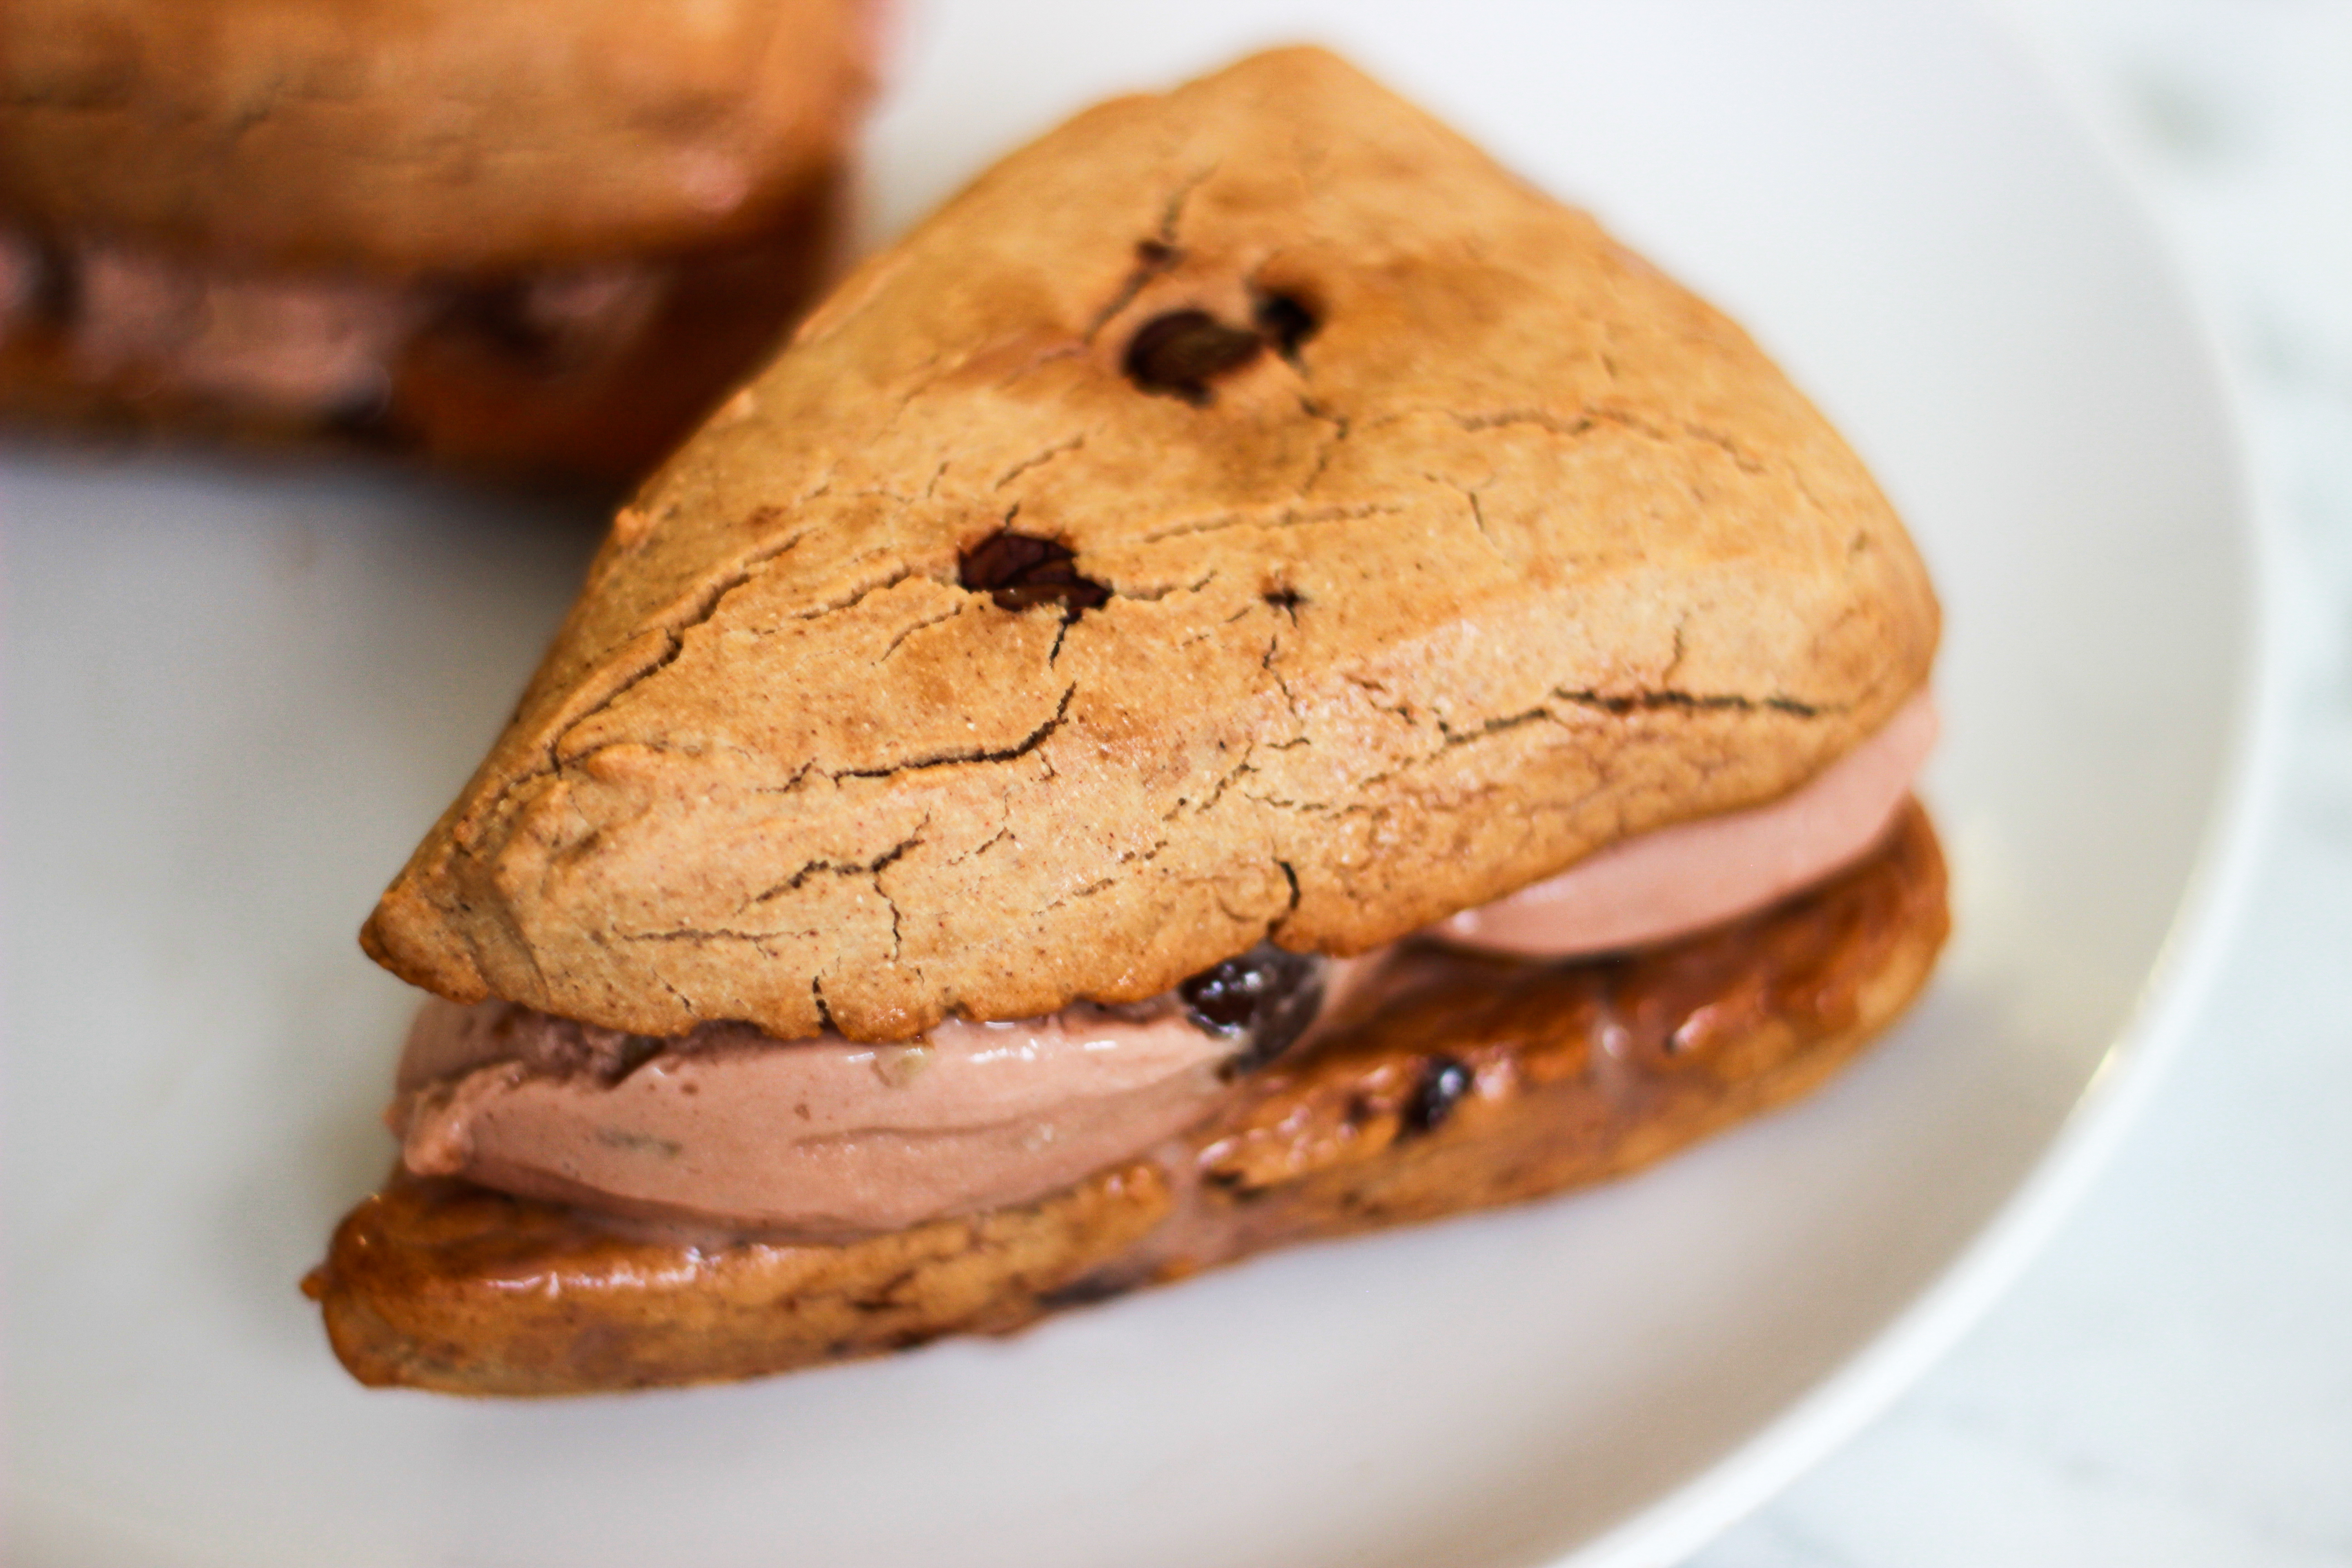
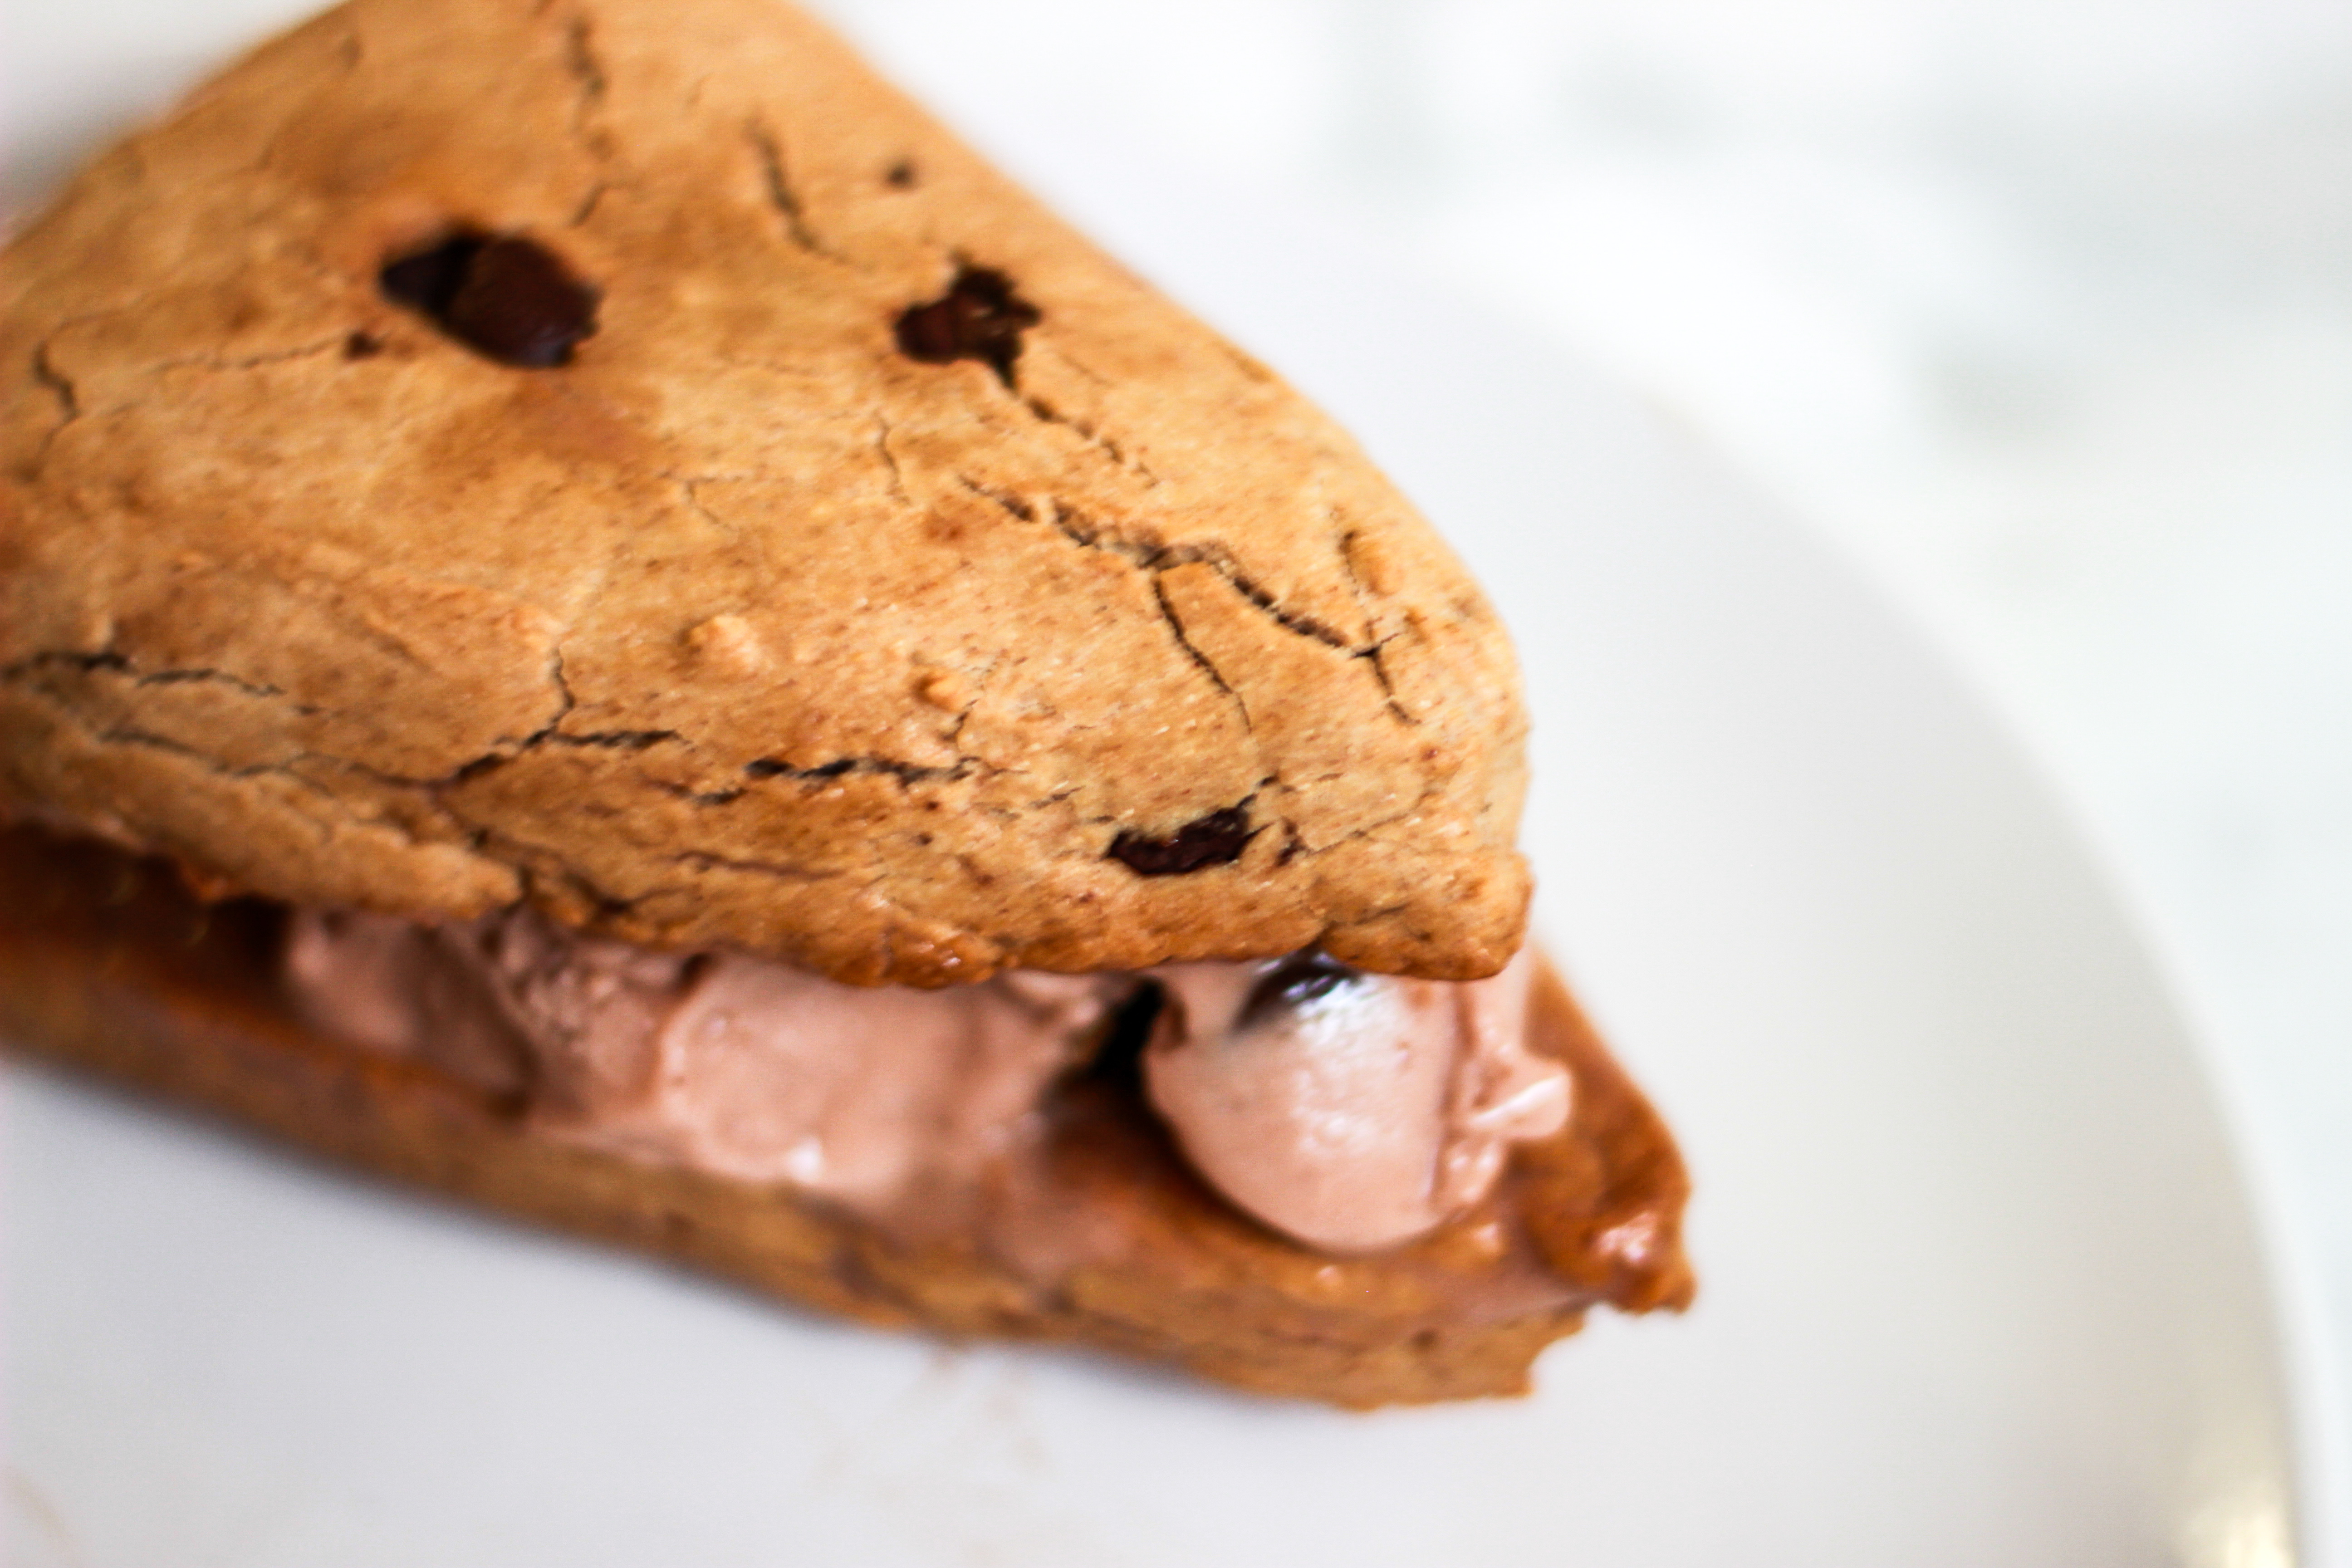
Honestly, I don’t know how anyone could NOT fall in love with this. The scones by themselves are delectable, and the ice cream alone is straight-up heavenly. When you put them together? The combo is BEYOND. This is a monster of an ice cream sandwich, in the best way possible. It’s also a very straightforward recipe – some basic chocolate chip scones paired with ‘nana ice cream. It looks a lot fancier and more complicated than it is, so you can def impress your friends with this one. Despite its simplicity, the flavor is outta this world. Aaaand everything is gluten-free, dairy-free, soy-free, and vegan. Don’t let food restrictions stop you, yo!
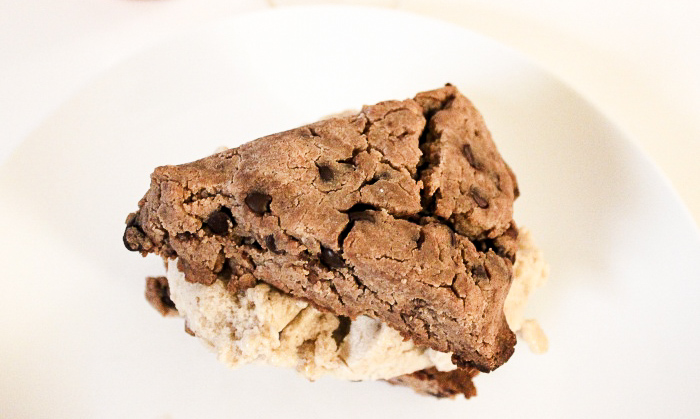
Banana Walnut Nice Cream Scone Sandwiches
Banana Walnut Nice Cream (GF / Vegan)
Serves: About 6 (this will make a “container” of ice cream)
Ingredients:
- About 10 ripe bananas
- 2 tbsp maple syrup
- 1 tbsp vanilla extract
- 1.5 tsp cinnamon
- 1 cup chopped raw walnuts
- 1 cup gluten-free, dairy-free dark chocolate chips (I use Enjoy Life – you can also use cacao nibs!)
Instructions:
- Peel the bananas and cut them up into little discs. Place the banana pieces into a bag and freeze for at least 12 hours.
- Put the frozen bananas in a food processor and process until the consistency is like soft-serve.
- Add in the maple syrup, vanilla extract, and cinnamon. Process again until everything is mixed together.
- Move the banana nice cream into a container and add in the walnuts and chocolate chips. Use a spoon to mix them in until they are evenly spread out throughout the ice cream. Add more chocolate chips and walnuts to your liking!
- Close the container and put the ice cream back in the freezer for another 3-4 hours until ready to serve.
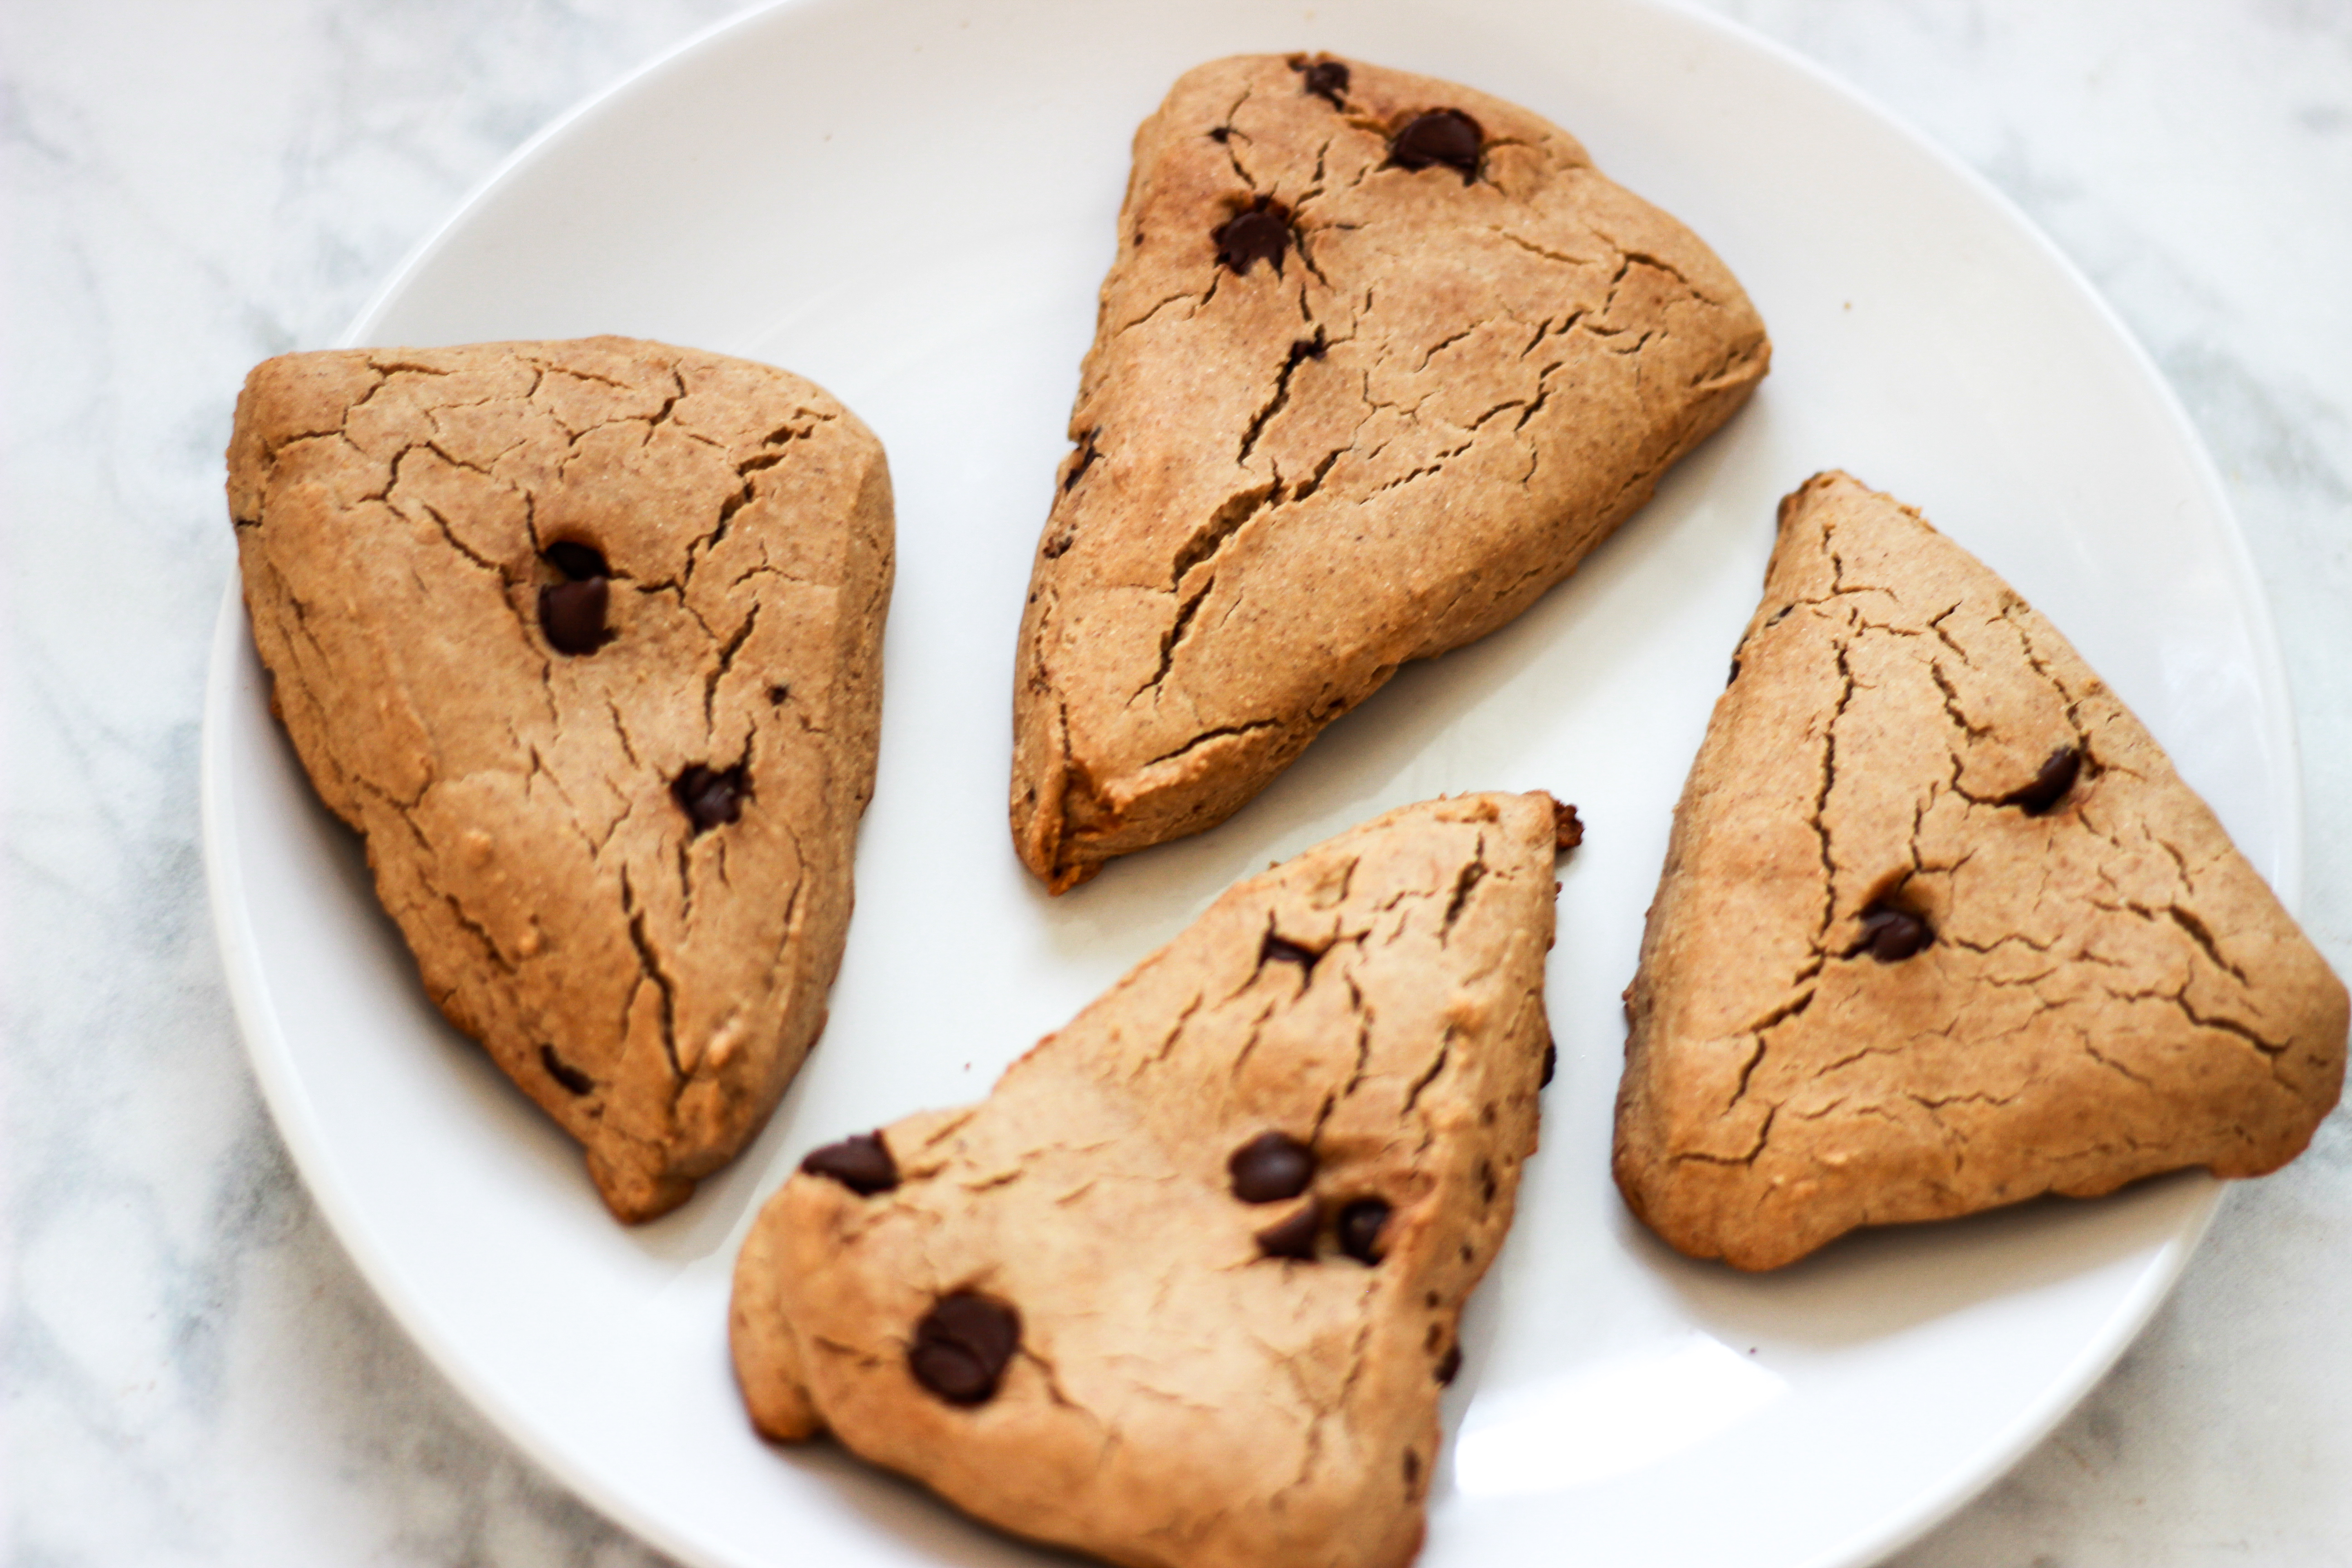
Gluten-free/Vegan Chocolate Chip Scones
Makes: 8 Scones
Ingredients:
- 2 cups gluten-free all-purpose flour (I used Bob’s Red Mill Gluten-Free 1 to 1 Baking Flour)
- 1/4 tsp salt
- 1 tbsp baking powder
- 2 tsp cinnamon
- 5 tbsp melted coconut oil
- 1 cup gluten-free, dairy-free dark chocolate chips
- 1 tsp vanilla extract
- 1/4 cup maple syrup
- 1 cup full-fat canned coconut milk
Instructions:
- Preheat your oven to 400* F. Use some coconut oil to grease a large baking sheet and set aside.
- Add the flour, salt, baking powder, and cinnamon into a bowl and mix together well.
- Add in the coconut oil, vanilla, maple syrup, and coconut milk, and mix it all together until a dough forms. If it’s too dry, add a little more coconut milk.
- Add in the chocolate chips and mix again until they are well incorporated. Add more if you like! (You know I did…)
- Squish the dough together into a big ball, and then press the dough into a circle (like a pizza) so it’s about 3/4 inch thick.
- Cut the circle into 8 triangles and place the separated triangles onto the baking sheet. Lightly coat each triangle with some more melted coconut oil.
- Bake for about 20 minutes, or until the the edges start to turn brown.
- Remove from the oven and allow to cool for about 20 minutes.
Nice Cream Scone Sandwich Assembly
- Put a scone face down on a plate.
- Put a few scoops of nice cream on top.
- Place a second scone, face up, on top of the ice cream.
- EAT AND ENJOY!
If you try this recipe, let me know how you like it! Scratch that, I promise you’ll love it. If you take a picture, be sure to tag me (@addicted_to_lovely) so I can see it! What’s your favorite kind of ice cream?!
