by Christina | Dec 27, 2017 | Recipes, Wellness
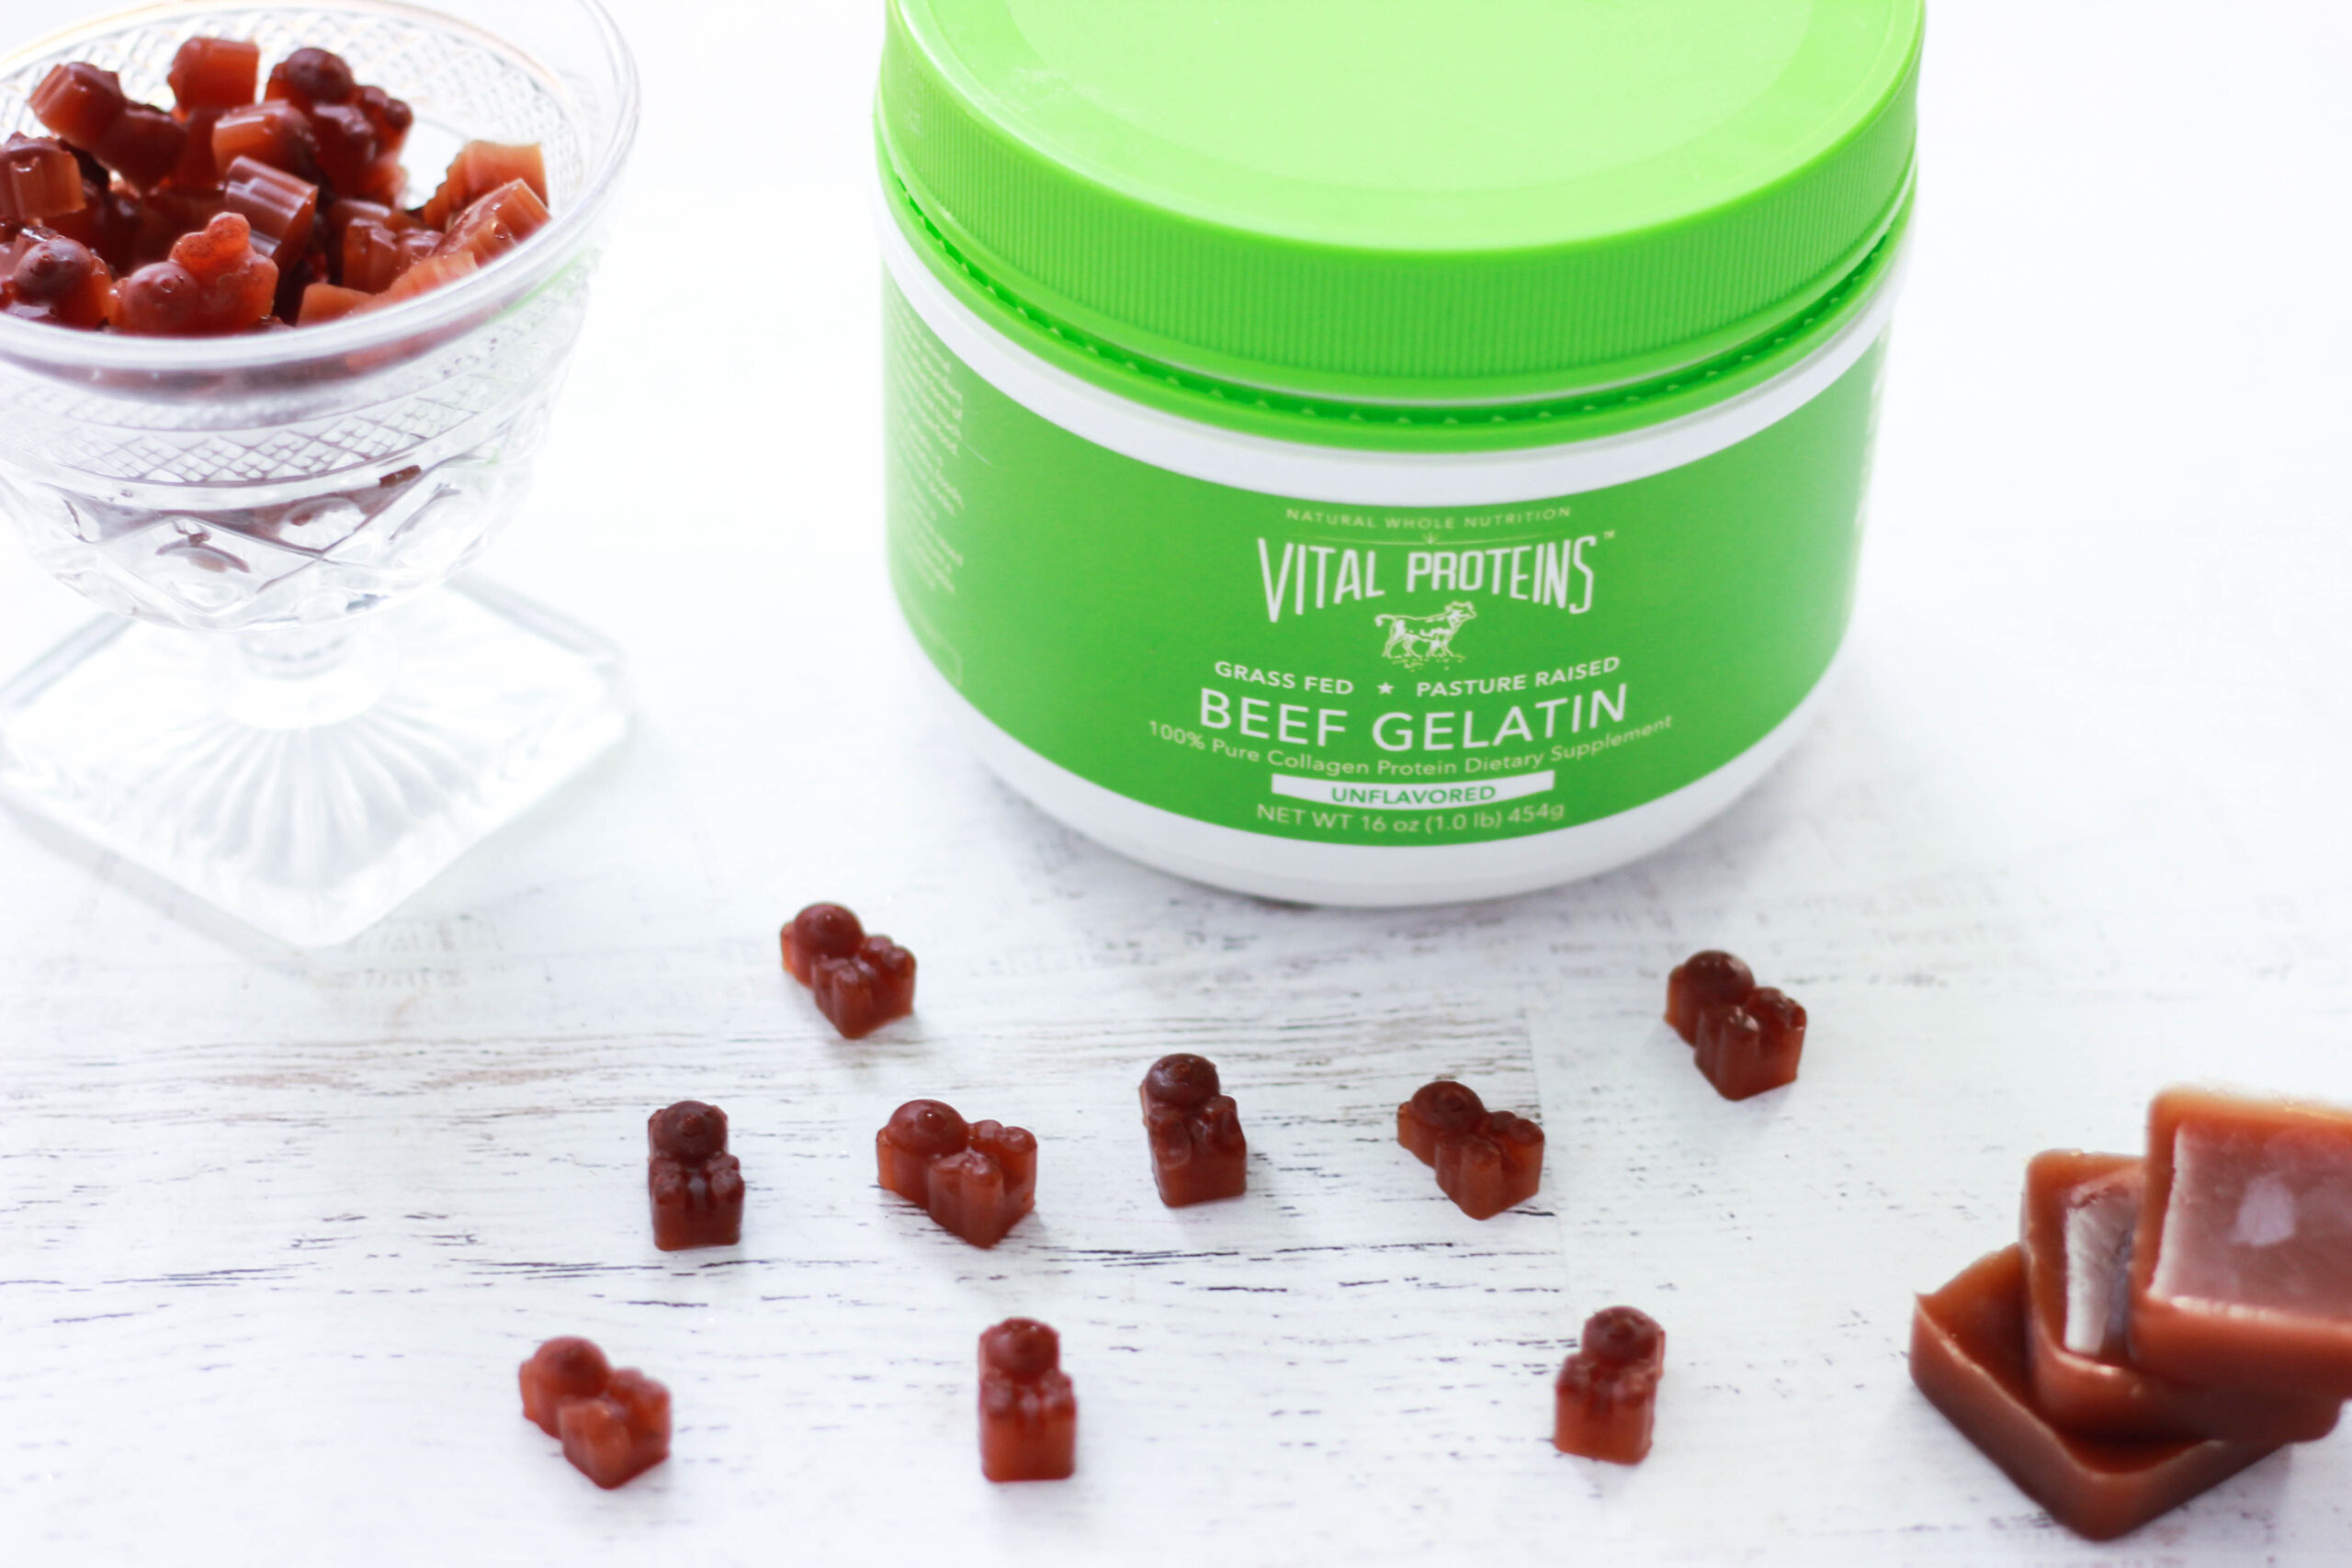
Now that the holidays are over, I think it’s time to show our guts some extra love – don’t ya think? These cute little gummies are my most recent addiction for about a million reasons, including their gut-healing properties. Not only are they incredibly simple to pull together, but they’re so delicious and have a ton of health benefits, too!
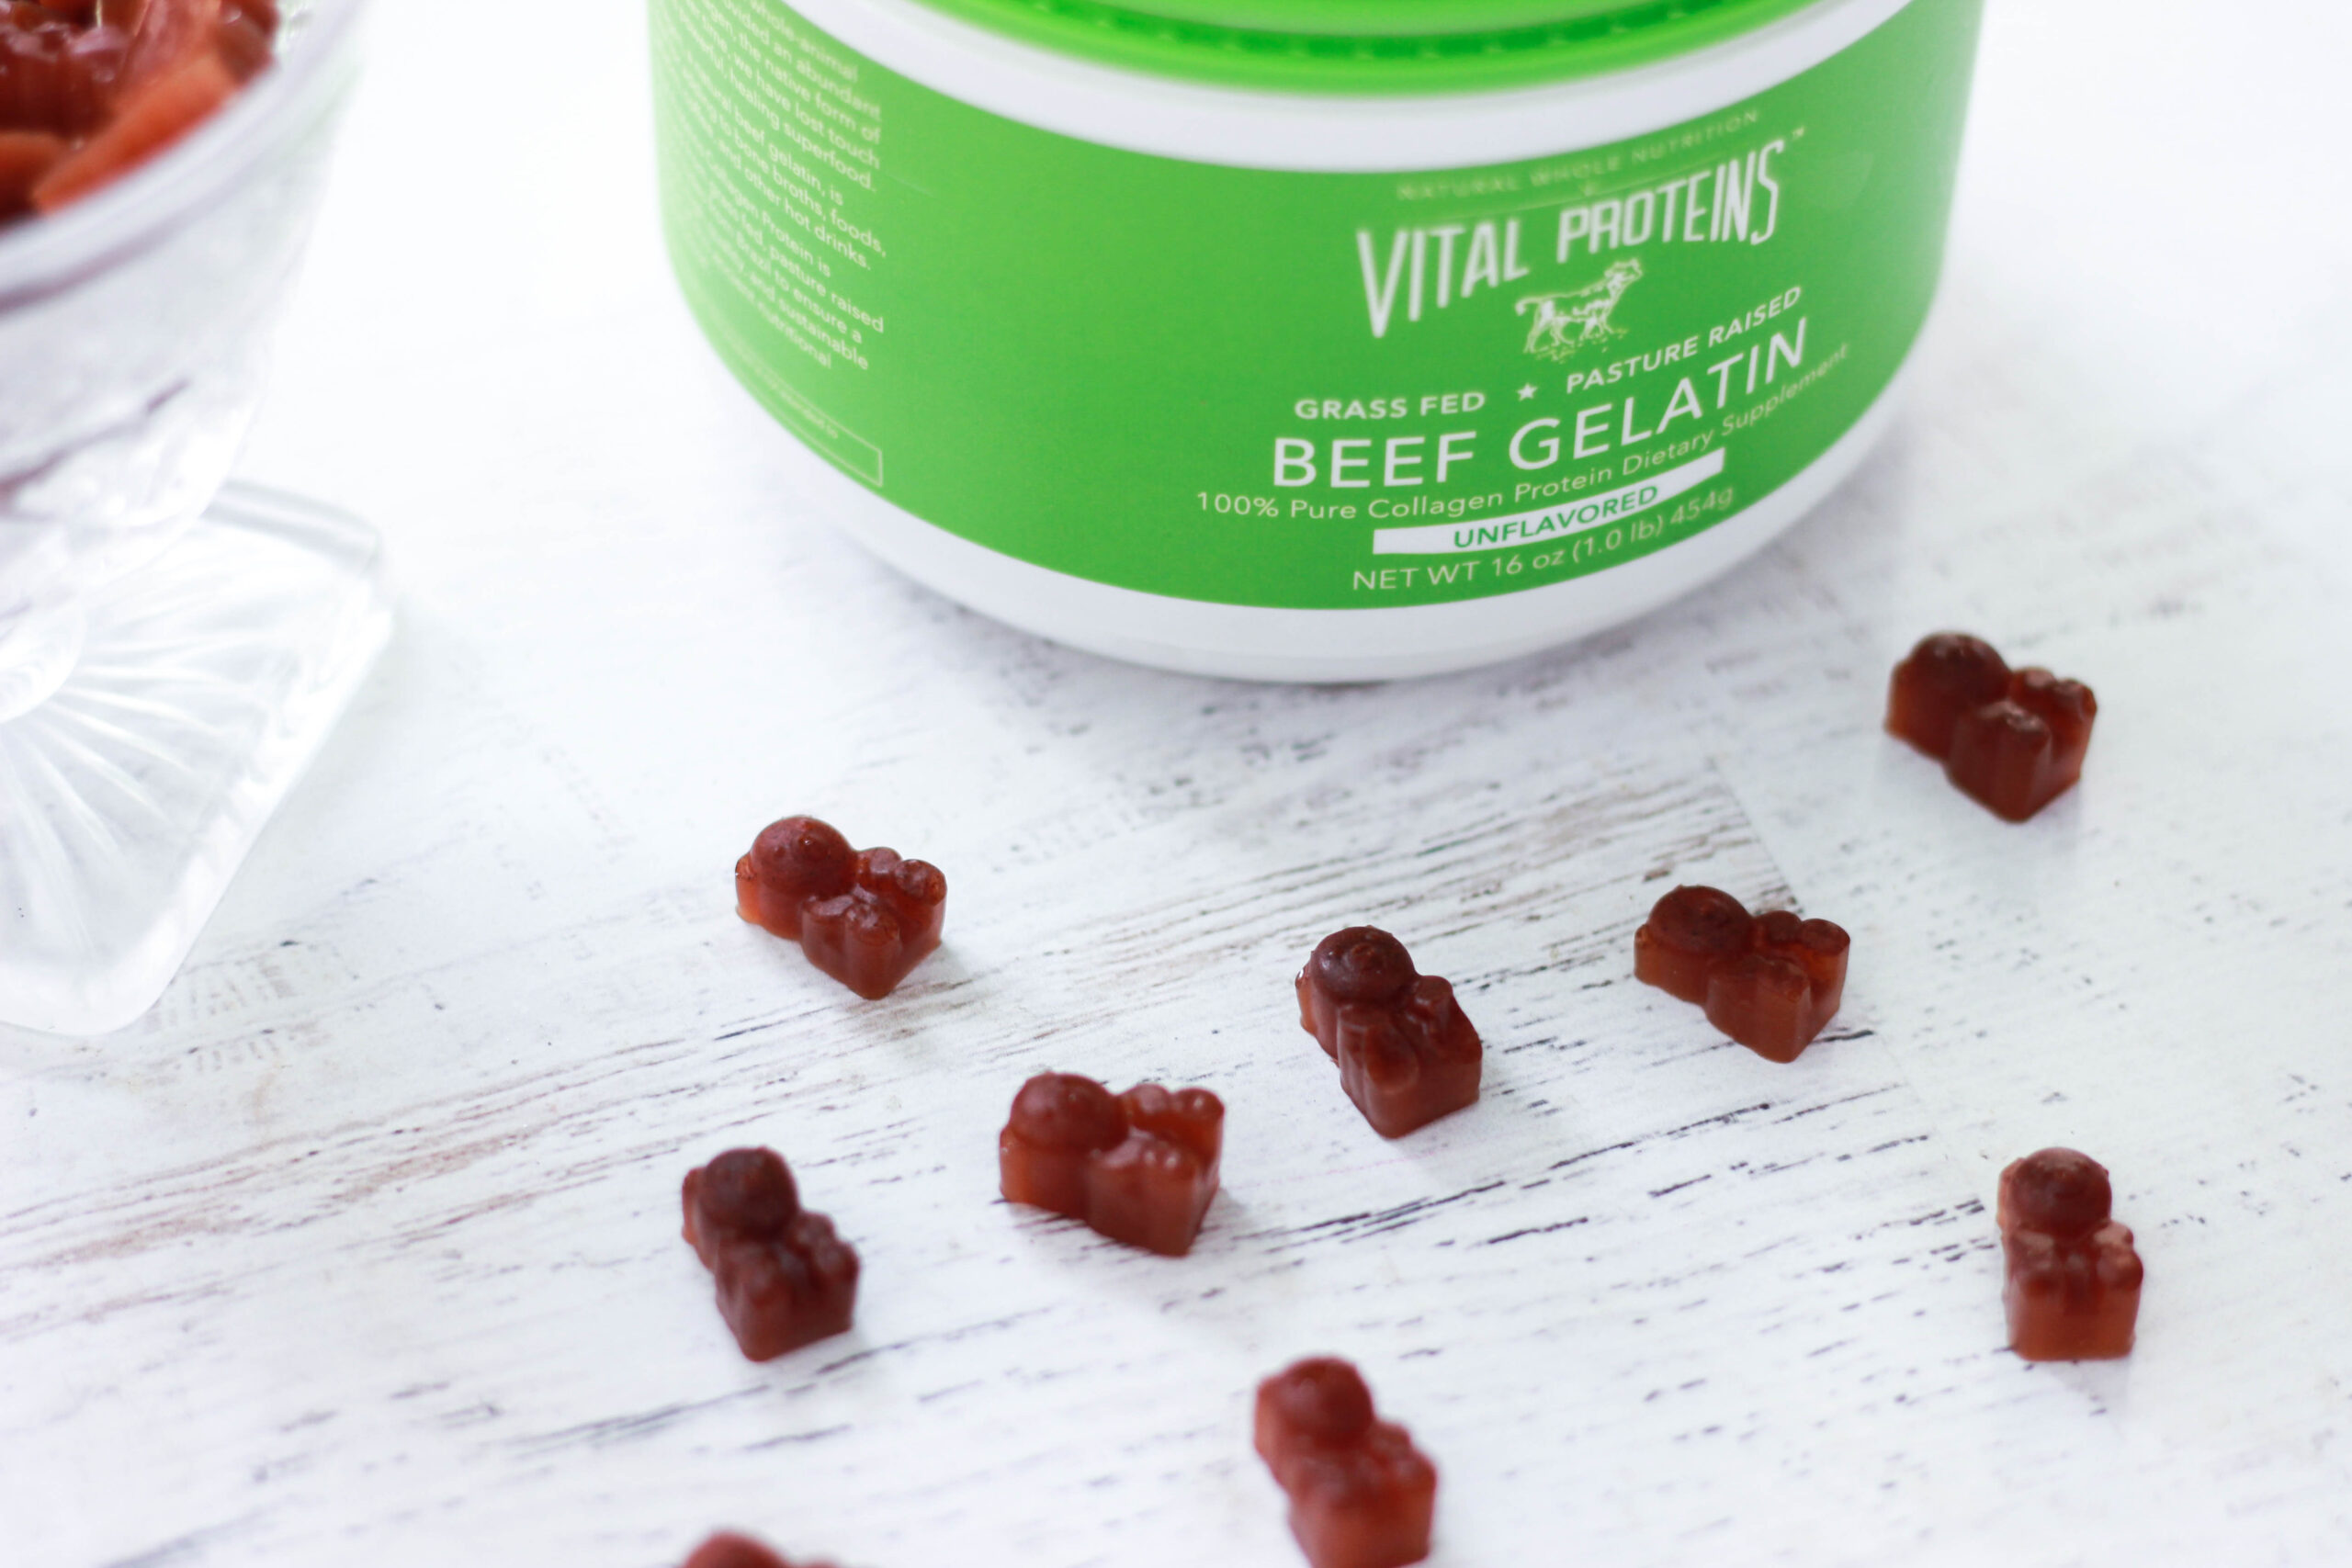
We all know I’m a huge fan of Vital Proteins, and people always ask me what to do with Vital Proteins Gelatin! There are so many different things you can do with gelatin, but one of the simplest is to make your own gummies. Nothing makes you feel more like a kid again than snacking on some gummy bears, right?!
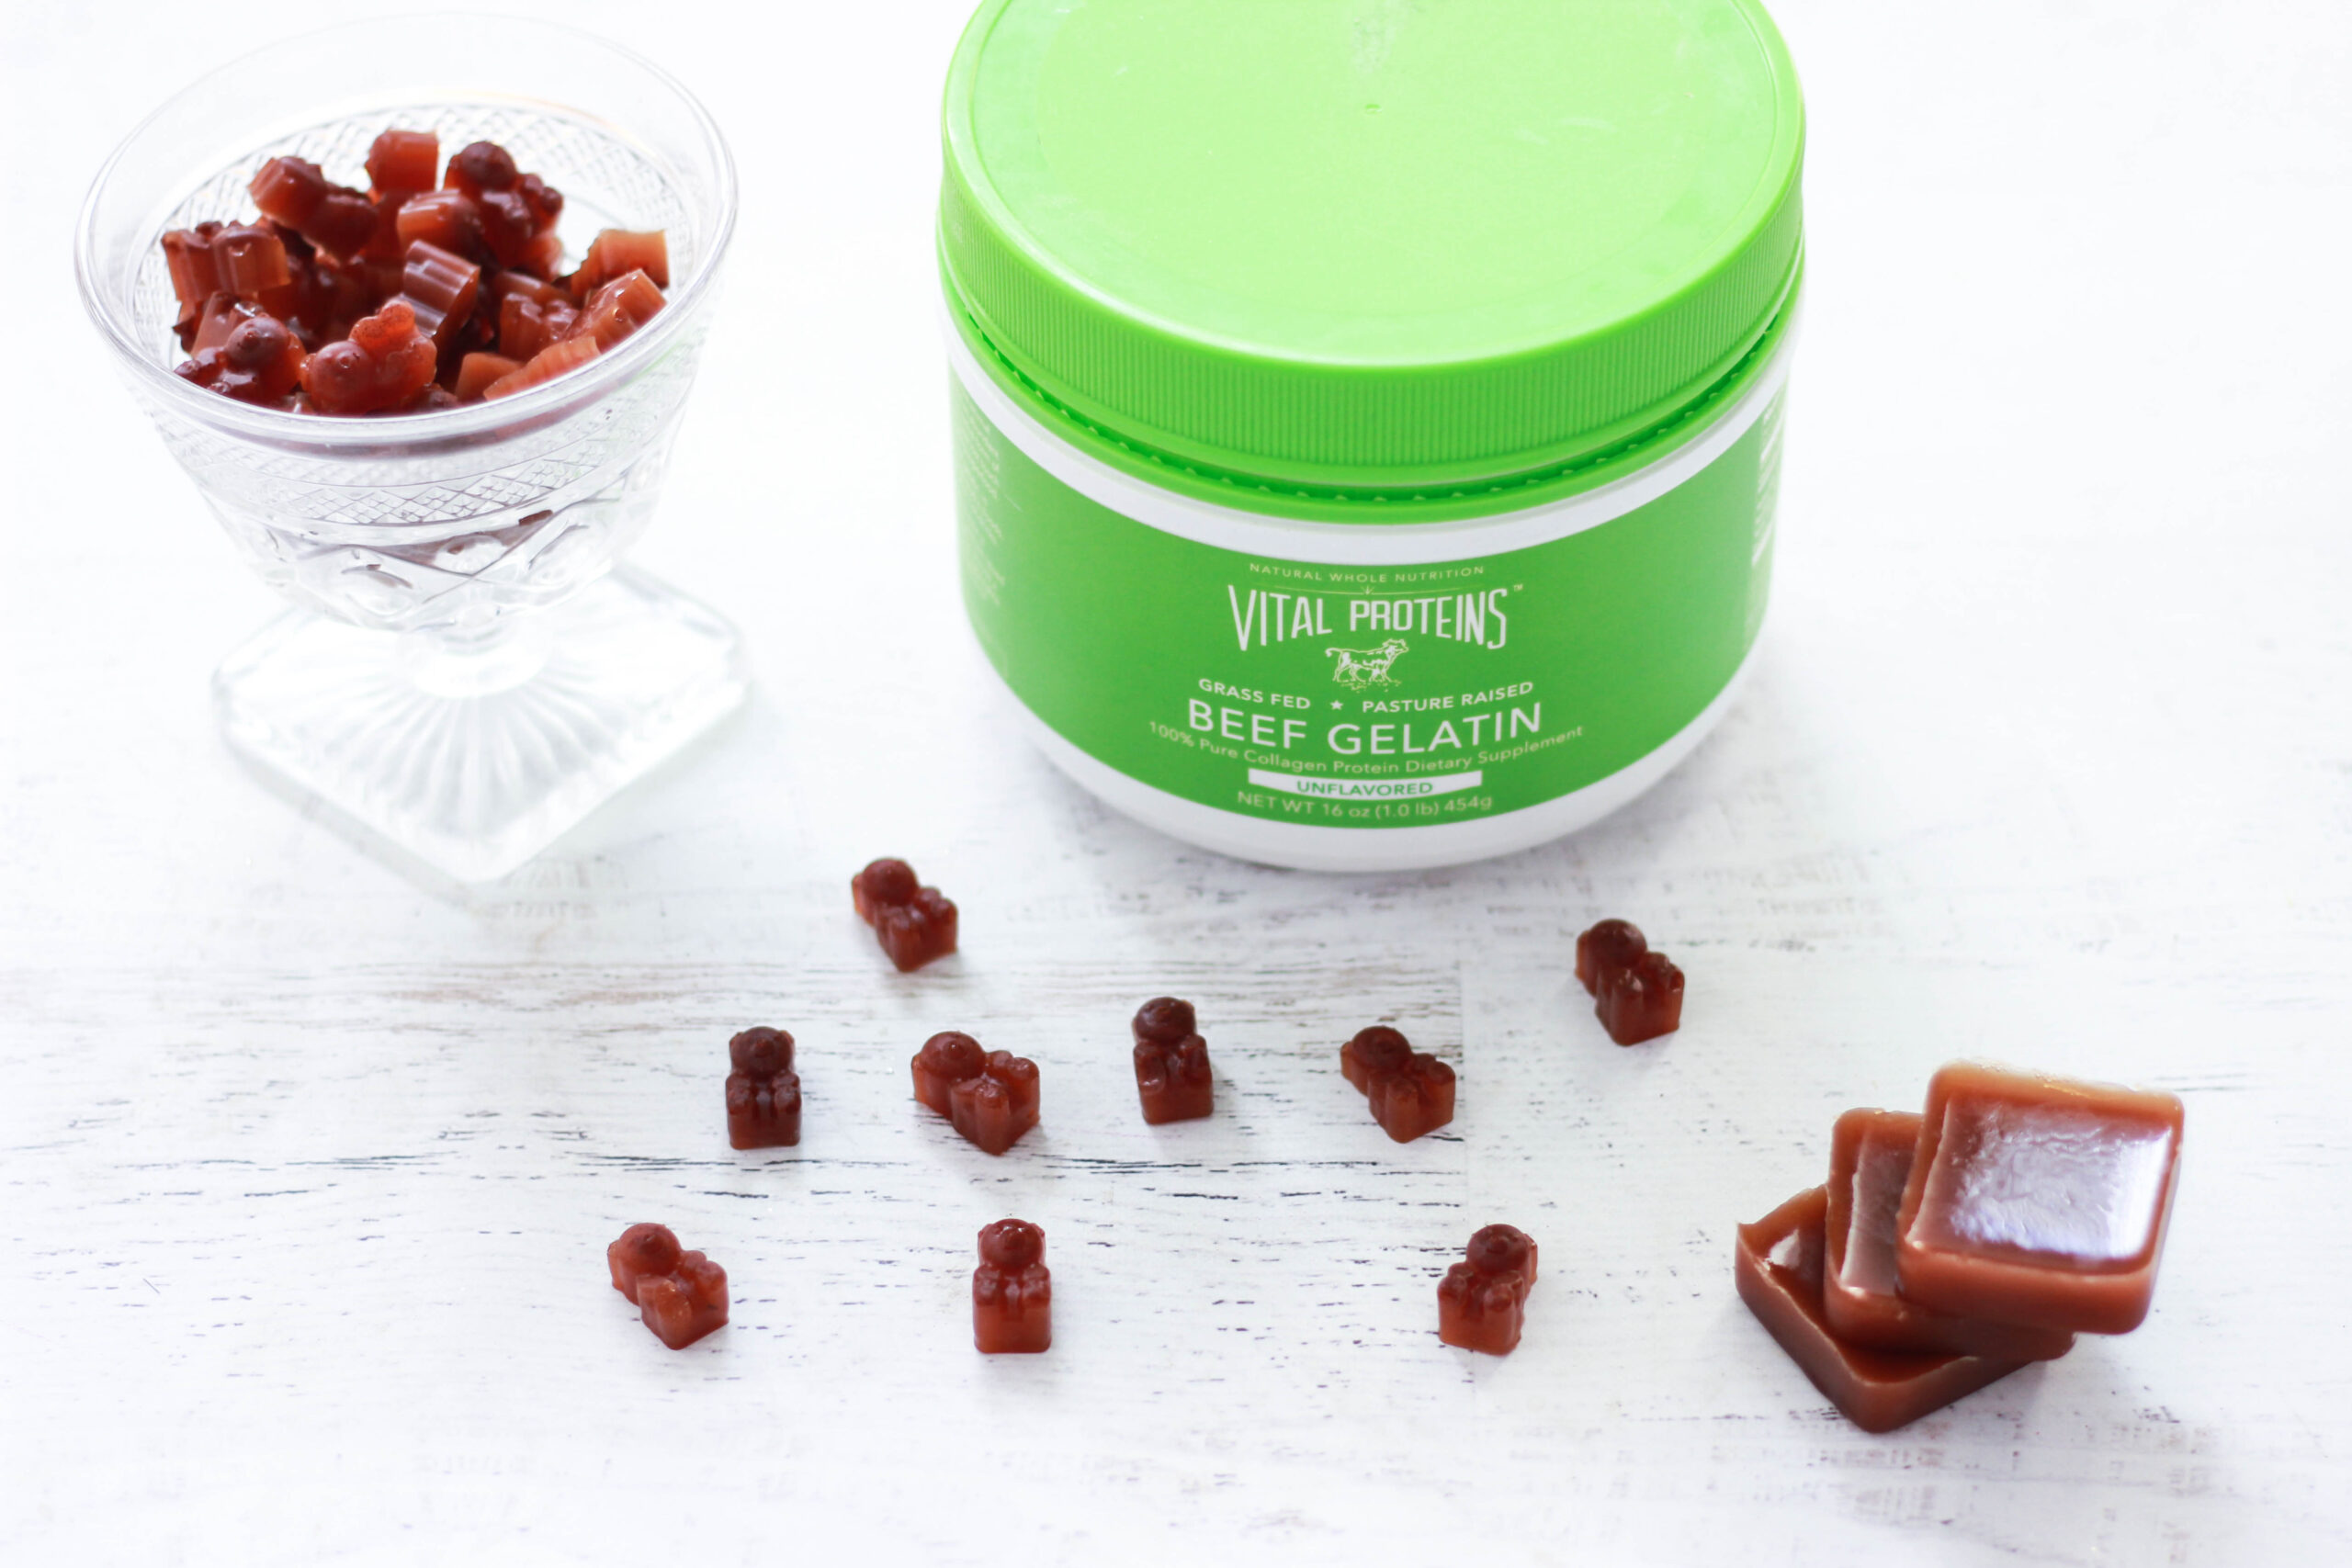
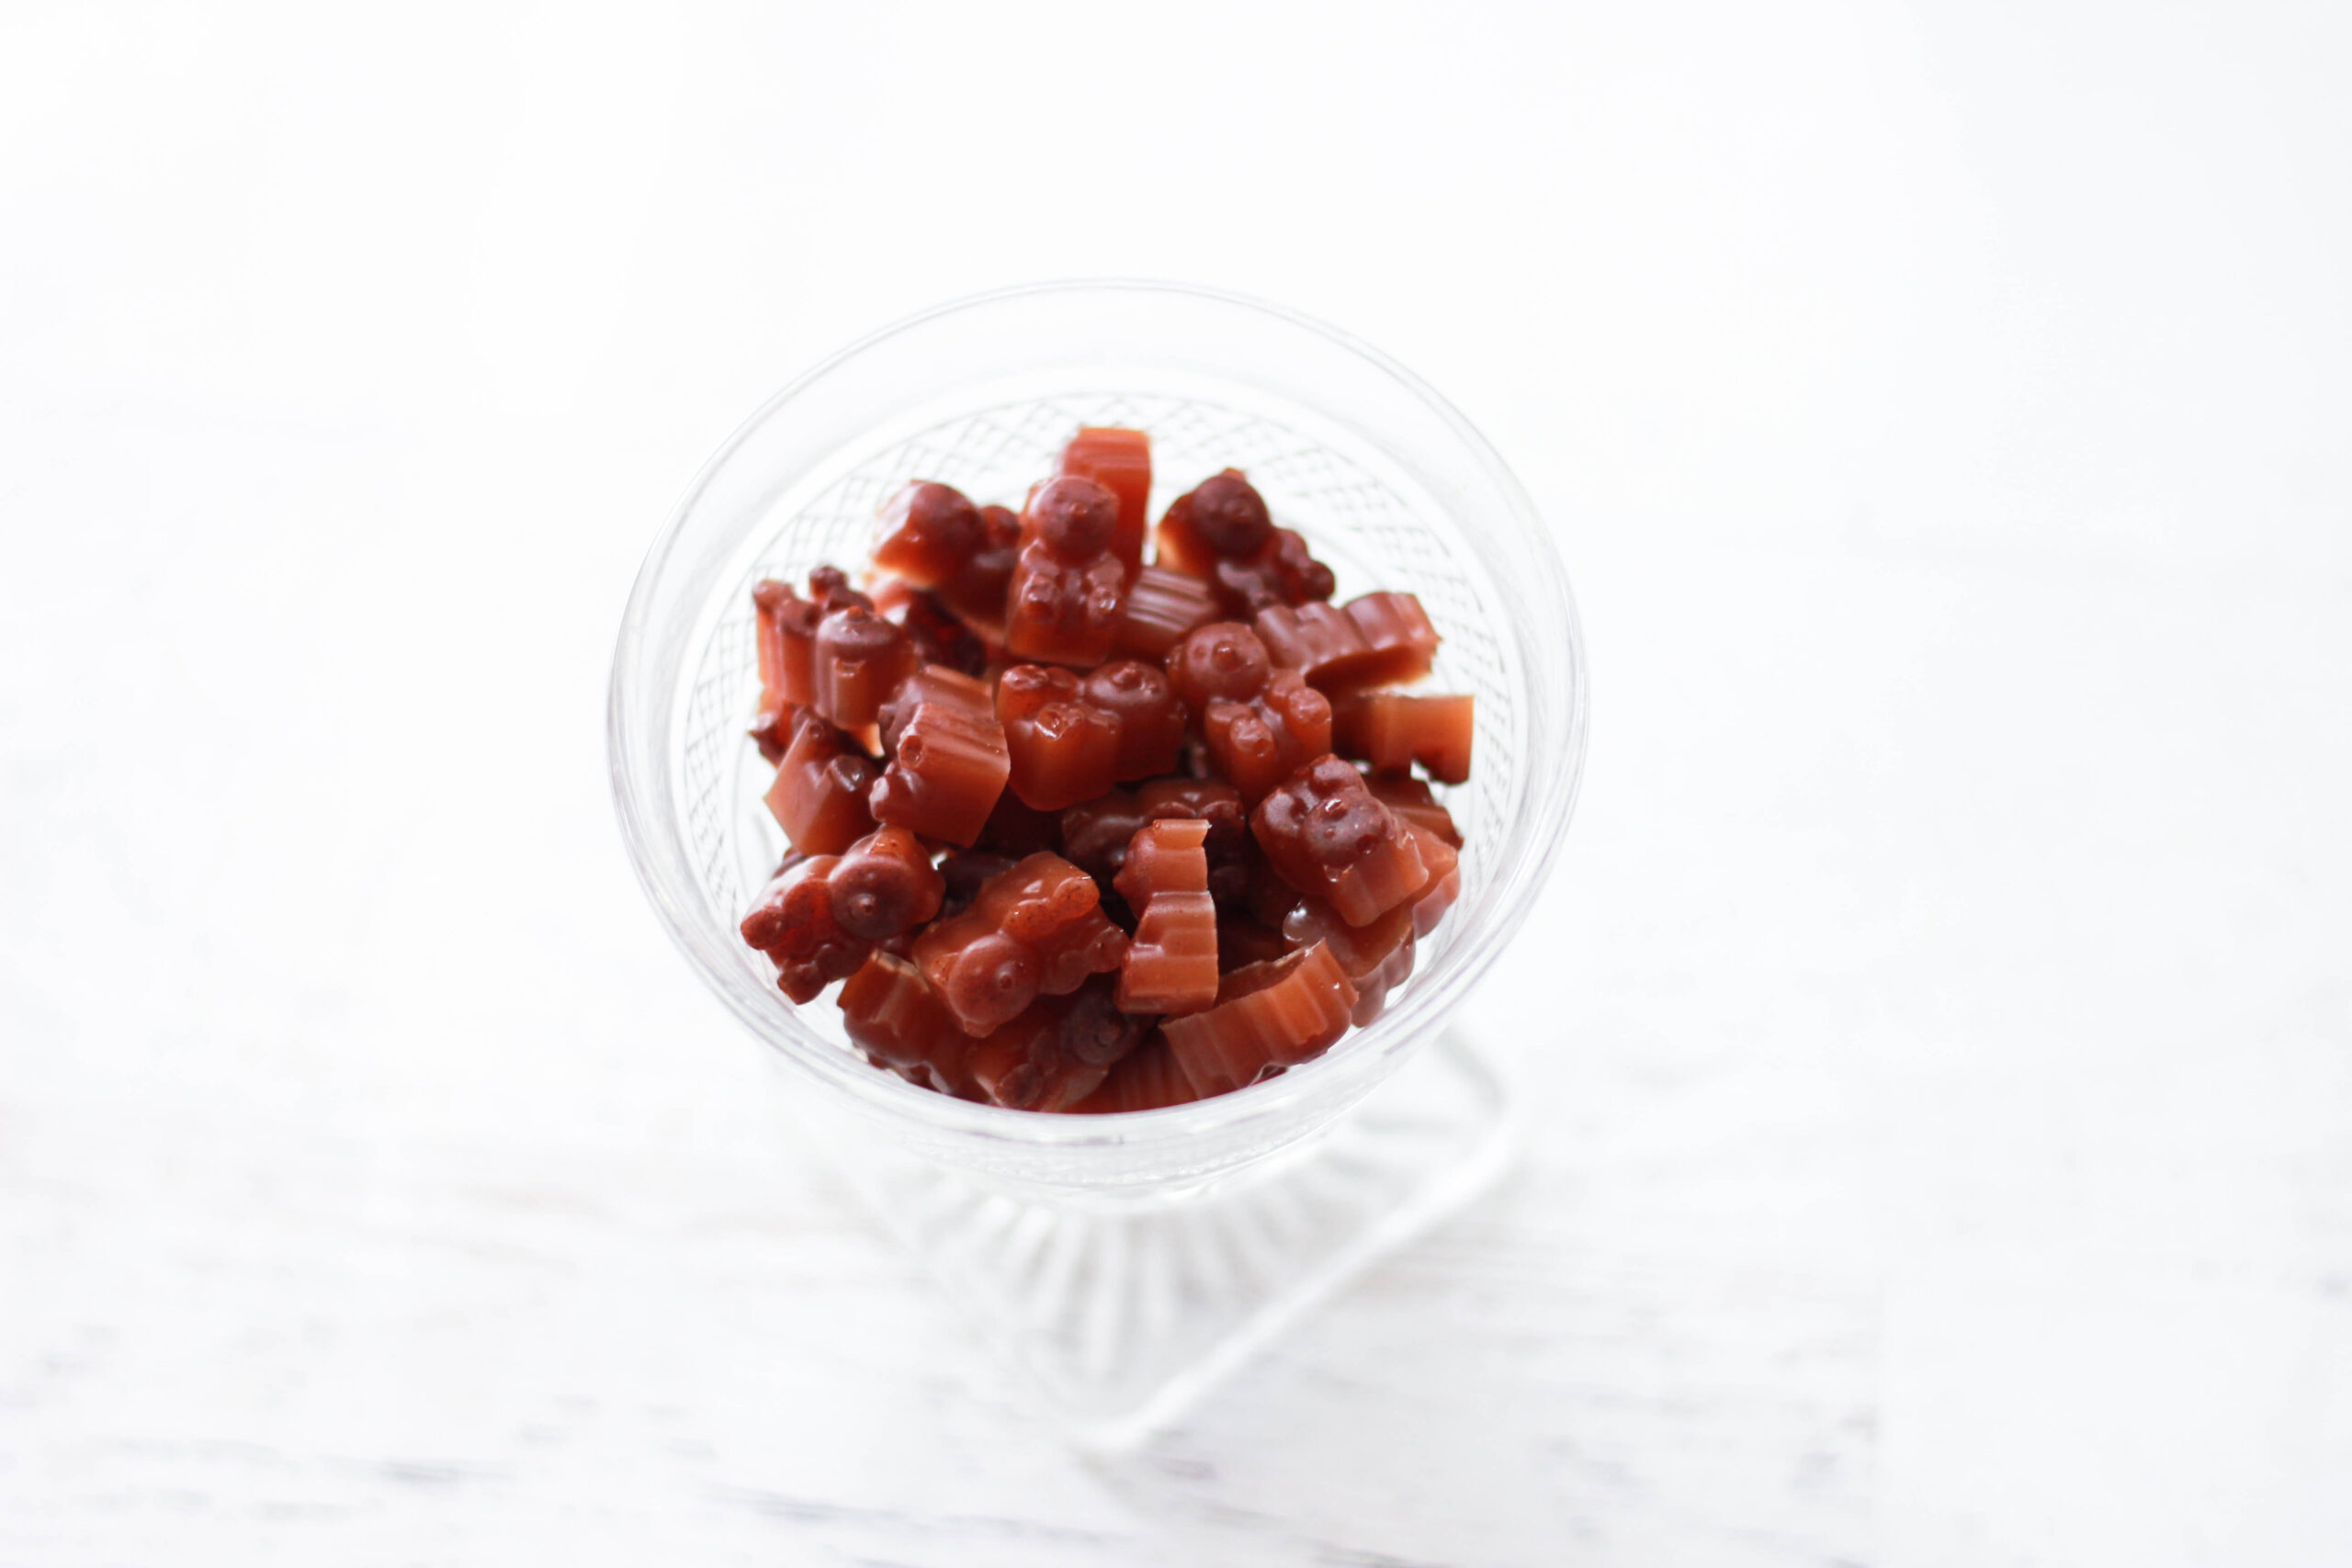
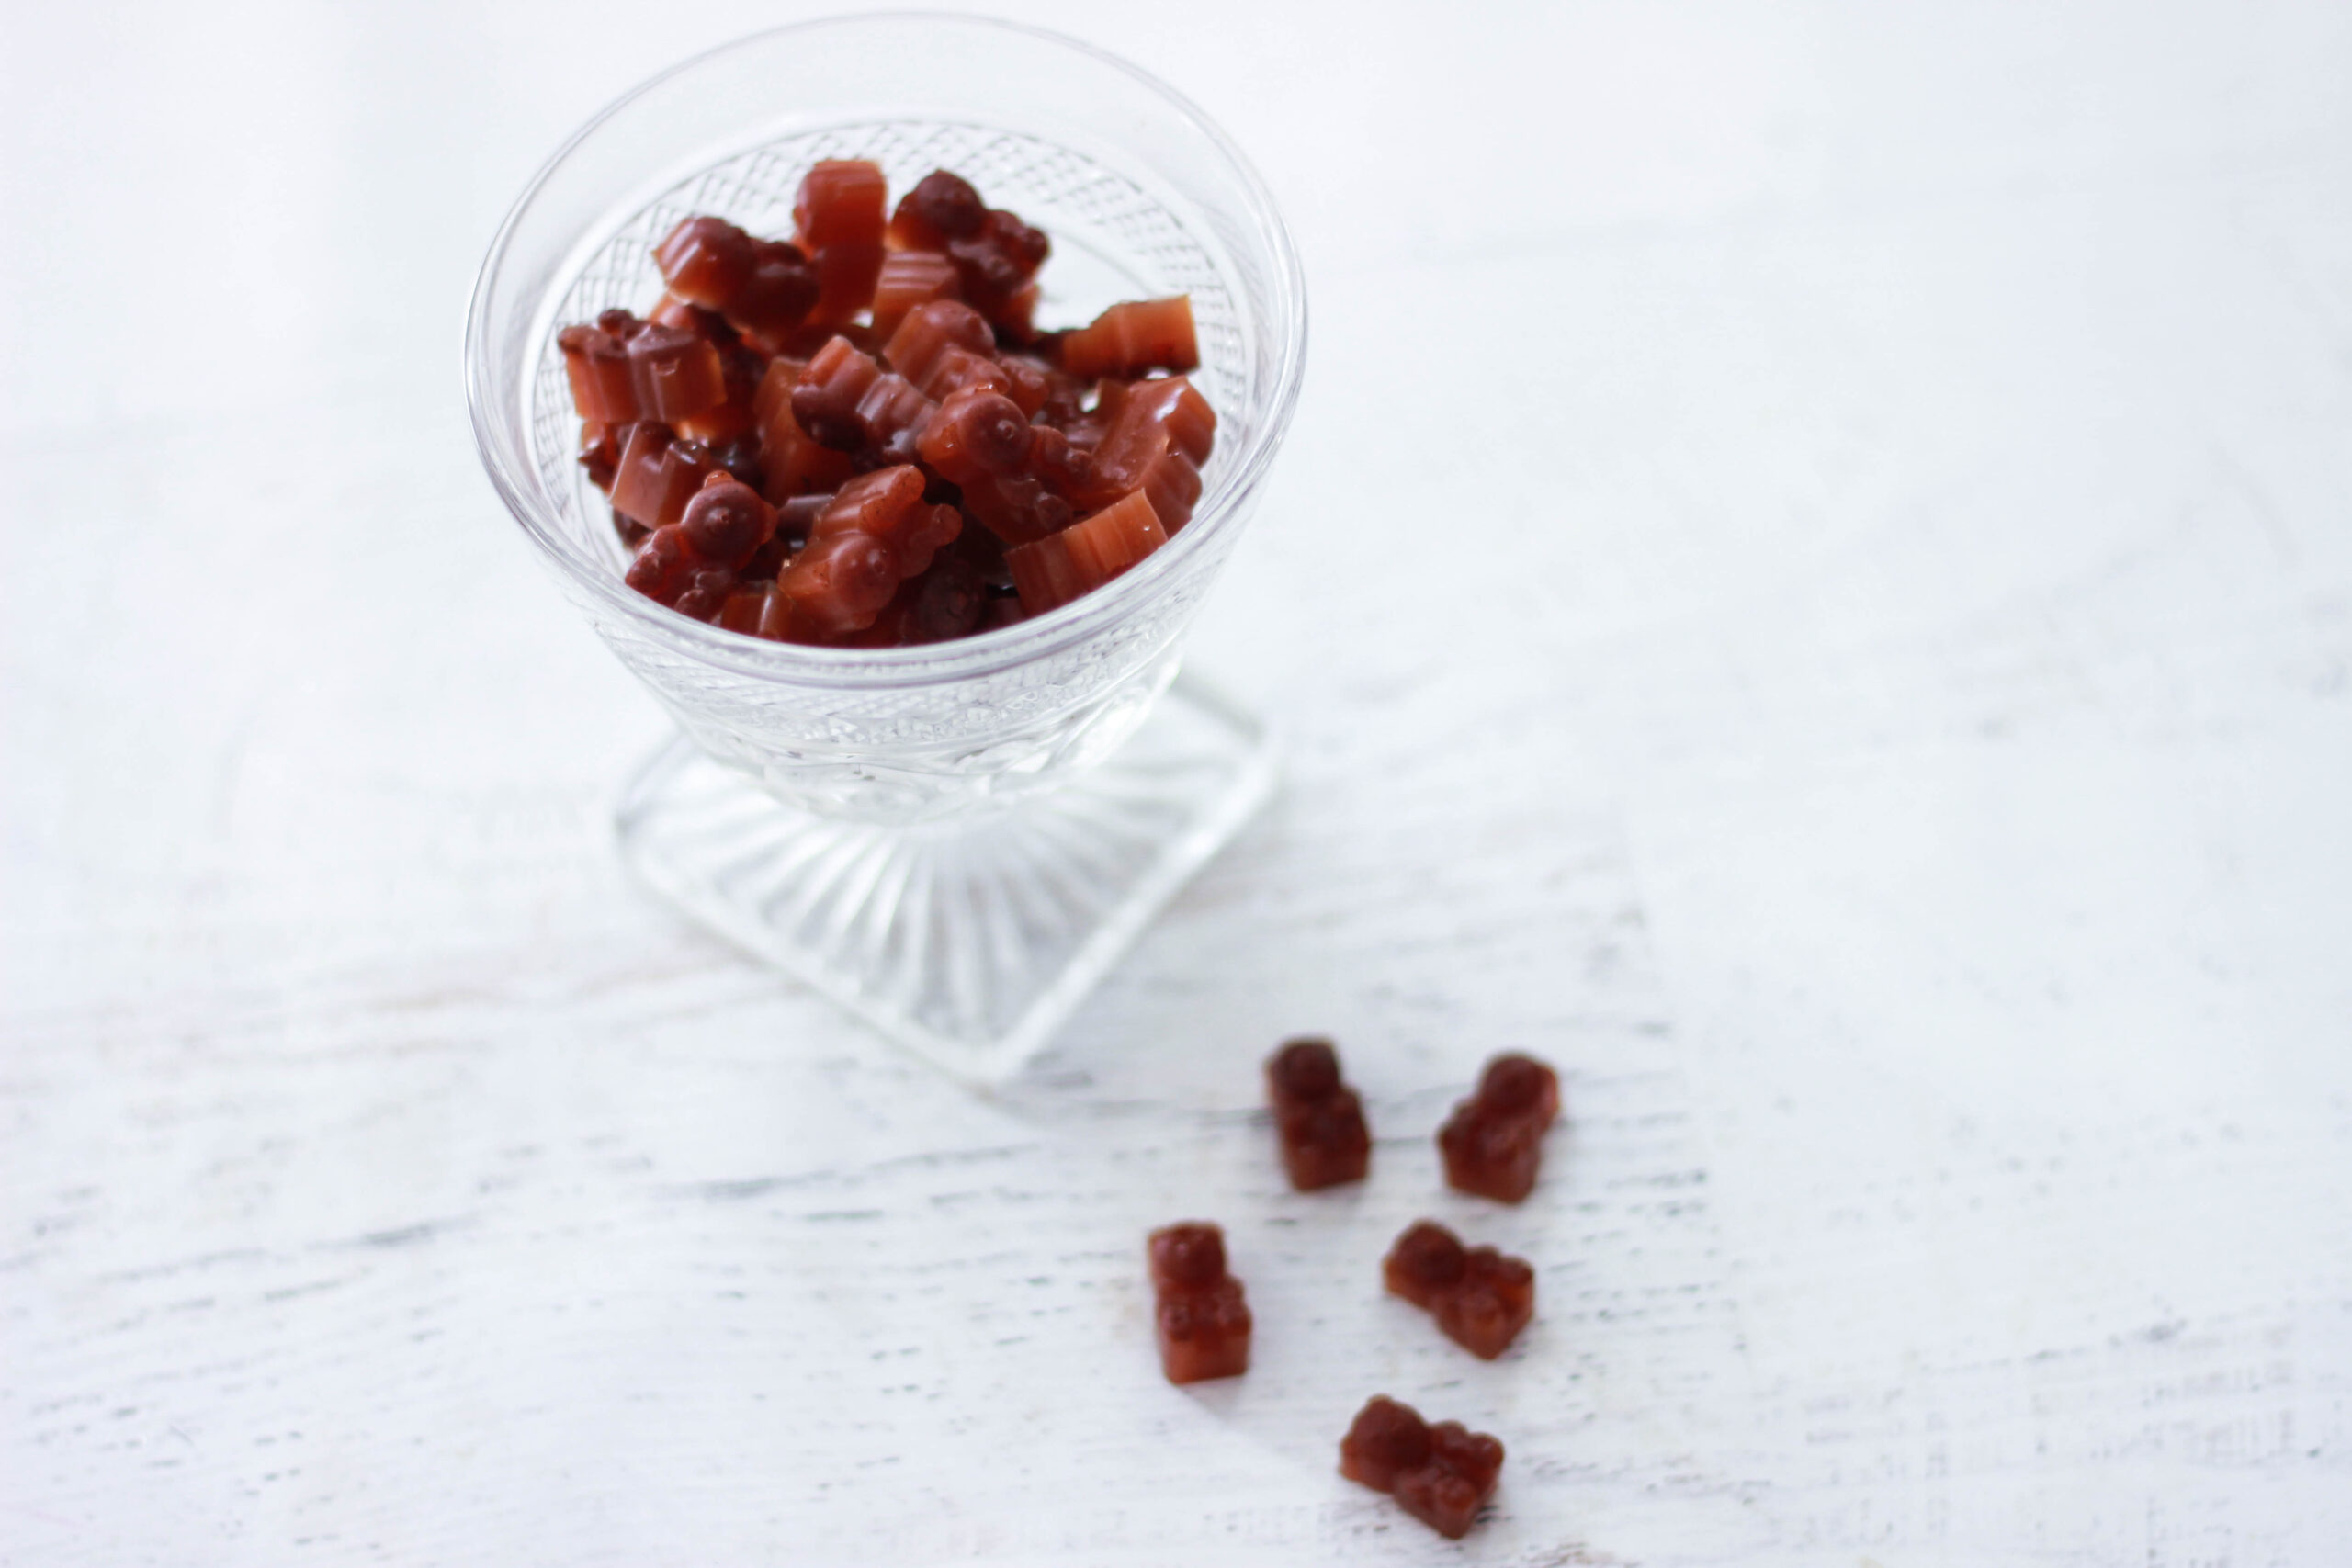
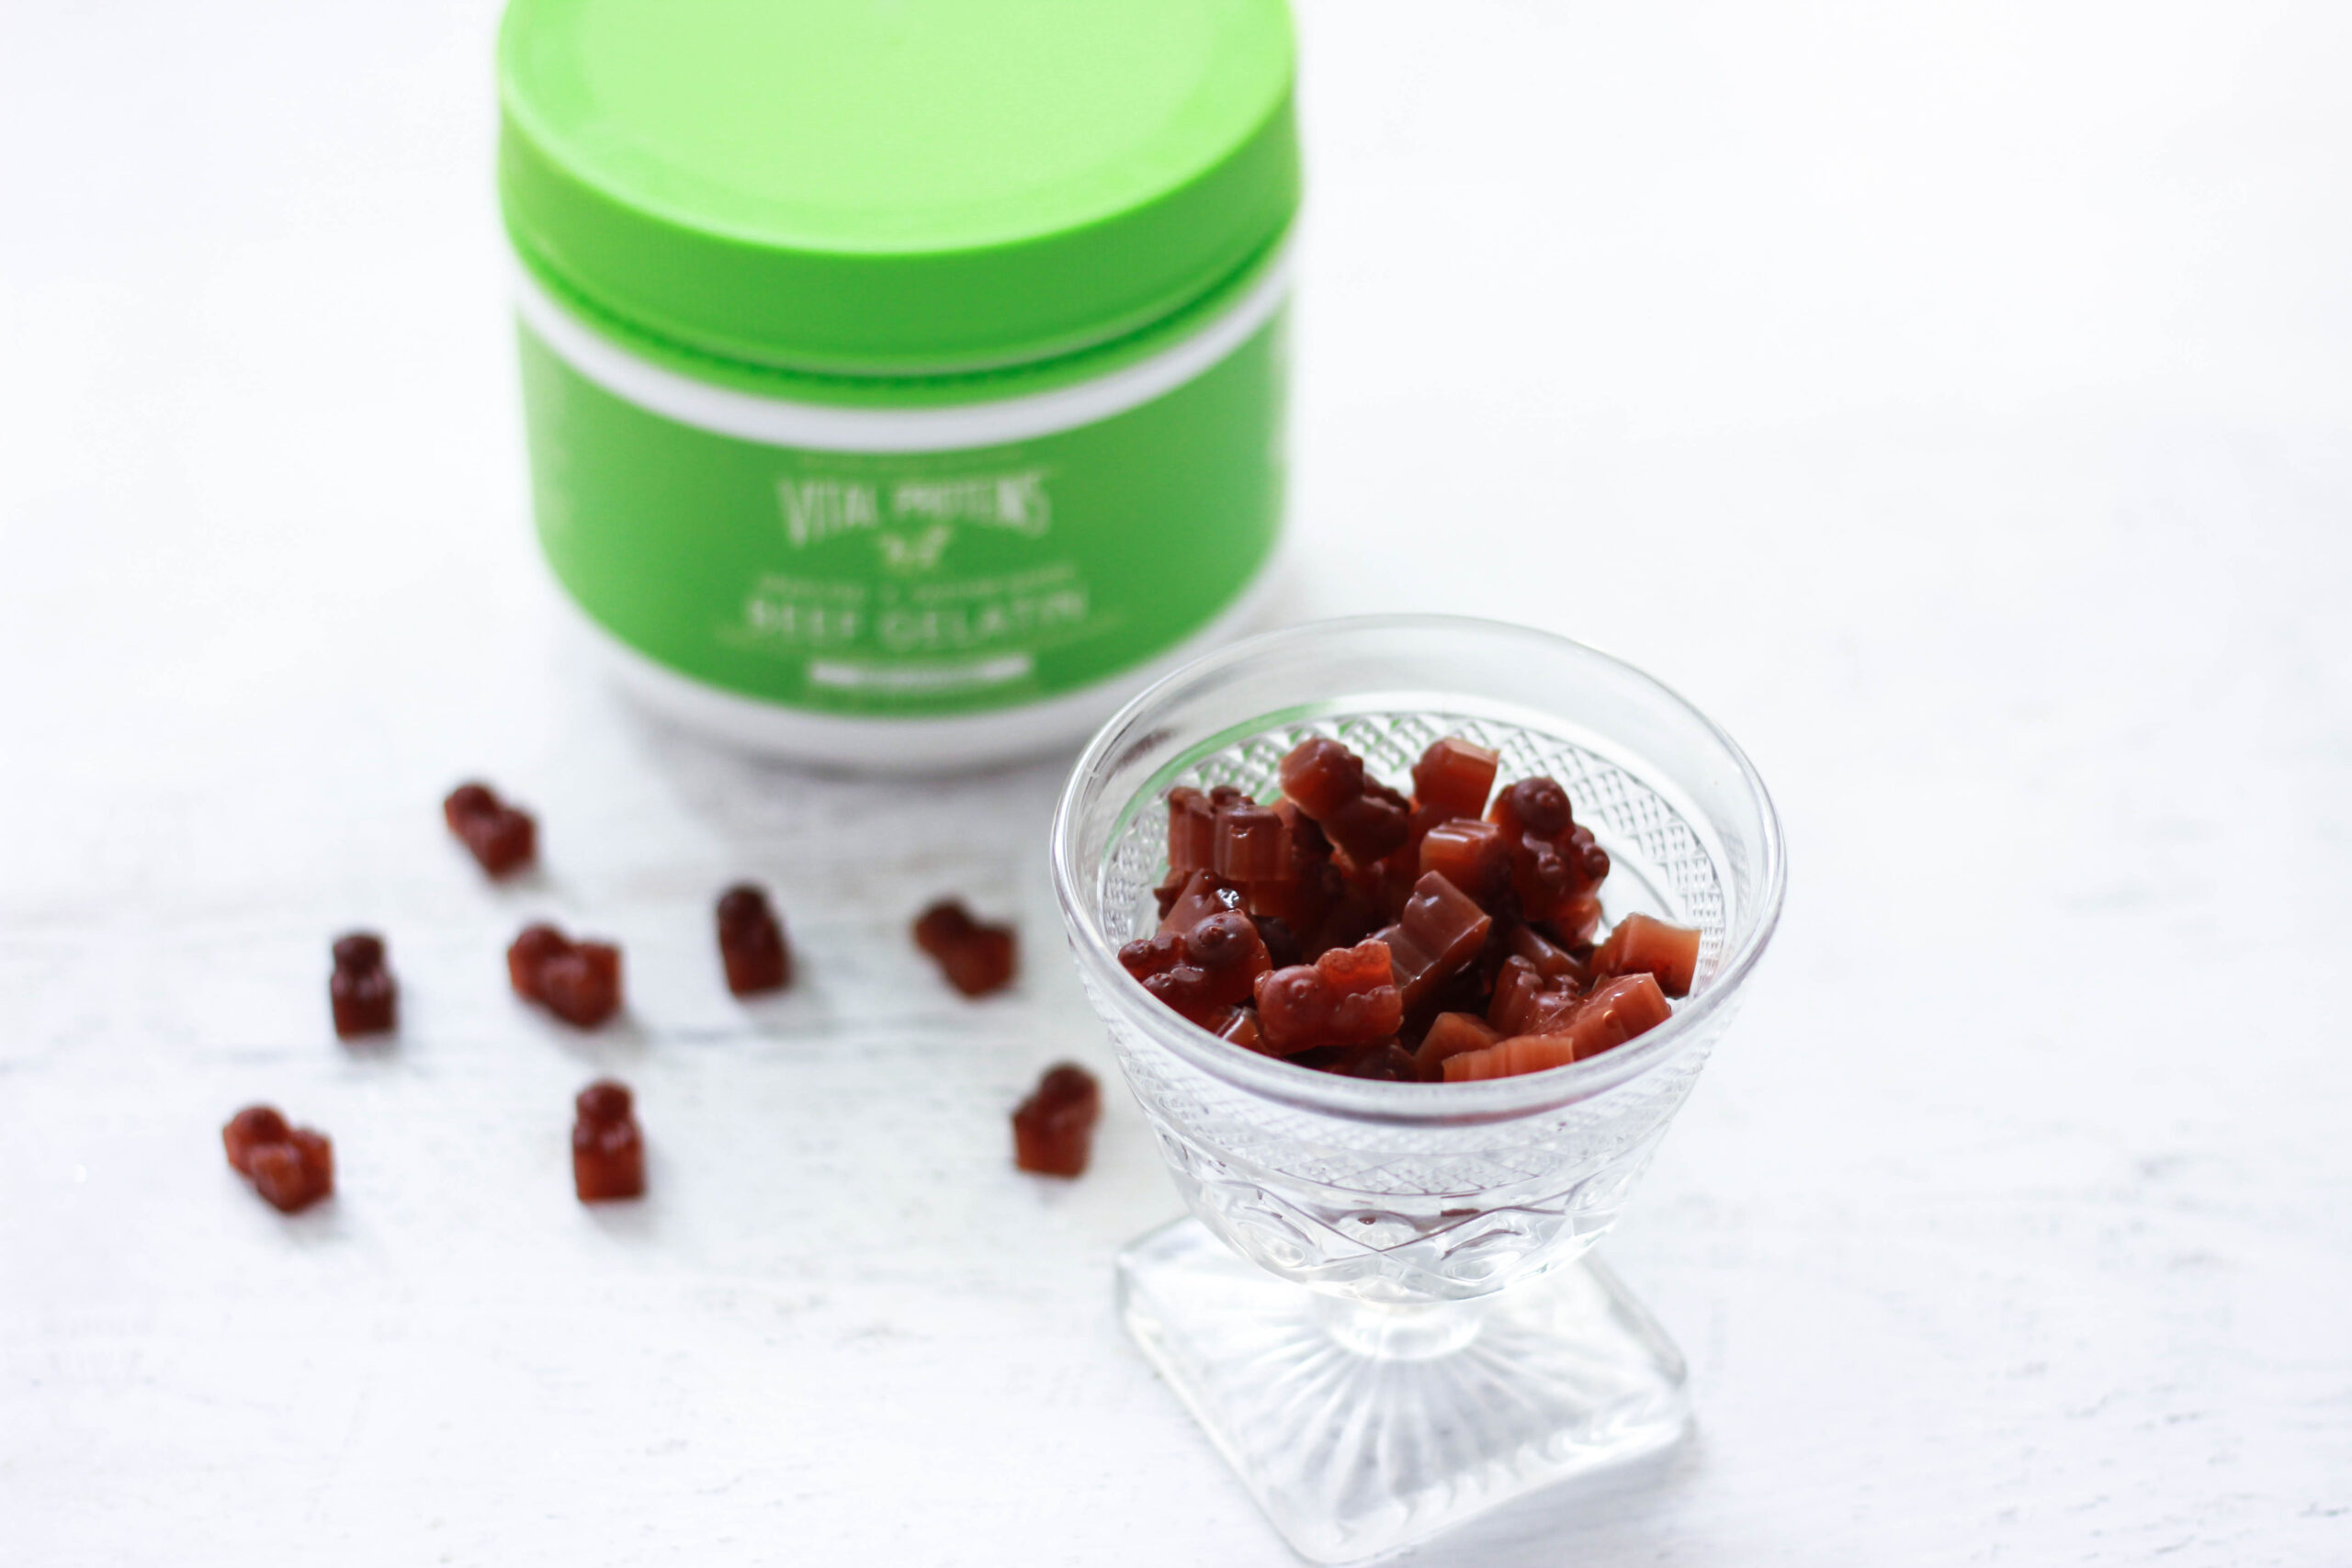
All you need to make these are gelatin, a few simple ingredients, and a candy mold. I made some in plain square candy molds and others in my gummy-bear candy molds — any shape works! I just really like the idea of Paleo gummy bears. You can also make this in a greased baking dish and cut it into squares like jello.
Why gelatin? Gelatin contains collagen, which has a ton of incredible health benefits. I’ve written all about those benefits in depth here. I actually started taking gelatin before I turned to collagen peptides, really just because I didn’t fully understand the difference at first. Collagen peptides dissolve into whatever liquid you put them in, but you need gelatin if you want it to “gel up” into something like gummies, for example.
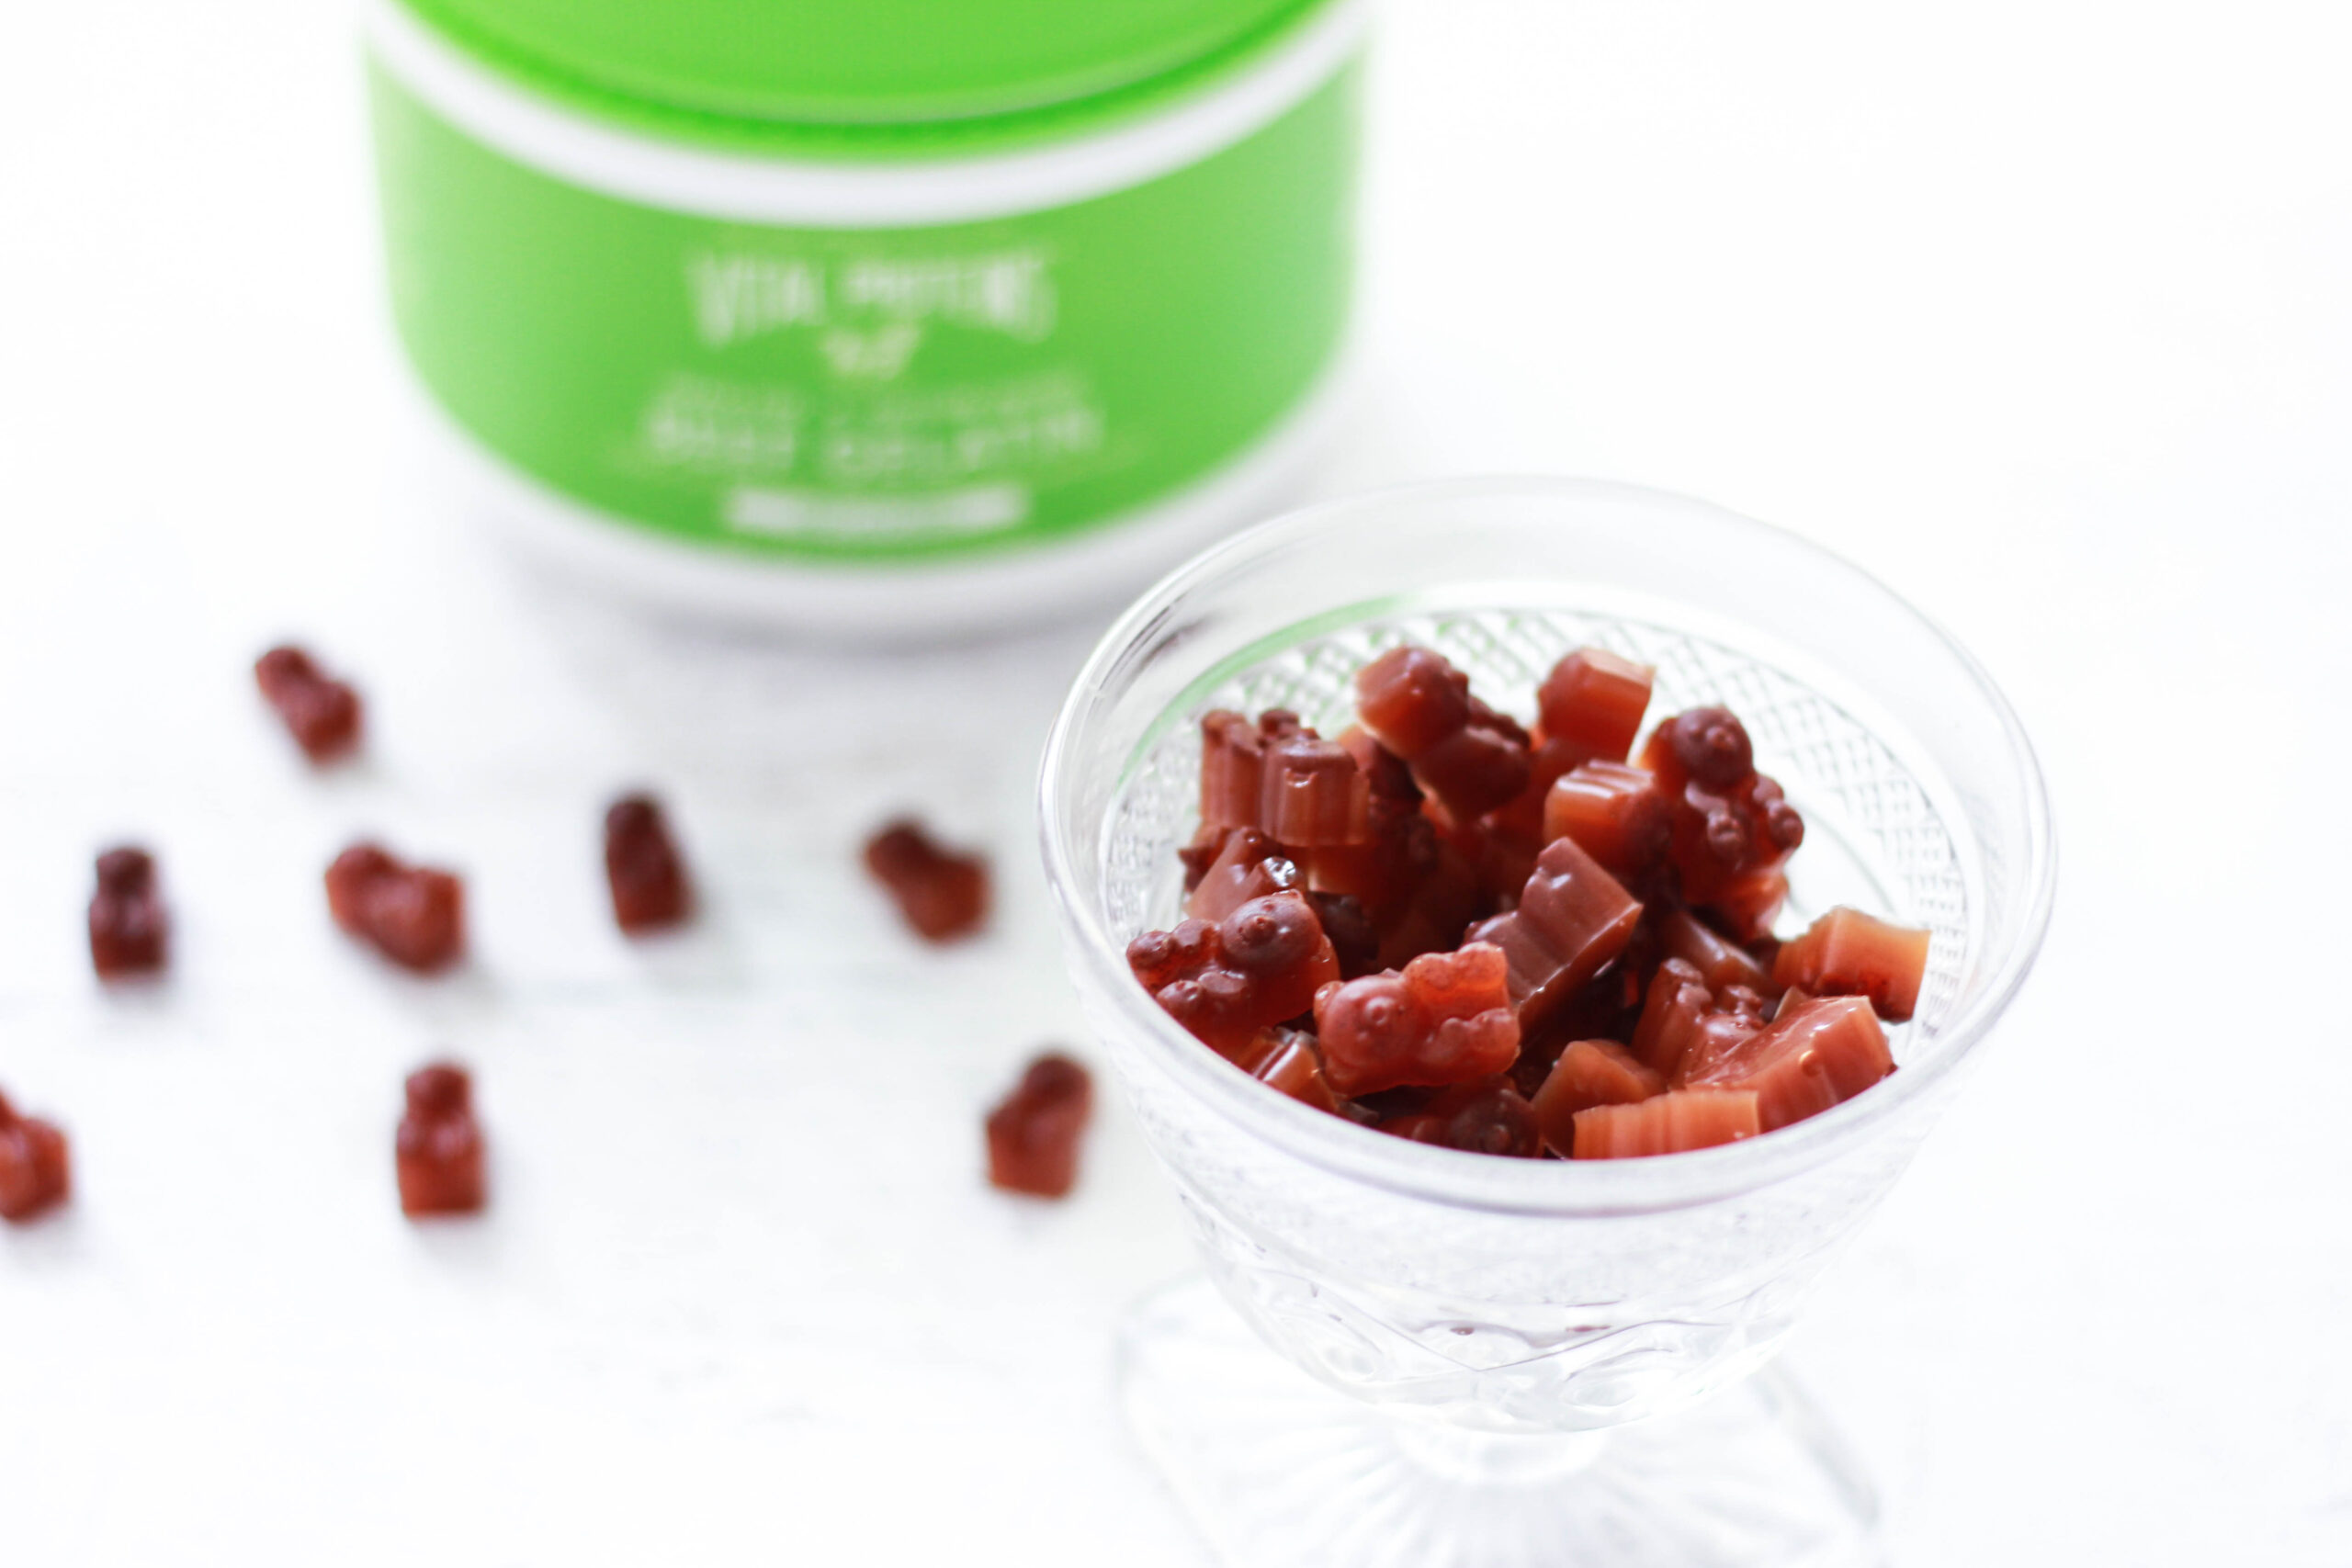
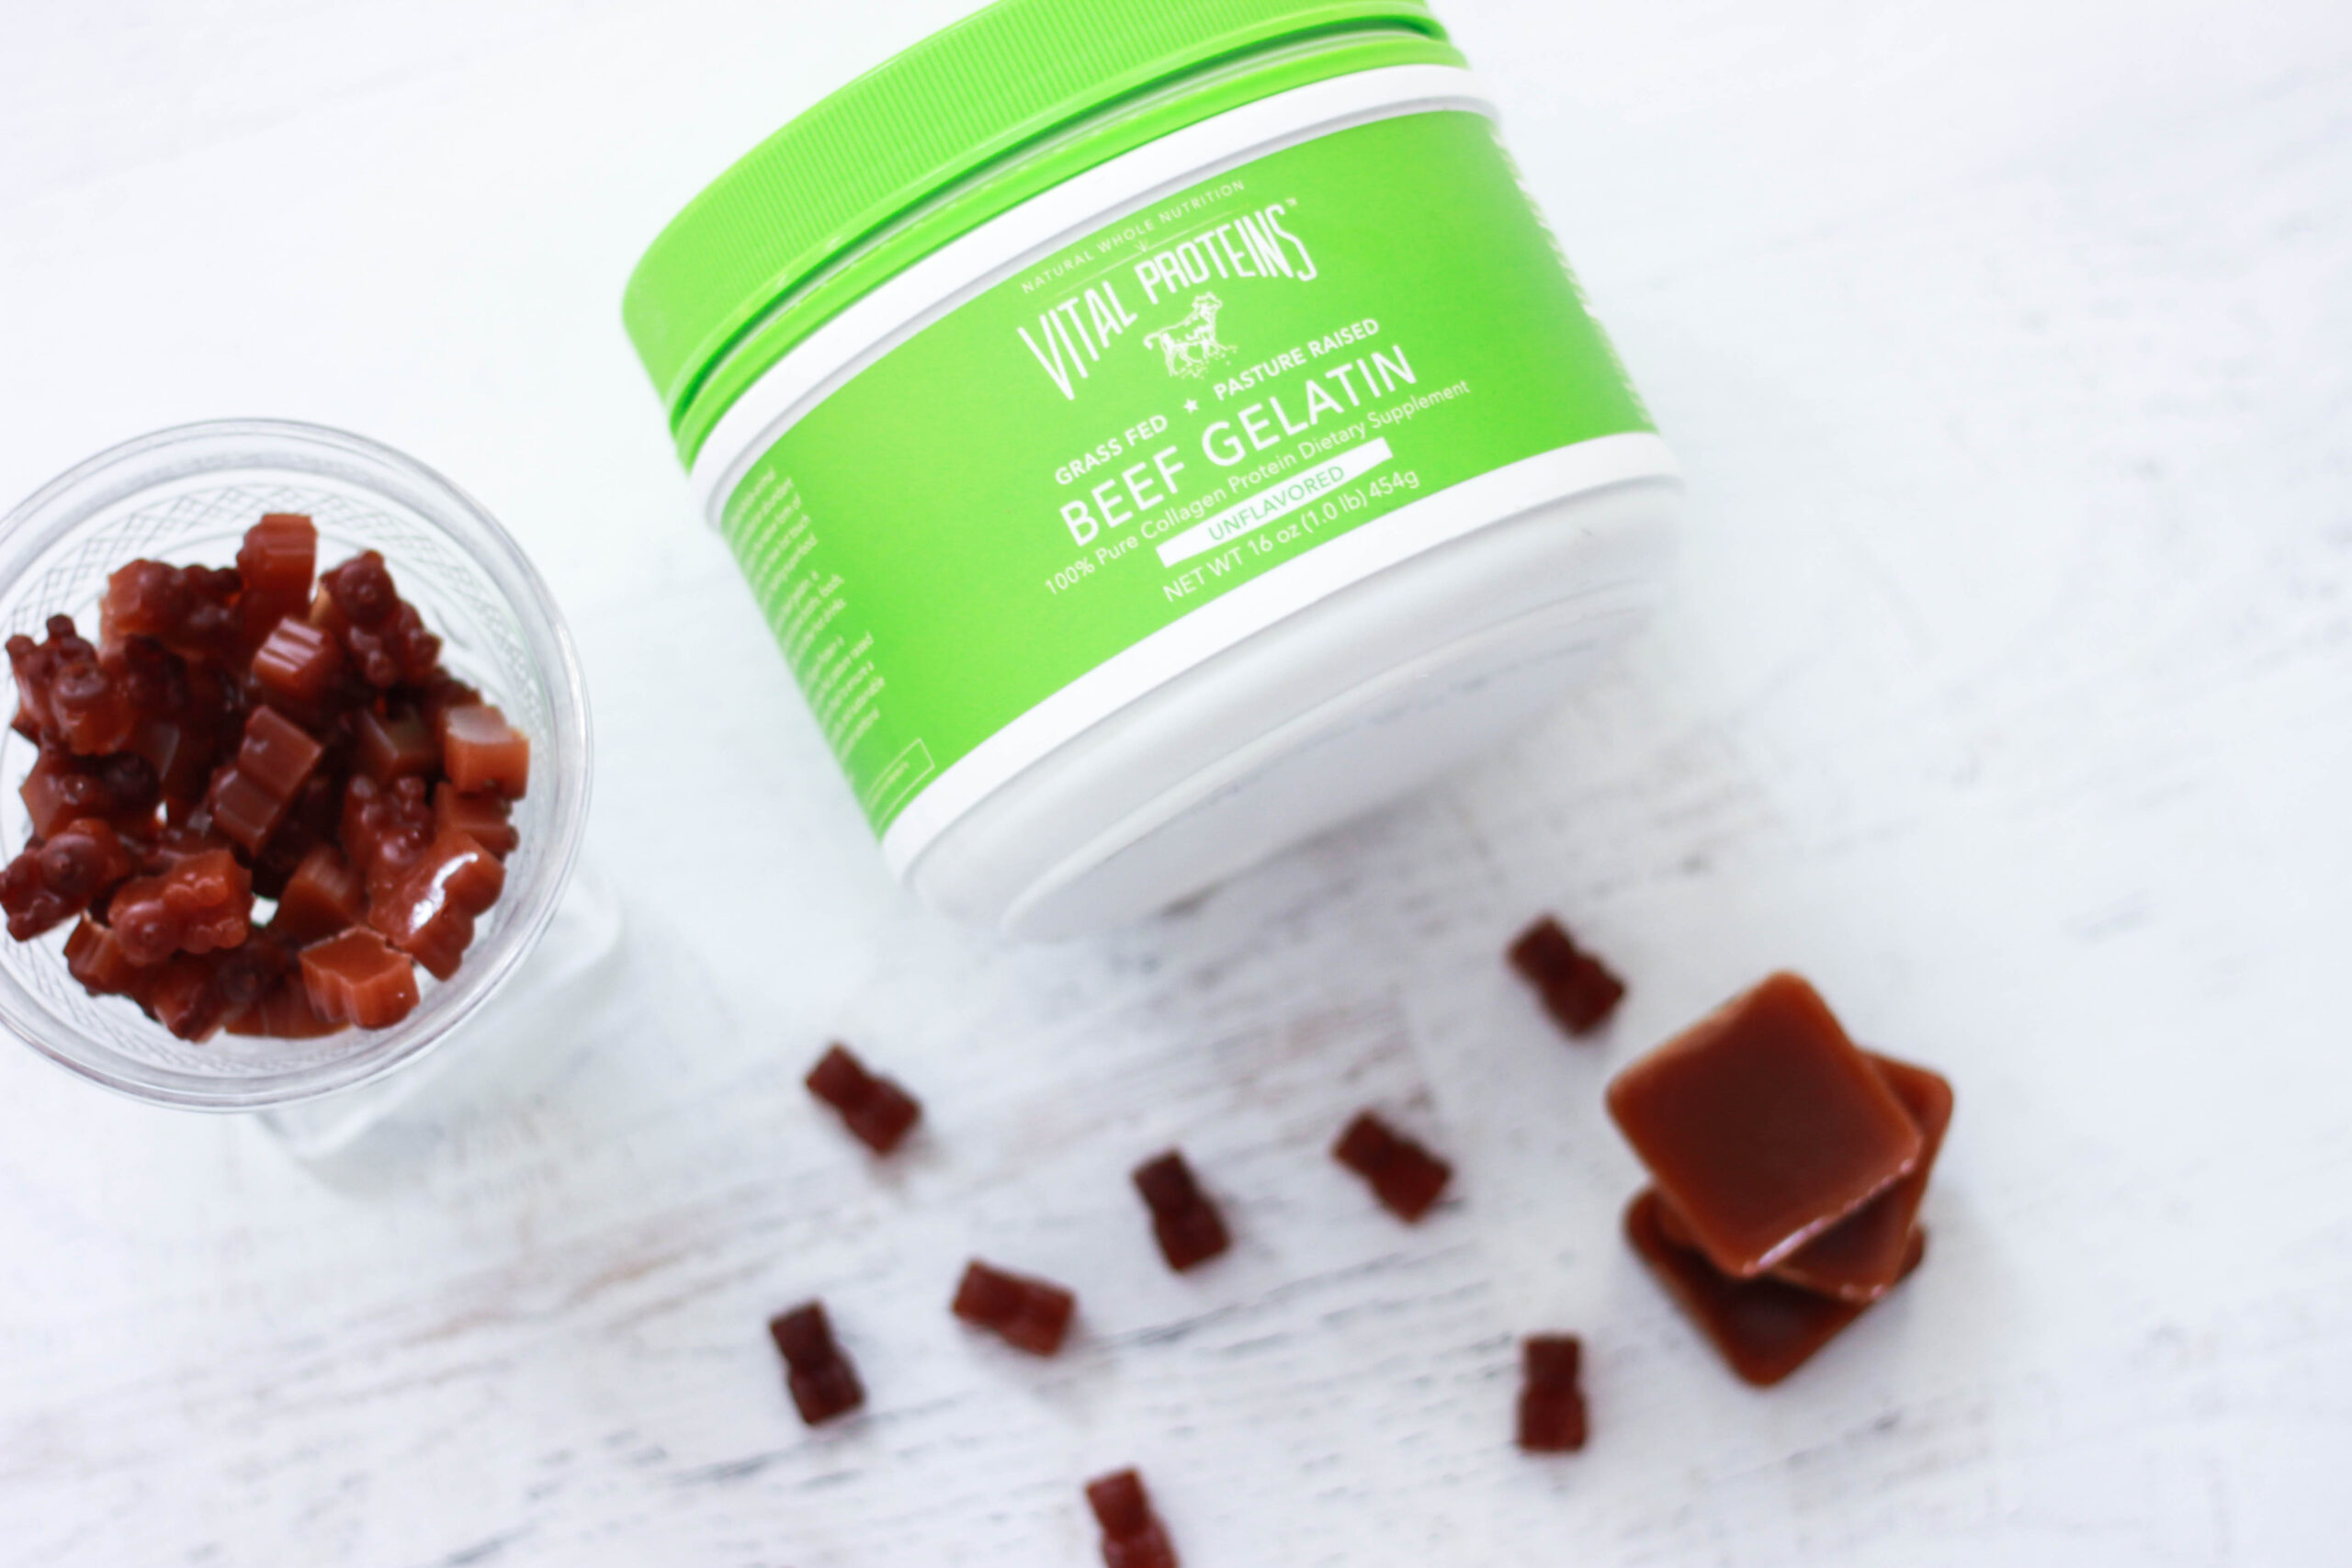
Vital Proteins Beef Gelatin comes from pasture-raised, grass-finished bovine hide, and that’s the only ingredient. It’s gluten-free, dairy-free, paleo, and Whole 30 approved. Collagen is incredible for skin, hair, and nail health, and it also supports your muscles and joints. The reason I really love it, though, is for the gut health benefits.
If you have digestive issues, I highly recommend incorporating this into your diet. Gelatin helps to heal the lining of the gut, which is extremely important for anyone struggling with leaky gut. When your gut lining becomes too permeable, particles meant to stay inside the digestive system “leak” out into the bloodstream, causing inflammation. That inflammation can affect us in a variety of ways.
Gelatin contains glycine, which supports a healthy mucosal lining in the gut and helps our stomachs produce enough enzymes and stomach acid to properly digest the food we eat. When our stomachs don’t produce enough stomach acid or digestive enzymes, or when our mucosal lining is damaged in any way, this can lead to symptoms like bloating, indigestion, heartburn, and nutrient deficiencies.
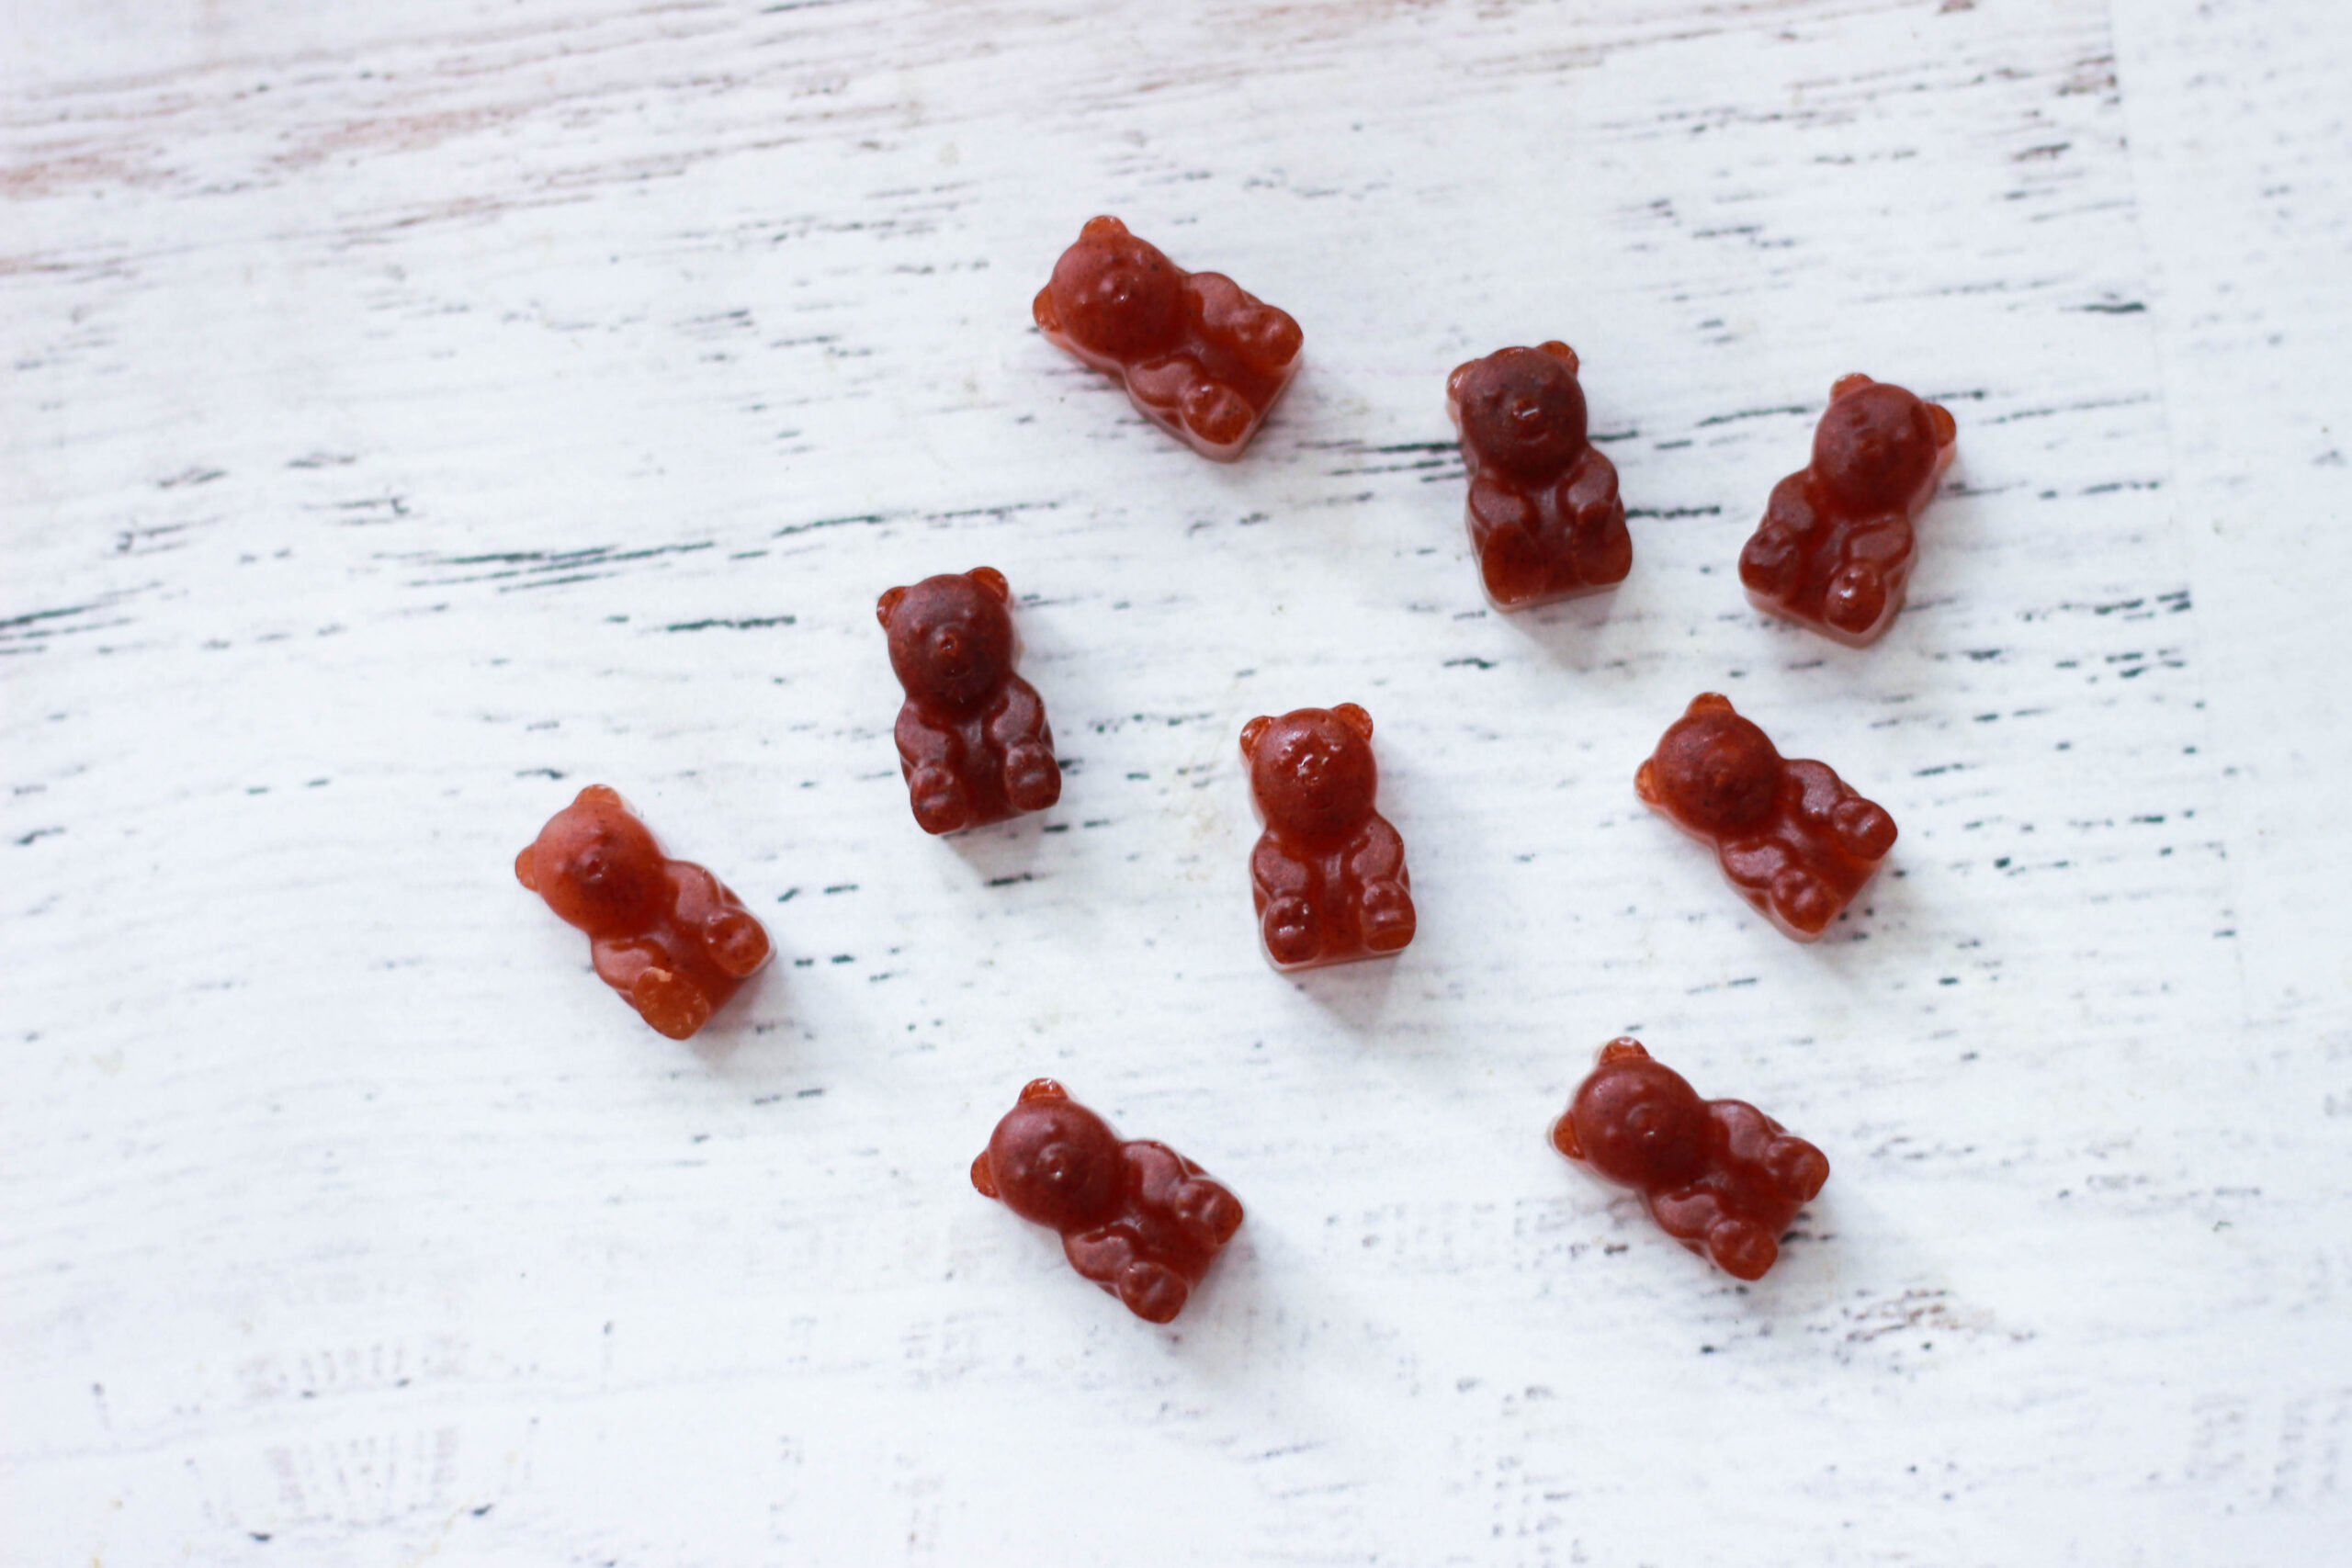
Since we all know I’m obsessed with gut health, this is a staple item in my kitchen for all of the above reasons. Besides the amazing gut-health benefits from the gelatin, these yummy apple pie gummies have another secret ingredient that will support your digestion – apple cider vinegar!
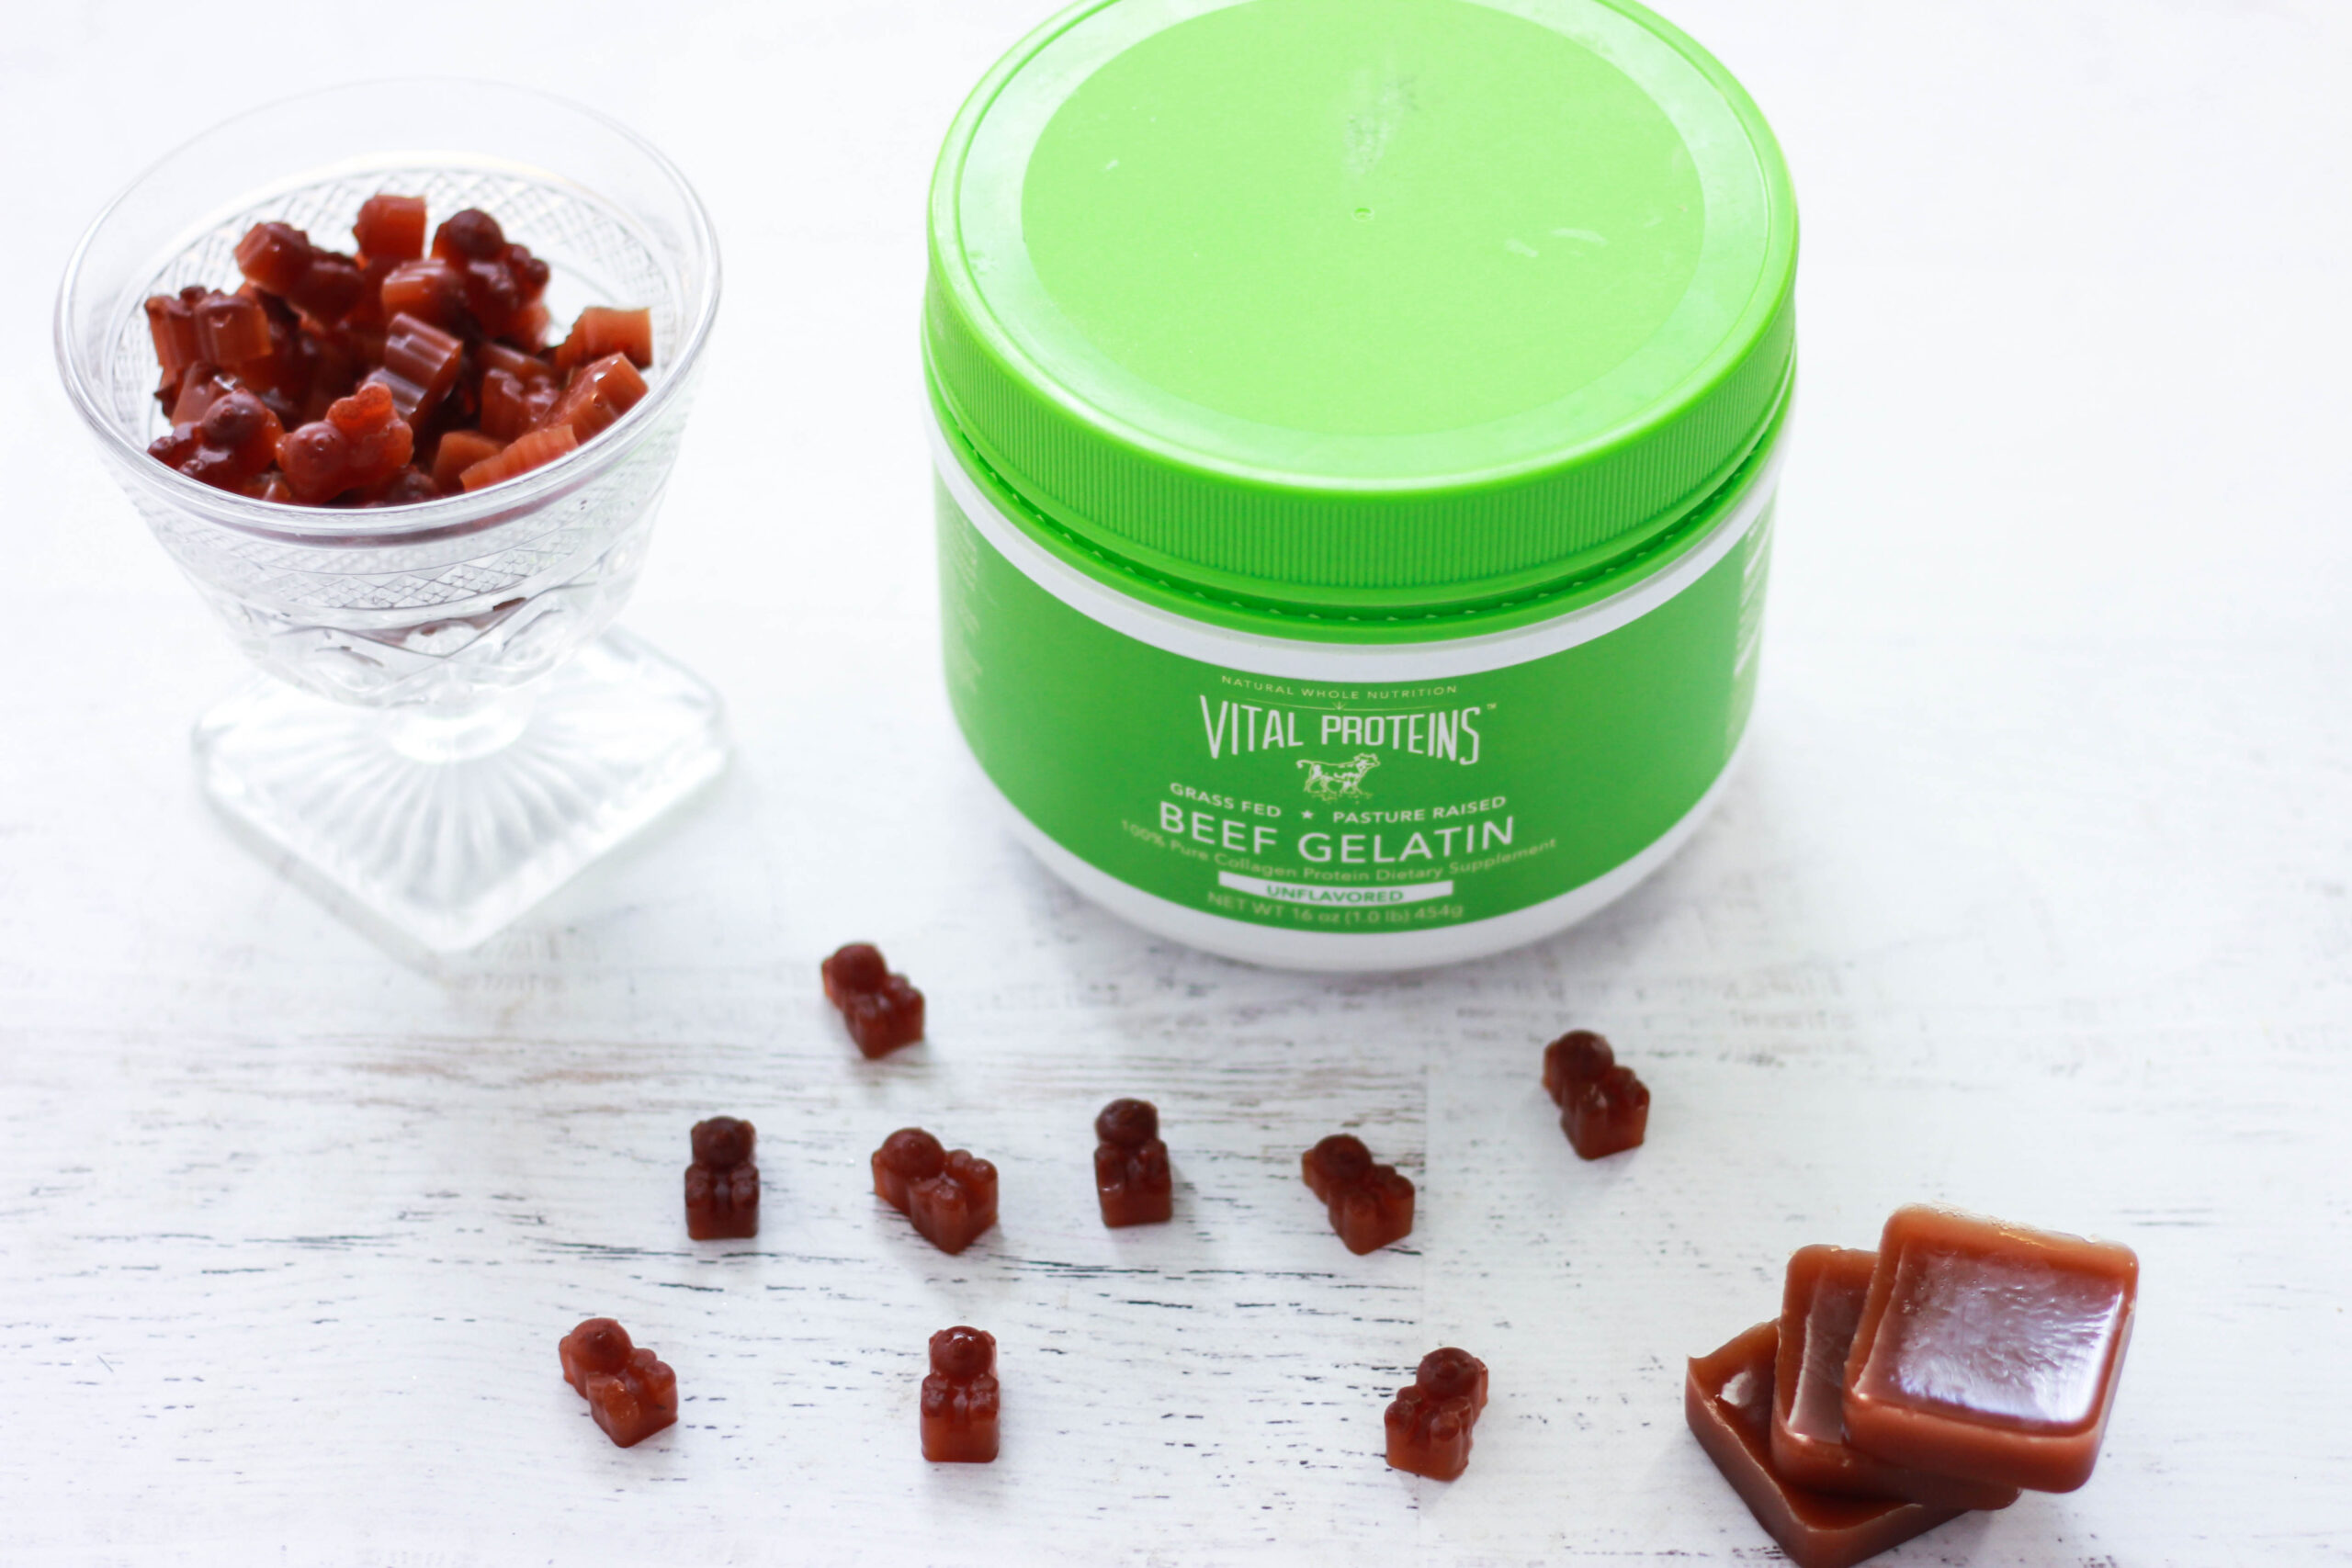
Apple cider vinegar is one of the best ways to naturally support stomach acid, which is critical for breaking down the food you eat in order to be able to absorb its nutrients. Apple cider vinegar helps to balance out the pH in your stomach, creating an optimal state to digest food. I incorporate apple cider vinegar into my diet in as many ways as I can, but sometimes I get tired of drinking it and putting it in my salad dressings. These gummies are the perfect way to get more ACV into my system without even realizing it! The ACV provides the “apple” flavor without any actual apples!
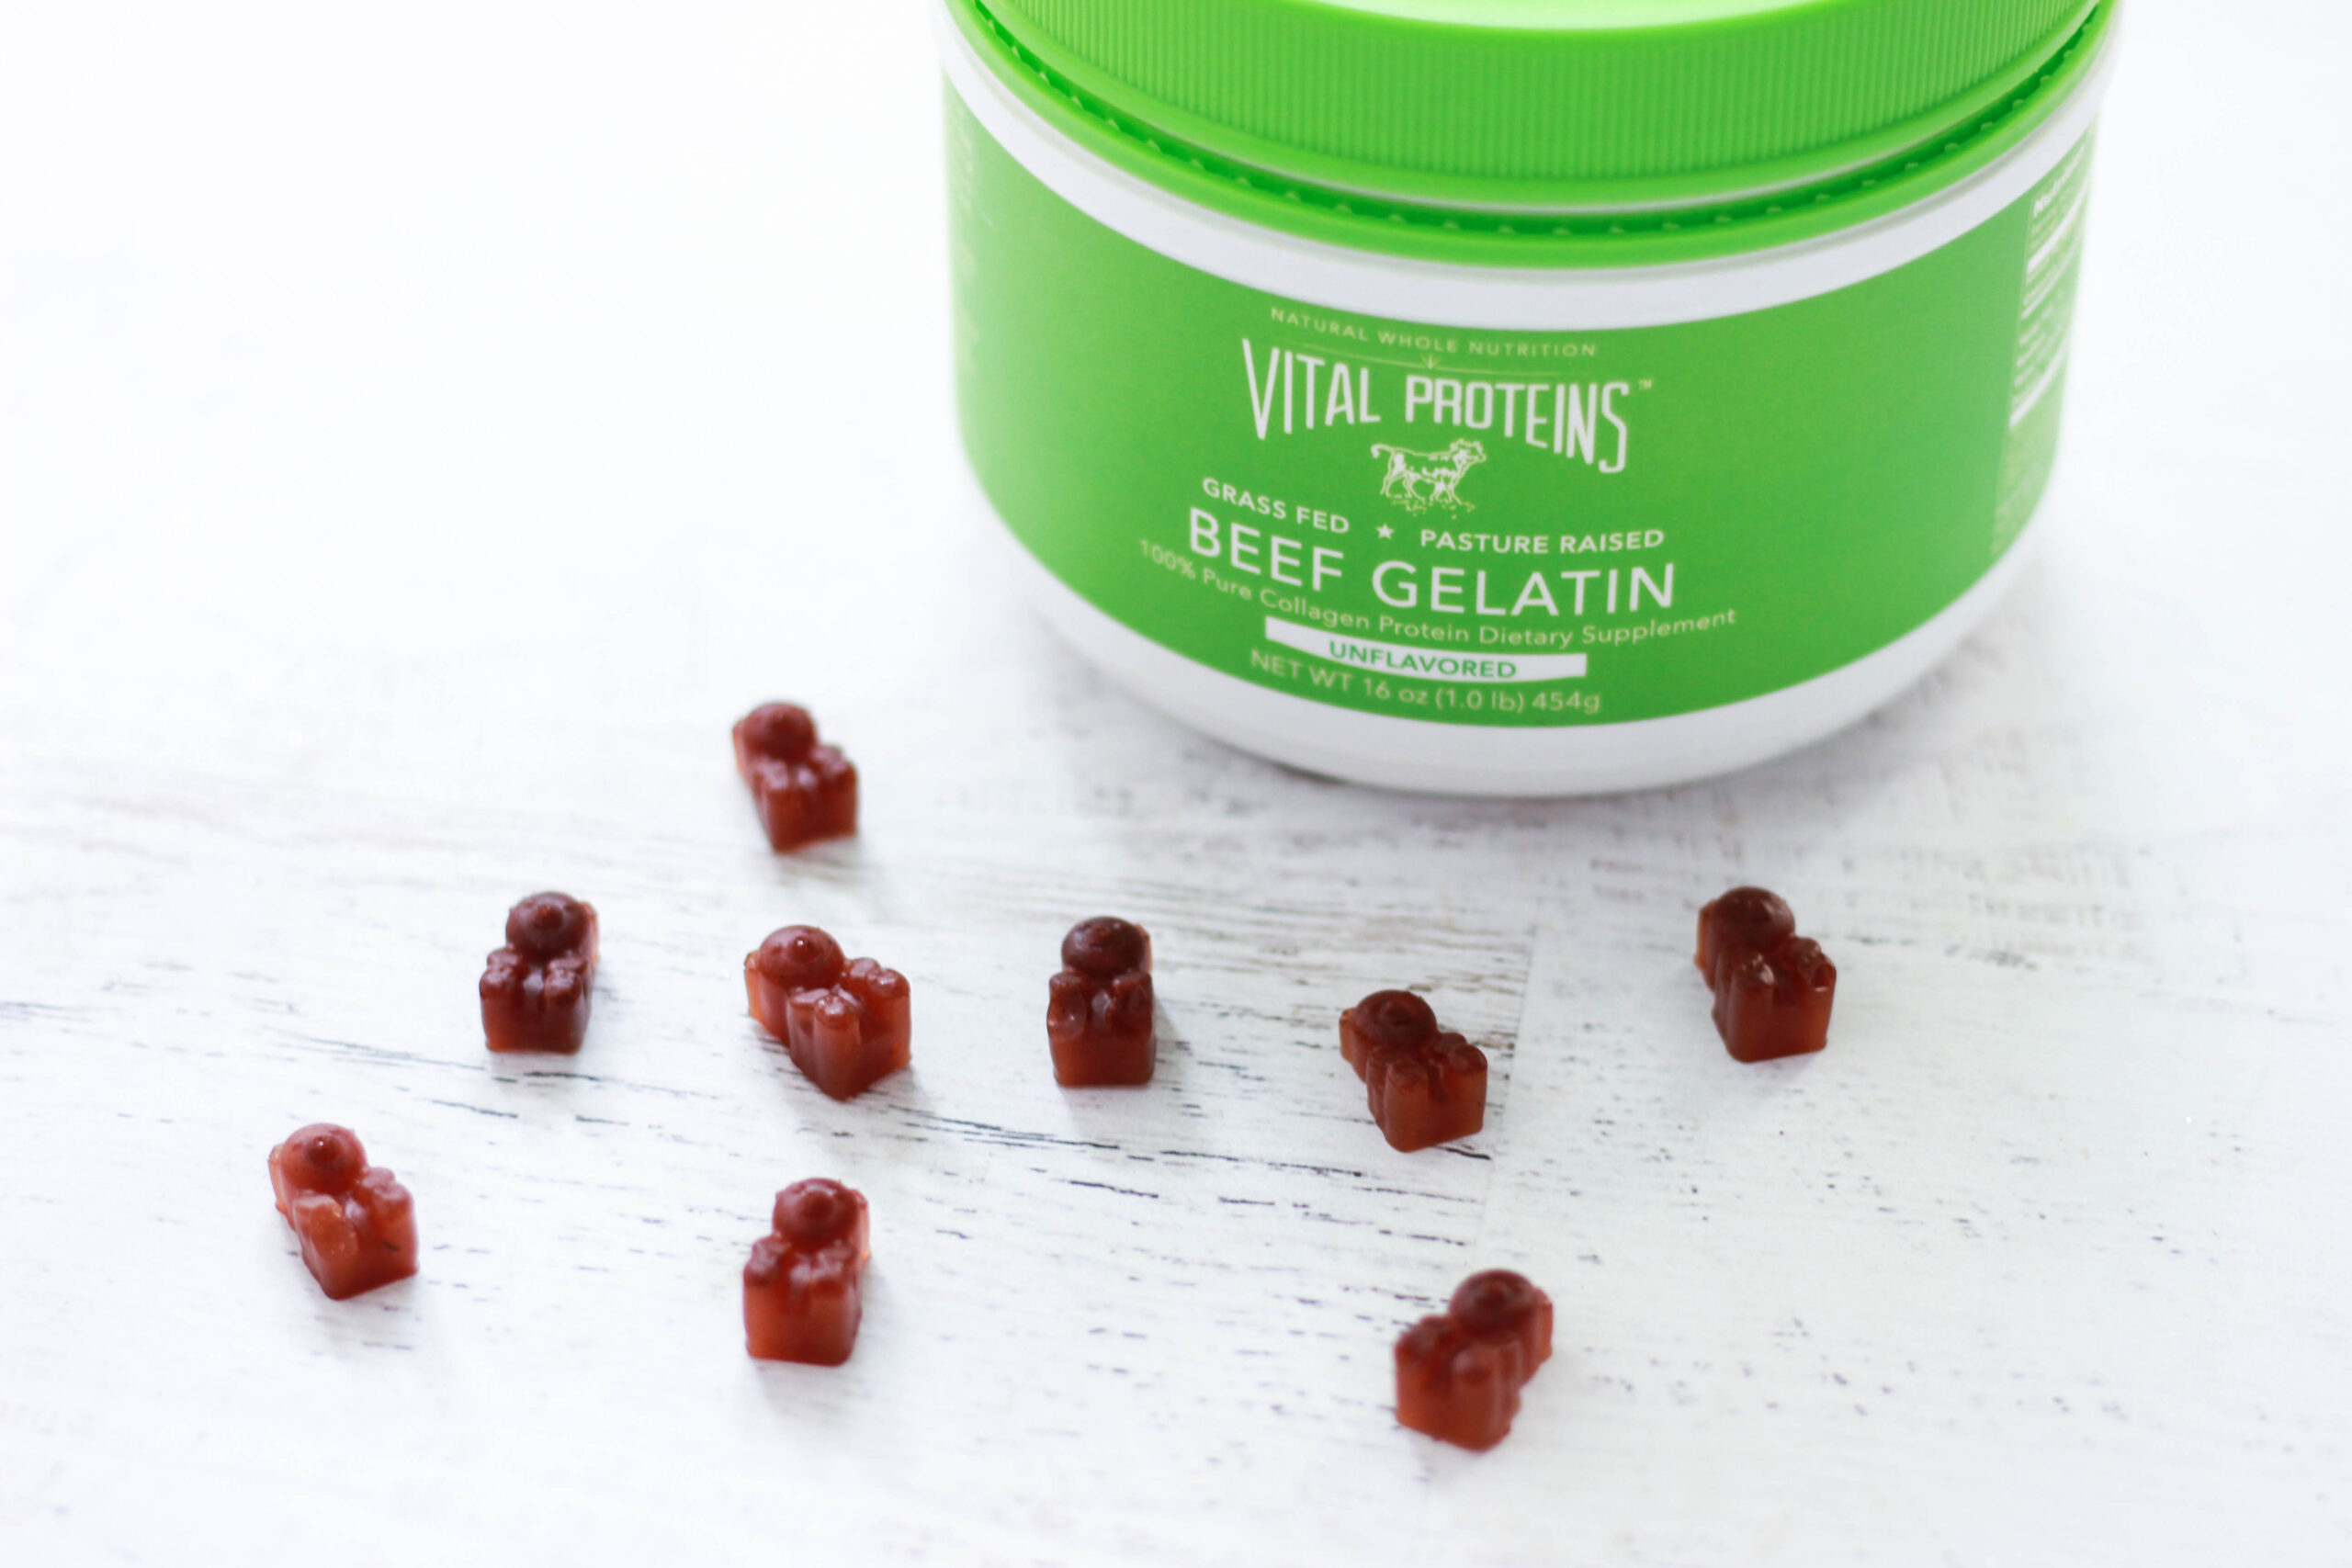
The other main ingredient is cinnamon, which I love for oh-so-many reasons, but especially for its effects on blood sugar balance and digestion. It has a ton of antioxidants, too, which is always a bonus. I have always struggled with insulin resistance, and incorporating a lot of cinnamon into my diet has helped a ton with lowering my blood sugar levels to keep things balanced out. Cinnamon has been shown to reduce the amount of glucose that hits the bloodstream after a meal high in carbohydrates or sugar. It’s also really helpful for anyone struggling with Candida because of its powerful anti-fungal and anti-inflammatory properties.
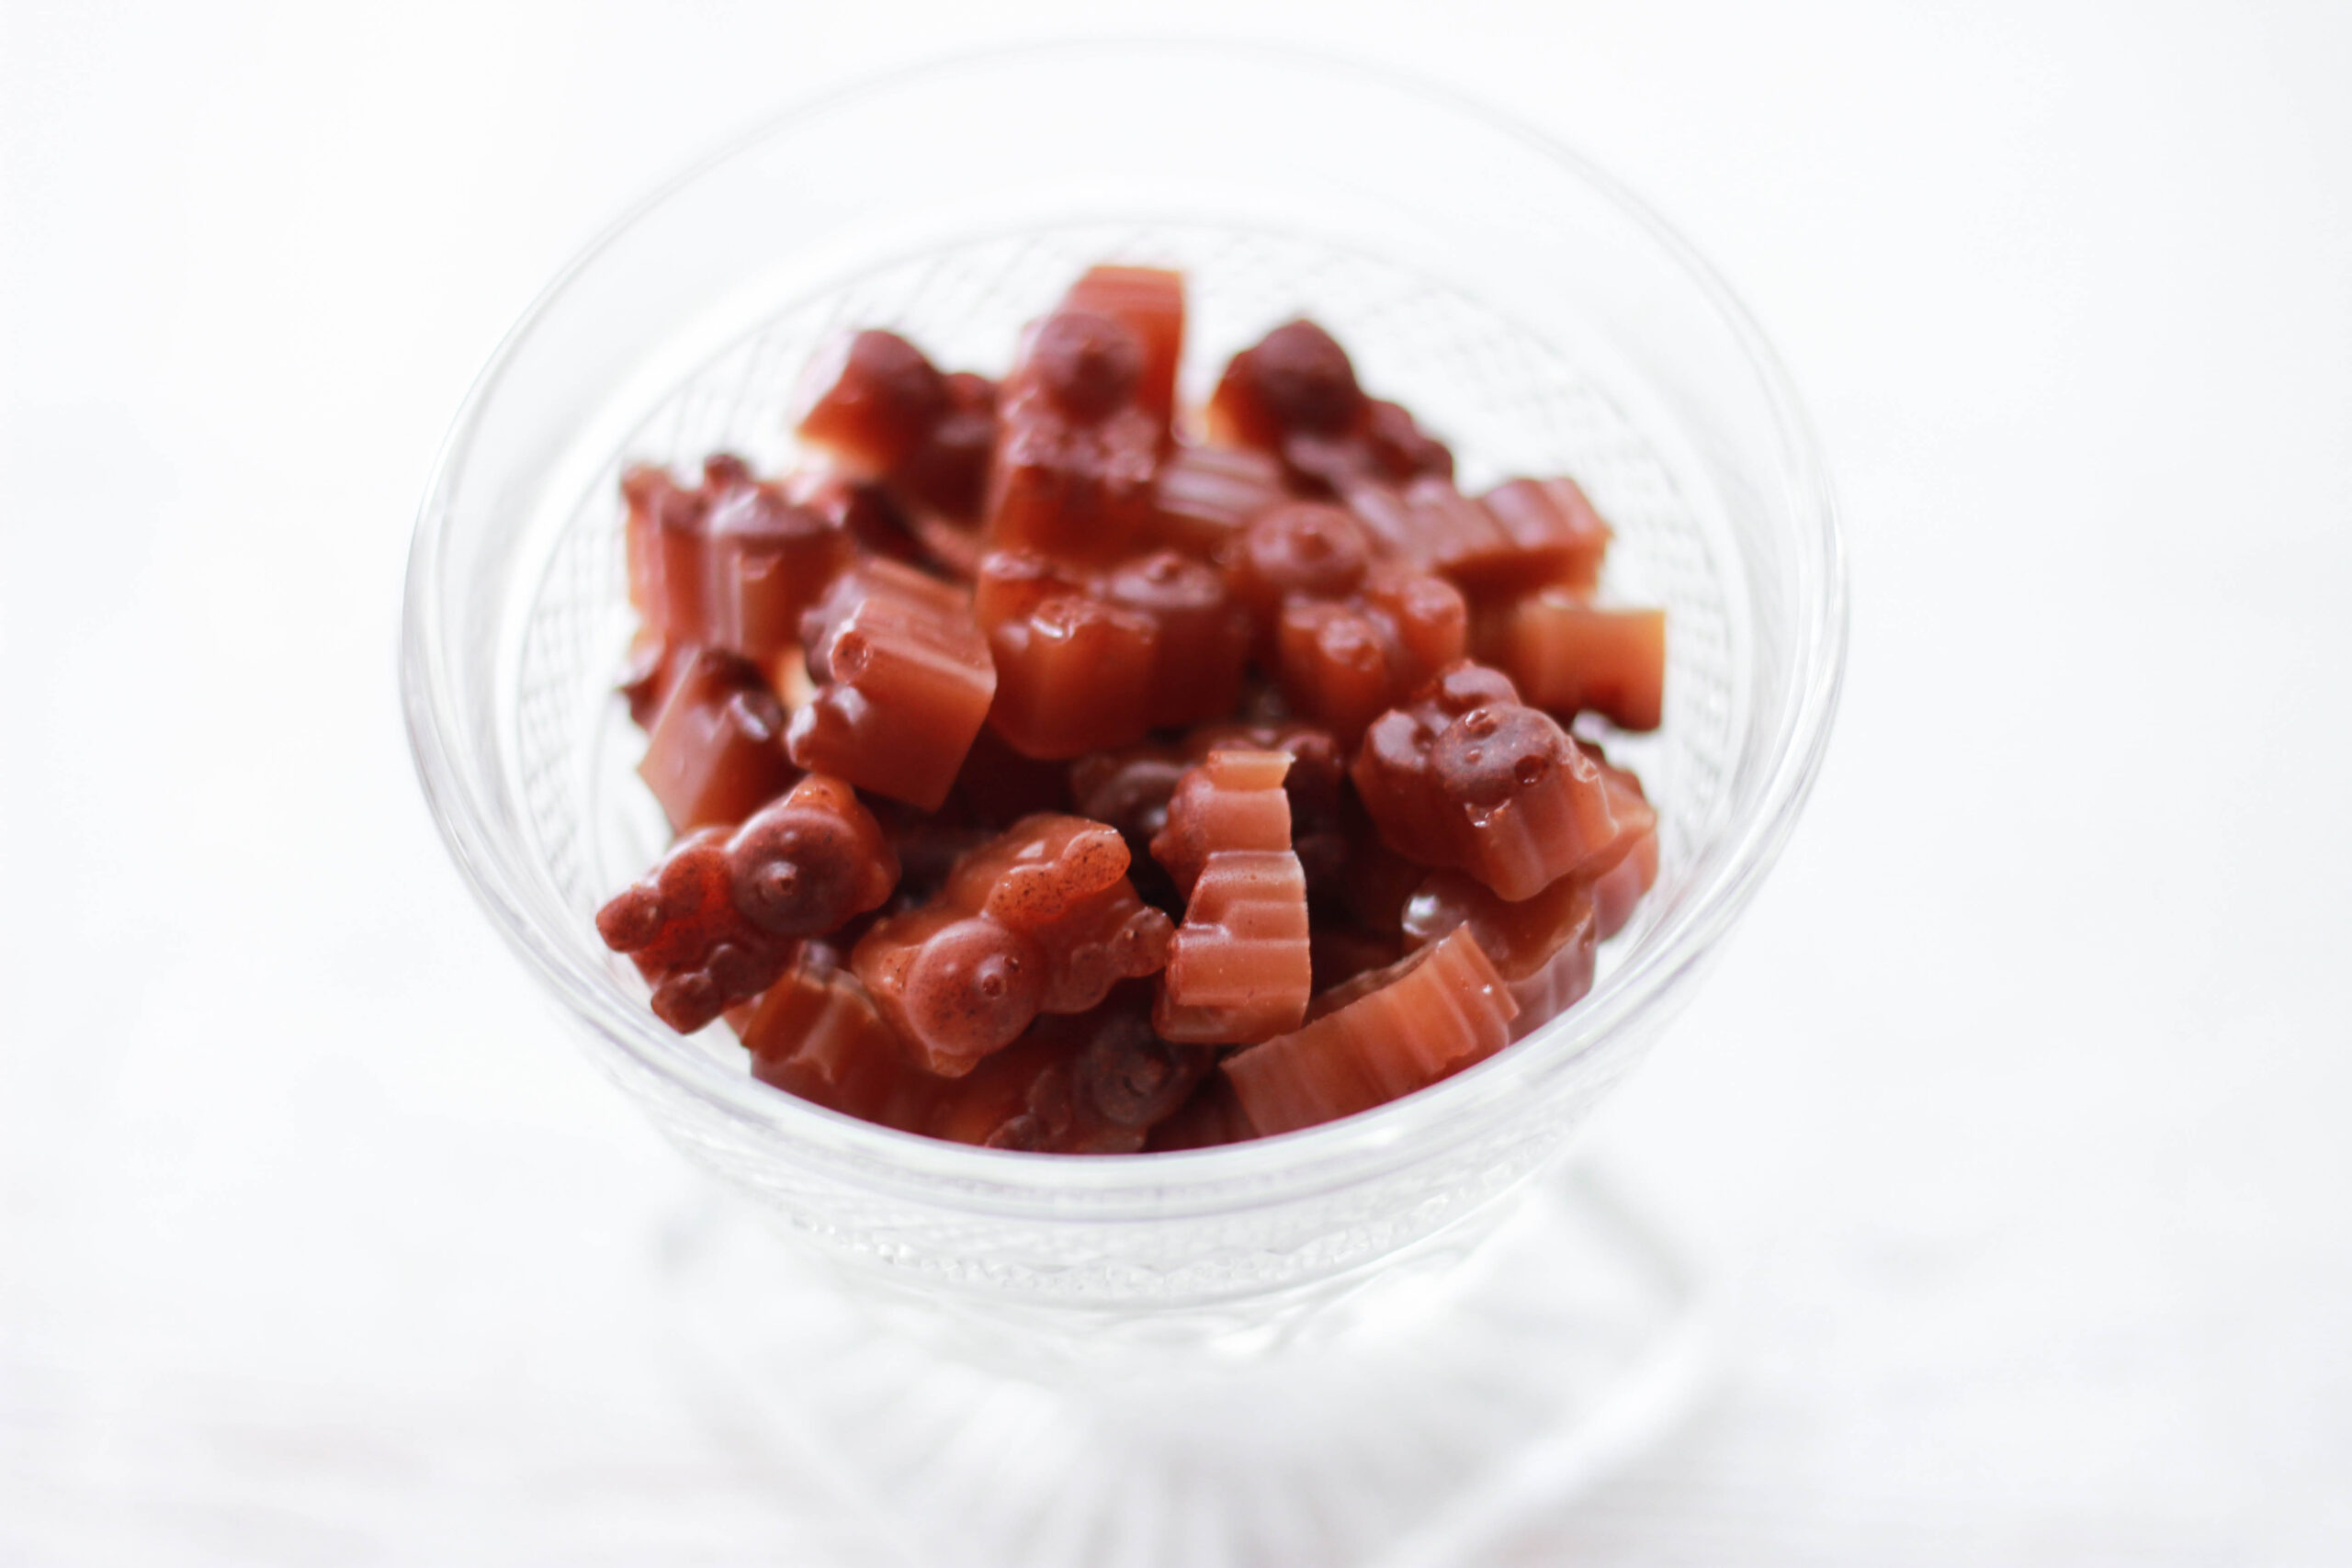
Lastly, I adore cinnamon because it’s one of my favorite ways to sweeten things without using any sugar! These gummies are truly one of my favorite creations. They taste like little apple pie bites without any sugar or fruit, and they have a ton of gut-healing benefits. Told you being healthy could taste good! I love to keep these in the fridge for whenever I want a quick bite of something sweet, or just when I want to amp up my gut health game! These are paleo, keto, sugar-free, dairy-free, gluten-free, and nut-free! Just a few simple ingredients and you’re on your way! Don’t be surprised if you get addicted to these…
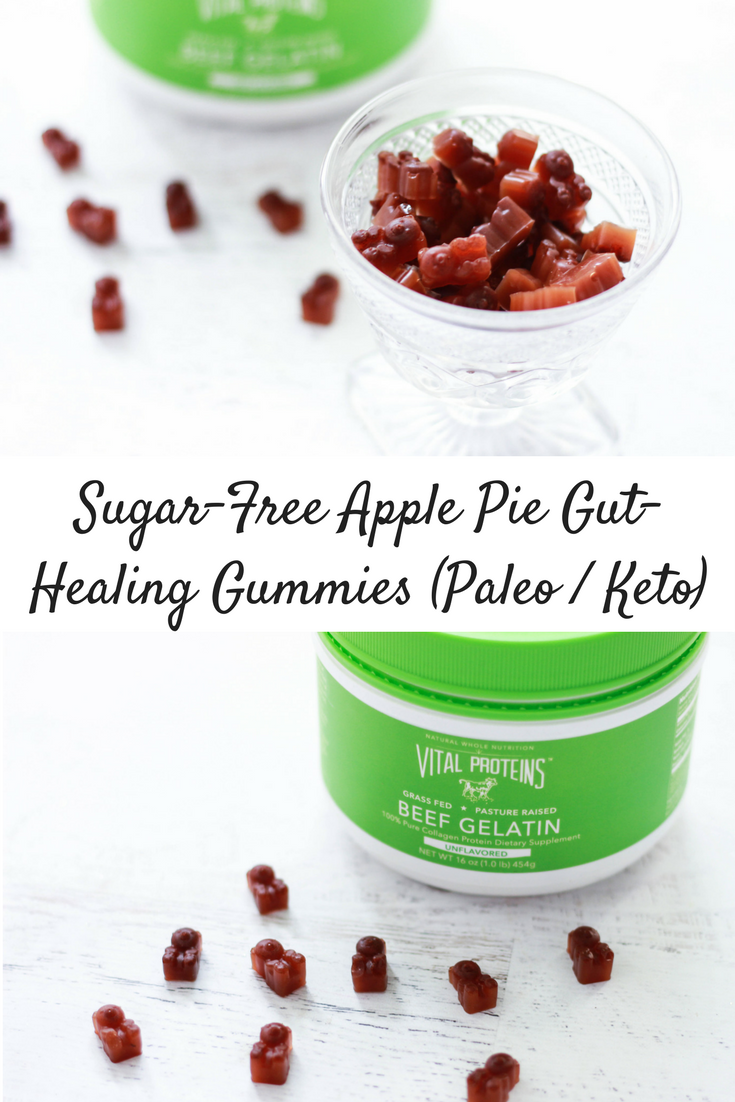
Sugar-Free Apple Pie Gut-Healing Gummies (Paleo / Keto)
Ingredients:
Instructions:
- Pour the apple cider vinegar, water, and cinnamon into a small saucepan. Whisk until combined.
- Turn on medium heat and heat the liquid until it’s very warm, but not boiling. Before the liquid boils, turn off the heat.
- Sprinkle a tablespoon of the gelatin evenly over the liquid. Use a whisk to stir quickly until the gelatin is well incorporated. Repeat with the next tablespoon of gelatin, and then the next.
- After all of the gelatin is mixed in, pour the mixture into a candy mold, or you can use a glass baking dish that’s been greased with coconut oil.
- Refrigerate the gummies for at least 2 hours before removing them to eat! Store extras in the fridge for about a week.

by Christina | Dec 21, 2017 | Recipes, Wellness
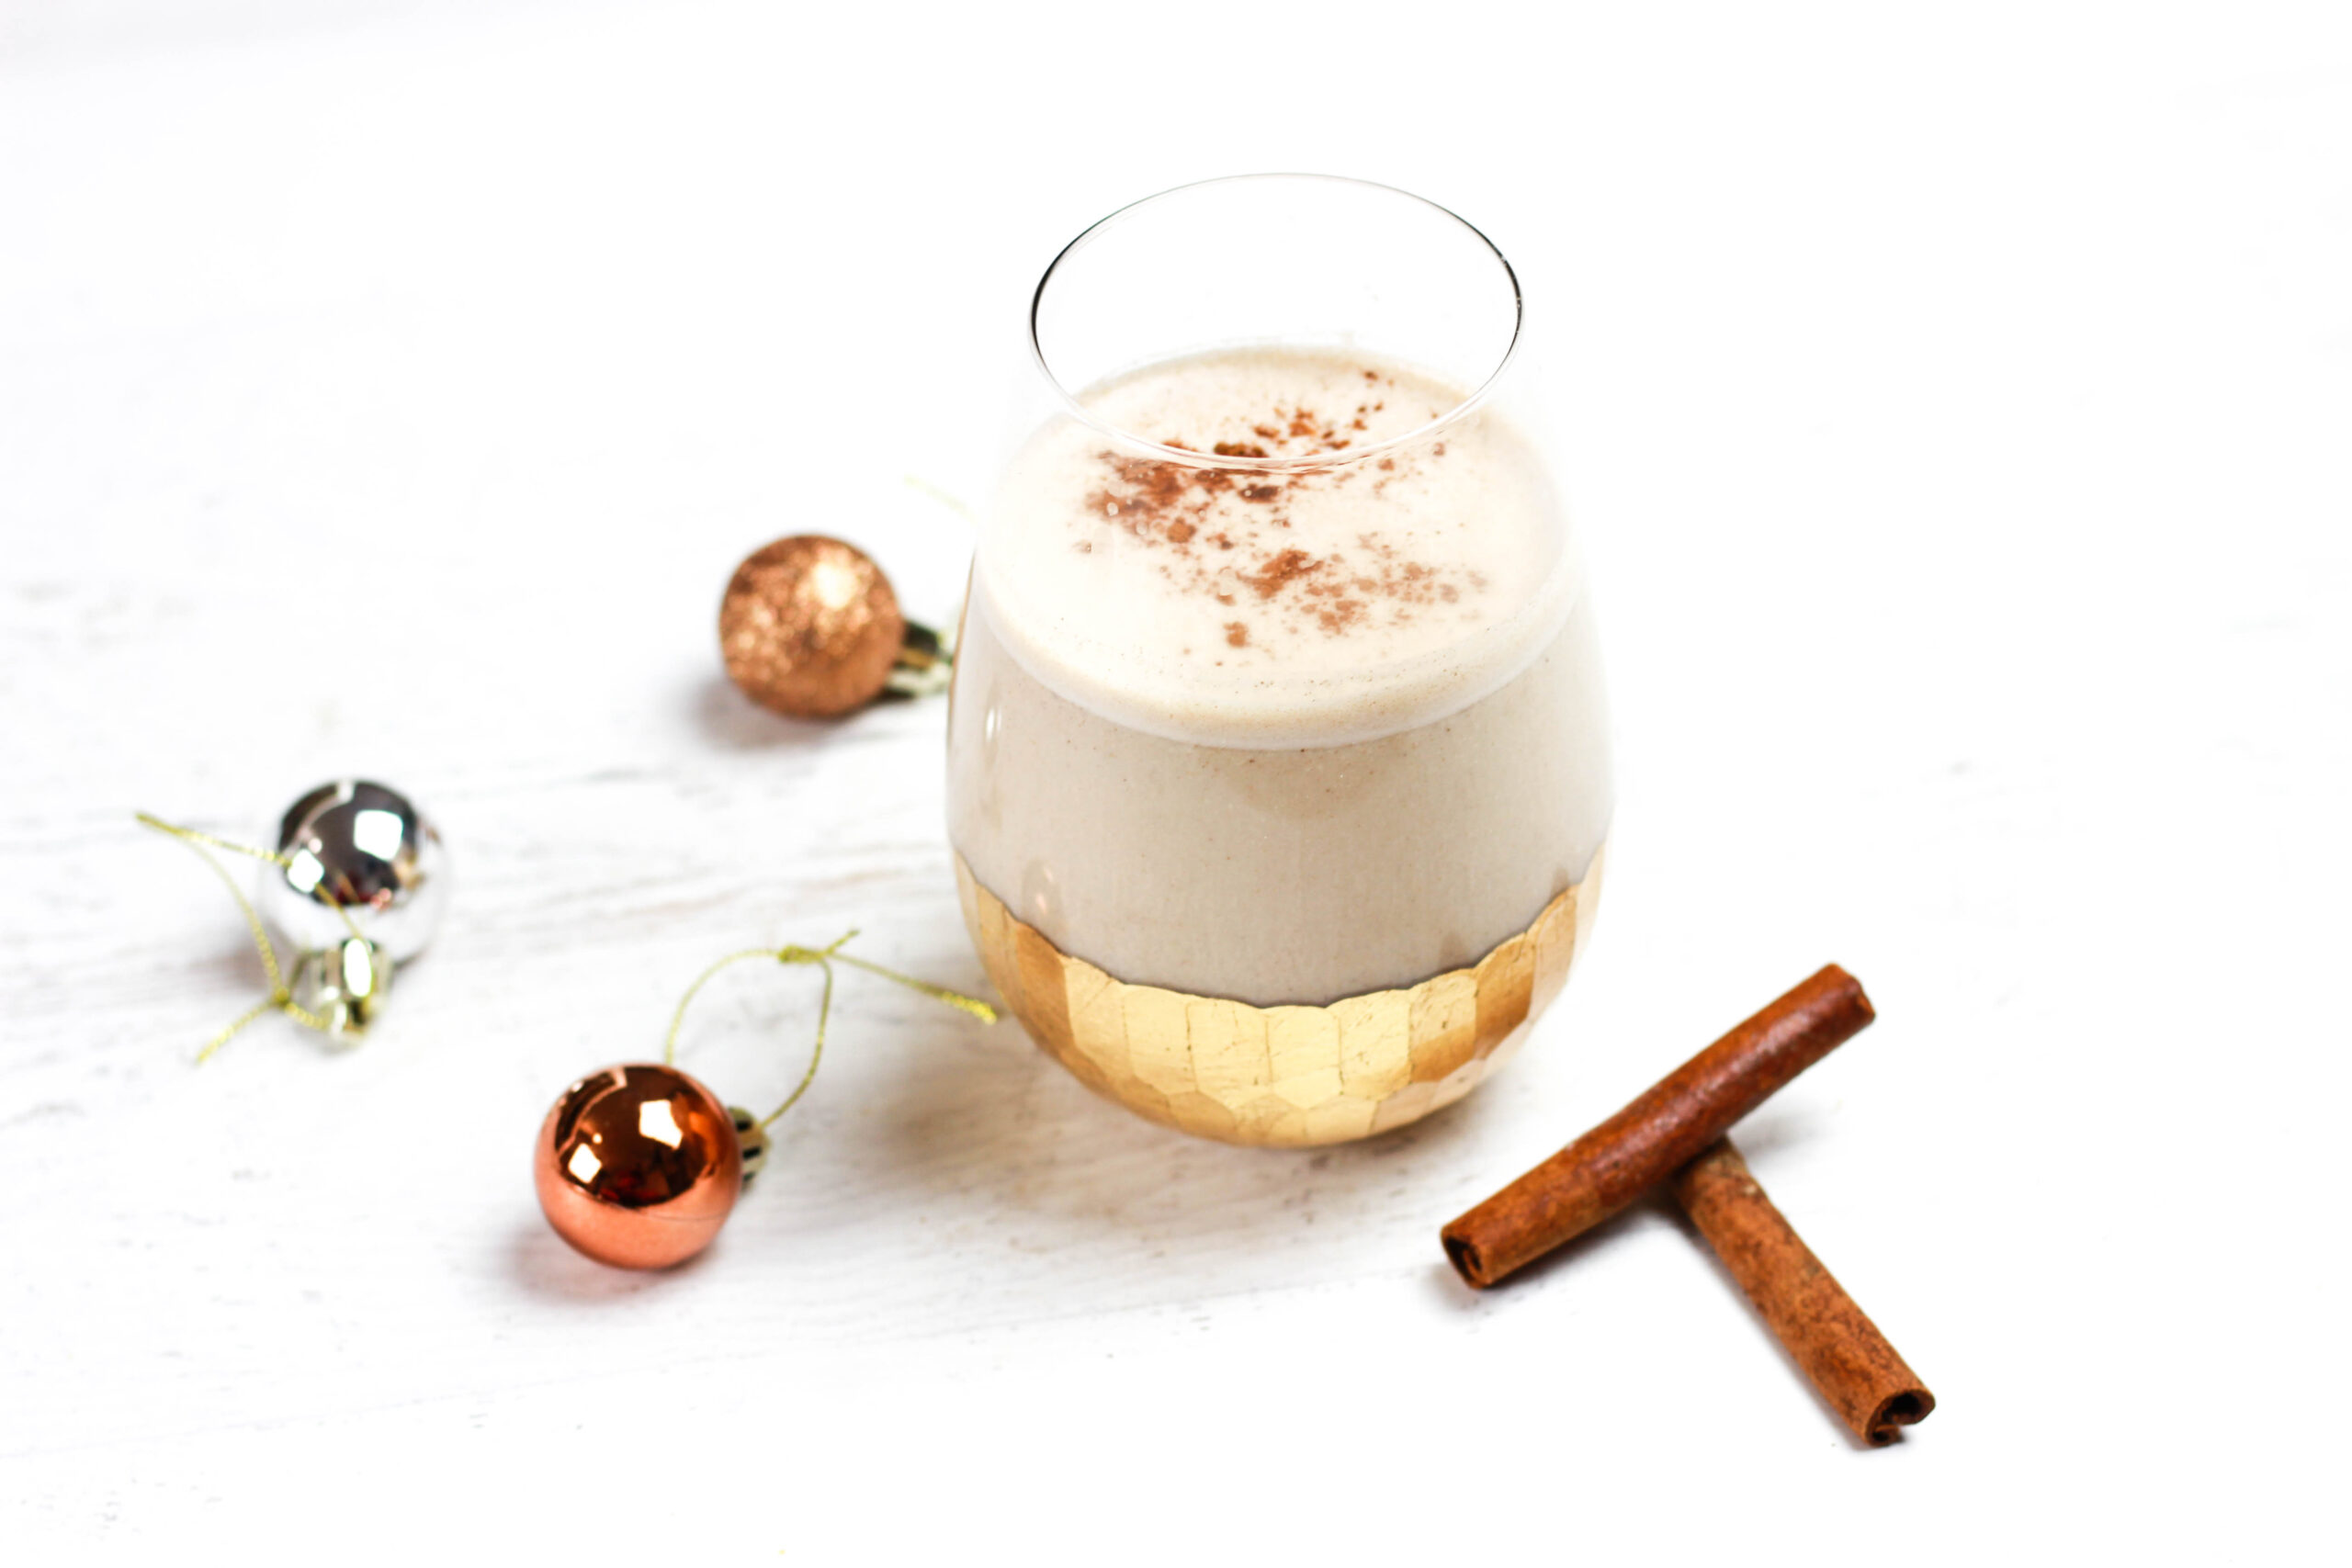
Can you tell I’m kind of addicted to eggnog? It’s SO GOOD. I promise, though, this is the last eggnog-related recipe. For this year, at least!
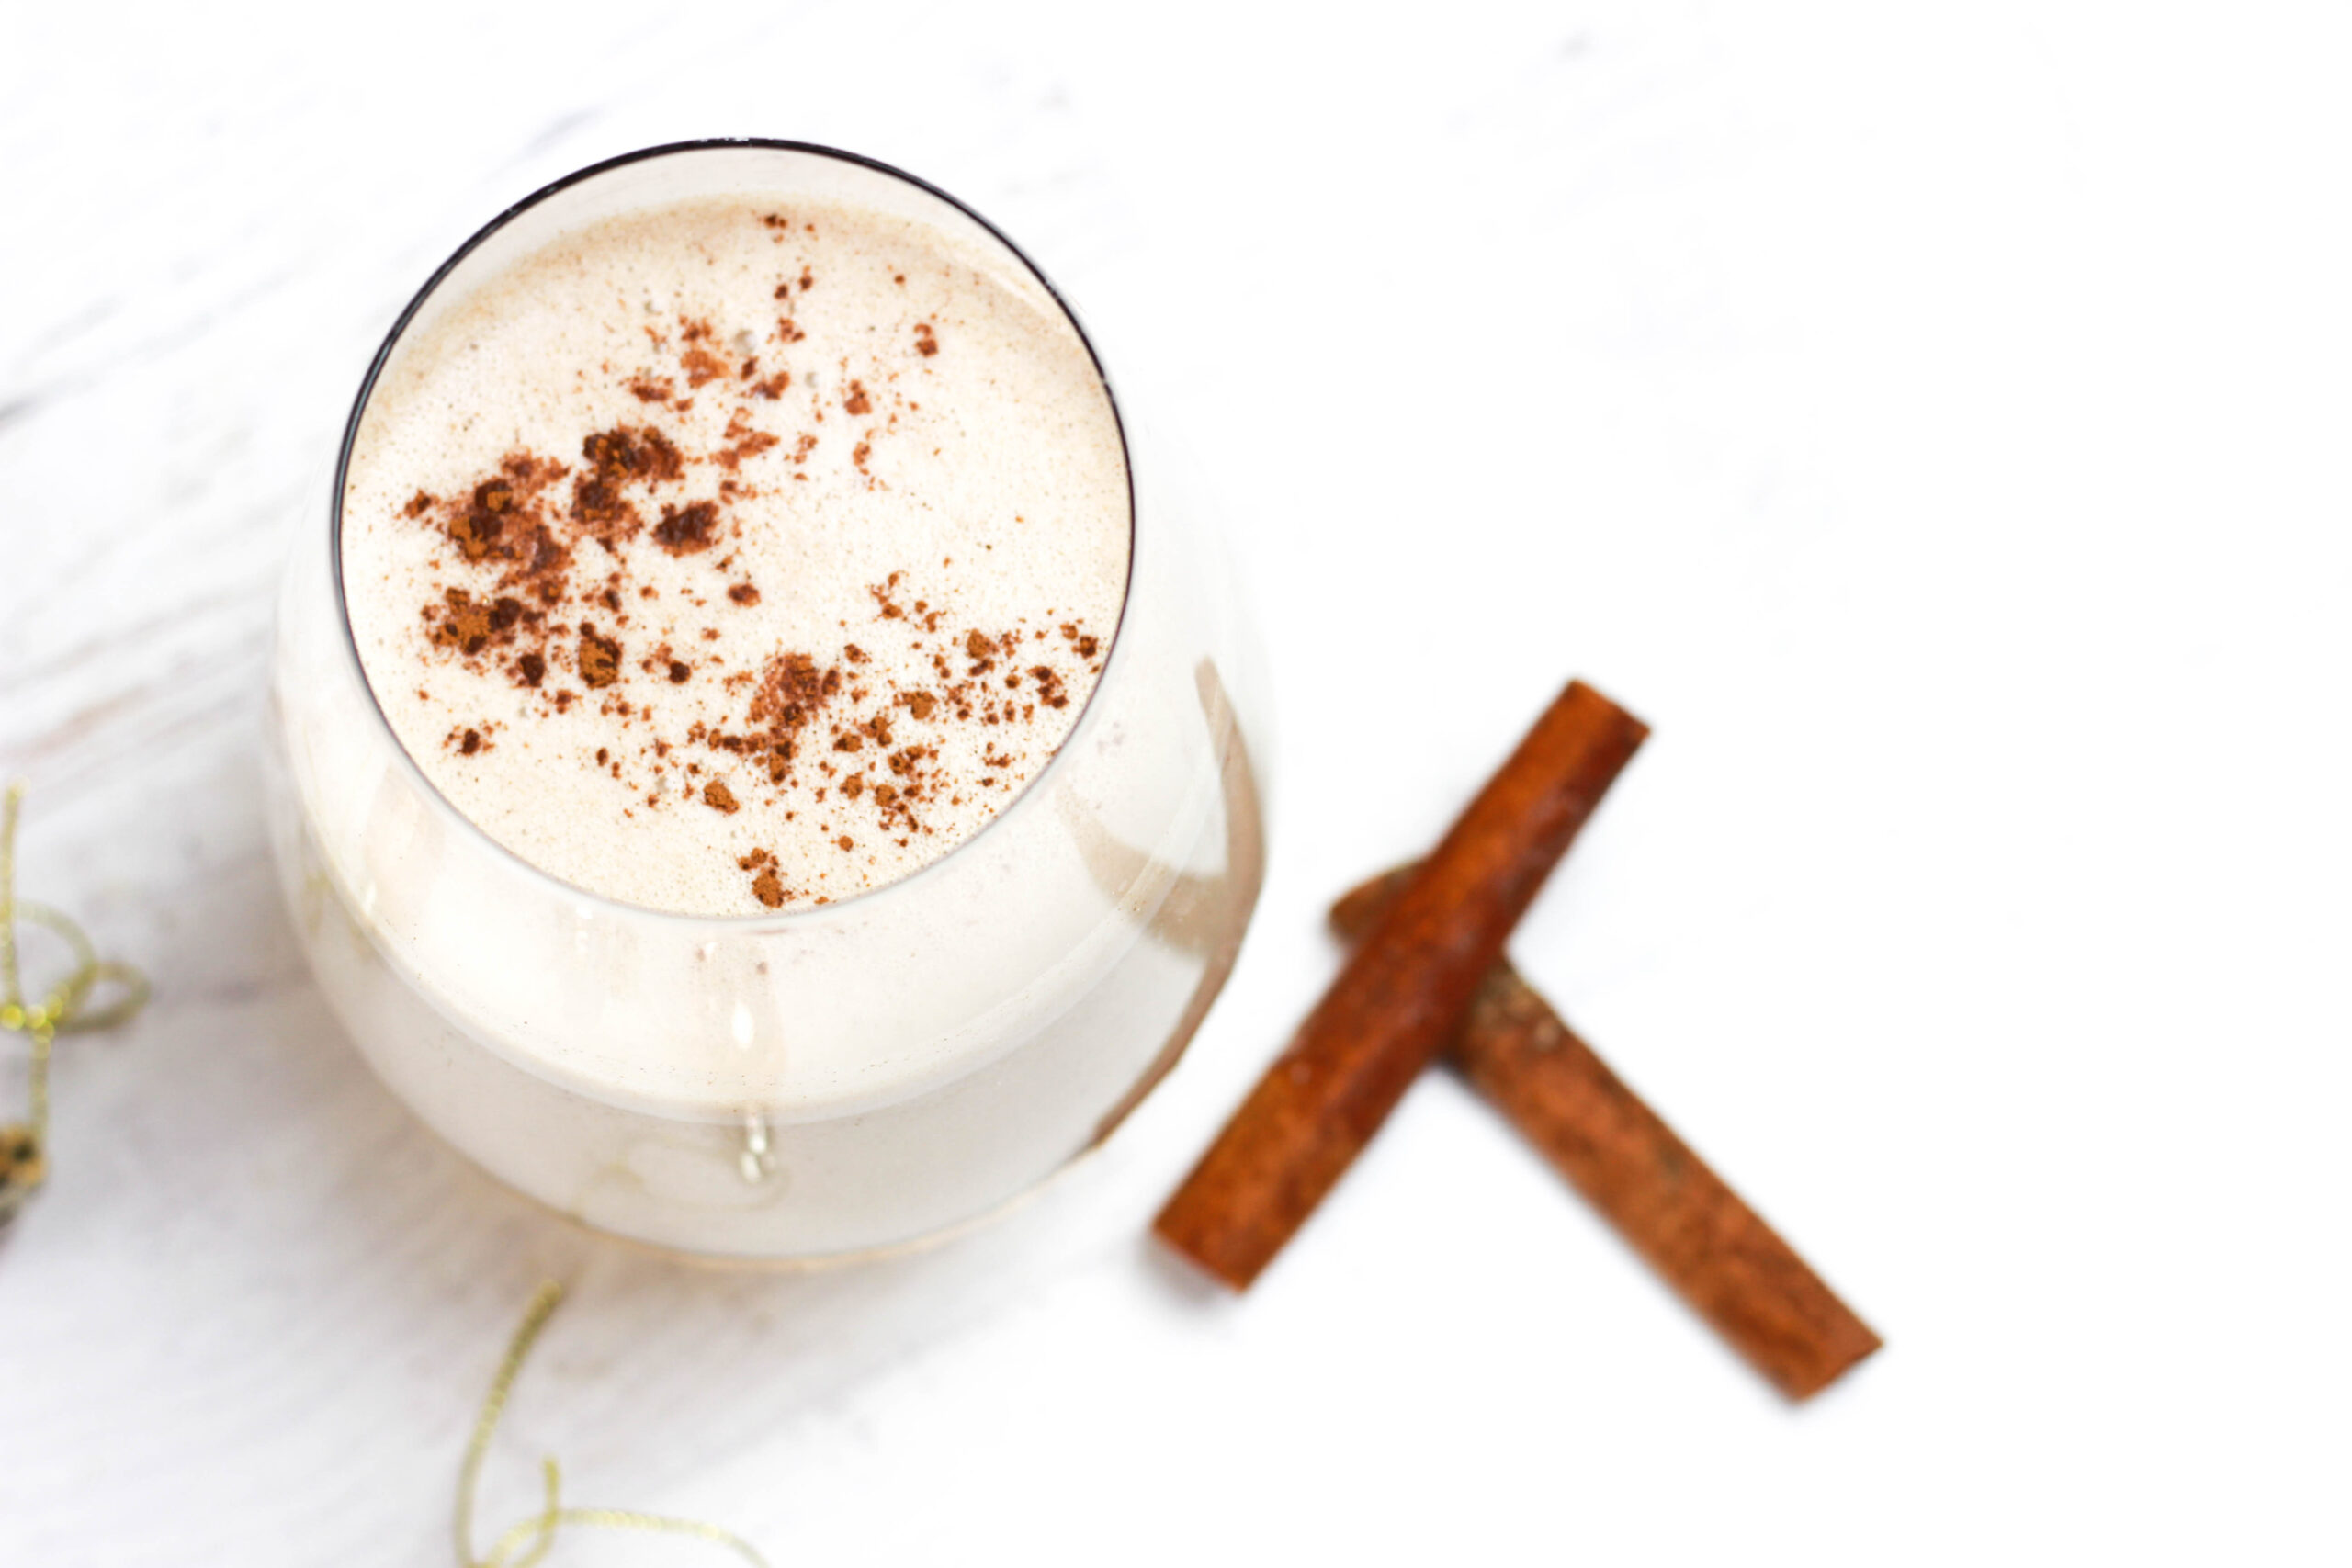
I’ve already posted a recipe for a Classic Paleo Eggnog and an Eggnog Spice Cake, but I didn’t want to leave out anyone who doesn’t eat eggs! Especially after finding out that so many people have never even tried eggnog, partially because it contains eggs. This is the perfect alternative! If you’re curious about eggnog but don’t want to deal with eggs for whatever reason, then this is for you.
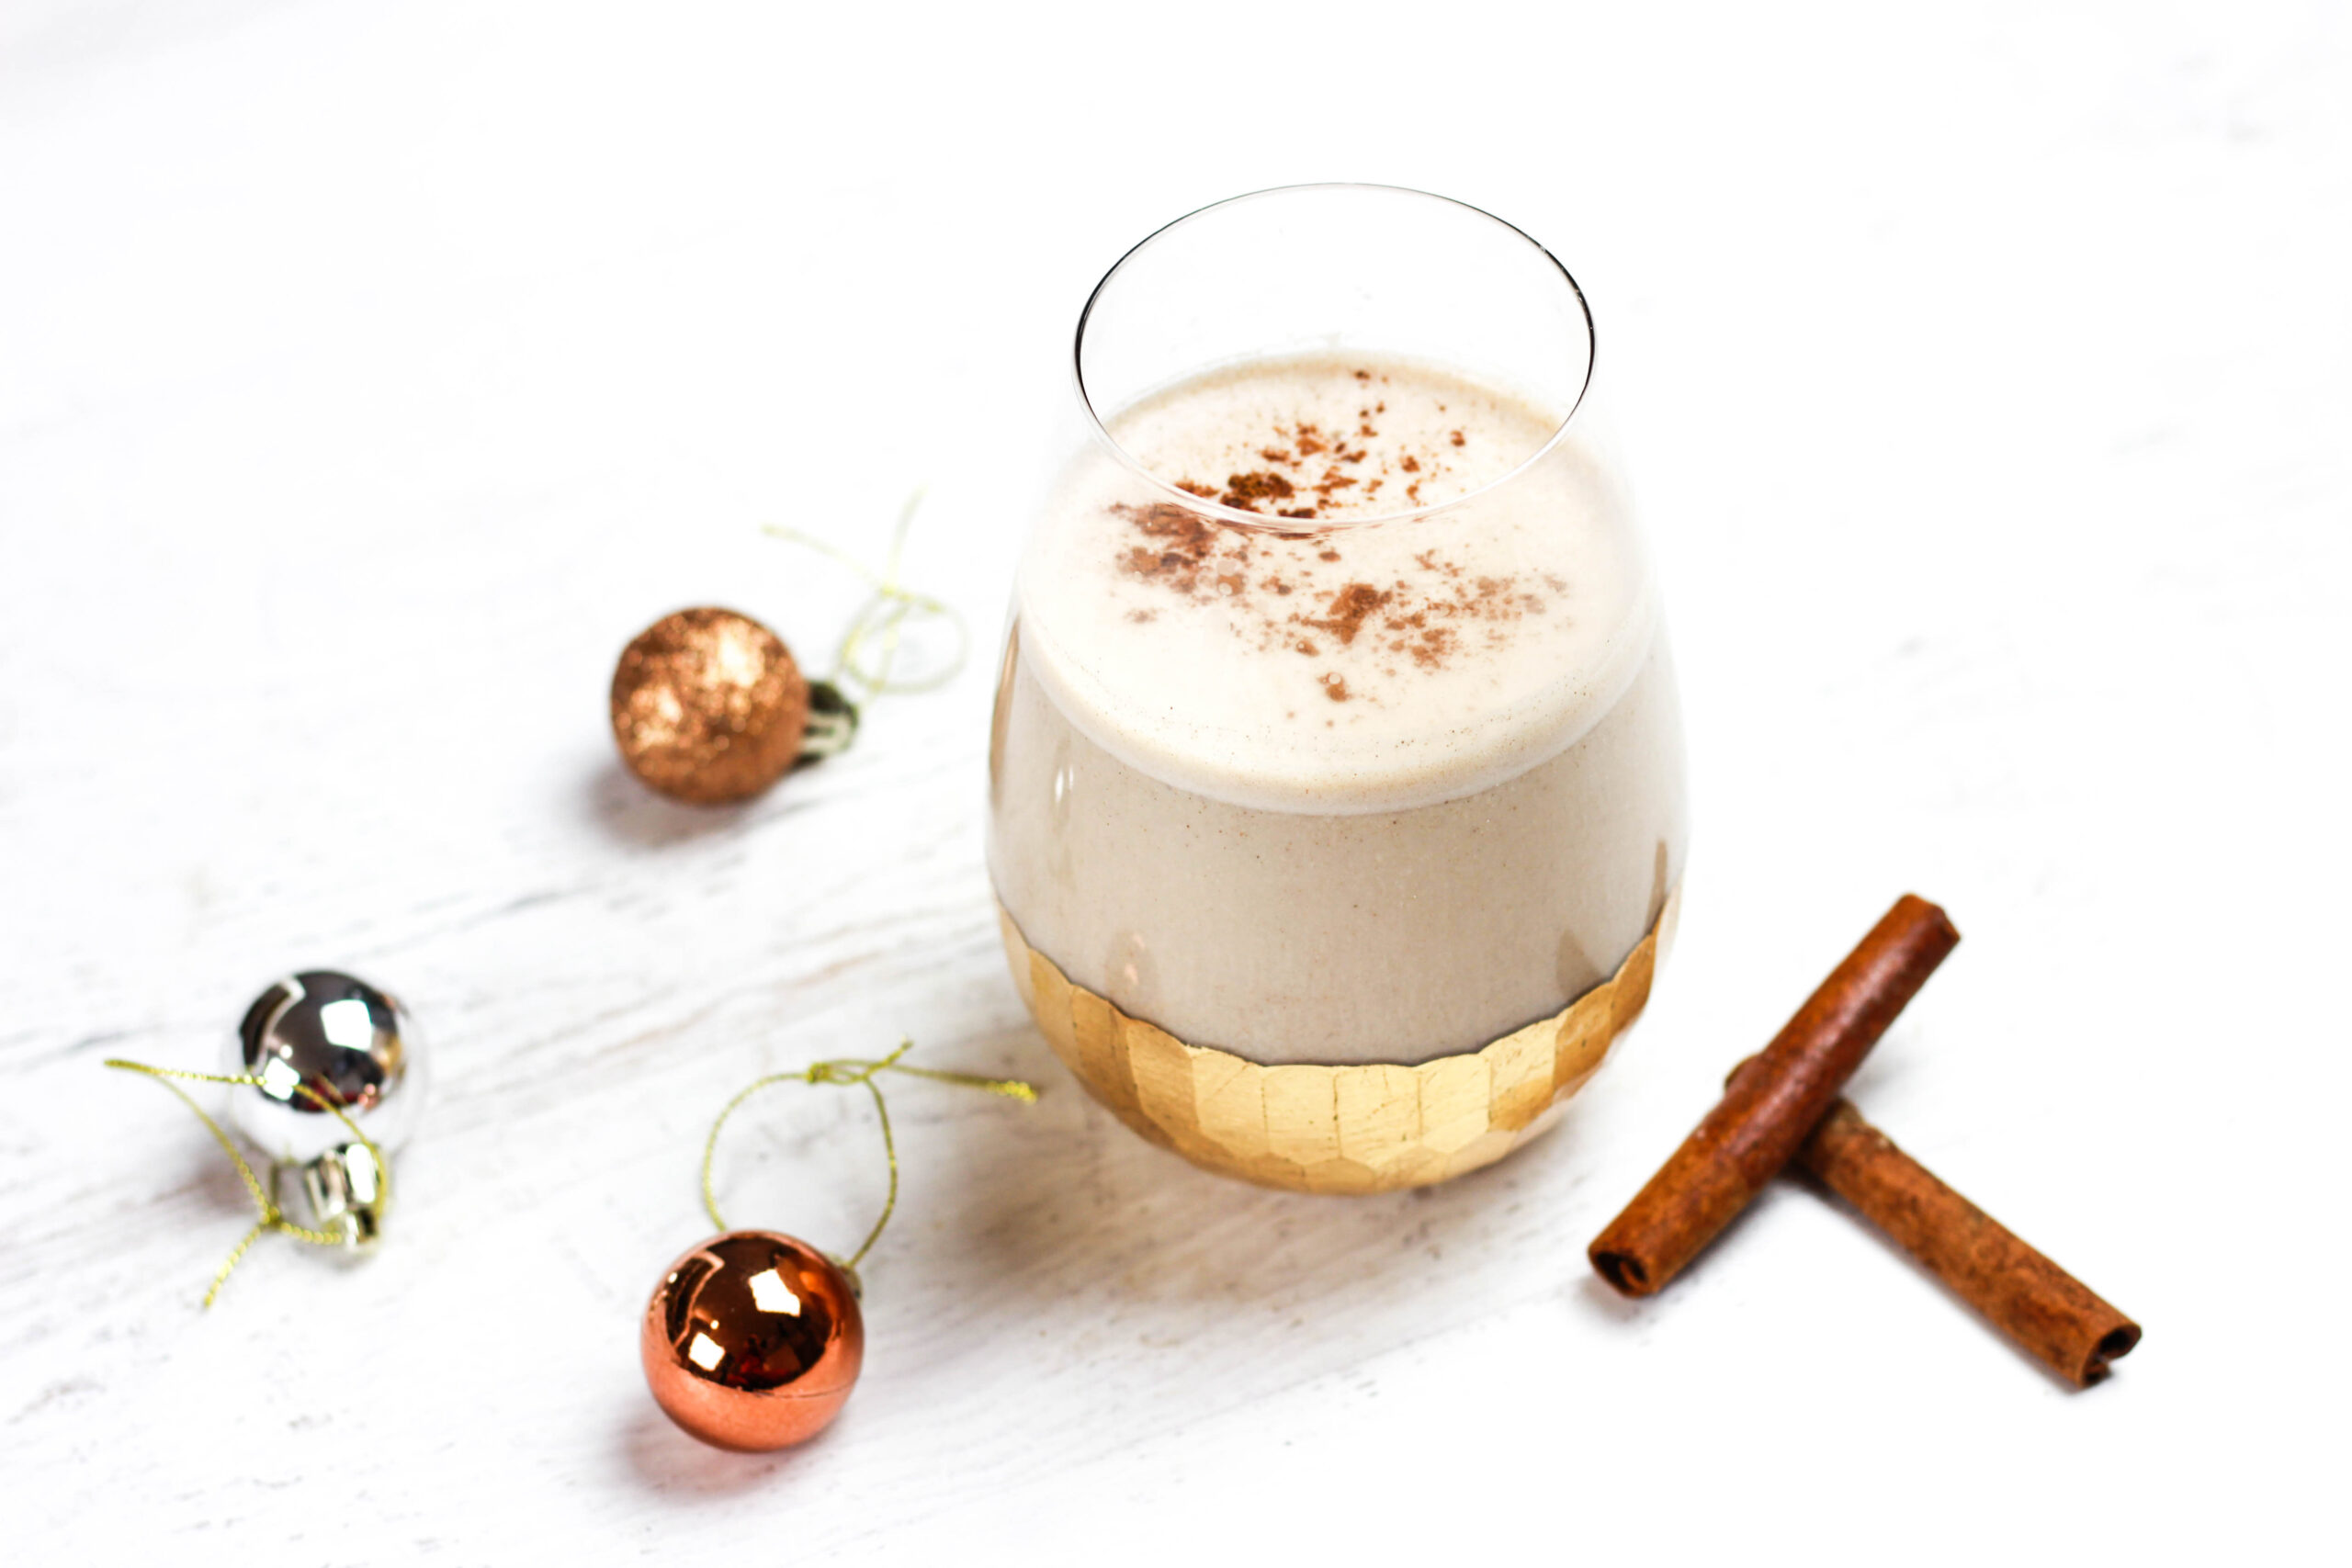
Let me explain how this “Yuletide Nog” came about. I initially set out to make an egg-free eggnog, but the truth is that you really do need eggs to give it that egg-y, custard-like flavor that makes eggnog so unique. Well, you either need eggs or boxed vanilla pudding, and I’m obviously not about to use that.
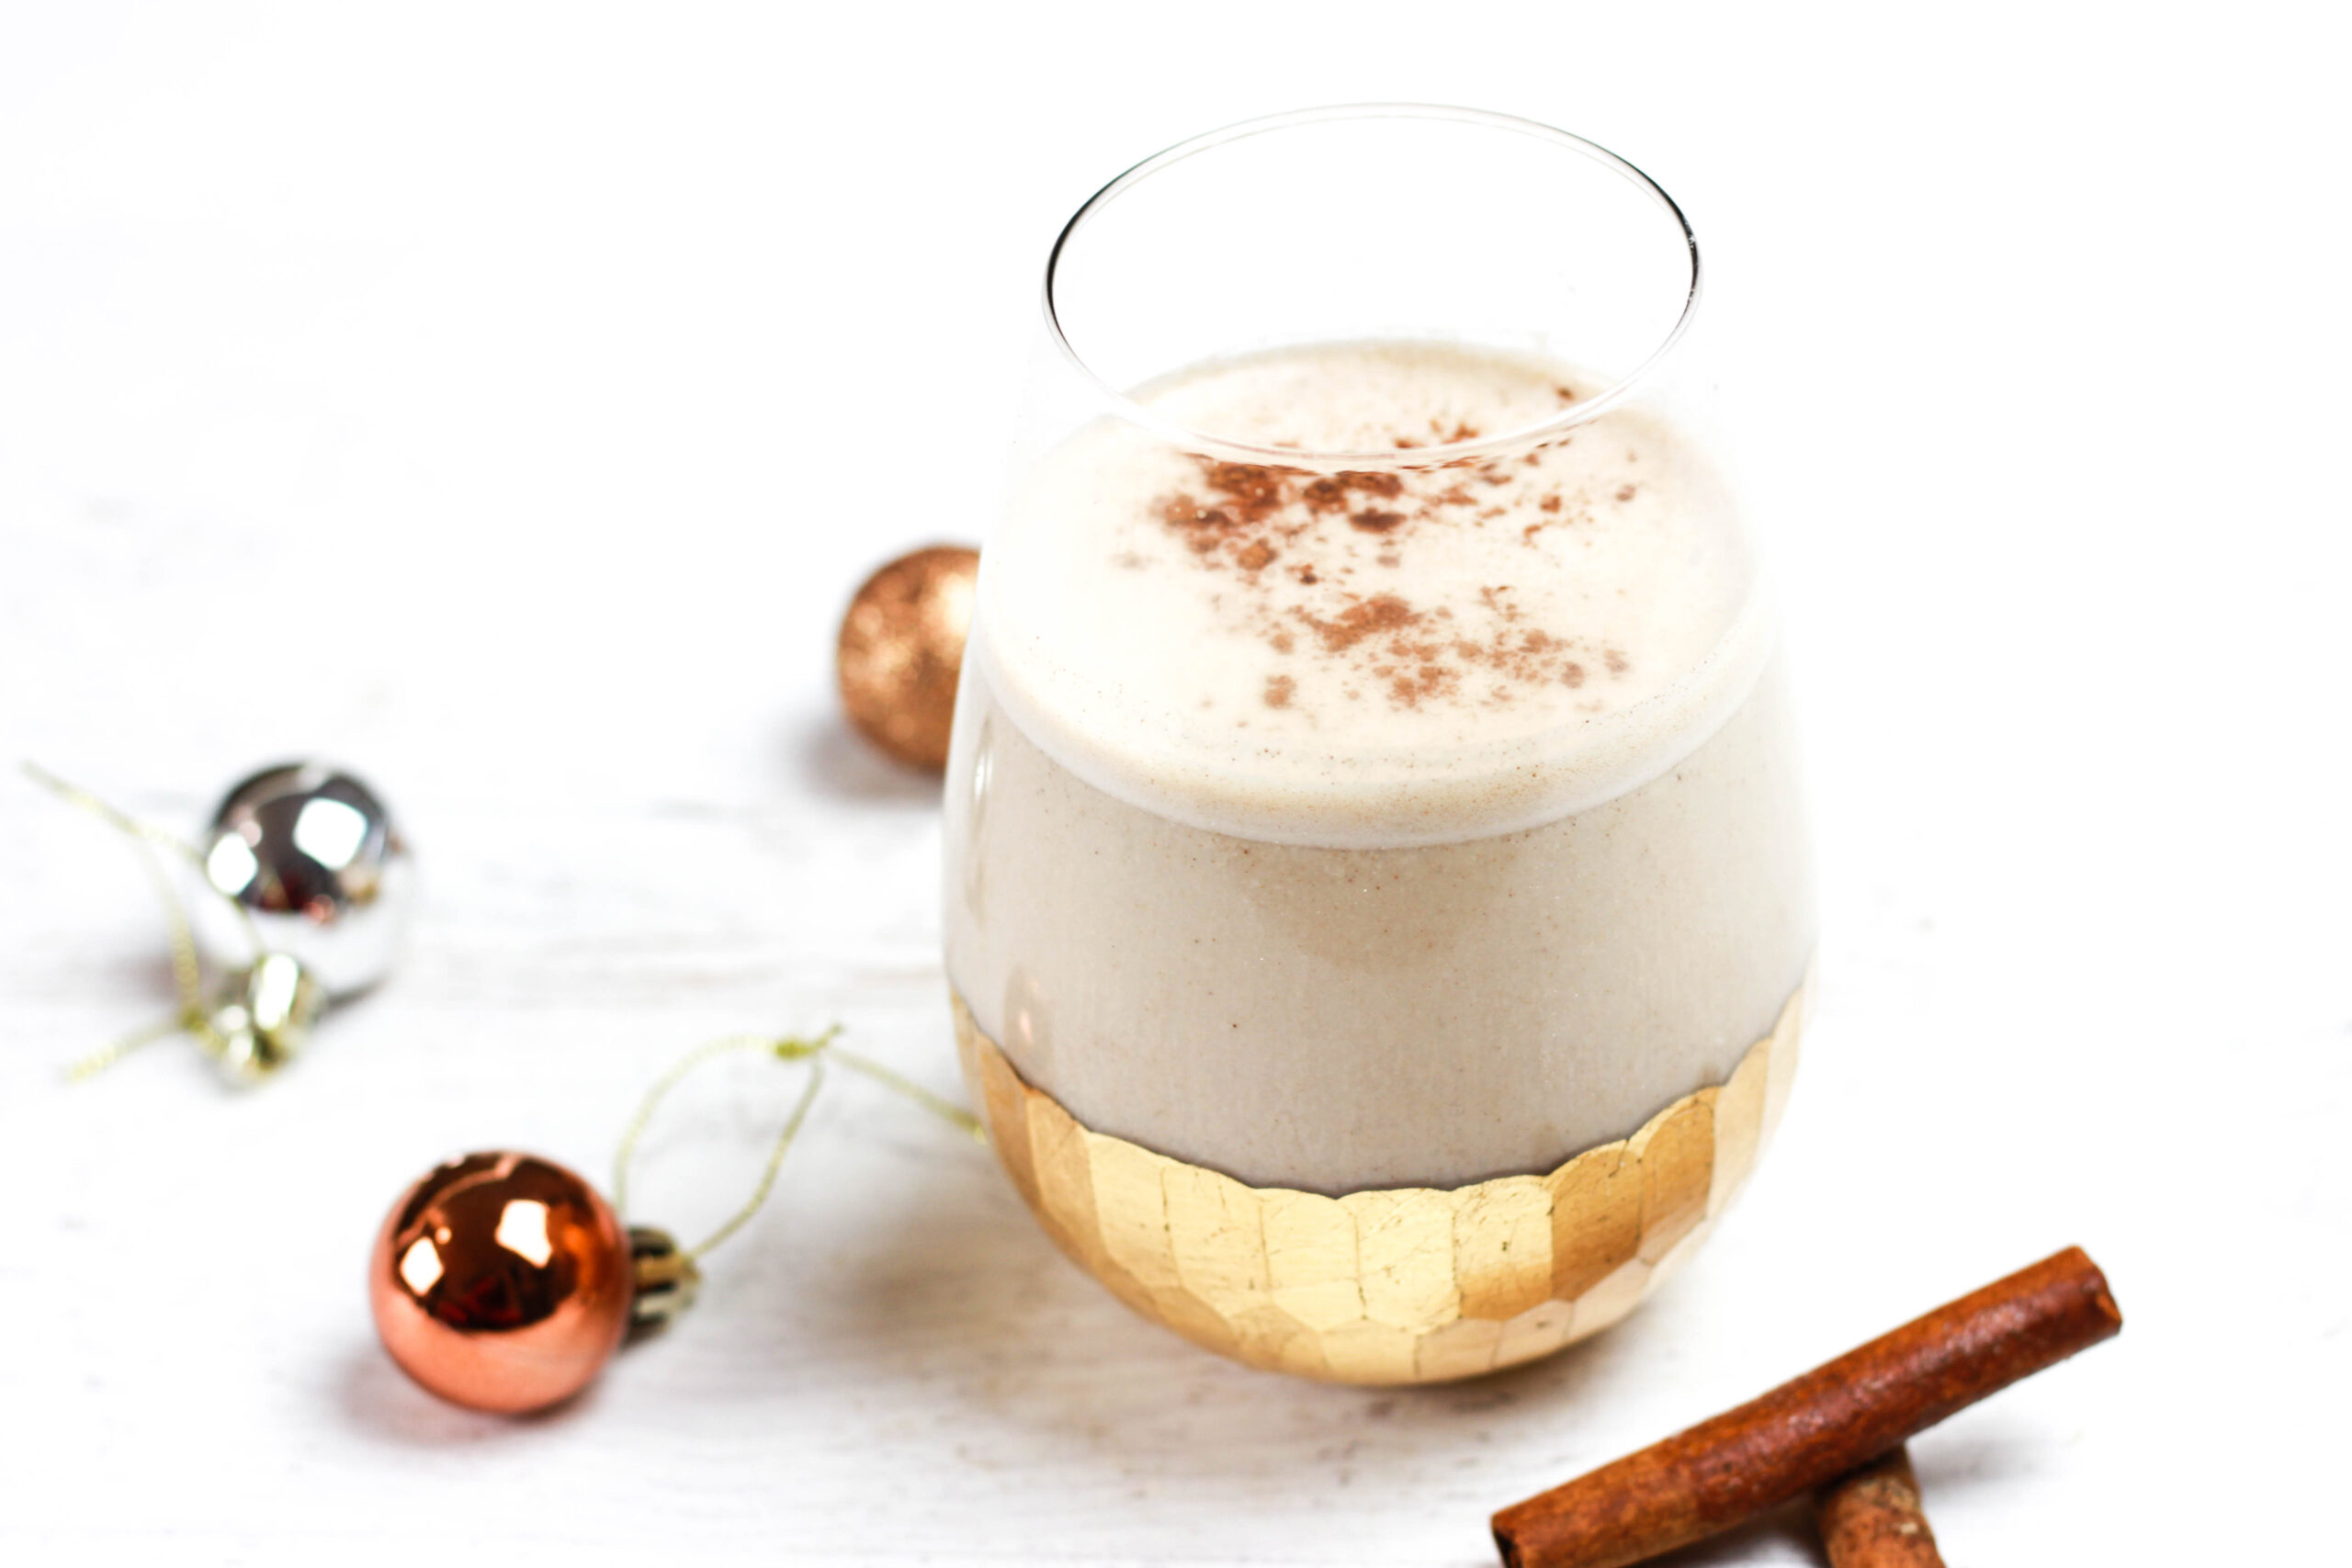
The thing is, the egg-free attempts at eggnog still tasted really delicious and seasonal, they just didn’t taste exactly like eggnog. But why not just put up the recipe, anyways?!
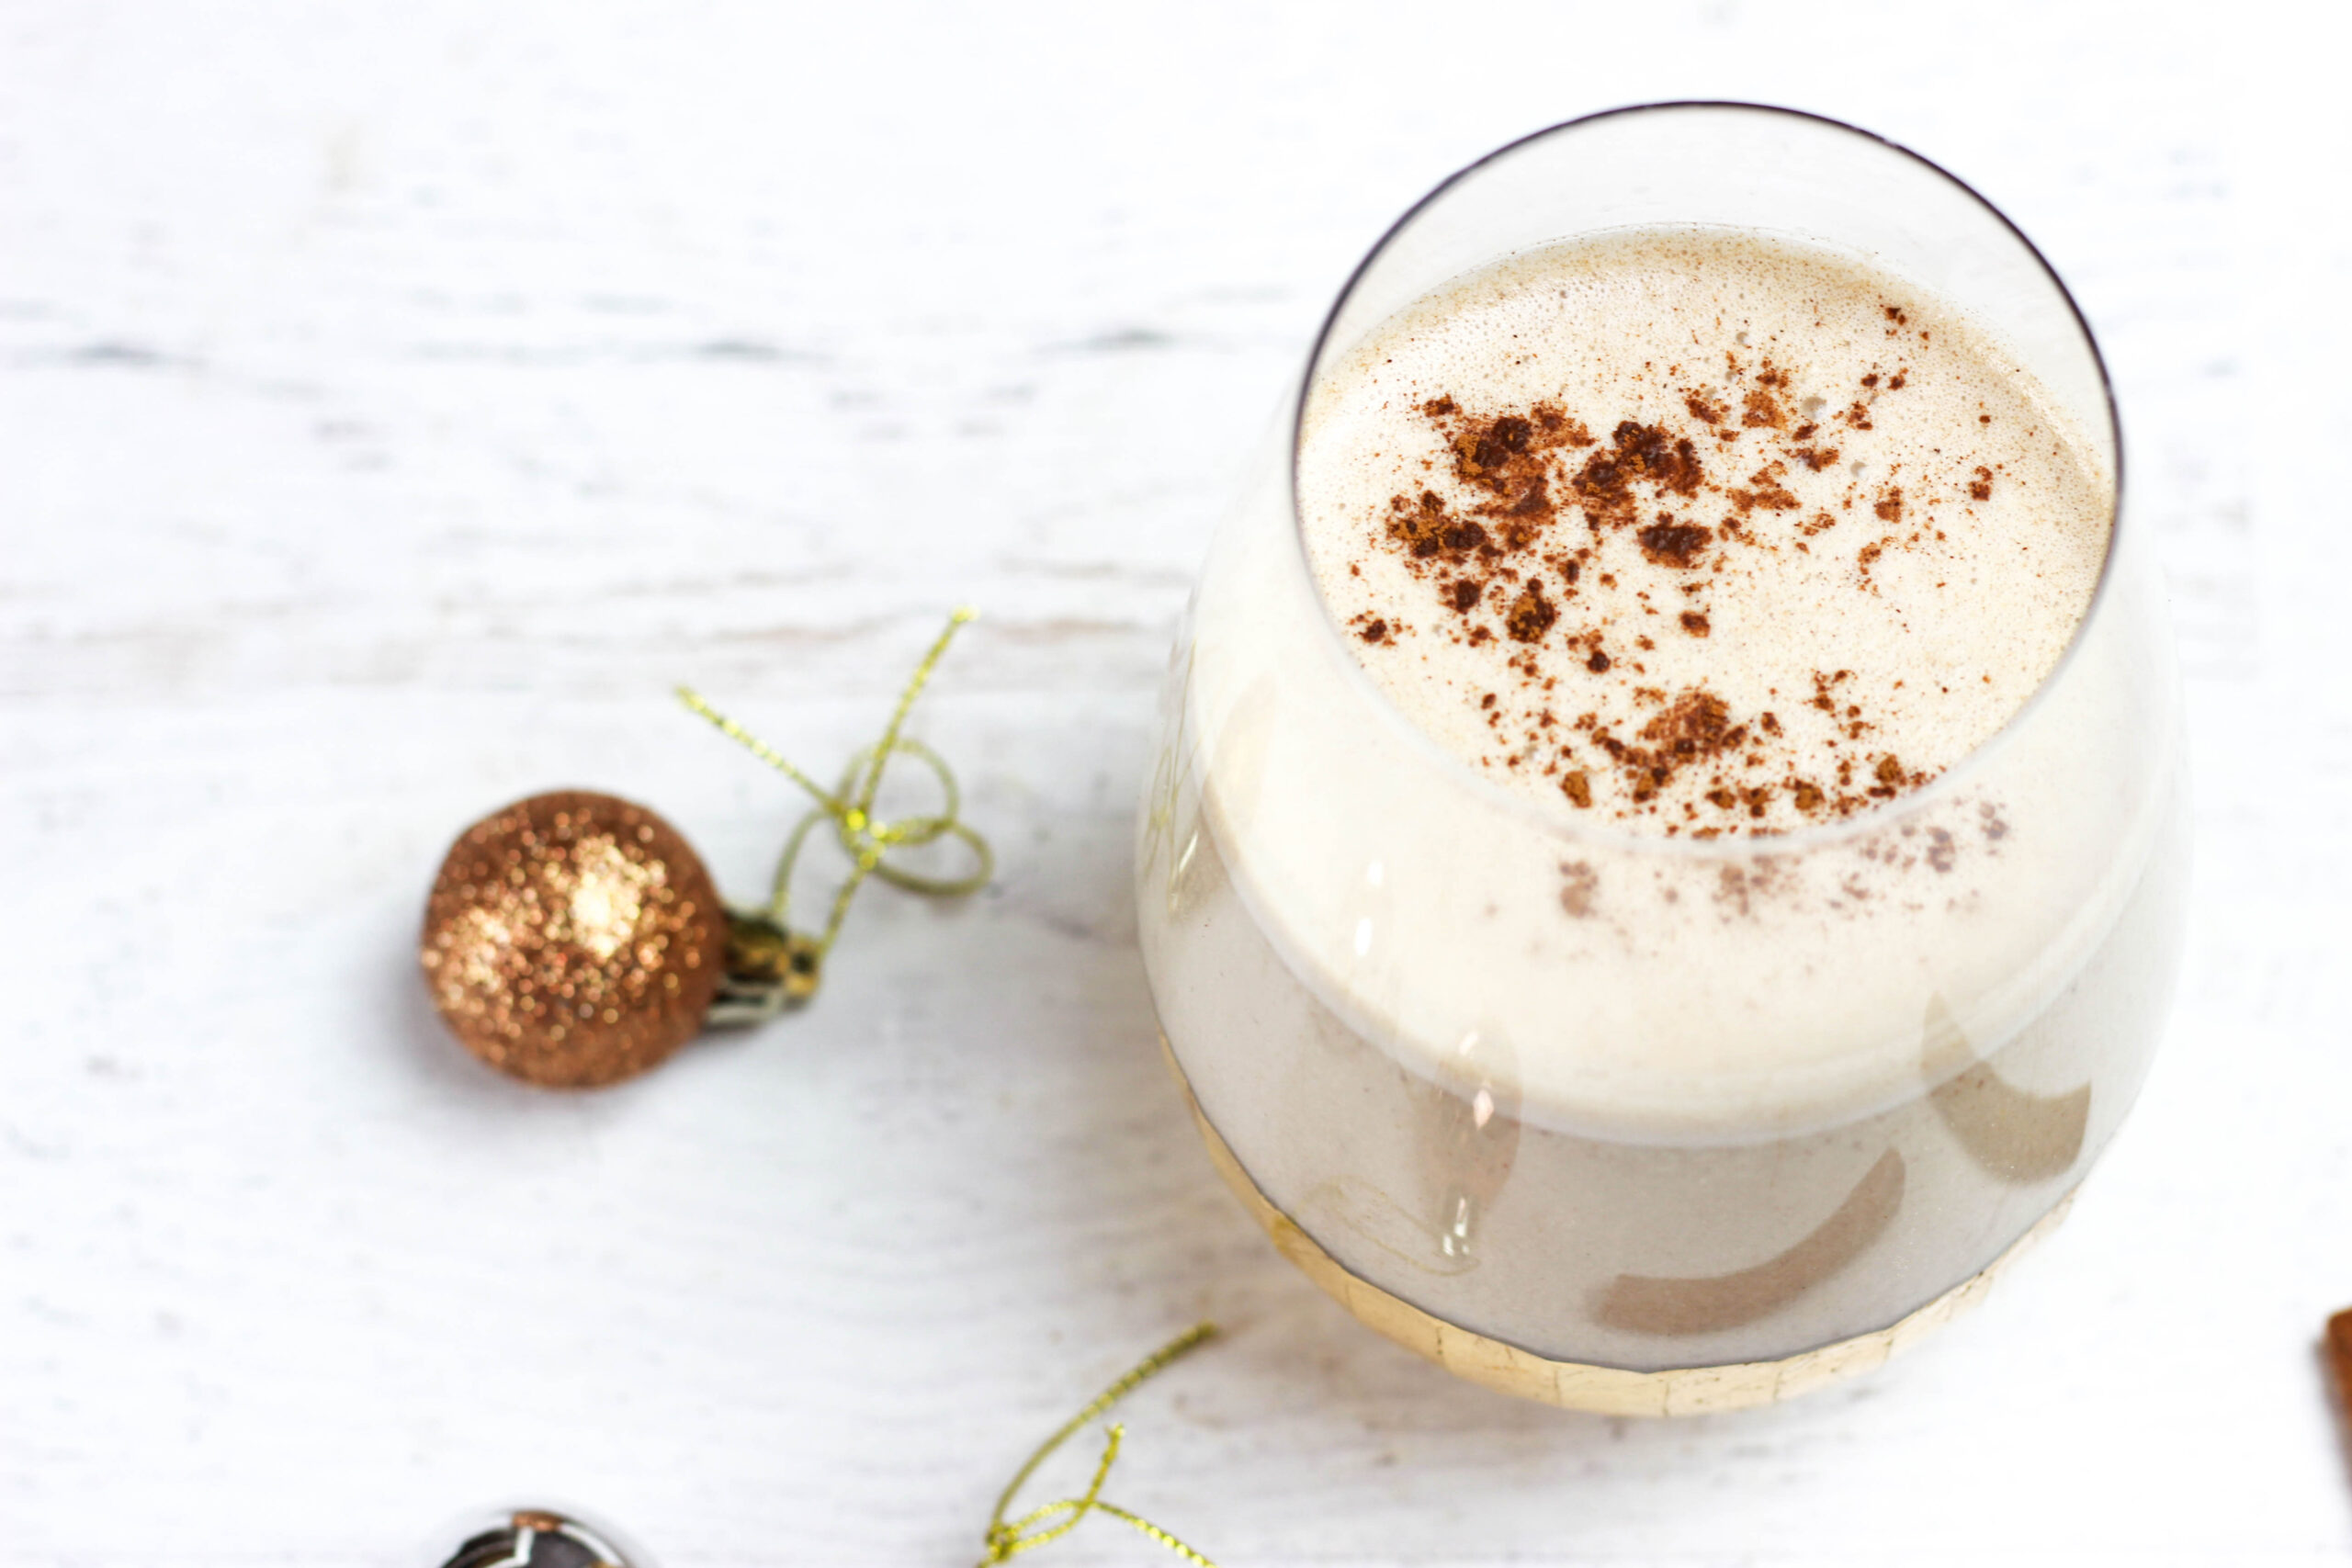
This is a delicious, creamy, seasonal drink that anyone can enjoy! My best friend came over to help me recipe test this one, and when I asked her what to call it, she said, “Yuletide Nog.” The perfect answer. Done. I do not take credit for the title.
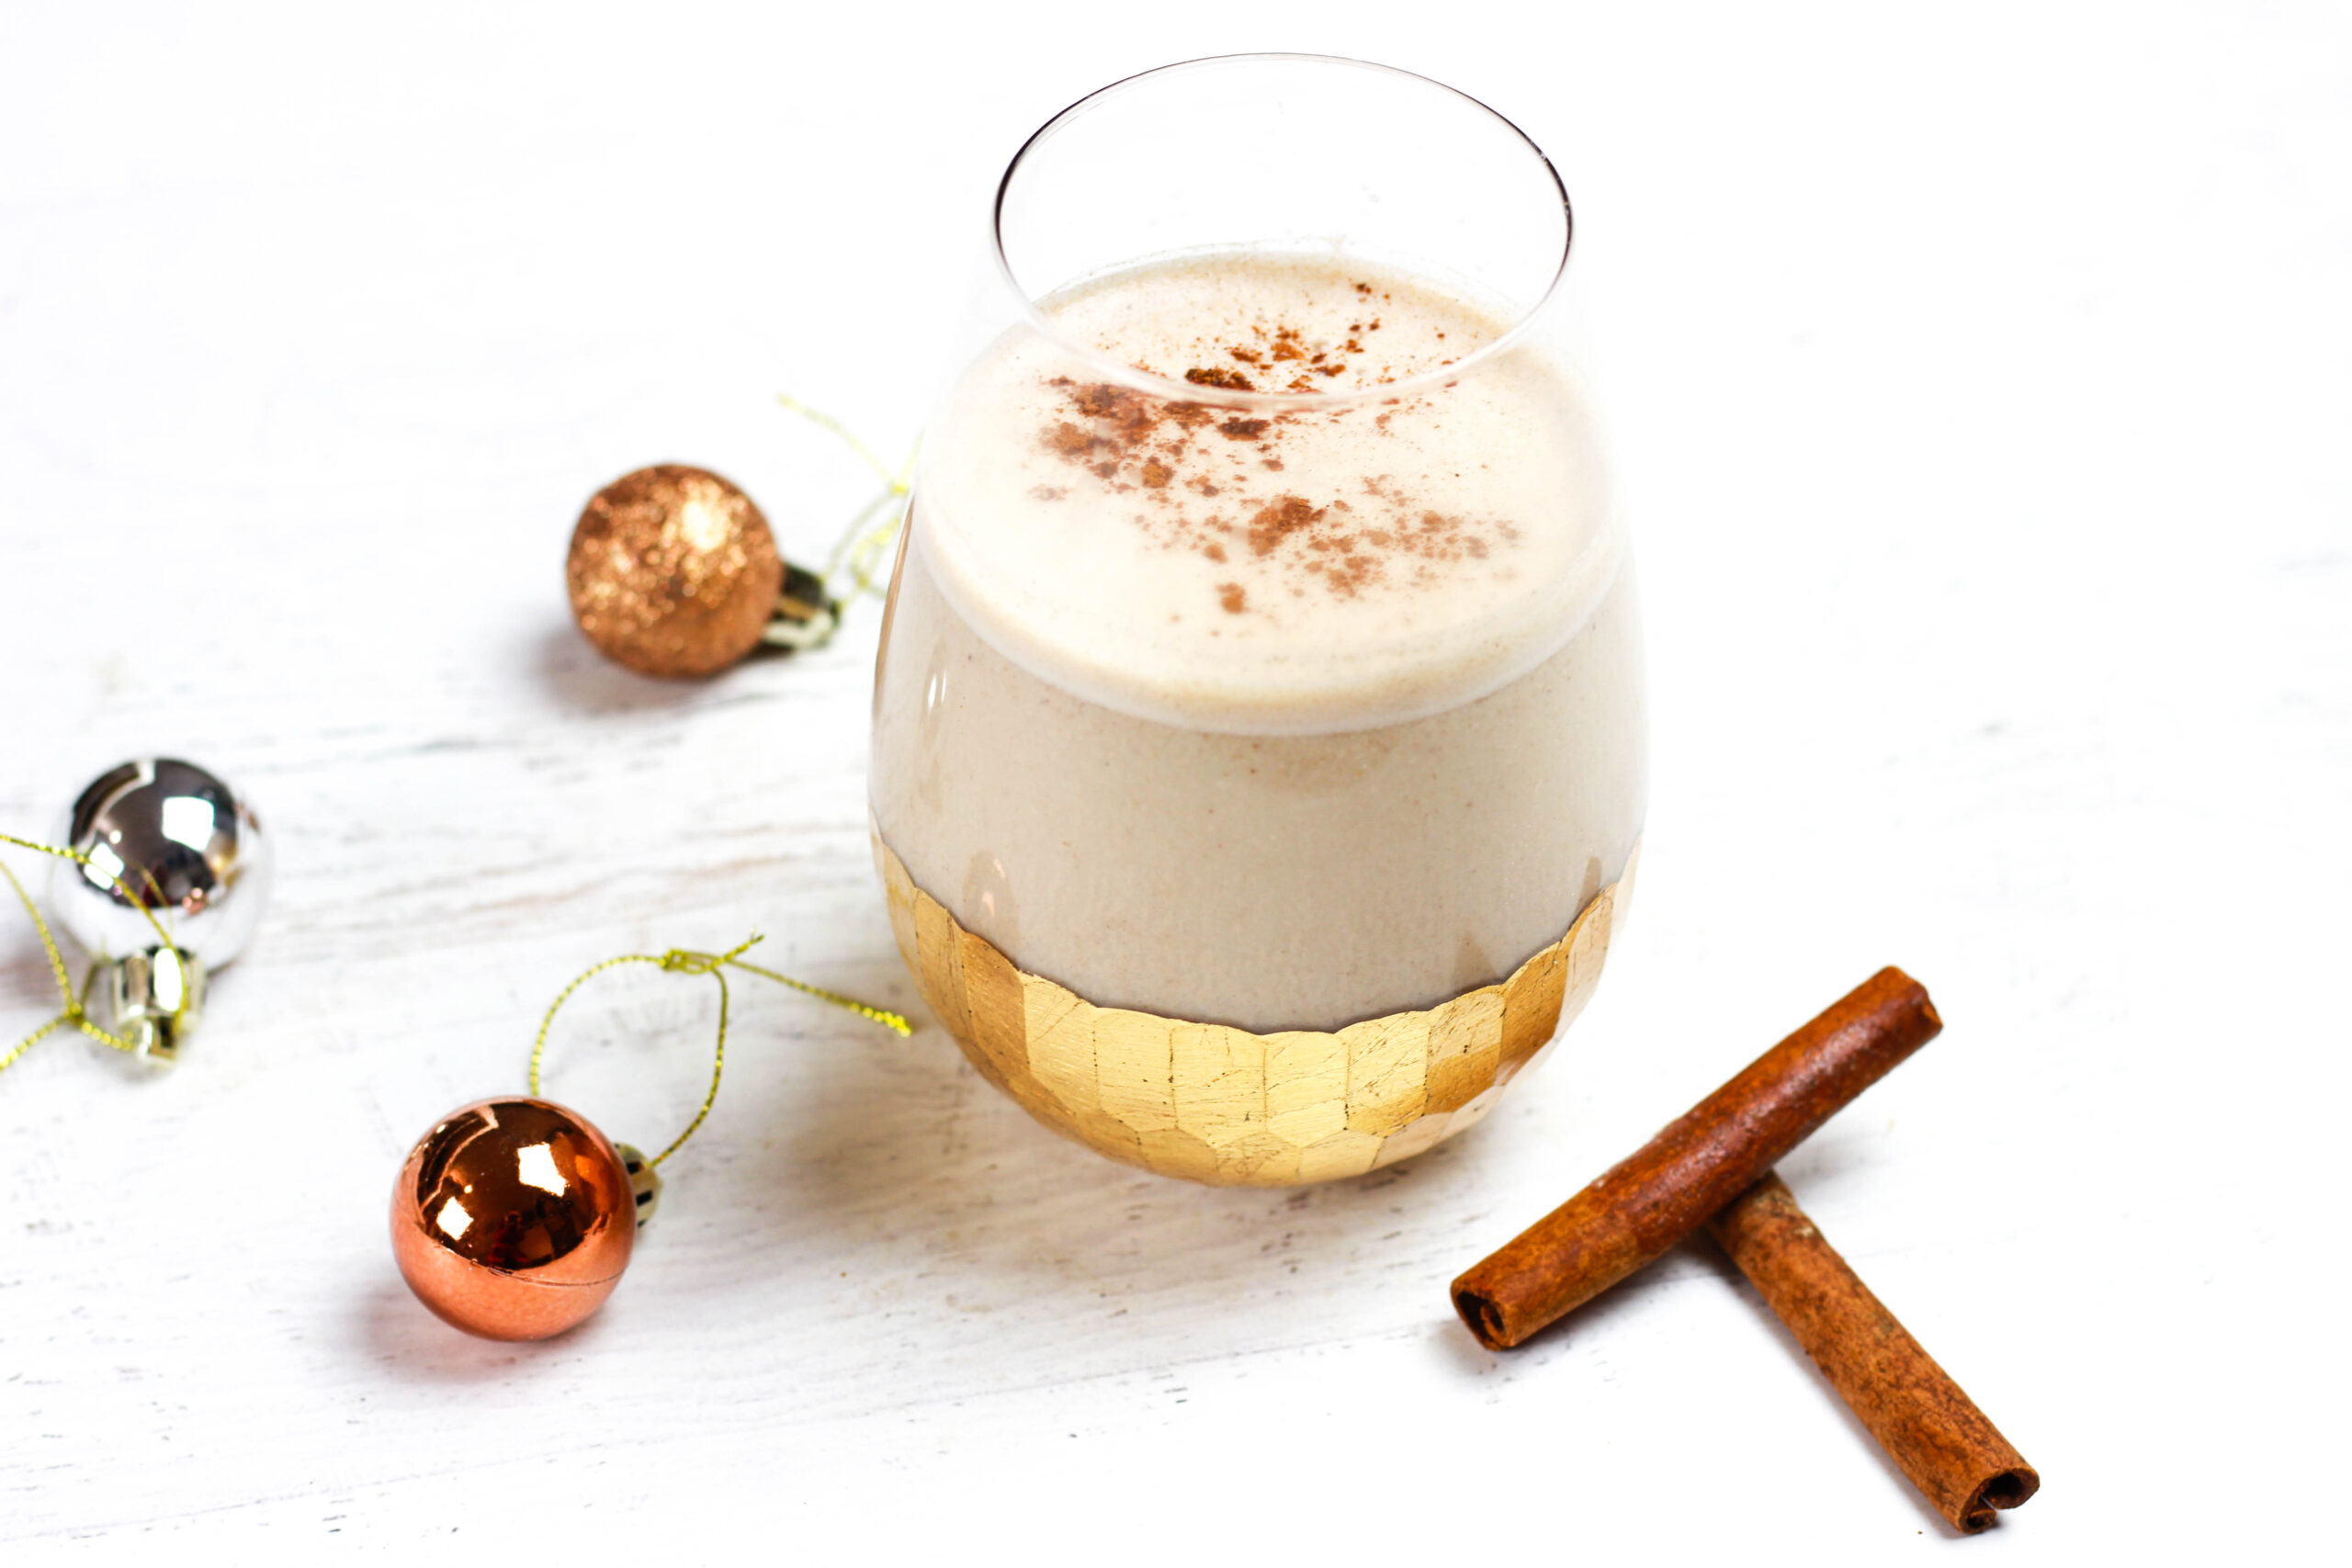
This is the easiest dessert-drink to pull together – all you need is a blender and the ingredients! It’s also extremely low in sugar, and you can easily leave out the small amount of maple syrup if you want to go completely sugar-free with this one.
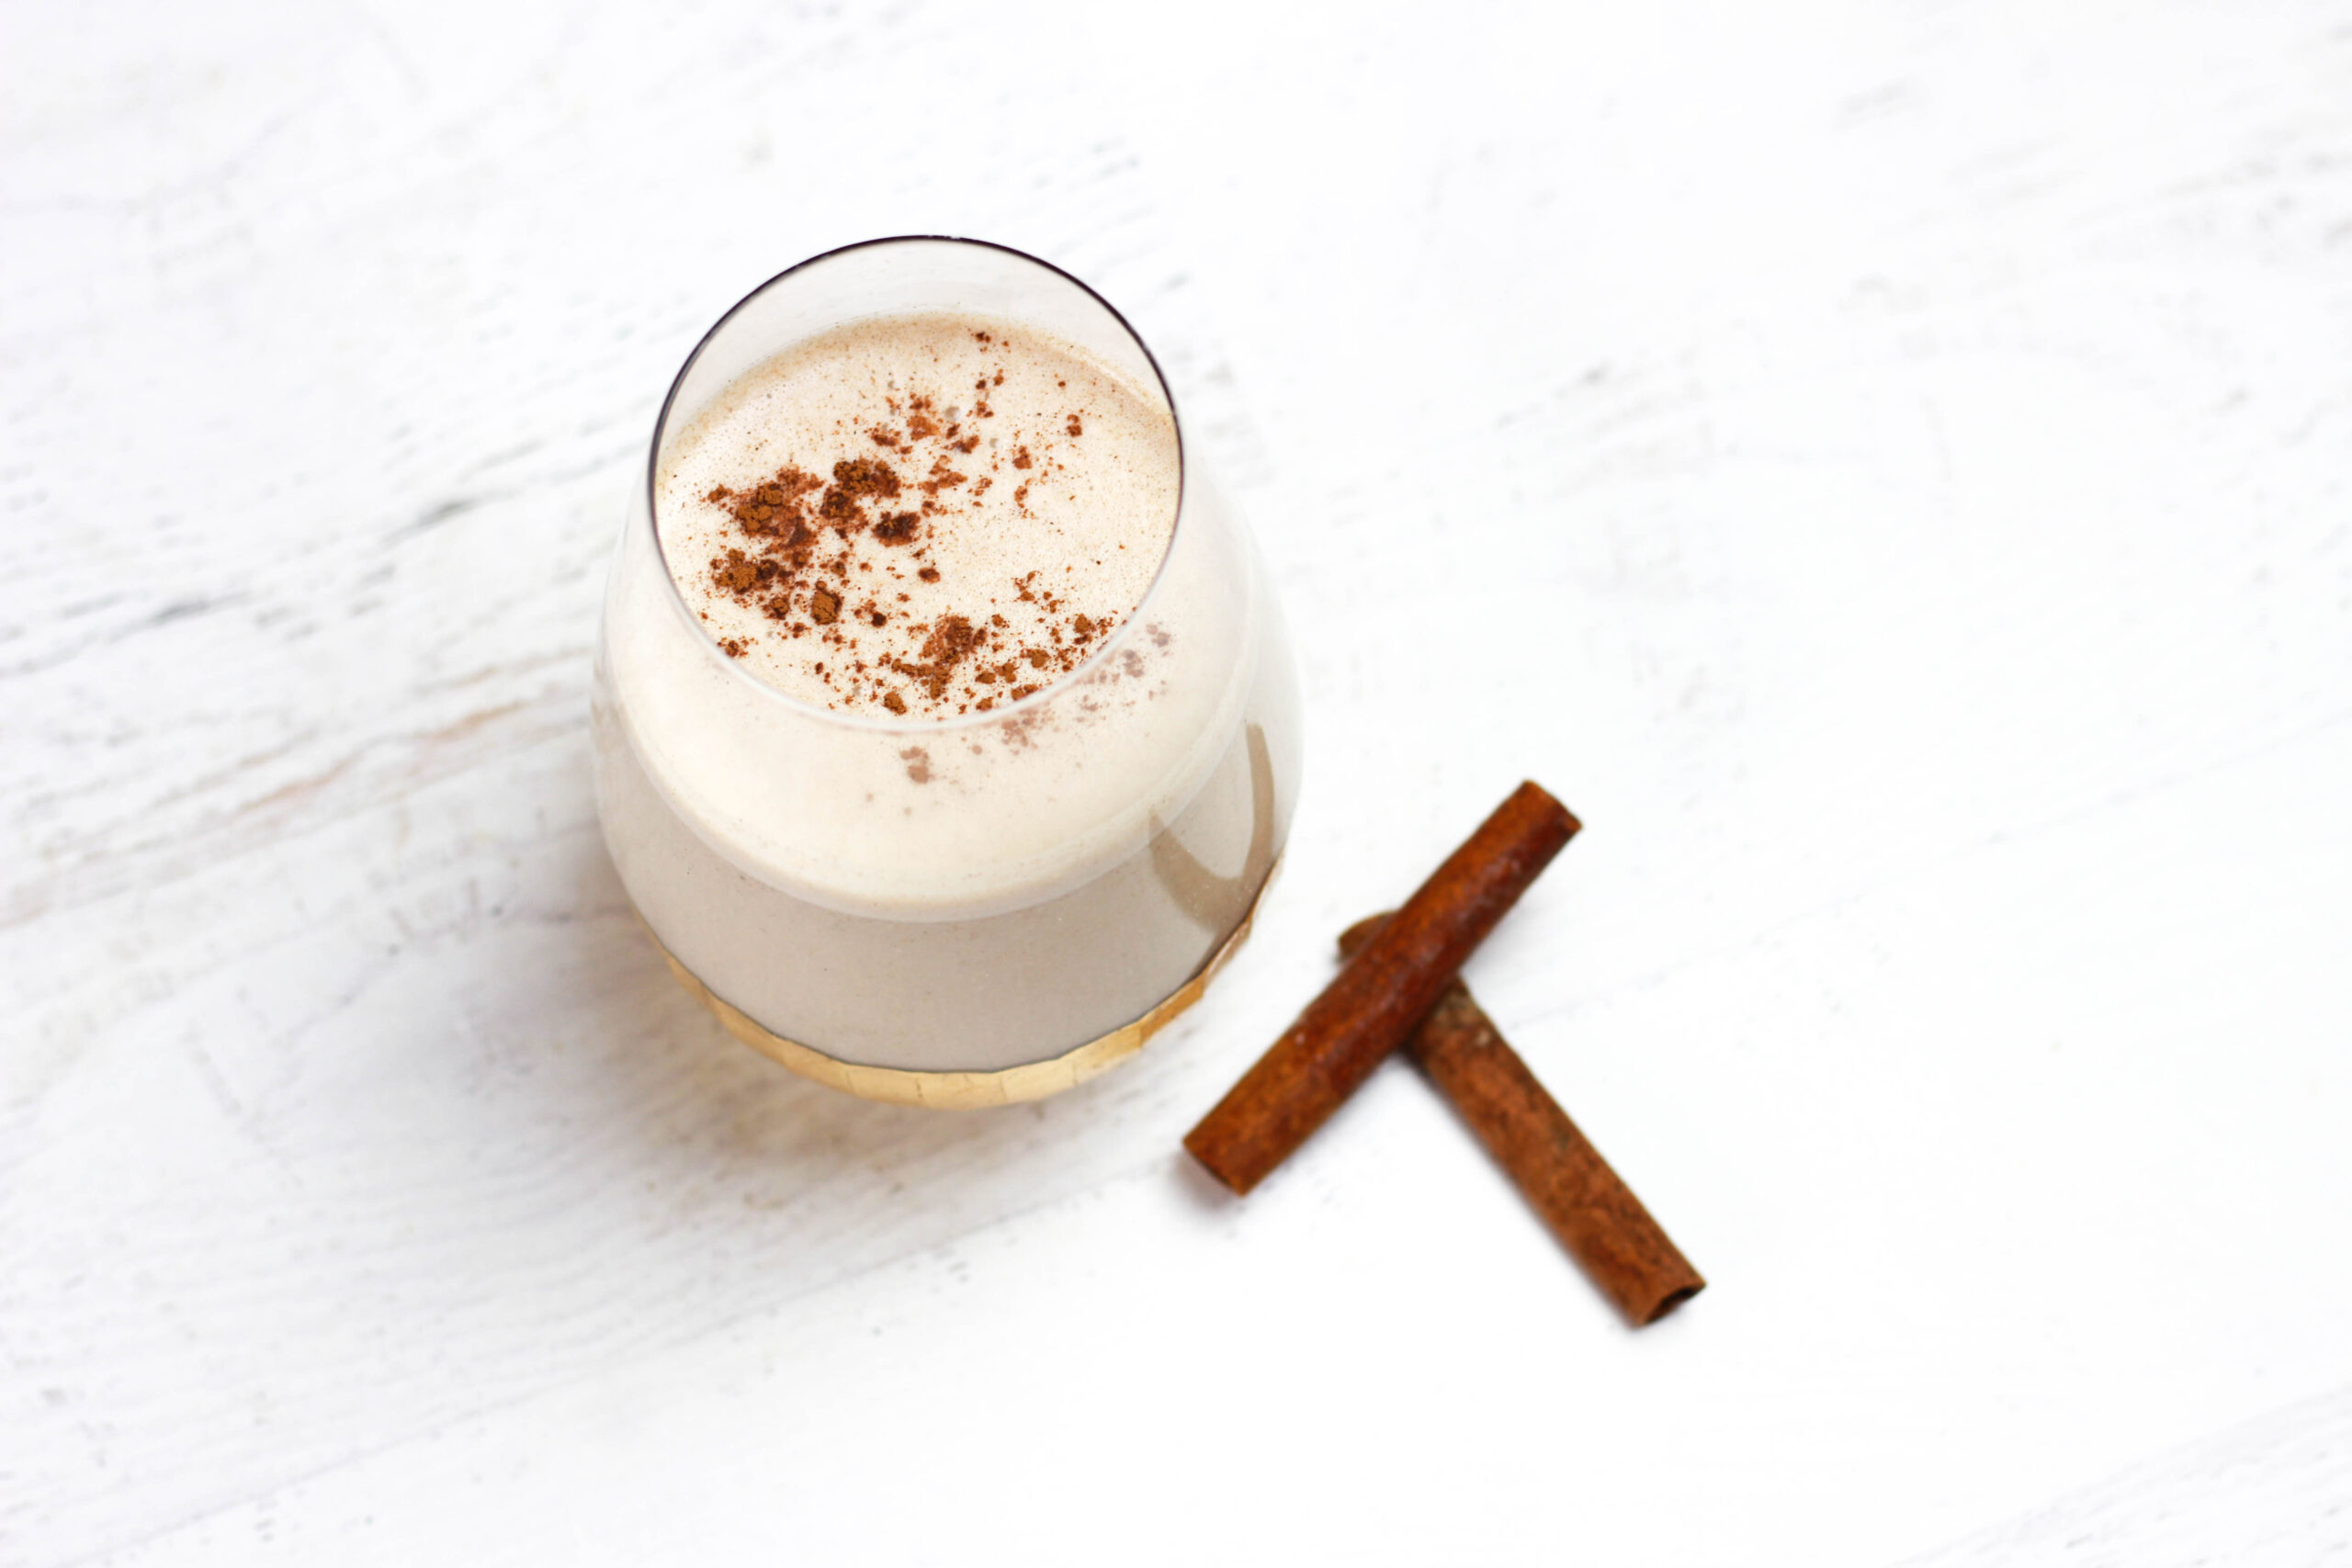
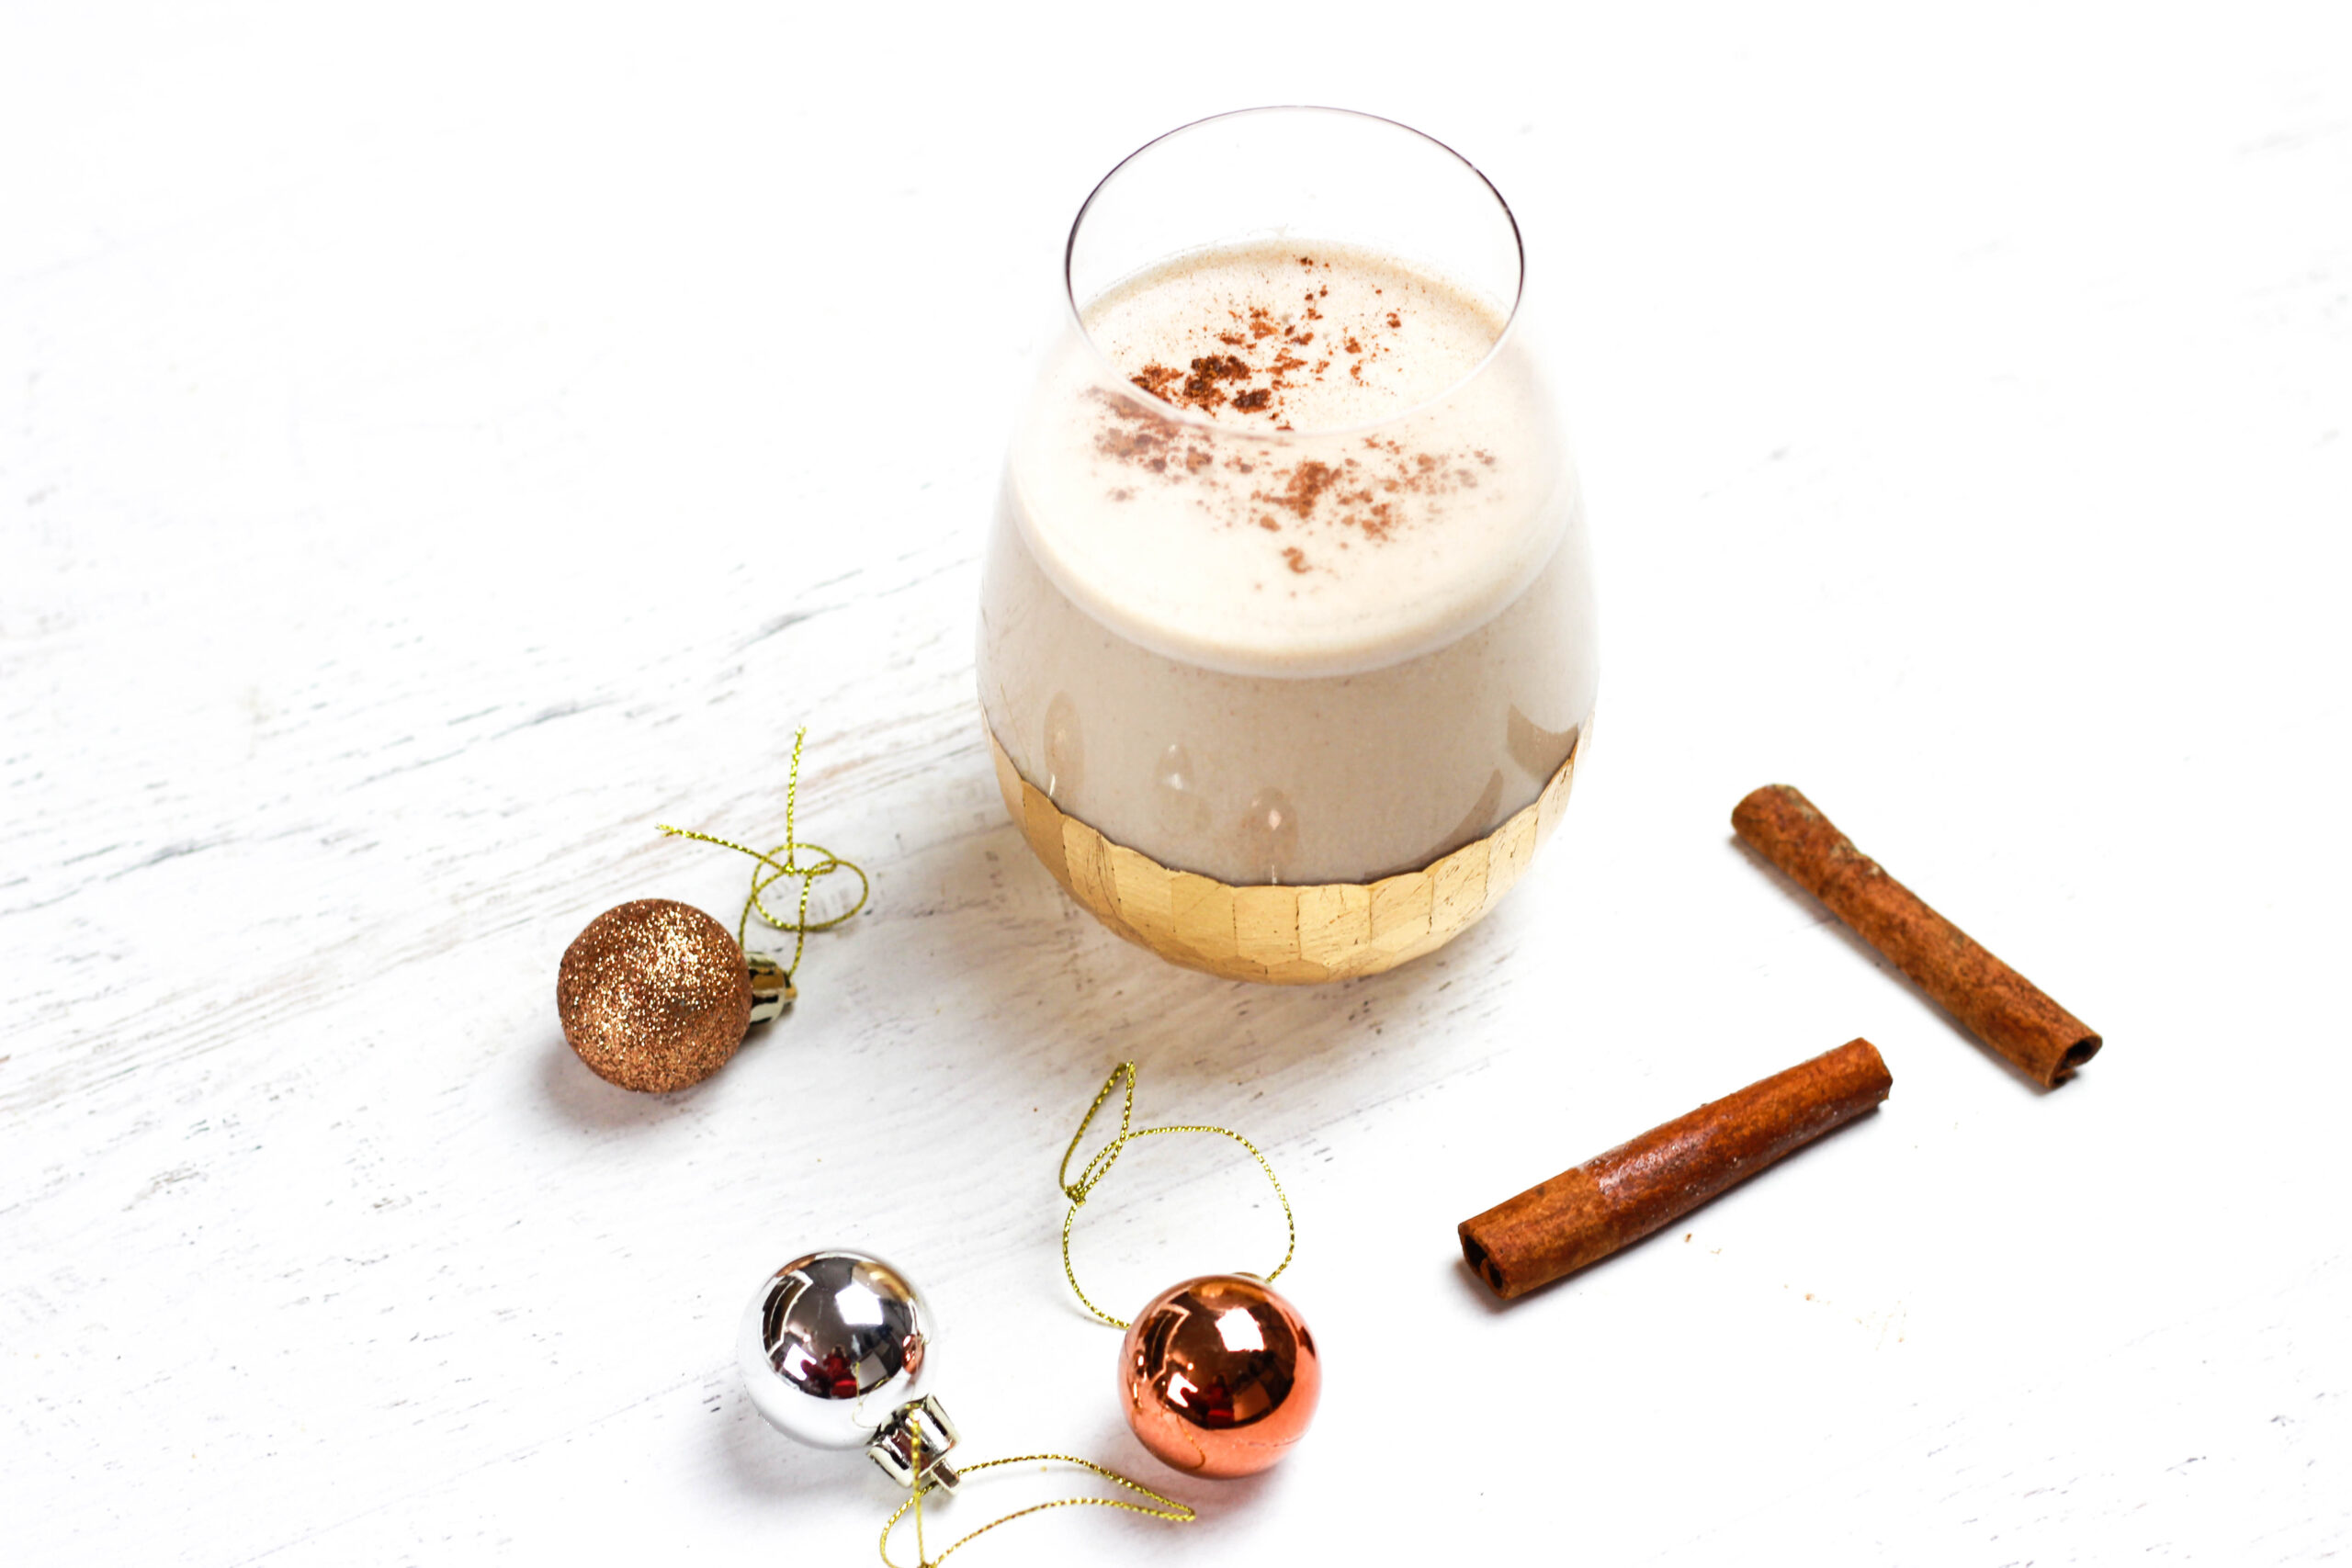
It’s not exactly like eggnog, but it’s very close! It’s still thick and creamy, and the spices make for the perfect Christmas drink. It’s too simple not to try out. This might be my new favorite holiday tradition! Paleo, vegan, vegetarian, low in sugar, and just what you need to celebrate the season!
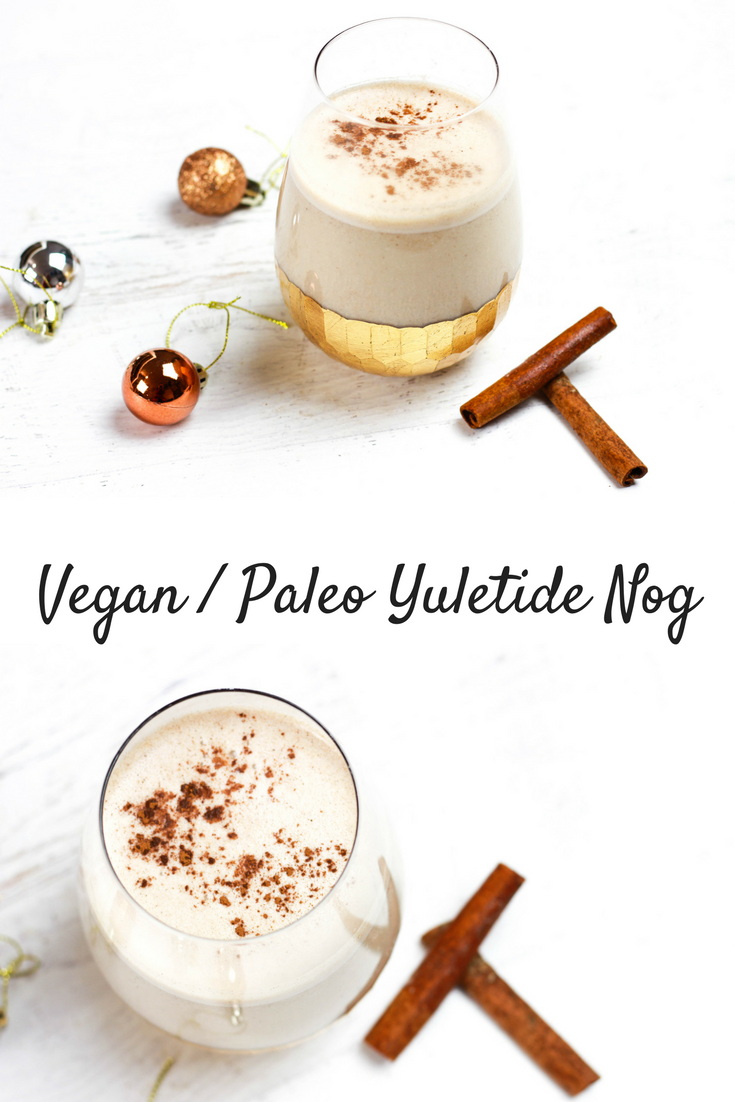
Vegan / Paleo Yuletide Nog
Serves: 1-2
Time: 5 minutes
Ingredients:
- 1 cup coconut milk
- 1/4 cup organic, raw cashews
- 1 tsp vanilla
- 1 tsp maple syrup (optional)
- 1/4 tsp cinnamon
- 1/4 tsp nutmeg
- 1/4 tsp cloves
- 1/2 tbsp coconut flour
Instructions:
- Add all ingredients into a high powered blender and blend until smooth.
- Place in the fridge until chilled. Serve and enjoy!

by Christina | Dec 20, 2017 | Recipes, Wellness
Growing up, I really hated eggnog. Every year my uncle would try to convince me to drink it, and I’d turn up my nose. I’d always try a sip, though, hoping I would like it. Eggnog is so Christmassy, and I wanted to join in on the Christmas fun. I liked the ritual of going to the grocery store the day before Christmas Eve specifically to get some holiday nog. As much as I wanted to love it, the taste just didn’t do it for me.
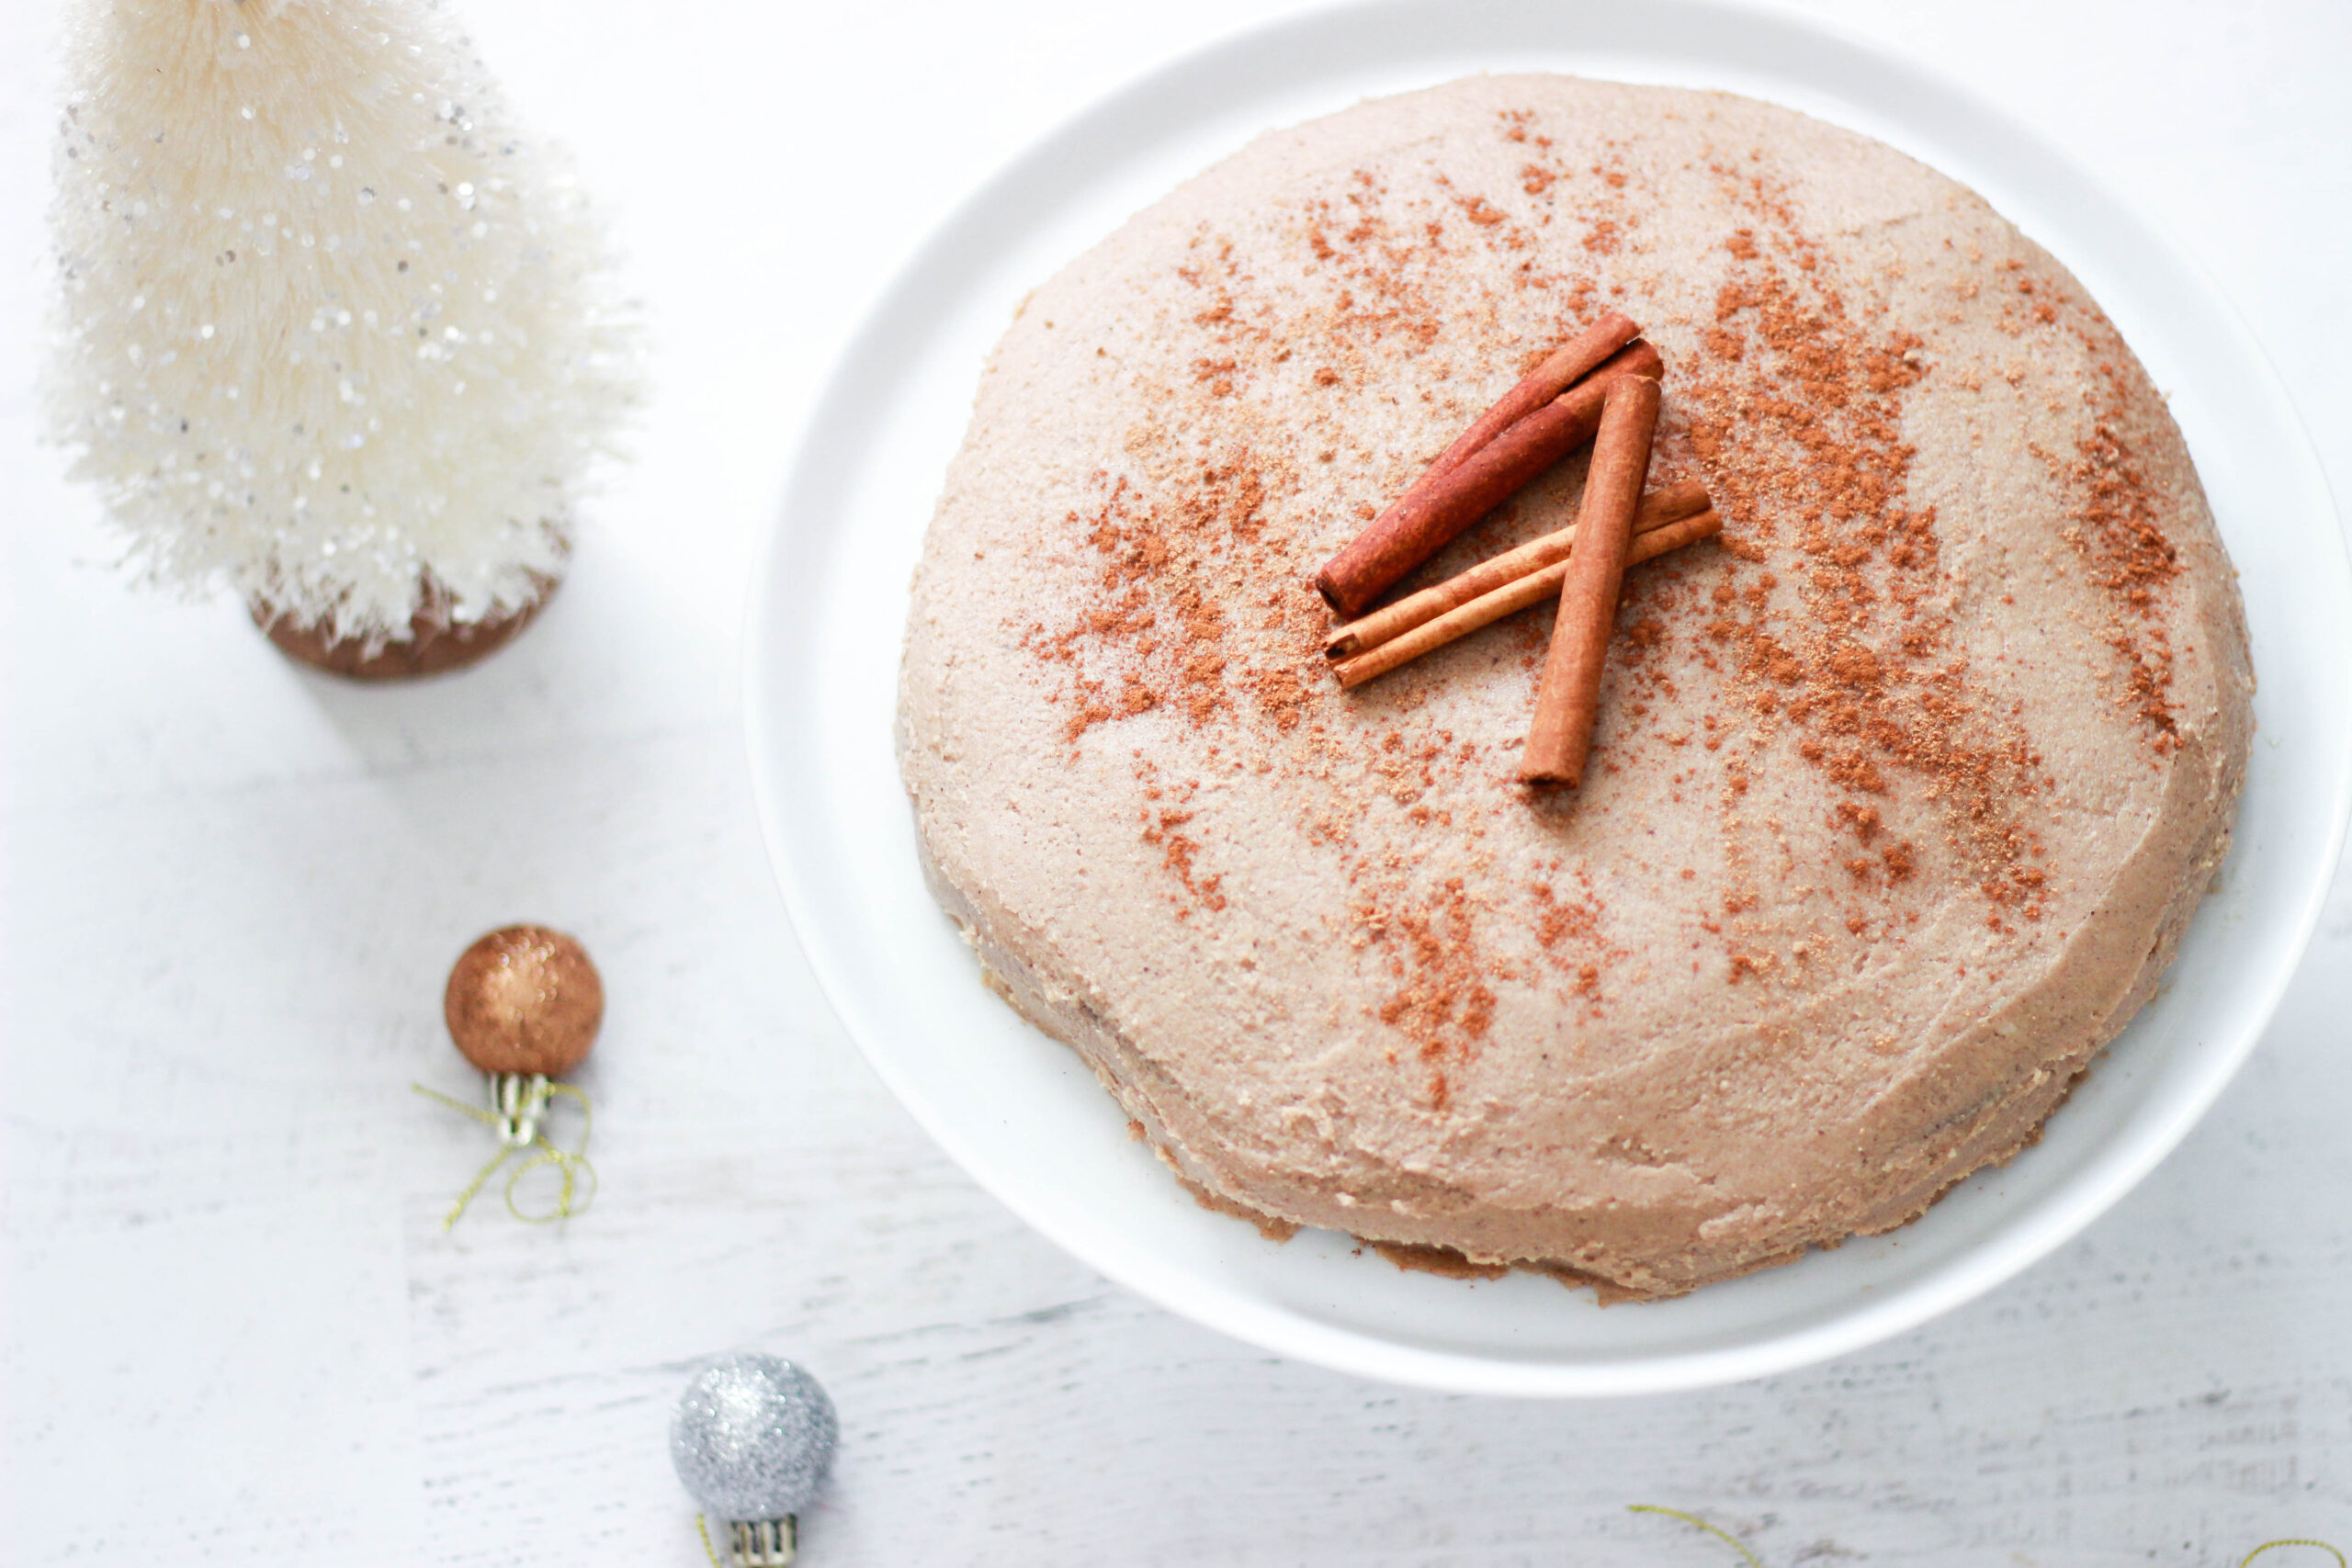
Then, magically, a few years ago I tasted eggnog again and became completely obsessed. It’s funny how our taste buds mature. The eggnog was rich, creamy, and unlike any other drink I had ever tasted. I could never drink a whole glass, though. As much as I love eggnog, it is very heavy, and, like I said, extremely rich. And for me to think that something is too rich — that’s really saying something.
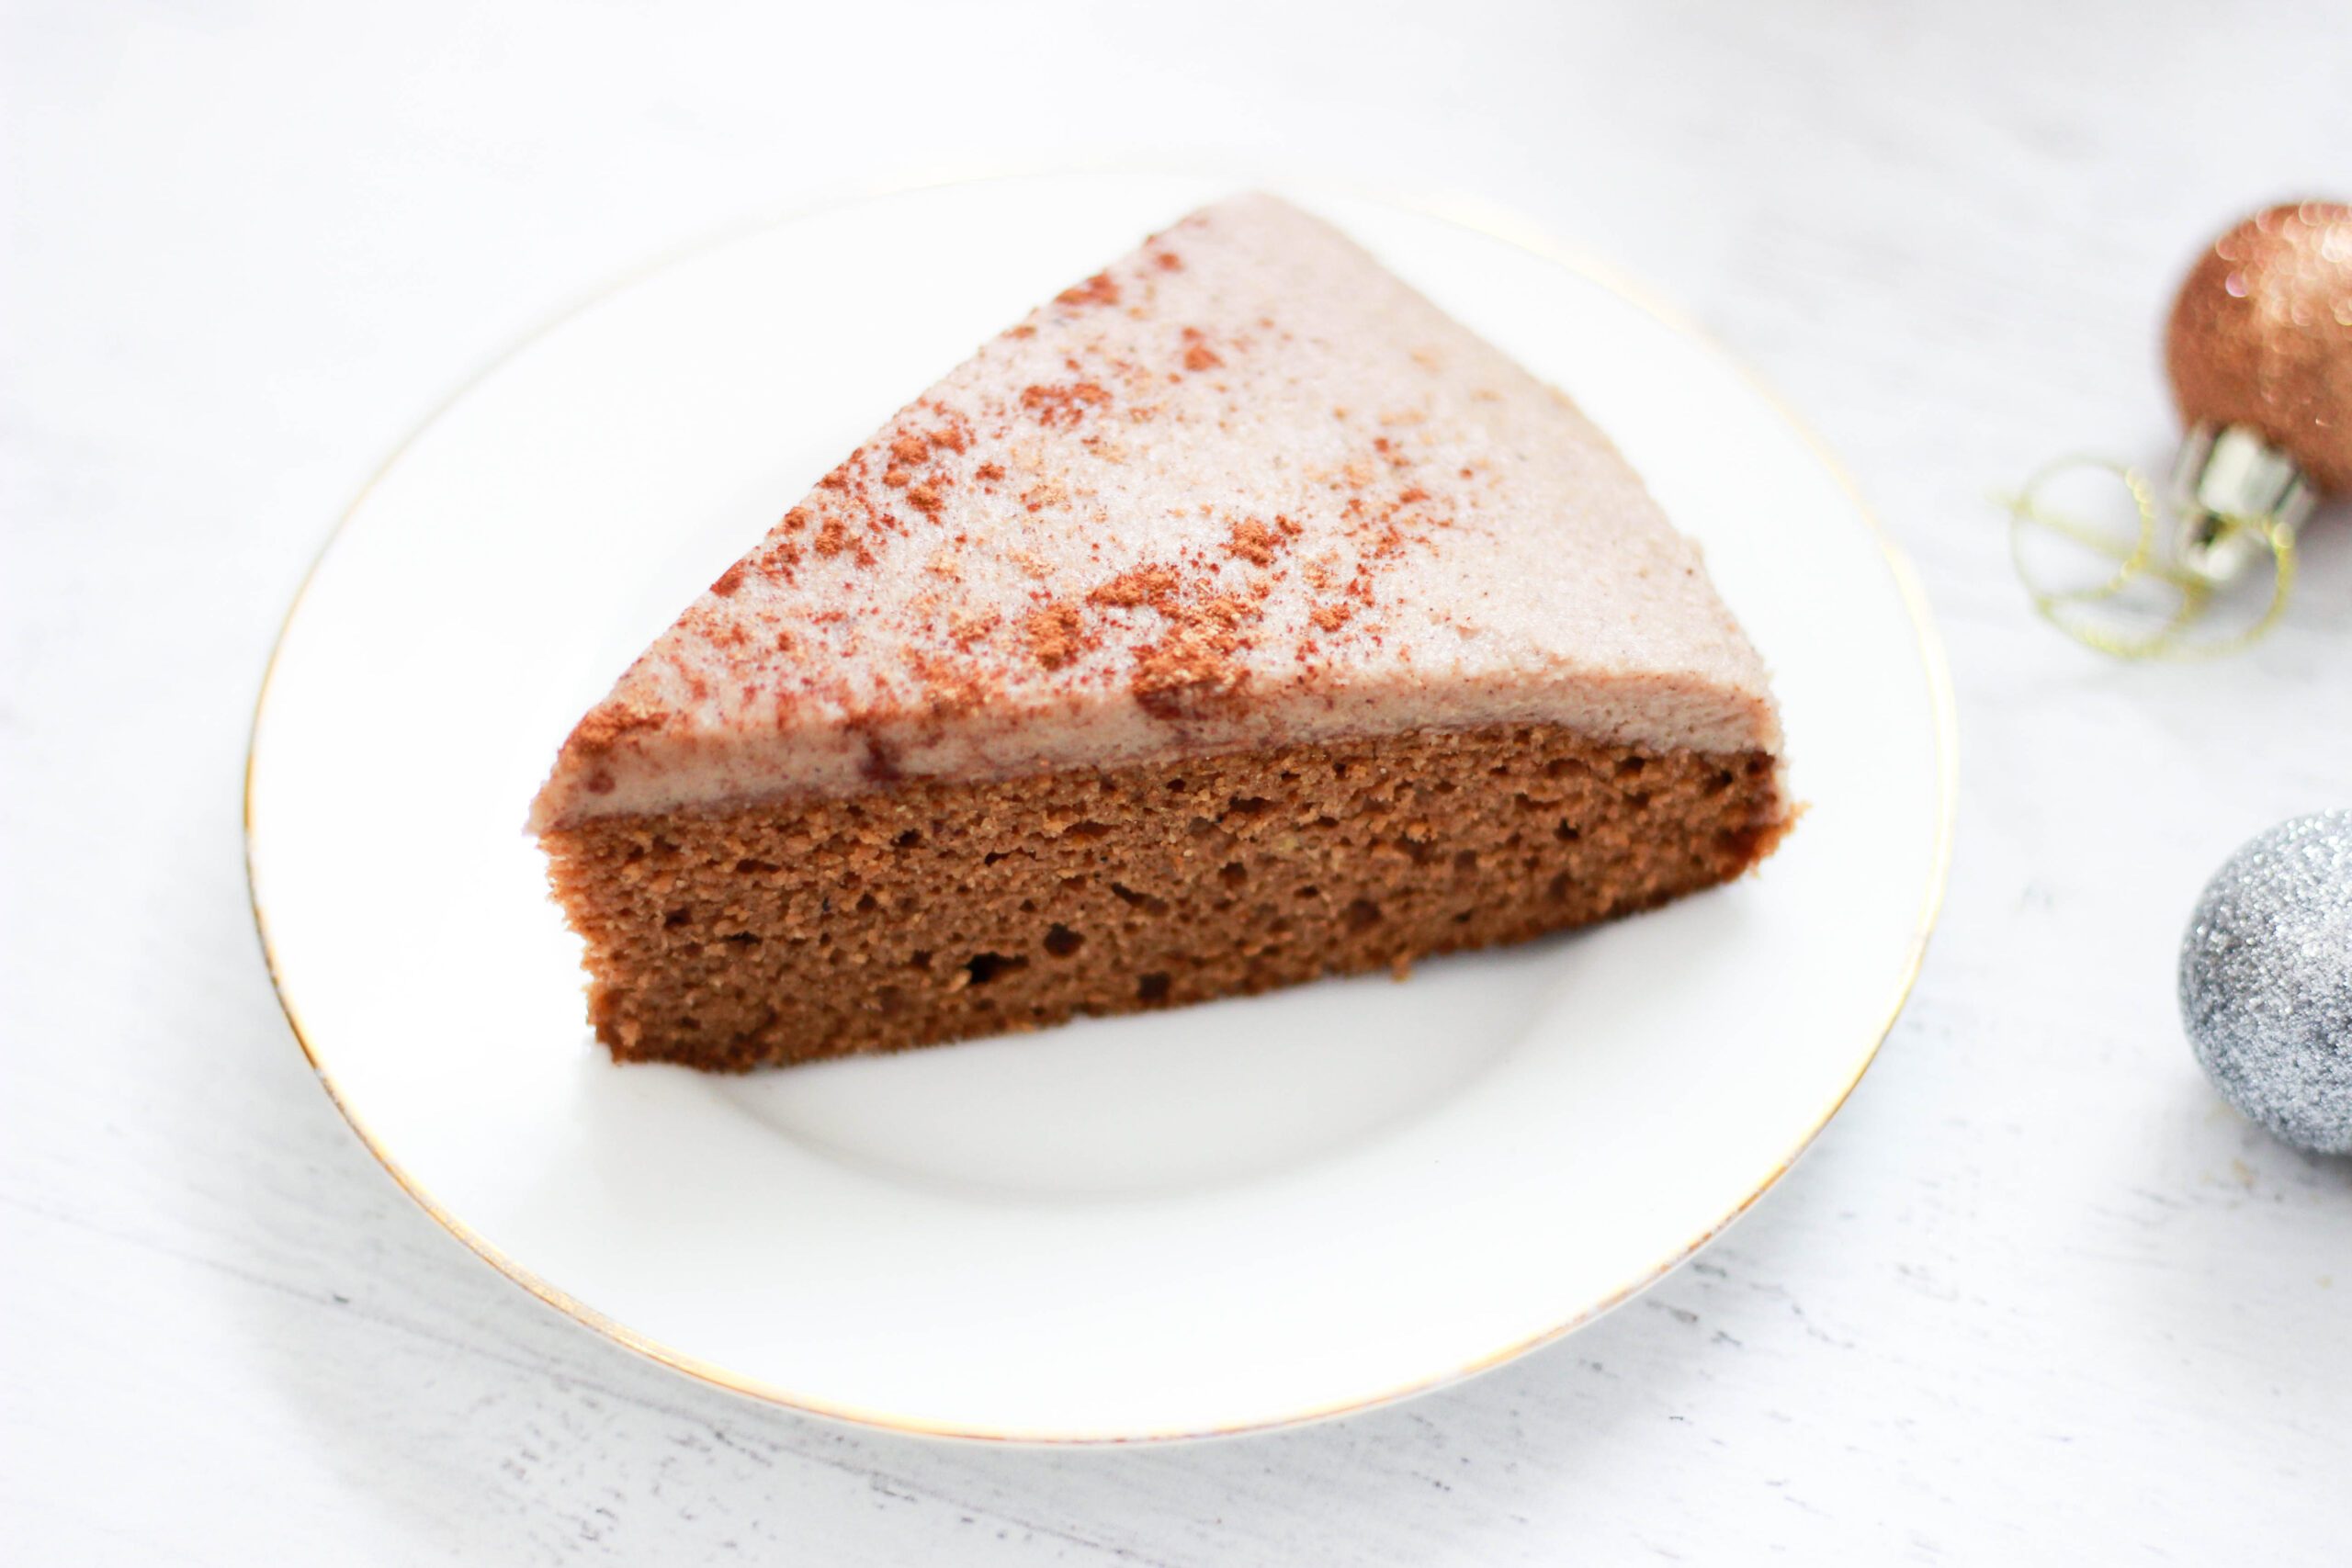
Last year I stumbled across a photo of eggnog cupcakes on Pinterest, and I immediately wanted to make an eggnog spice cake. How good does that sound?! The problem is, though, that a lot of other people in my life really don’t like eggnog, the same way I used to not like it. It’s a very polarizing topic. Kind of like politics. Just kidding. Anyways, I hate to make a whole cake when no one in my family will eat it except me.
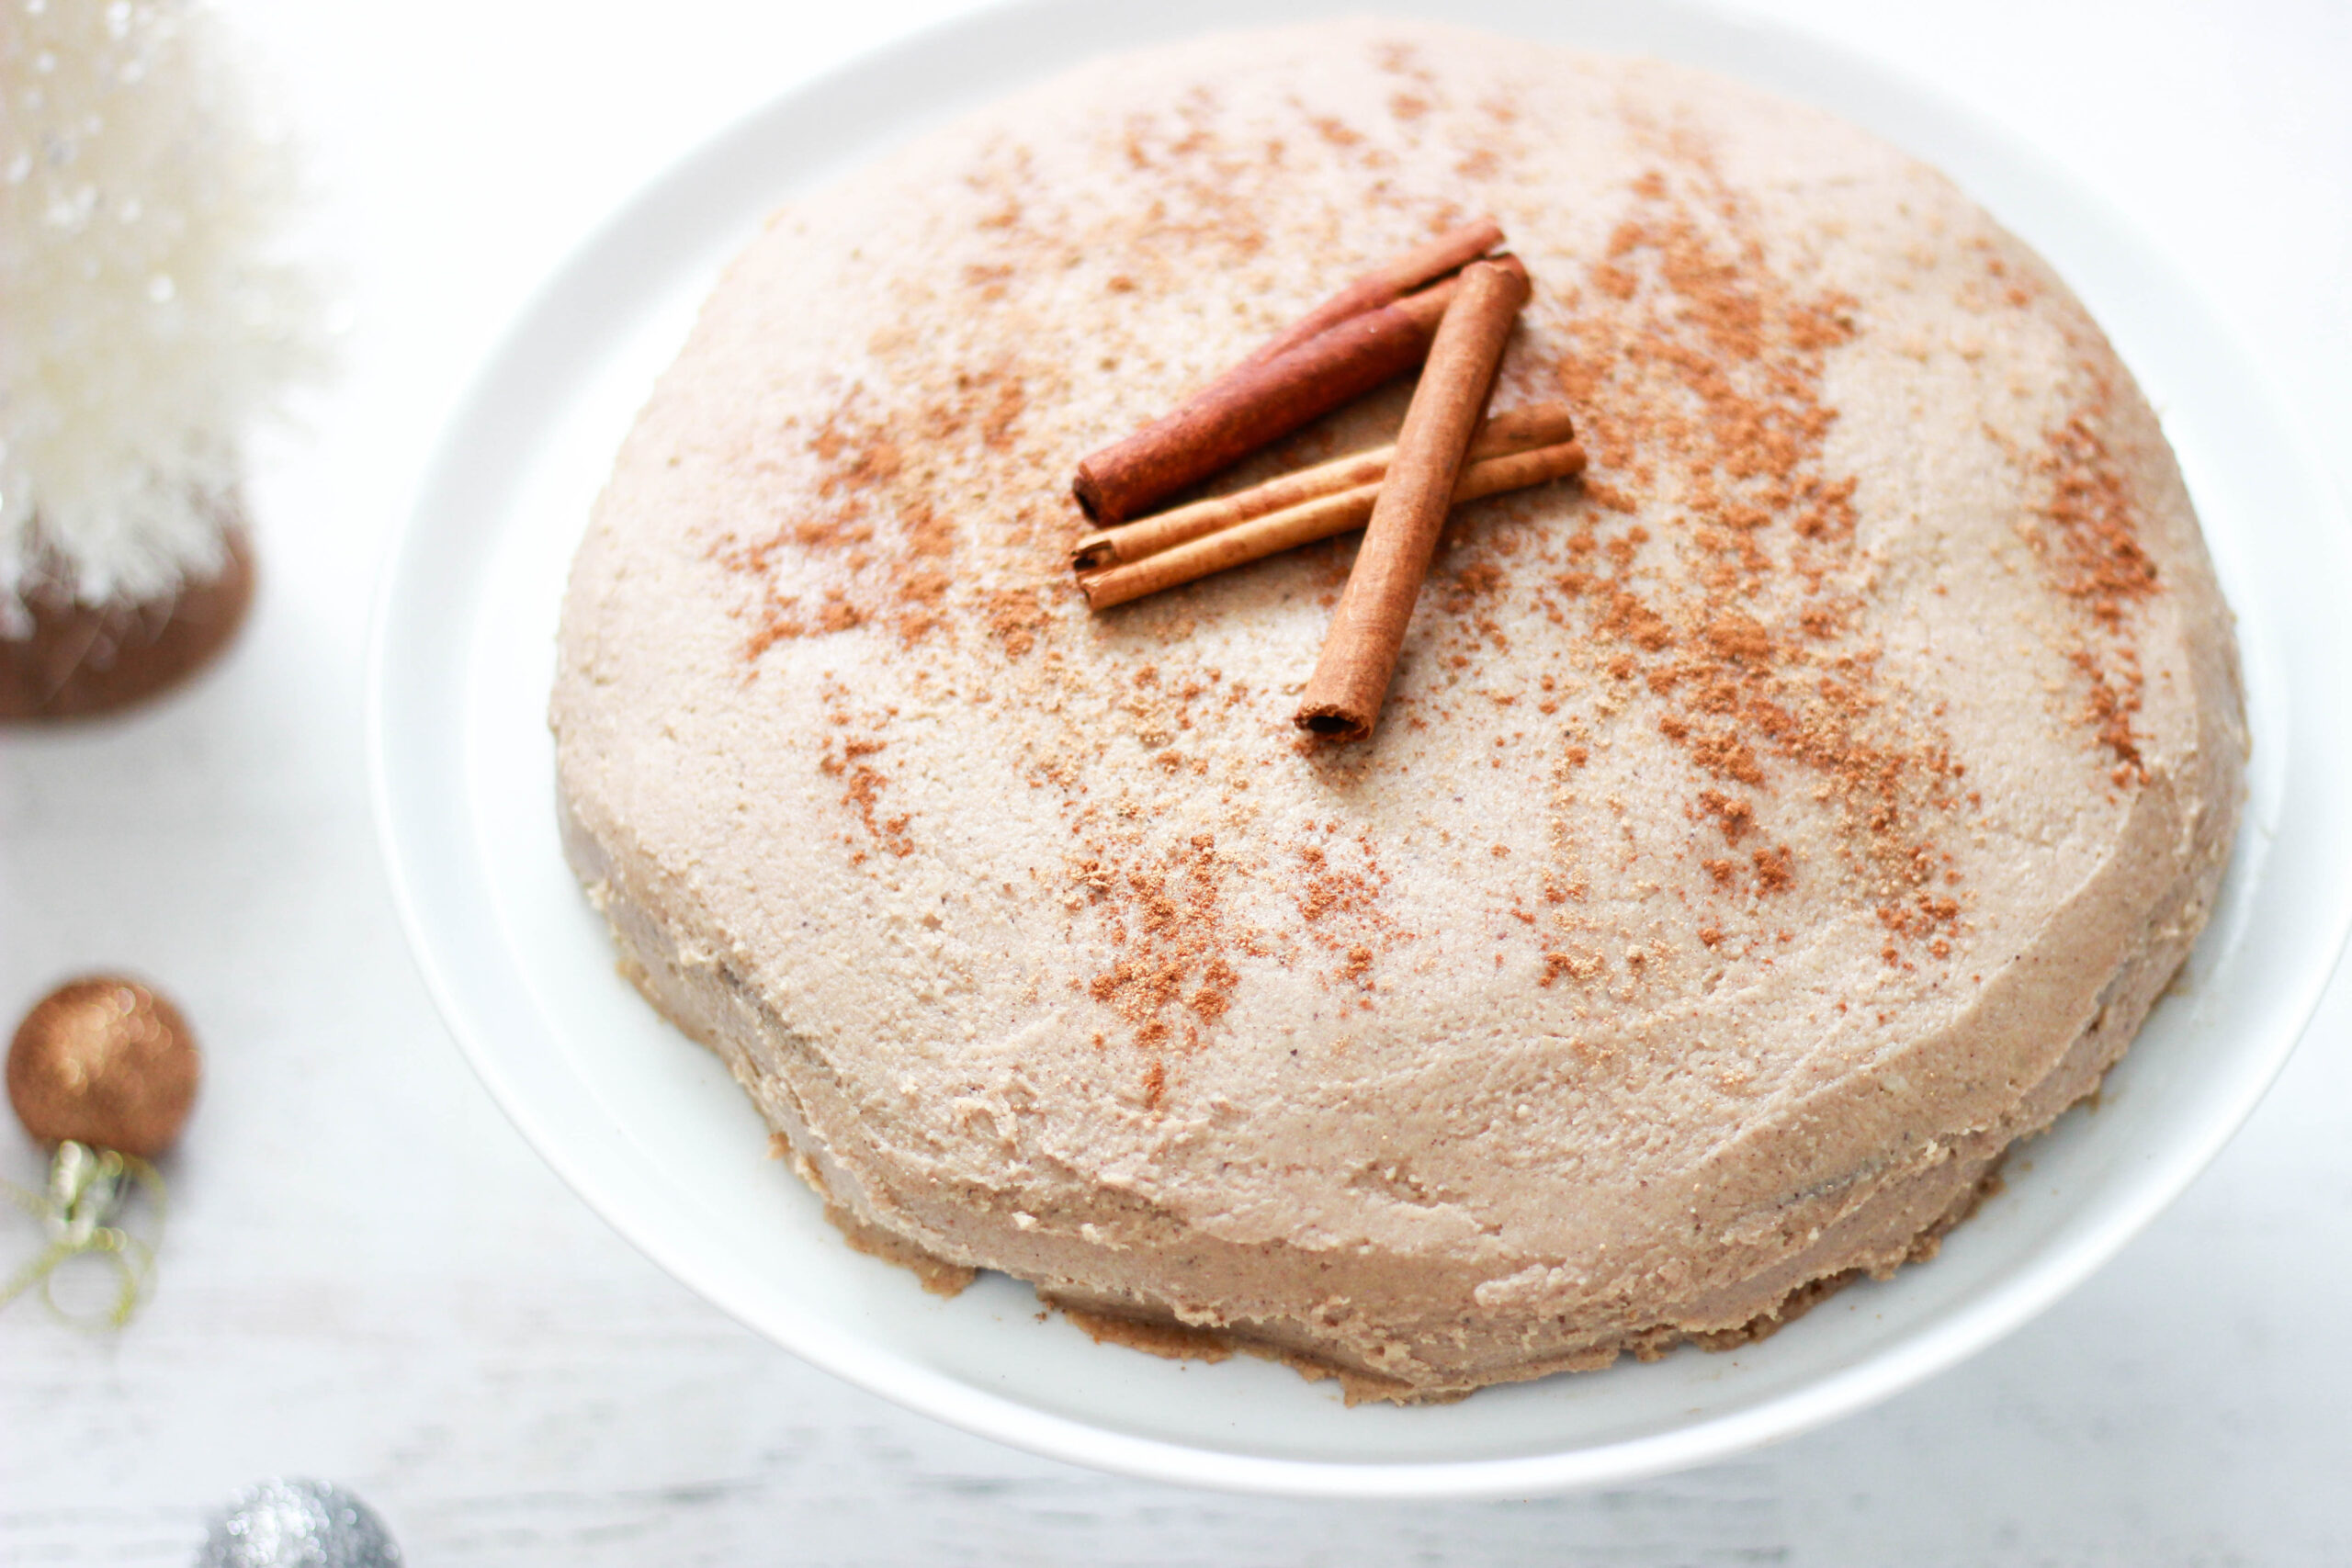
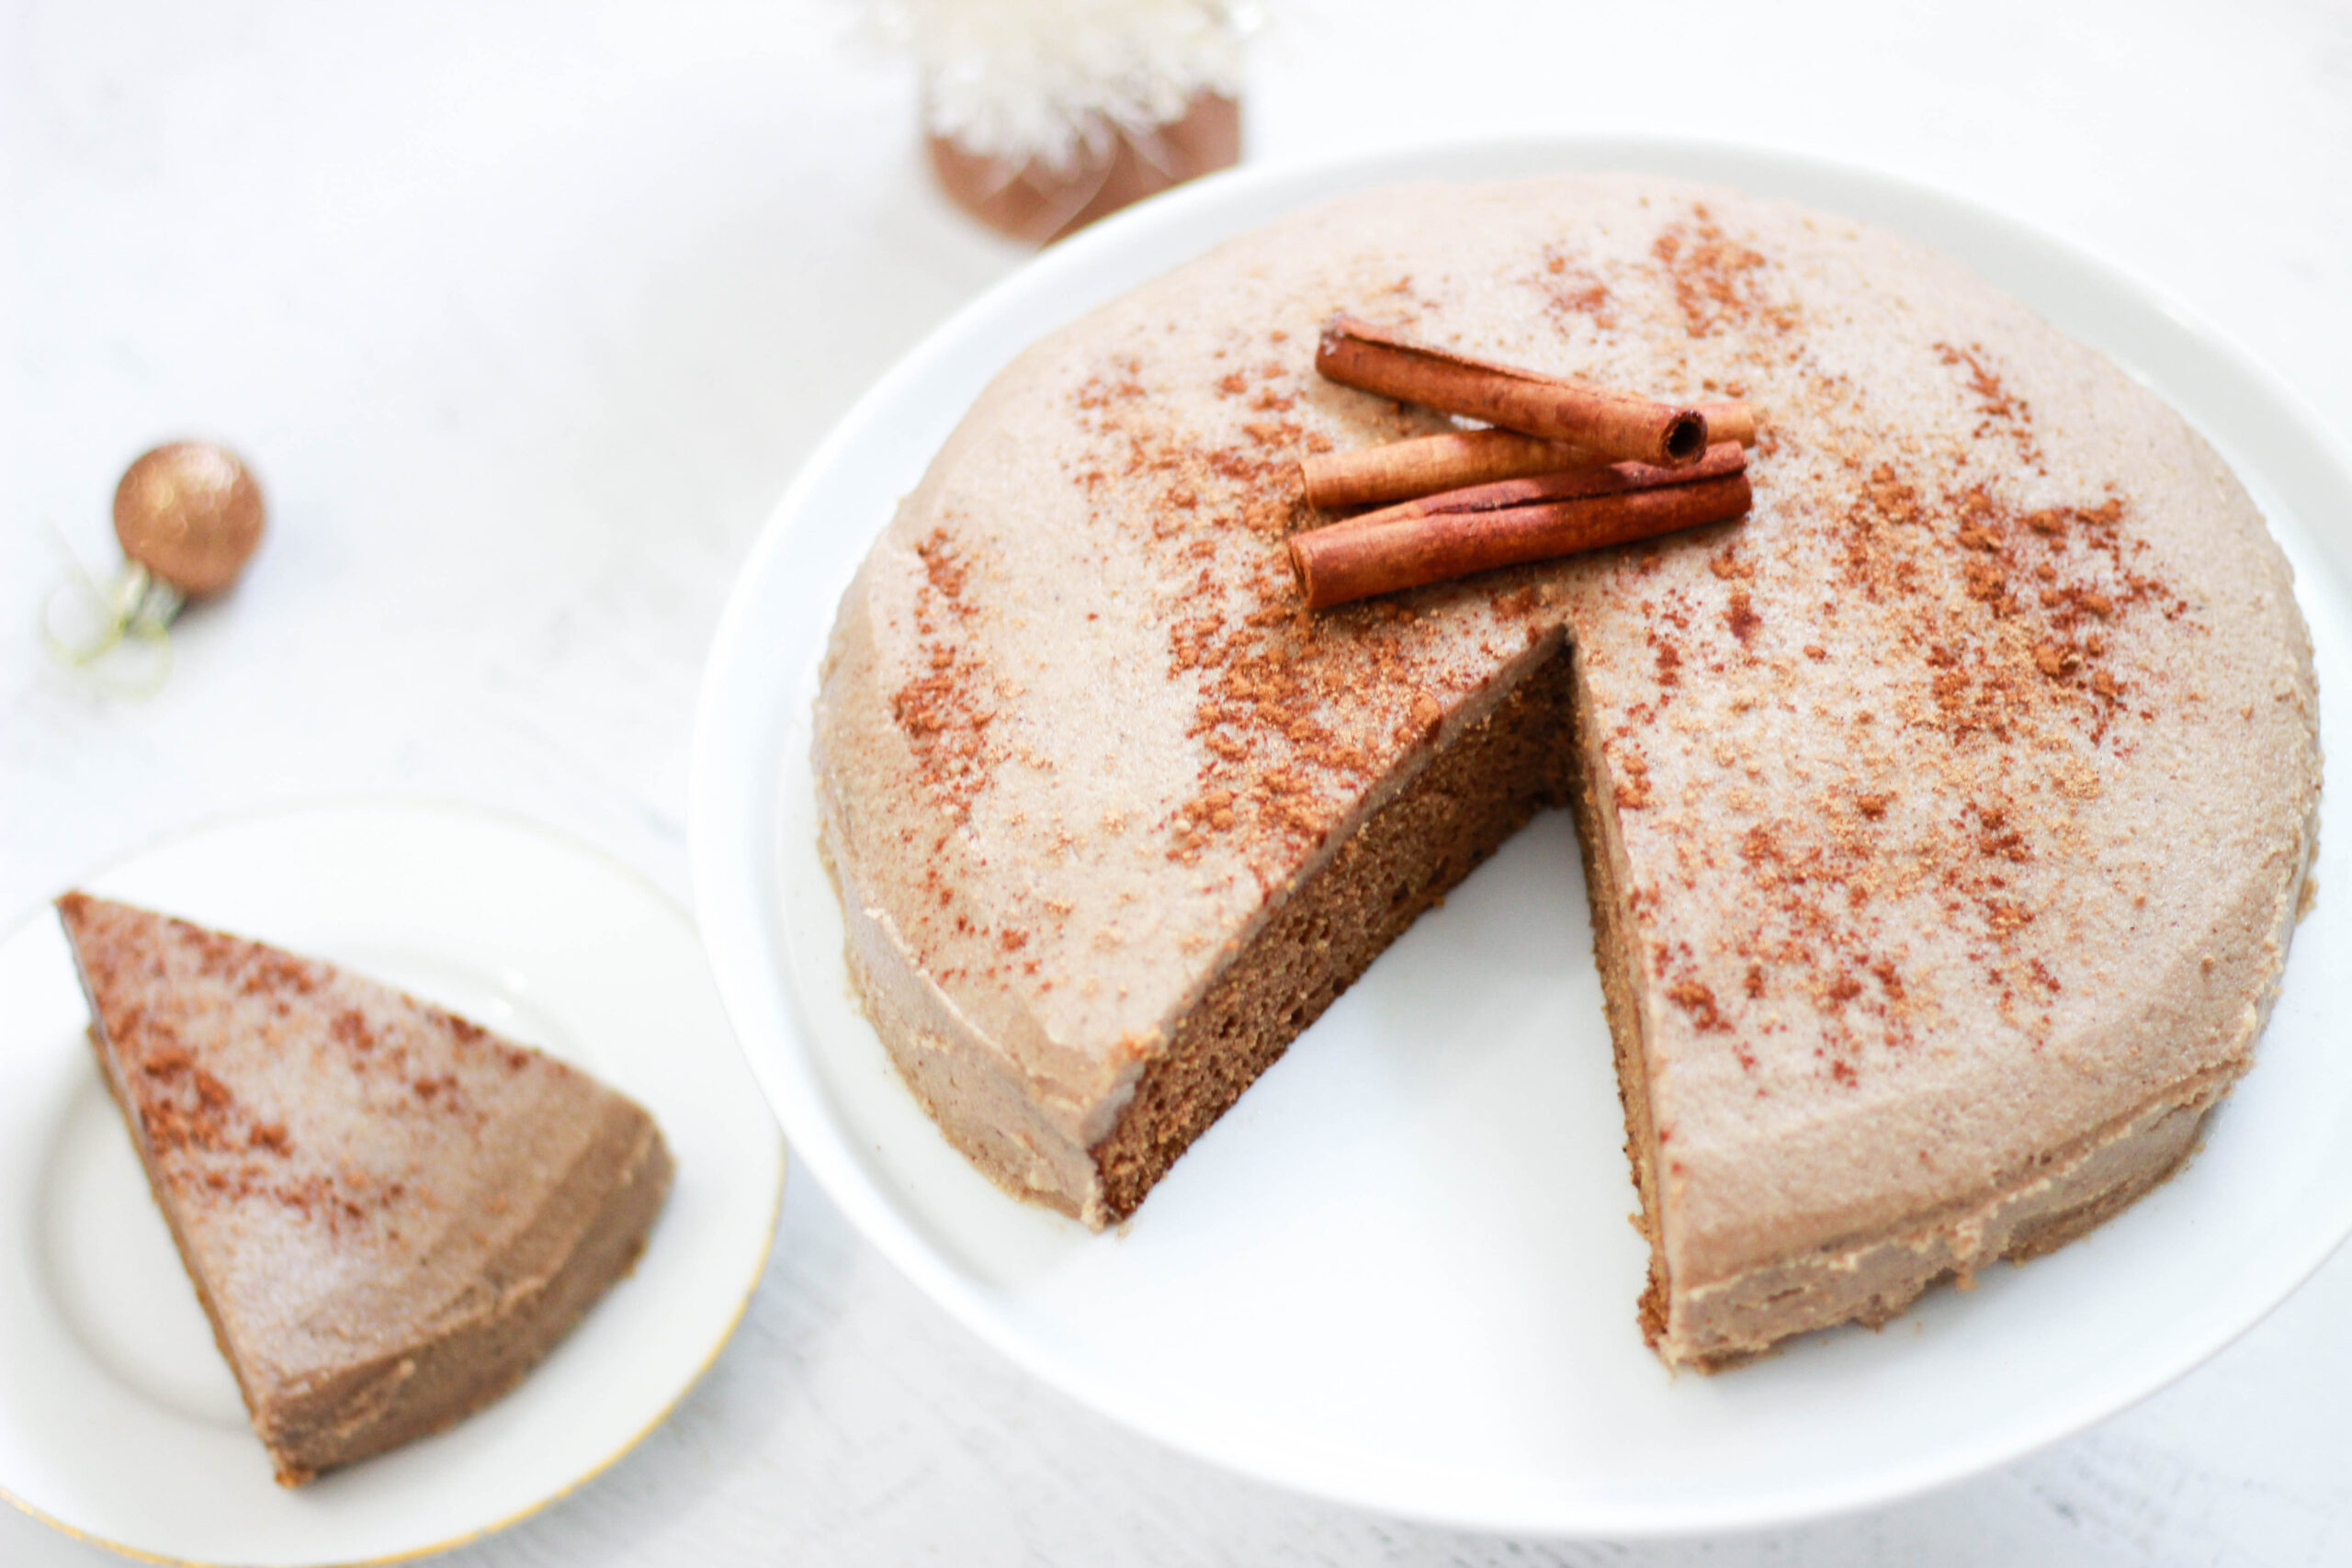
What I realized, though, is that the cake version of eggnog is the perfect compromise. The taste isn’t quite as intense as plain eggnog, and the flavor comes out perfectly in cake form. Eggnog spices were basically meant to be in a cake. I think that part of the reason people don’t like eggnog is because it feels like “too much” to down a really heavy drink all at once, but a little bit of heaviness comes across as richness when it’s in a cake. Because of that, I was pleasantly surprised at how many people who don’t even like eggnog fell in love with this cake!
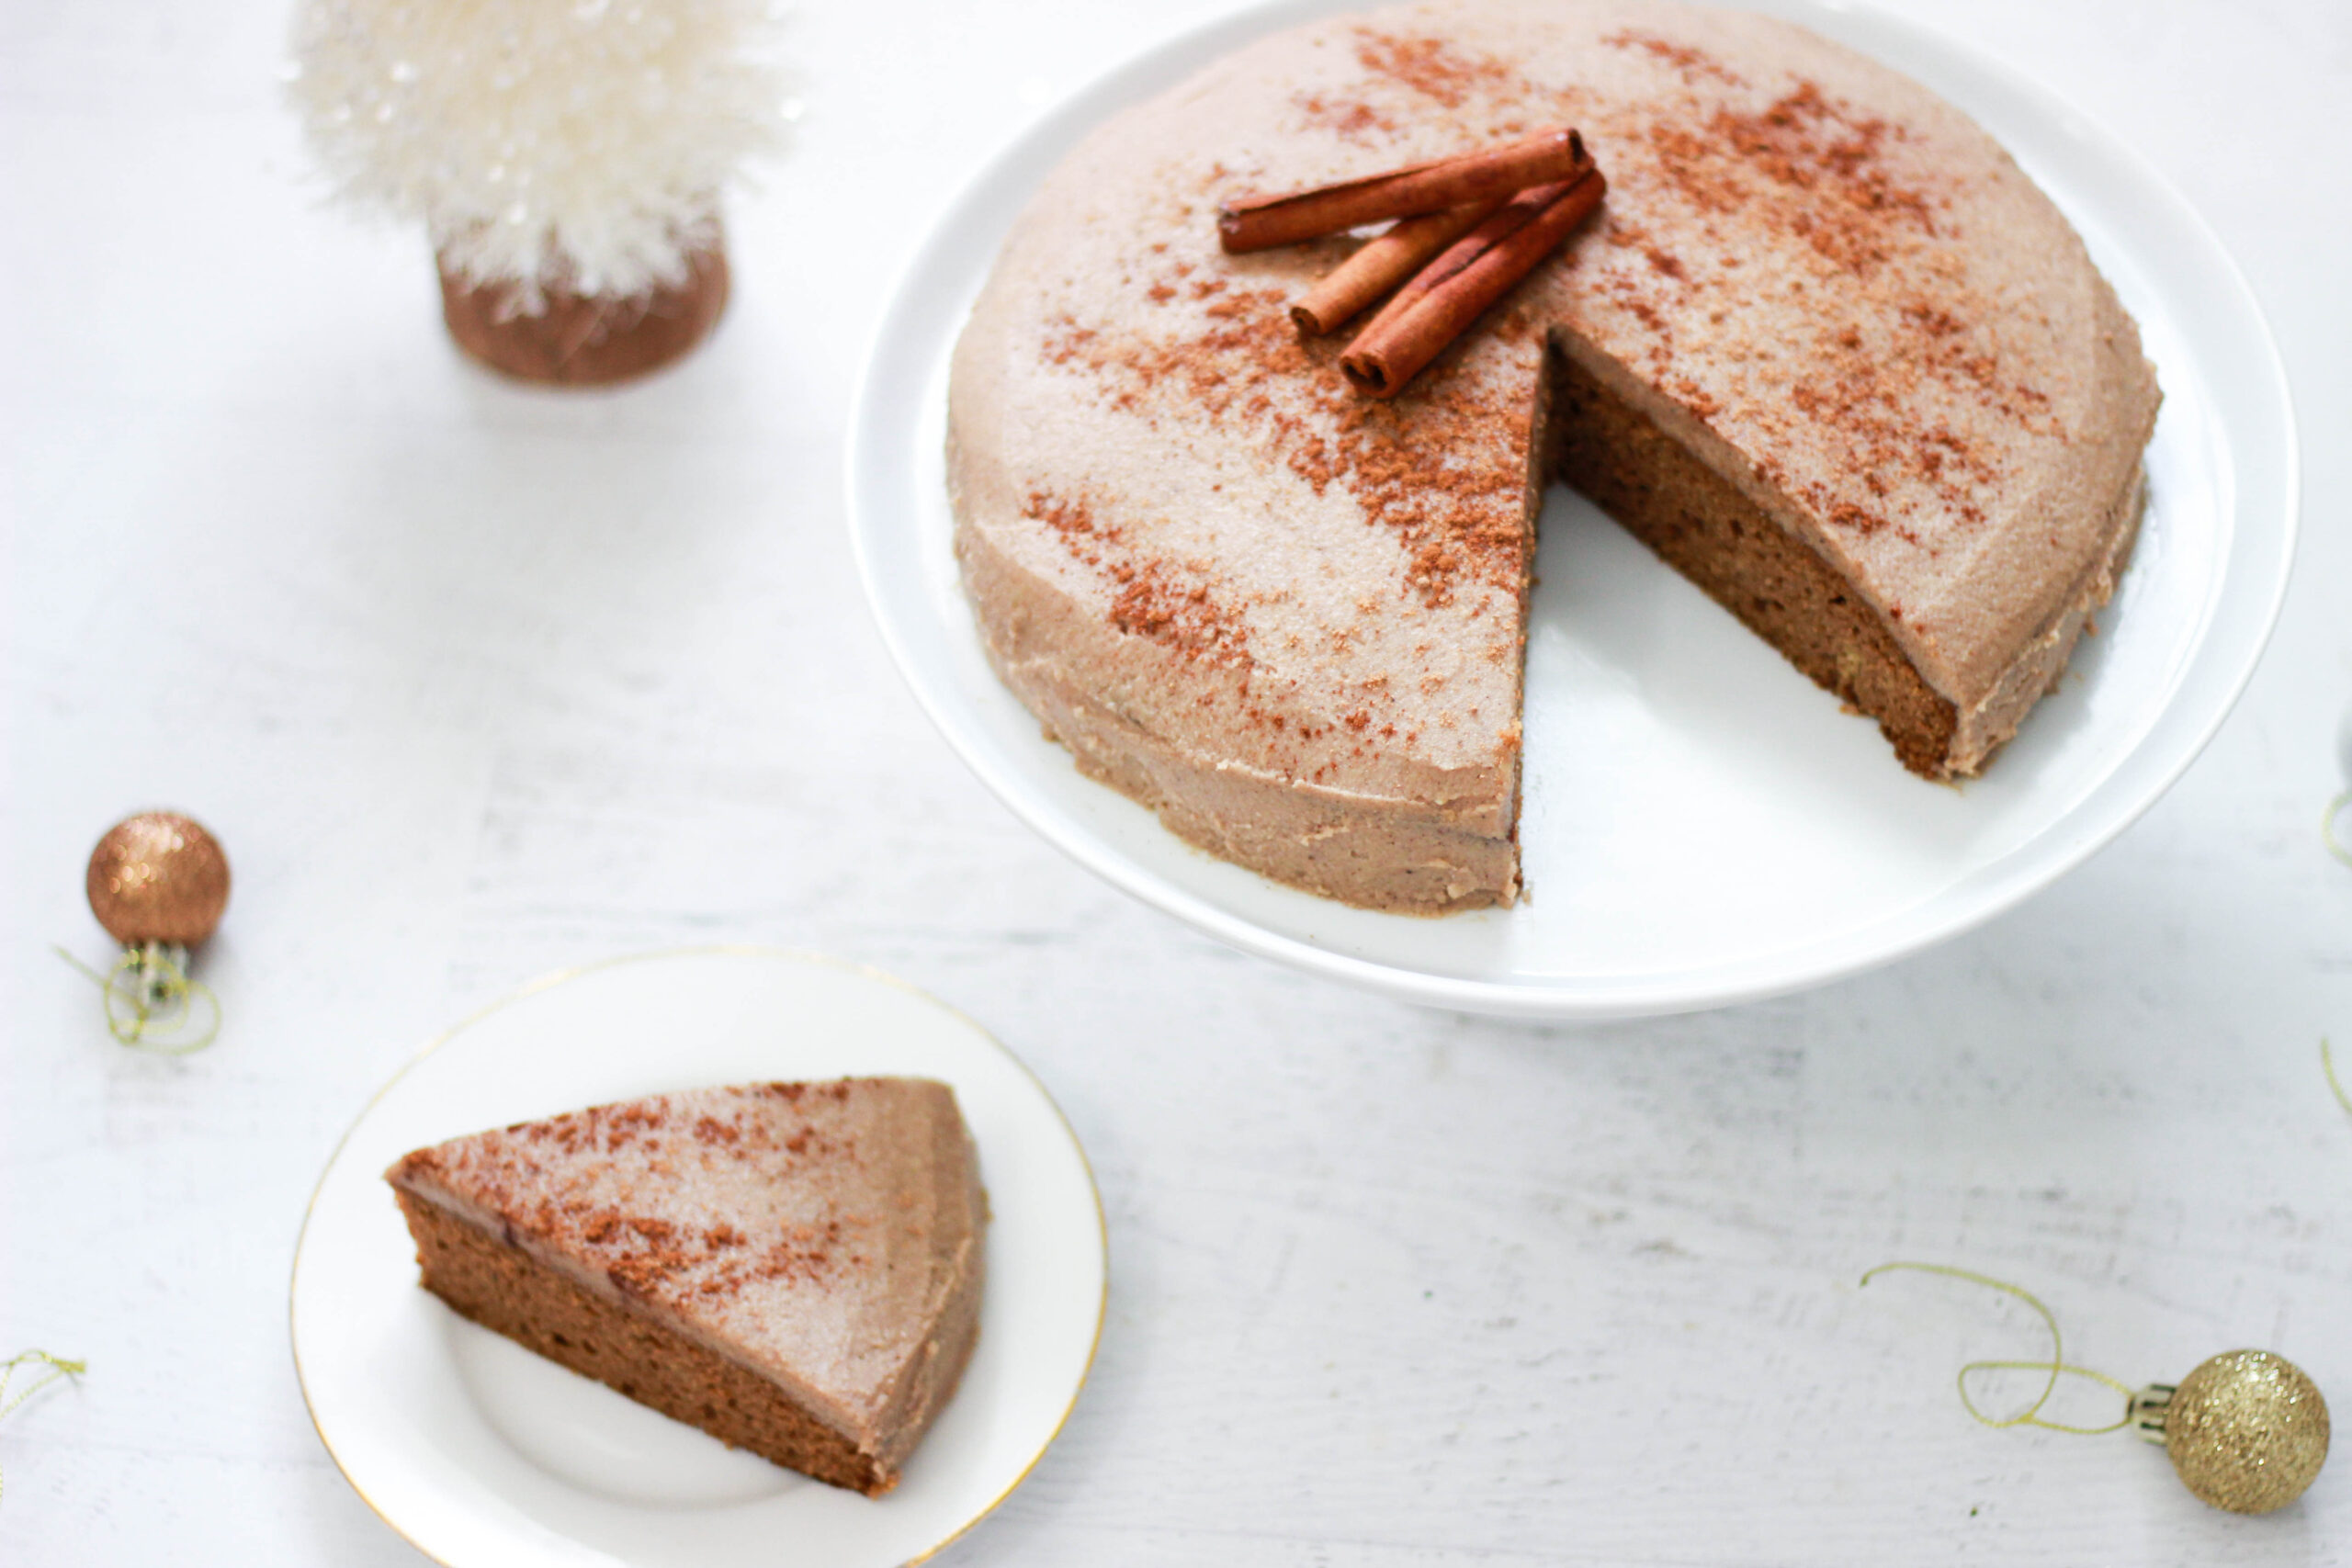
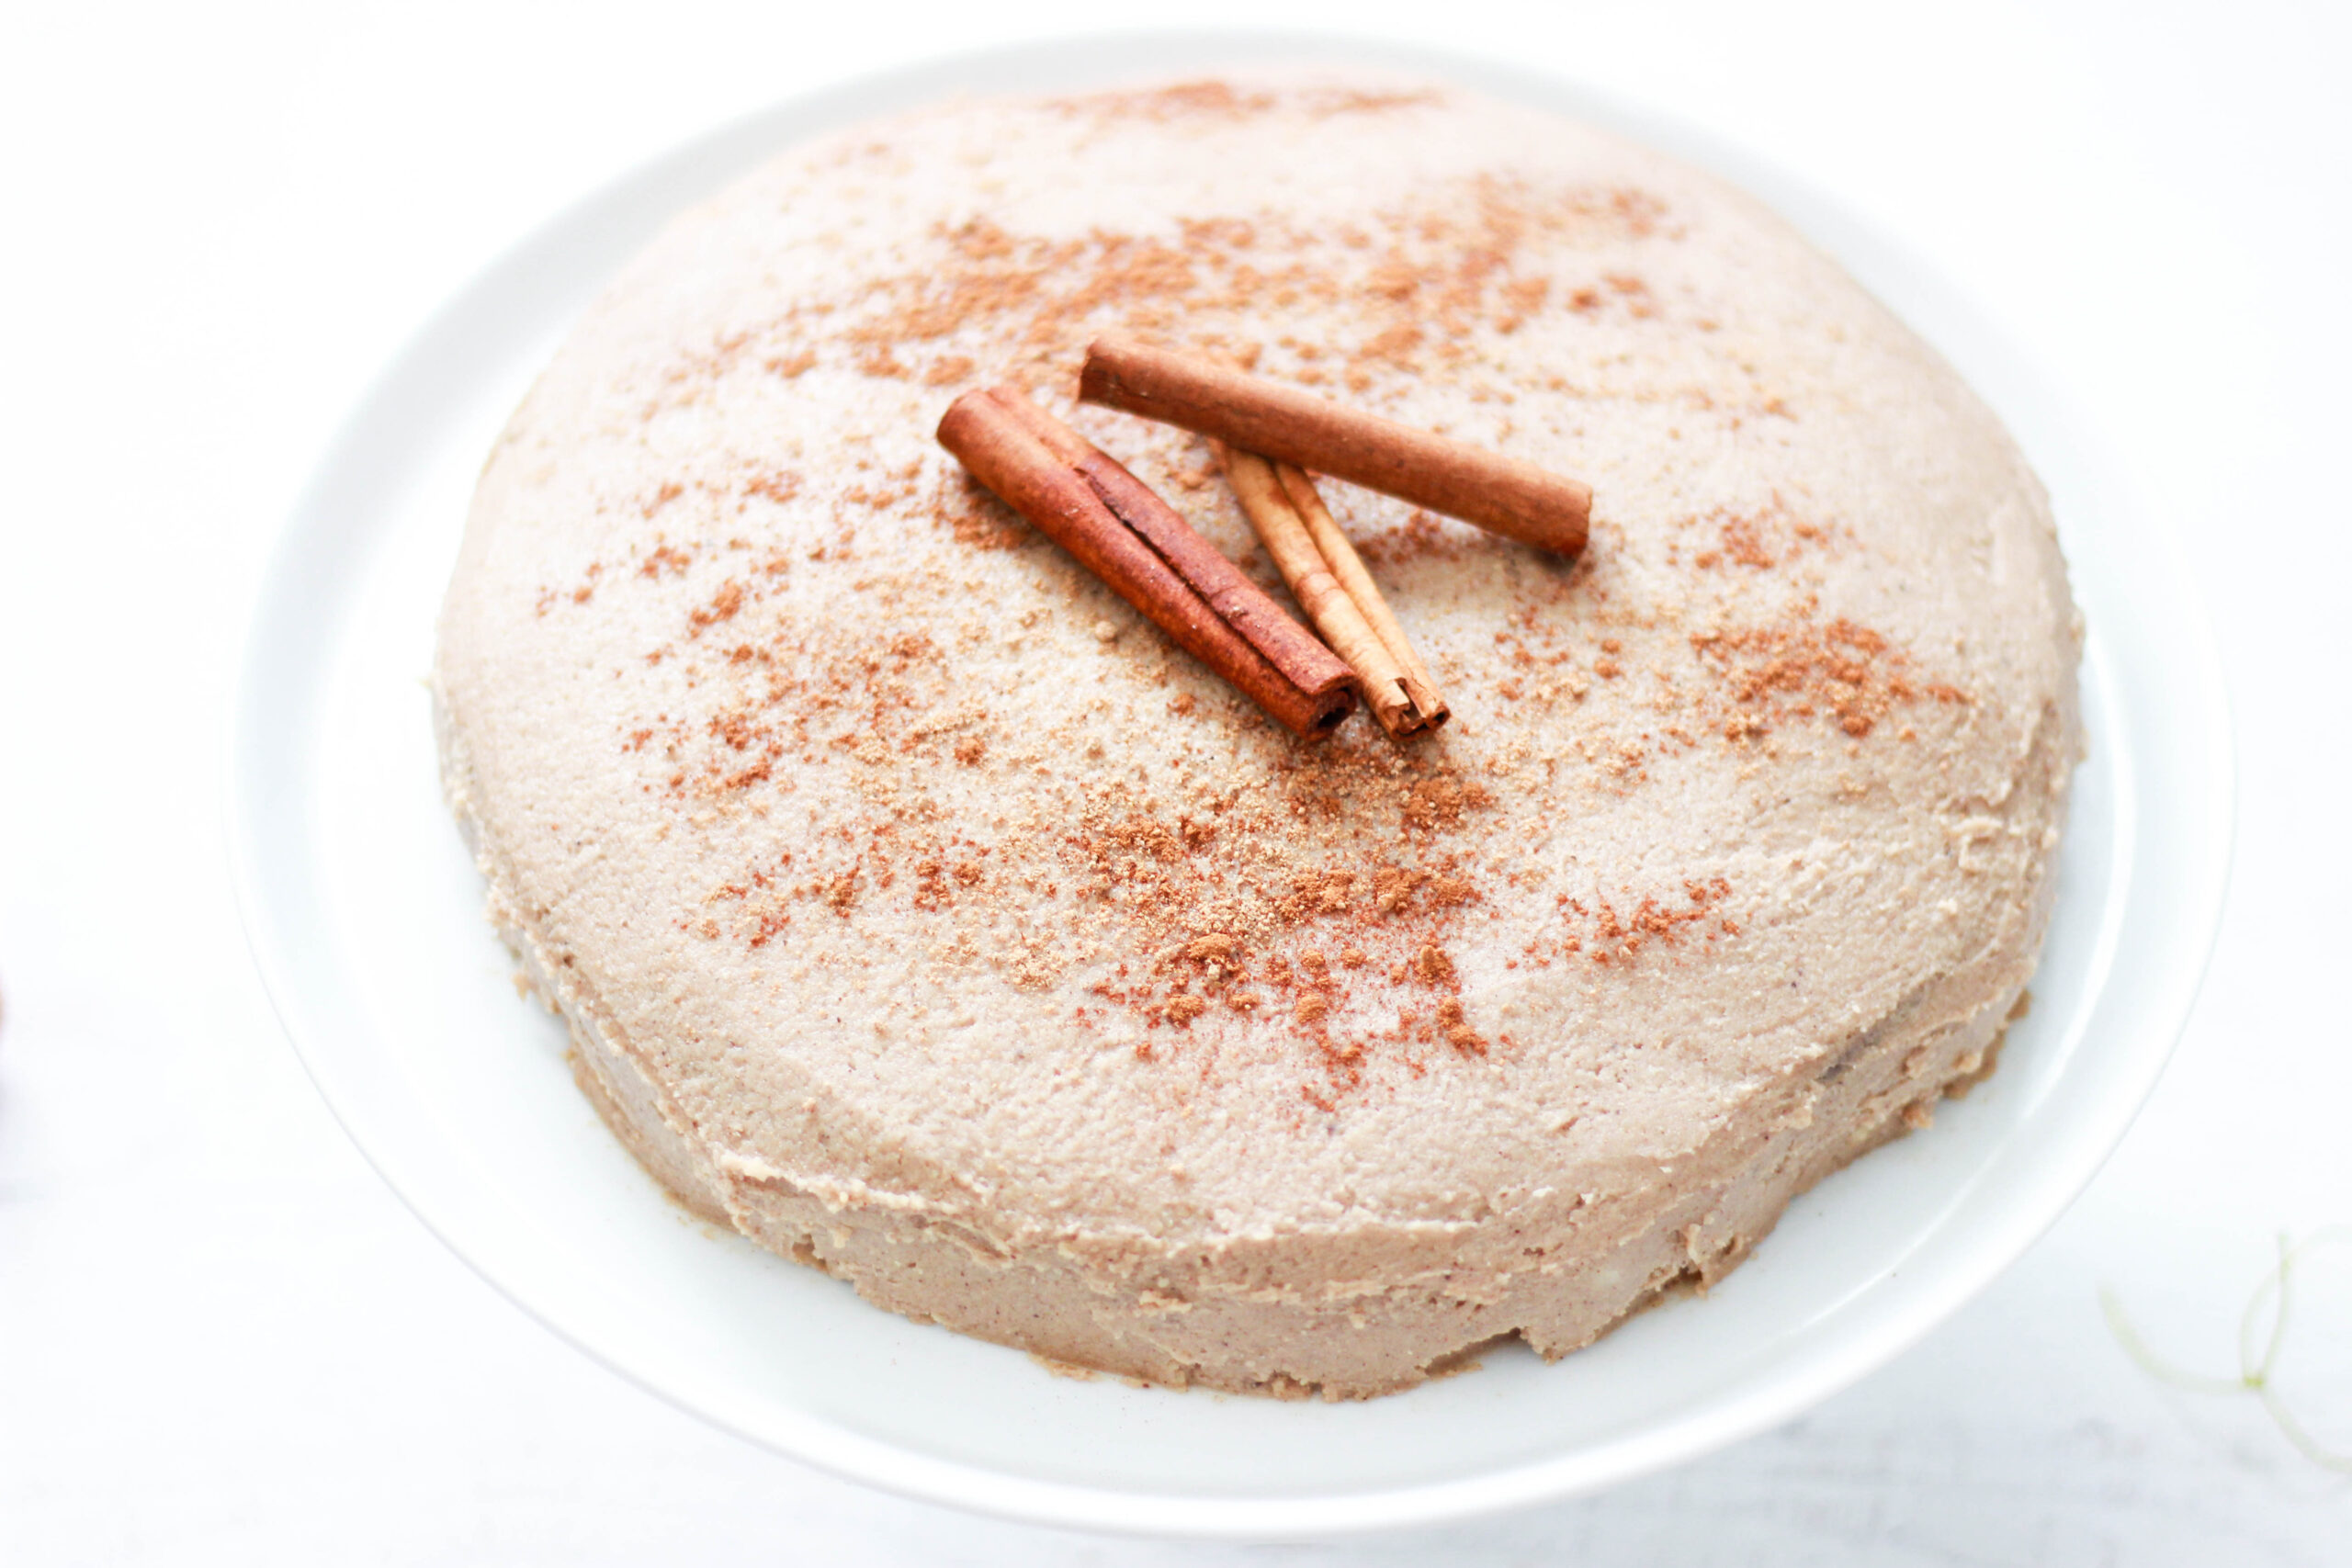
This cake is kind of a contradiction. It’s an eggnog spice cake, but there’s not actually real eggnog in it. It’s a completely gluten-free, paleo cake, and I used paleo eggnog to make it. I do this kind of thing to prove to people that food can be gluten-free and dairy-free and you would never know the difference. It tastes like there’s legit eggnog in here, but there isn’t.
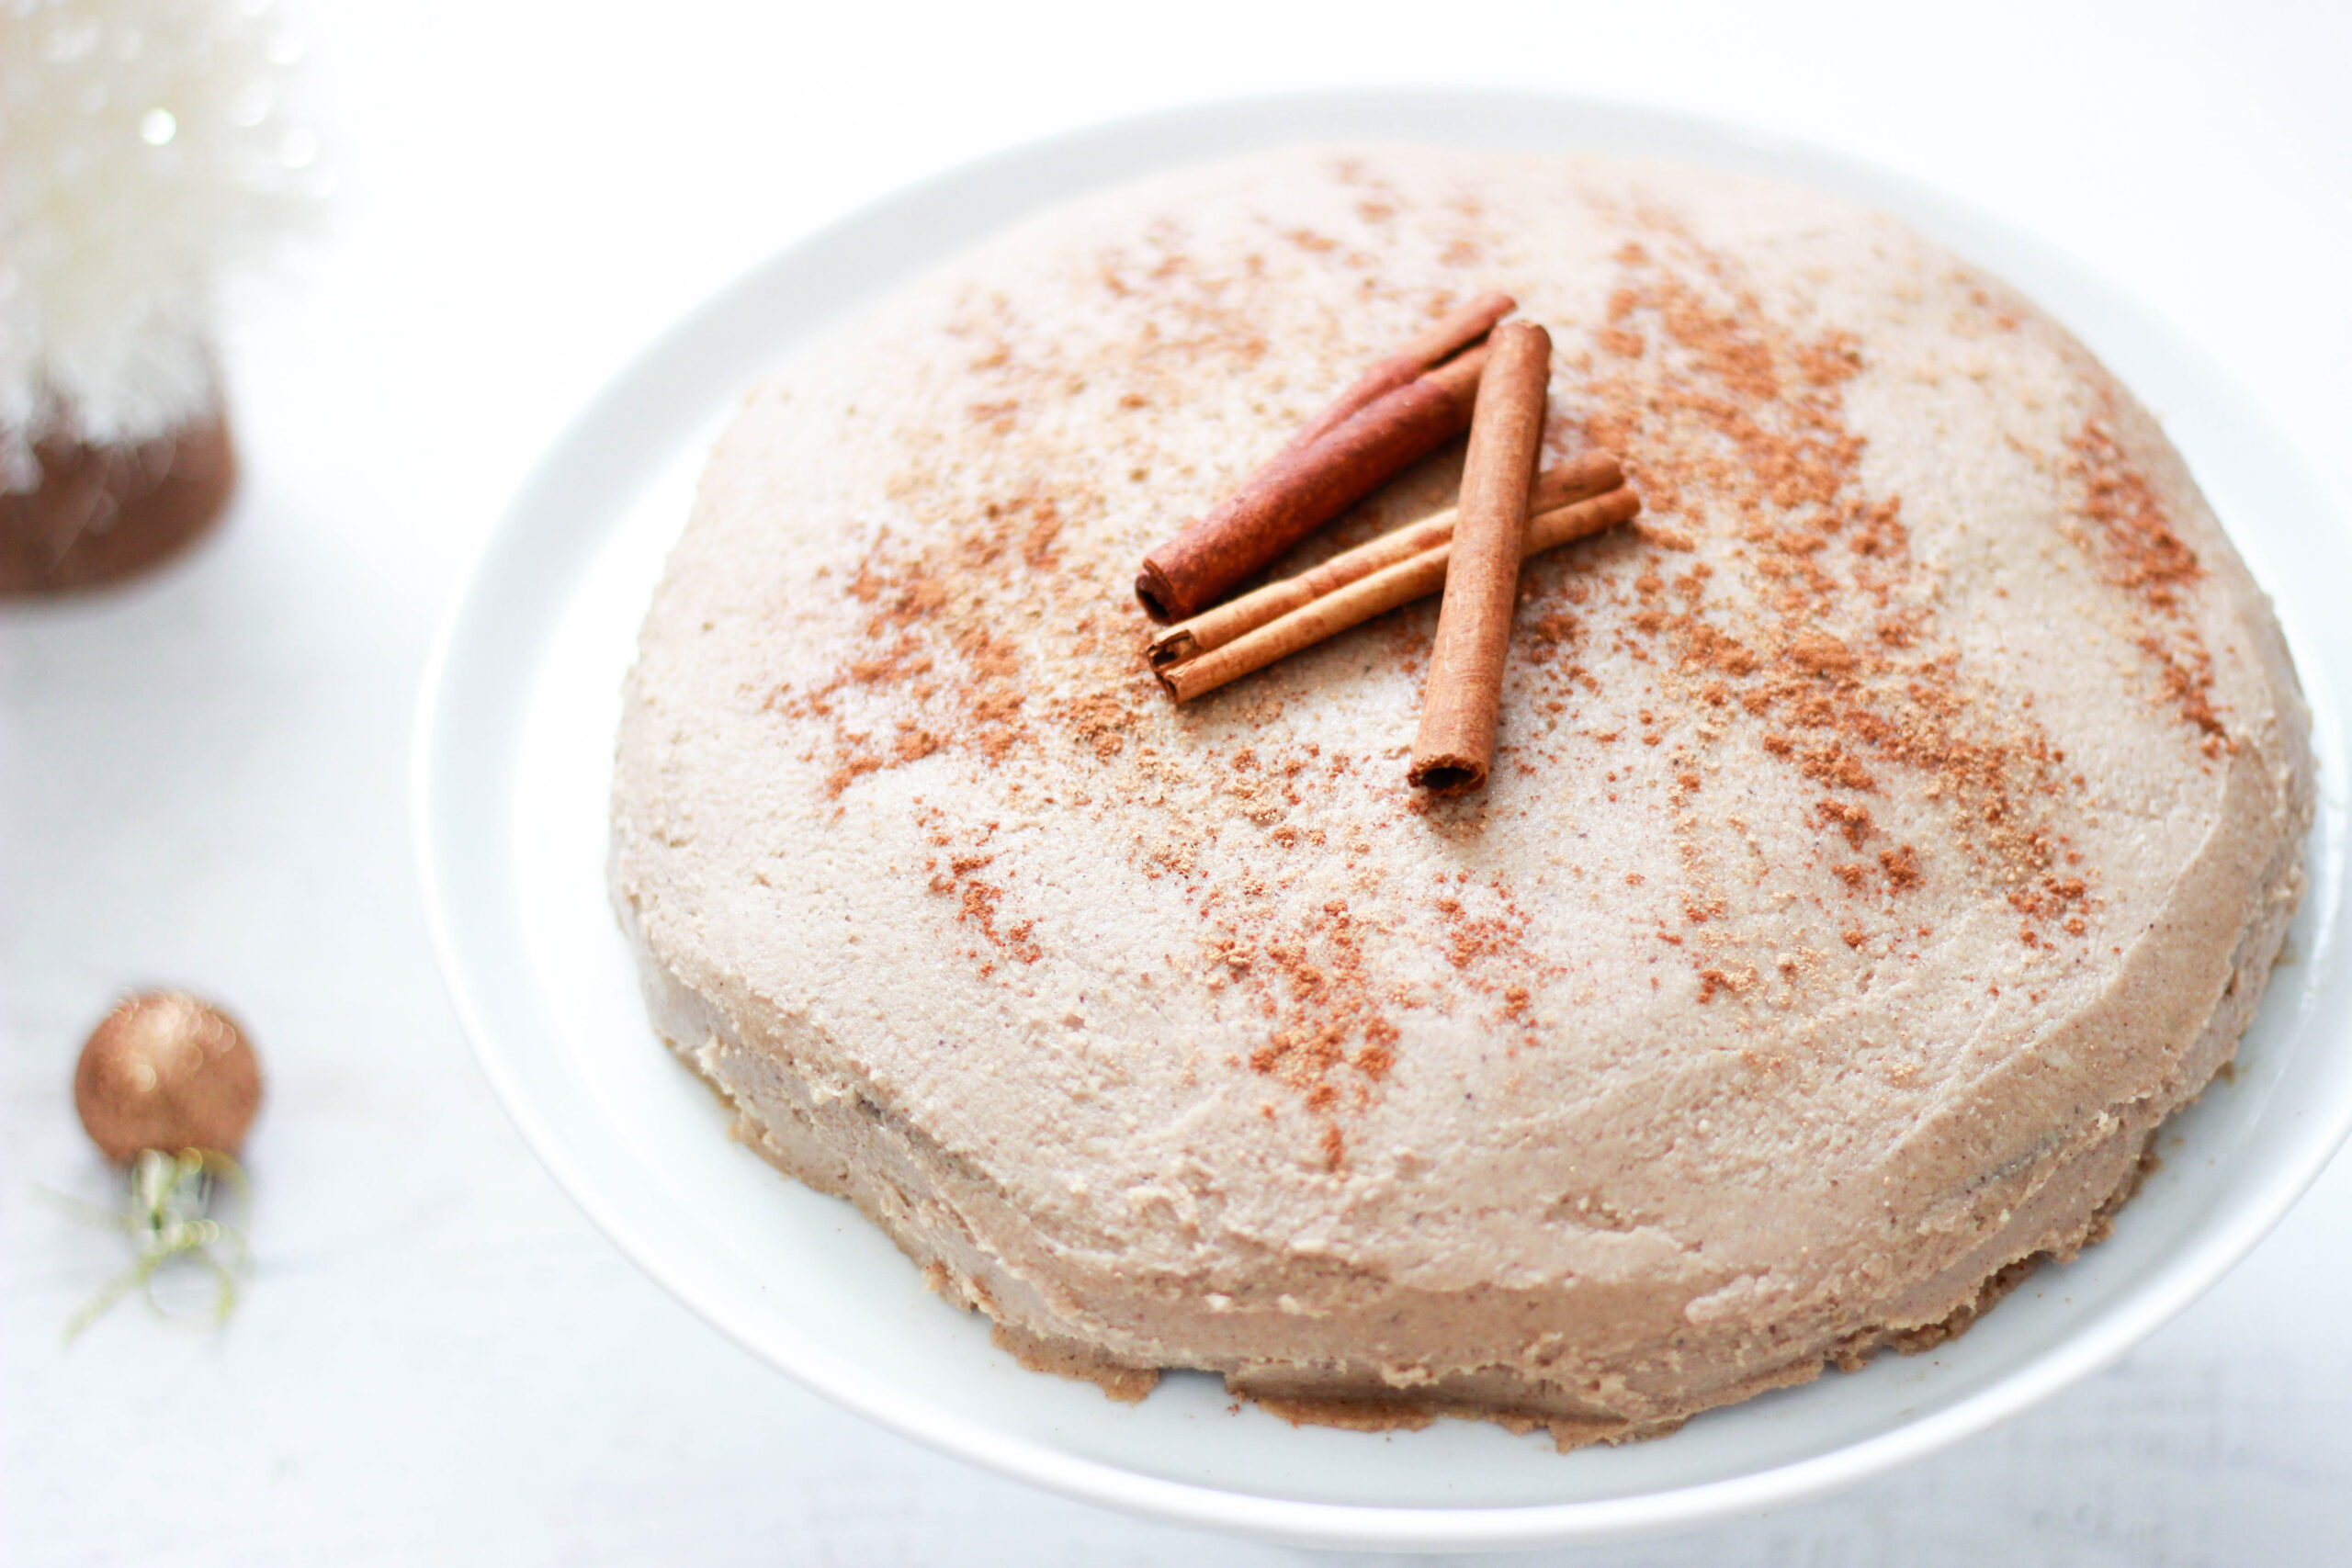
This cake is a little more complex because it requires an extra step – you gotta make the eggnog first! However, I promise the eggnog is really simple to make. If you’re really lazy, you could probably just use Califia Farms Holiday Nog, which you can find at Whole Foods. I haven’t tried it, but I’m pretty sure it would work. I’d rather make my own, though, because I don’t really like cane sugar. Or, if you don’t care about the cake being dairy-free, you could definitely try using real eggnog! It will taste the same.
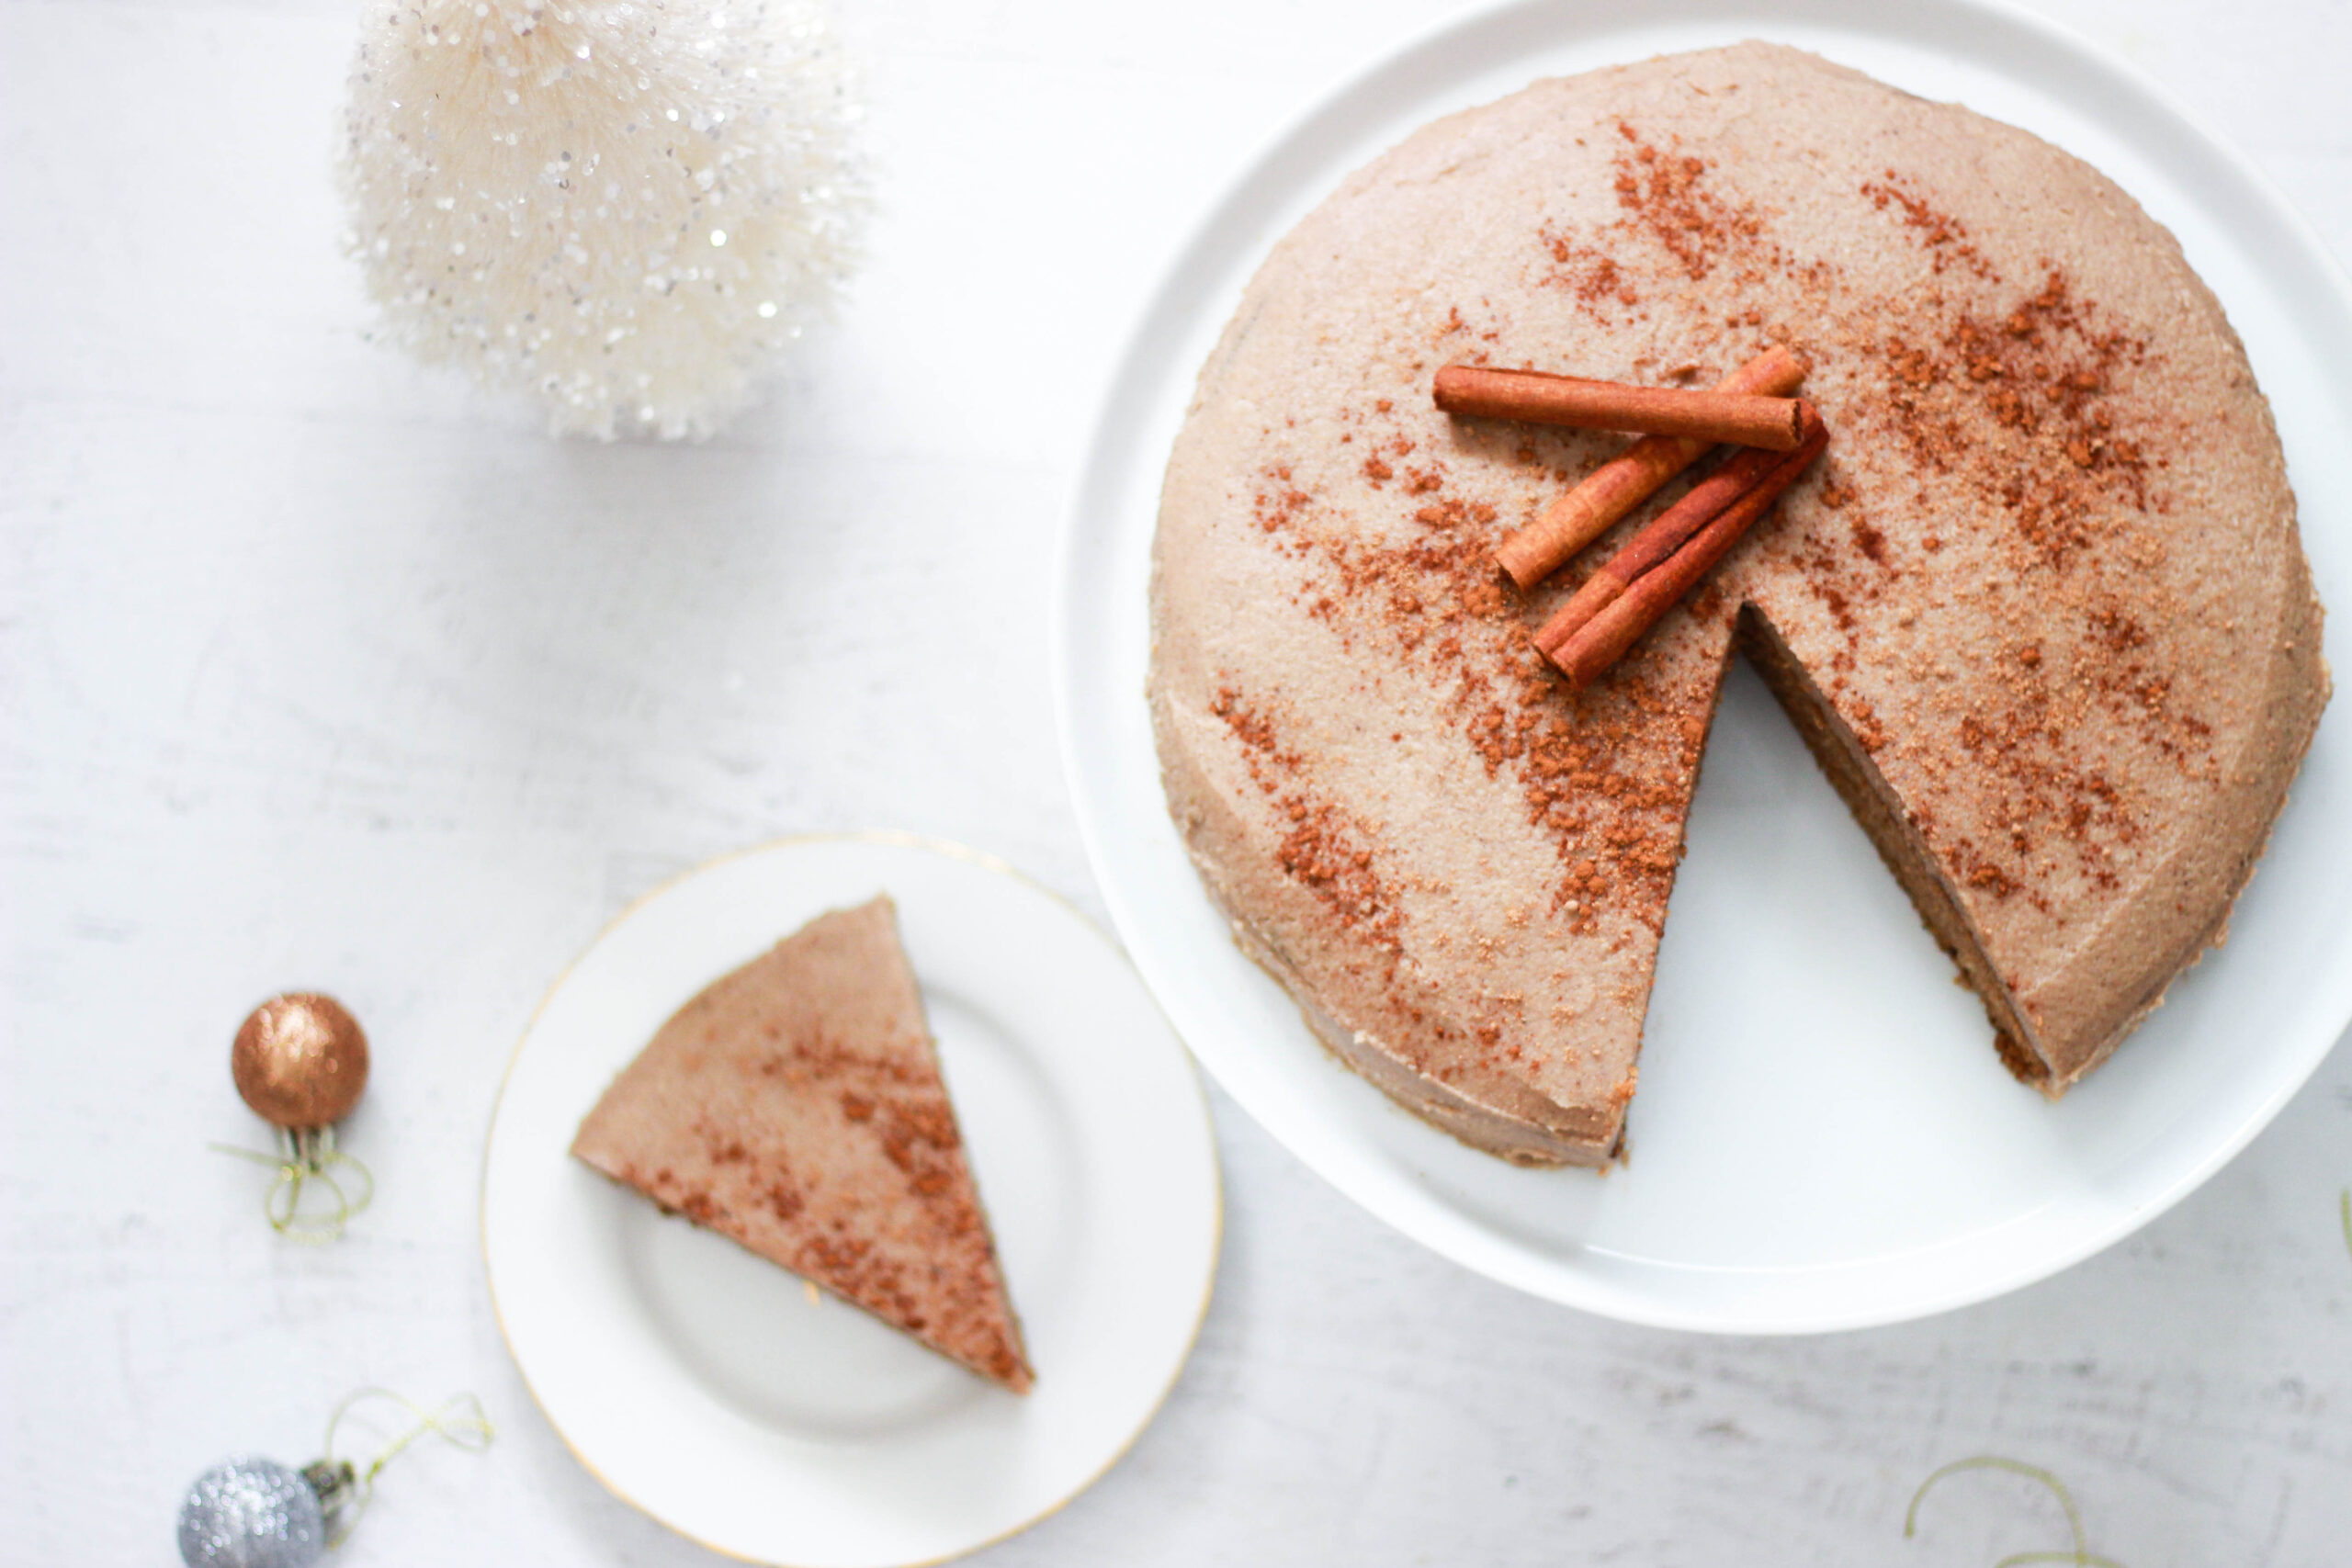
I wasn’t completely sure how the cake would turn out, but as soon as it came out of the oven I knew I had created magic. I adore this cake almost as much as I love Christmas itself.
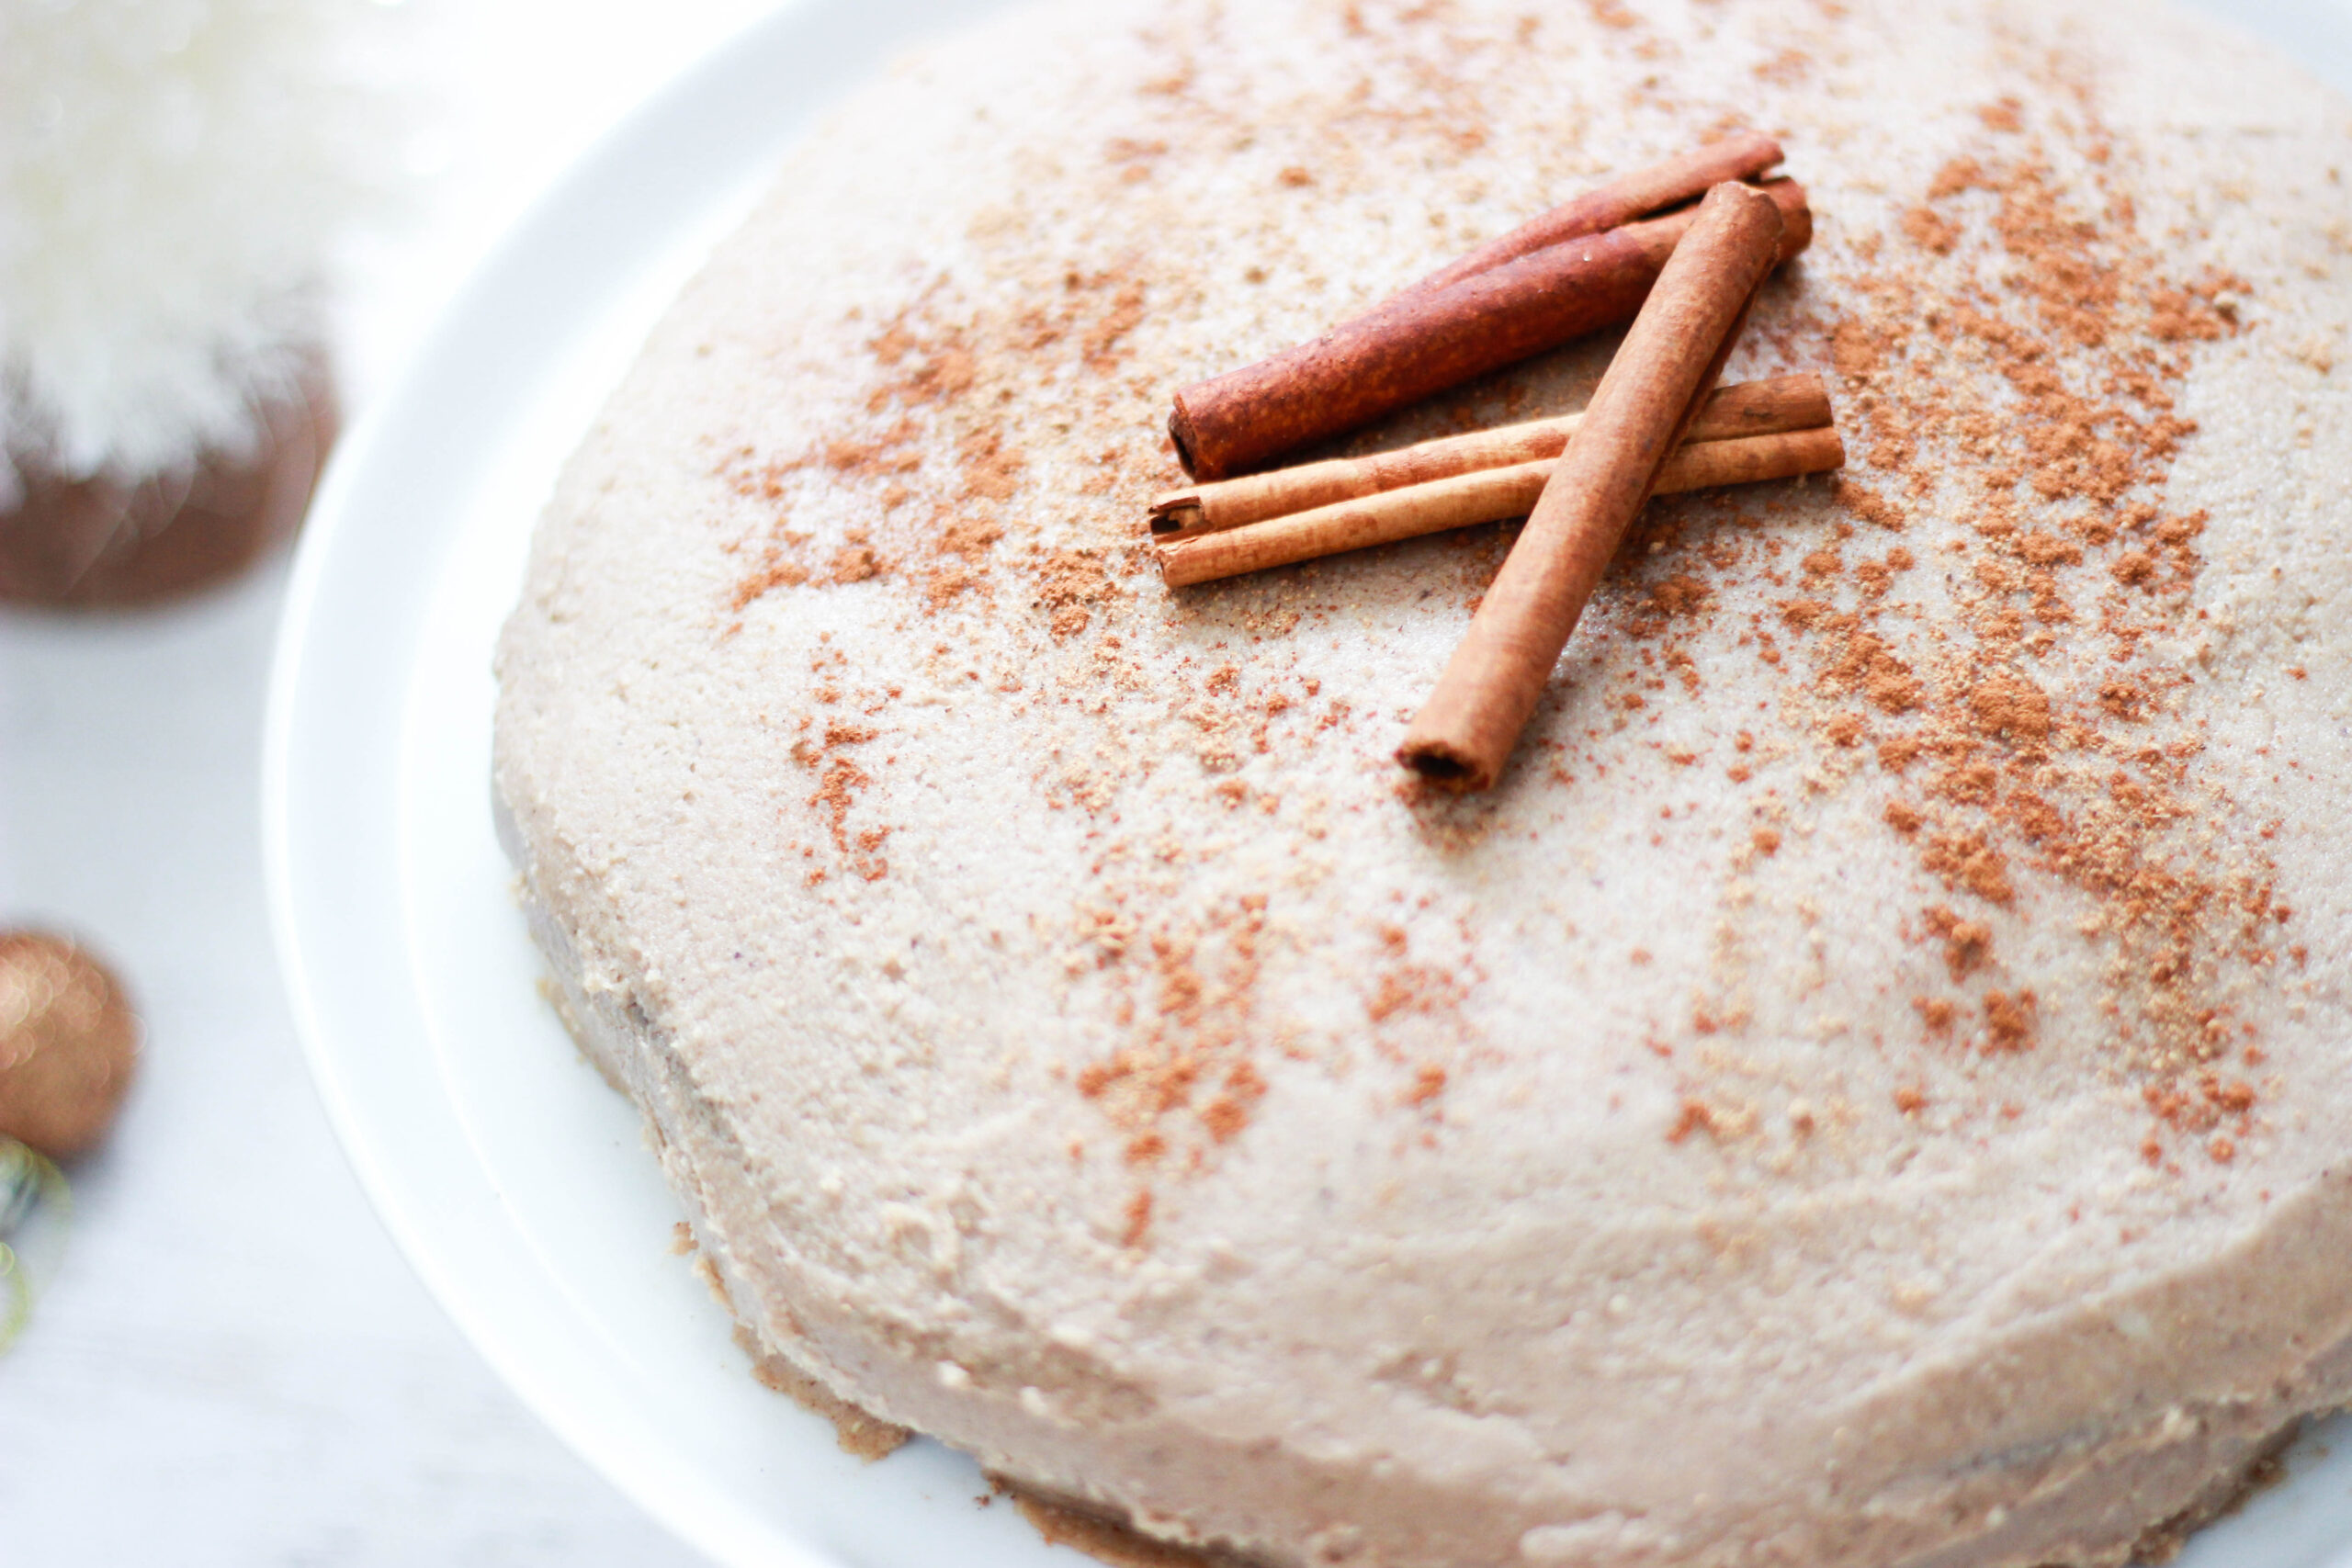
First of all, let’s talk about the taste. Like I said, it honestly tastes like eggnog in cake form. My sister called it “deliciously unique,” which is really saying something coming from her! It’s also the perfect amount of sweetness, in my opinion. I don’t like cakes that taste like artificial sweetener and cane sugar and plastic frosting. This cake tastes real. It’s sweet enough to be a perfectly satisfying dessert, but not so sweet that you’ll get a massive stomachache and a huge sugar rush afterward.
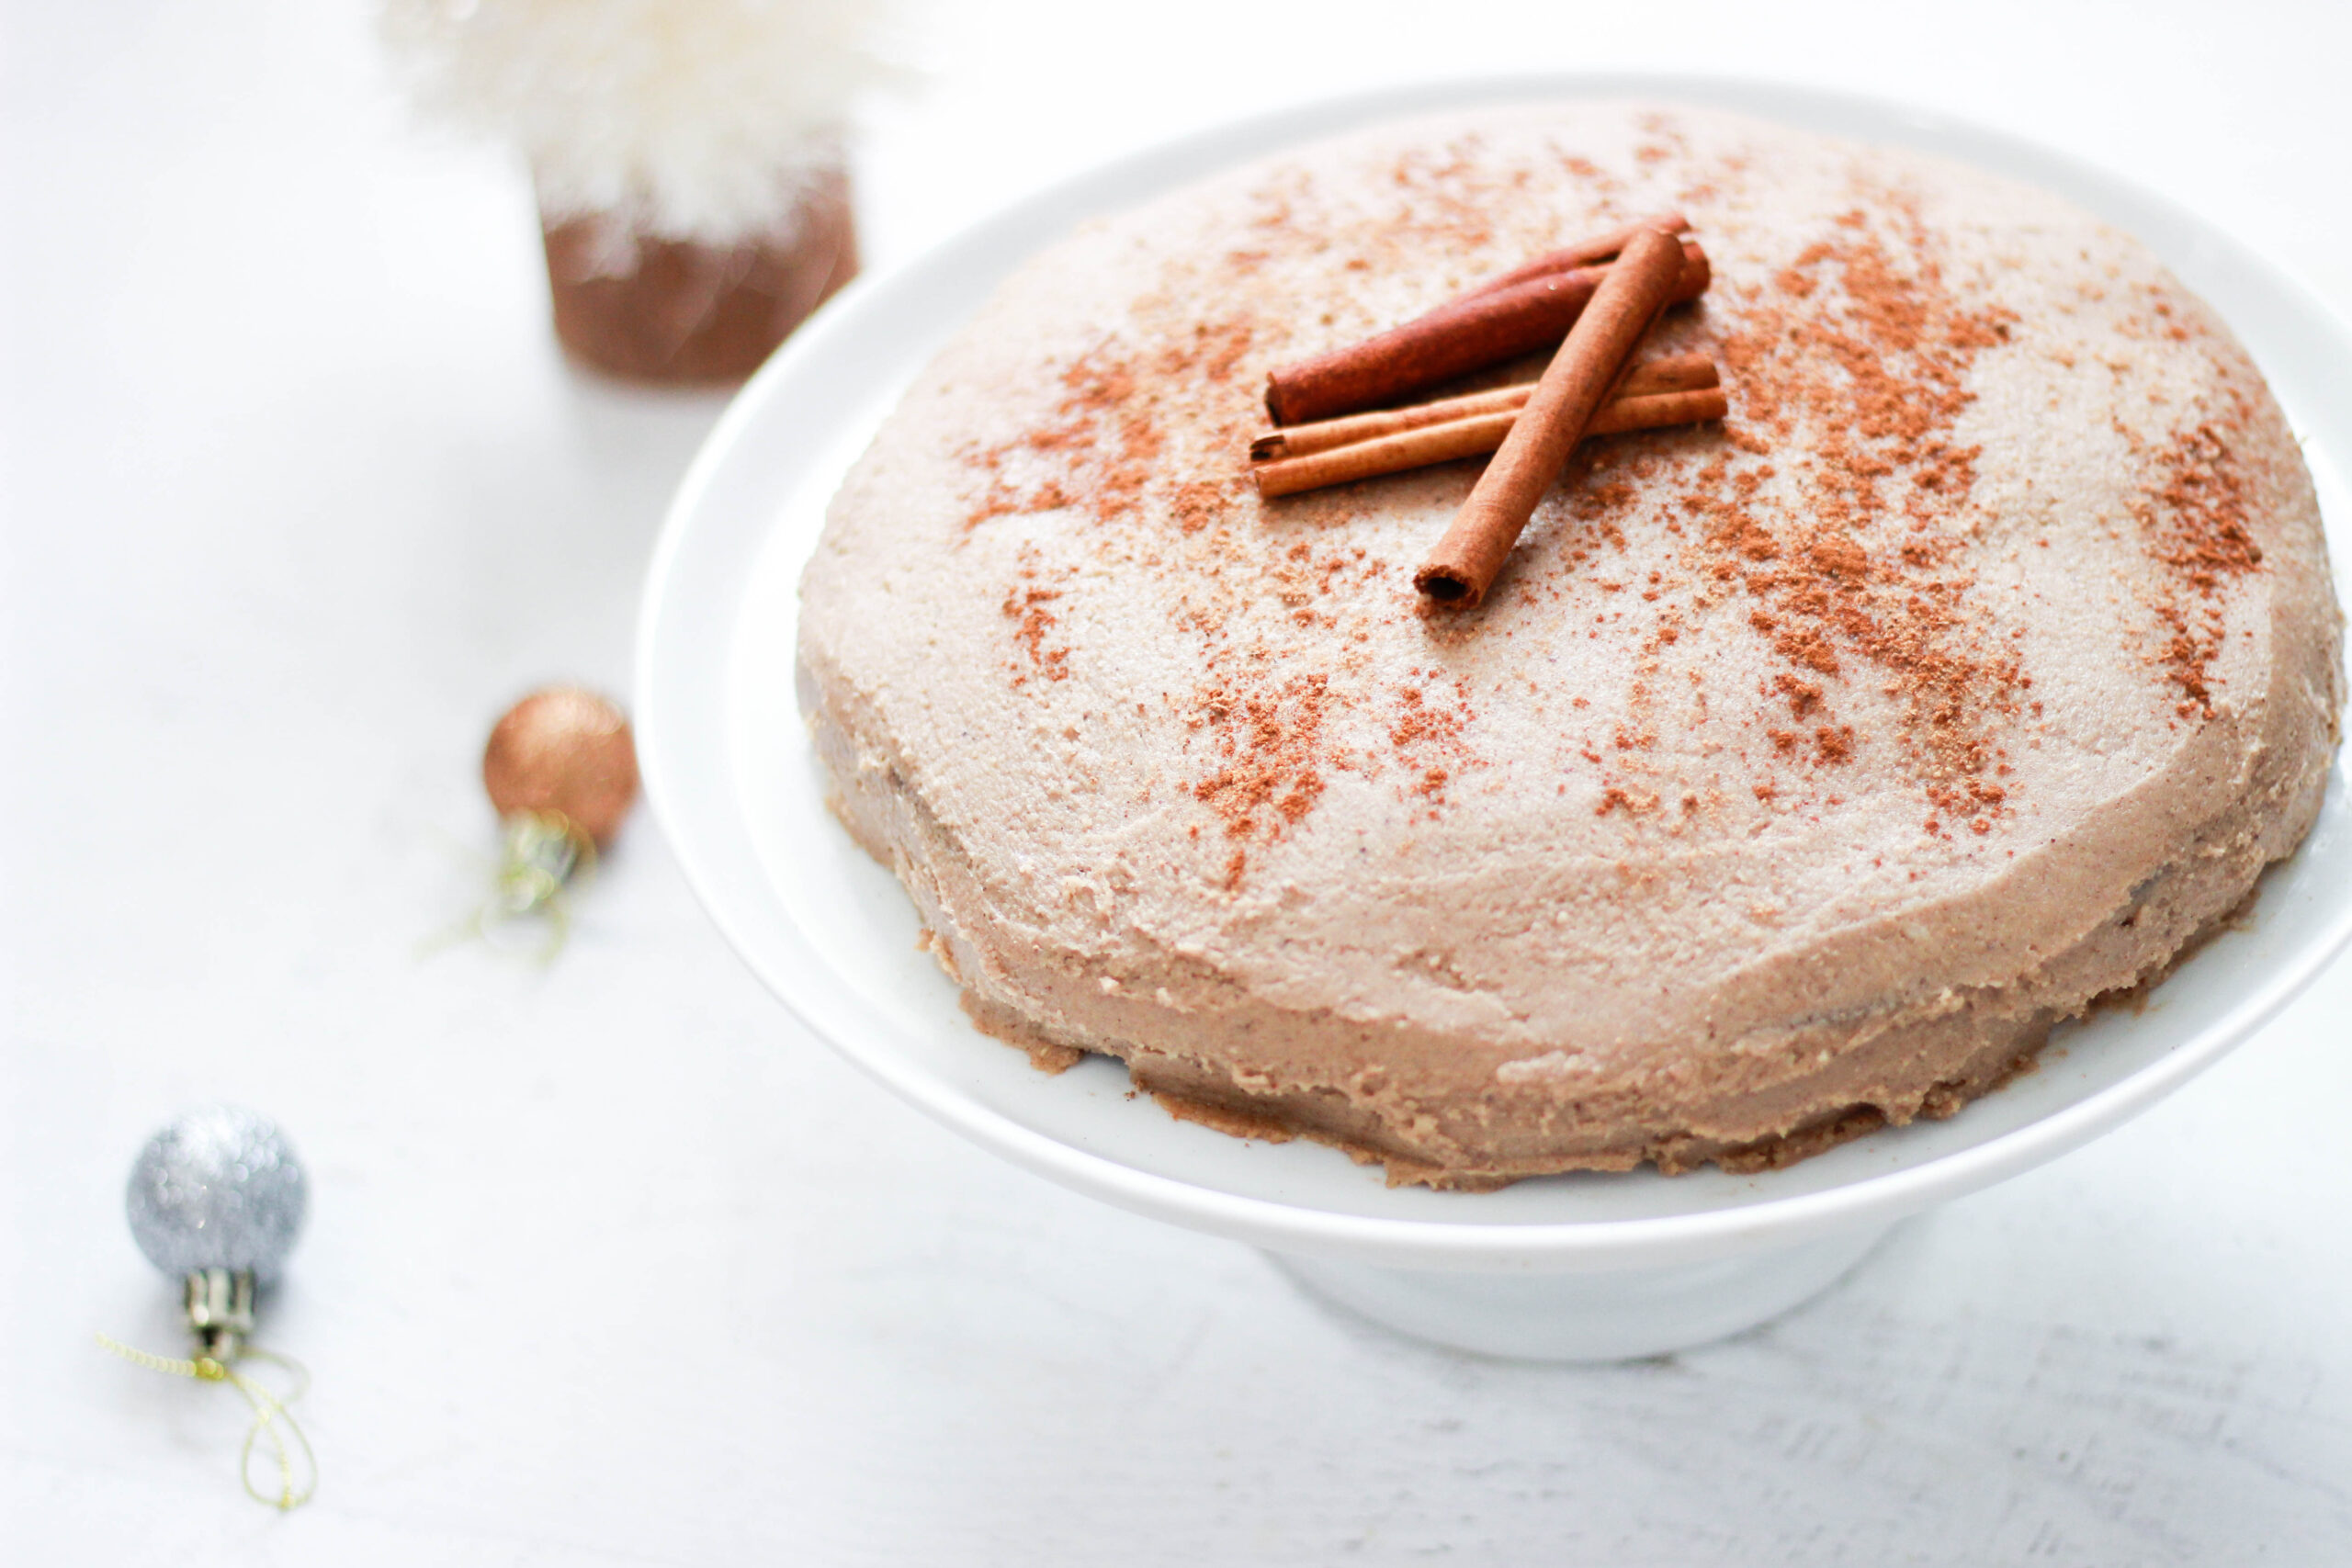
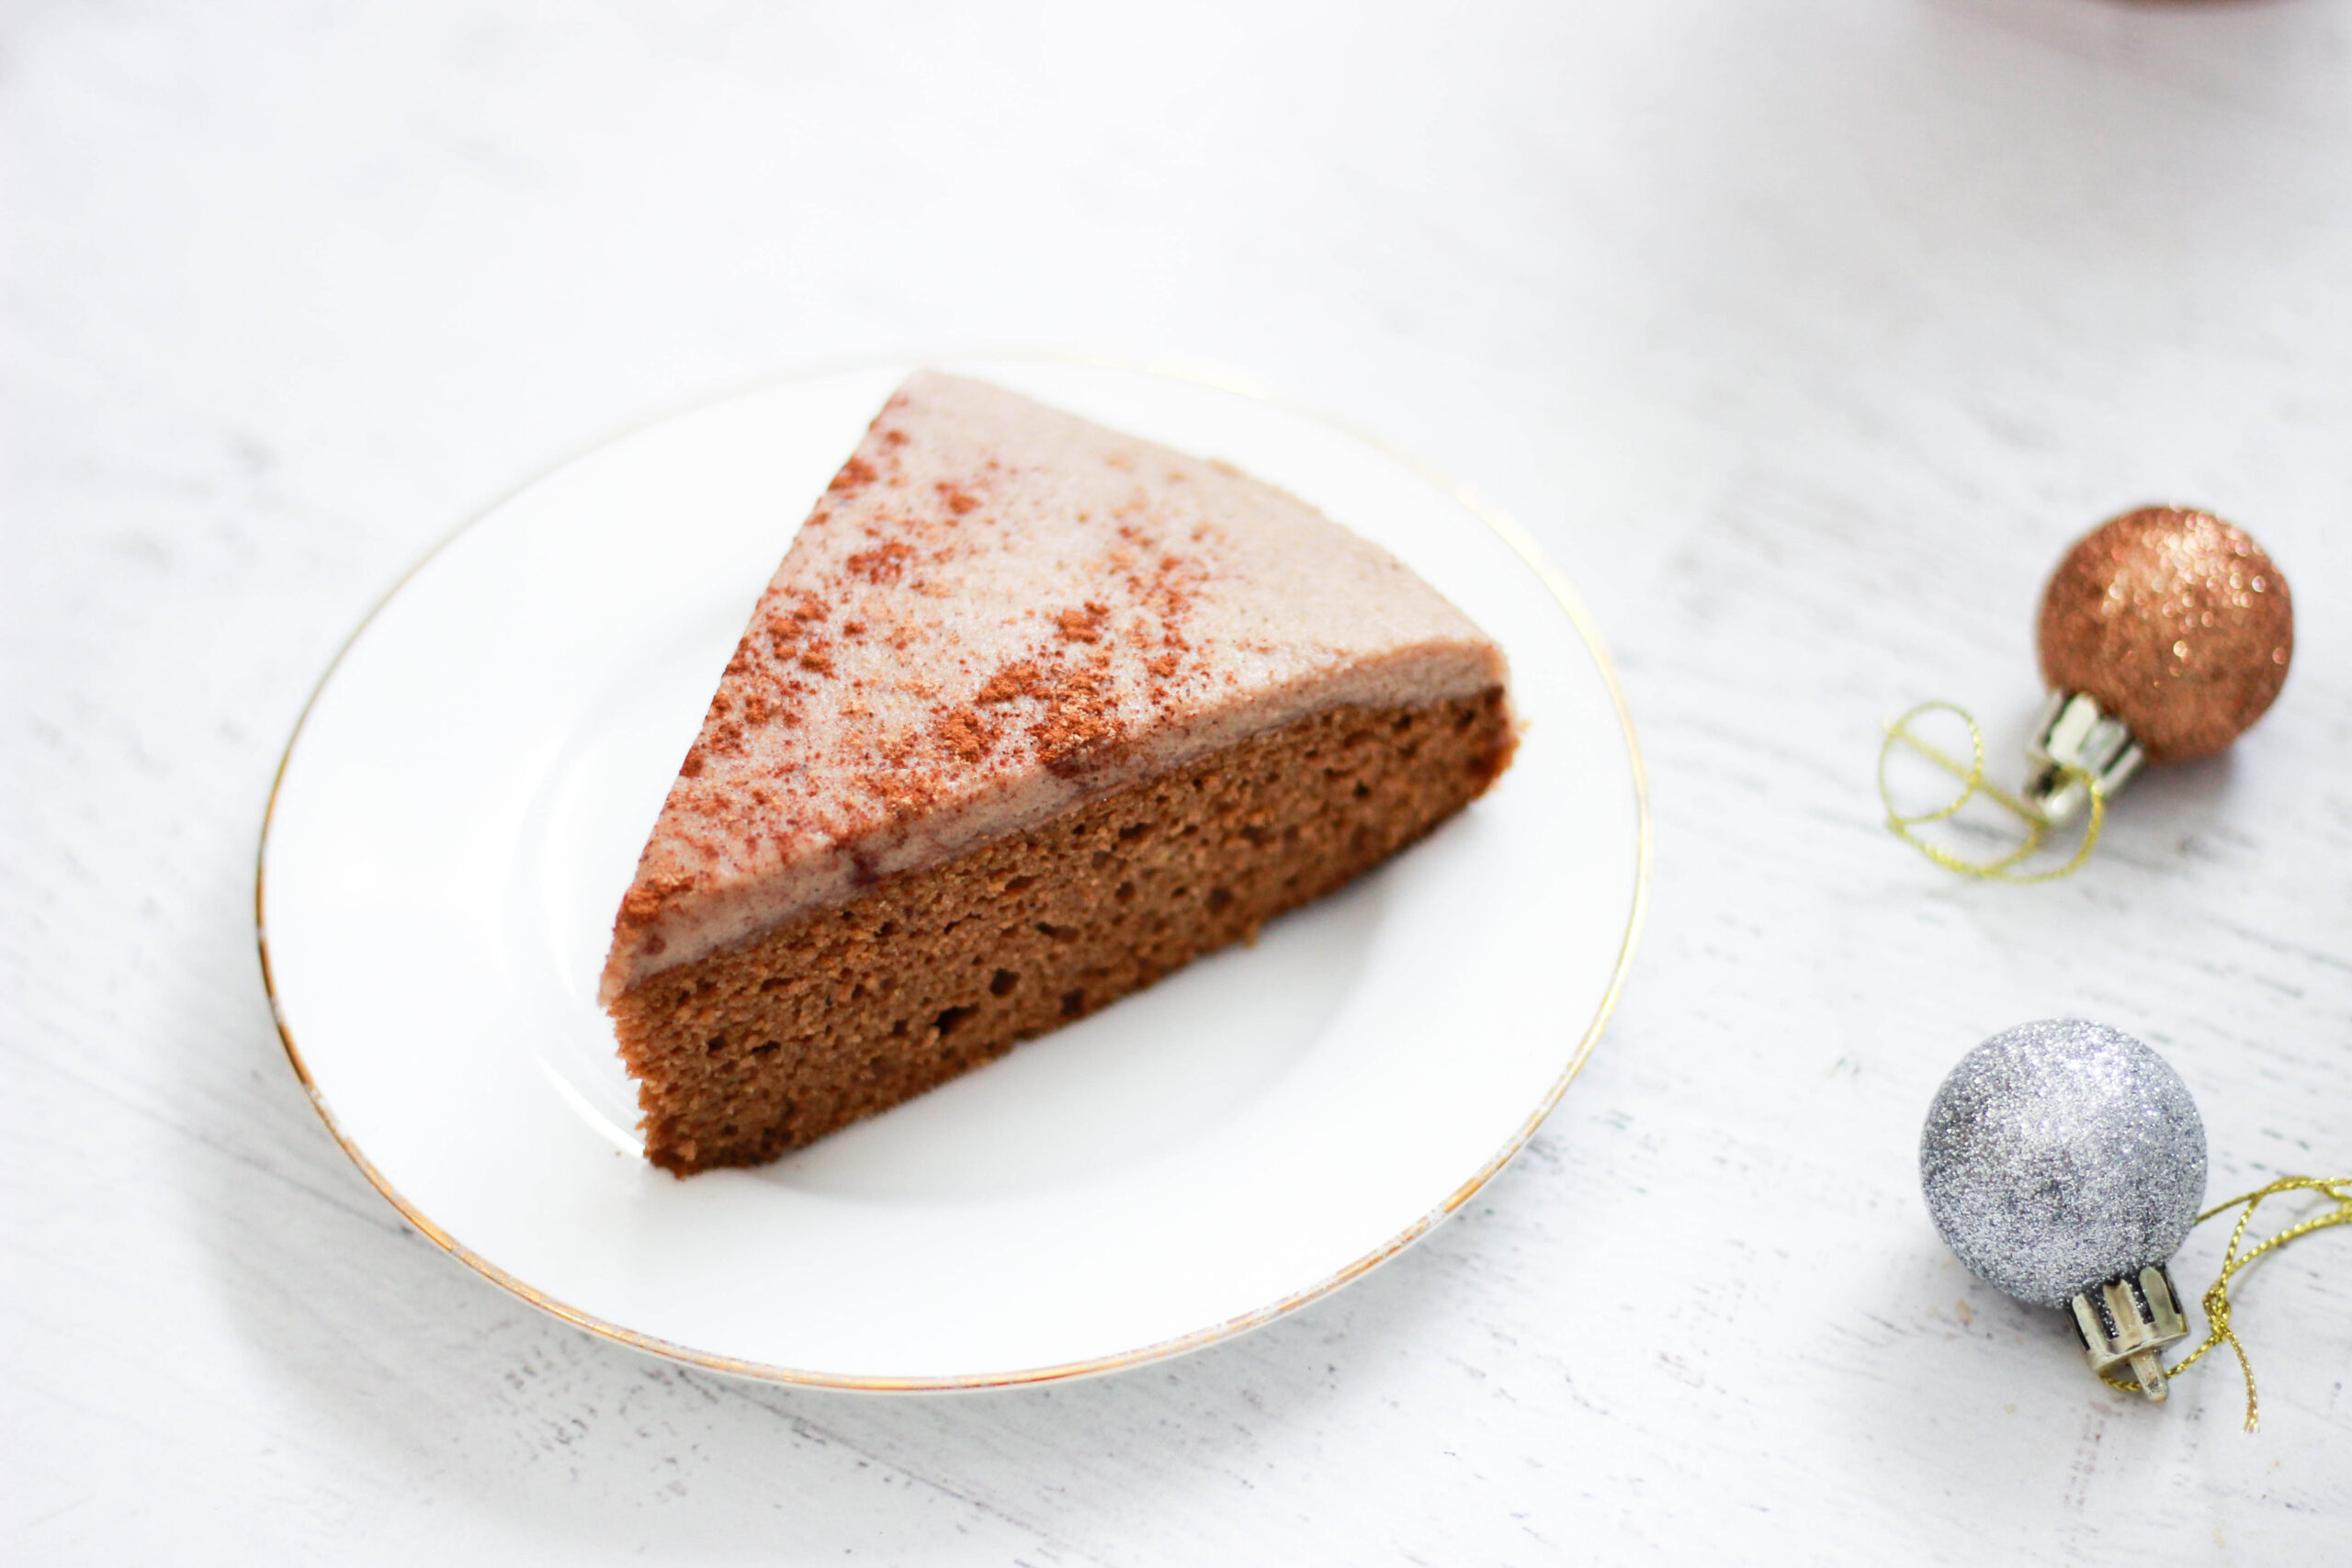
Next, texture. This cake is extremely moist, creamy, and dense. You know how really good banana bread is moist and dense and thick and wonderful? It’s like that, but in cake form….and if banana bread tasted like eggnog. Plus, the creamy spiced frosting completes it perfectly.
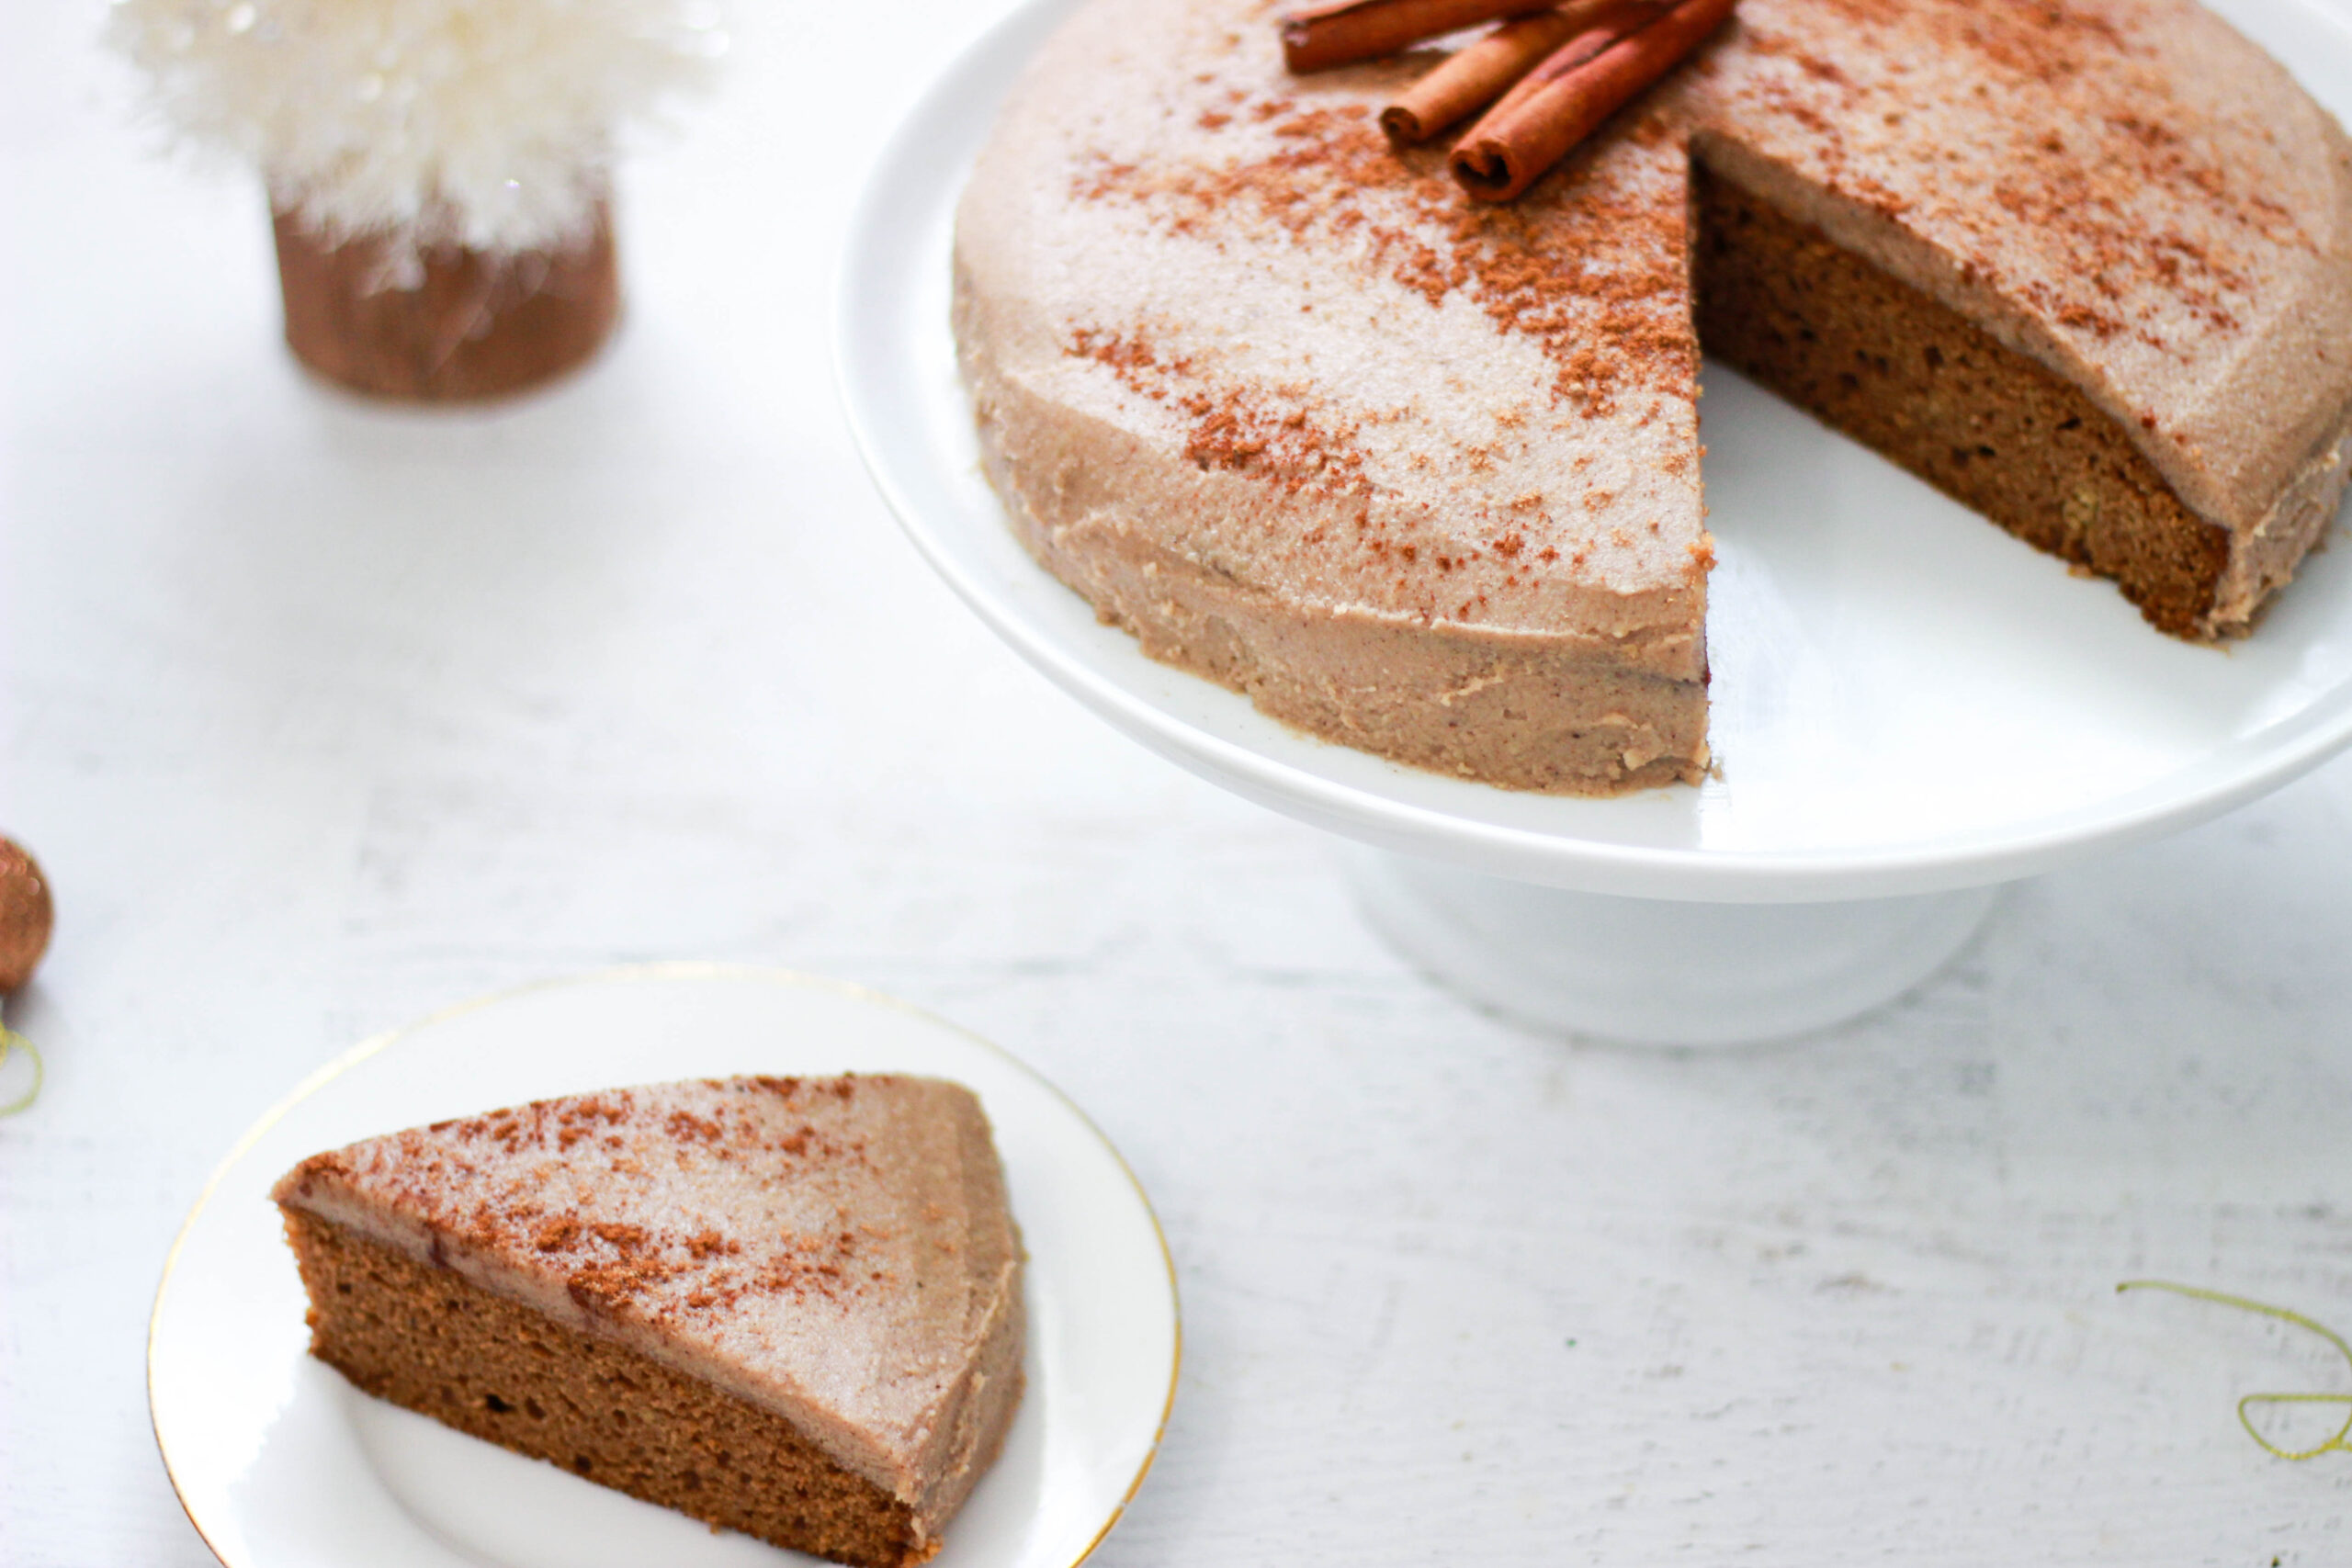
The cake lasts well either at room temperature or in the fridge (if you don’t eat it all in one sitting). I actually preferred it cold out of the fridge, though. On the other hand, my sister liked it heated up in the microwave the day after. Basically, you can go either way. If you want the frosting to be hard, I’d recommend storing it in the fridge.
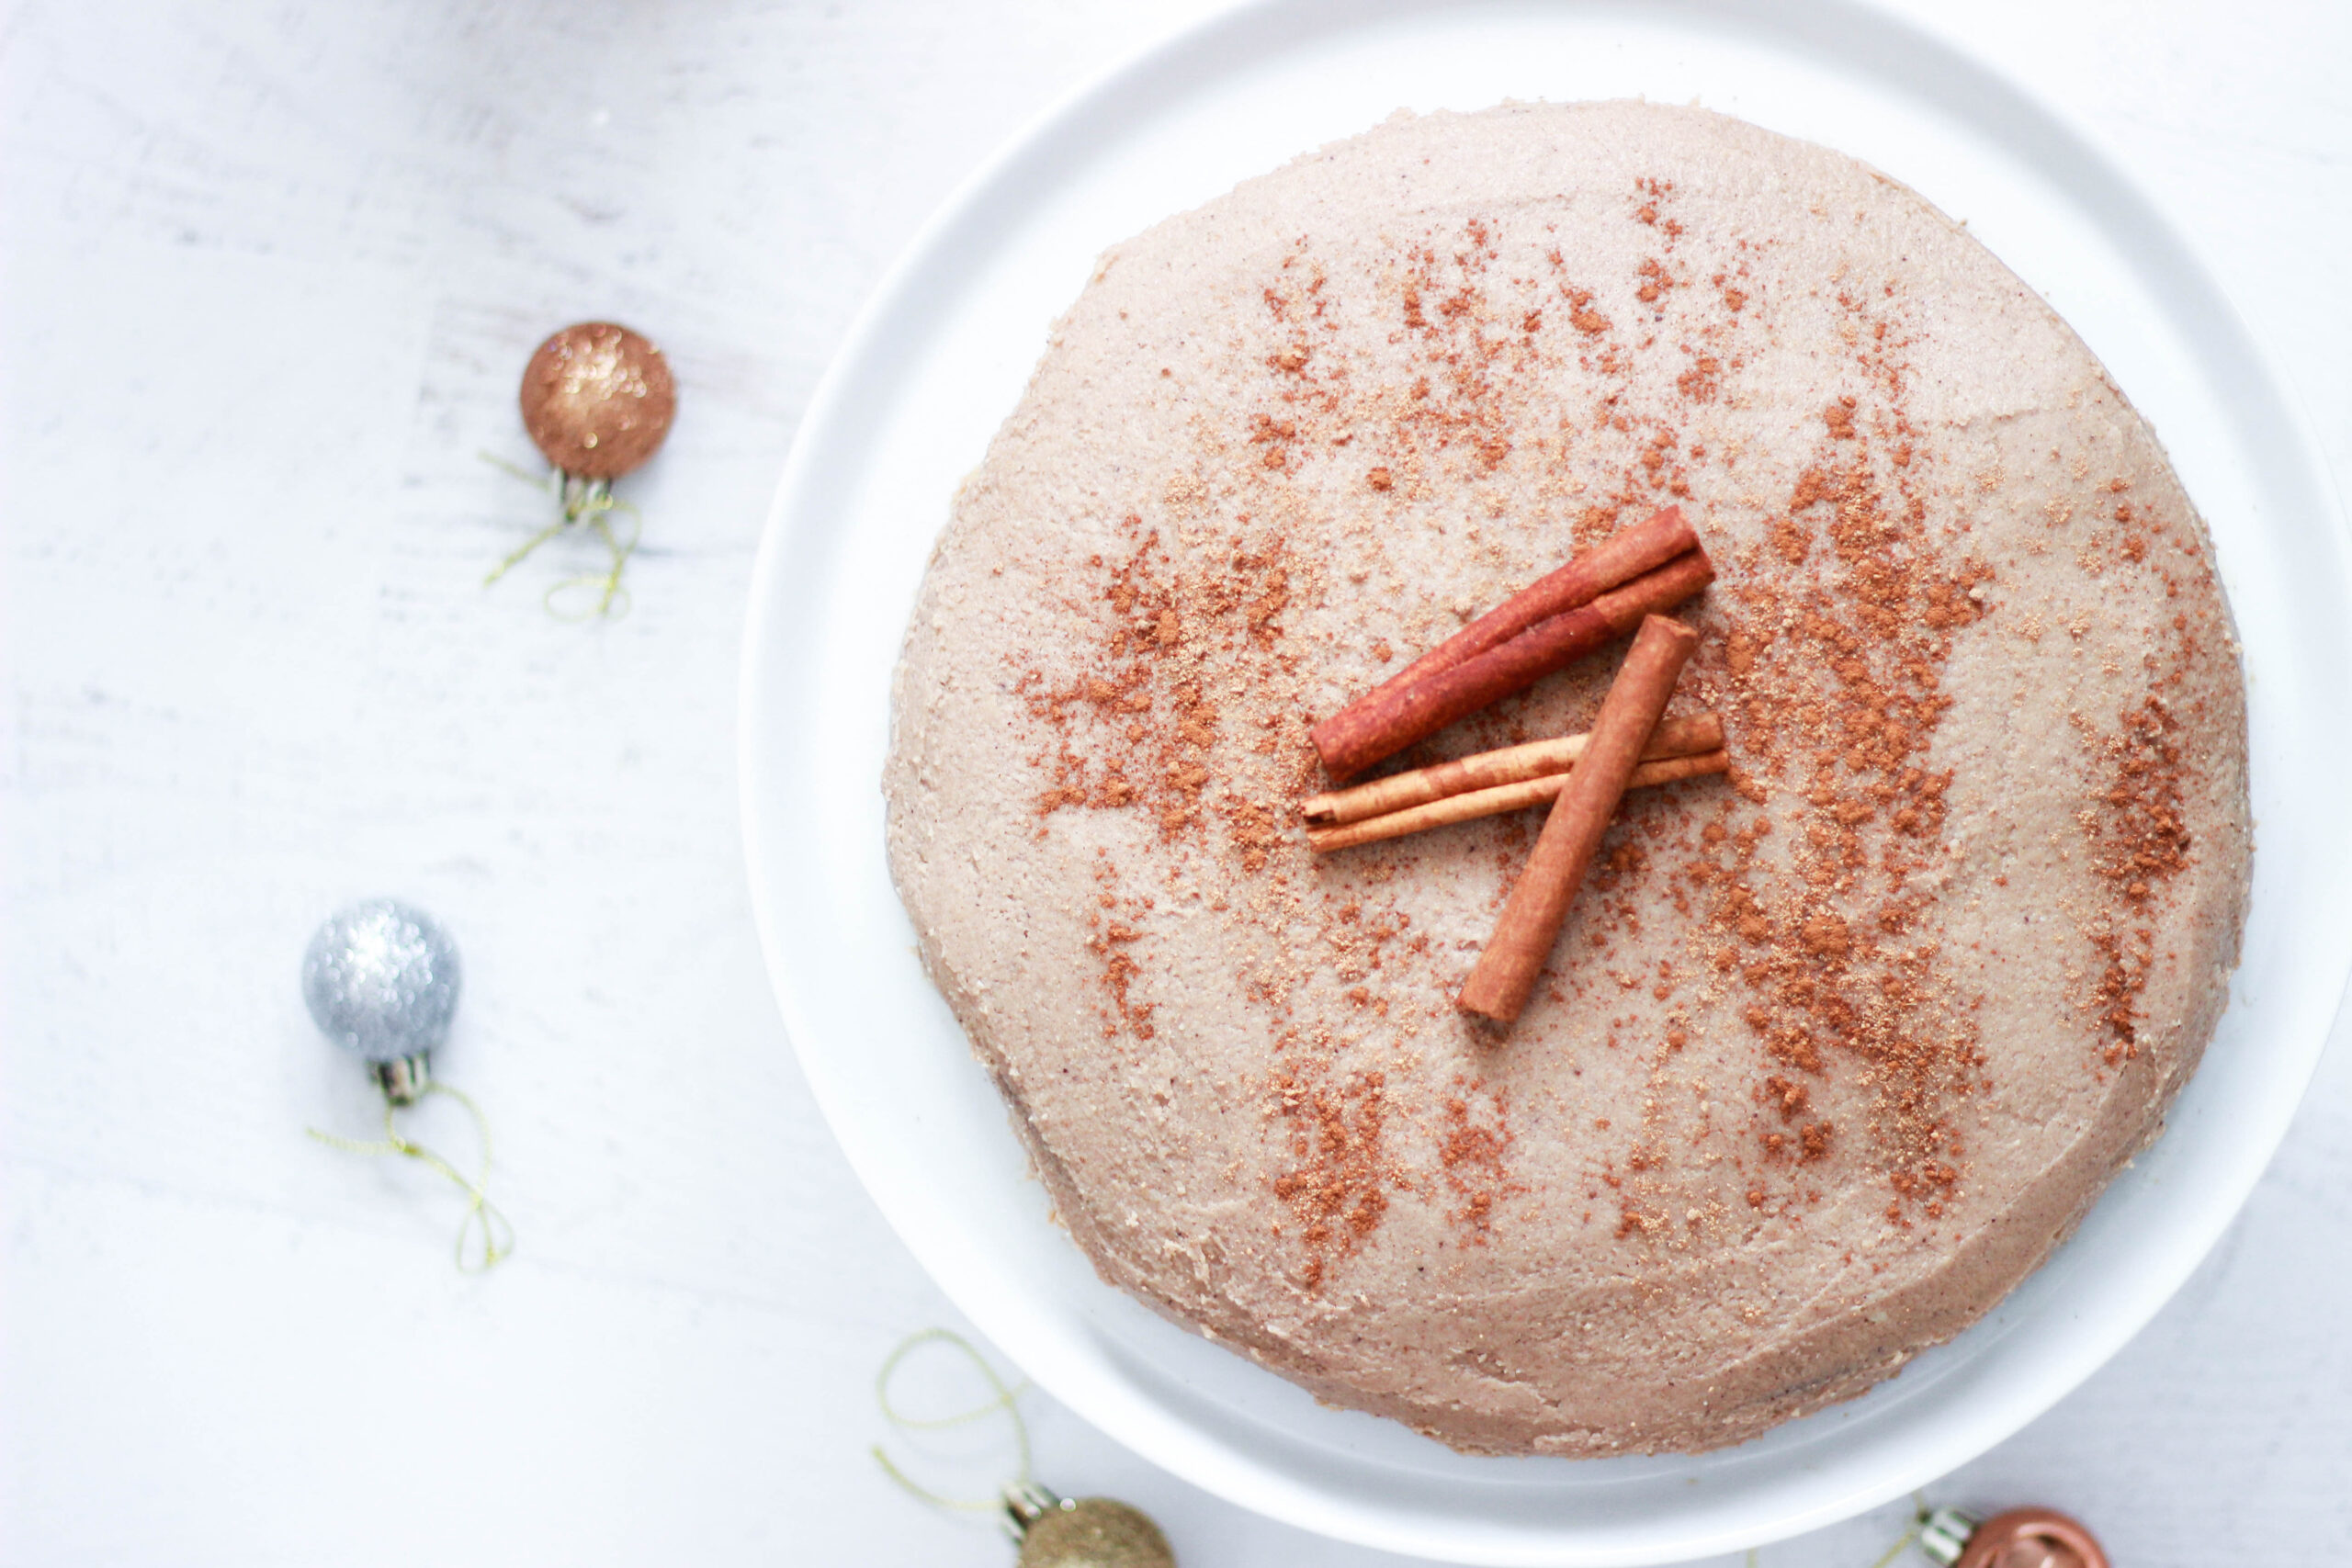
Also, I highly recommend dolloping some paleo vanilla ice cream on top if you have it. So good.
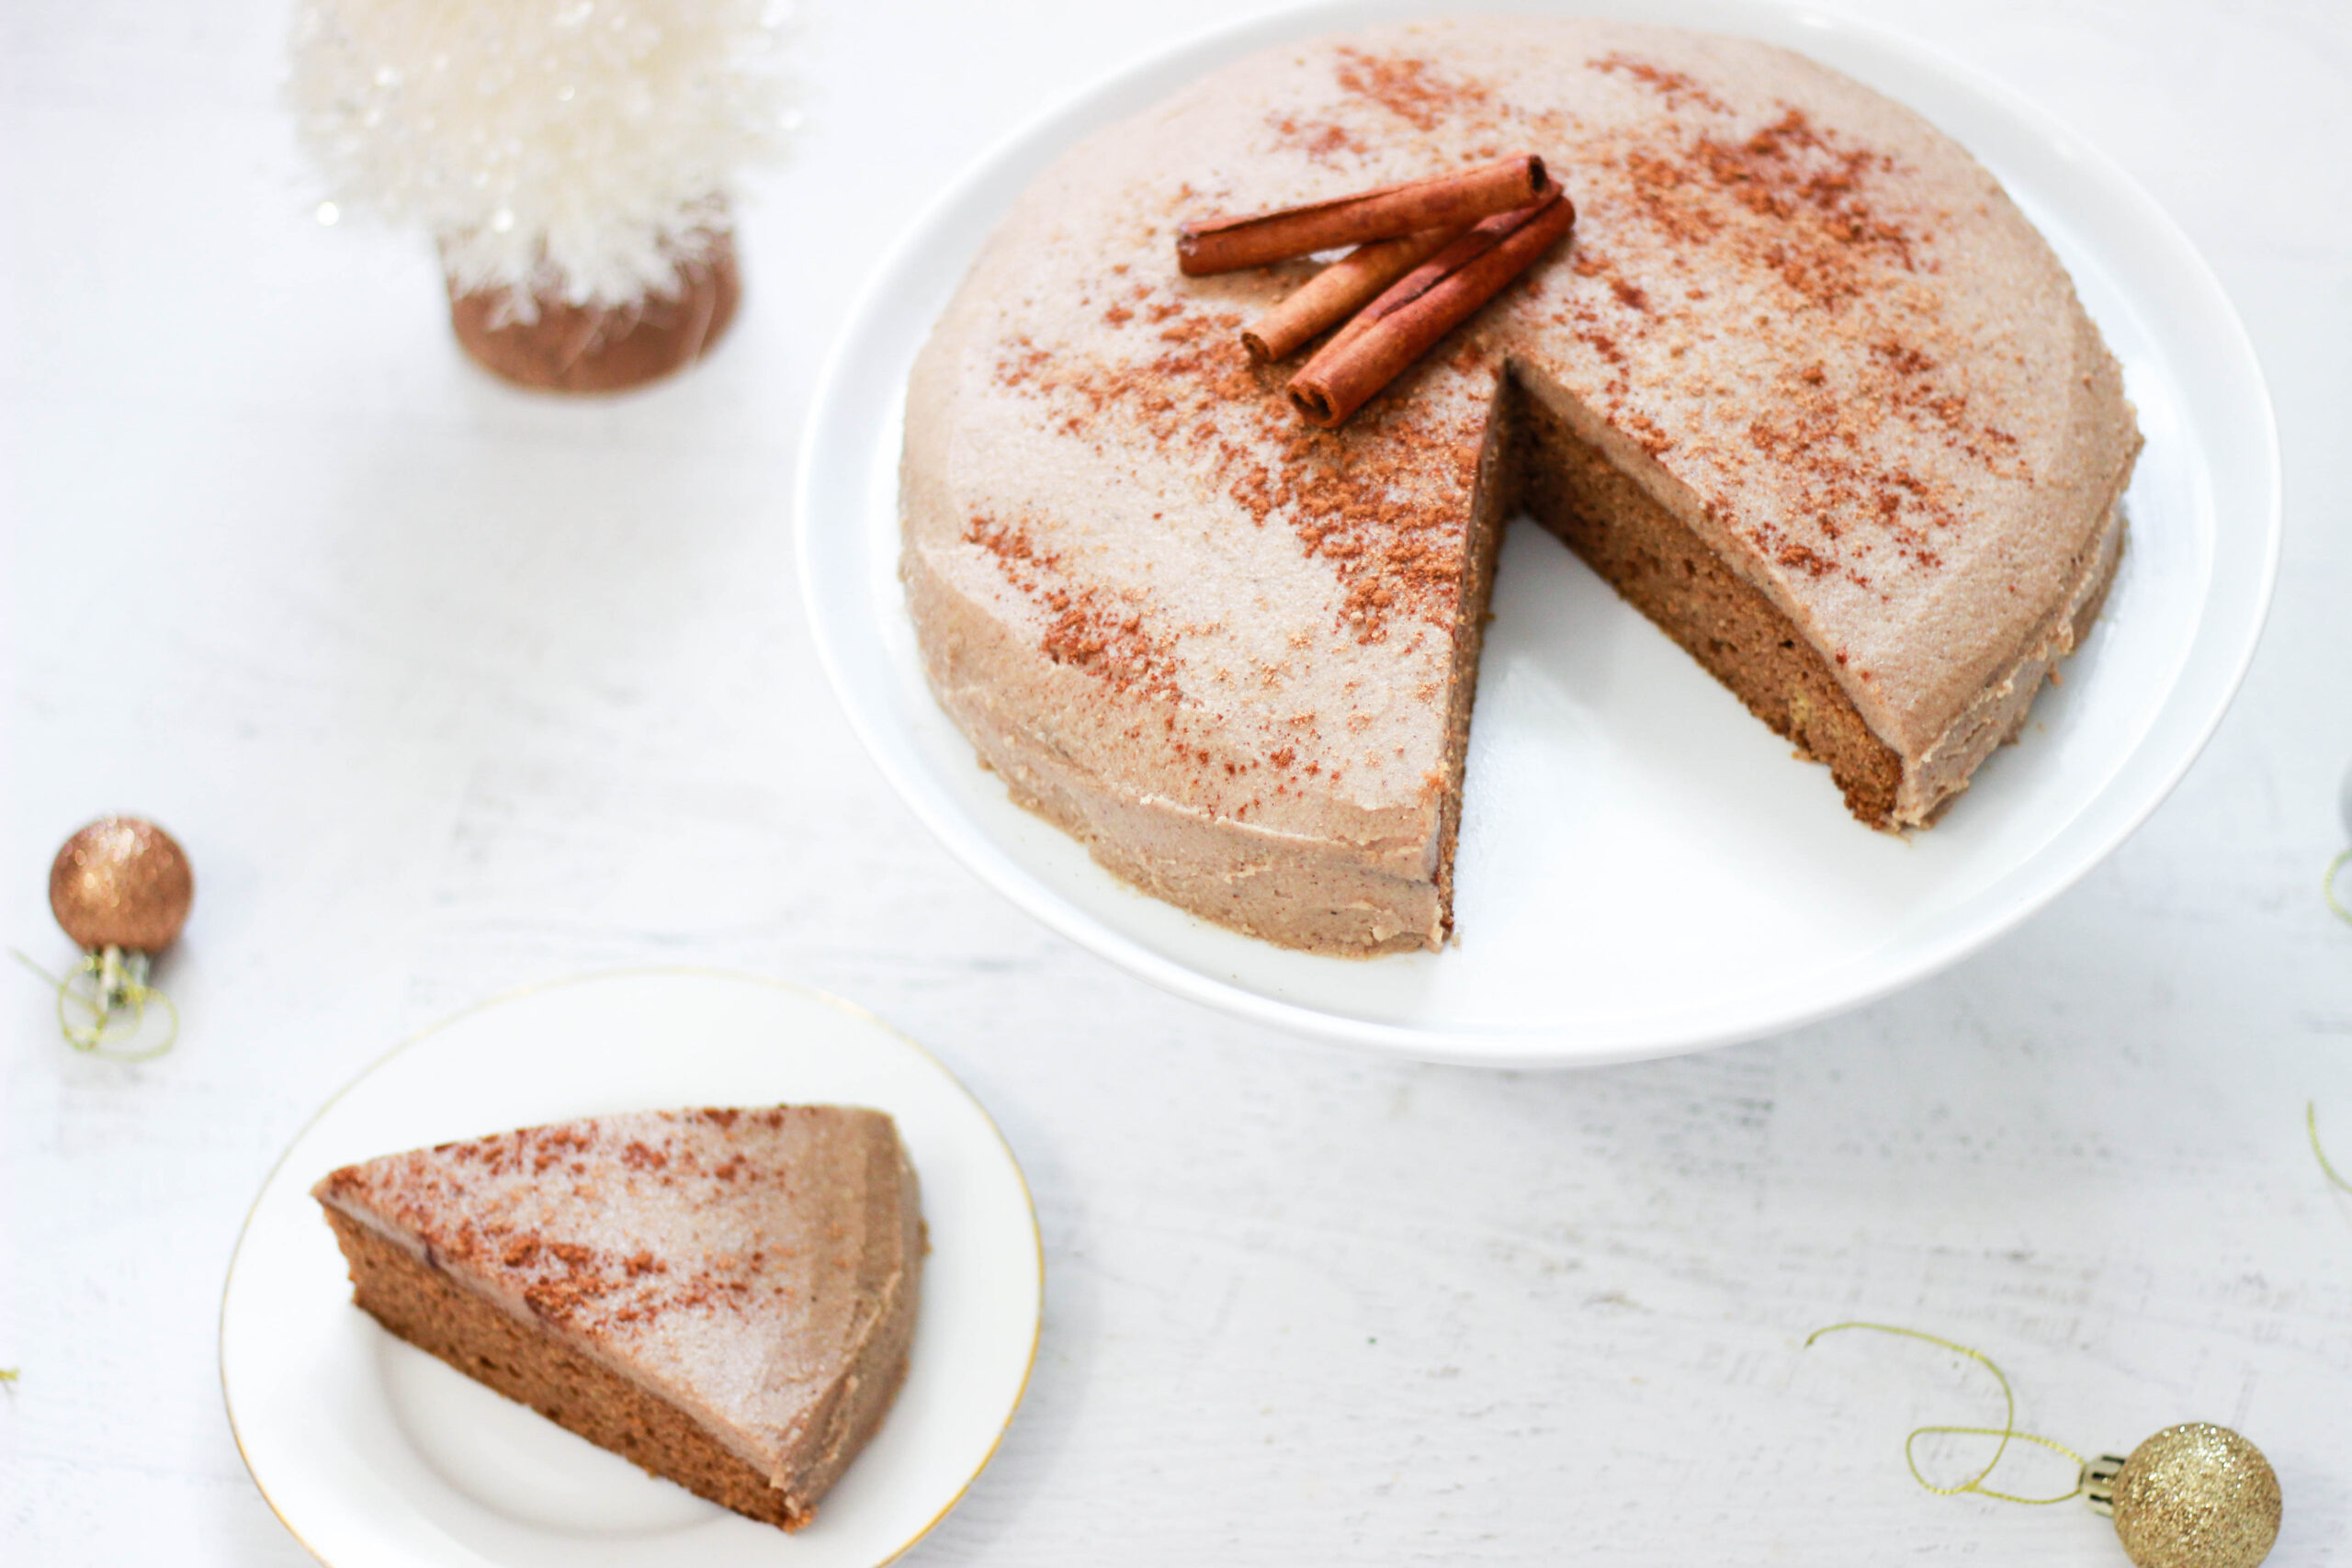
If you like eggnog, you’ll love this. If you don’t eat dairy, then you can still join in on the fun! I never want eggnog season to end. This cake is gluten-free and paleo, but I guarantee everyone will love it! It’s the perfect holiday cake!
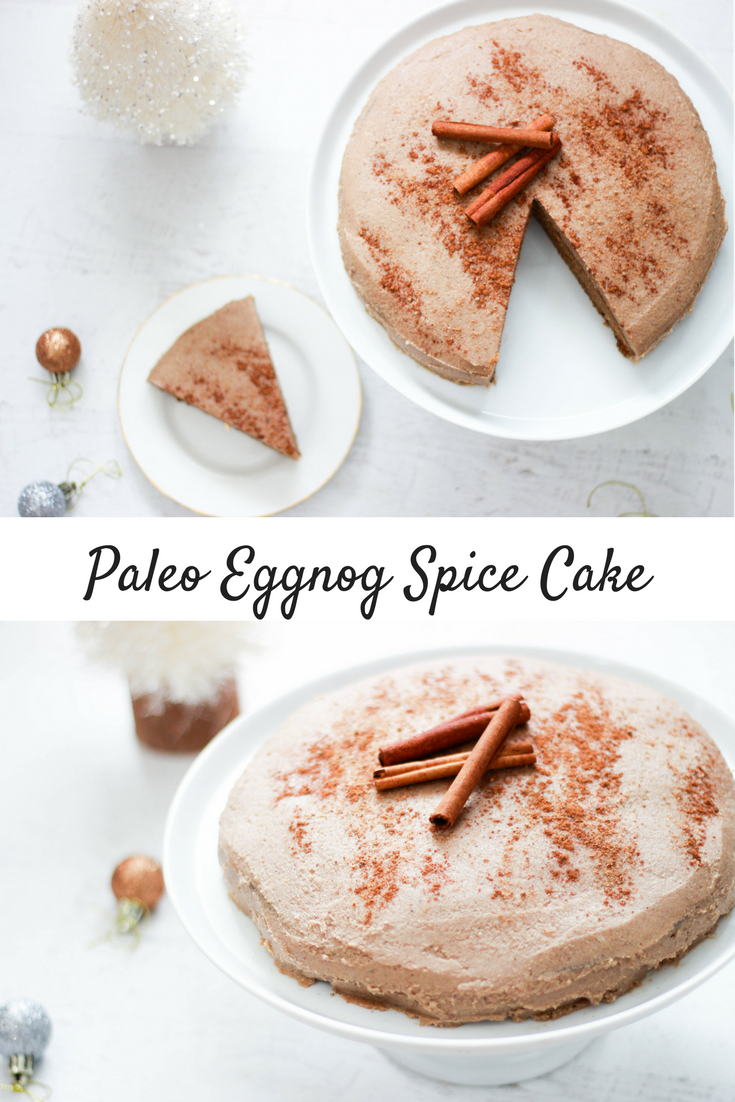
Paleo Eggnog Spice Cake
Serves: 8-10
Total Time: 50 minutes
Ingredients:
Cake:
- 1/2 cup almond flour
- 1/2 cup coconut flour
- 1/2 cup coconut sugar
- 1/2 tsp baking soda
- 3/4 cup paleo eggnog
- 4 eggs
- 2 tsp vanilla
- 1/4 tsp salt
- 1 tsp cinnamon
- 1 tsp nutmeg
- 1/2 tsp cloves
- 2 tbsp maple syrup
Frosting:
- 3/4 cup raw cashews (soak them beforehand in filtered water for 4-6 hours if you can)
- 1/4 cup coconut oil
- 5 tbsp maple syrup
- 1/2 tsp vanilla extract
- 5 tbsp paleo eggnog
- 1/2 tsp cinnamon
- 1/2 tsp nutmeg
- 1/4 tsp cloves
- more eggnog to thin if needed
Instructions:
- Preheat your oven to 350*F. Grease a round 9-inch cake pan with coconut oil.
- Make your paleo eggnog. (You can also use another recipe, regular eggnog, or vegan eggnog if you’d like.)
- Add all of the cake ingredients into a large bowl and mix them together thoroughly.
- Pour the batter into the cake pan.
- Cook the cakes for about 30 minutes, or until the edges are brown and a toothpick comes out clean.
- While the cakes are cooking, make the frosting.
- To make the frosting, blend all of the frosting ingredients in a food processor until the frosting is smooth. This will take a few minutes. Make sure you scrape down the sides as you process the mixture so everything gets mixed. Store the frosting in the fridge until ready to use.
- After the cakes are done cooking, allow them to cool for about 20 minutes.
- Remove the cake from the pan, and frost it! You can sprinkle a bit of cinnamon and nutmeg on top for decor if desired.
- Slice and enjoy!
- You can store leftovers covered in plastic wrap either at room temperature or in the fridge, but I prefer it stored in the fridge so that the frosting stays firmer!
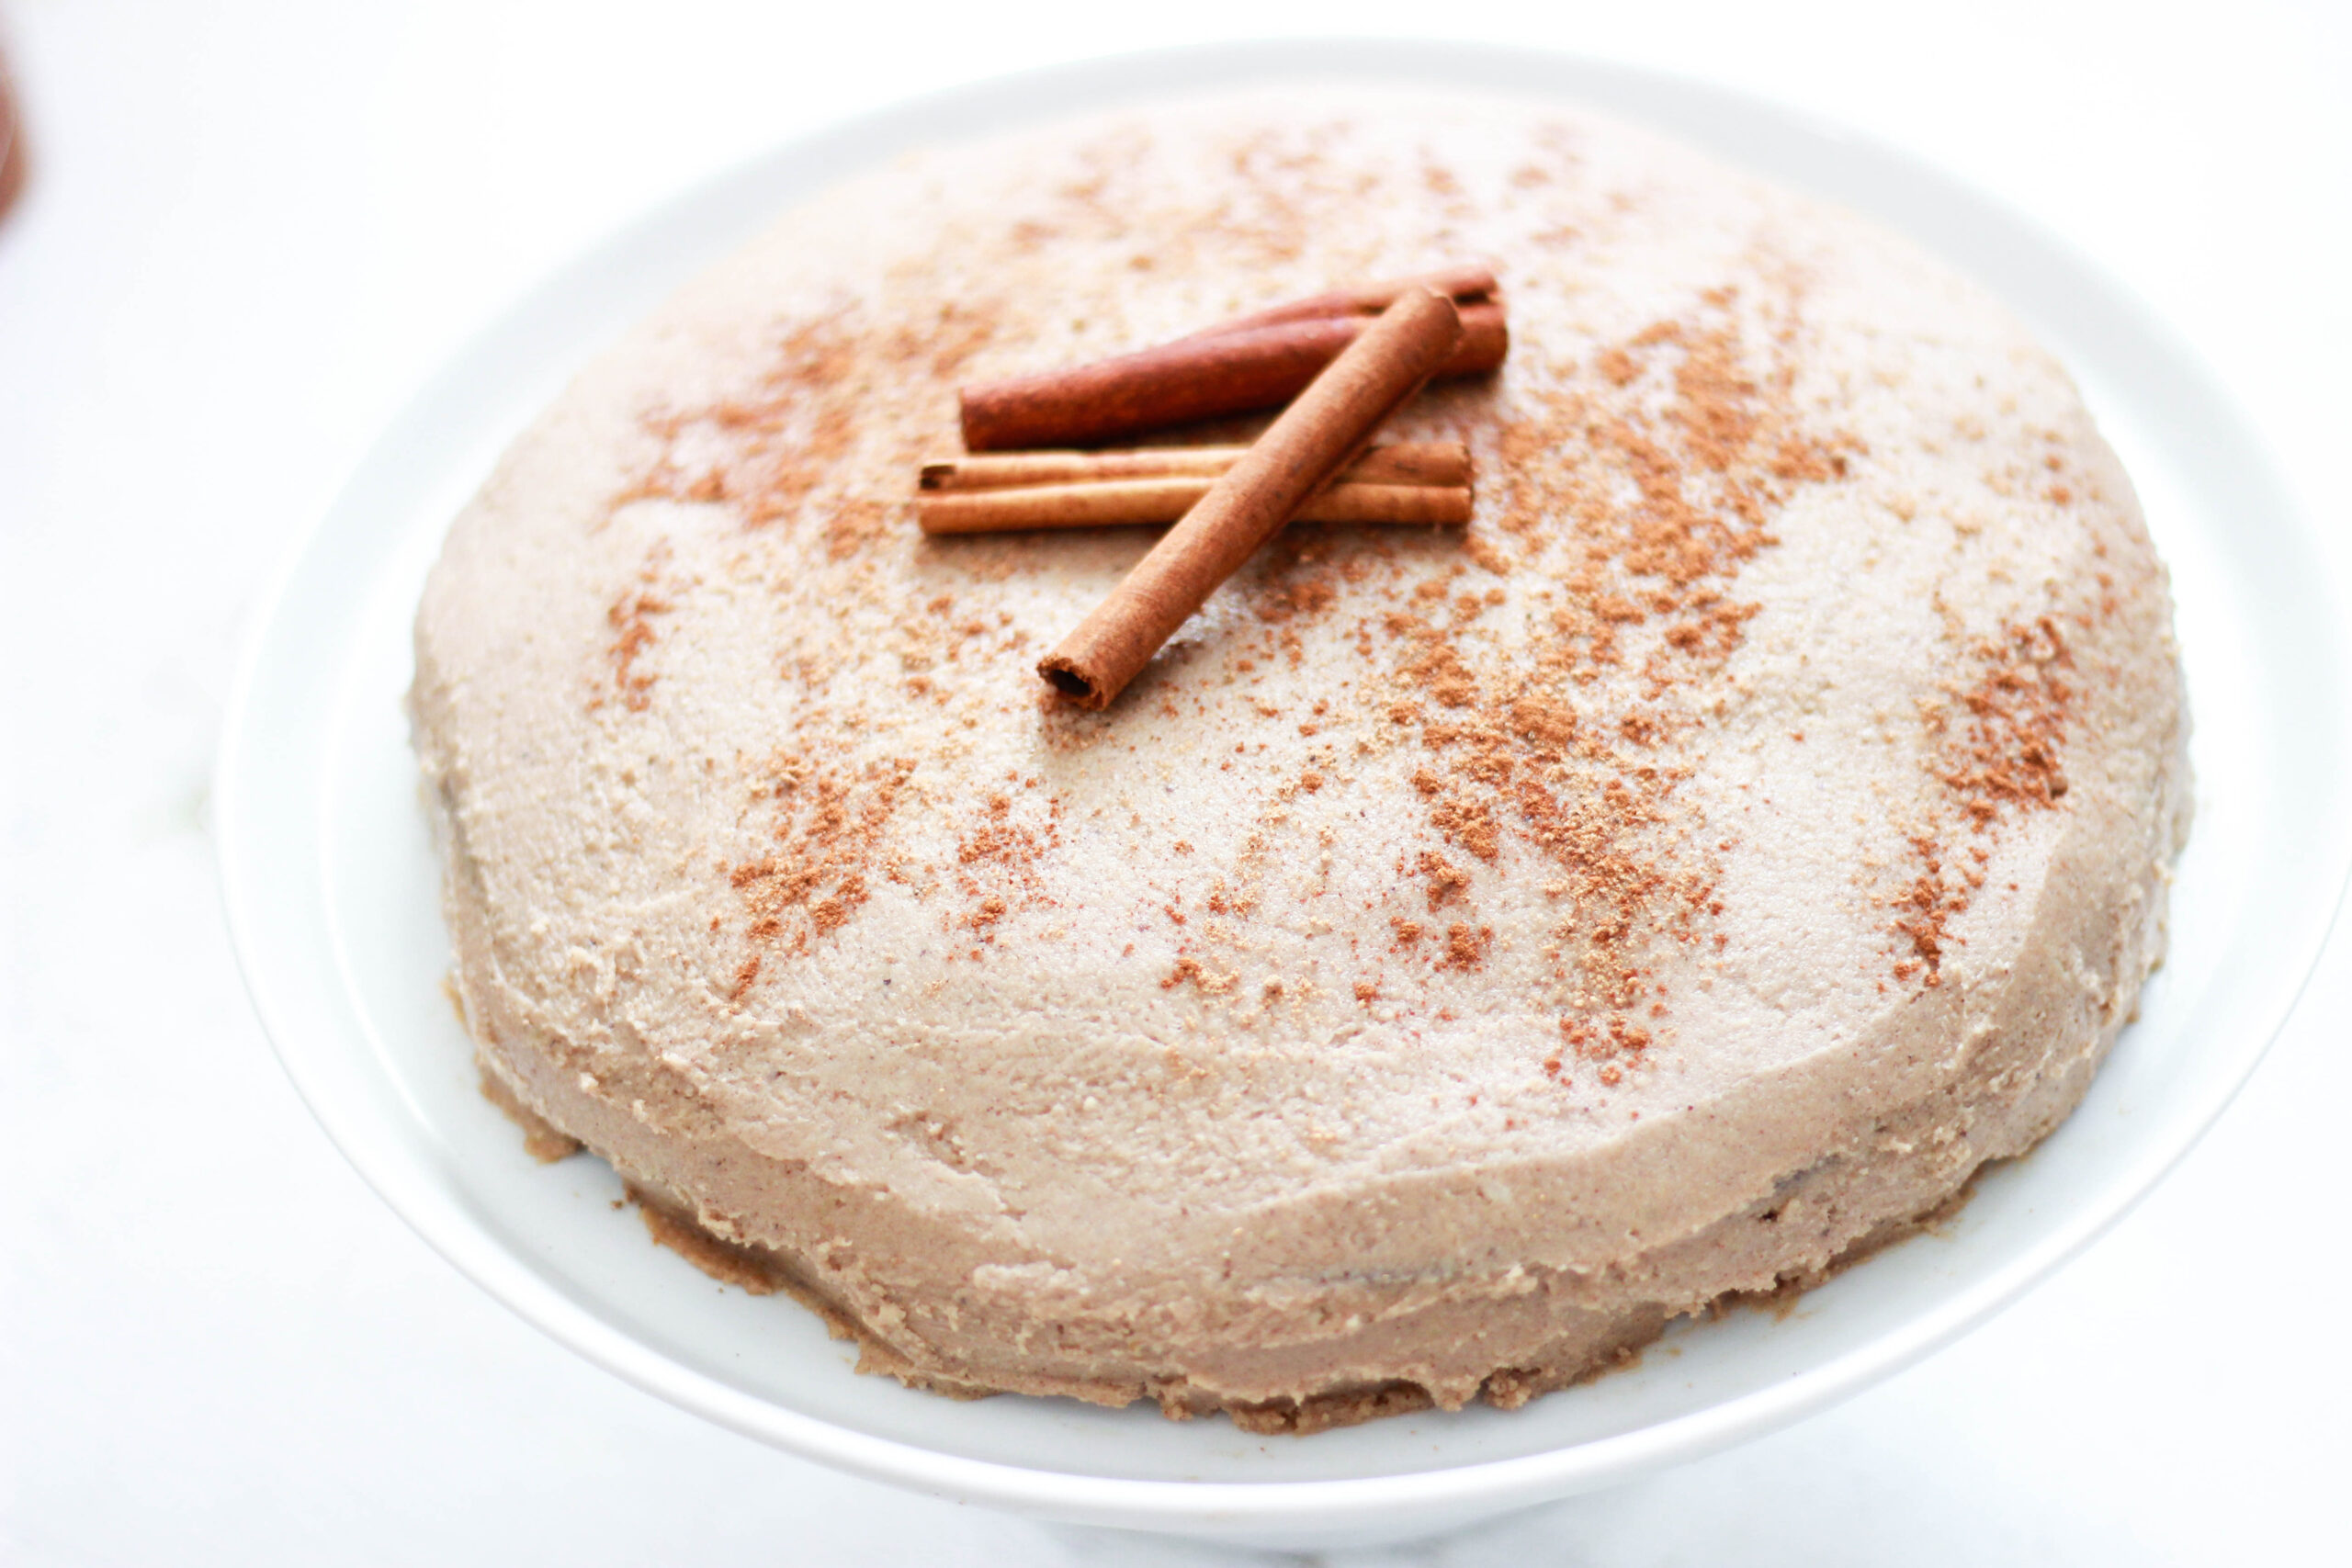
Have you ever had an eggnog cake?! If you try this recipe, be sure to tag me in any photos and let me know what you think!

by Christina | Dec 18, 2017 | Recipes, Wellness
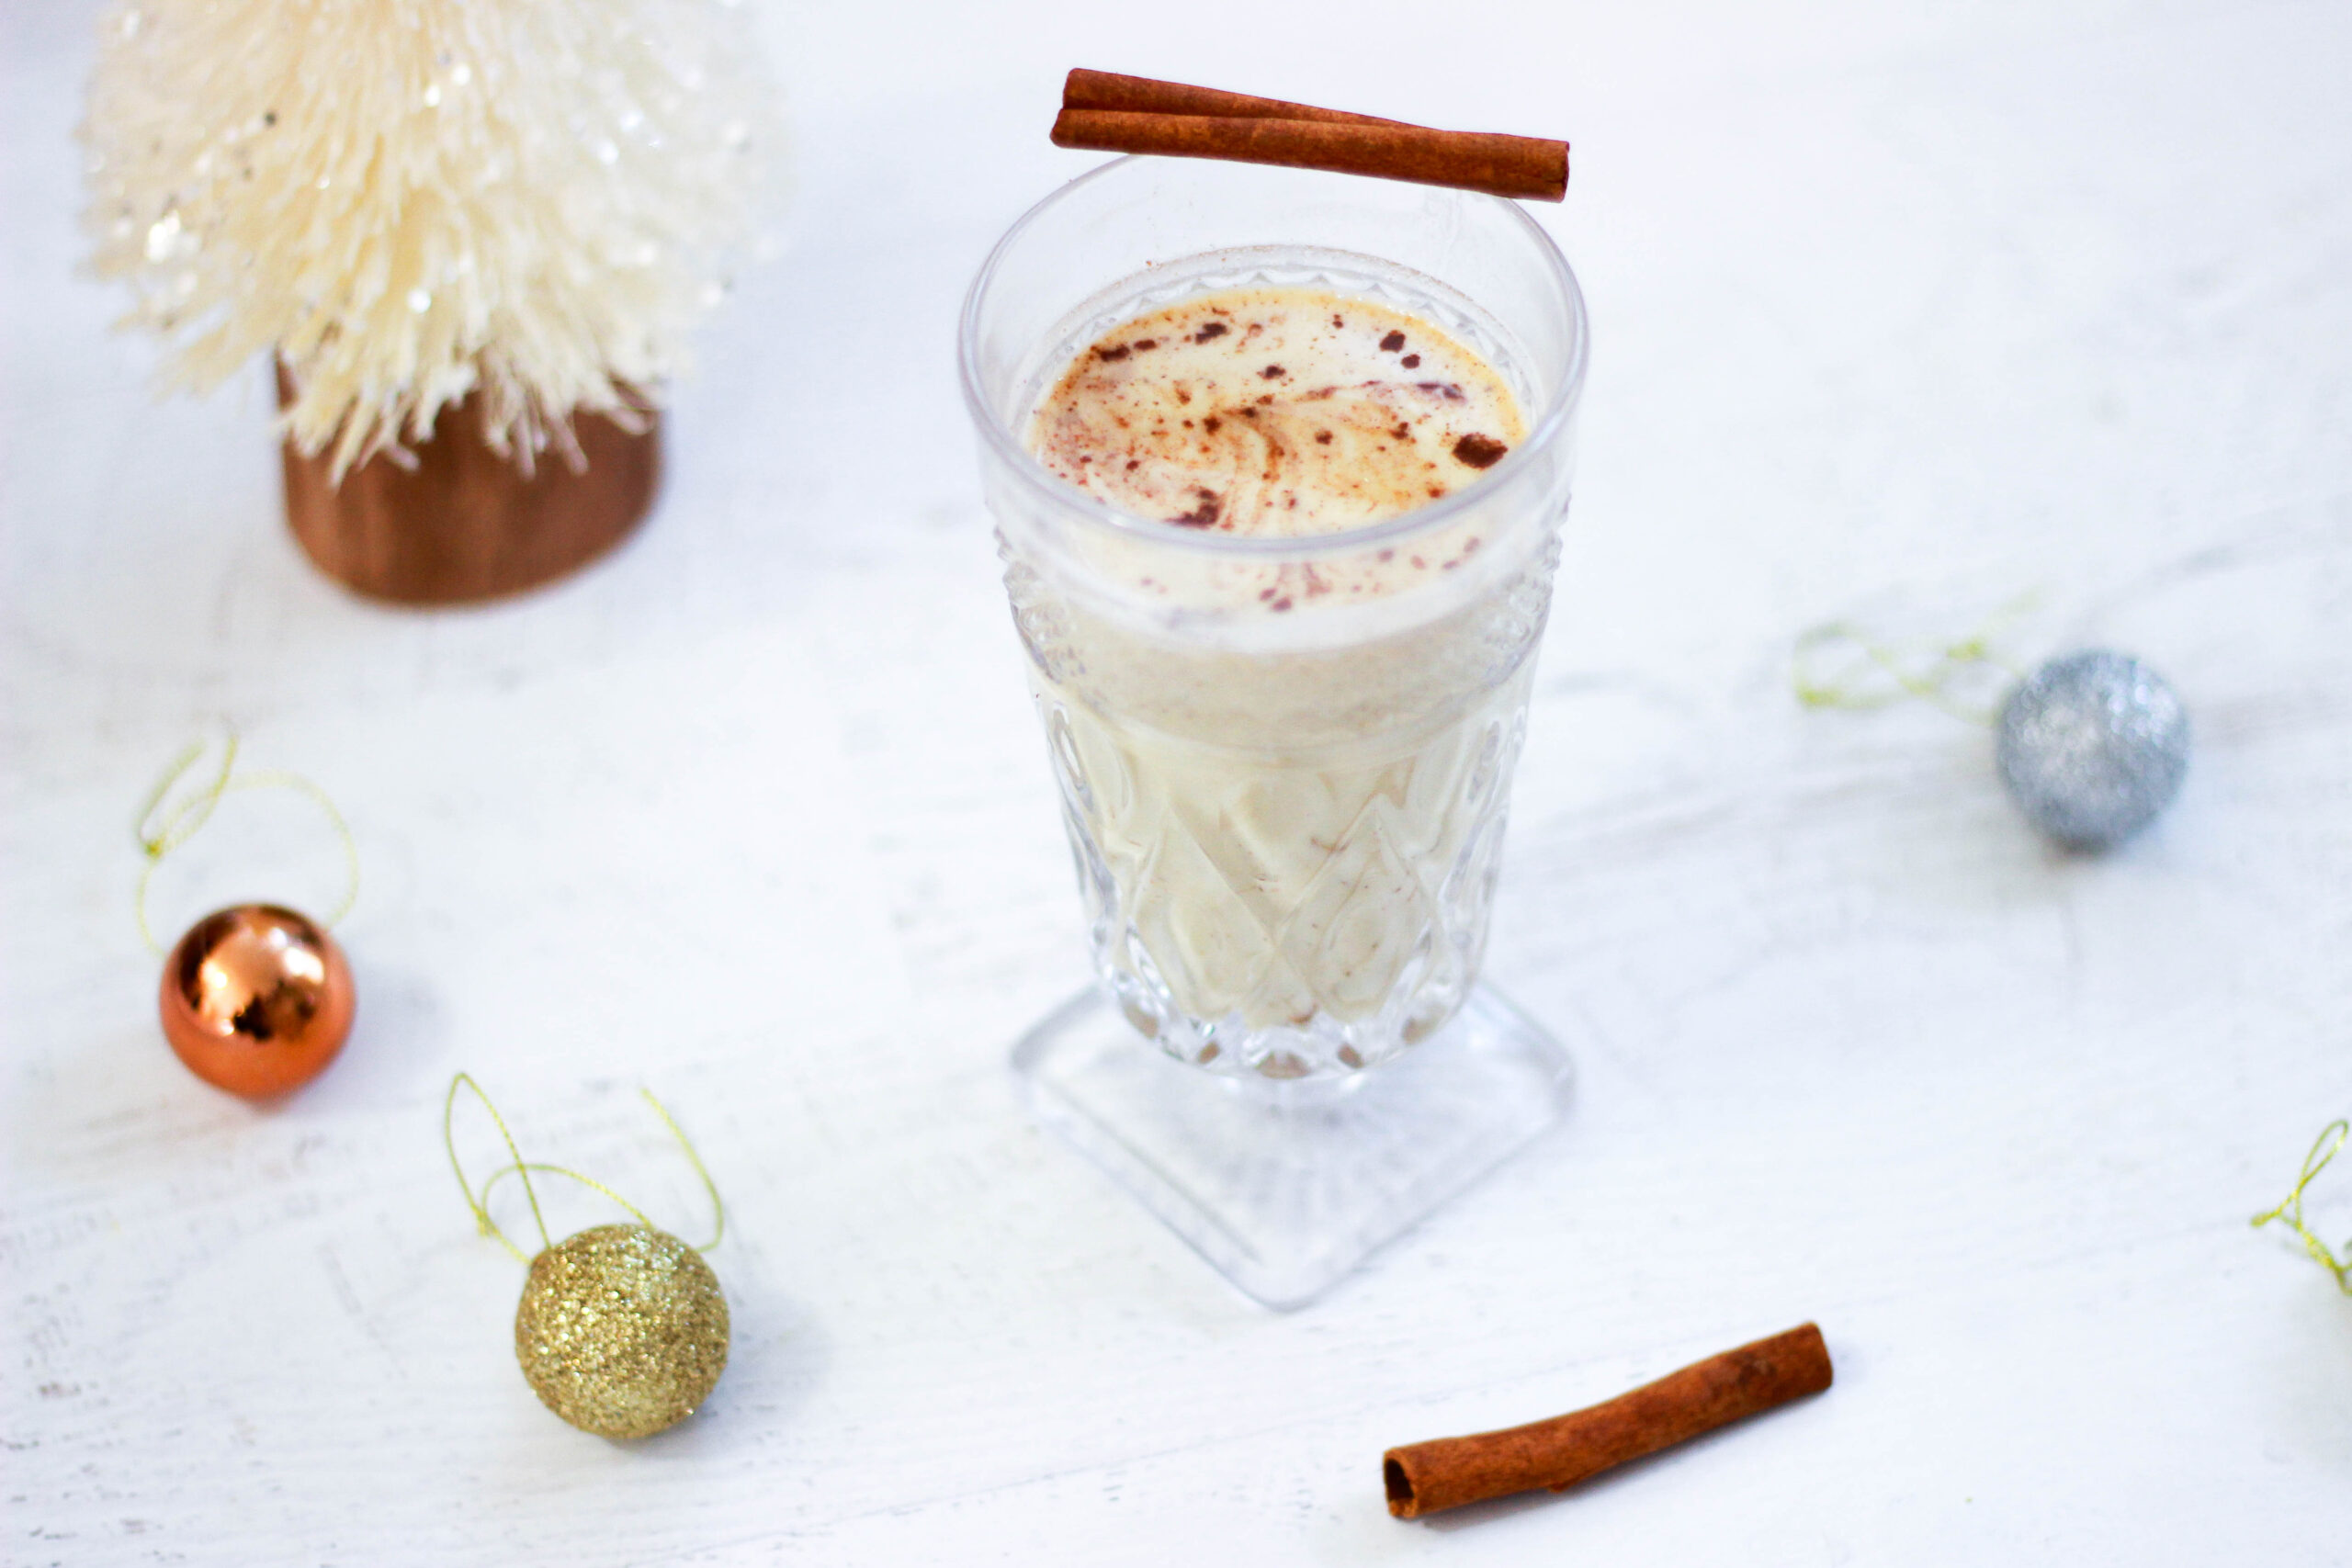
Eggnog is one of those drinks that tastes like memories. I hated eggnog when I was younger, and it honestly really bothered me that I didn’t like it. I love anything “traditional,” and I feel like hot cocoa and eggnog are the traditional holiday drinks. I wanted to love it so I could take part in the festivities… I just didn’t. It was too heavy.
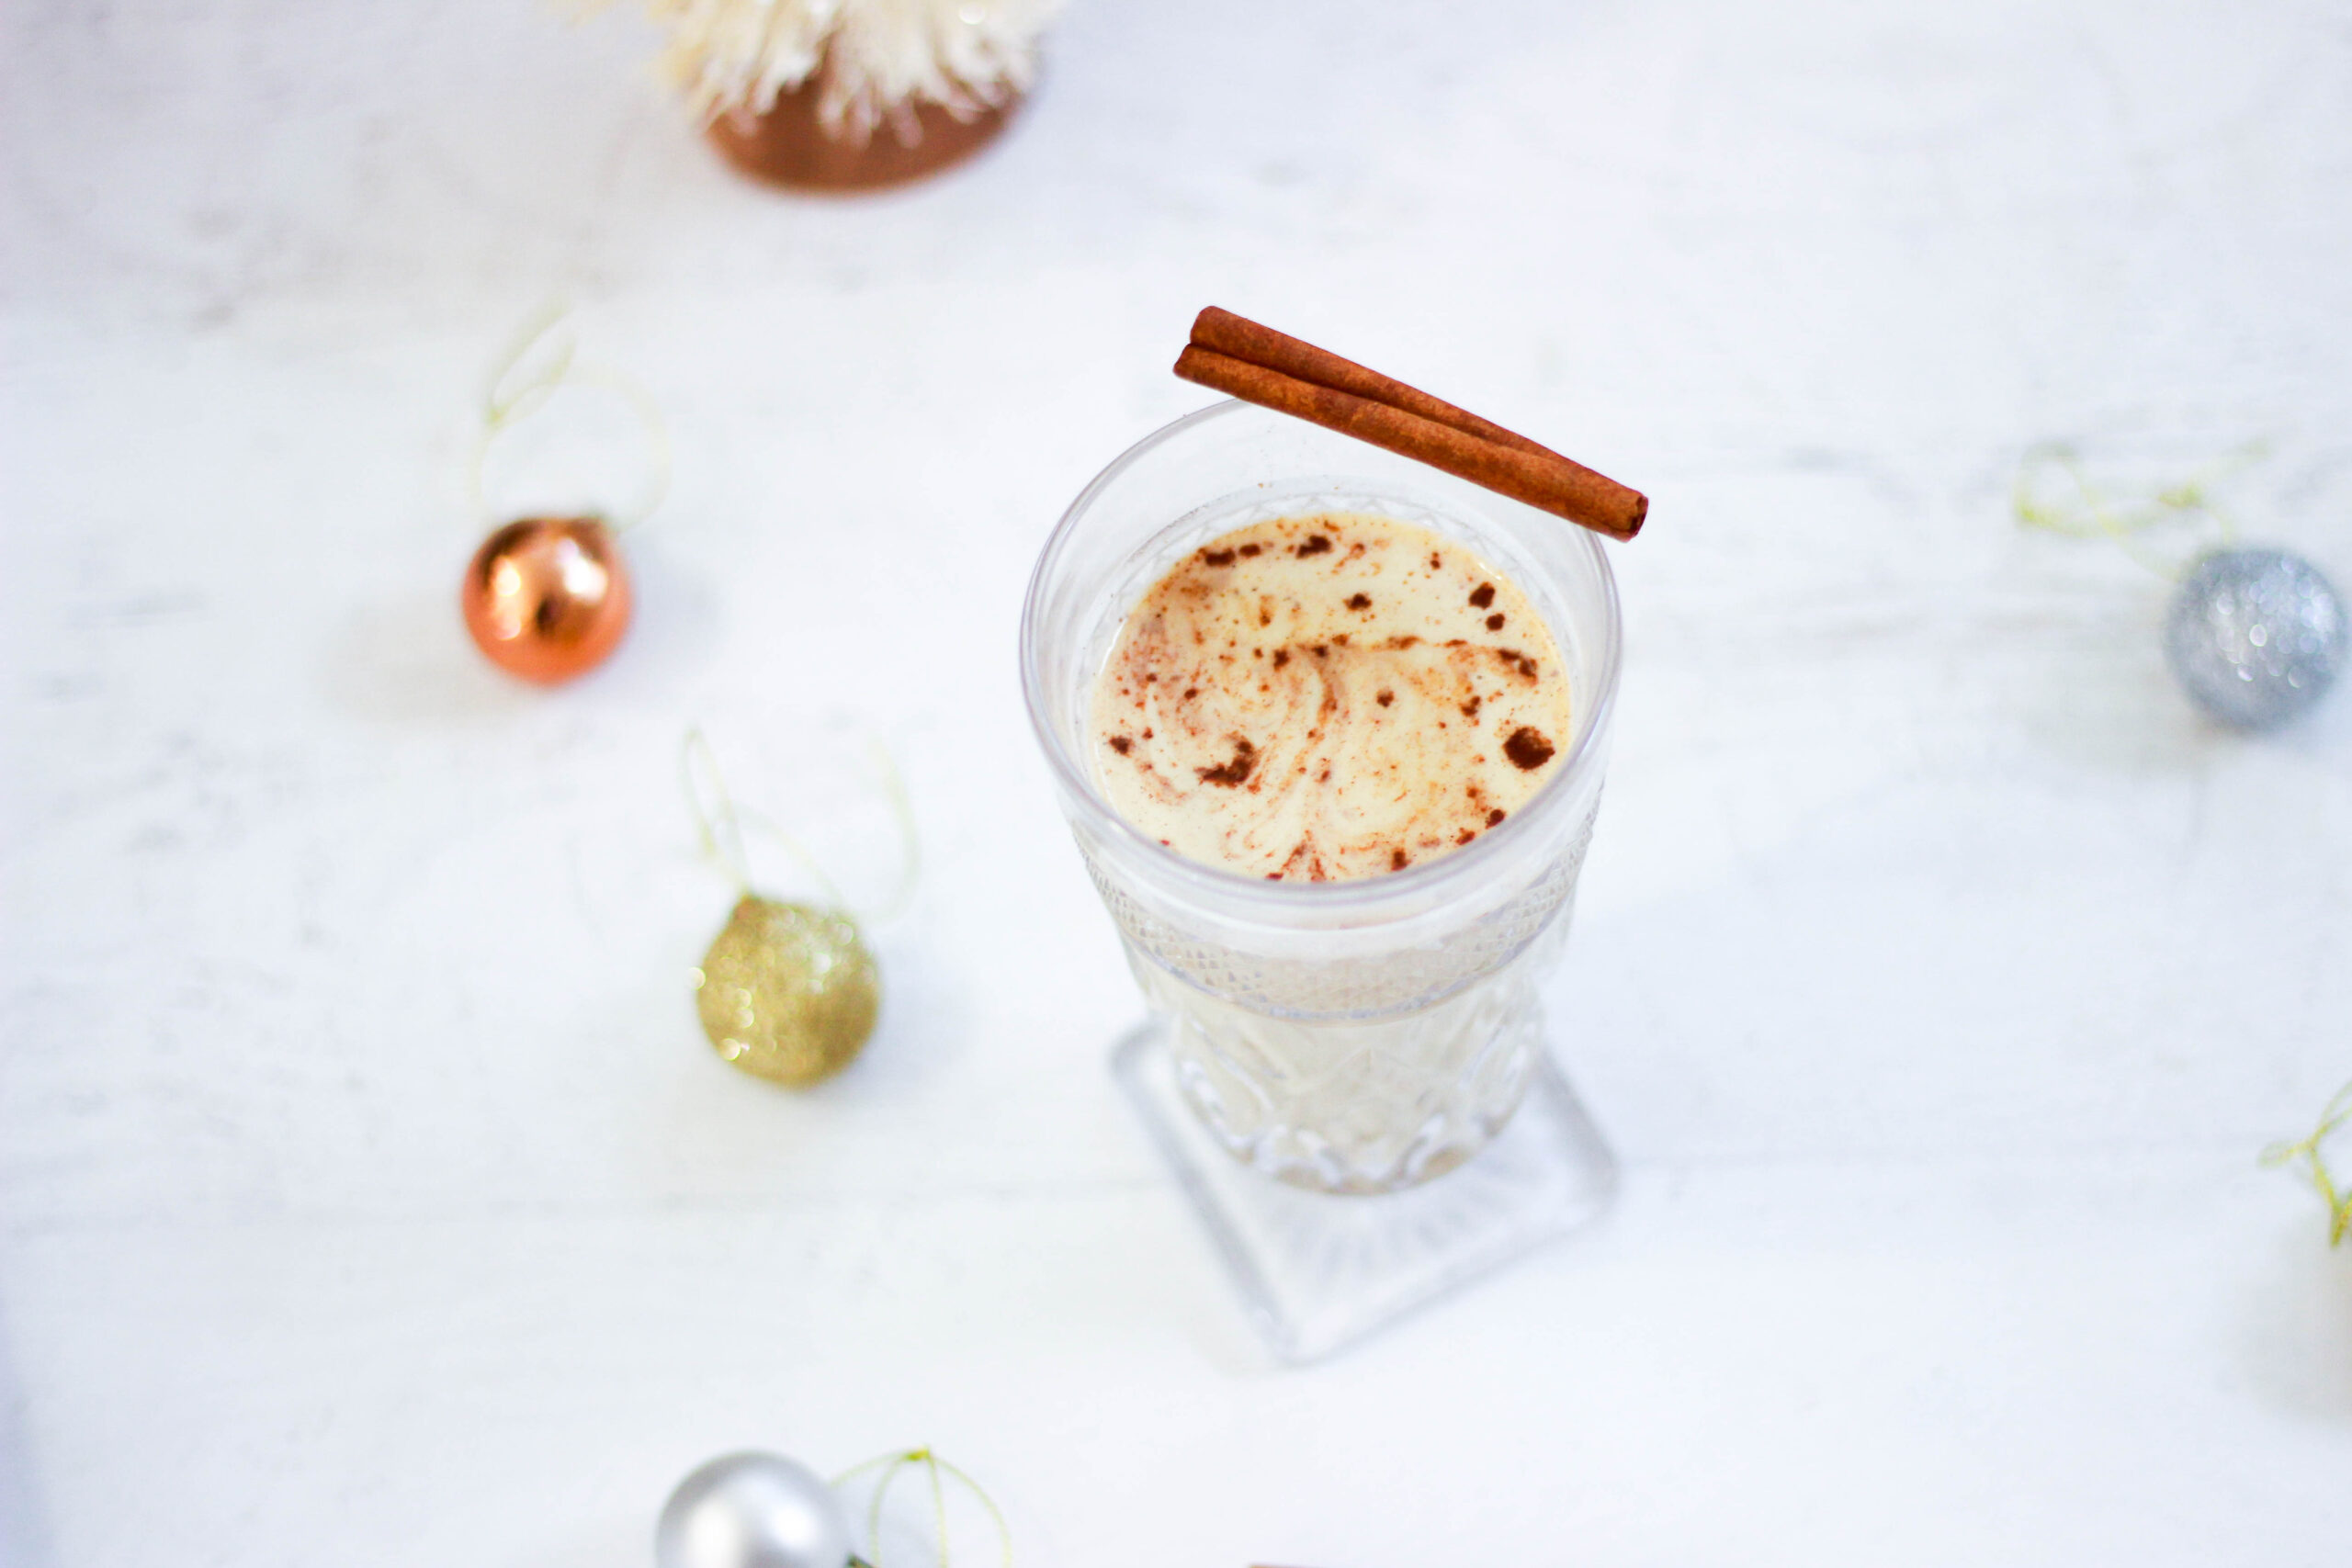
After years of my uncle trying to get me to drink some nog, I eventually decided to give it another shot when I got older. My world was changed. It was thick, creamy, and delicious. Like liquid custard in a cup! What was I thinking before?! Since then, eggnog has been one of my favorite parts about the holidays.
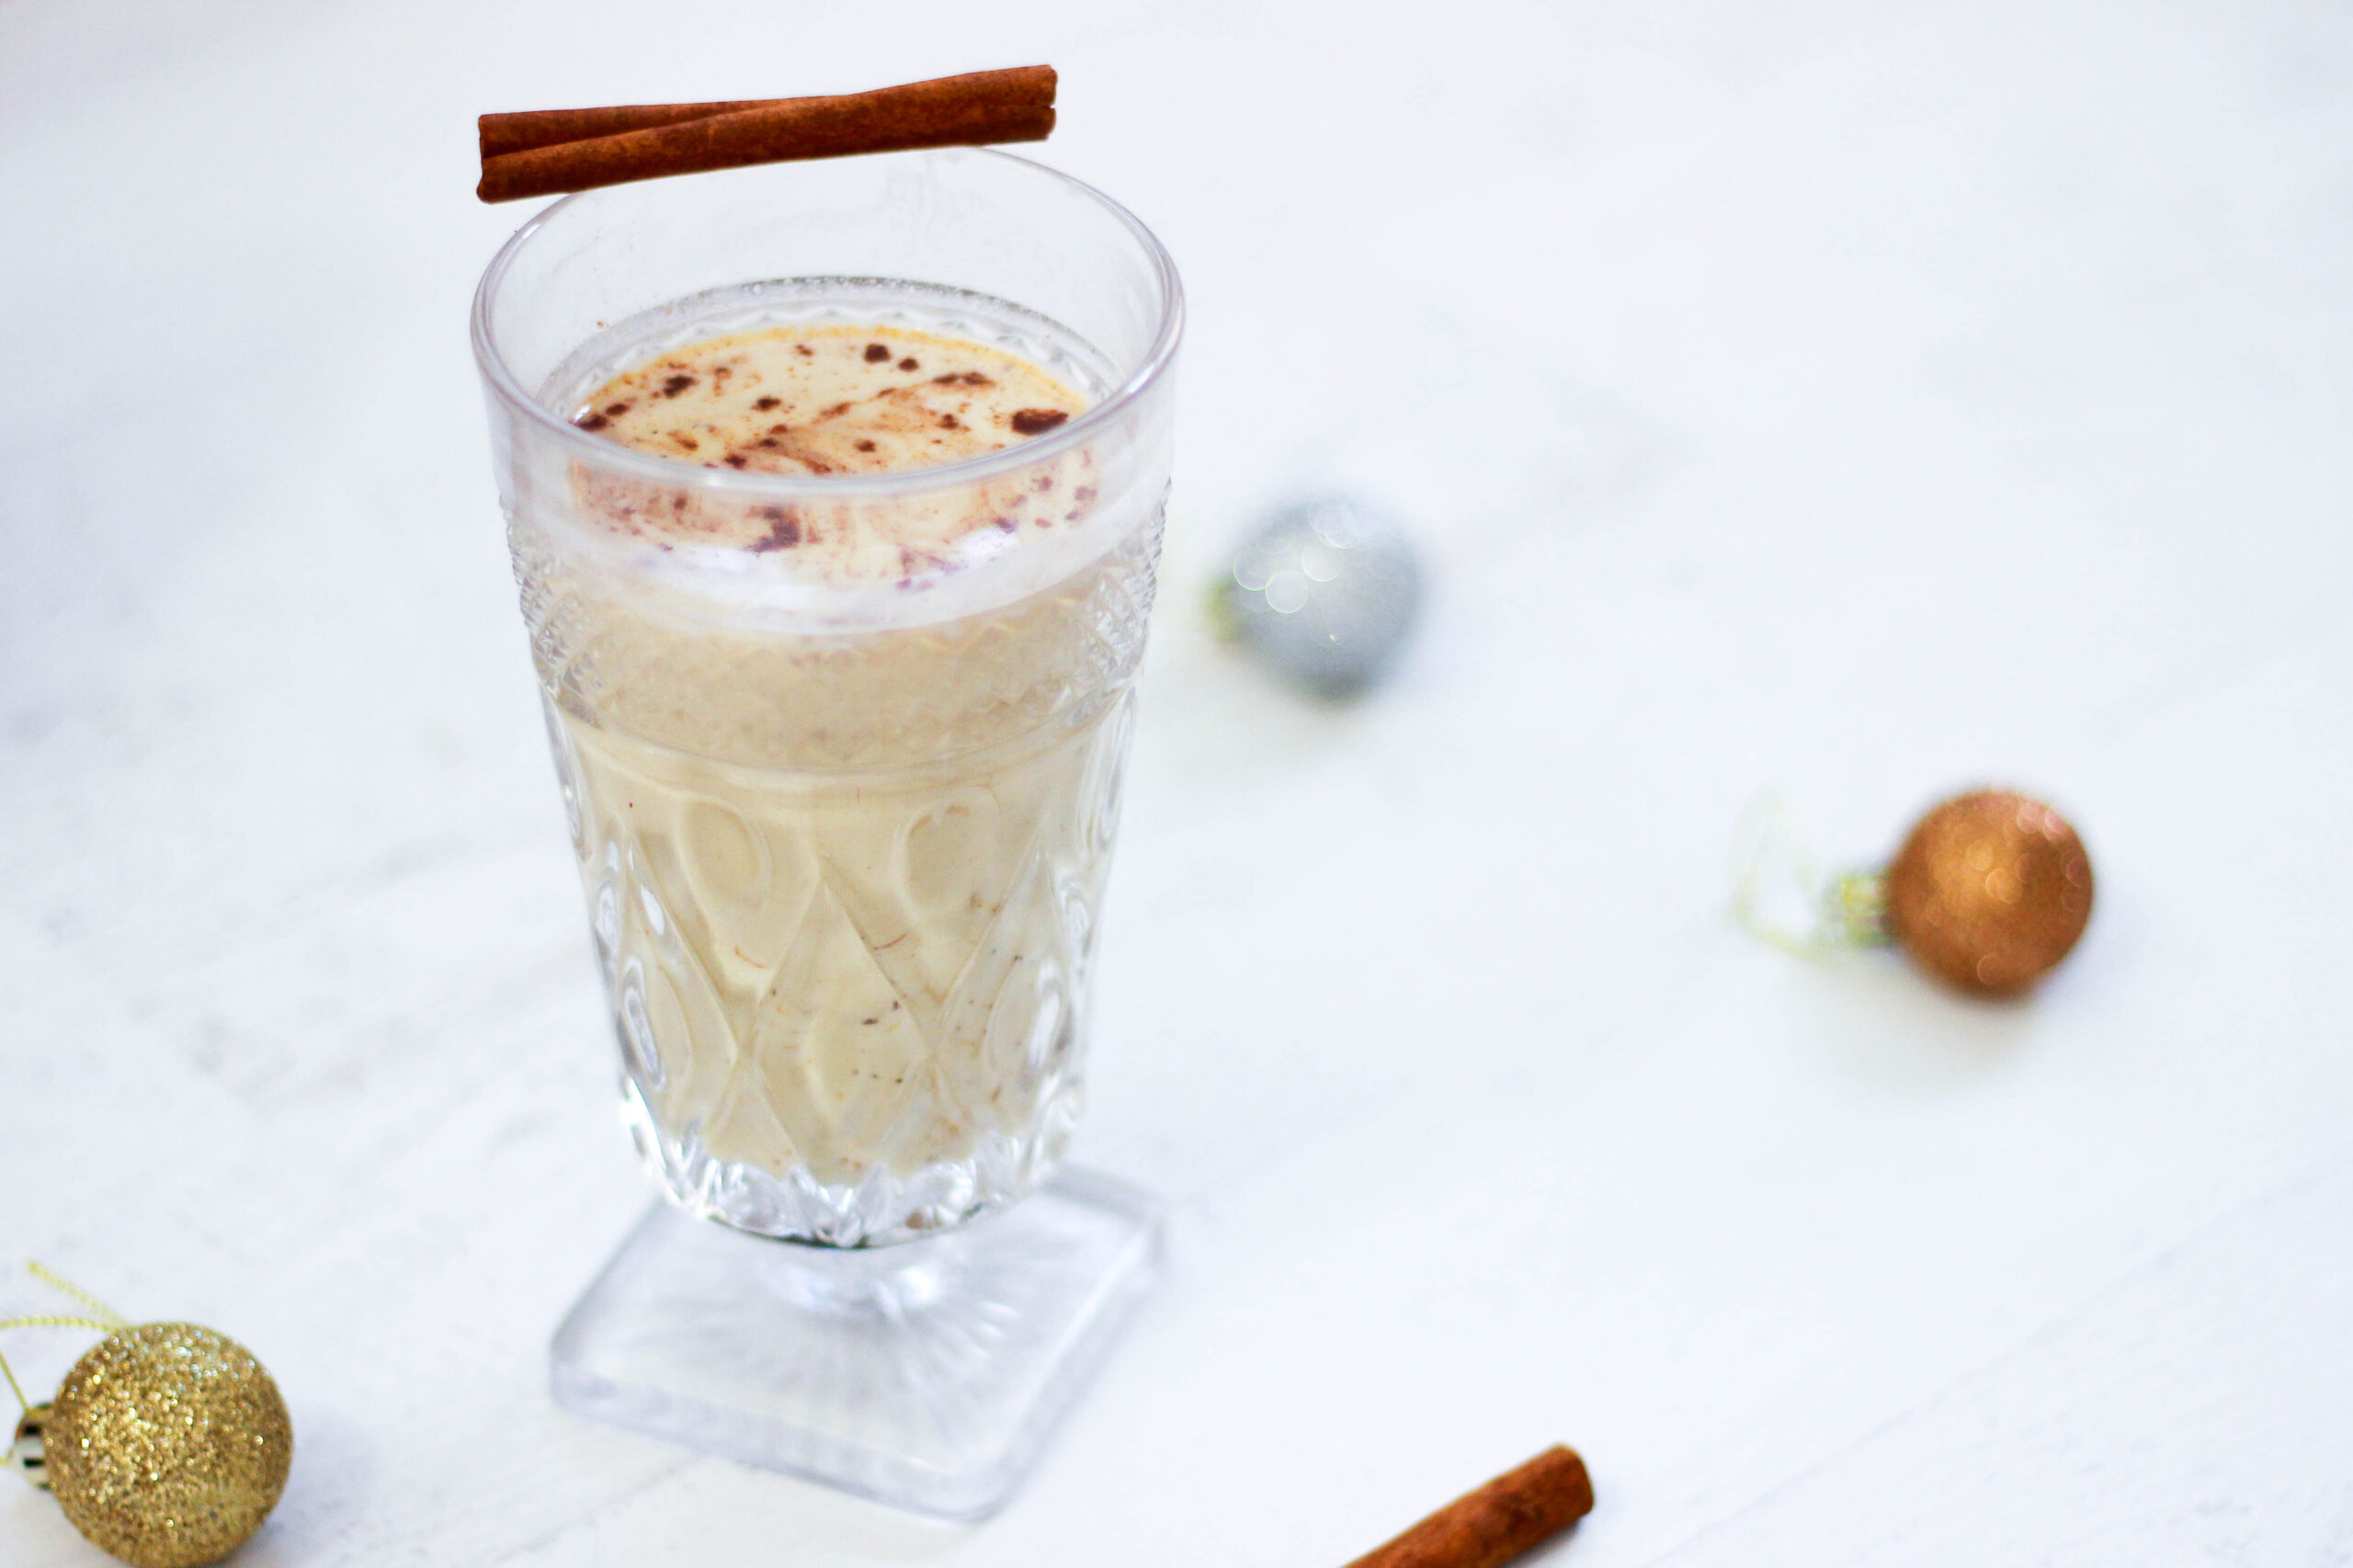
Eggnog is a very controversial drink. People either love it or hate it. If you think you hate it but haven’t given it a try in awhile, I encourage you to try again. Your taste buds might have changed! And this stuff is just too good to miss out on.
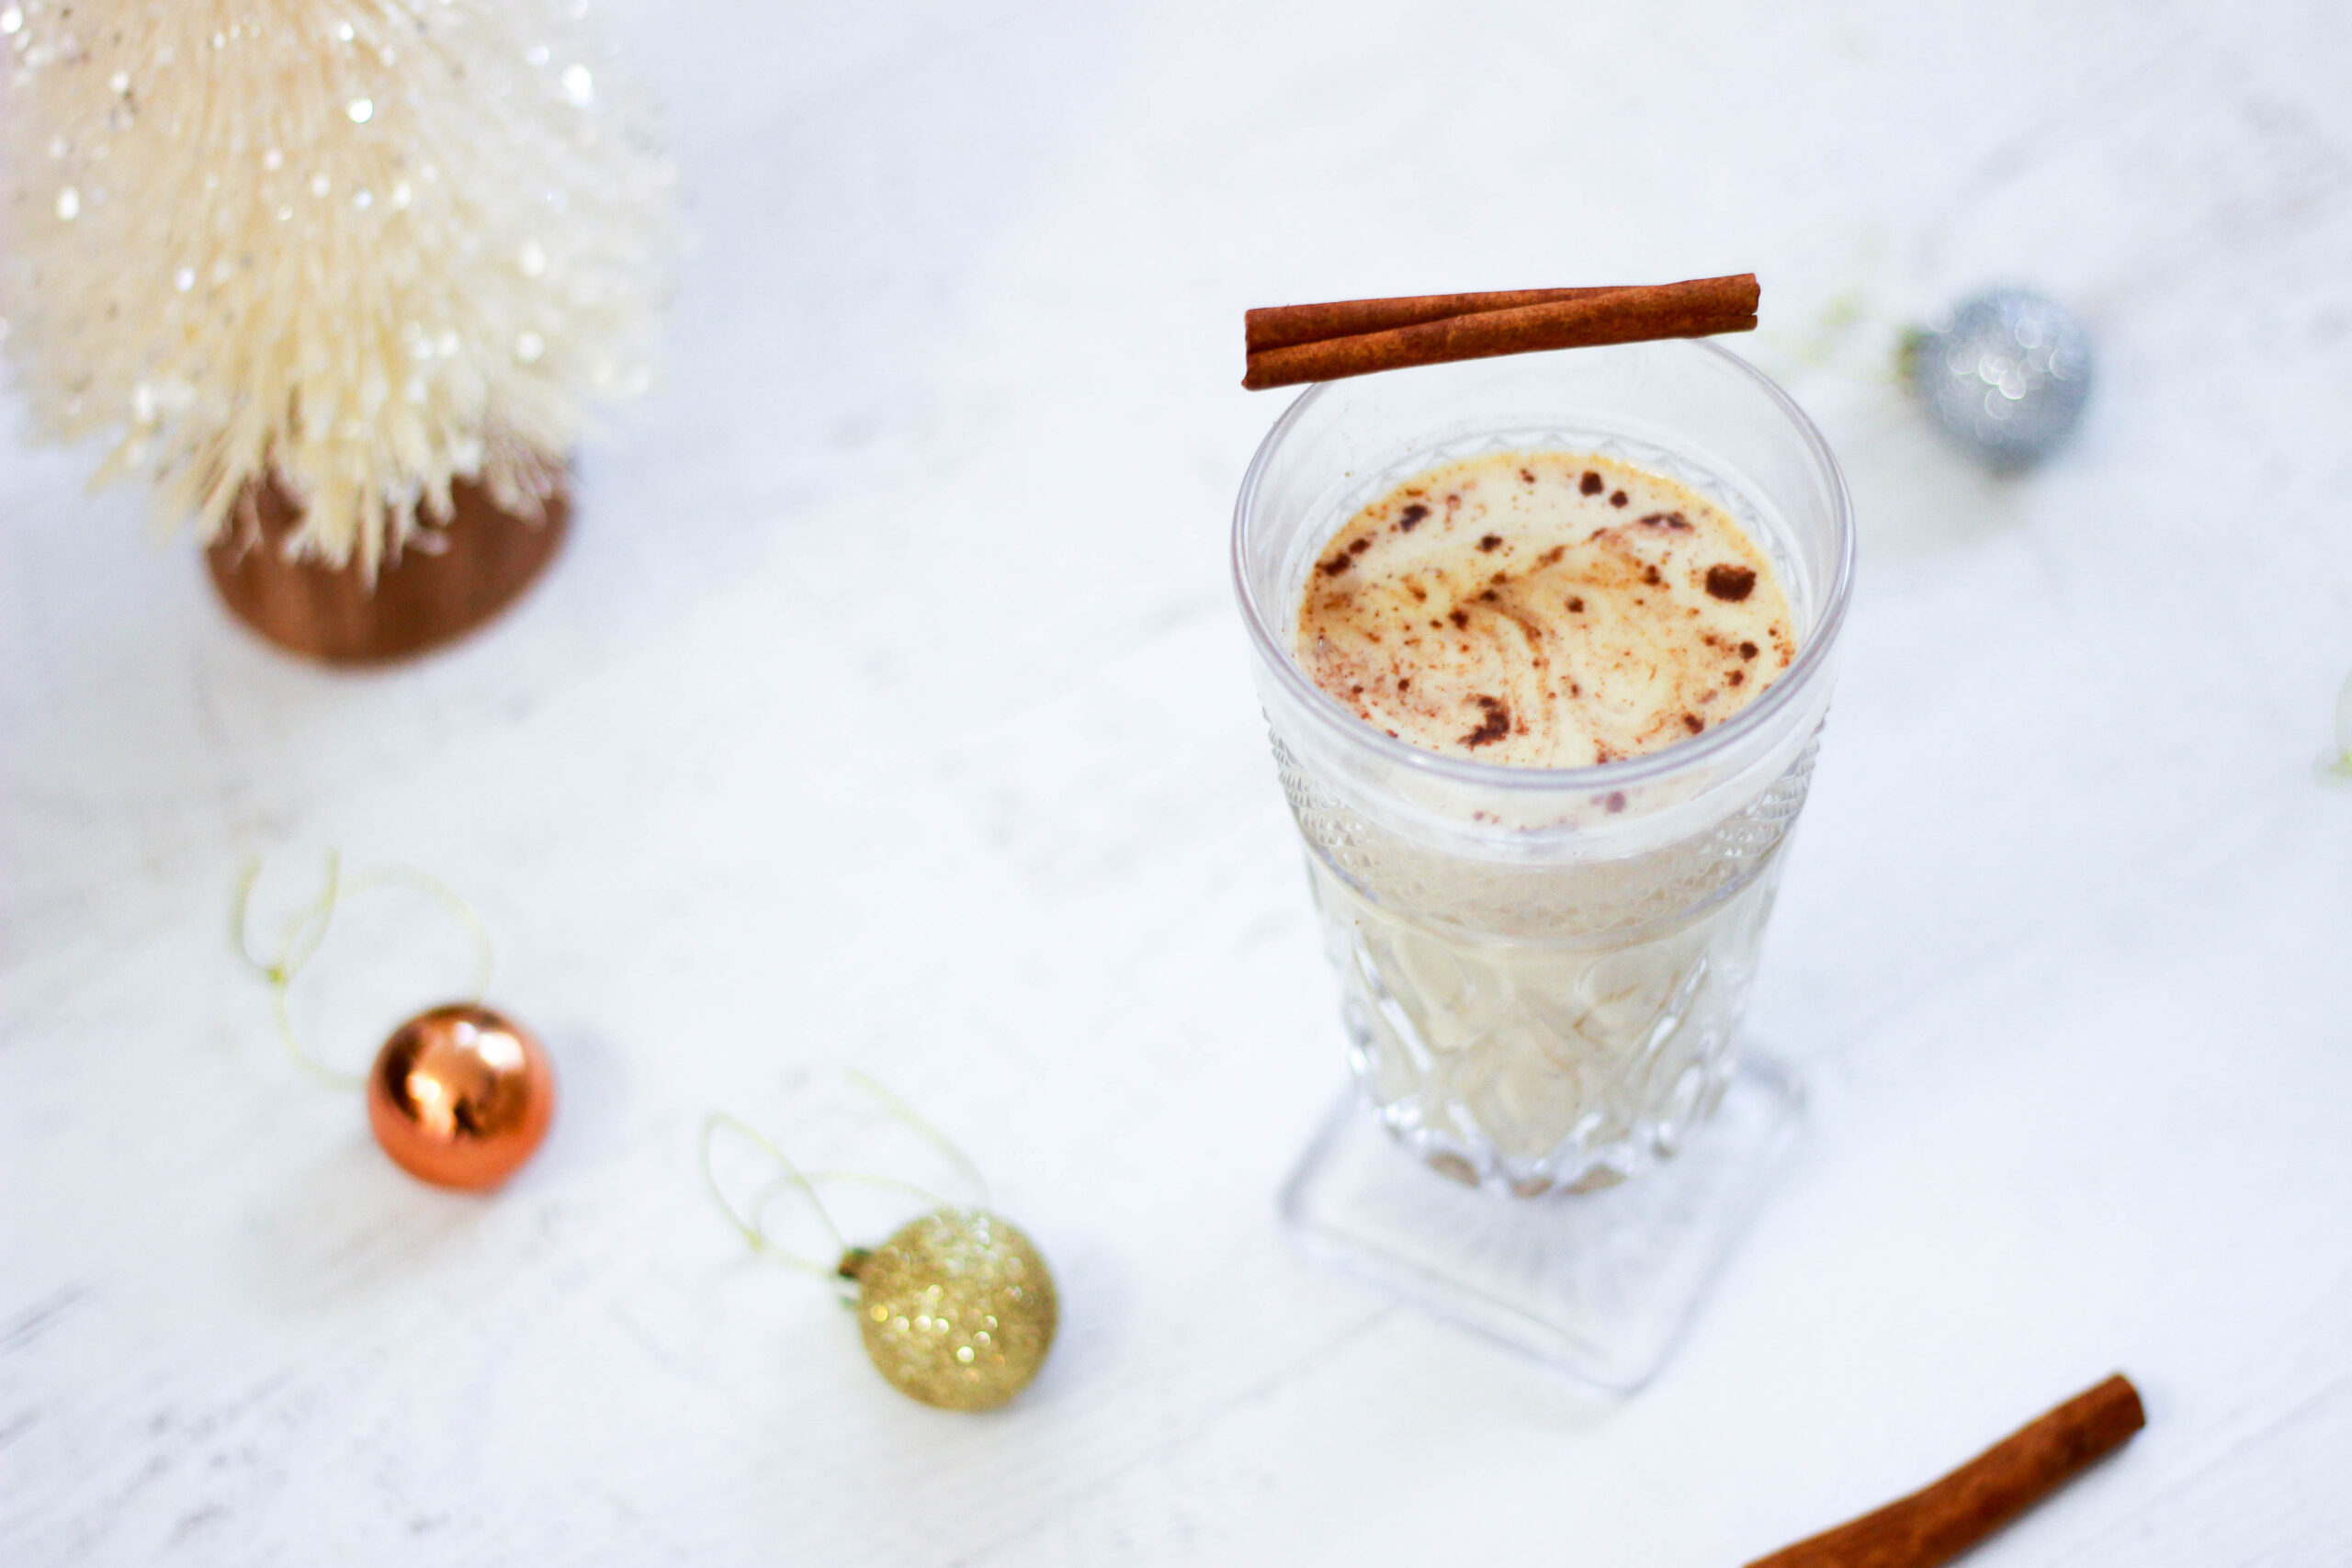
The other thing is that not all eggnogs are the same. I know the exact carton I used to love prior to going dairy-free, and I remember all of the other options at the store just did not taste the same. I would only drink that one specific eggnog.
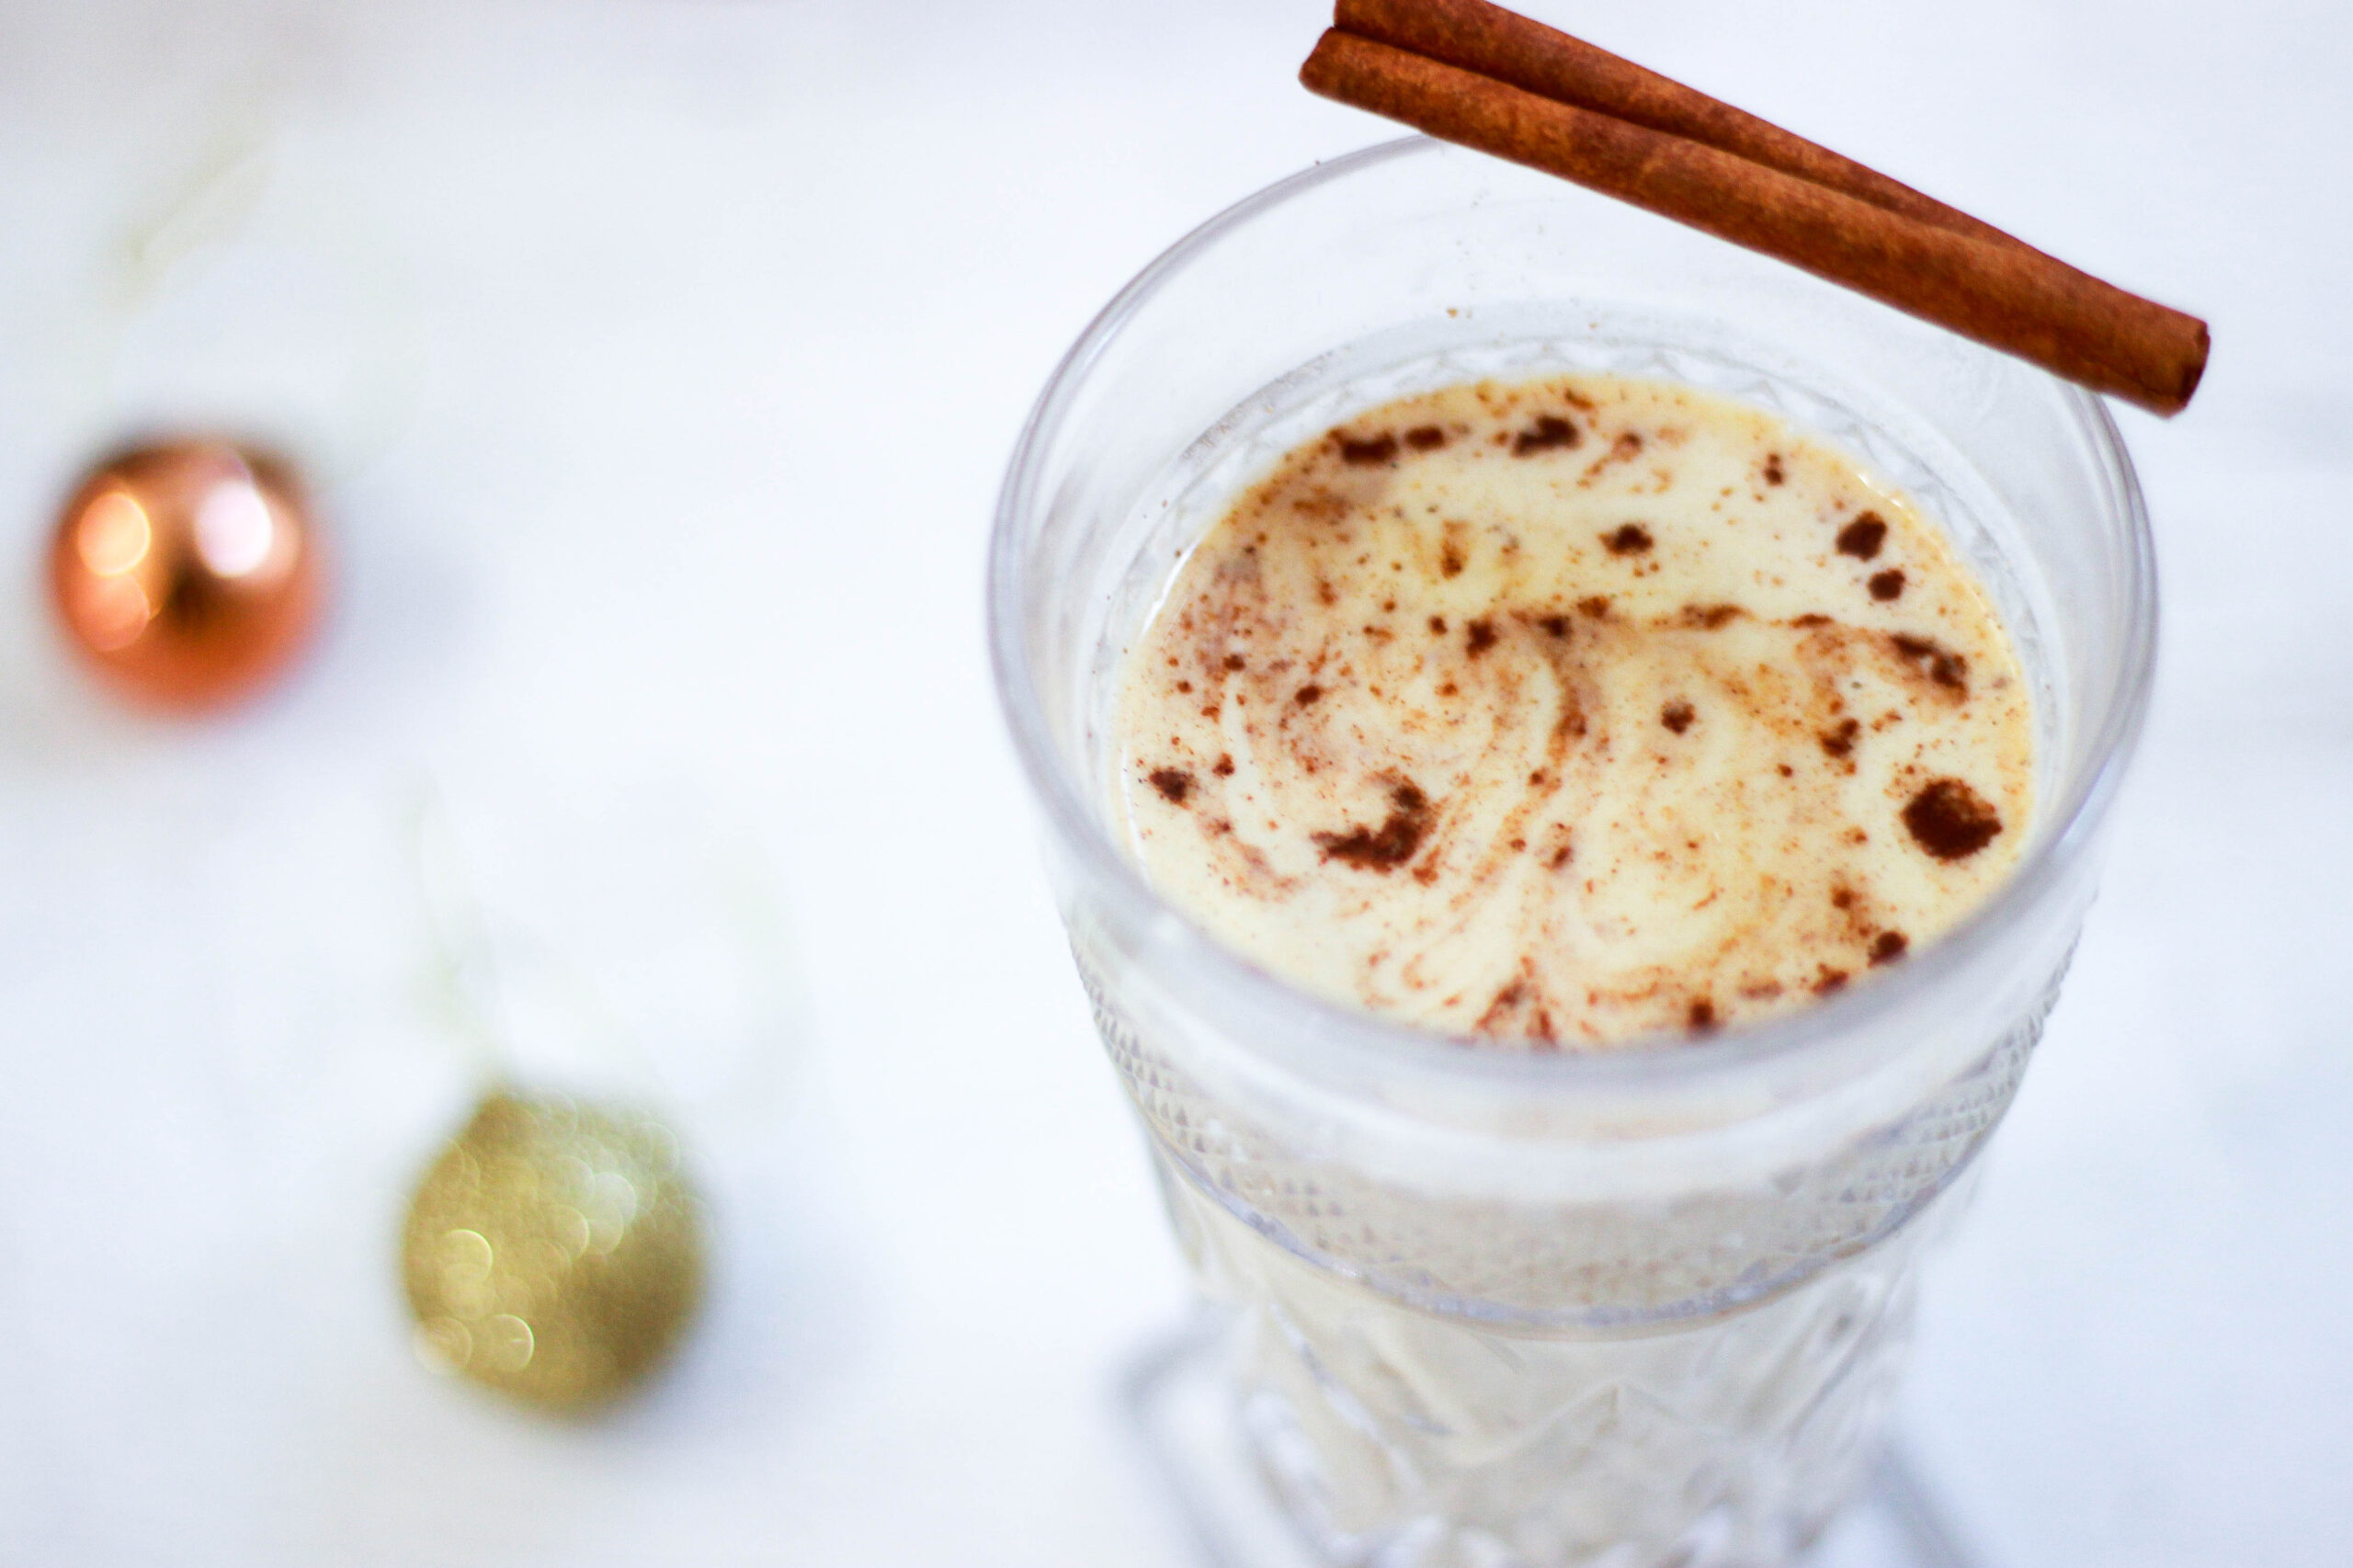
Since going dairy-free, I’ve tried a few different eggnog replacements. Some are actually pretty good, but nothing ever tastes exactly the same as I remember. Most dairy-free eggnogs at the store are also vegan, and they’re usually an almond milk base. That means they’re pretty thin. So even if the taste is on point, the texture isn’t there. Besides that, there are always extra gums and thickeners, and usually a ton of sugar.
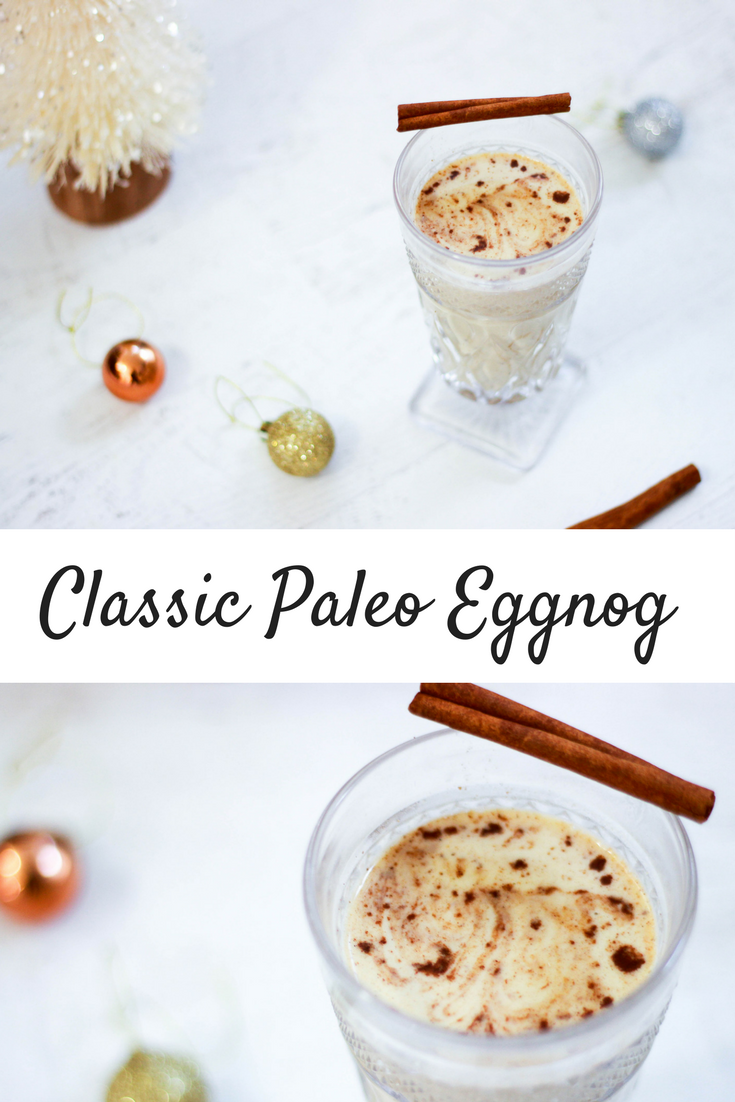
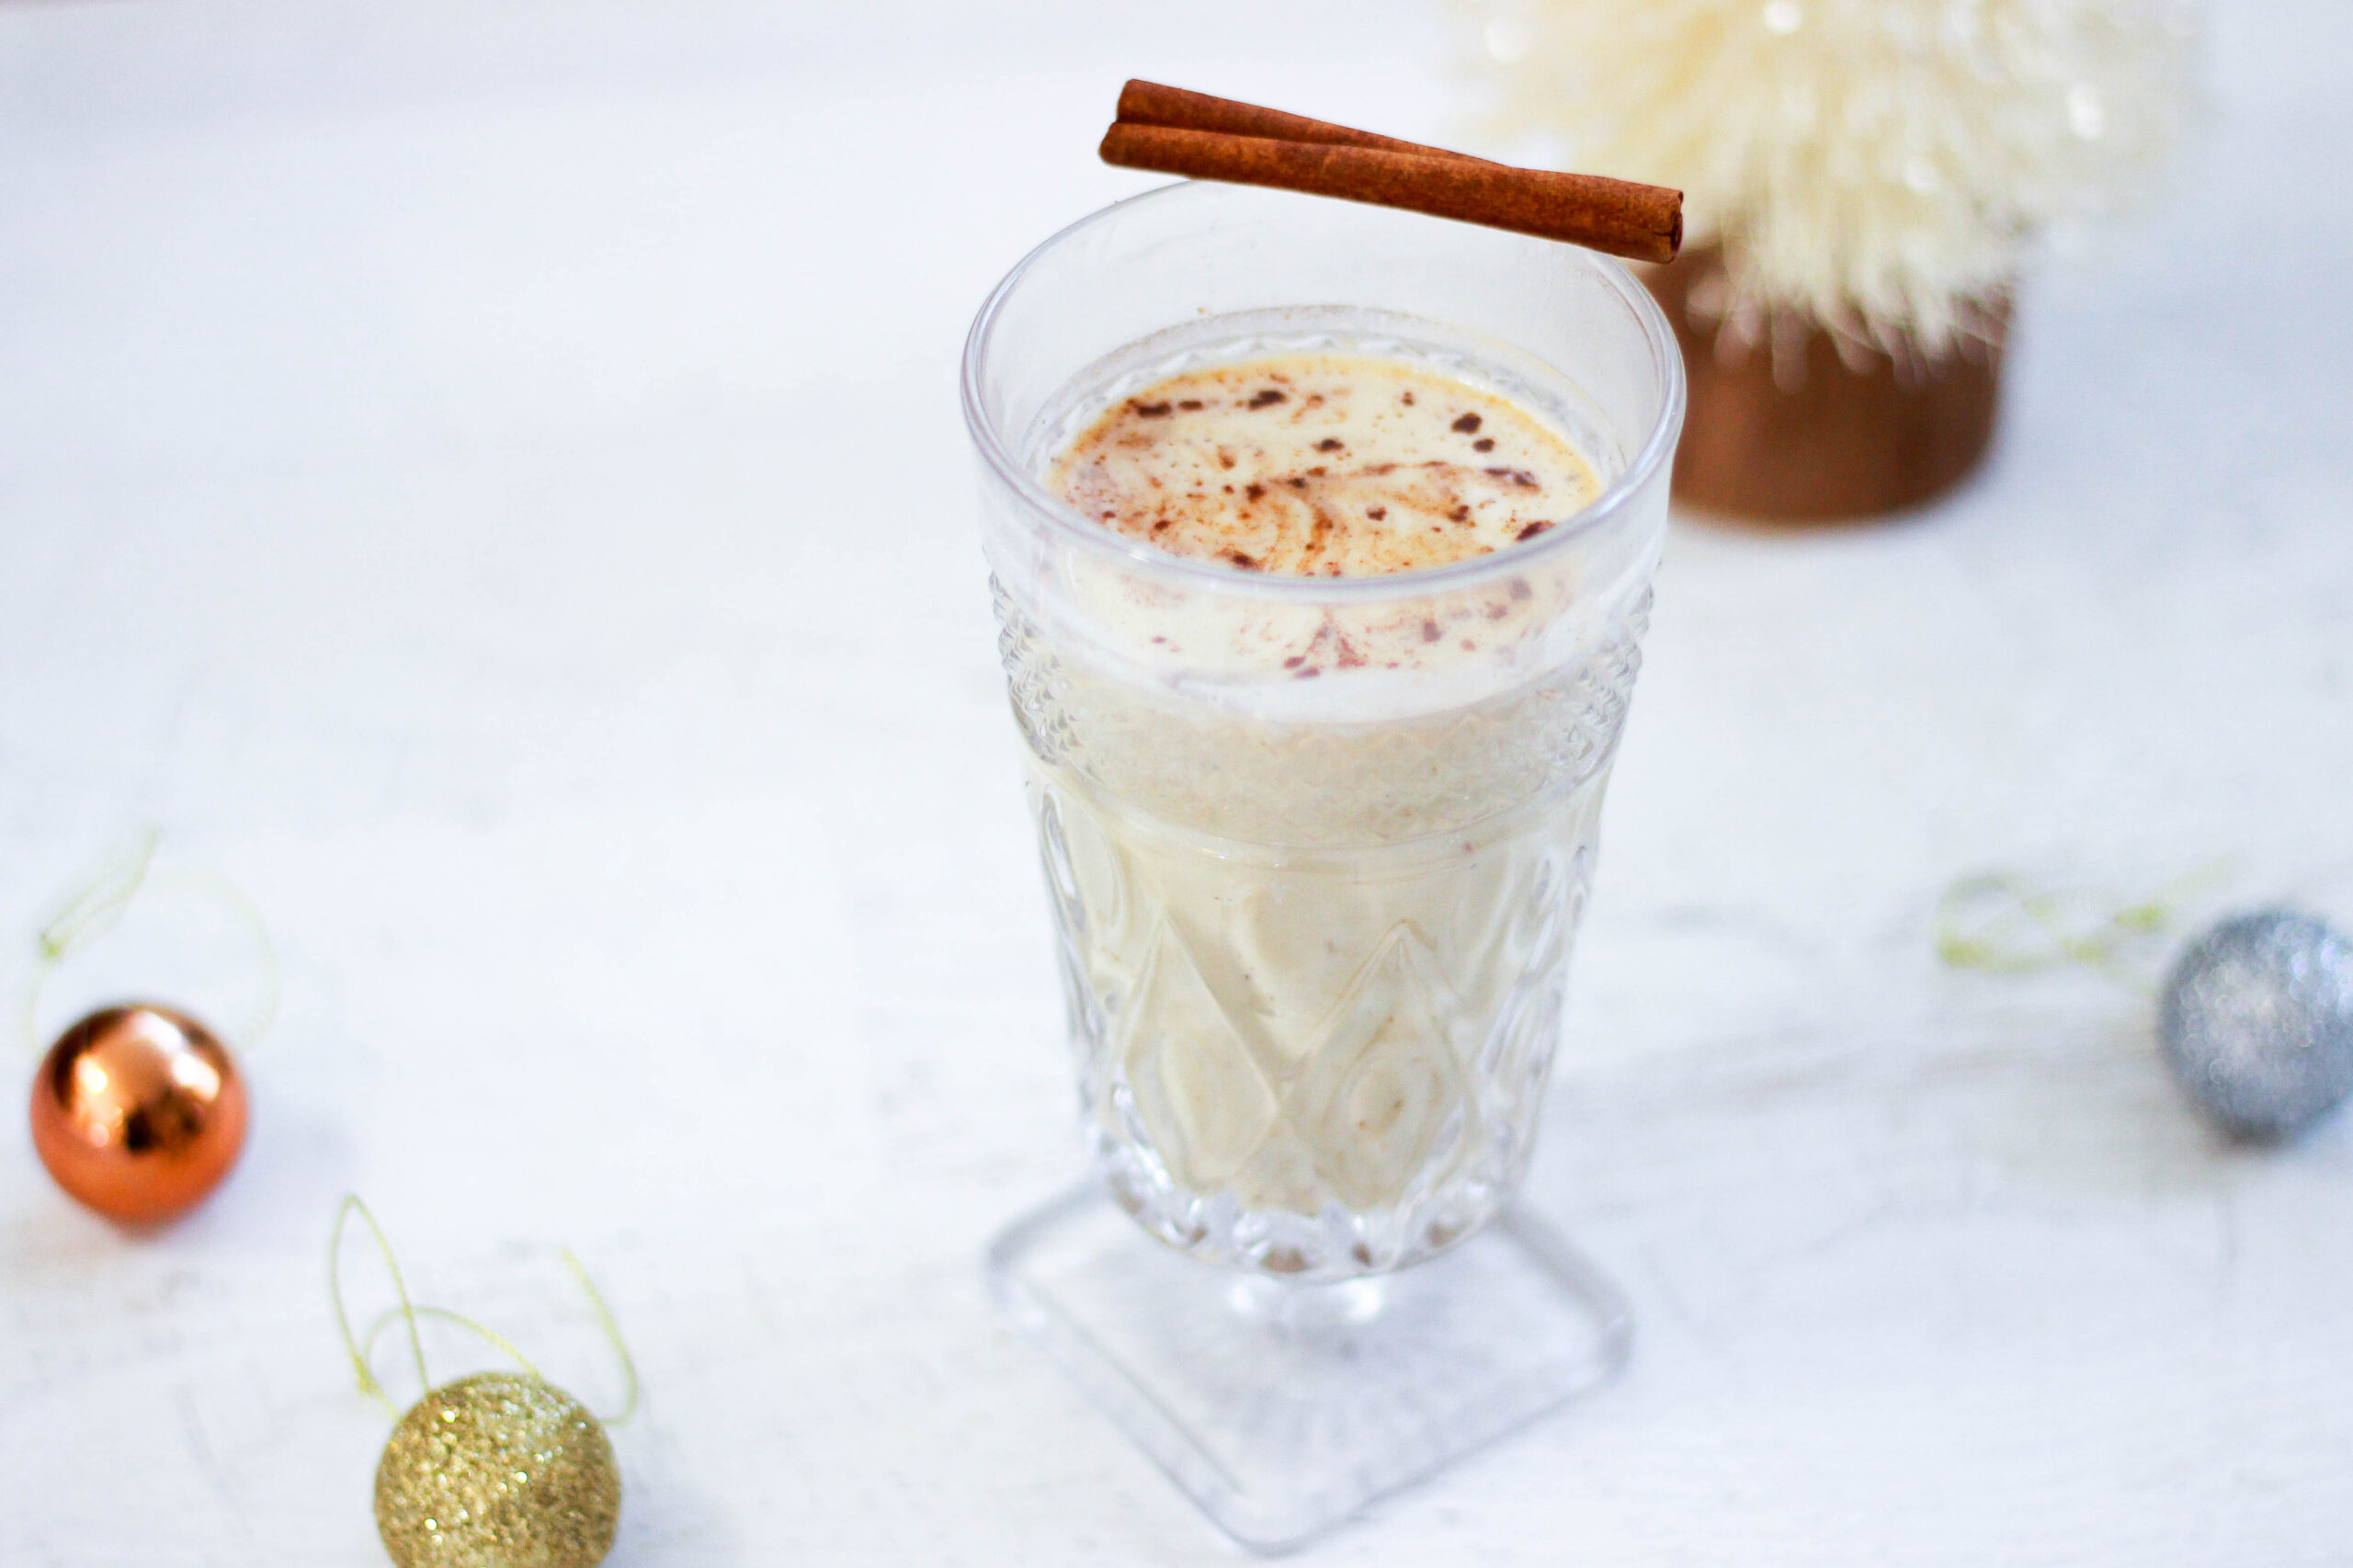
Obviously, that meant it was time to make my own! I always assumed eggnog was really complicated to make, but it’s actually quite easy! The way this is made allows the eggs to sort of “cook” without becoming scrambled, so you don’t have to worry about eating raw egg yolks. And you still get that classic eggnog texture! I love this eggnog even more than the original because it’s thick and creamy with that same rich, custard-like taste, but doesn’t leave me feeling sick afterward. Sweetened with just a bit of maple syrup (or other sweetener of choice), it also won’t leave you with a huge sugar crash like other nogs. This dairy-free, paleo eggnog is the perfect chilled drink for the holiday season!
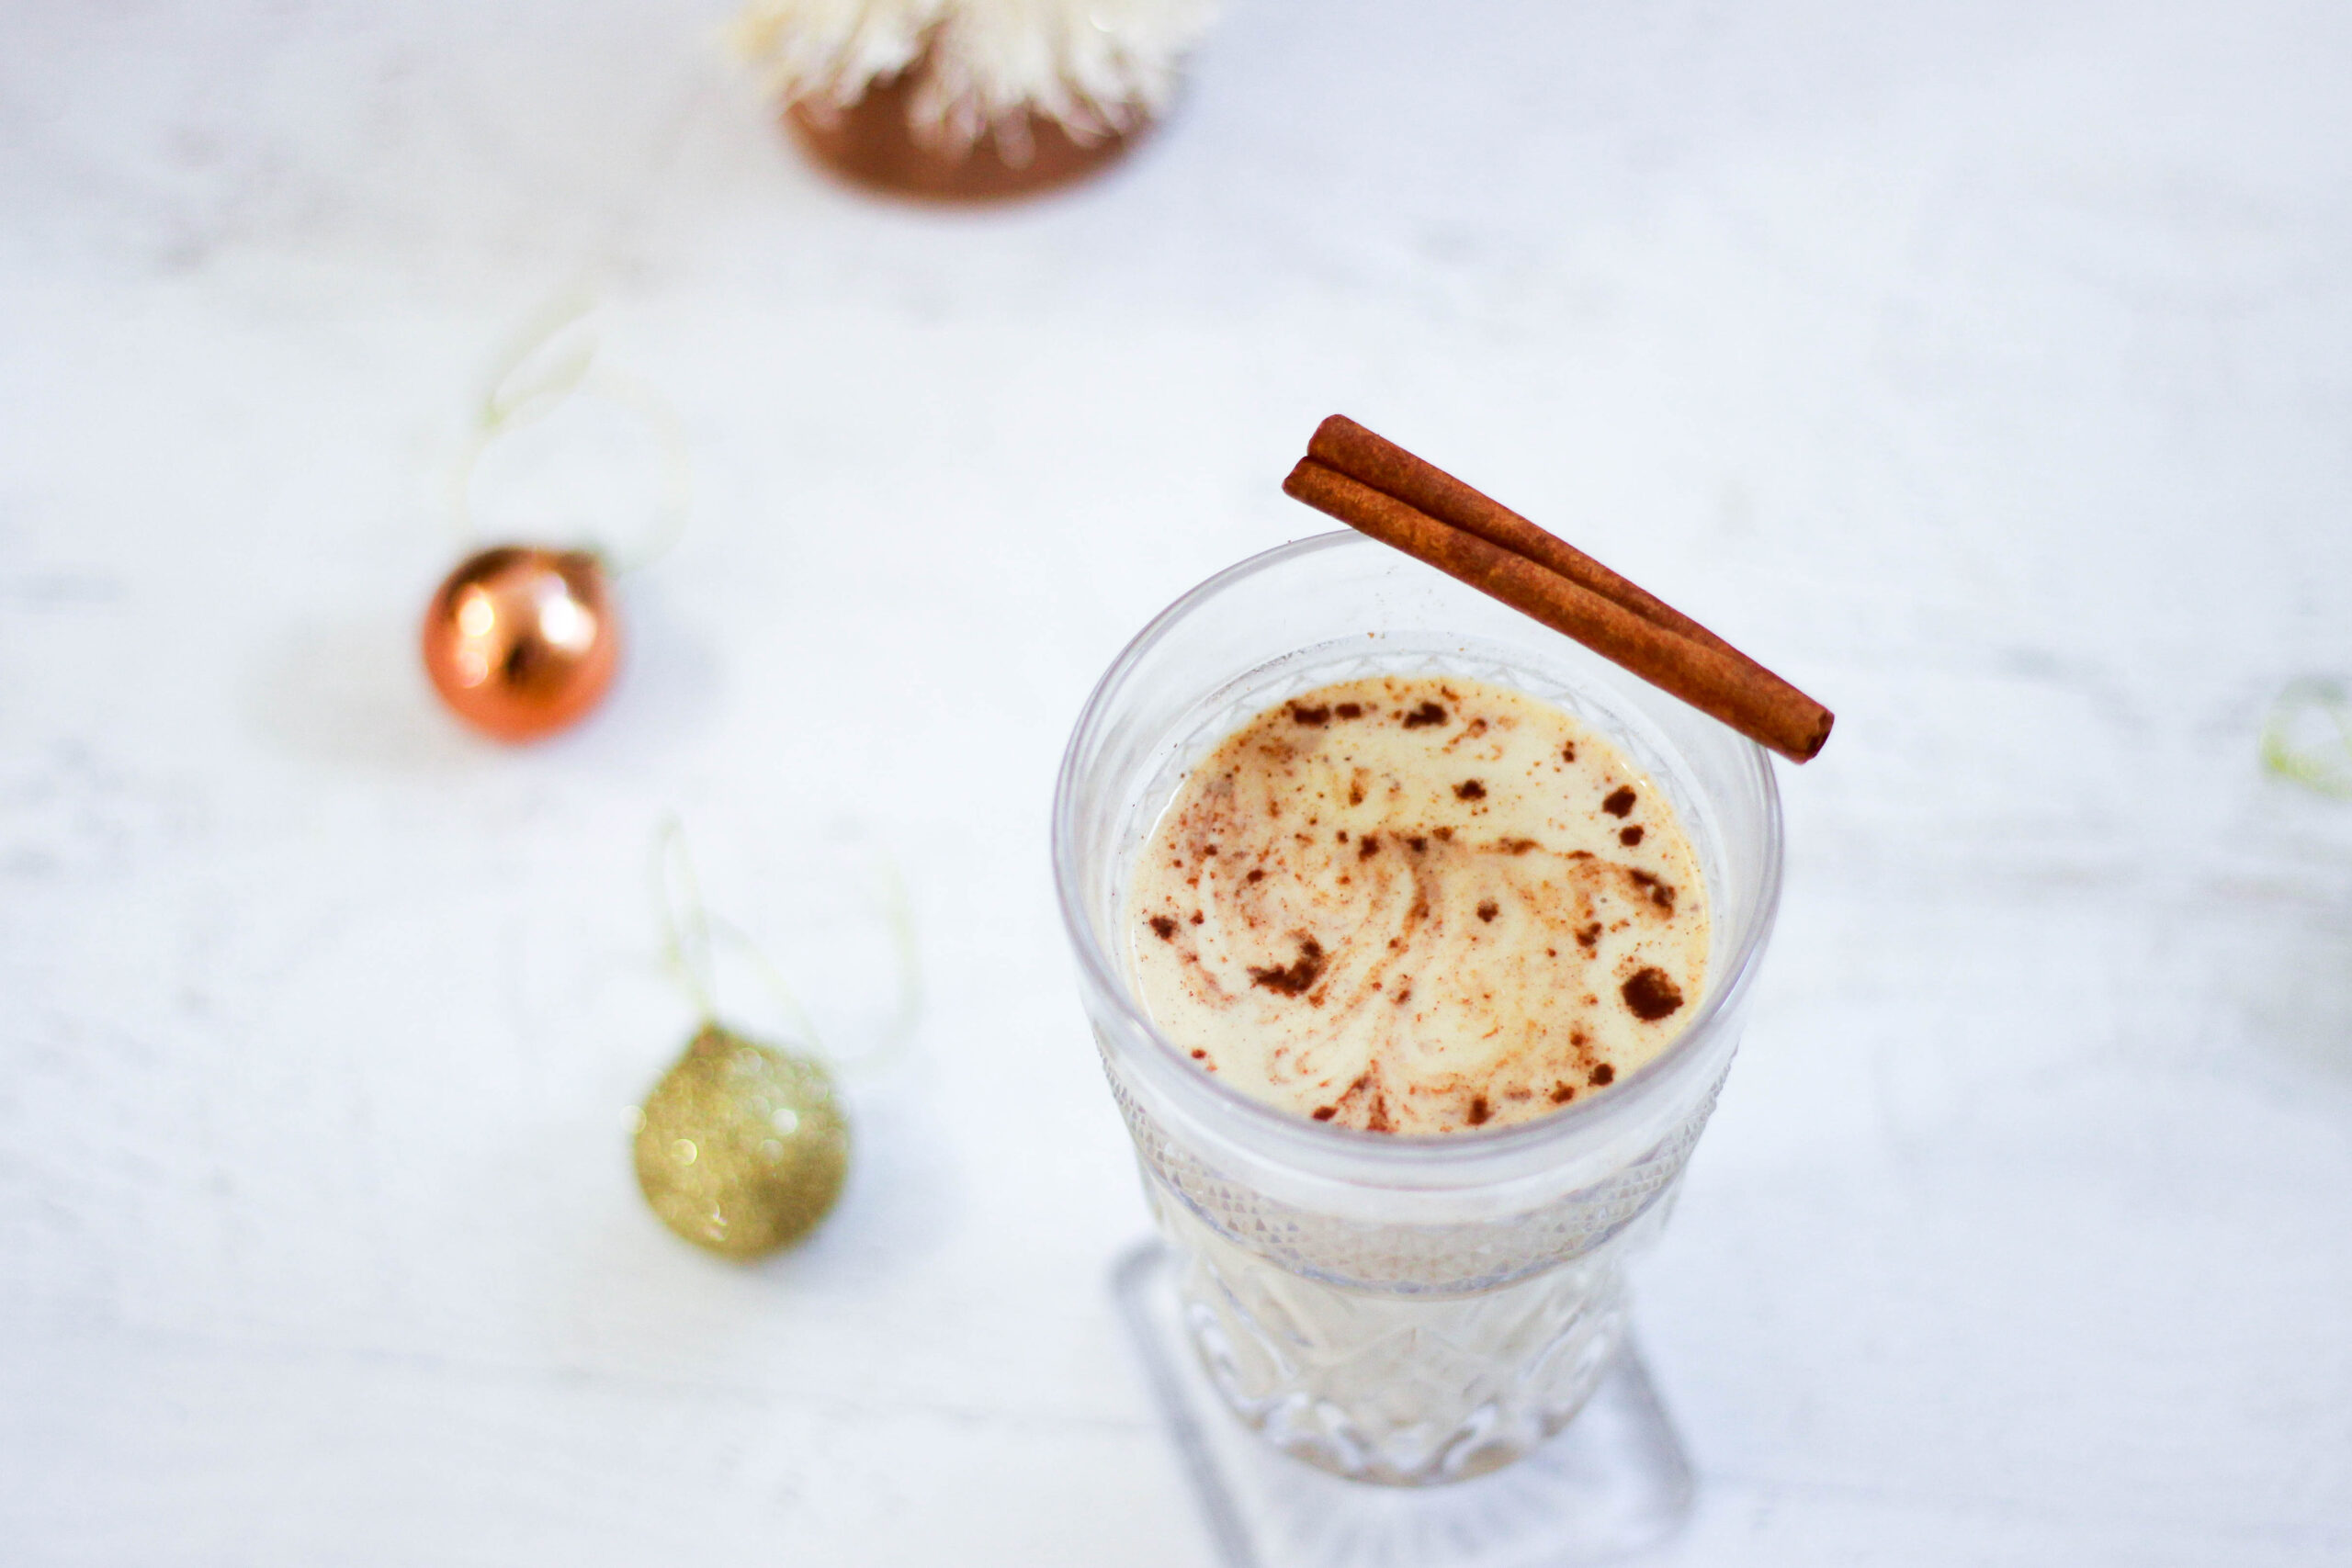
Classic Paleo Eggnog
Makes: About 4 servings
Ingredients:
- 1 can full-fat coconut milk (can use coconut cream if you want it extra thick!)
- 1 cup almond milk
- 4 egg yolks
- 2 tsp vanilla
- 1.5 tbsp maple syrup
- 1 tsp nutmeg
- 1/2 tsp cinnamon
- 1/4 tsp cloves
Instructions:
- Whisk the egg yolks, vanilla, maple syrup, nutmeg, cinnamon, and cloves in a small bowl until well combined.
- Heat the coconut milk and almond milk in a saucepan over medium heat for 3-5 minutes — don’t let it boil!
- Slowly pour about a cup of the warm milk into the bowl with the egg yolks and spices while whisking the mixture constantly.
- Pour everything back into the saucepan, still whisking, until it’s all incorporated. Continue to heat for about 3-5 more minutes, stirring every so often, until the drink has thickened up.
- Once the eggnog has thickened, remove it from the heat and allow it to cool. Store it in the fridge to chill.
- Once the eggnog has chilled in the fridge, serve it with a sprinkle of nutmeg on top!

by Christina | Dec 16, 2017 | Recipes, Wellness
Before December rolled around, I asked you guys if there were any specific recipes you wanted me to create this holiday season. I received a ton of great suggestions, but there was one thing I got an overwhelming amount of requests for – Gingerbread.
Specifically, sugar-free gingerbread.
I love that you guys love my sugar-free recipes. My recipes are not all sugar-free, and are not always going to be mainly sugar-free, but I will always continue to provide them. So of course whenever someone makes a special request for a sugar-free something, I want to make it happen.
The problem, though, is that gingerbread is tough to make sugar-free. If you’ve never made gingerbread before, you might not know this, but the ingredient that really makes gingerbread taste like gingerbread is molasses.
What is molasses? Molasses is that dark, sticky syrup you might’ve seen in grandma’s cupboard. The one you thought was maple syrup, took a taste of, and wanted to spit out. It’s a result of the sugar-making process, and it comes from cane sugar or sugar beets. When the juice from cane sugar is boiled down and the sugar crystals are removed, molasses is what’s left over. It has a very unique taste, to say the least. Besides that, it’s very high in sugar.
Because of that, the thought of making a sugar-free gingerbread felt like a total contradiction. How could I make gingerbread without molasses when molasses is what gives gingerbread its unique flavor?
Then, I figured it out. I wasn’t going to make it totally sugar-free, but I could make it low-carb and keto-friendly!
The topic of sweeteners is very controversial, especially in the ketogenic community, but the main thing to consider is if the sweetener spikes your blood sugar. Also, I will always prefer a natural sweetener over something man-made.
One sweetener that’s gotten a bit more popular in the keto space recently is yacon syrup, which you may or may not be familiar with. I started to see a ton of keto dessert recipes pop up a few months ago, which made me very interested in trying it!
Let’s talk about yacon syrup, shall we?! It’s not as well known as other sweeteners, but it should be! Yacon comes from the Peruvian yacon root, is completely natural, and was actually used in ancient cultures for medicinal purposes. Yacon is interesting because although it does contain sugar (a low amount, though) and tastes sweet, our bodies don’t digest it. The sugar molecules in yacon syrup, fructooligosaccharides, go to the large intestine undigested and actually feed the good bacteria there! This is why it’s considered a prebiotic food. Prebiotics feed probiotics, and we all know how important probiotics are for digestive health, metabolism, and overall health! Because the yacon acts as a prebiotic food, the small amount of sugar it contains shouldn’t spike your blood sugar.
Yacon syrup definitely has a distinct flavor, and a little goes a long way. The funny thing is, though, that oftentimes people compare the taste of yacon syrup to molasses! BINGO! So that’s how you make a molasses-free gingerbread – you replace the molasses with a low-carb-friendly sweetener that tastes like molasses! It’s the perfect substitution.
This took a bit of toying with, and my best friend and I taste-tested this a few times to make sure we got it juuuuuust right. Thanks to yacon syrup’s prebiotic properties and the fact that I am very far along on my Candida protocol, I got to enjoy this sweet treat without a problem!
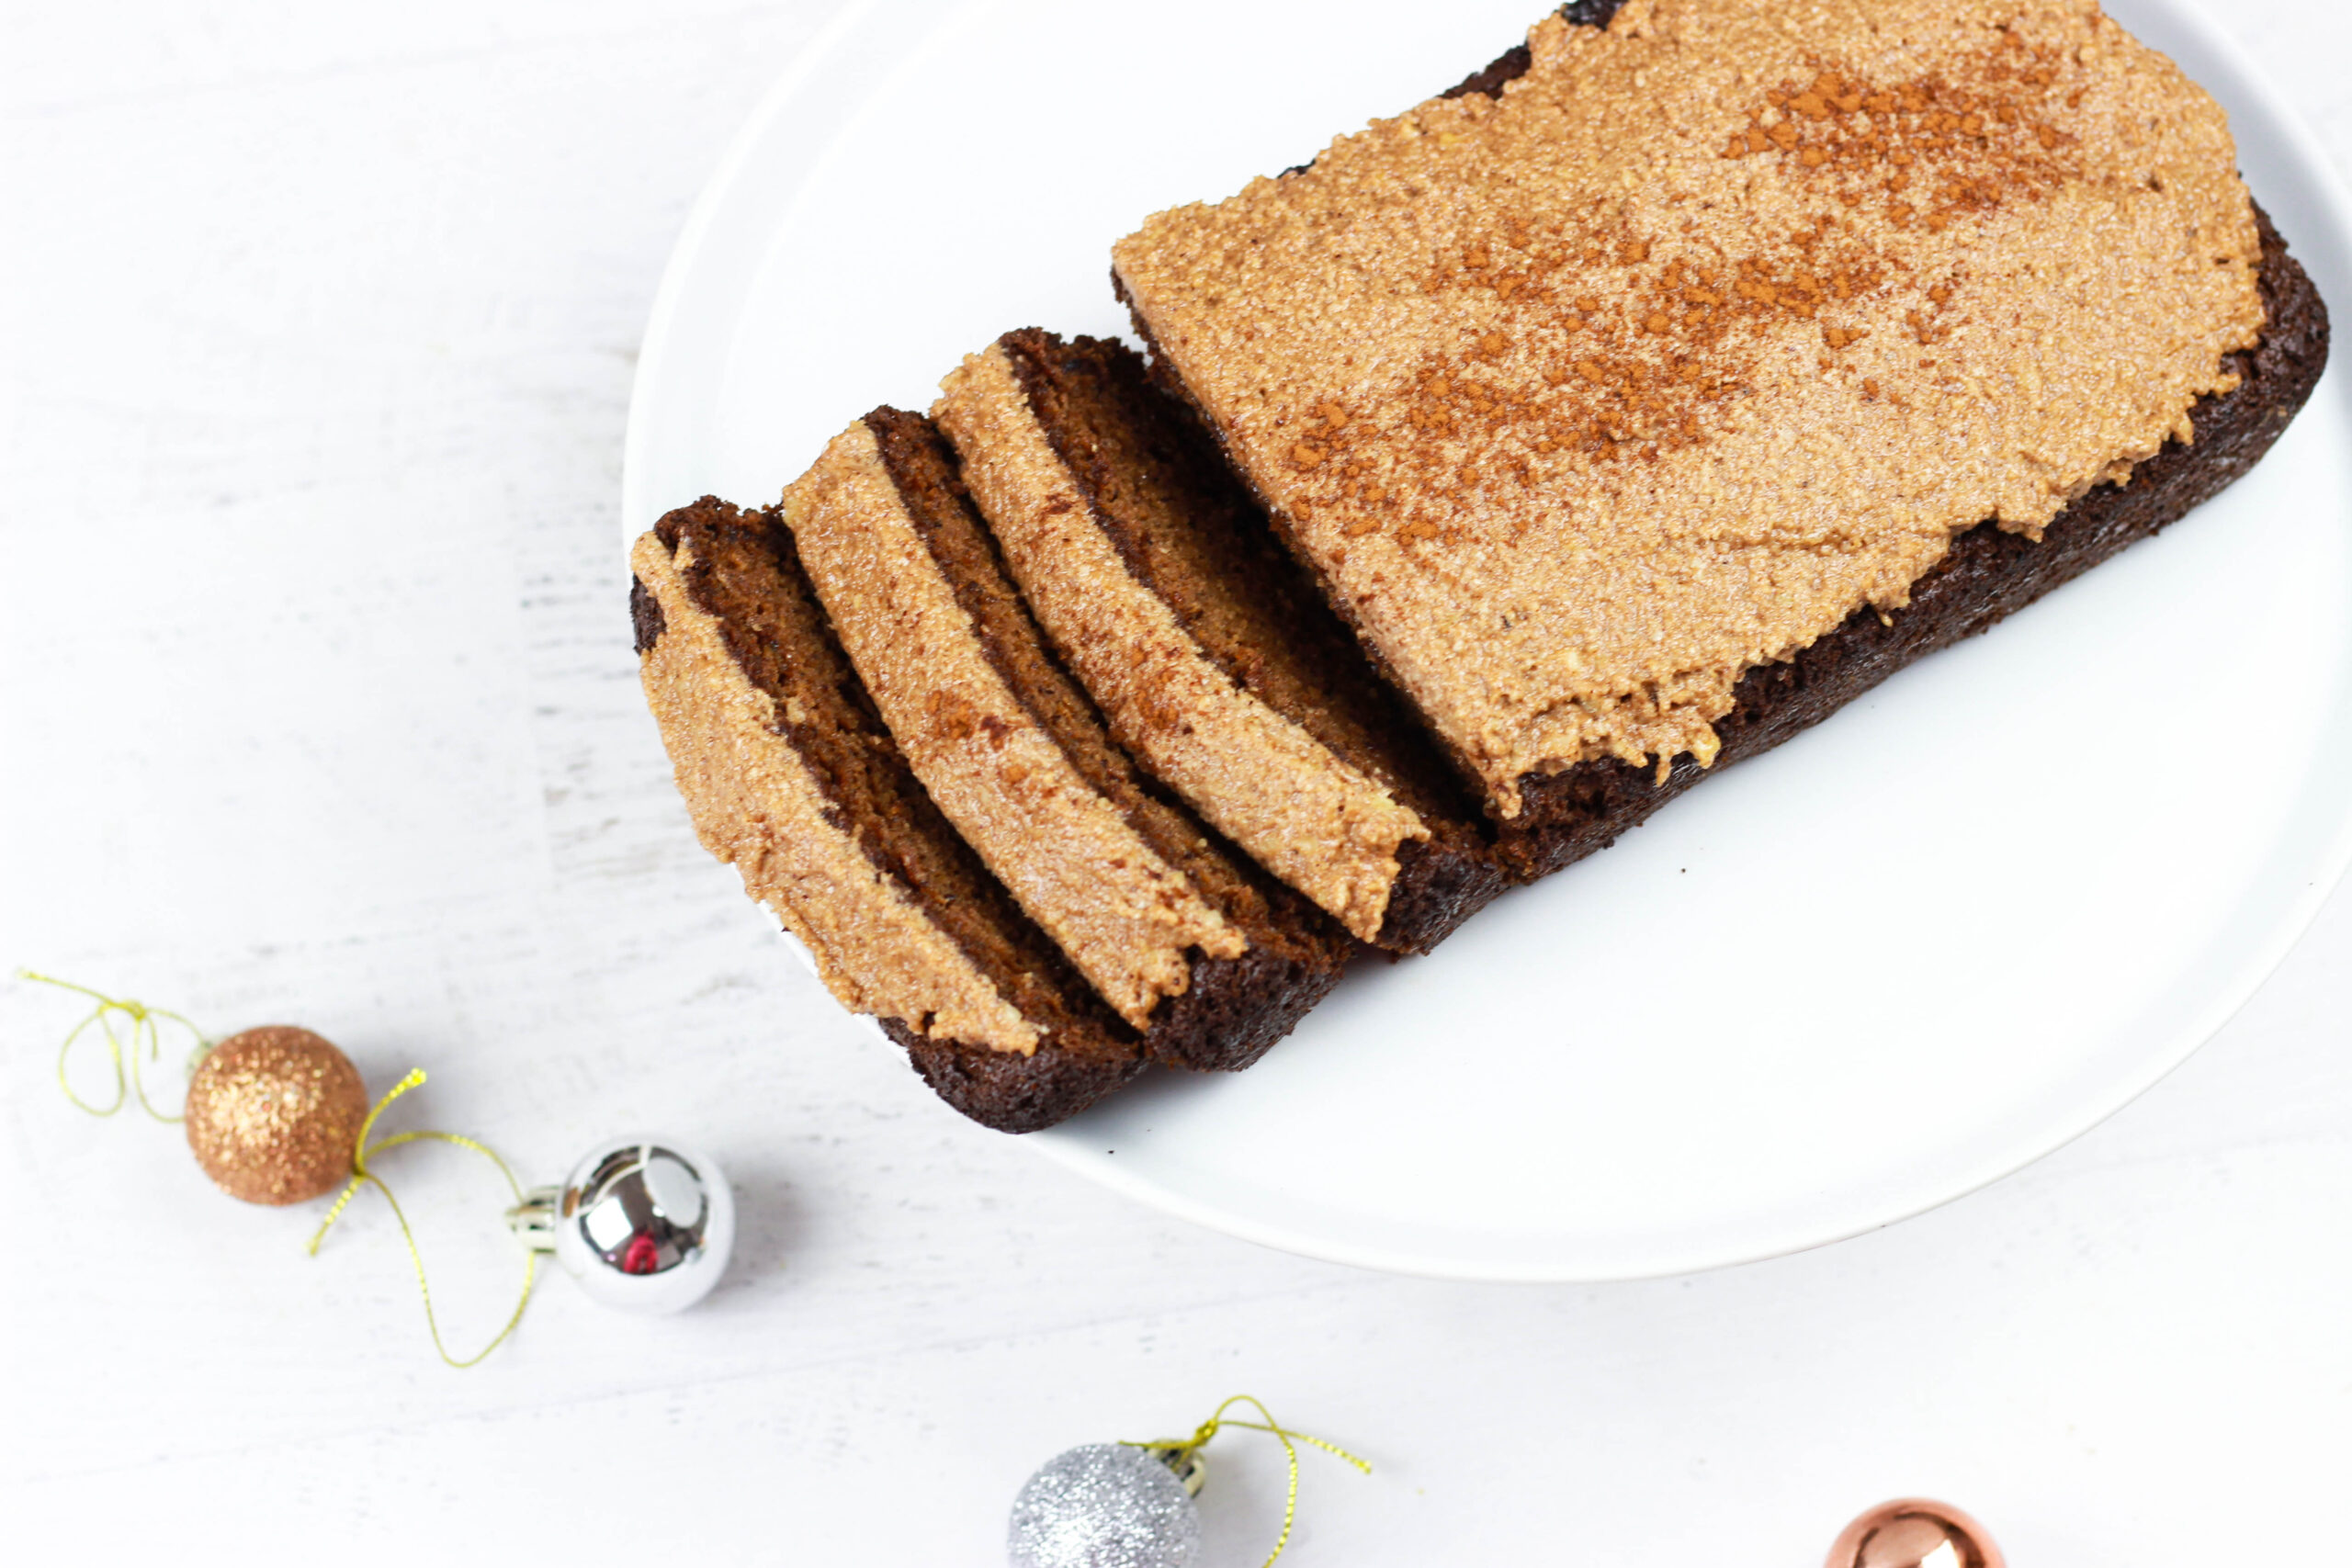
Gingerbread is nice because it’s not a “dessert” that’s super sweet to begin with. I actually never even realized gingerbread was considered a dessert until I hit my 20s… I grew up eating this as breakfast during Christmastime! Ha! The traditional molasses gives gingerbread a rich, deep flavor with a hint of sweetness, but nothing too overwhelming, and the yacon syrup gives it that same subtley sweet flair.
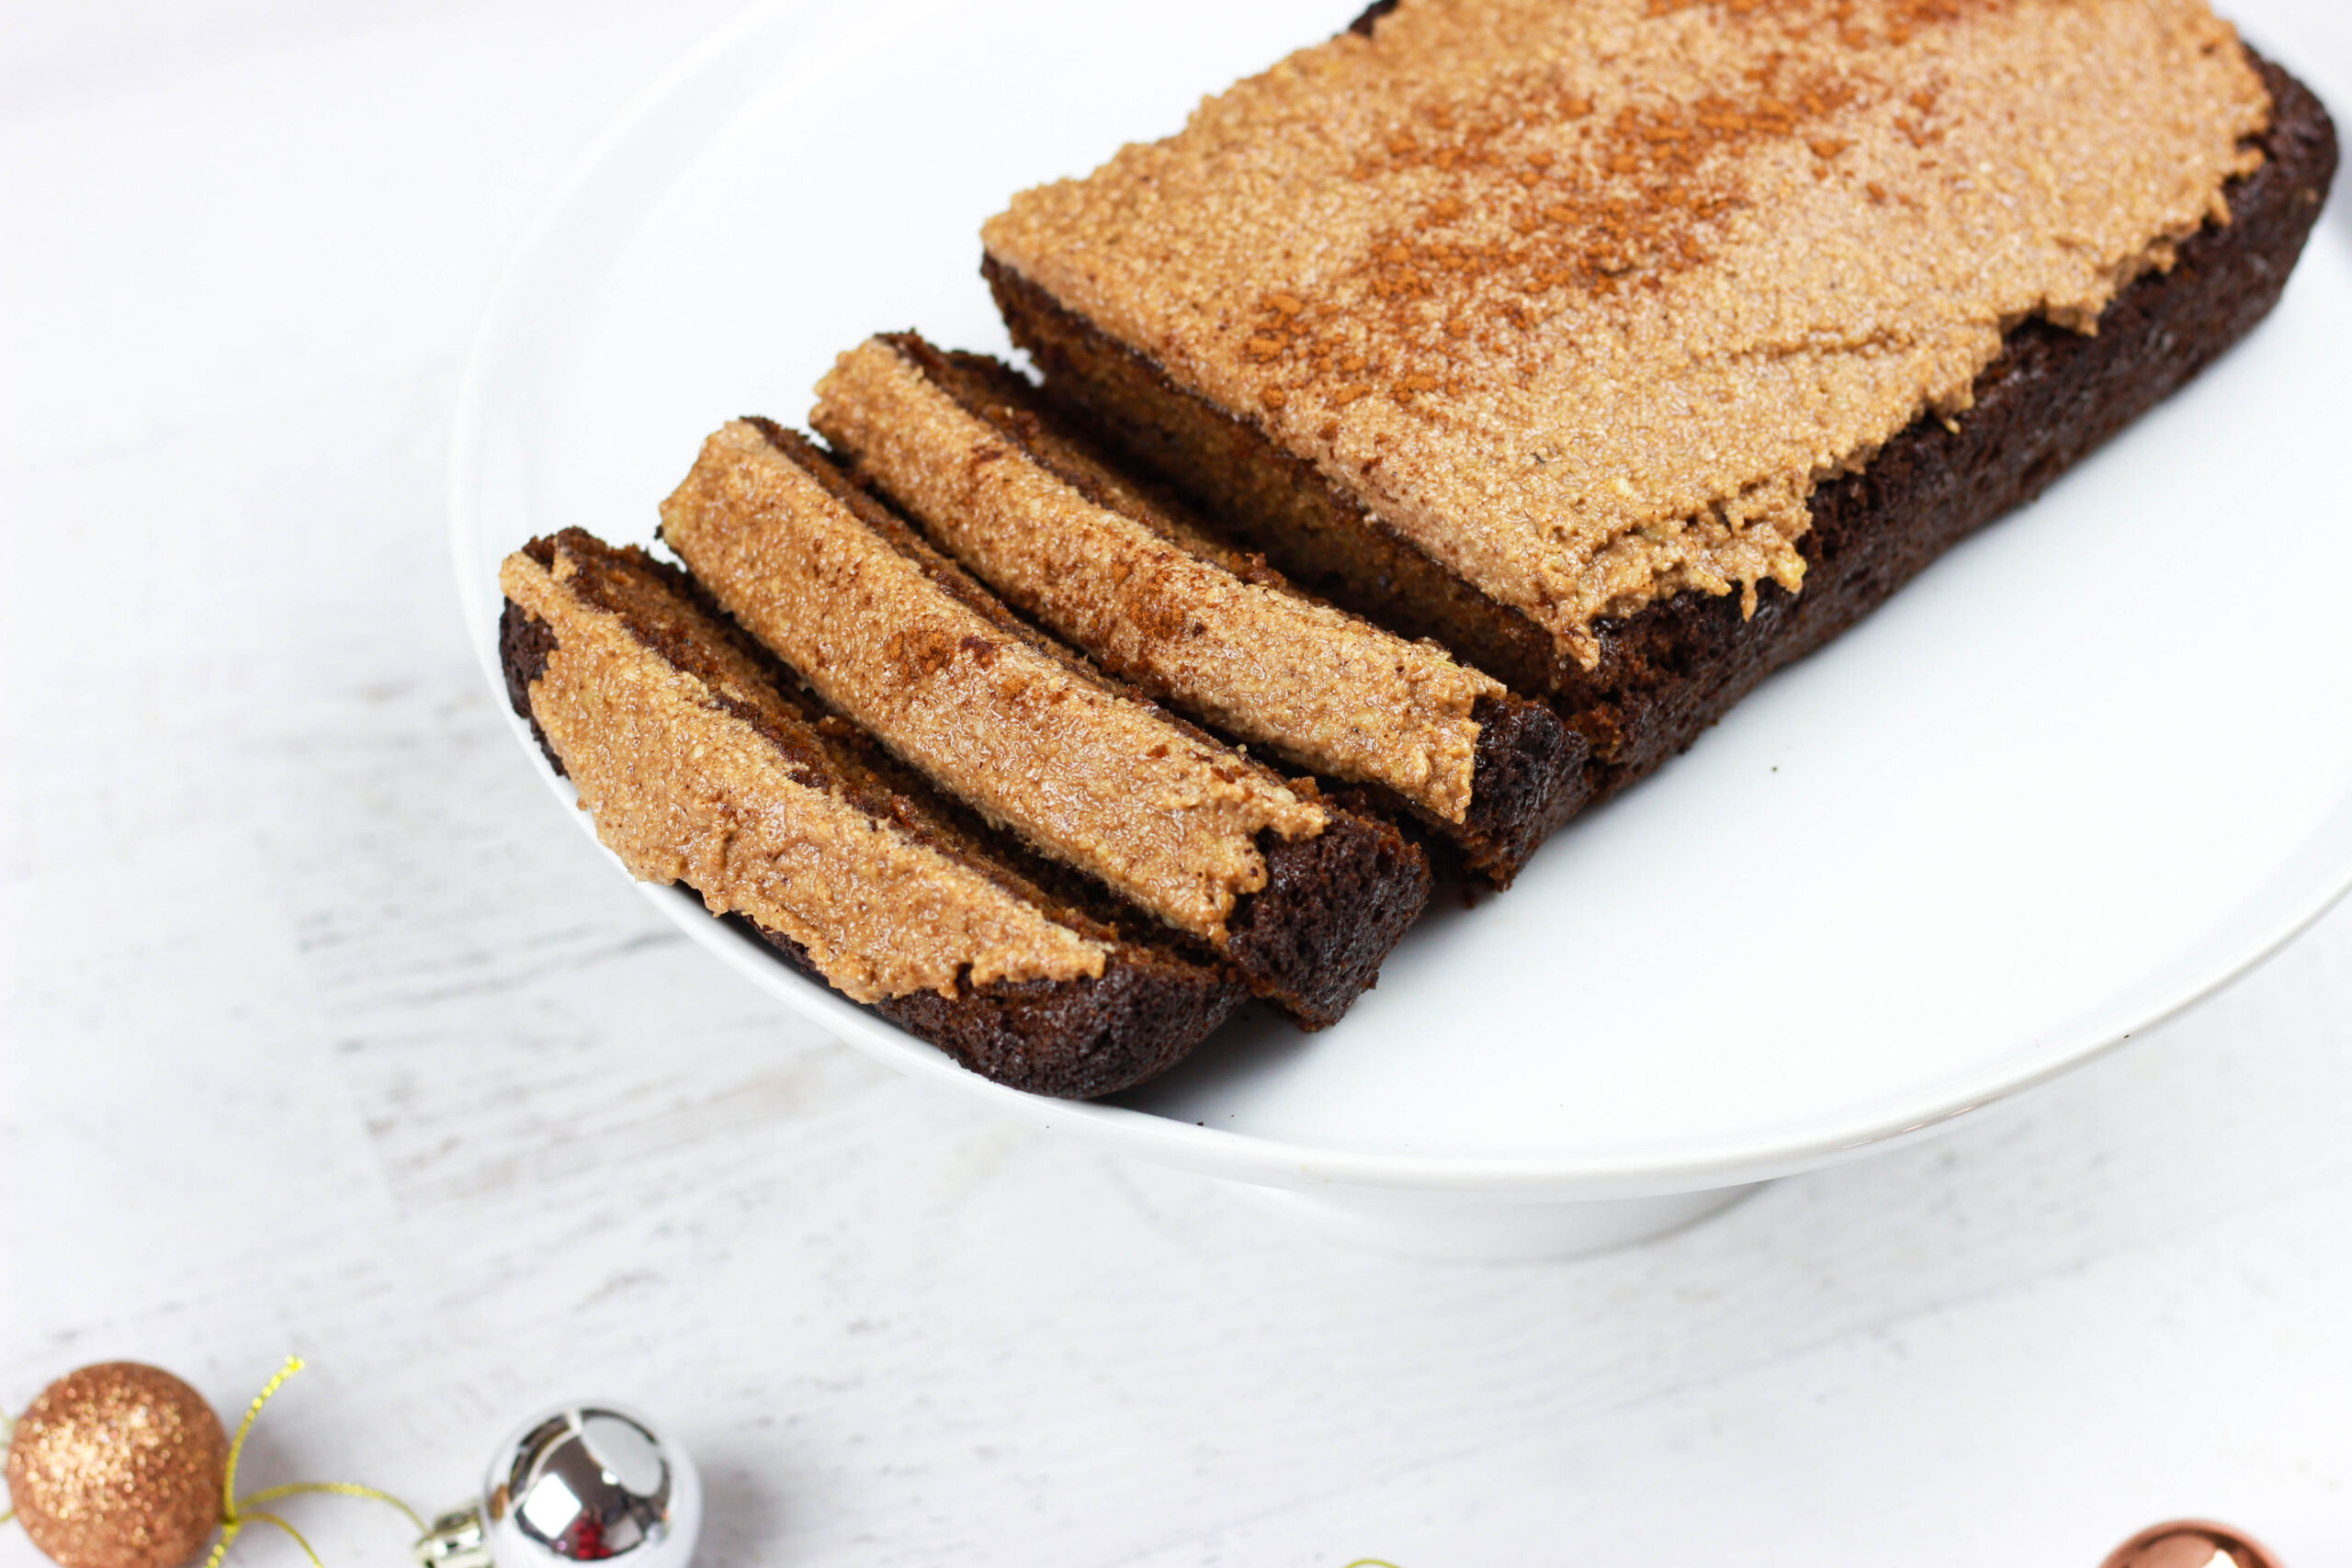
I get my yacon syrup online, although nowadays it’s sold in a lot of health food stores. It’s important to get one that doesn’t contain any additives and is 100% pure. This is the brand I use.
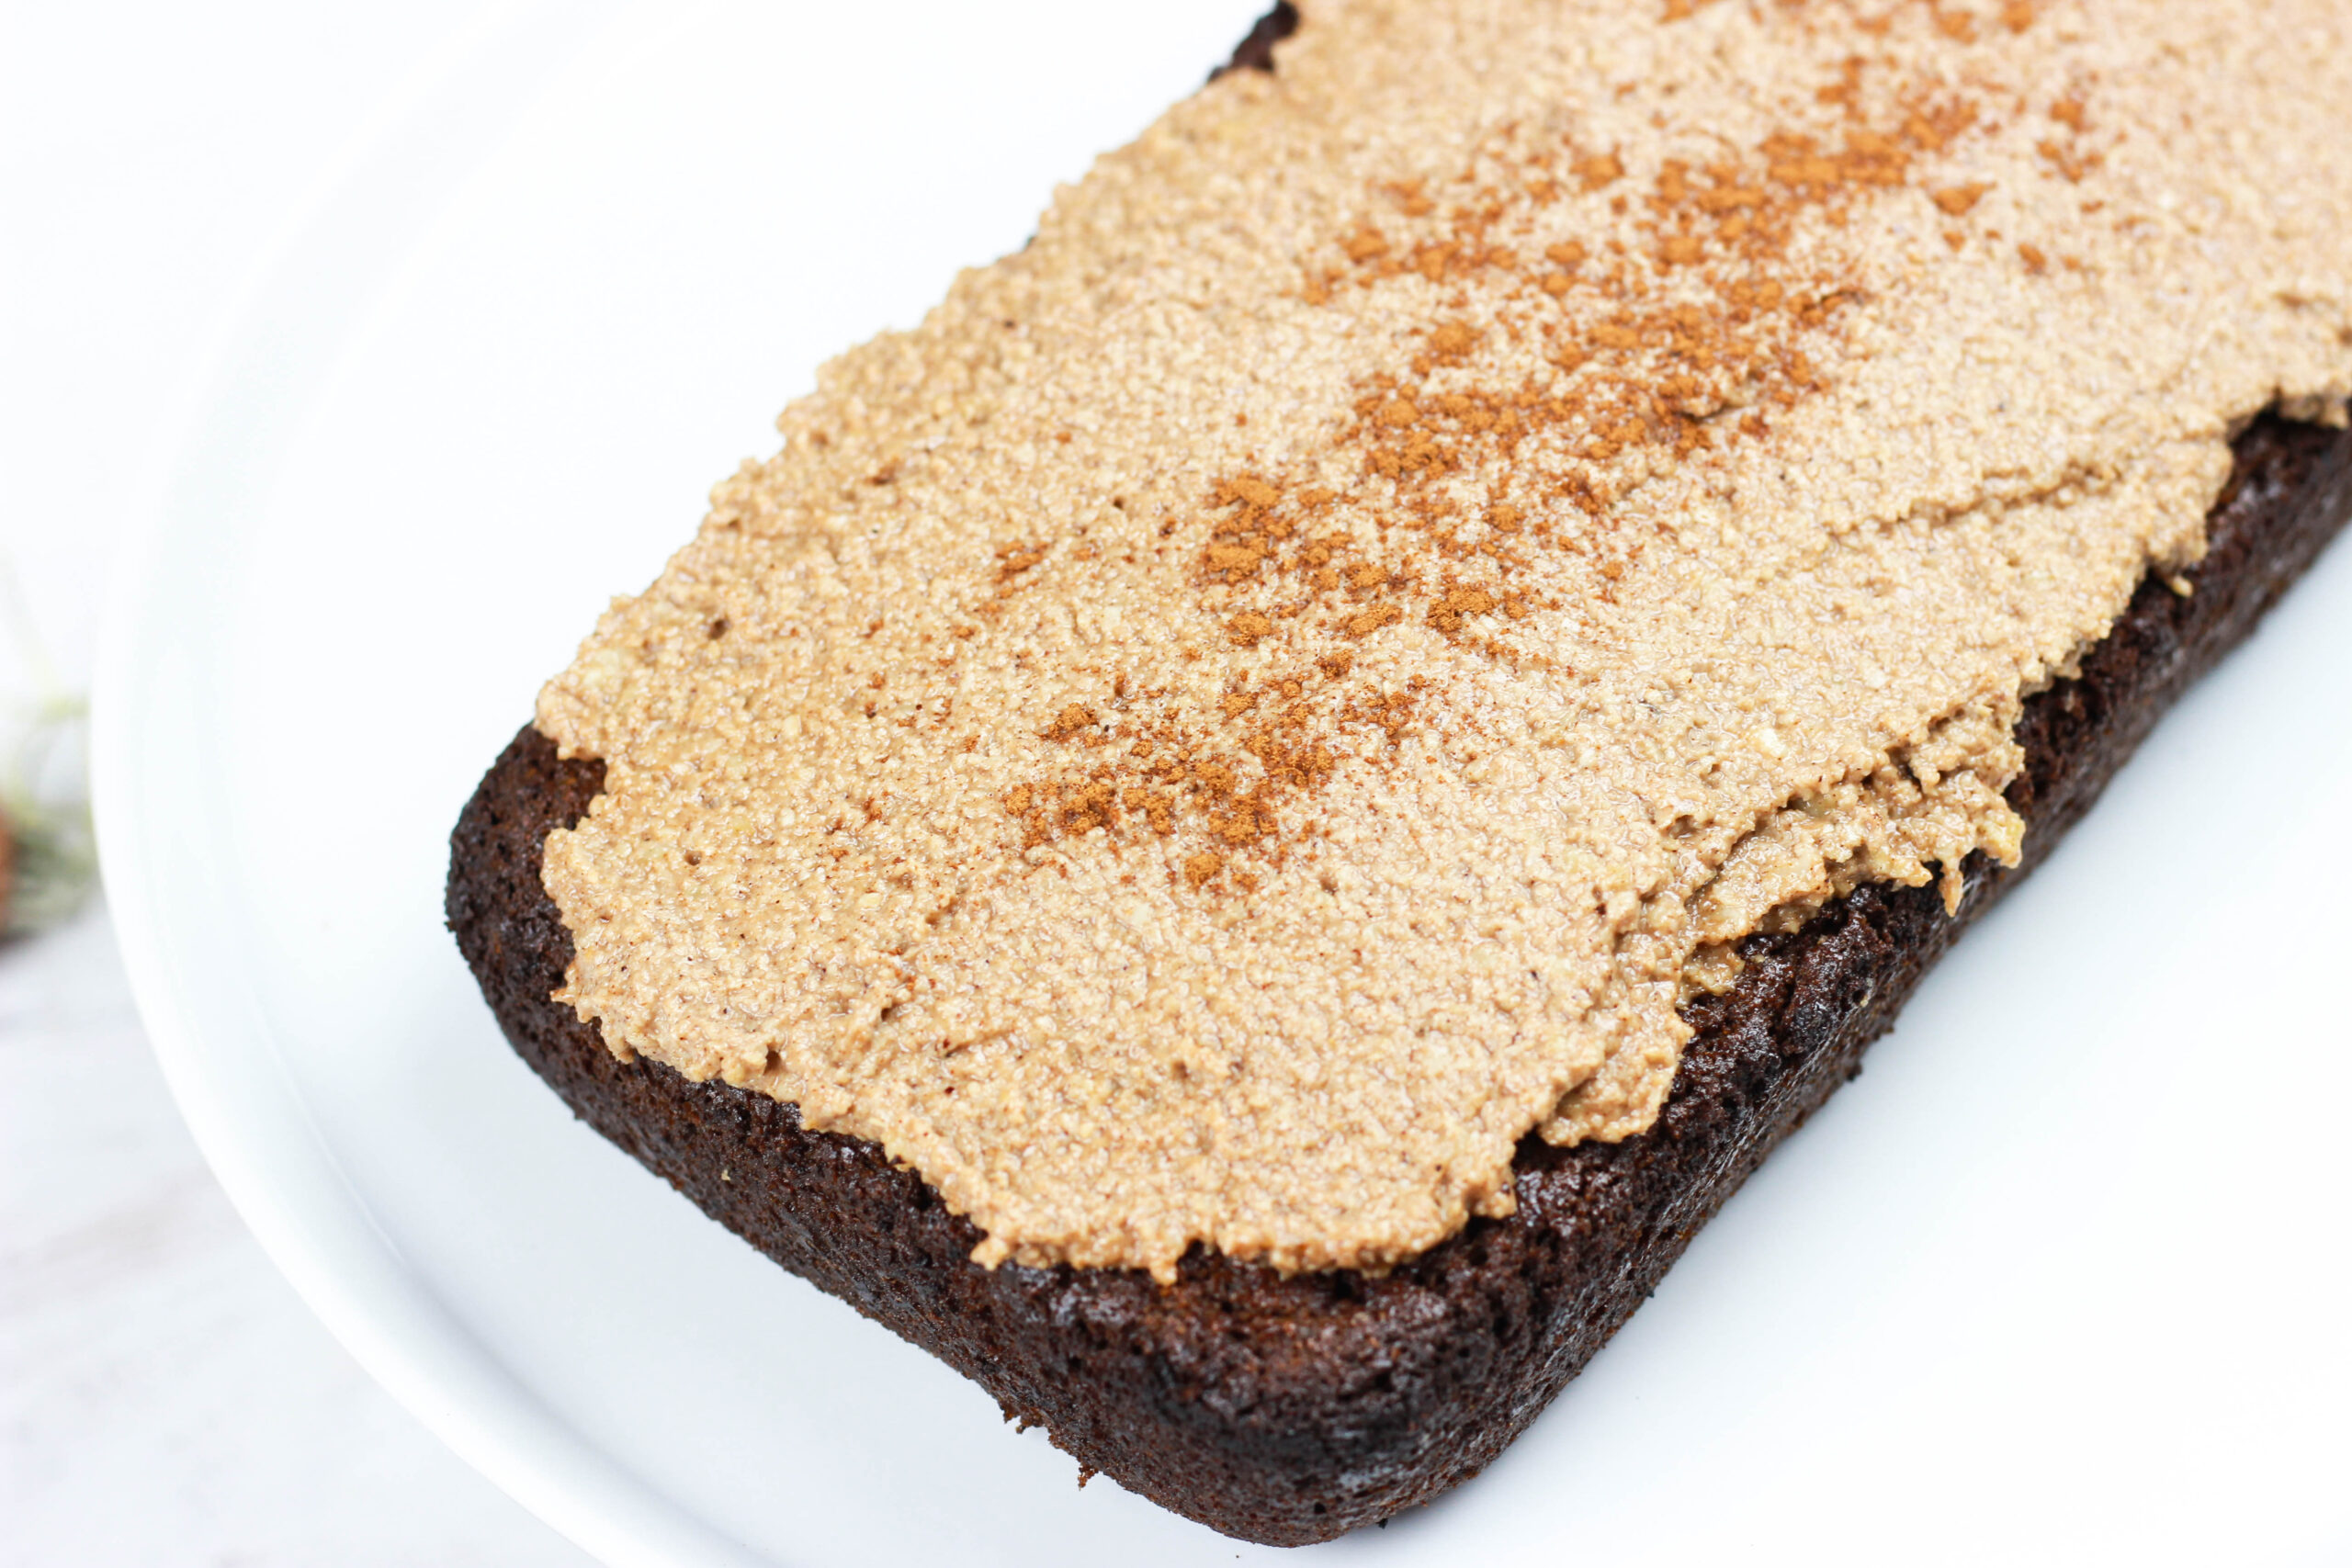
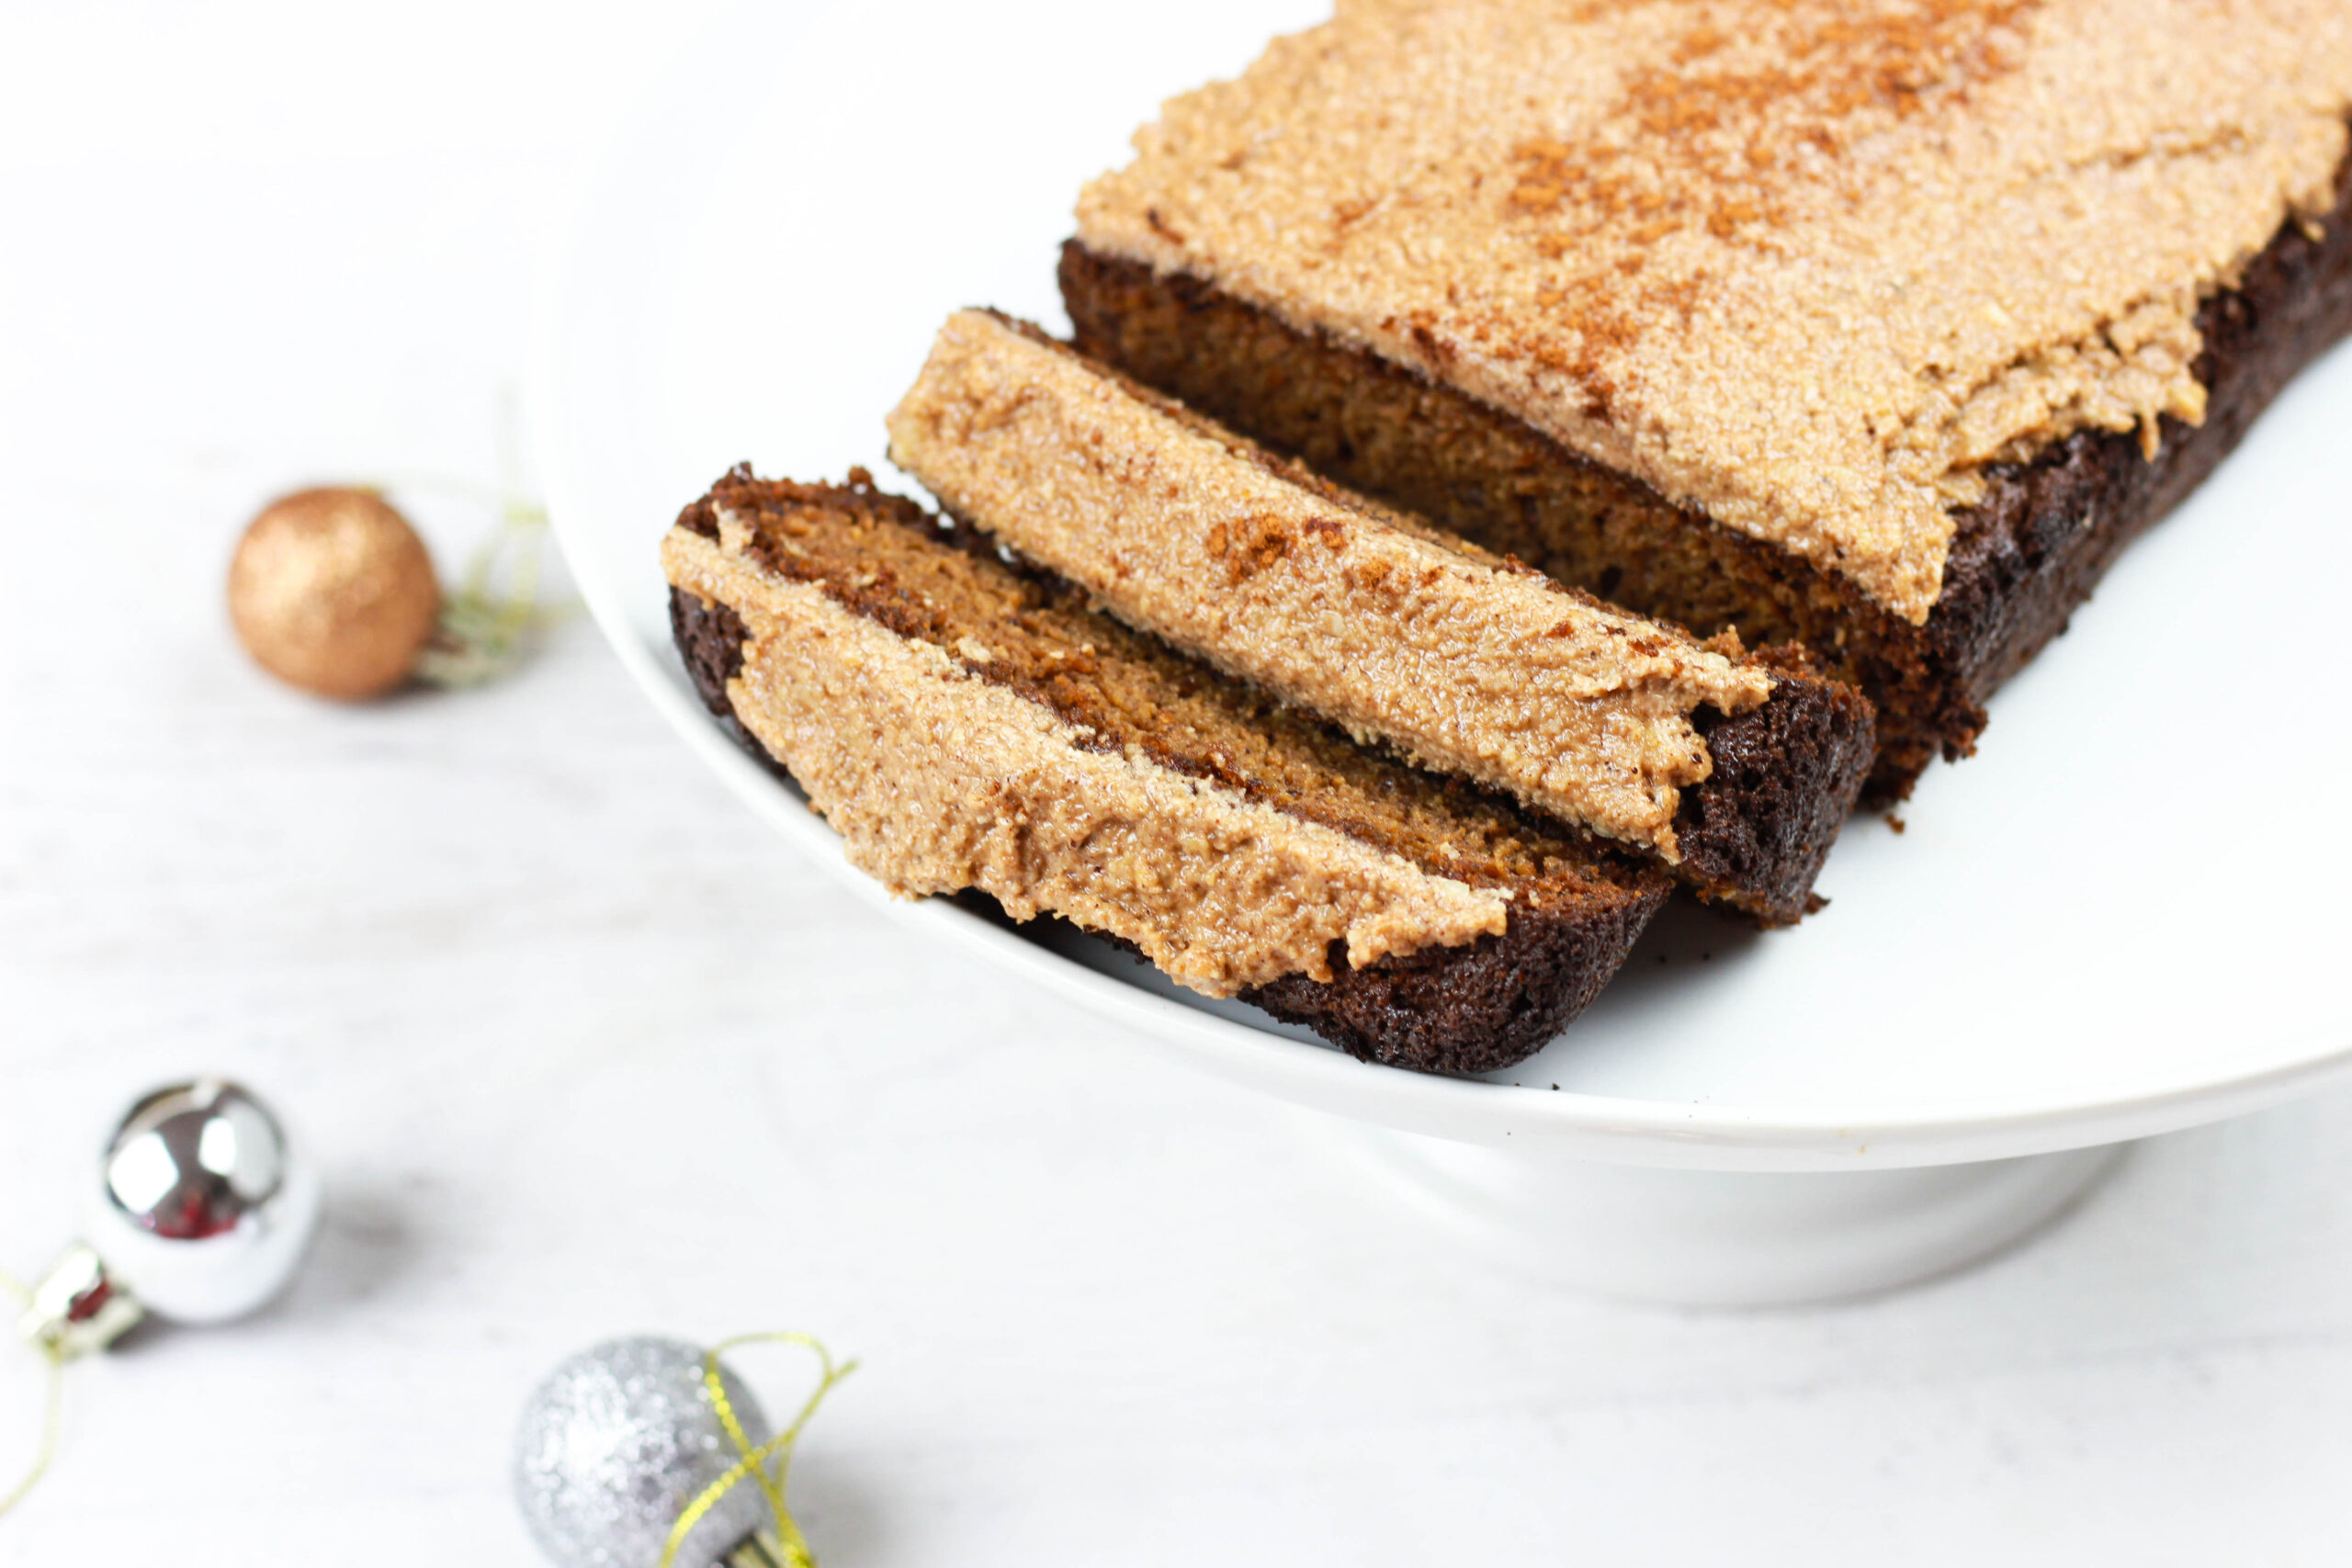
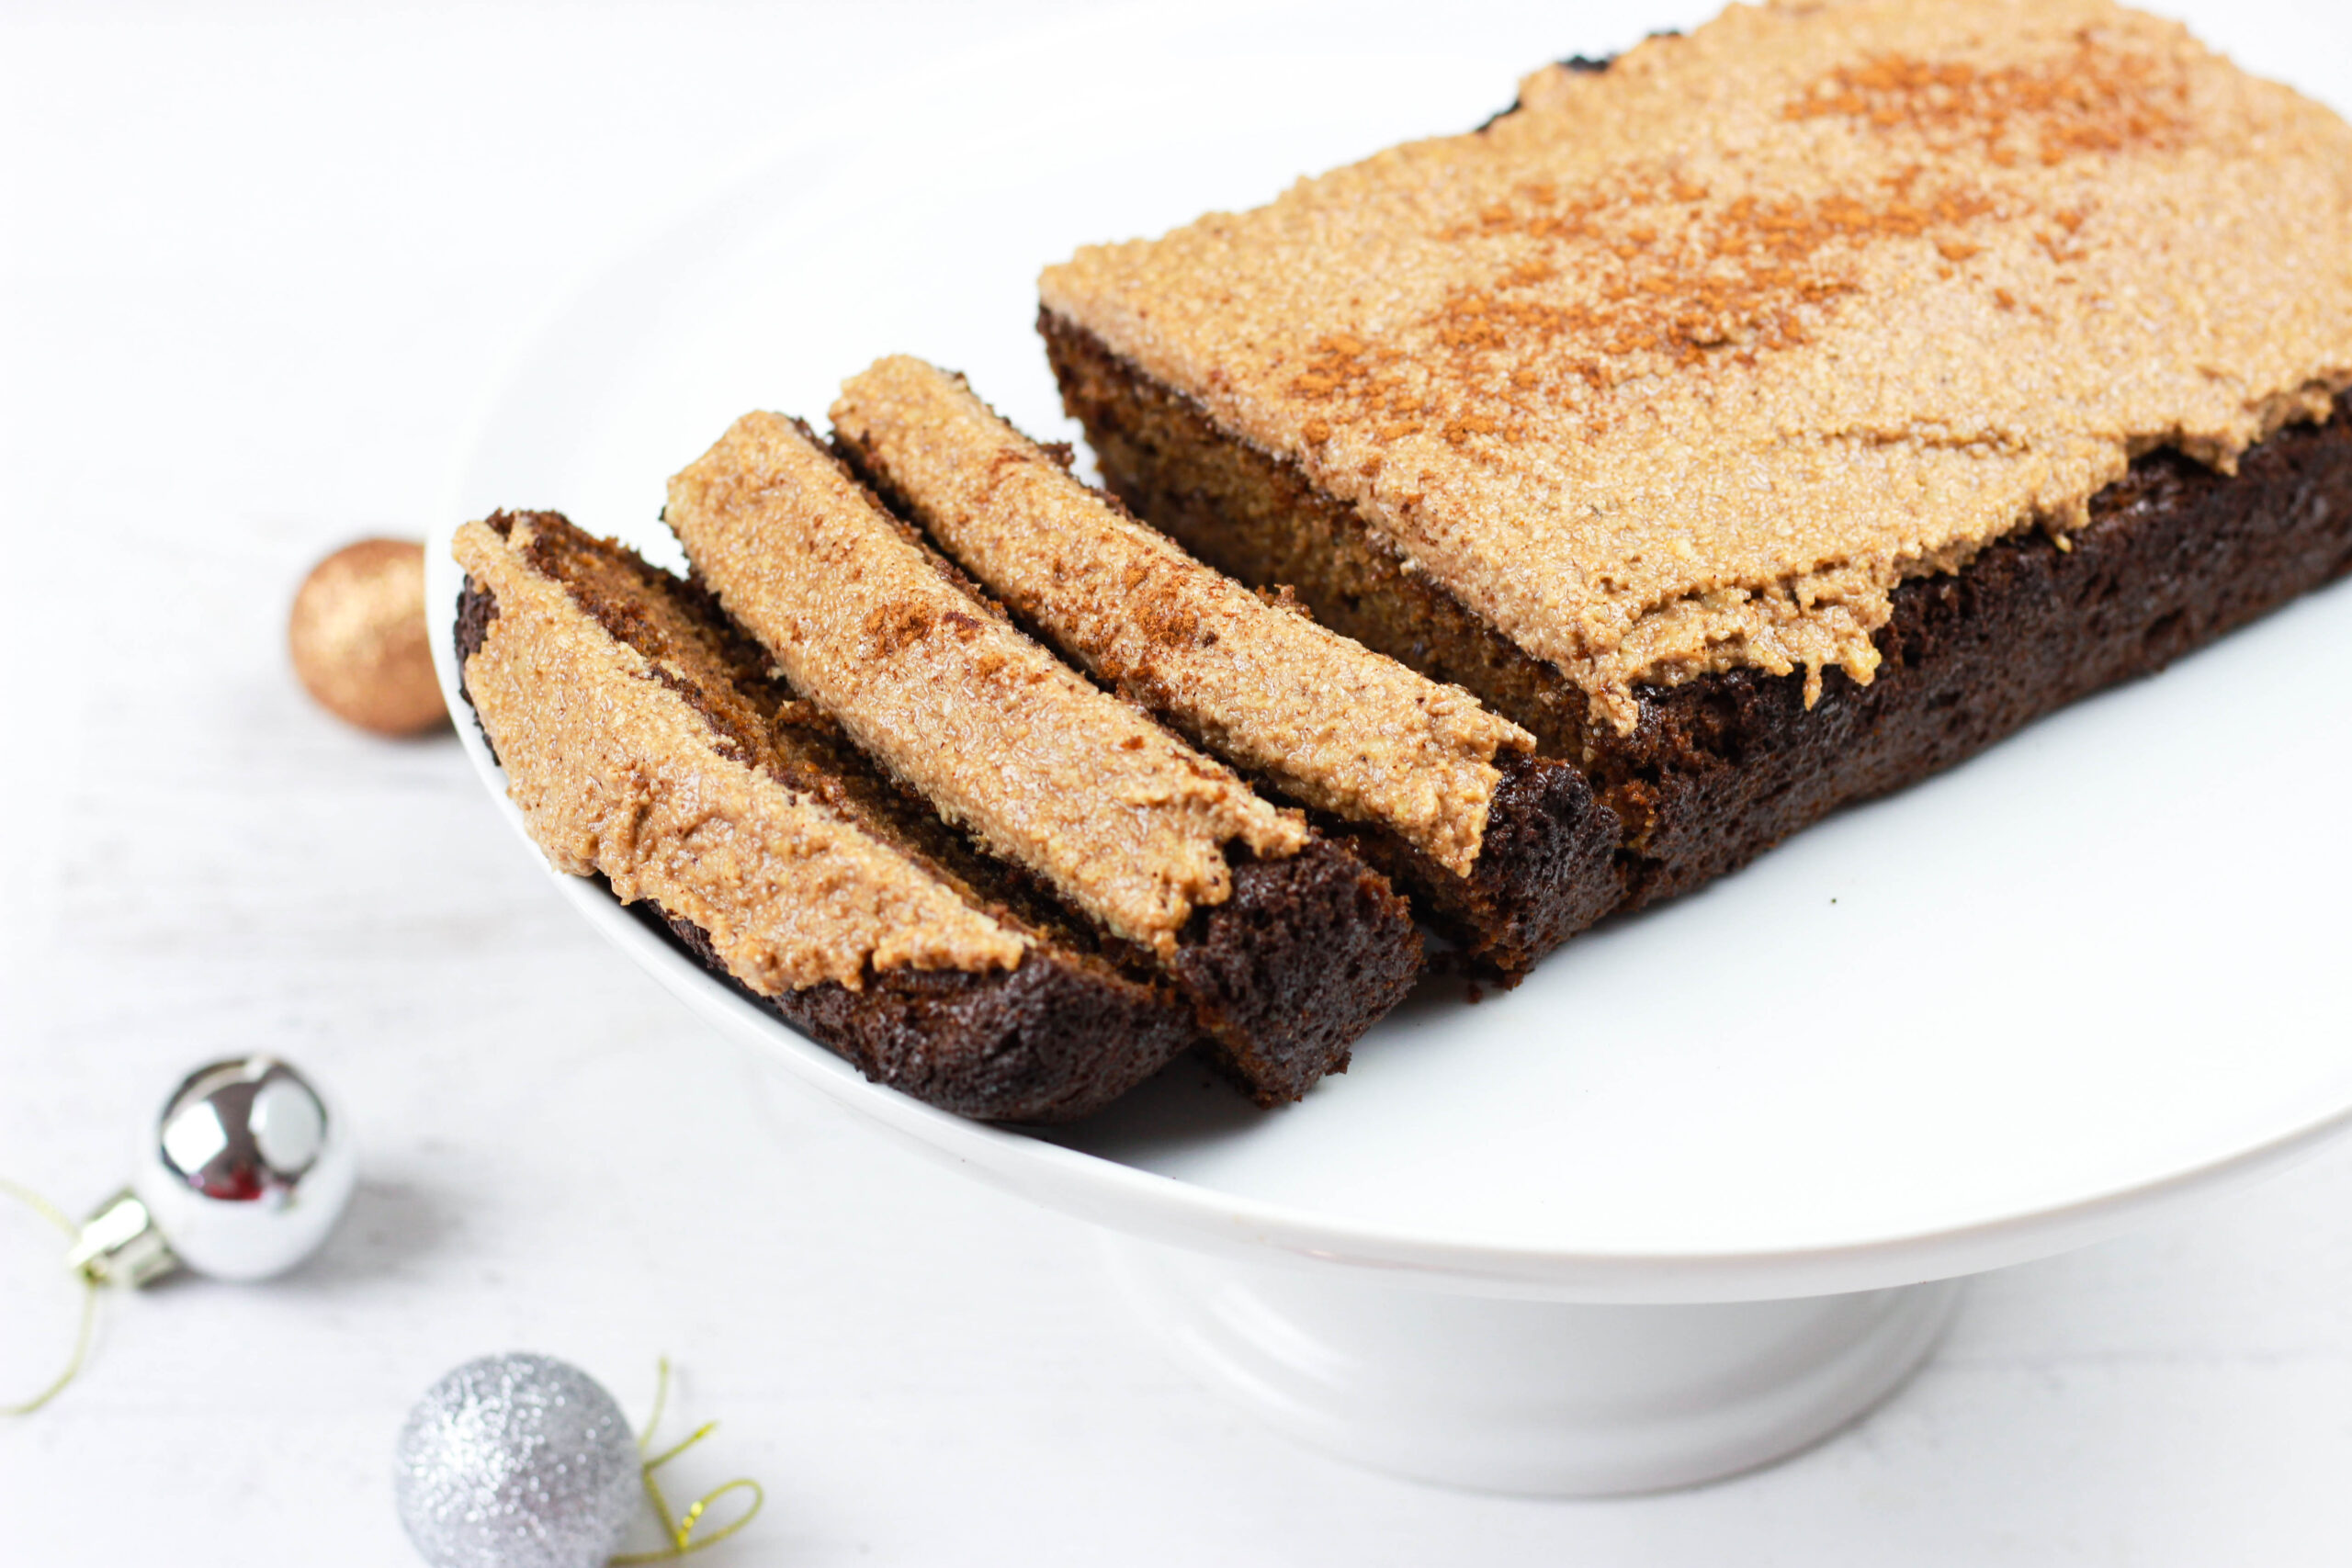
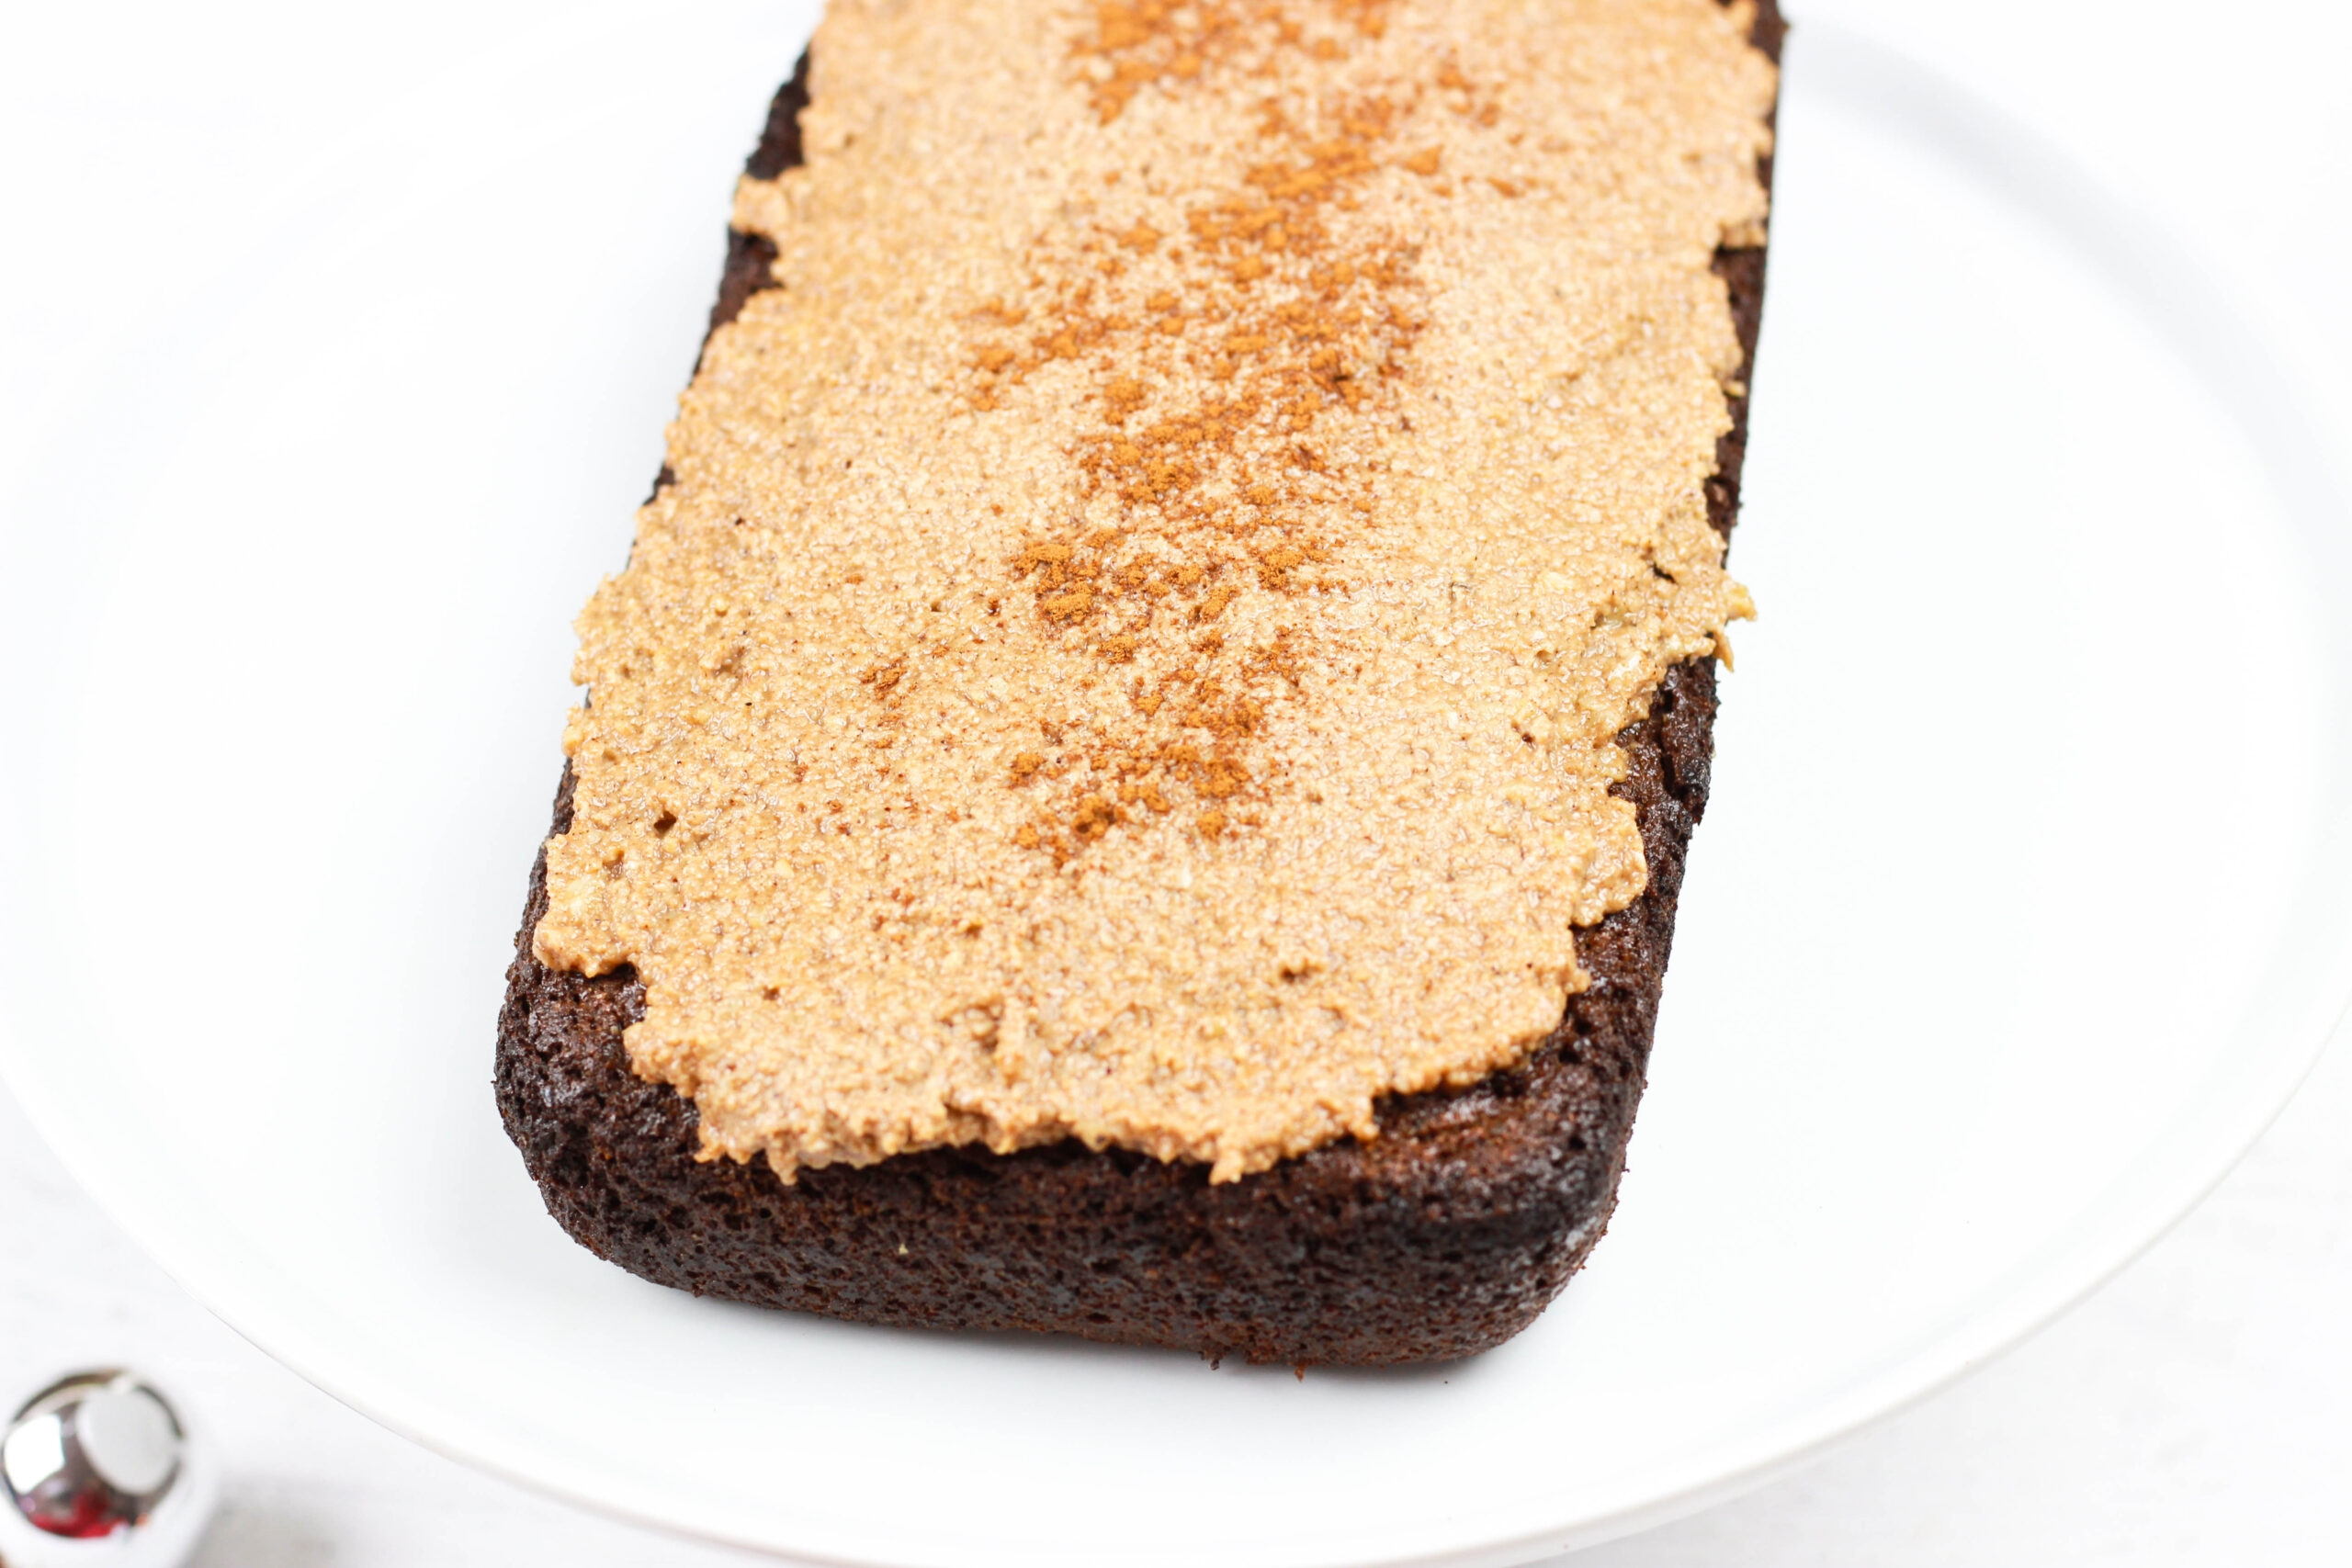
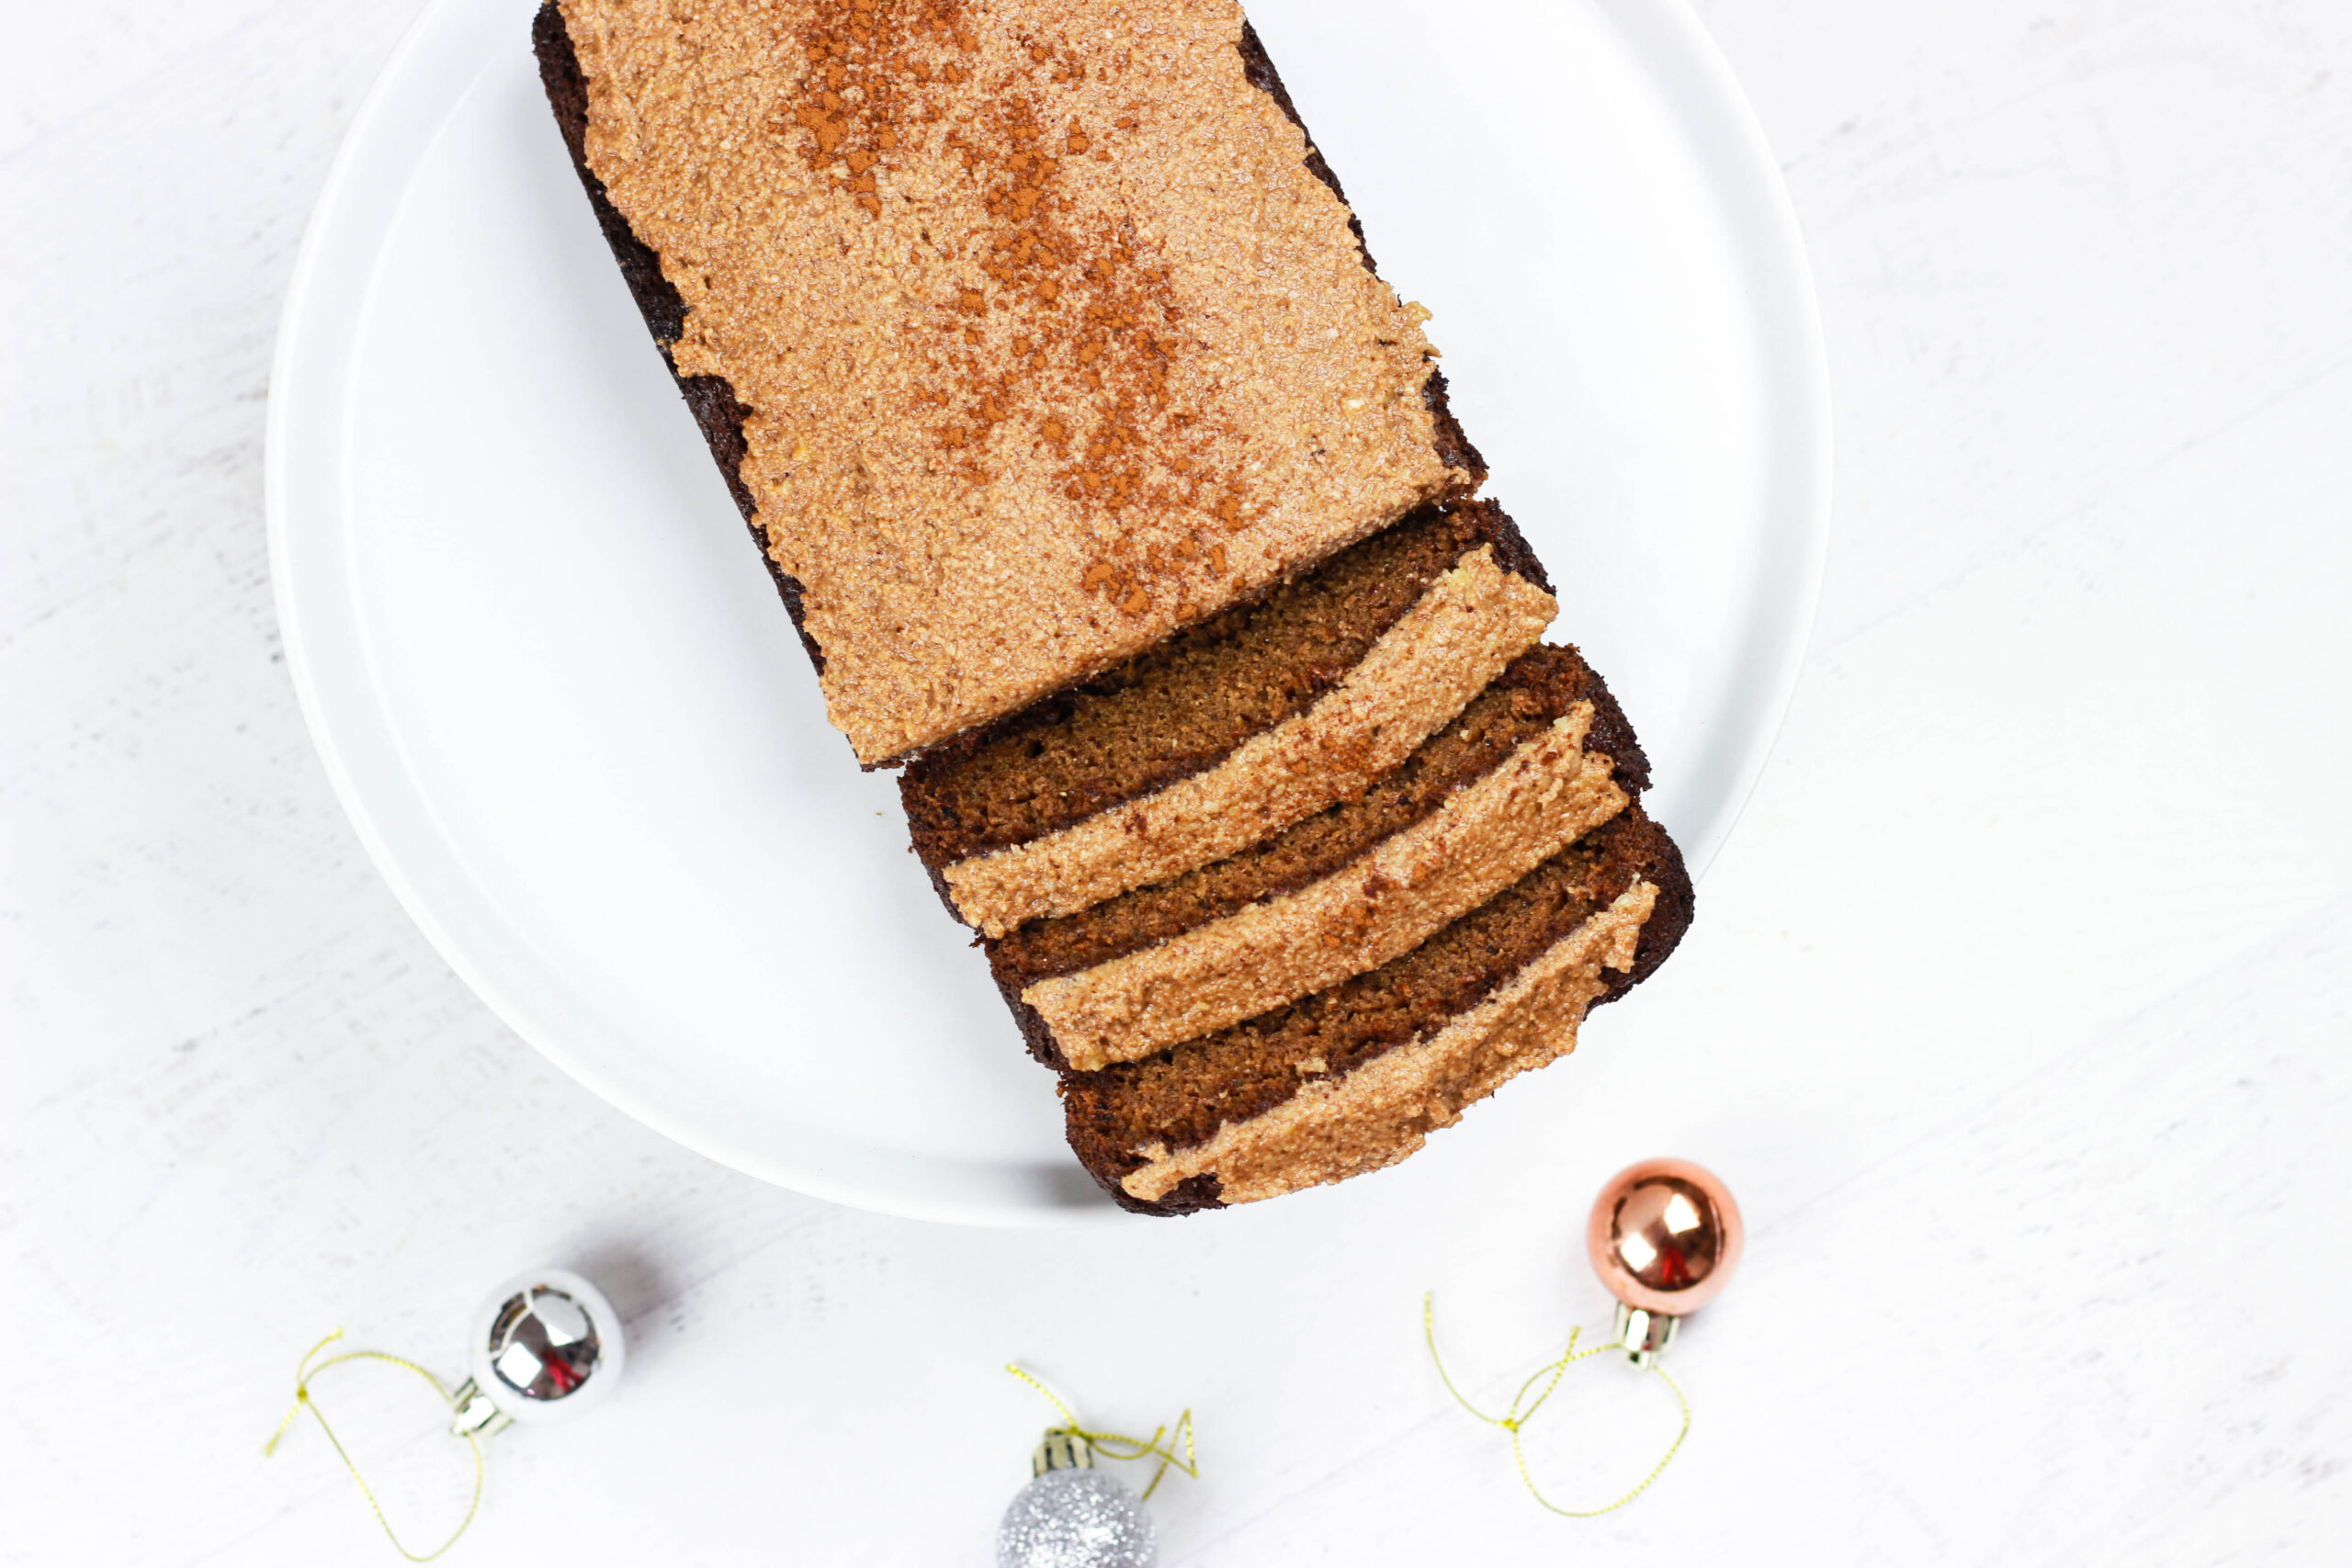
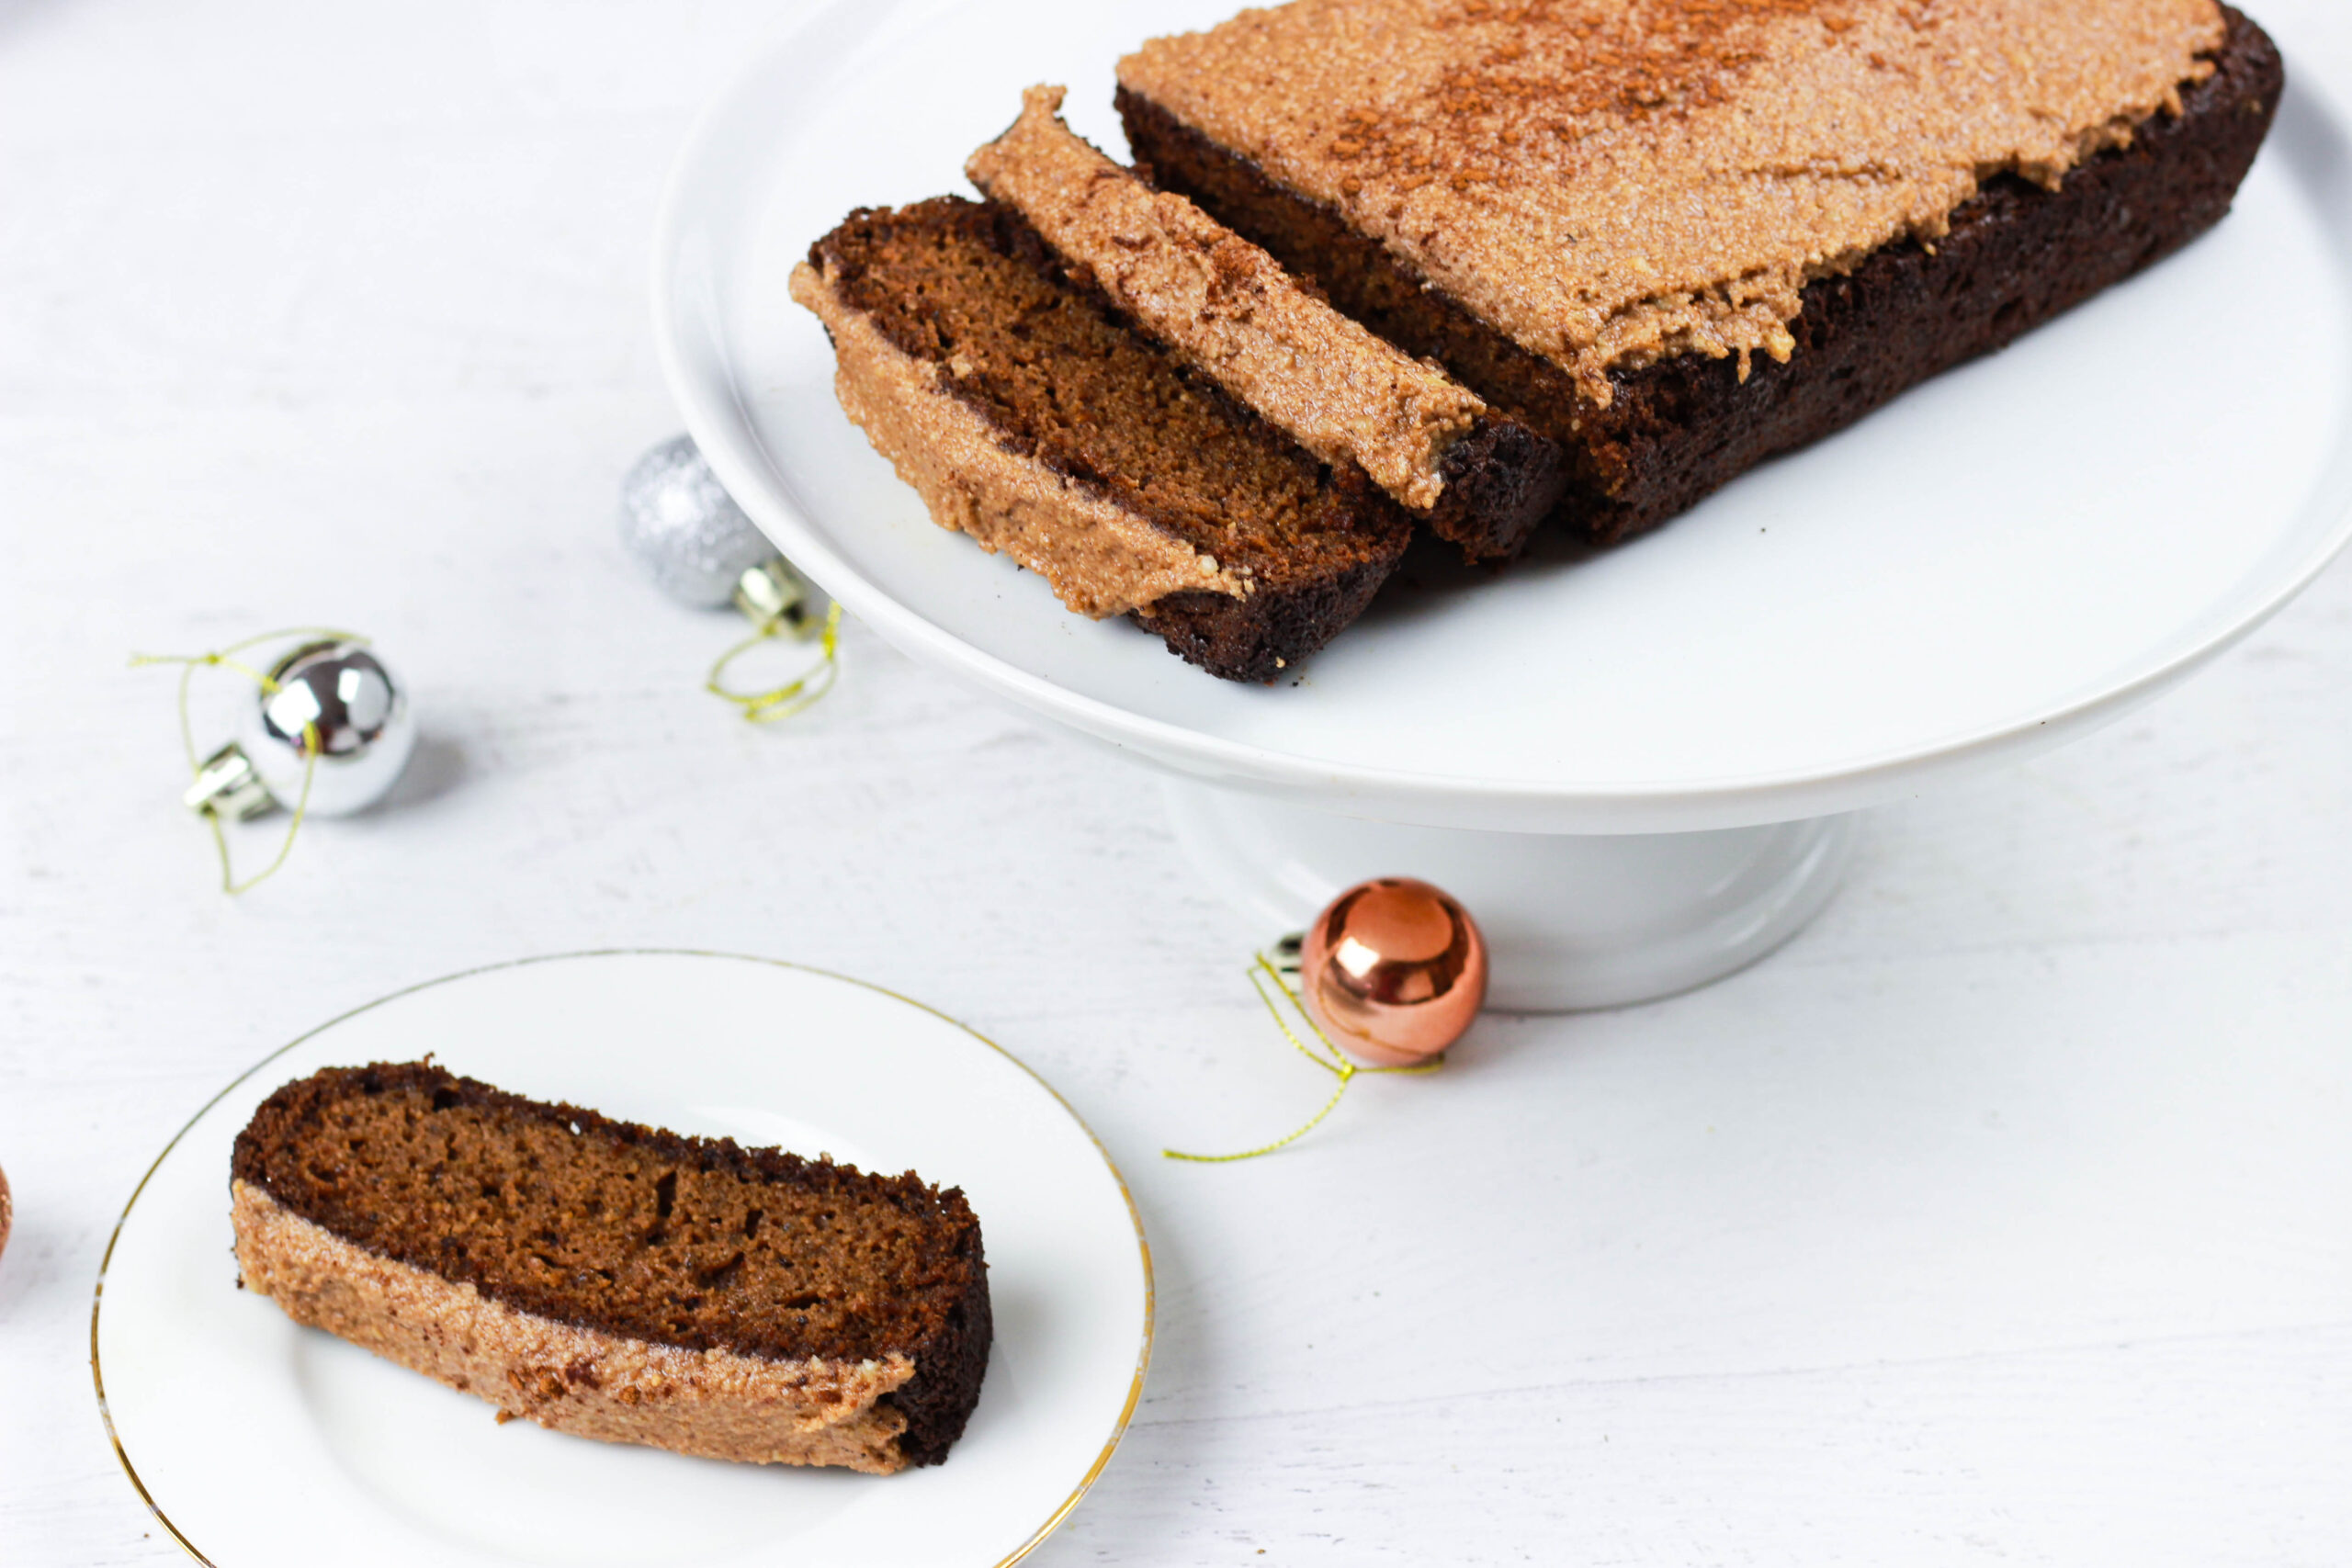
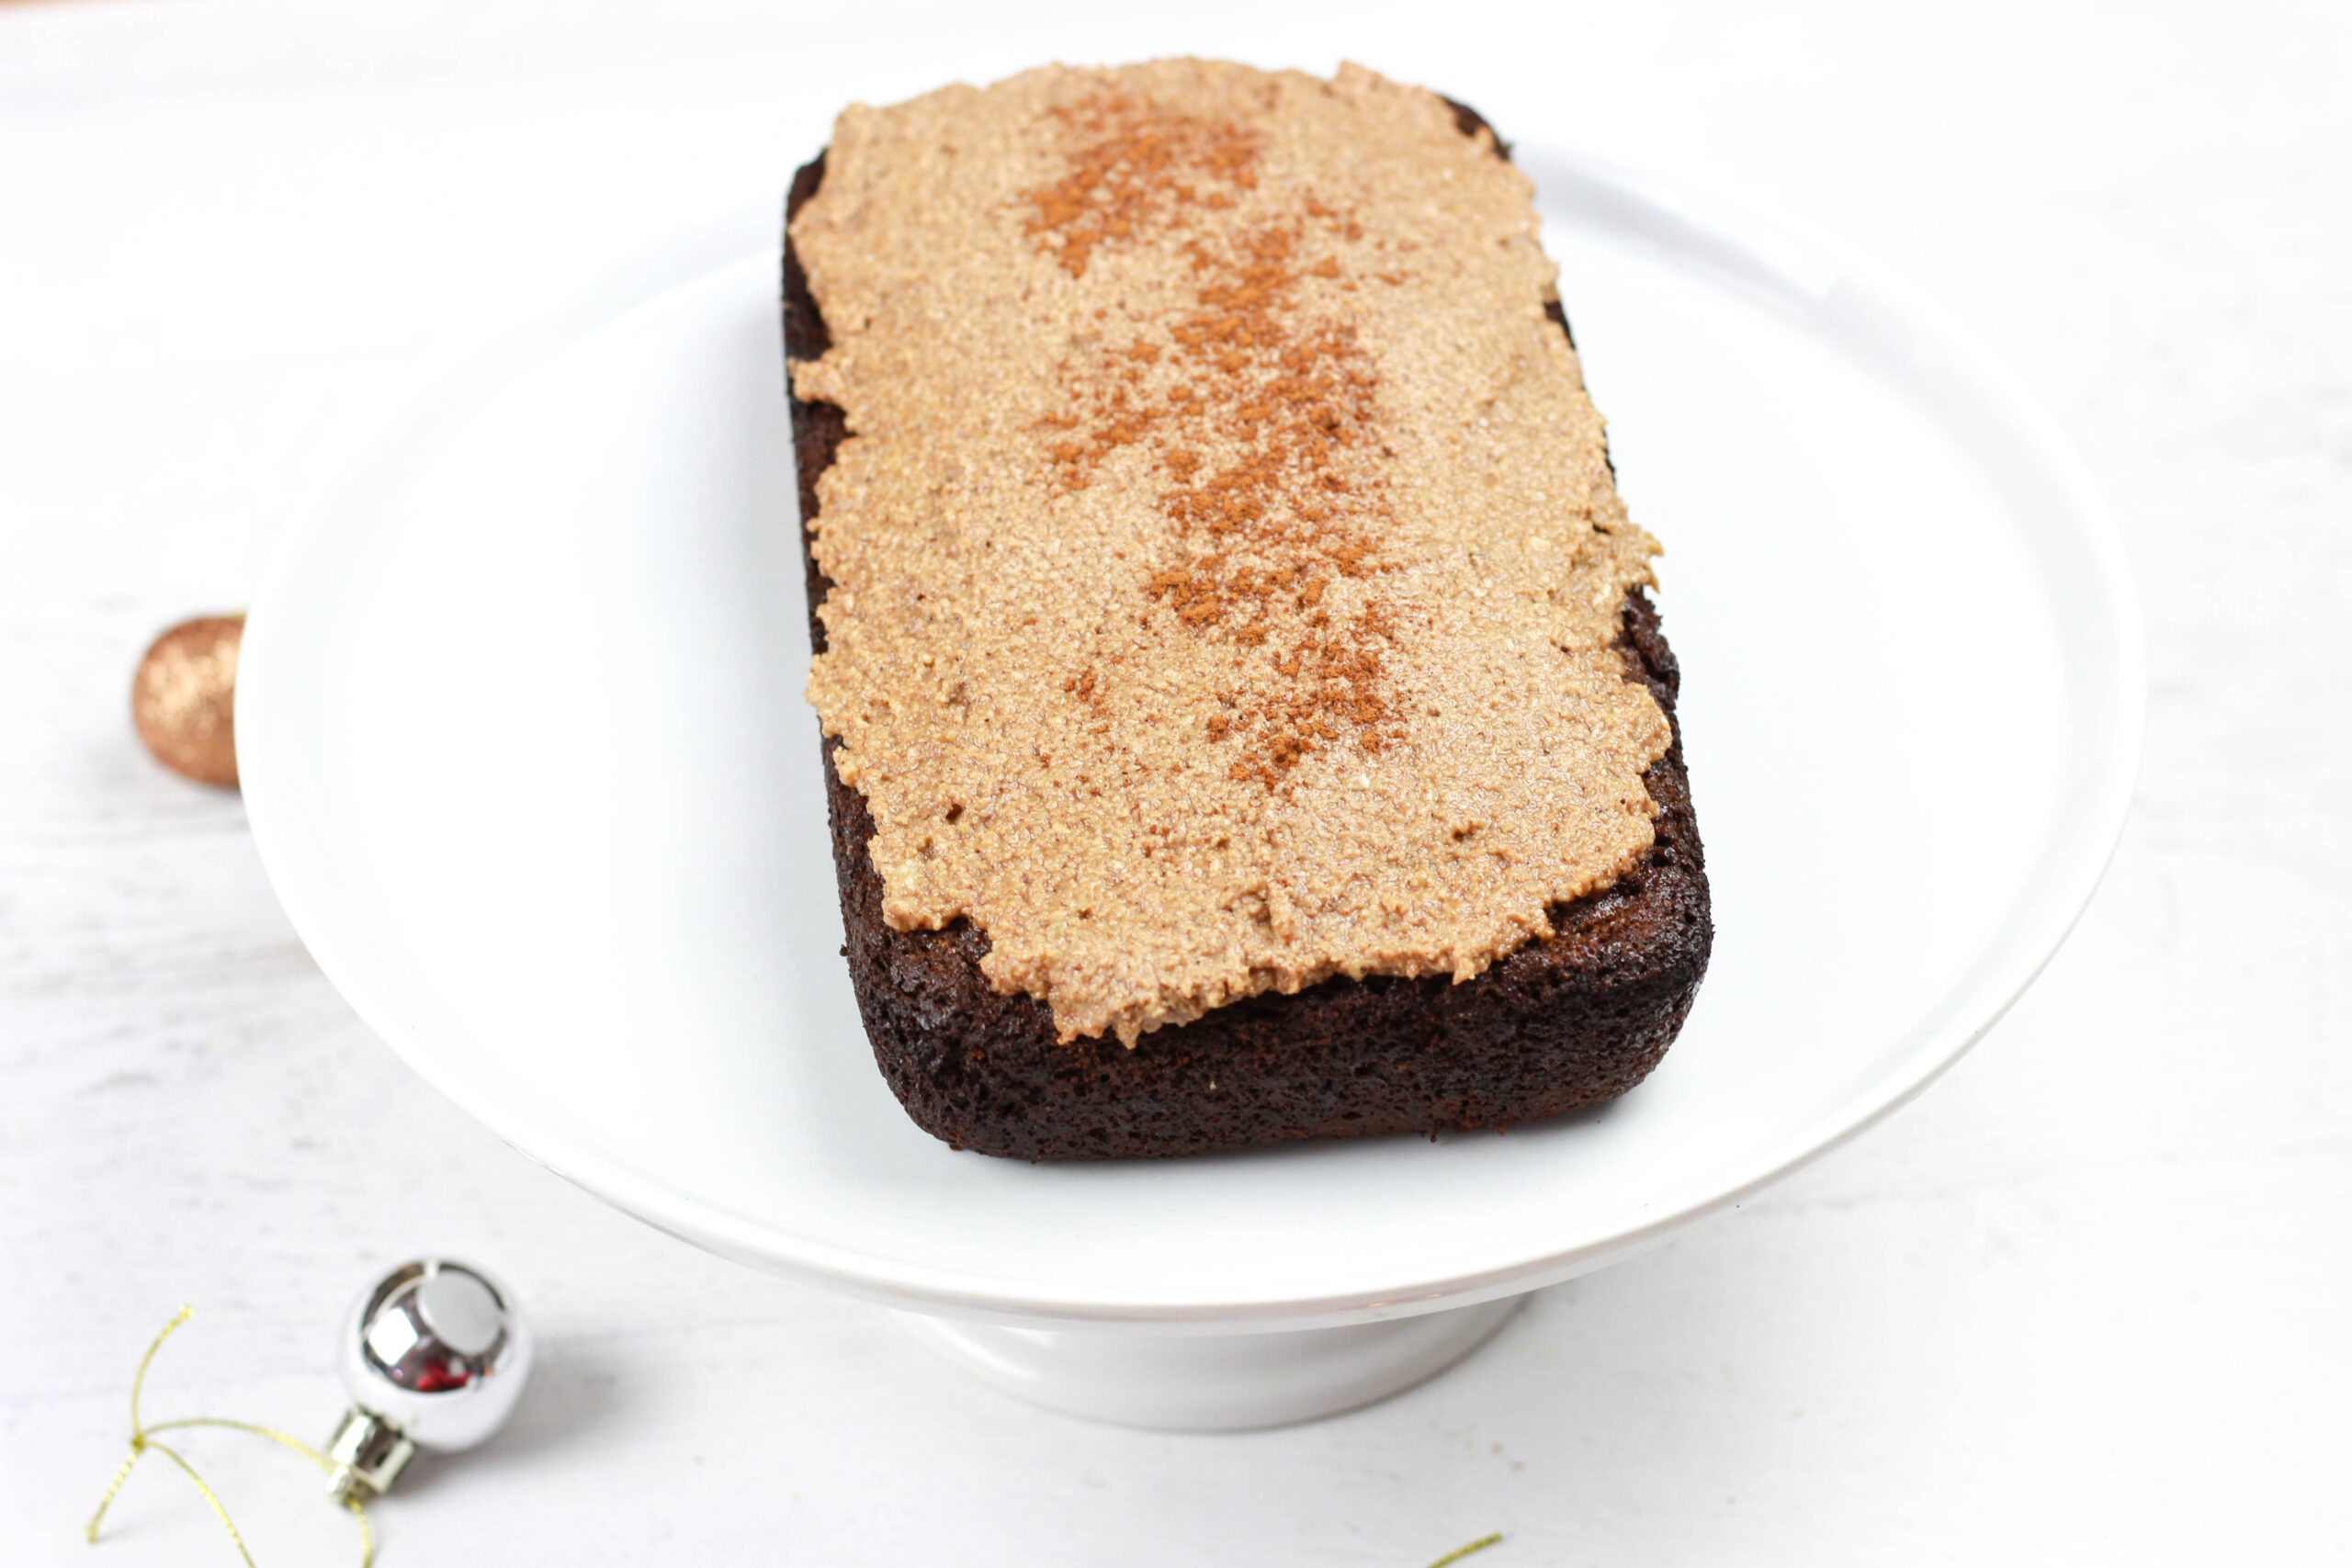
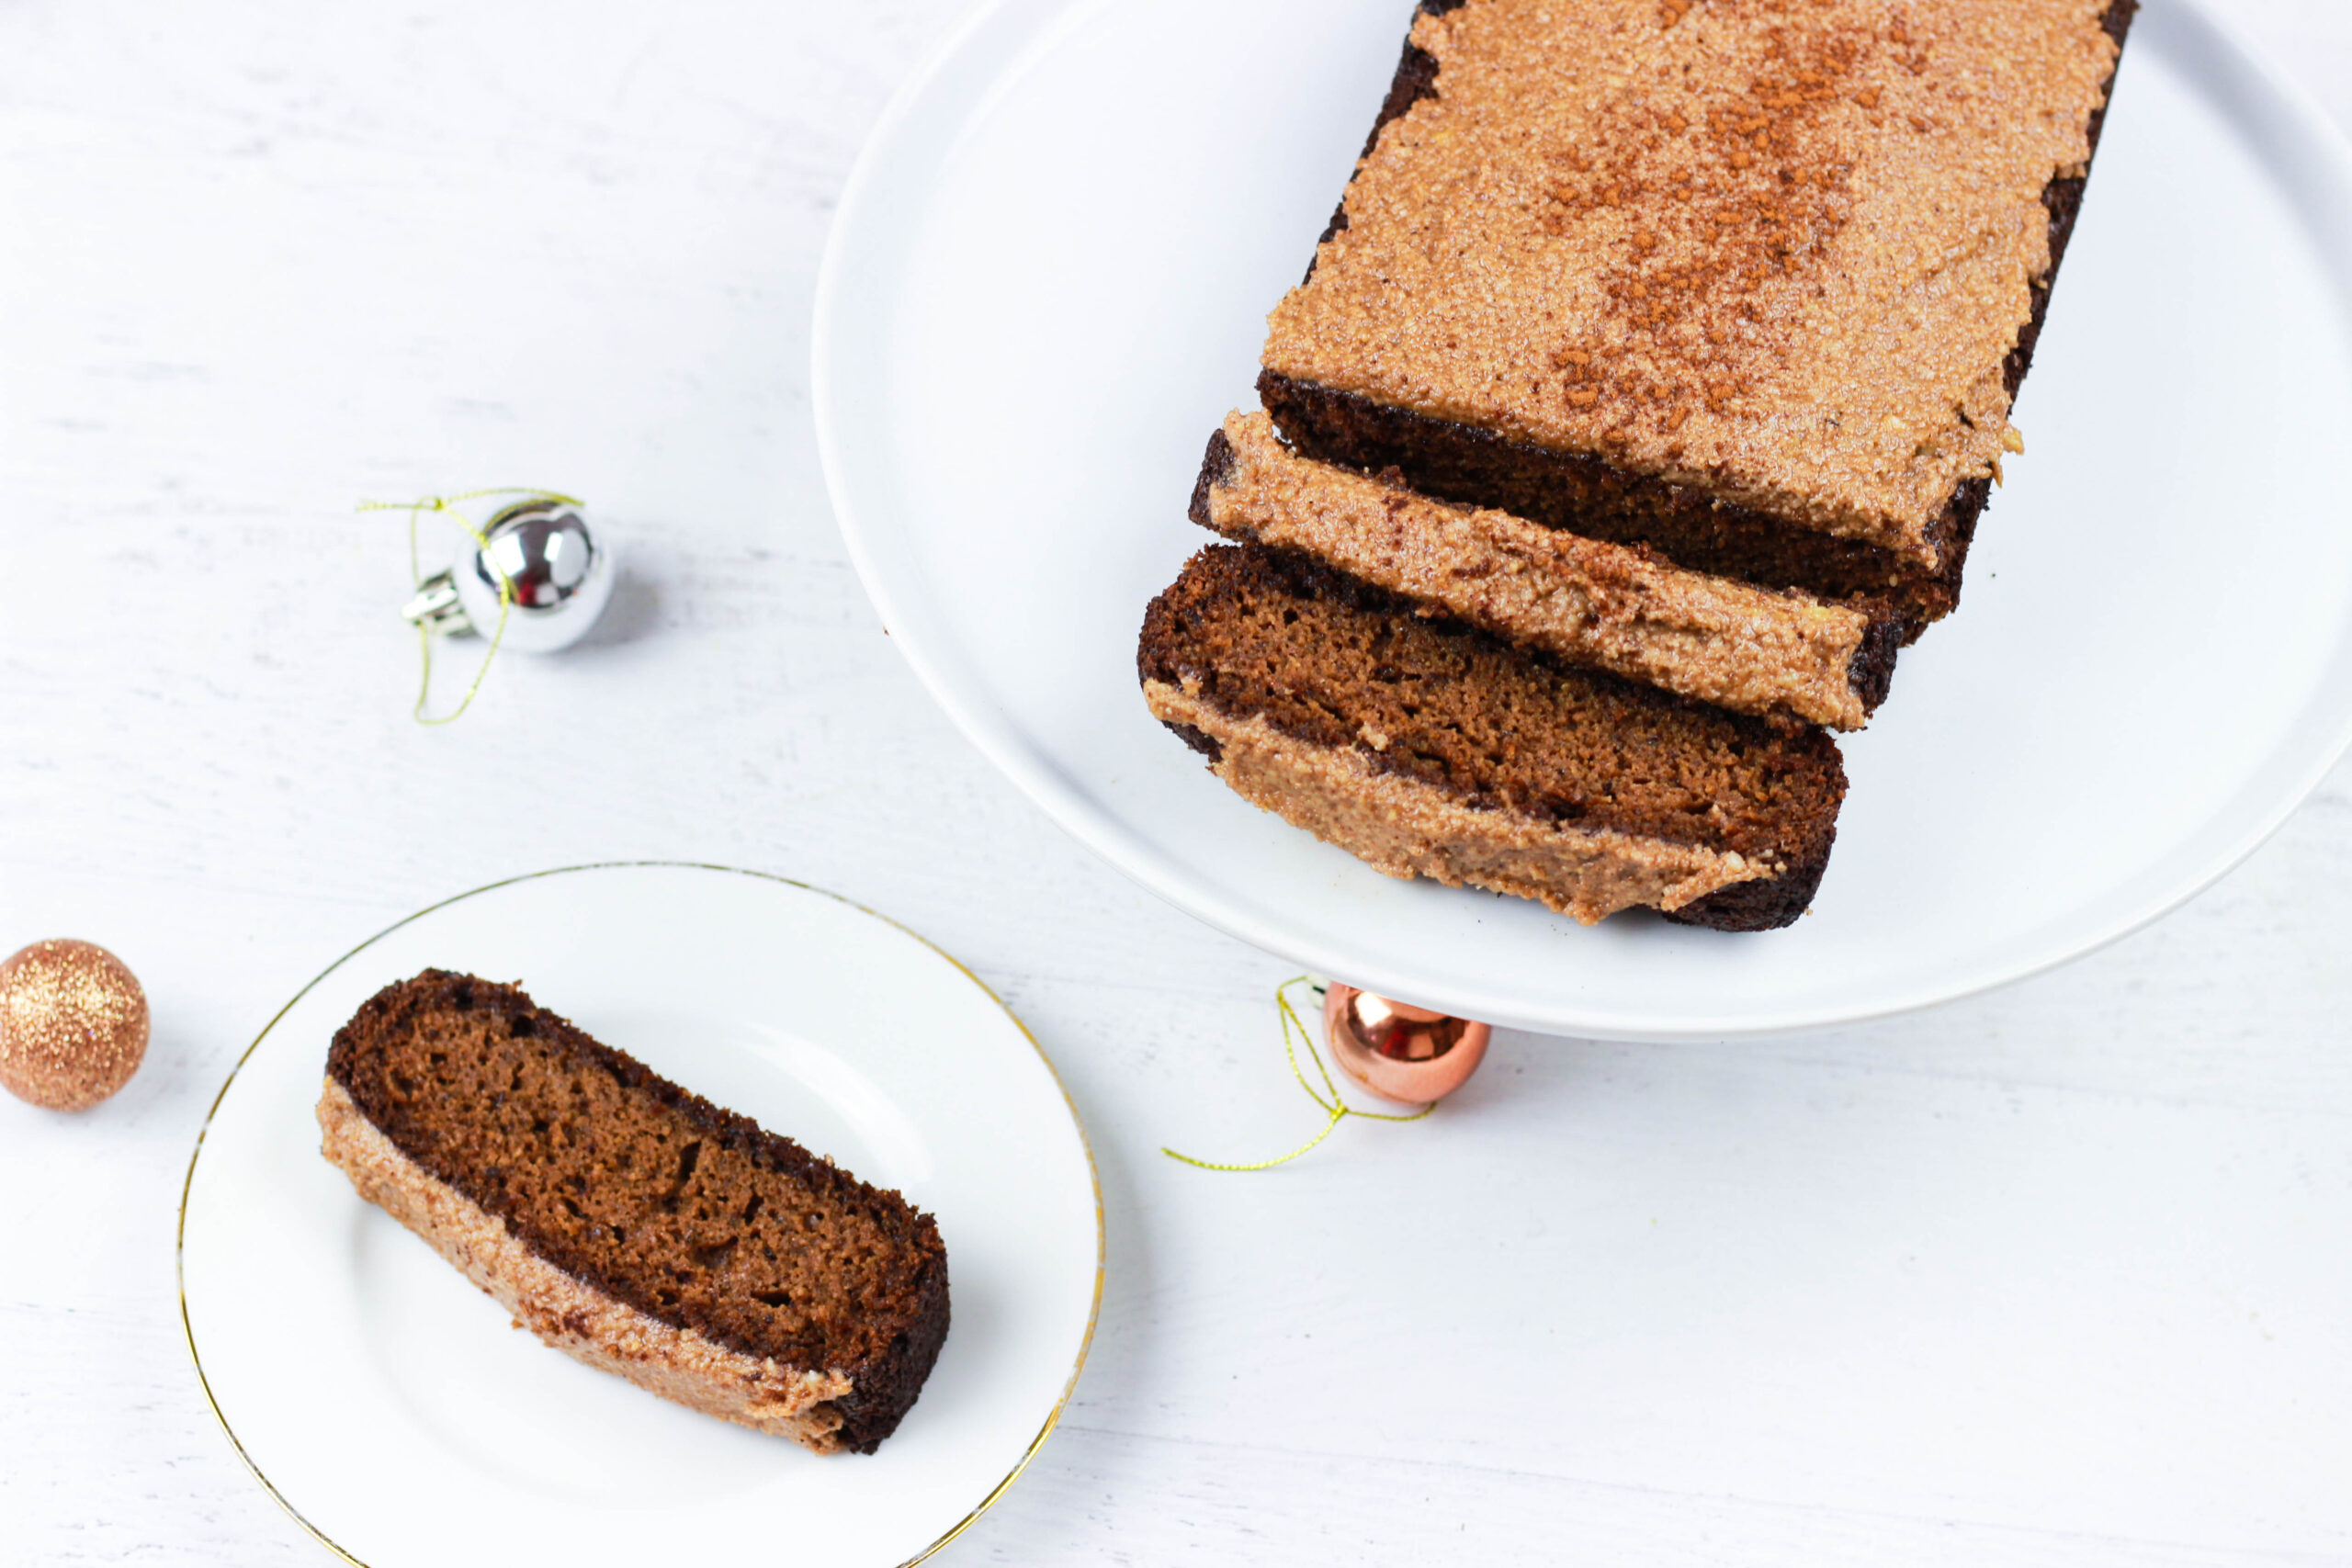
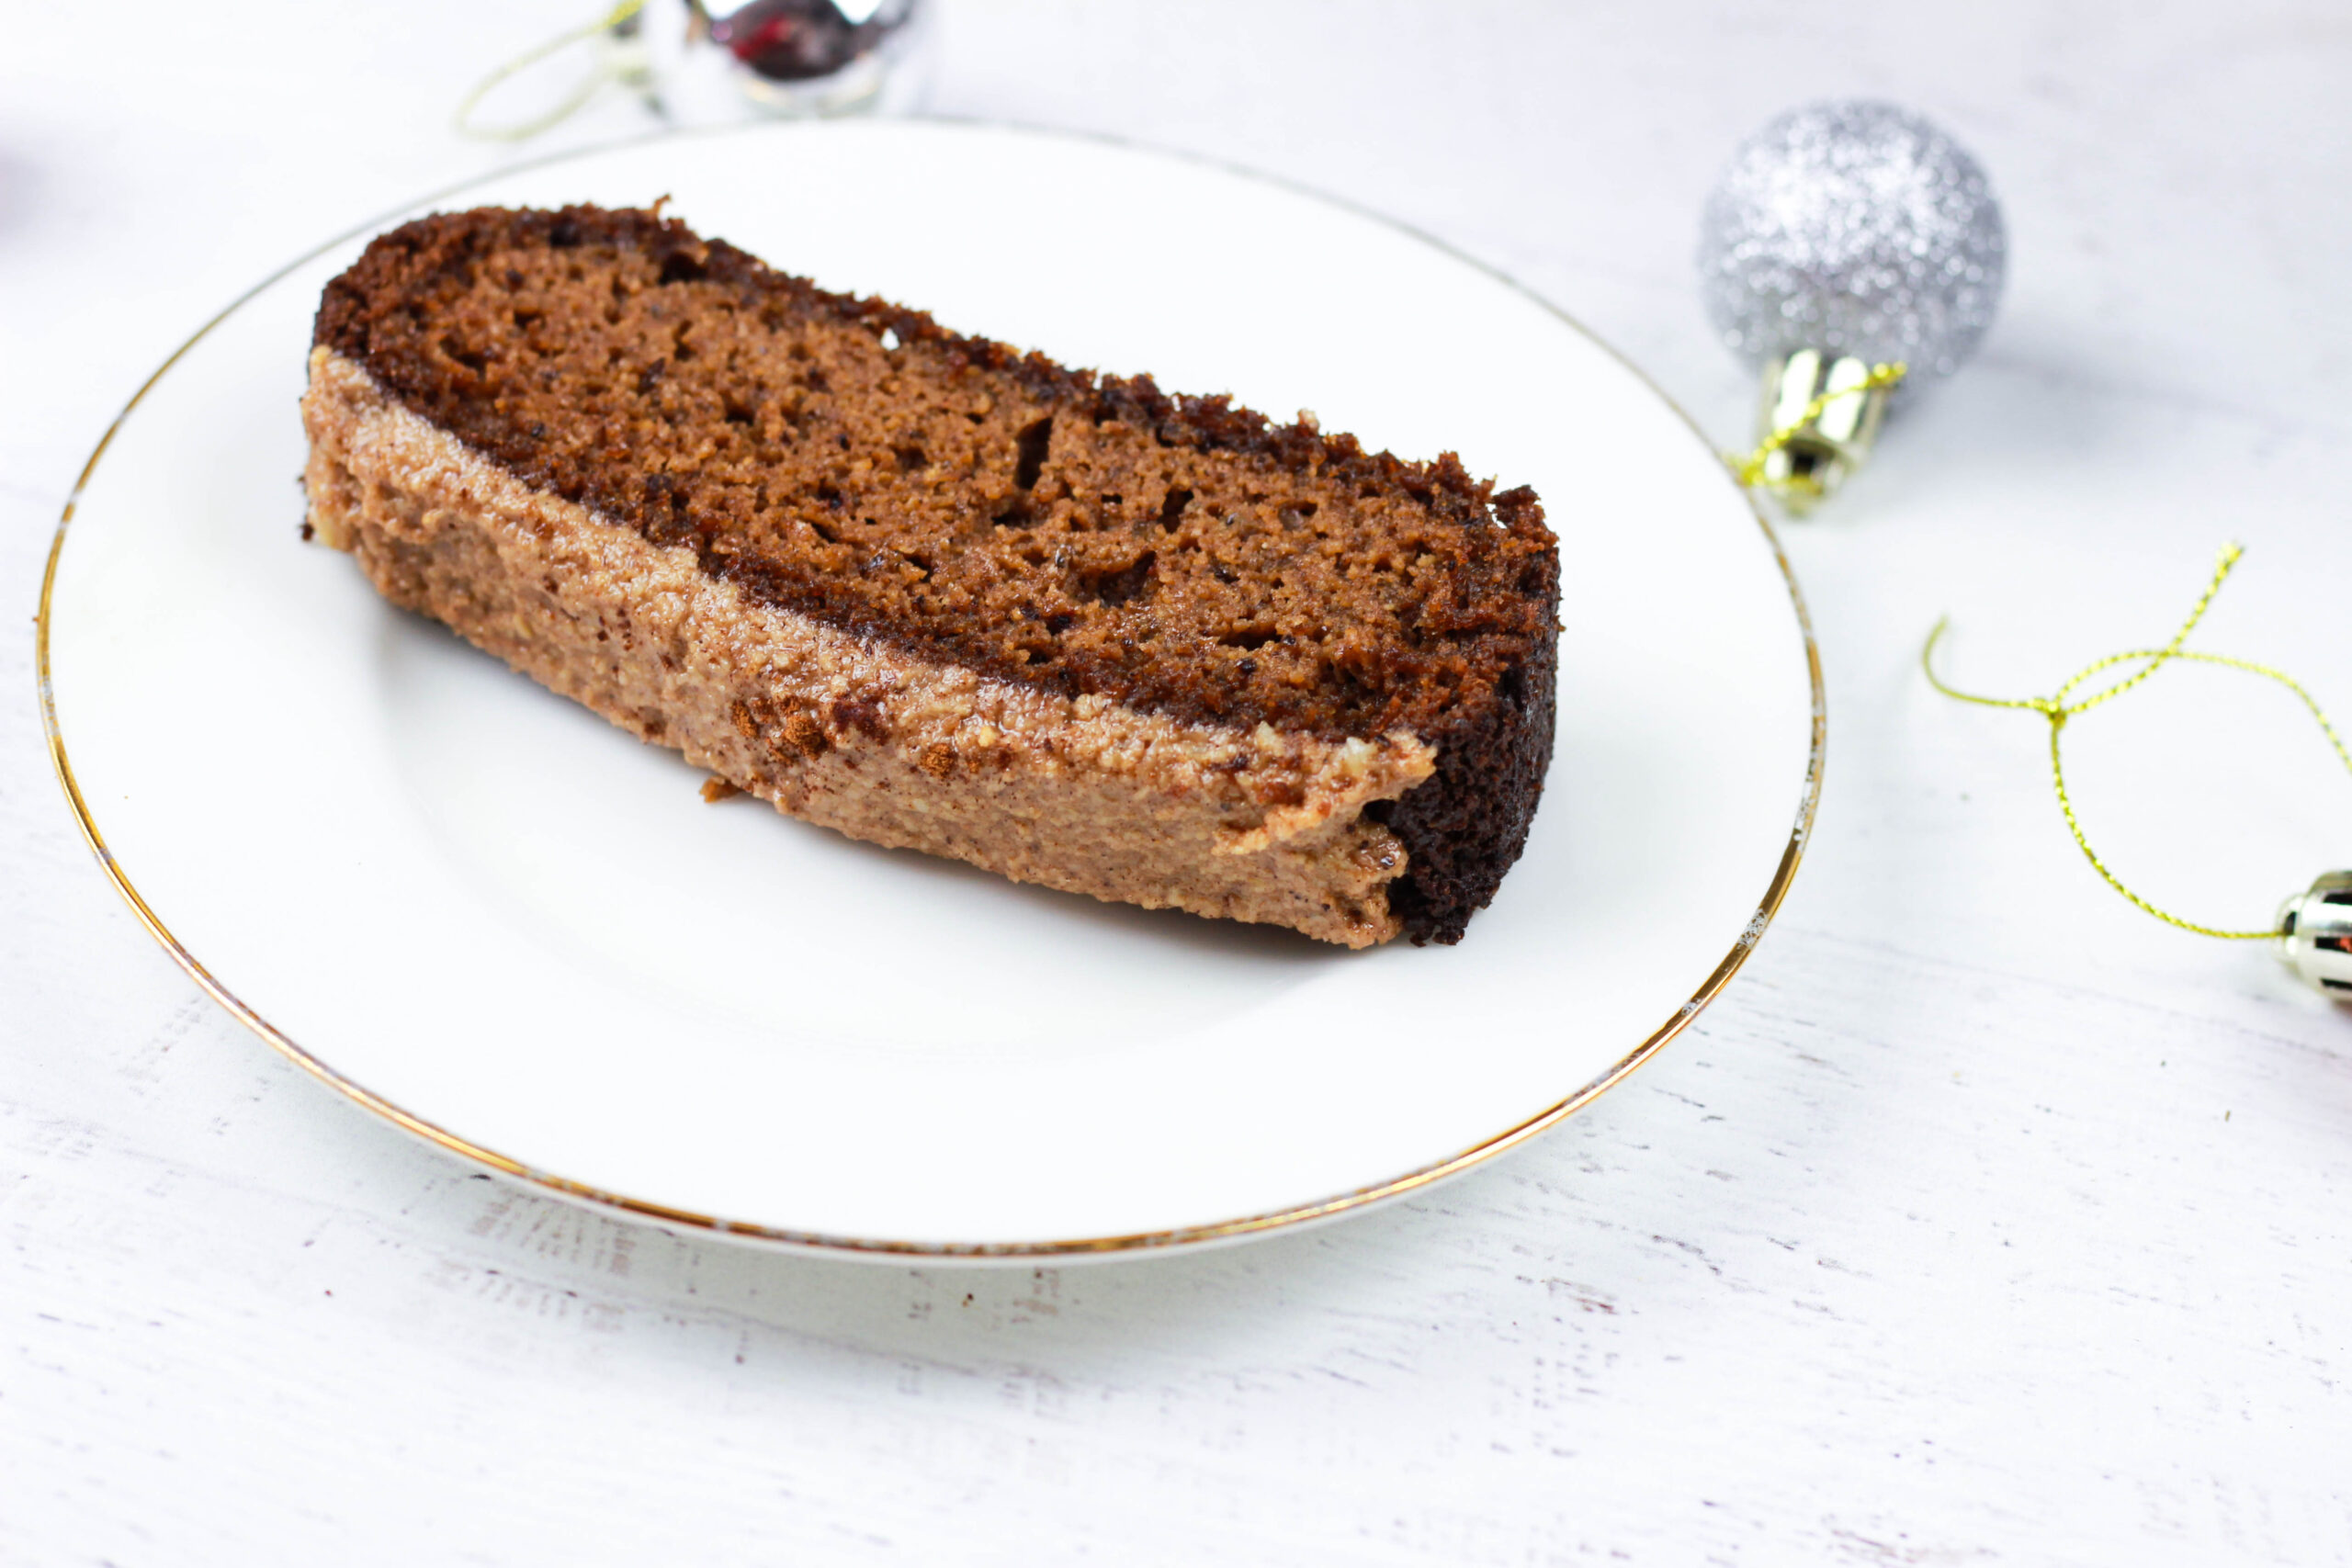
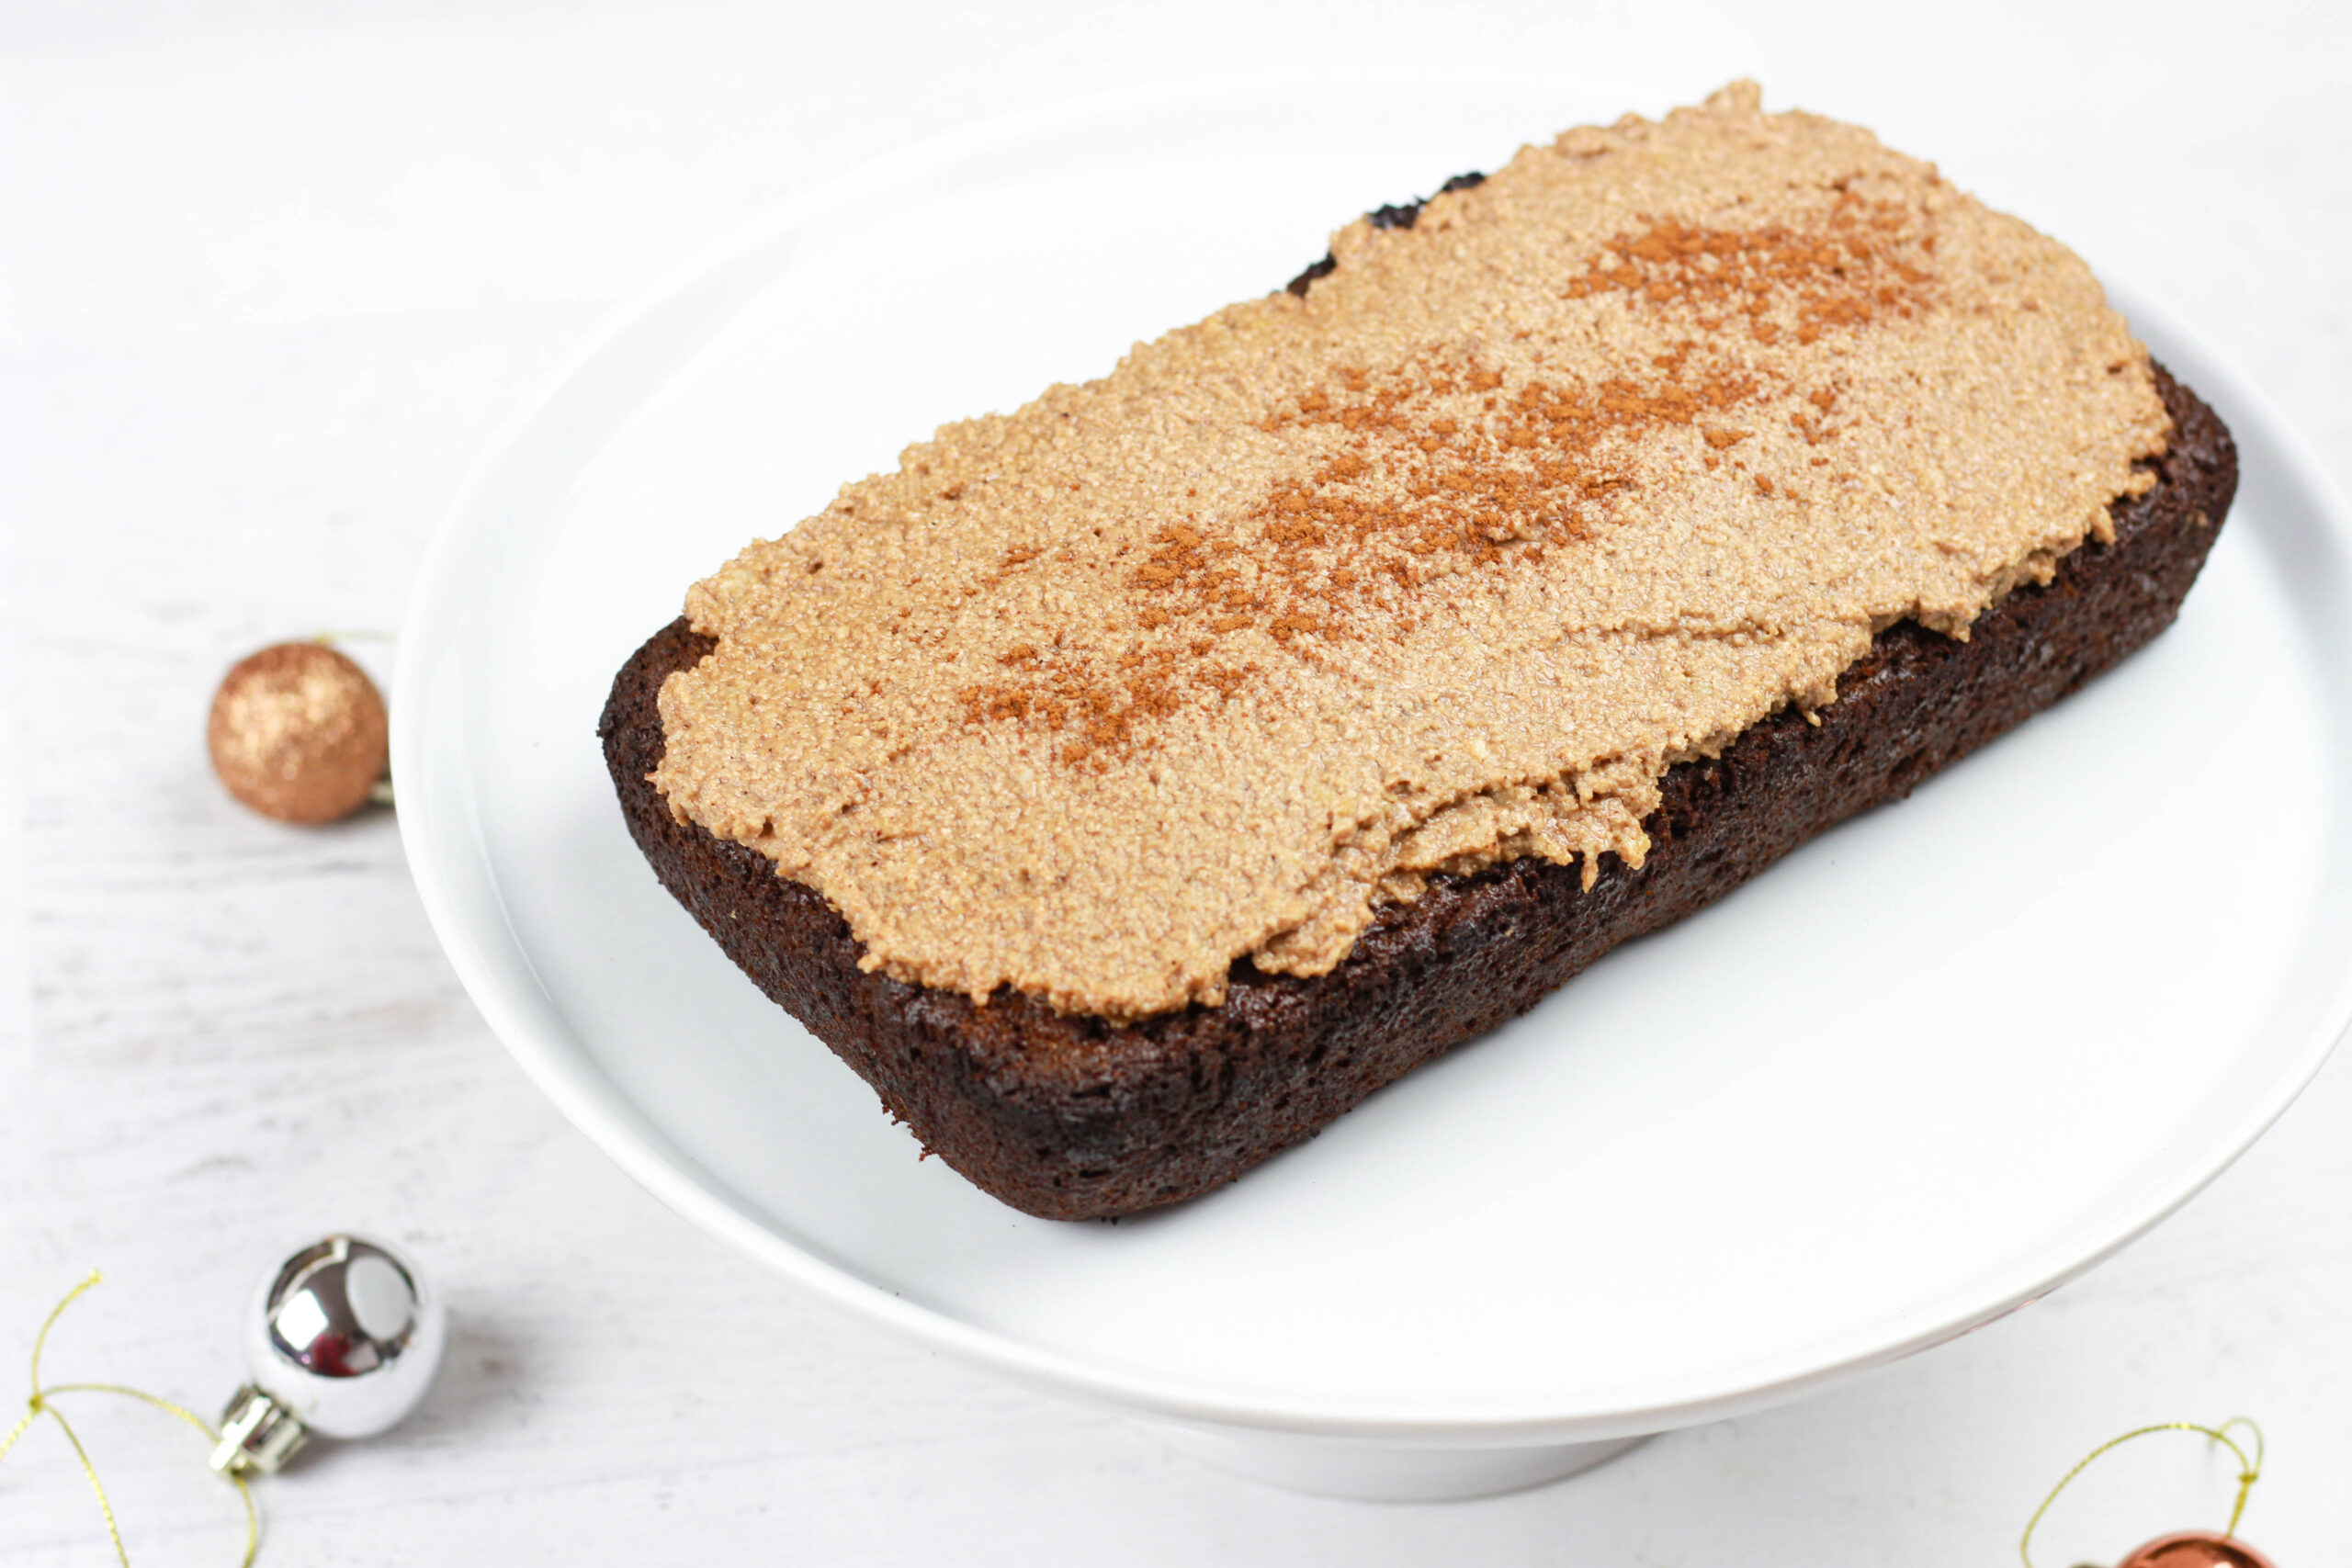
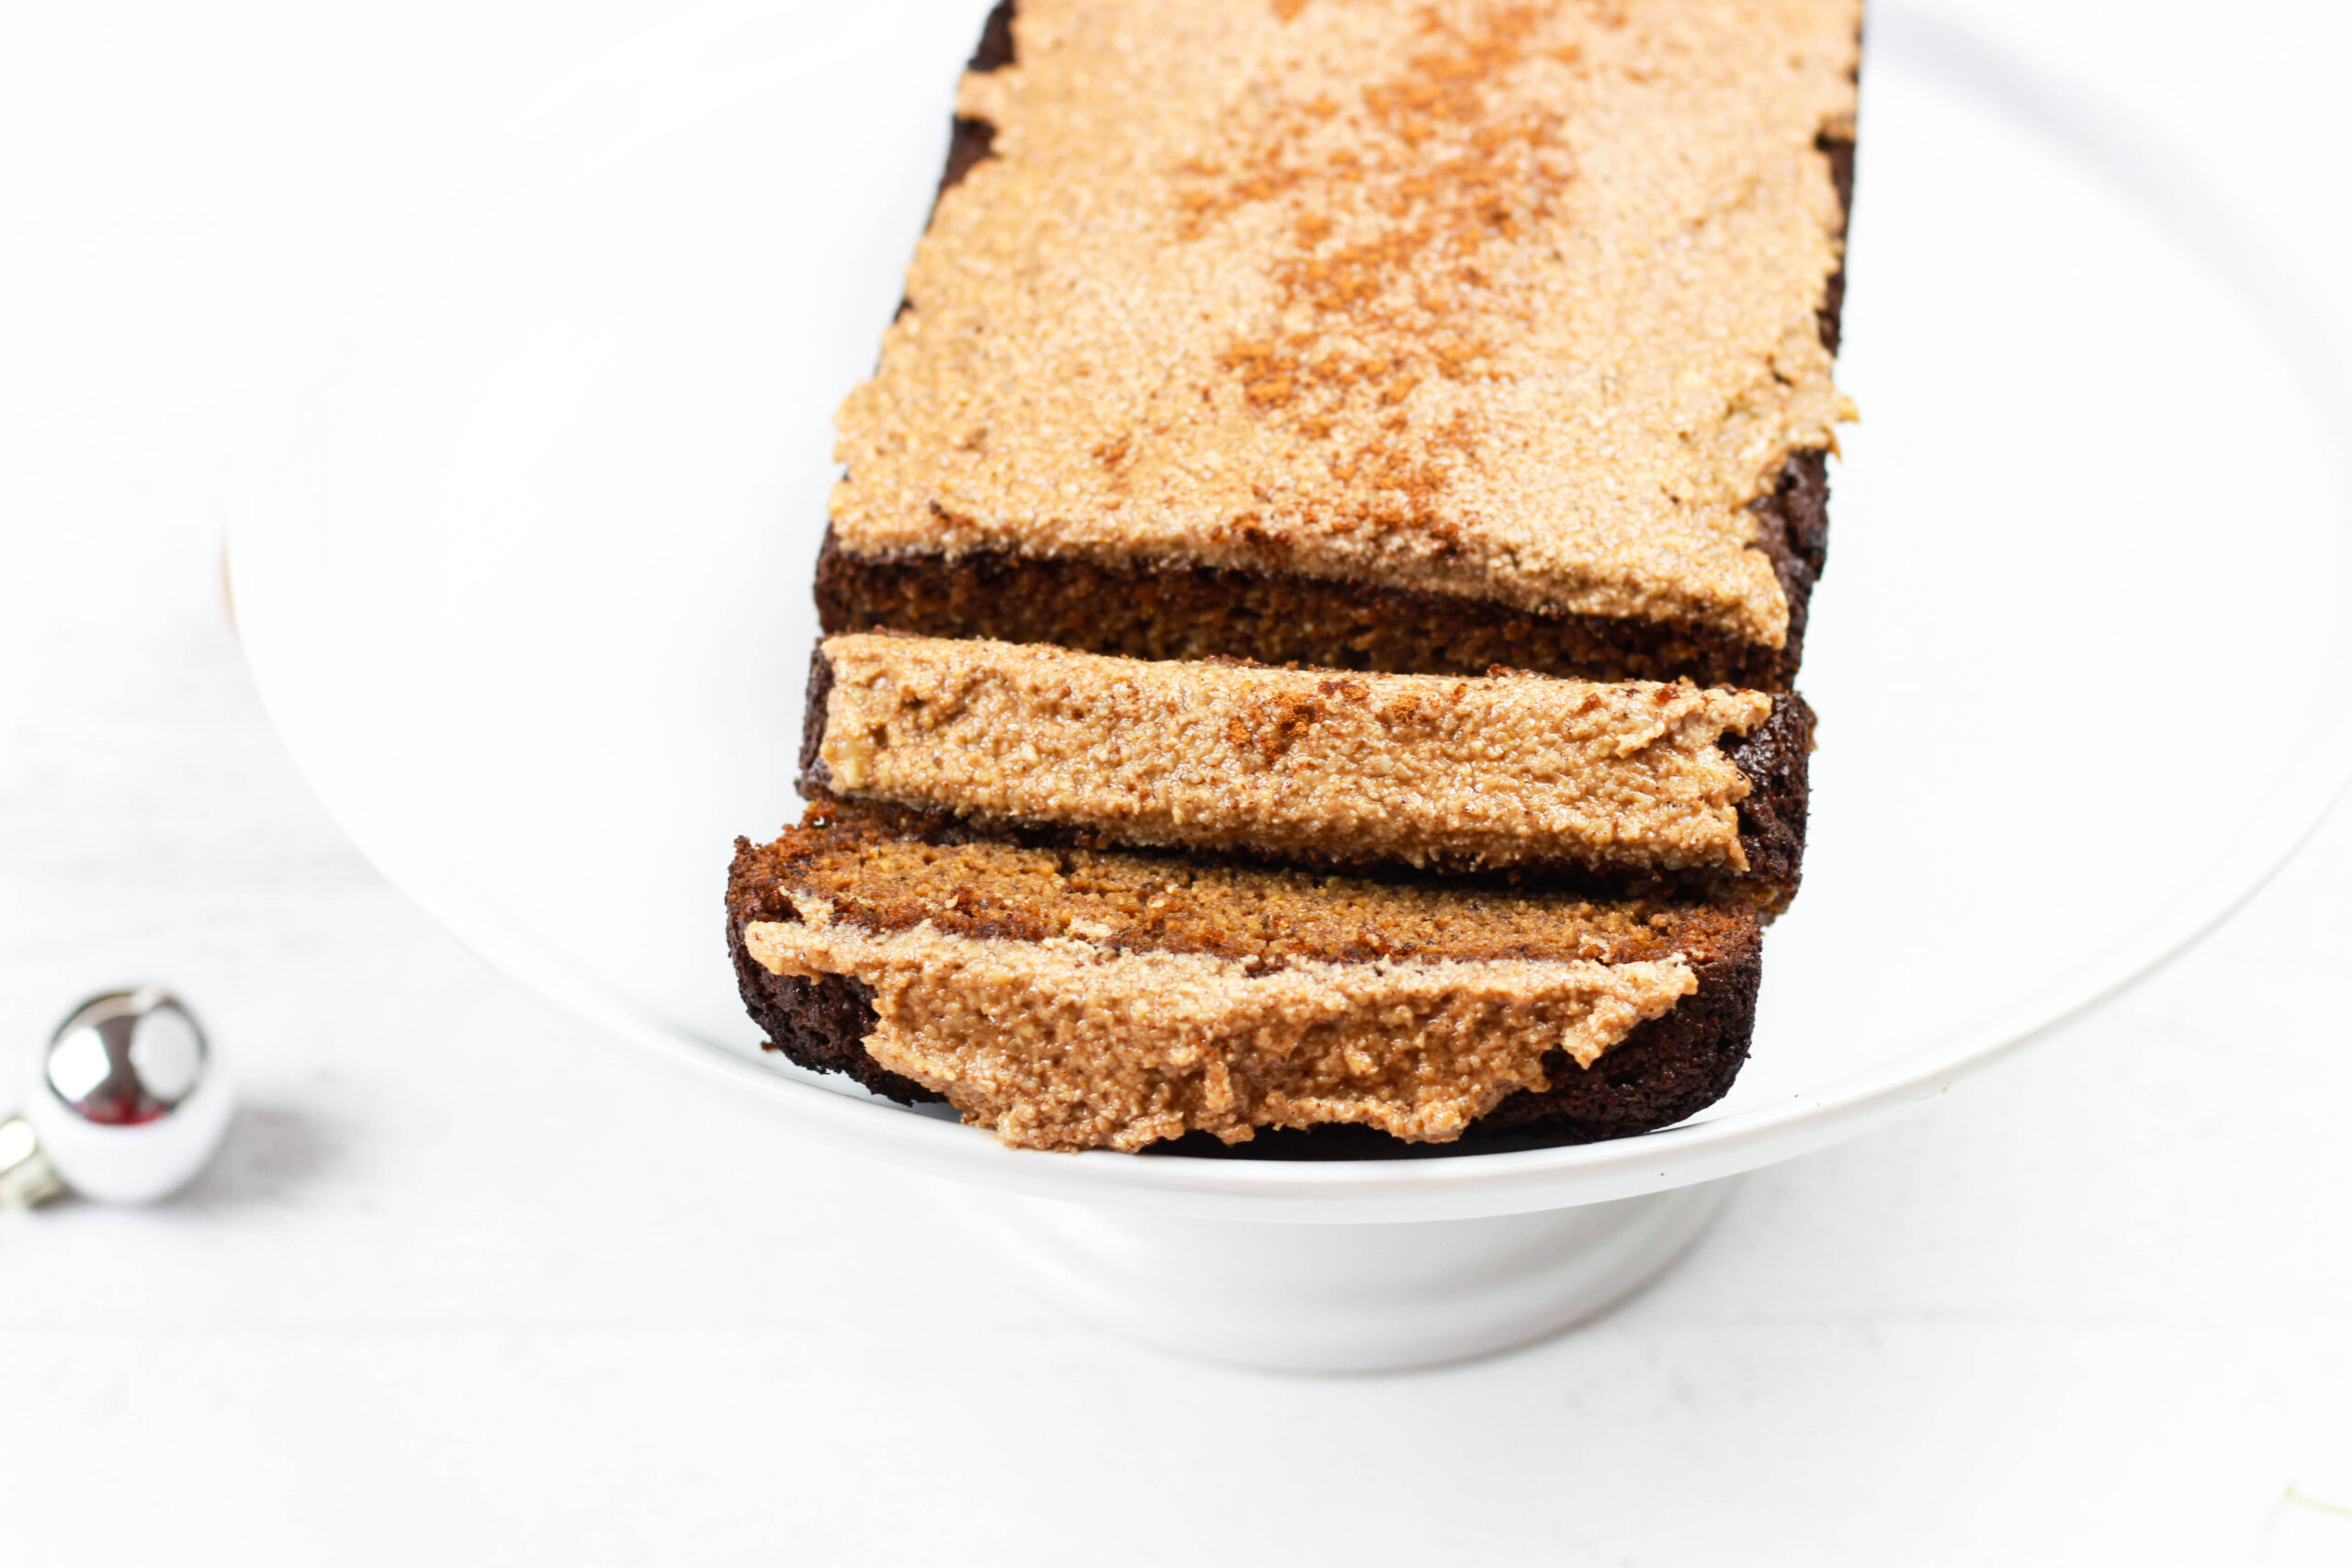
I wanted to spice things up a bit, so I added a frosting on top! It’s totally optional, but it definitely brings this to the next level! You can swipe the frosting on top of the entire loaf, or you can spread it onto each piece as you eat the loaf!
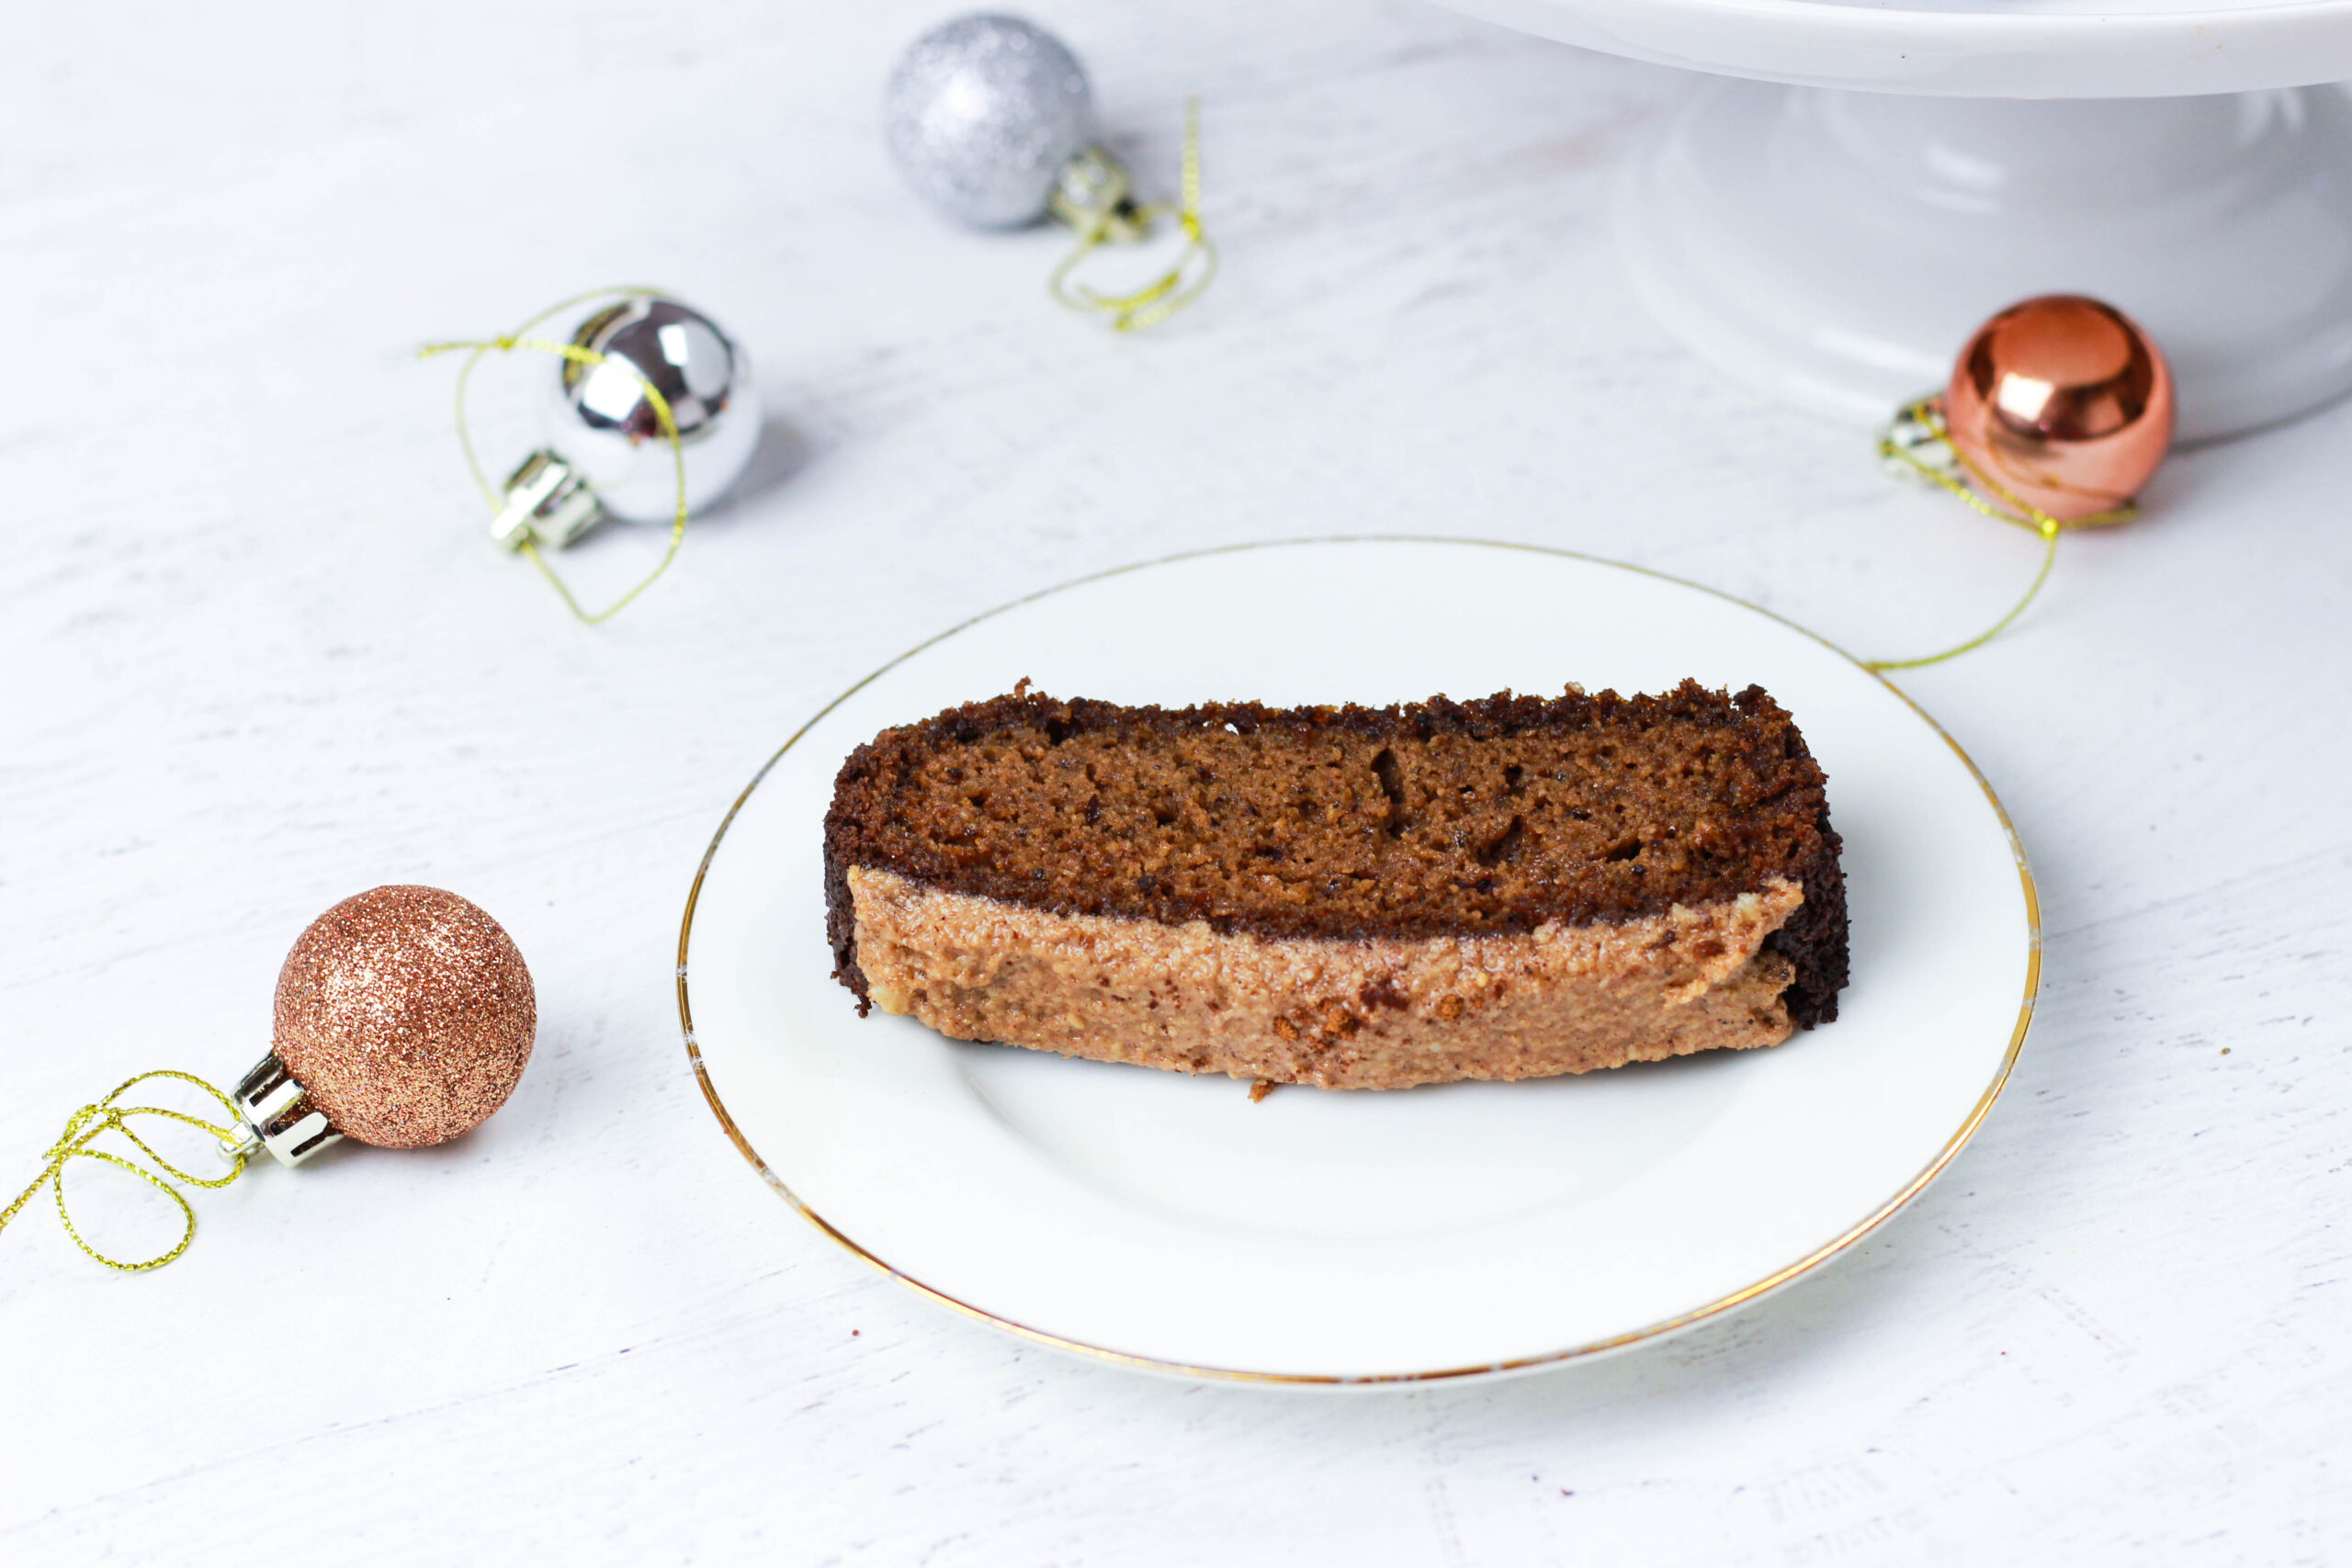
This is definitely a new fave of mine. It’s moist (I hate dry gingerbread), not too heavy, not too light, and tastes just like the holidays! Paleo, gluten-free, dairy-free, keto-friendly, low-carb, and ABSOLUTELY DELICIOUS! This is the perfect bread to bring to your next Christmas party!
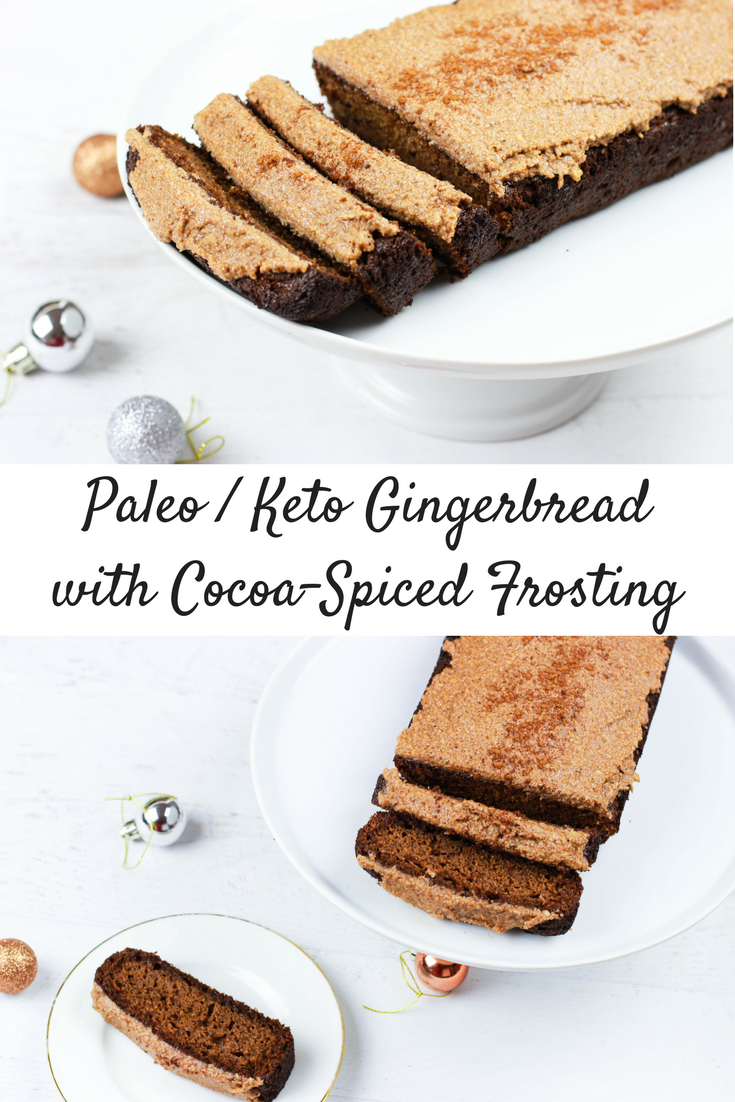
Paleo / Keto Gingerbread with Cocoa-Spiced Frosting
Ingredients:
Gingerbread Loaf:
- 4 eggs
- 1/4 cup coconut oil
- 1/2 cup almond milk
- 1/3 cup yacon syrup
- 1/2 cup coconut flour
- 1/2 cup almond flour
- 1 tsp baking soda
- 1/4 tsp sea salt / pink salt
- 1 1/4 tsp cinnamon
- 1 tsp nutmeg
- 1 tsp cloves
- 1/2 tsp ginger
- 1 tsp vanilla
Cocoa-Spiced Frosting:
- 1/2 cup soaked raw, organic cashews (soaked for about 4 hours beforehand)
- 1/2 tsp vanilla
- 1/2 tsp yacon syrup
- 2 tbsp coconut oil
- 2 tbsp canned coconut milk (or other nut milk)
- 3/4 tsp cinnamon
- 1/2 tsp nutmeg
- 1 tsp cacao powder / cocoa powder
Instructions:
- Preheat oven to 400* F. Grease a loaf pan with coconut oil or line with parchment paper.
- Add all gingerbread loaf ingredients into a large bowl and mix together until well incorporated.
- Pour the batter into the loaf pan and place in the oven. Bake for 28-30 minutes, or until the edges start to brown and a knife / toothpick comes out clean. Allow to cool for 20-30 minutes.
- While the loaf is baking / cooling, prepare the frosting. Add all of the frosting ingredients into a food processor and process until smooth. This might take a few minutes, and be sure to scrape down the sides every so often so everything gets blended! Once the frosting is smooth, store in the fridge until ready to use.
- Once the loaf has cooled, spread the frosting on top of the loaf. Serve and enjoy!